Art Gallery is a project we have really enjoyed as it includes several close up shots with a soft lighting mood and with simple but qualitative materials. So we asked from Dilyan to share with us his project's workflow and thus this making of article was born. Enjoy it!

Hello everyone! Thank you VrayWorld for invited me to write this article and thank you for your time to read it. I hope that it will be a bit interesting for all of you.
I'm Dilyan Katranov from Imagine Studio. During my spare time I always want to improve my skills and the portfolio of our studio. That is the reason I started this non-commercial project.
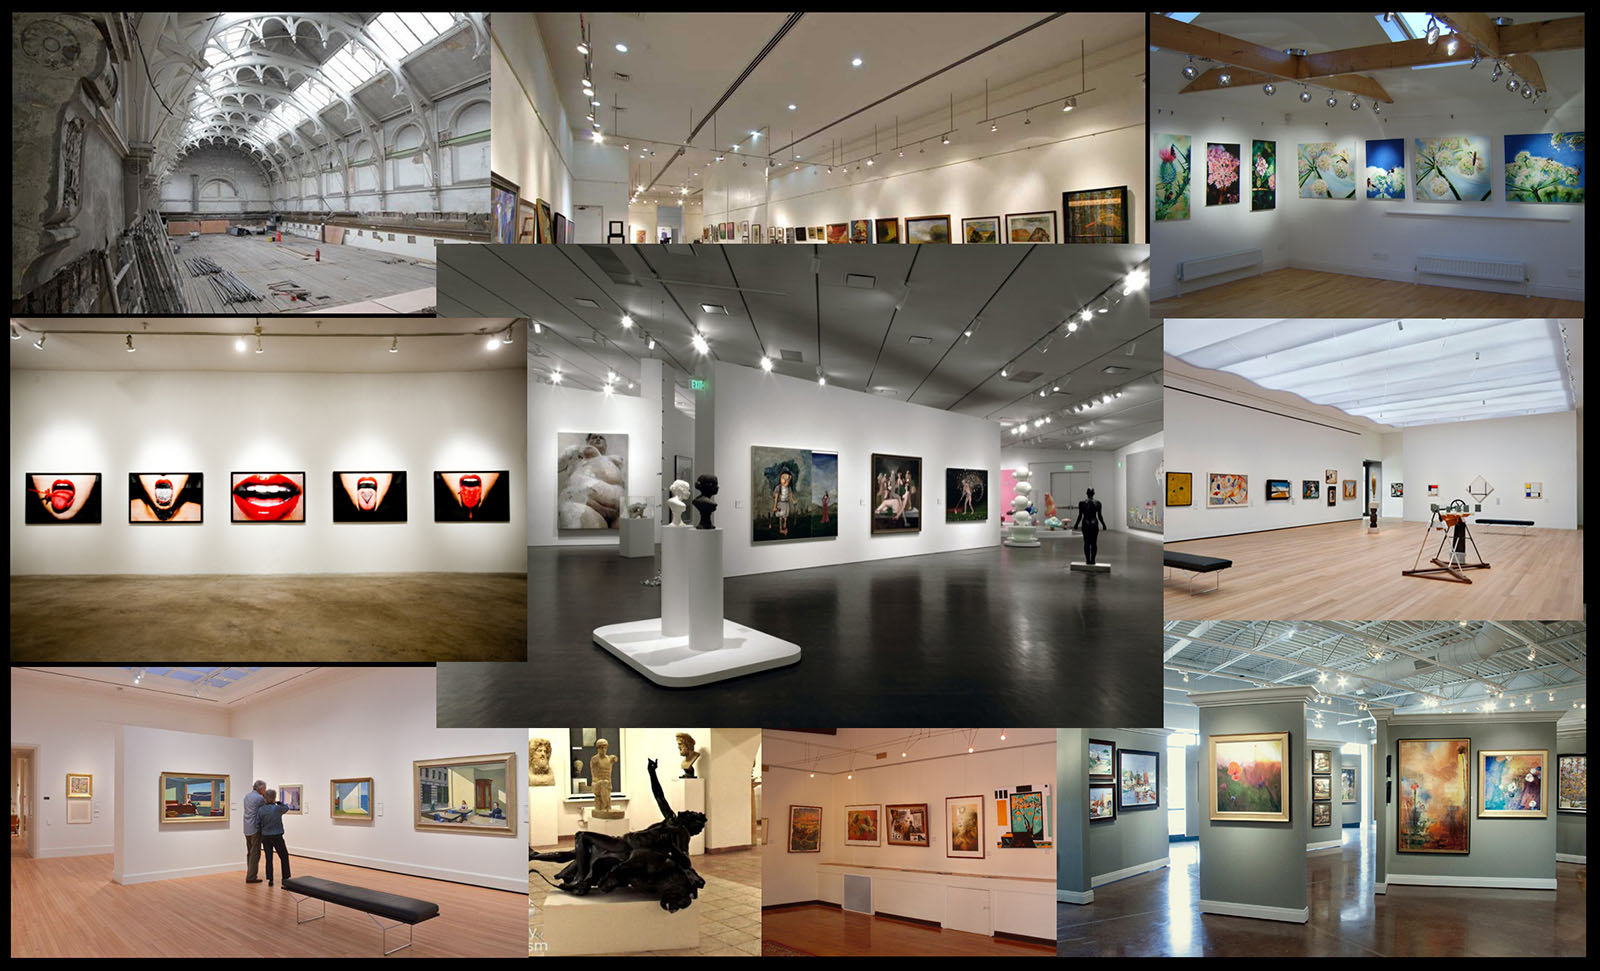
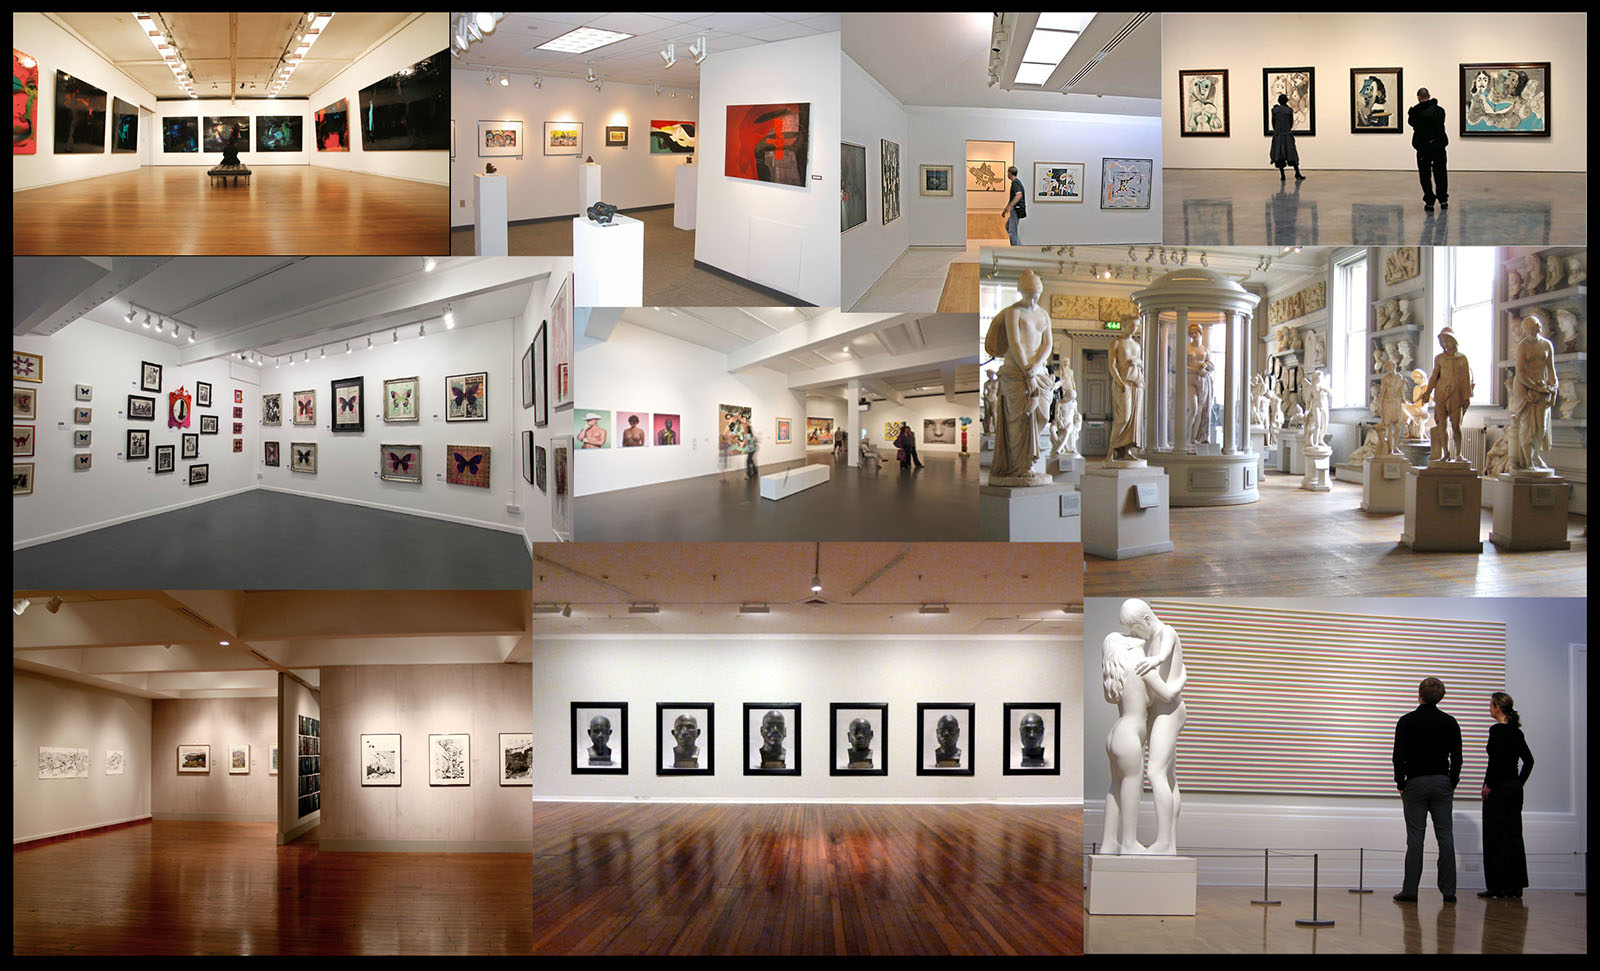
I had some basic idea, but I needed references for inspiration and making the concept more clear. So I looked for that:
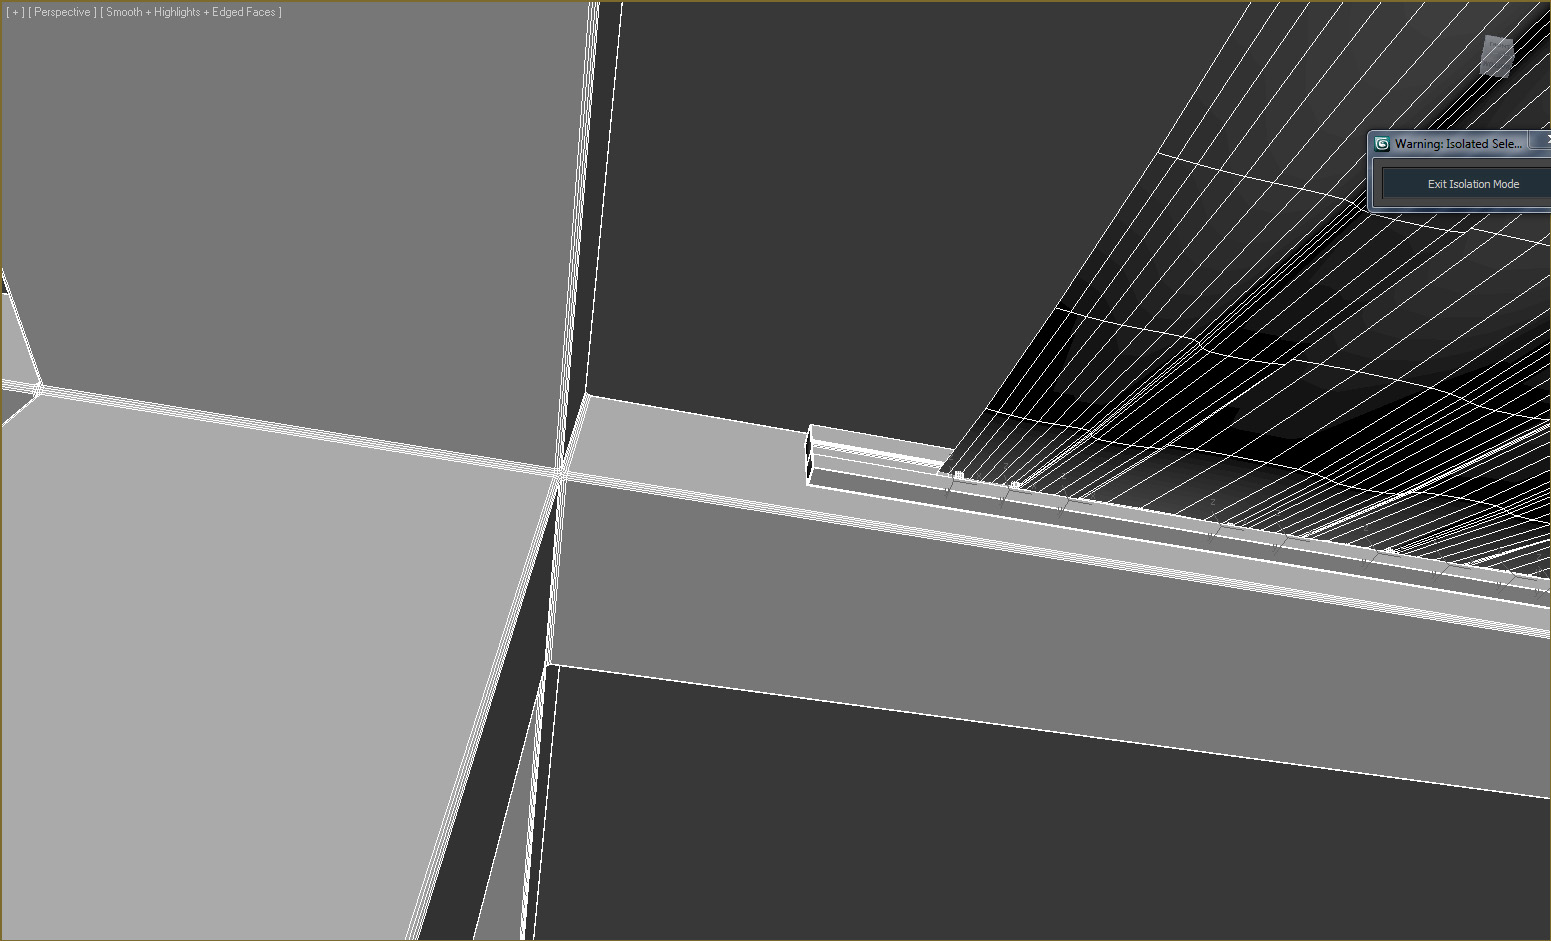
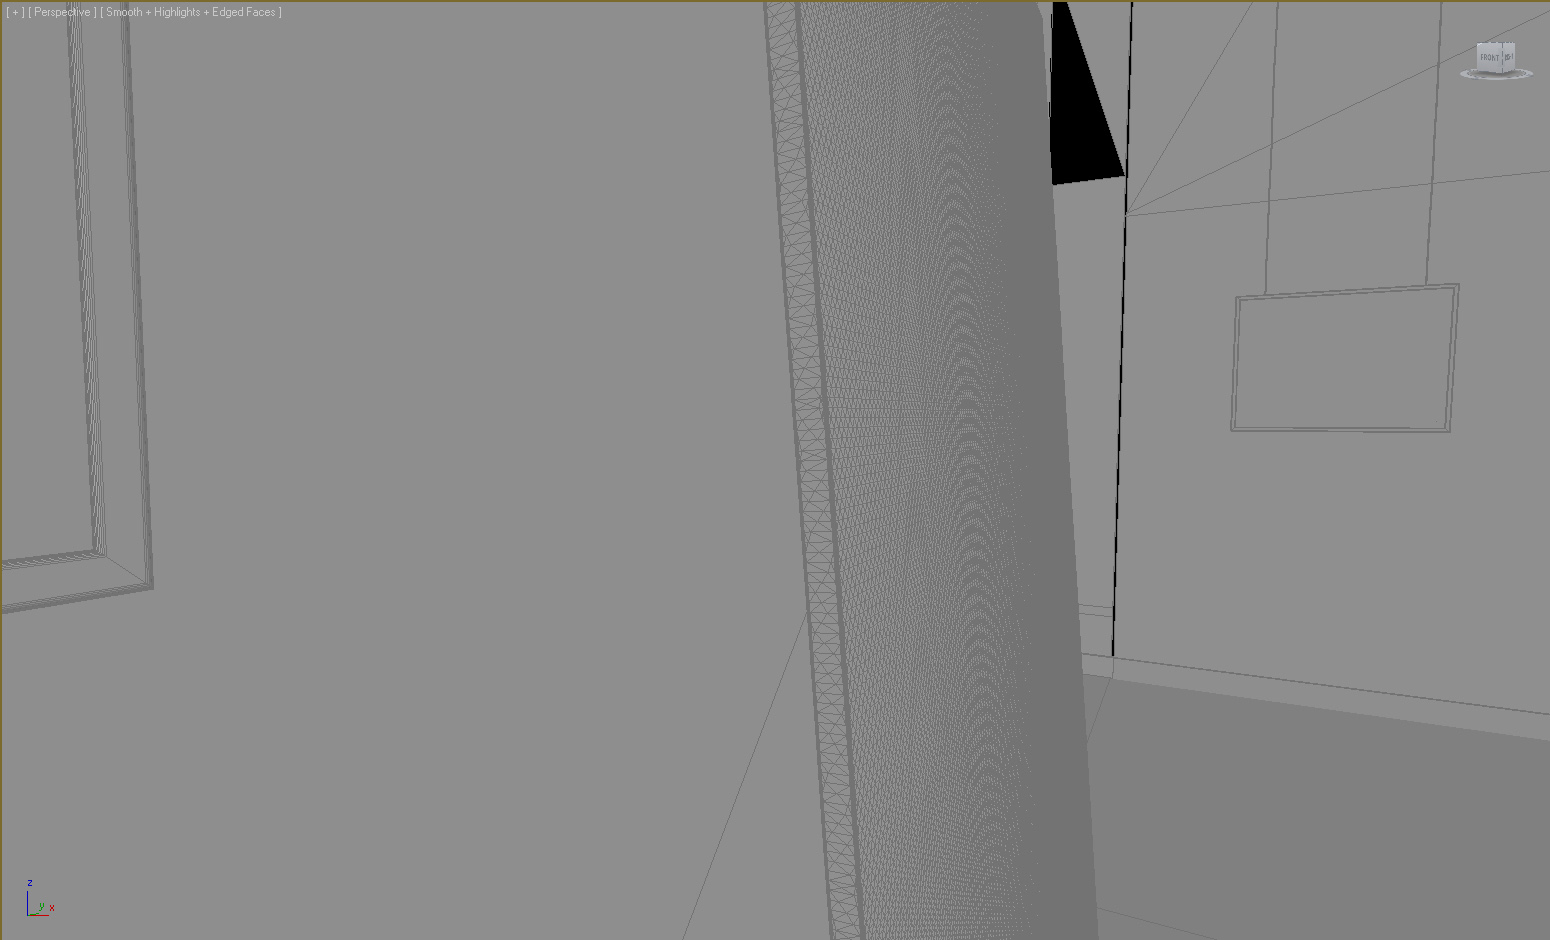
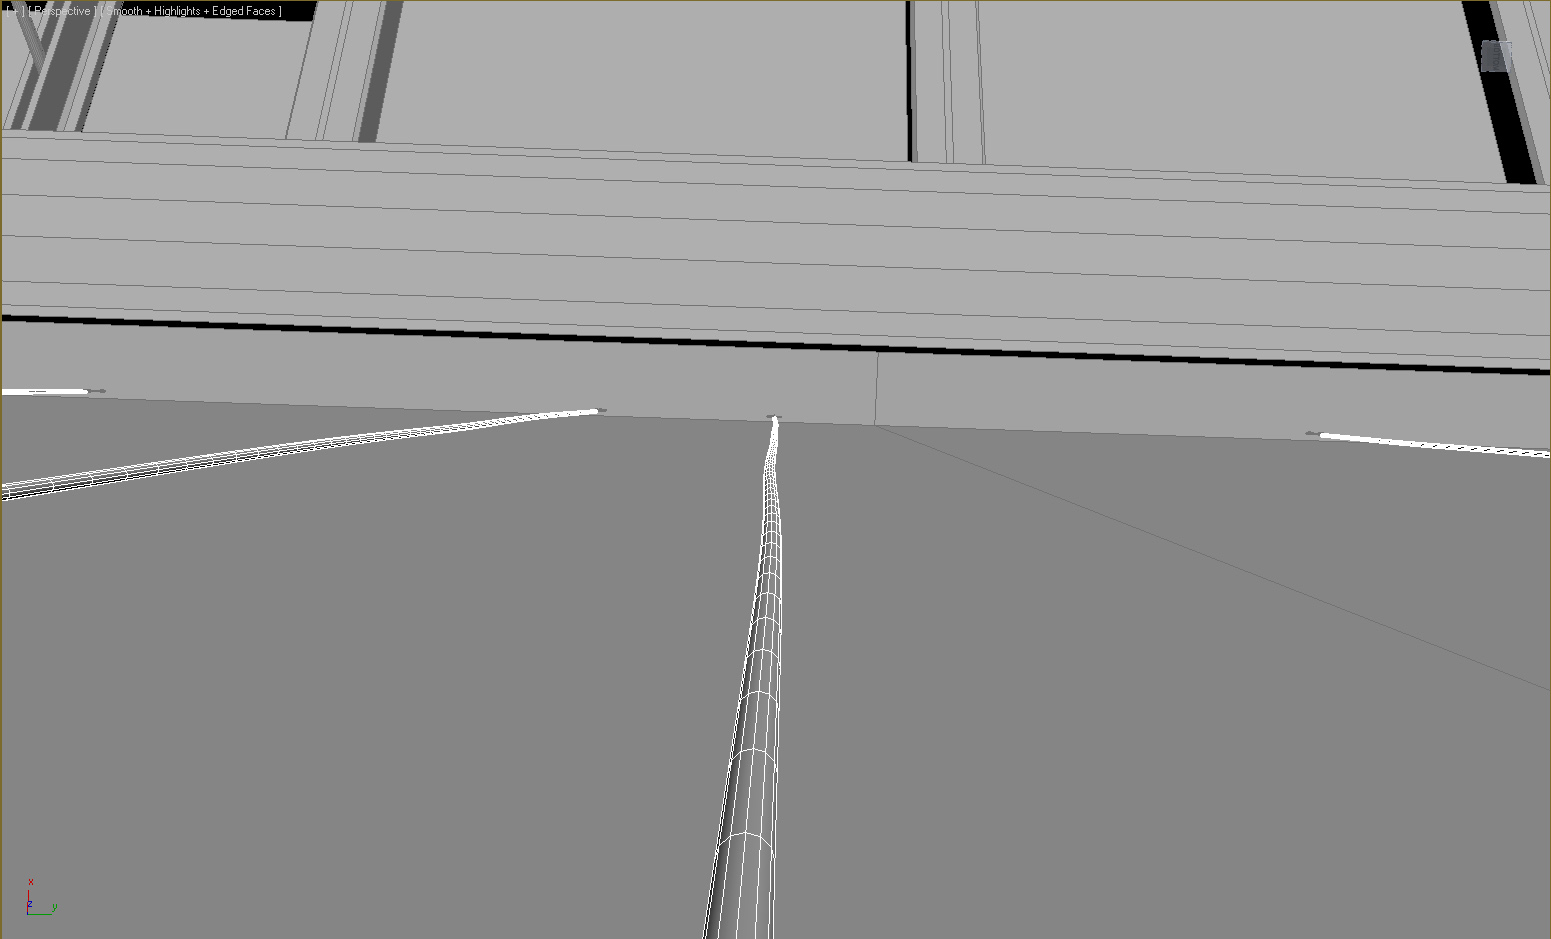
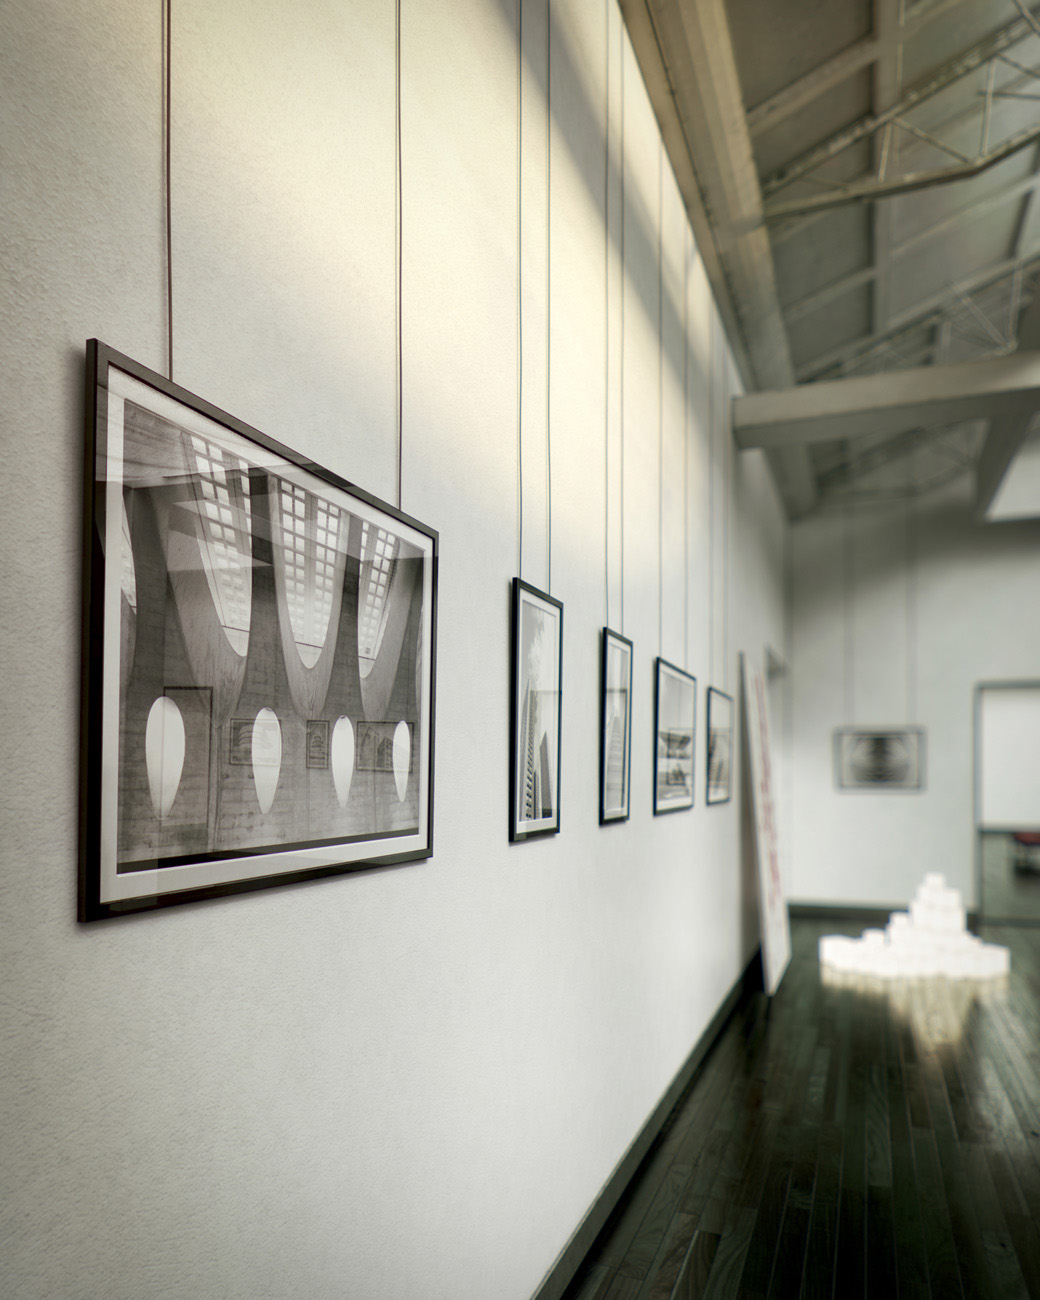
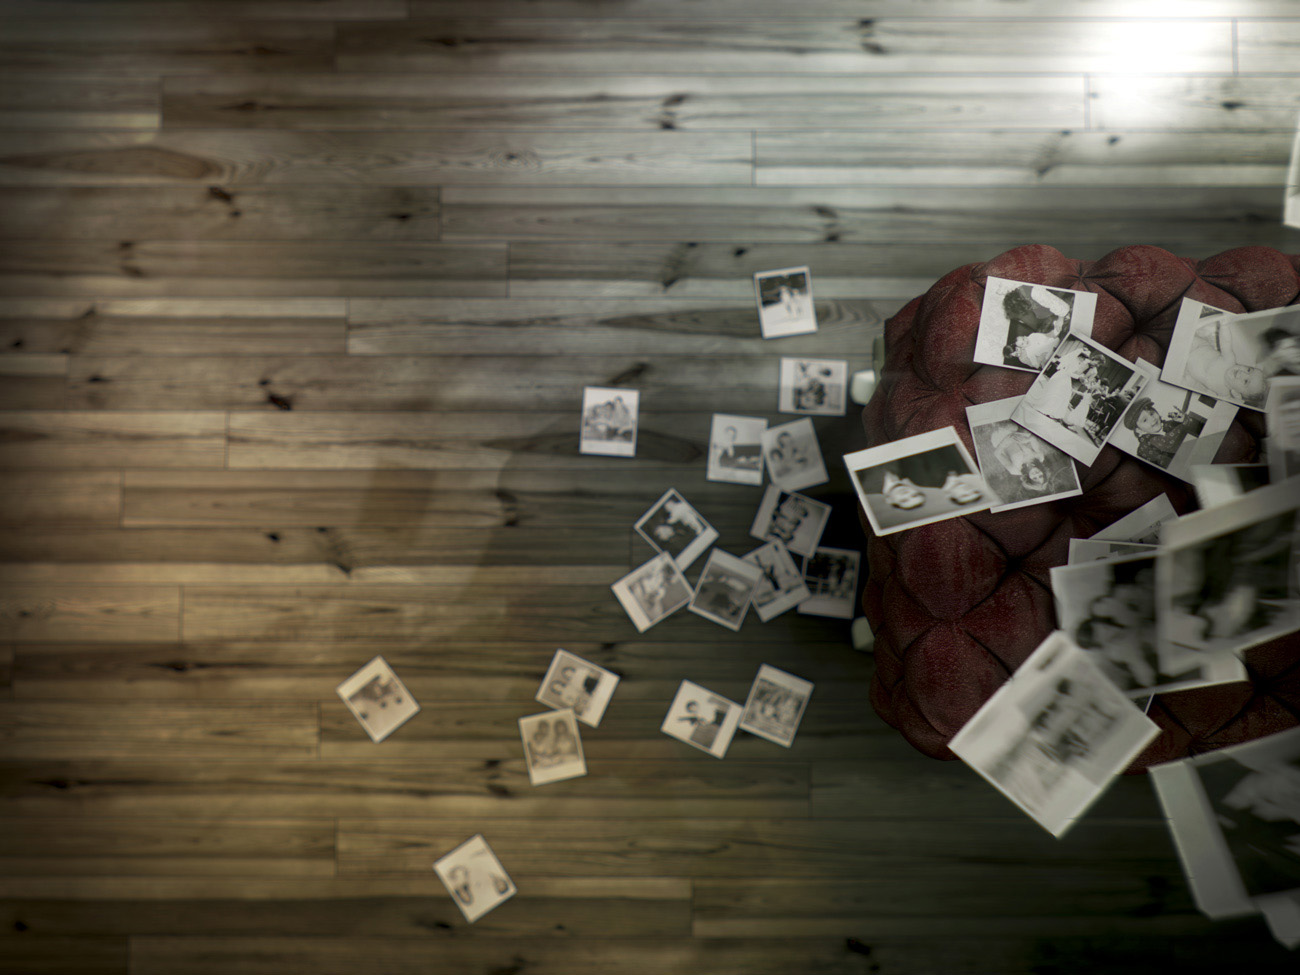
The modelling was not so time-consuming. I get the room from one Evermotion's scene and start remaking it to fit on my needs. After that I modelled the curtains(with cornice), the painting, and other smaller things like adding a ropes to the photos on the wall, etc...
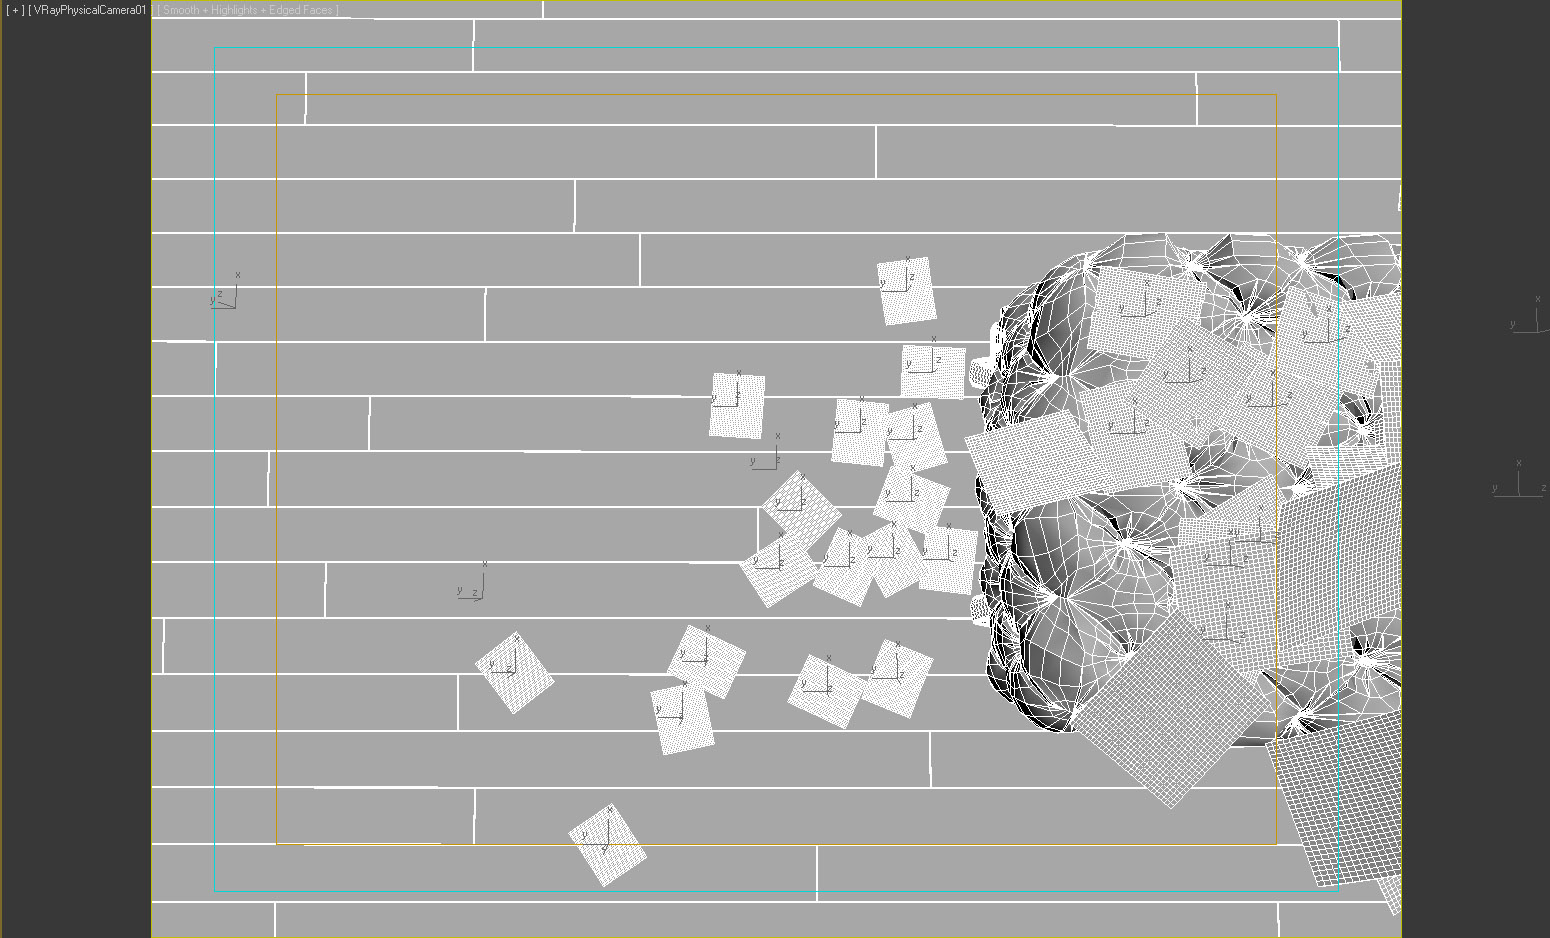
At the beginning I decided to make only two or three shots. But at the end of preparing the cameras I had almost 20 views. Finally I chosen 9 of them!
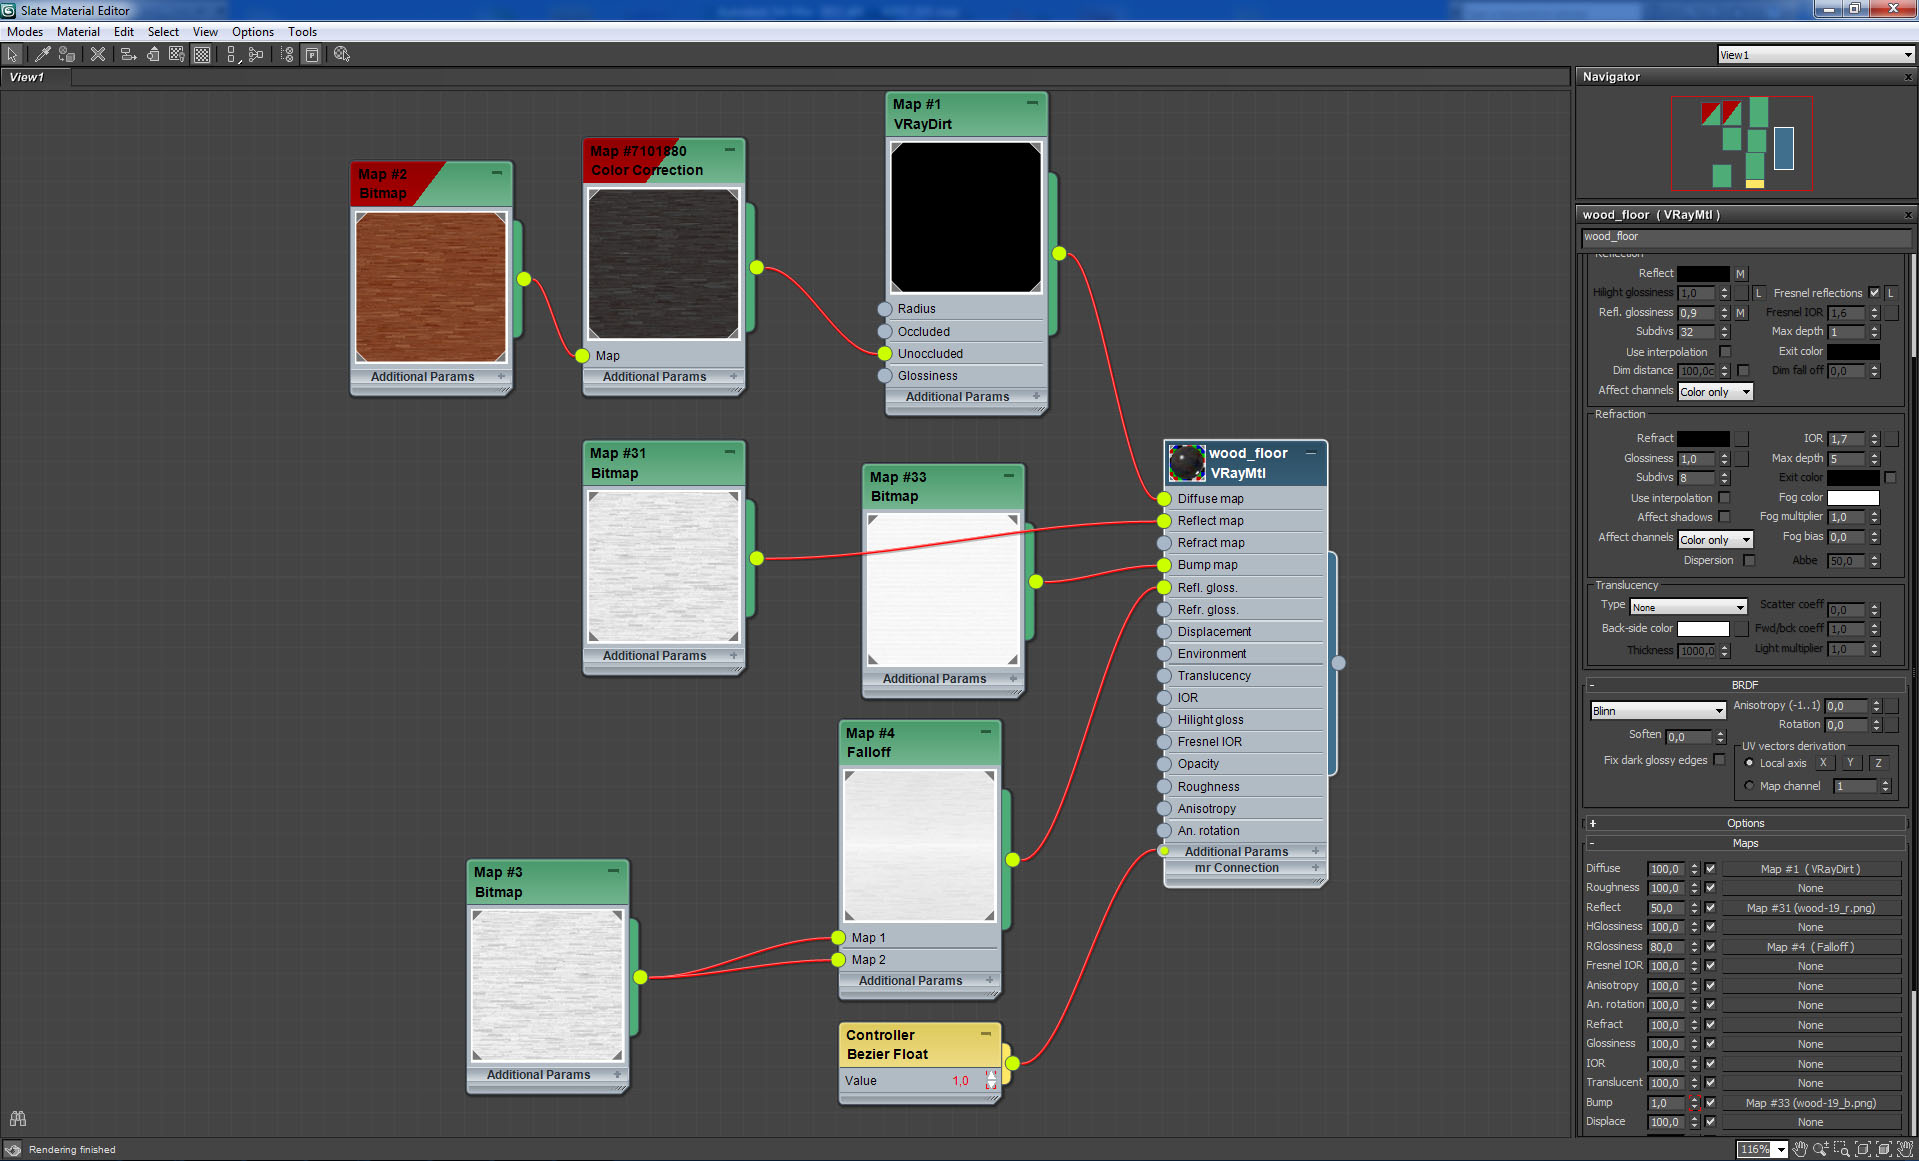
There is nothing extraordinary about the materials. I will give an example with the material on the walls and wood floor material (no displacement modifier on the object).

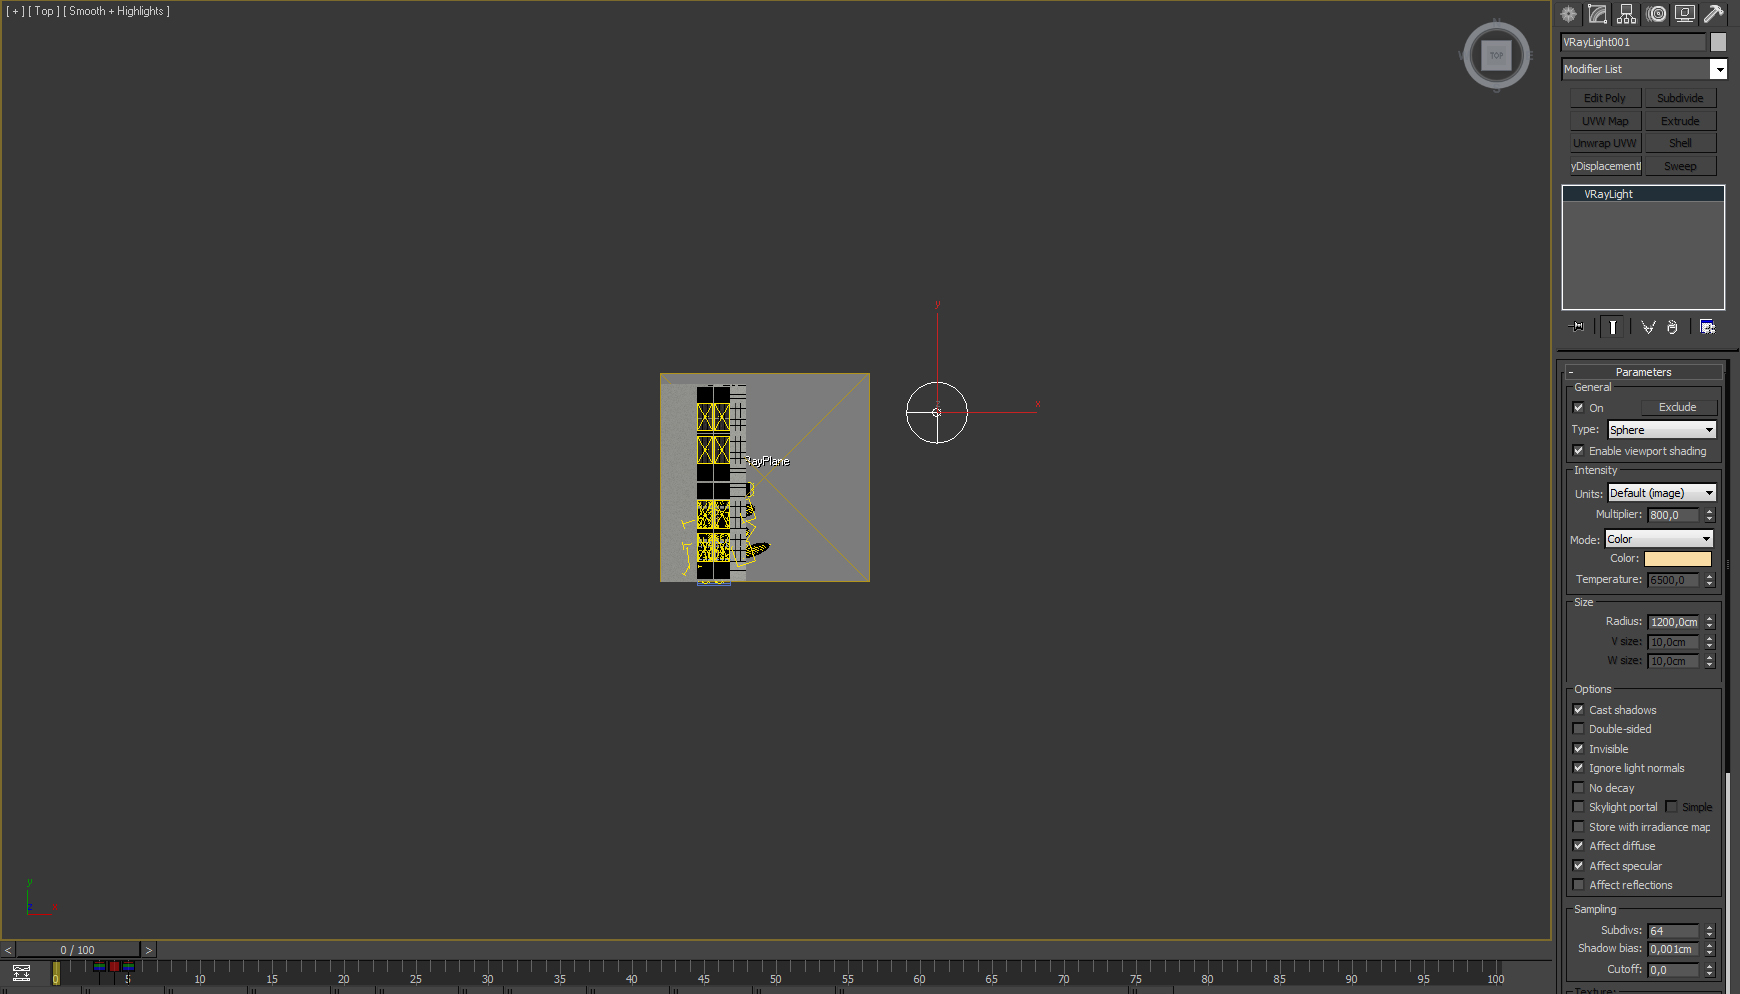
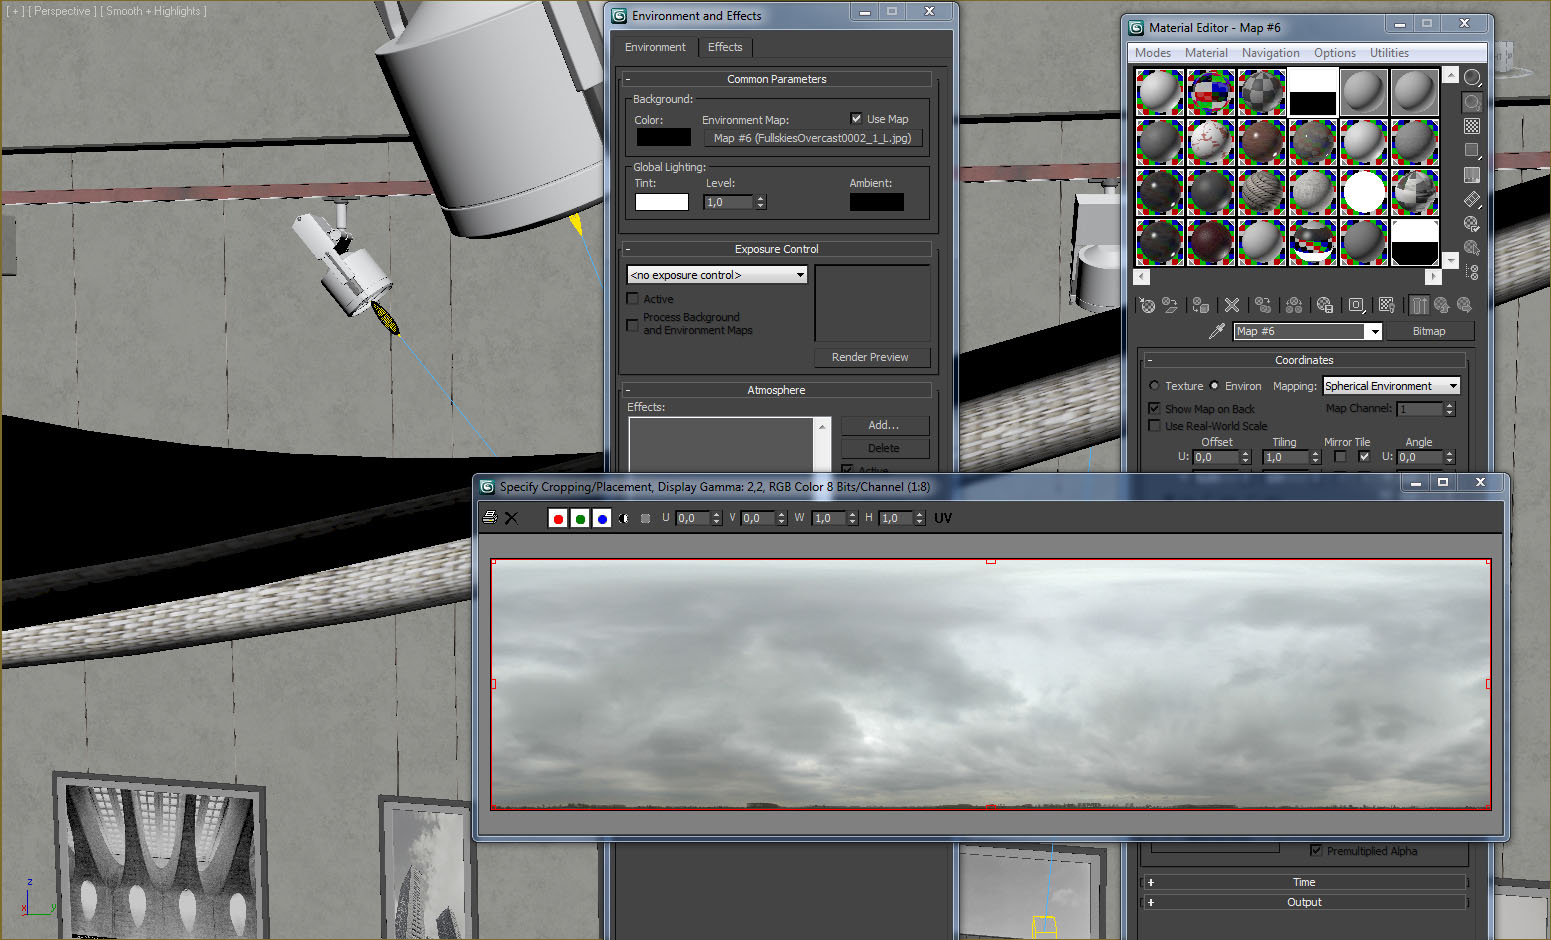
The idea was to achieve an overcast mood with the sun seeking its way through the clouds. For lighting the scene were used vray sphere with high resolution jpeg image at the environment slot:
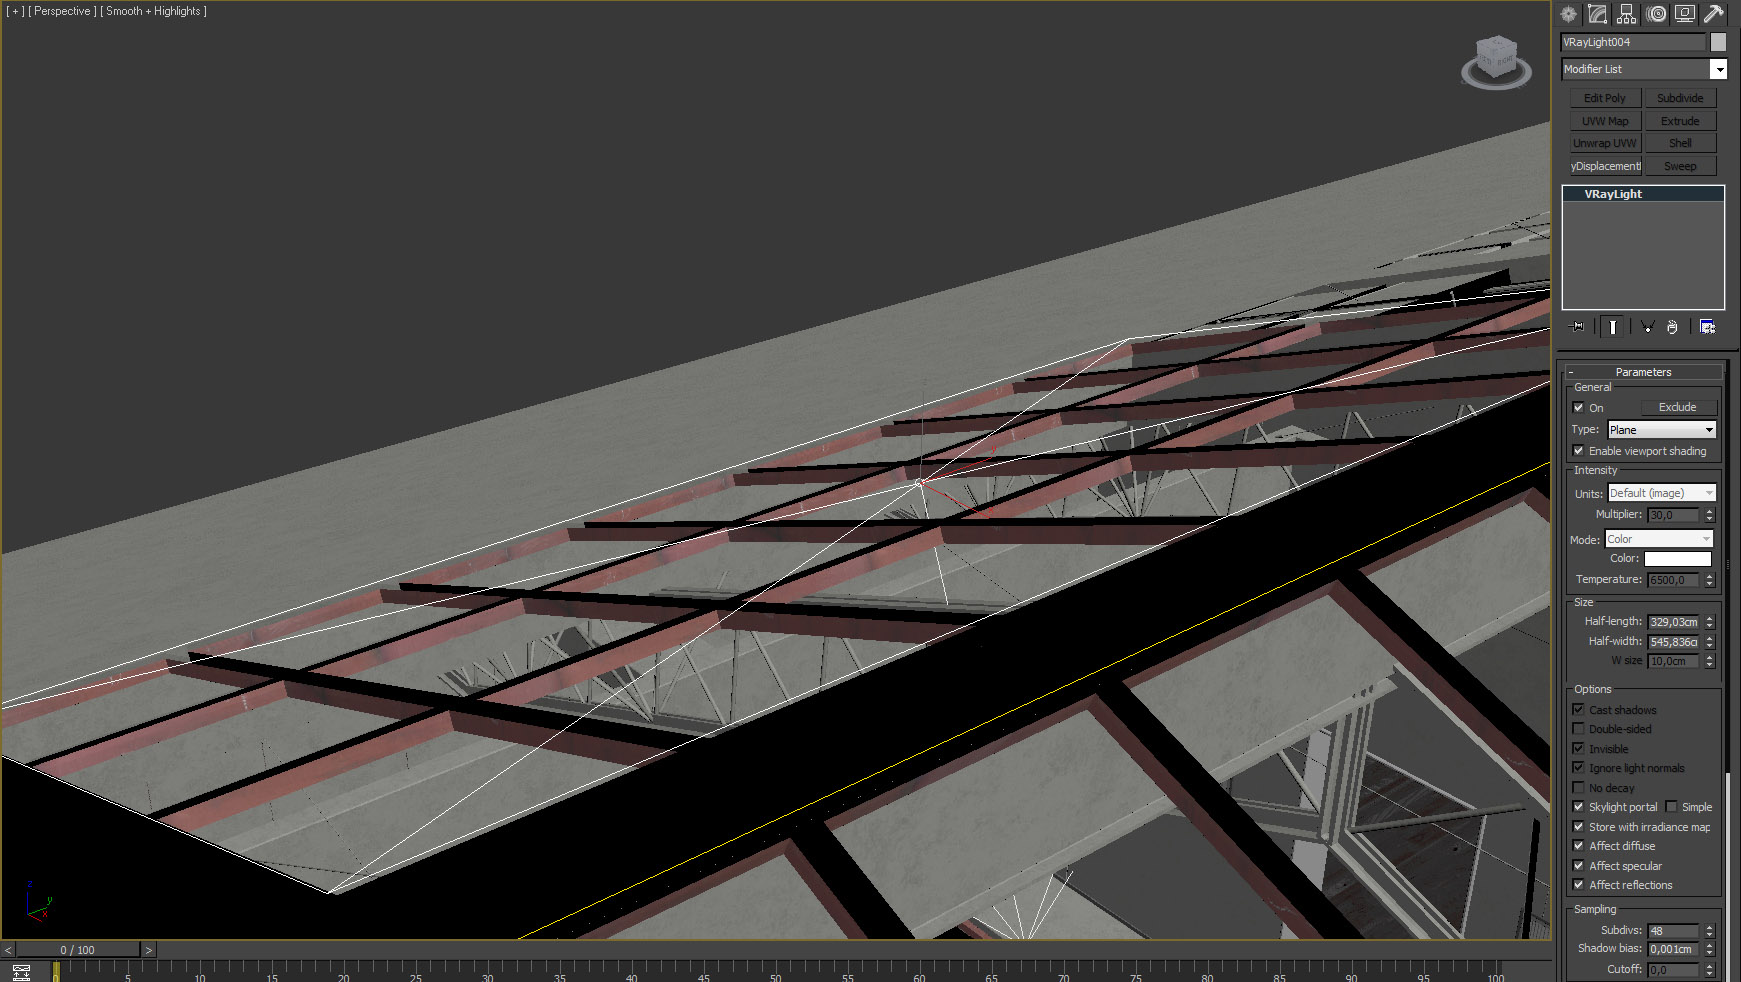
At the windows I placed VrayLight type plane as skyportals:
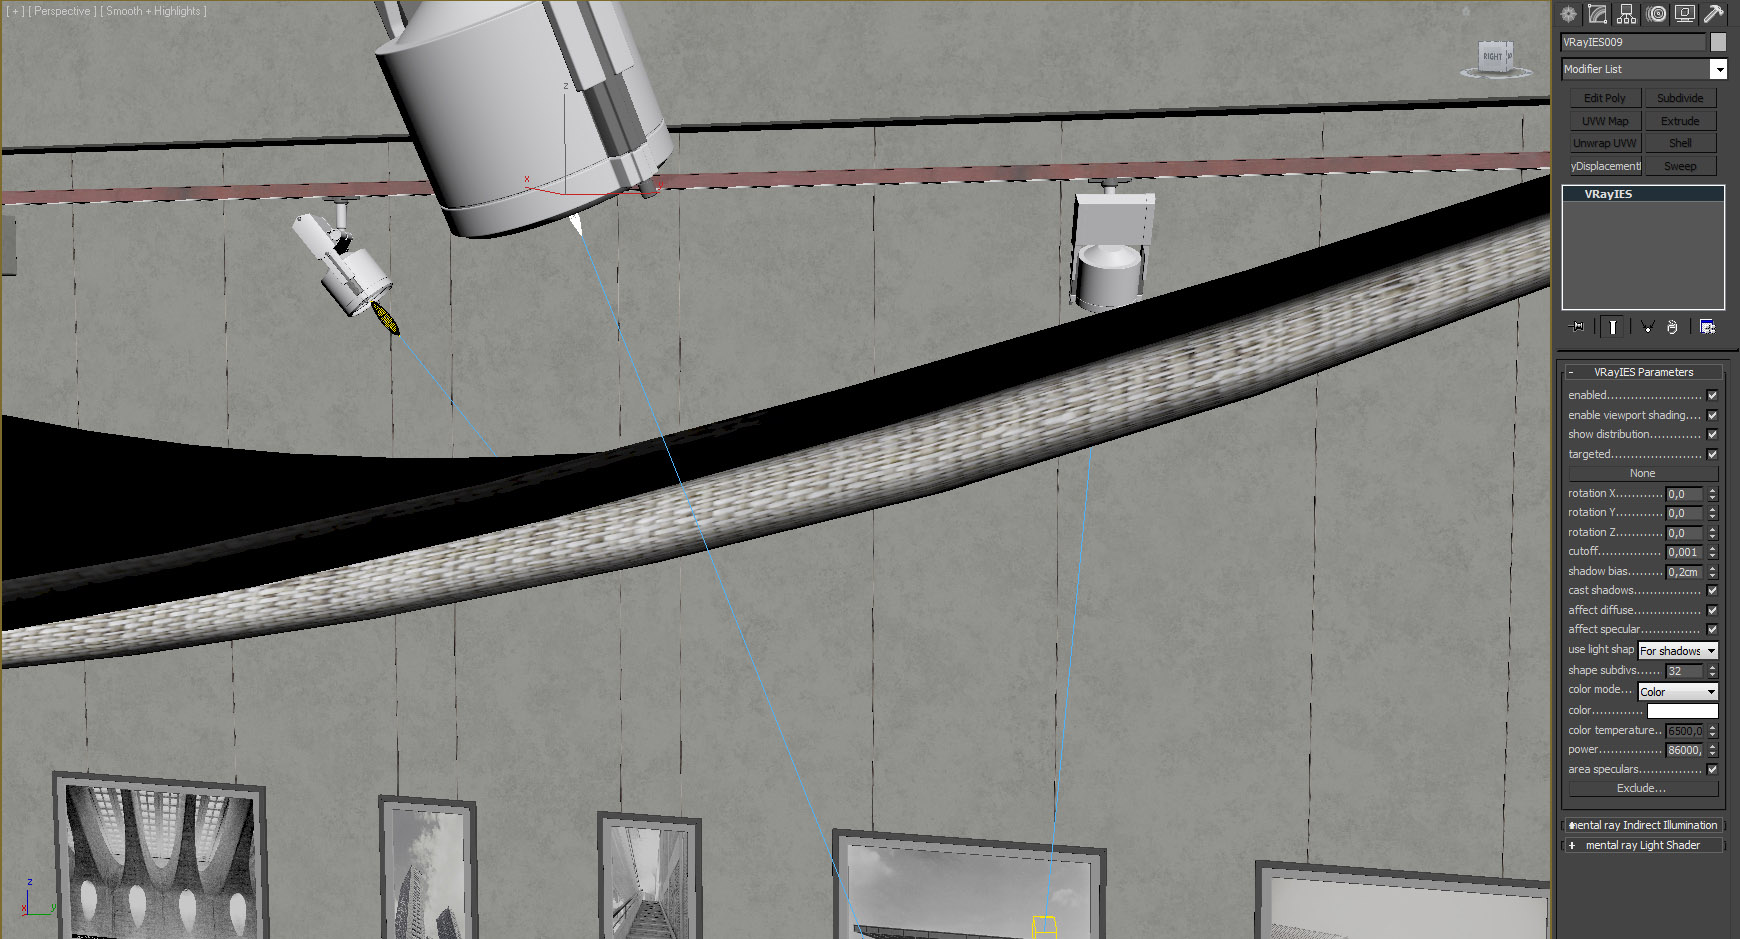
...and VrayIES for interior lights.
I wanted to have more control at the post-production stage, so I added a lot of render elements. An other reason to do that is because I had some overexposed areas, which I prefer to fix in post production. I also added several VrayZDepth render elements with different length, which I used later in Photoshop for setting the dof. For primary and secondary bounces I used irradiance map+light cache. Each render(4000px) took from 10 to 15 hours on one computer - i7, 48 gb ram.
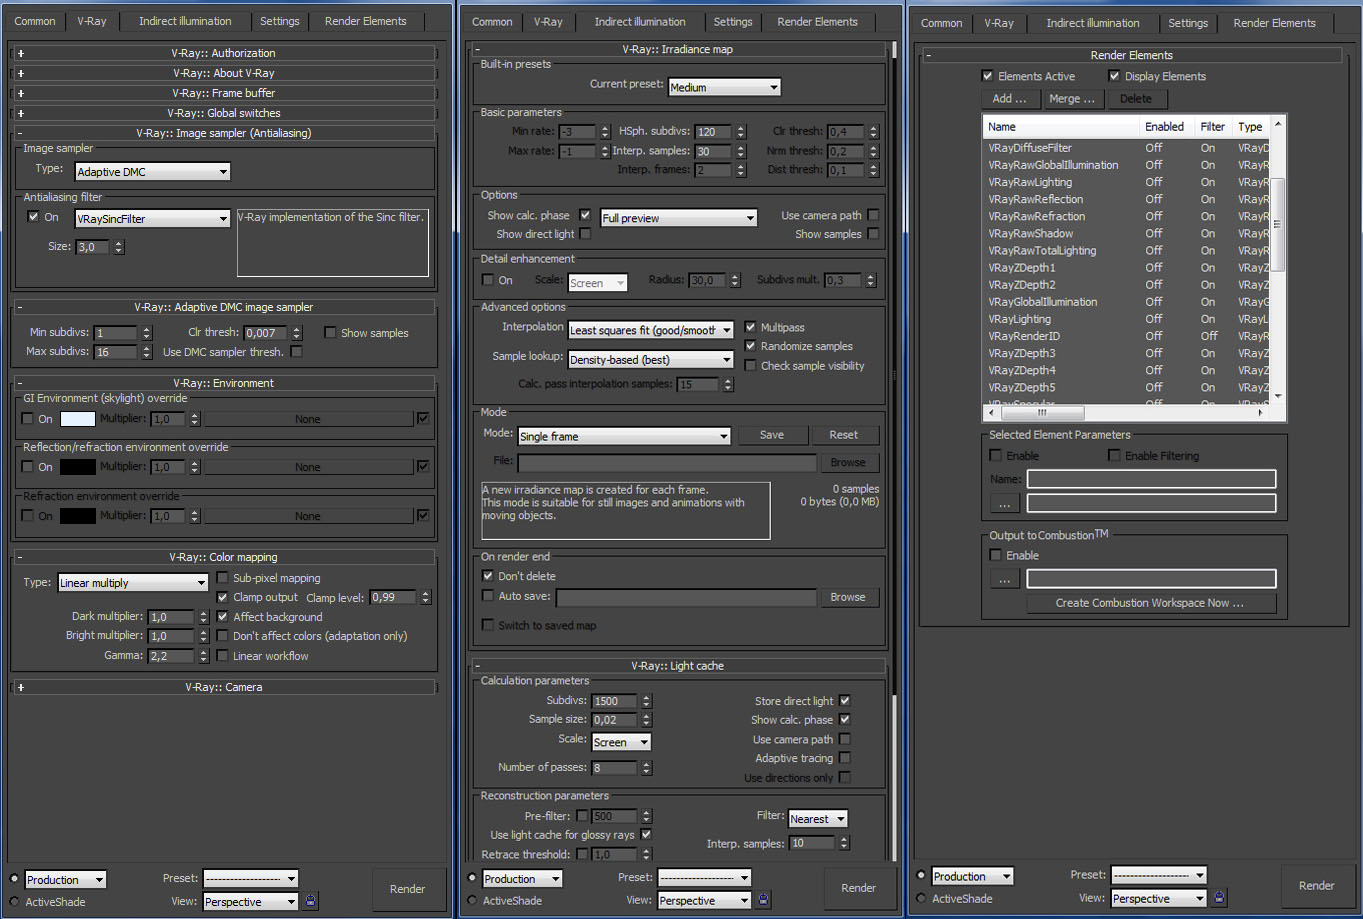
At that stage I fine-tuned the materials and lighting mood. Most objects were additionally adjusted. I experimented with the render elements, layers, etc...till I become satisfied with the result. At the most situations I use standard photoshop tools and as plugings - PhotoLooks(Magic Bullet). For the dof I used DOF PRO plugin.


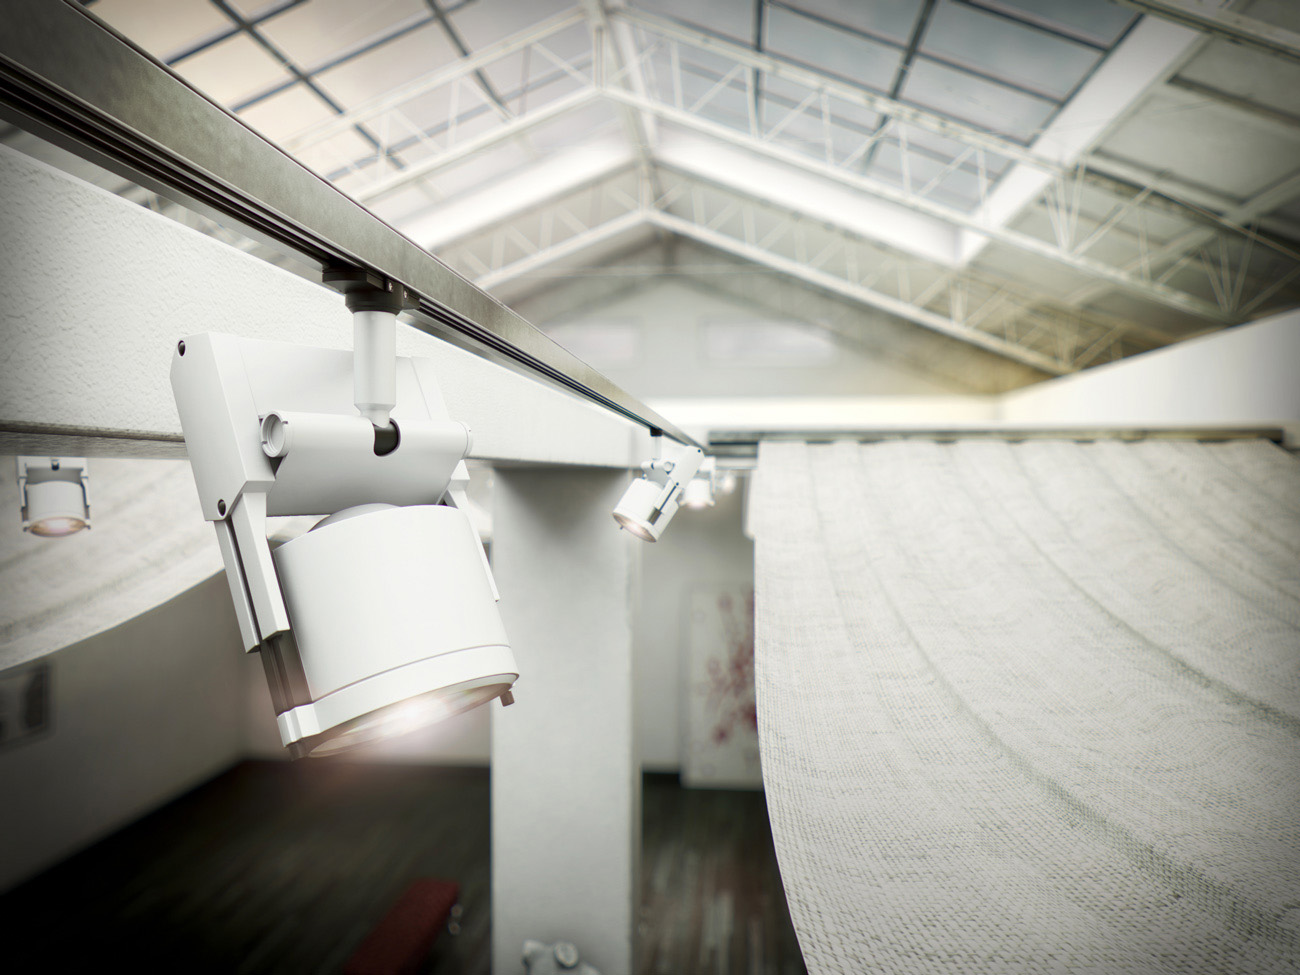
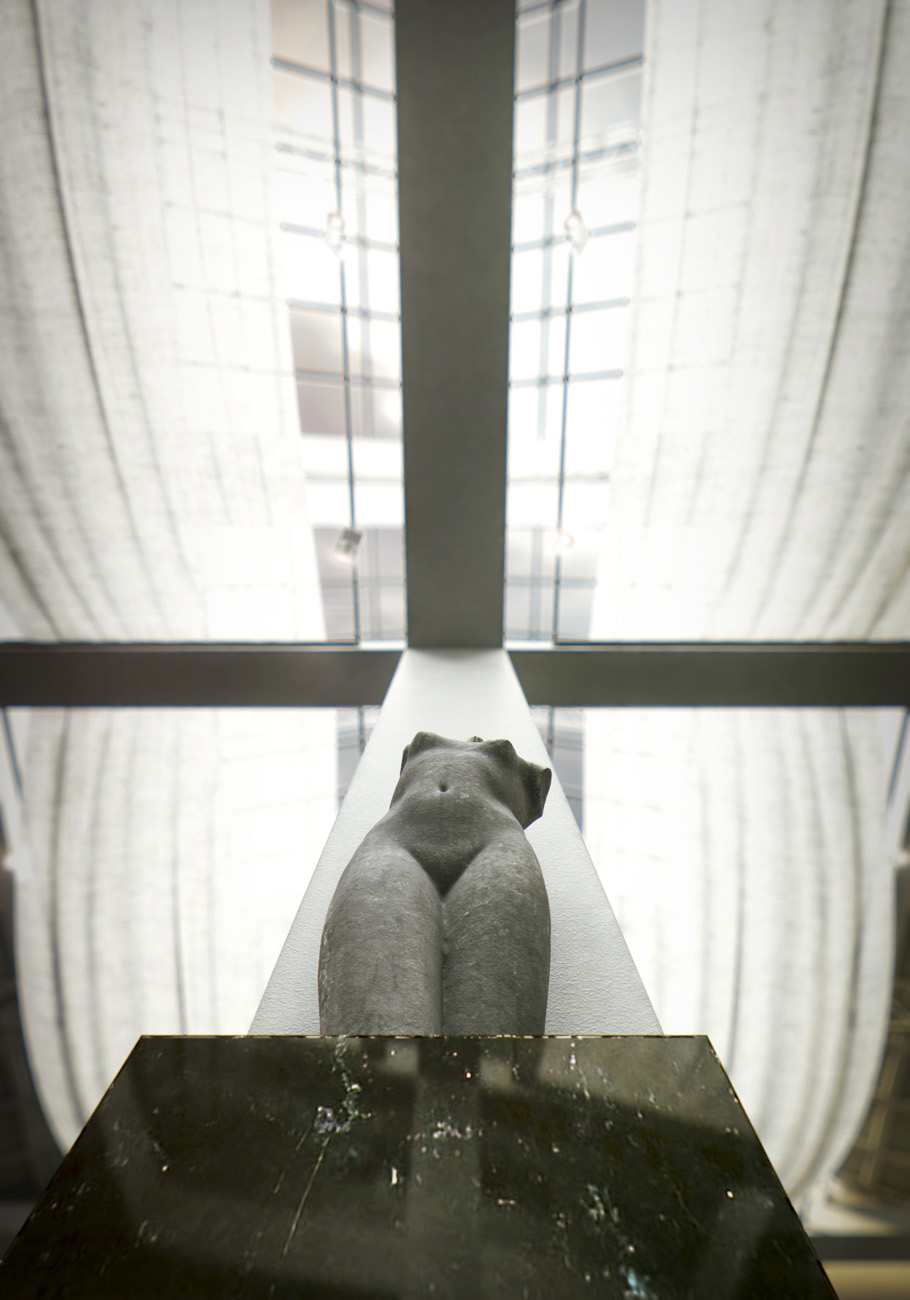
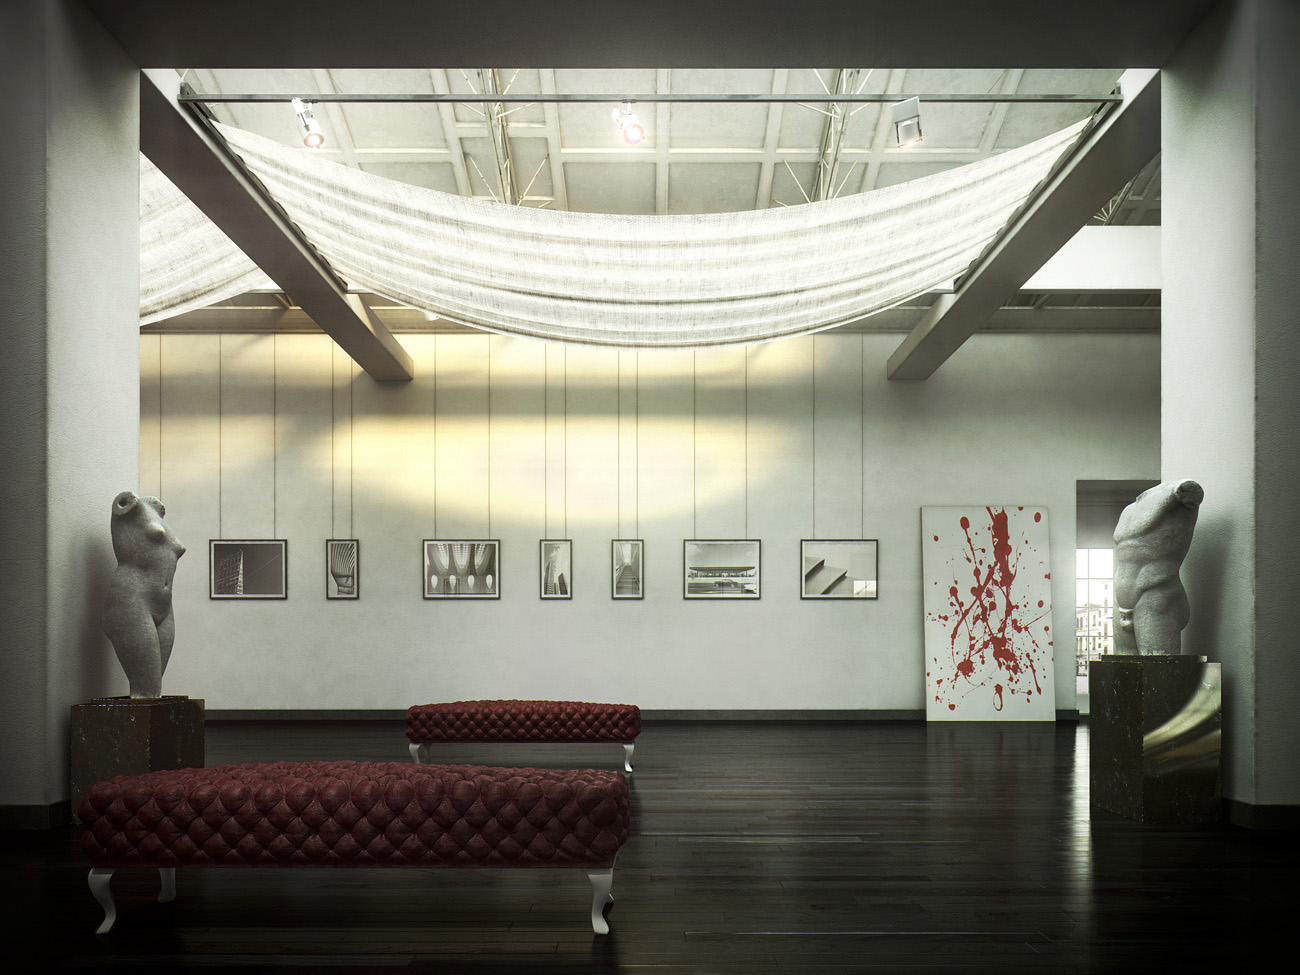
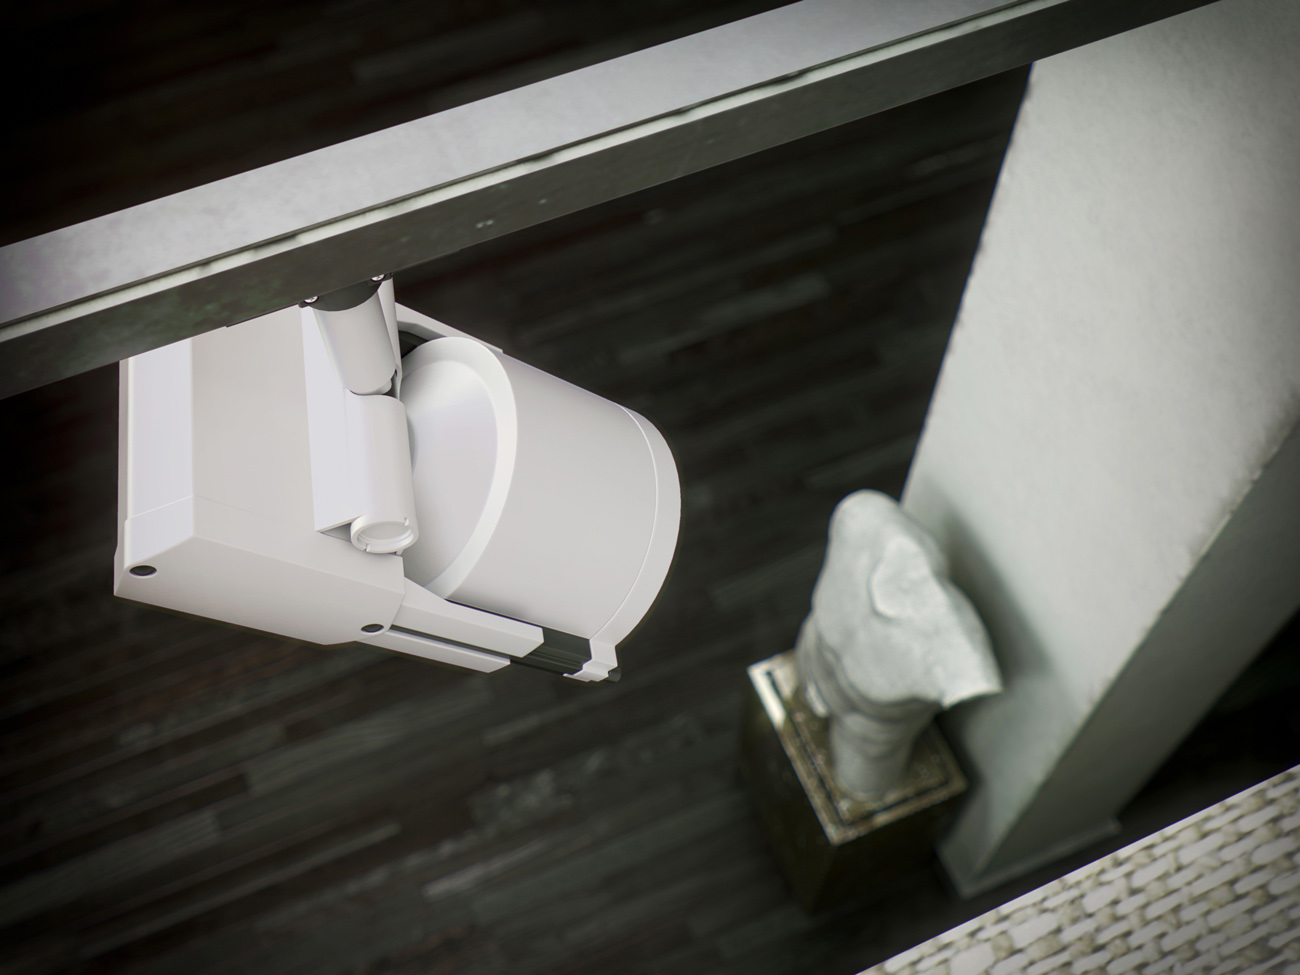
Here is my final renders.


Thank you all for reading and I'm at your disposal for any further information...
Best wishes!