Hello friends! My name is Dmitri Revyakin (3Dmitri). I work and live in Dnipro city, Ukraine. I started learning 3D in 2007 and in 2008 I started working in this field. After working for a few city companies I became a freelancer and I have been one till now.

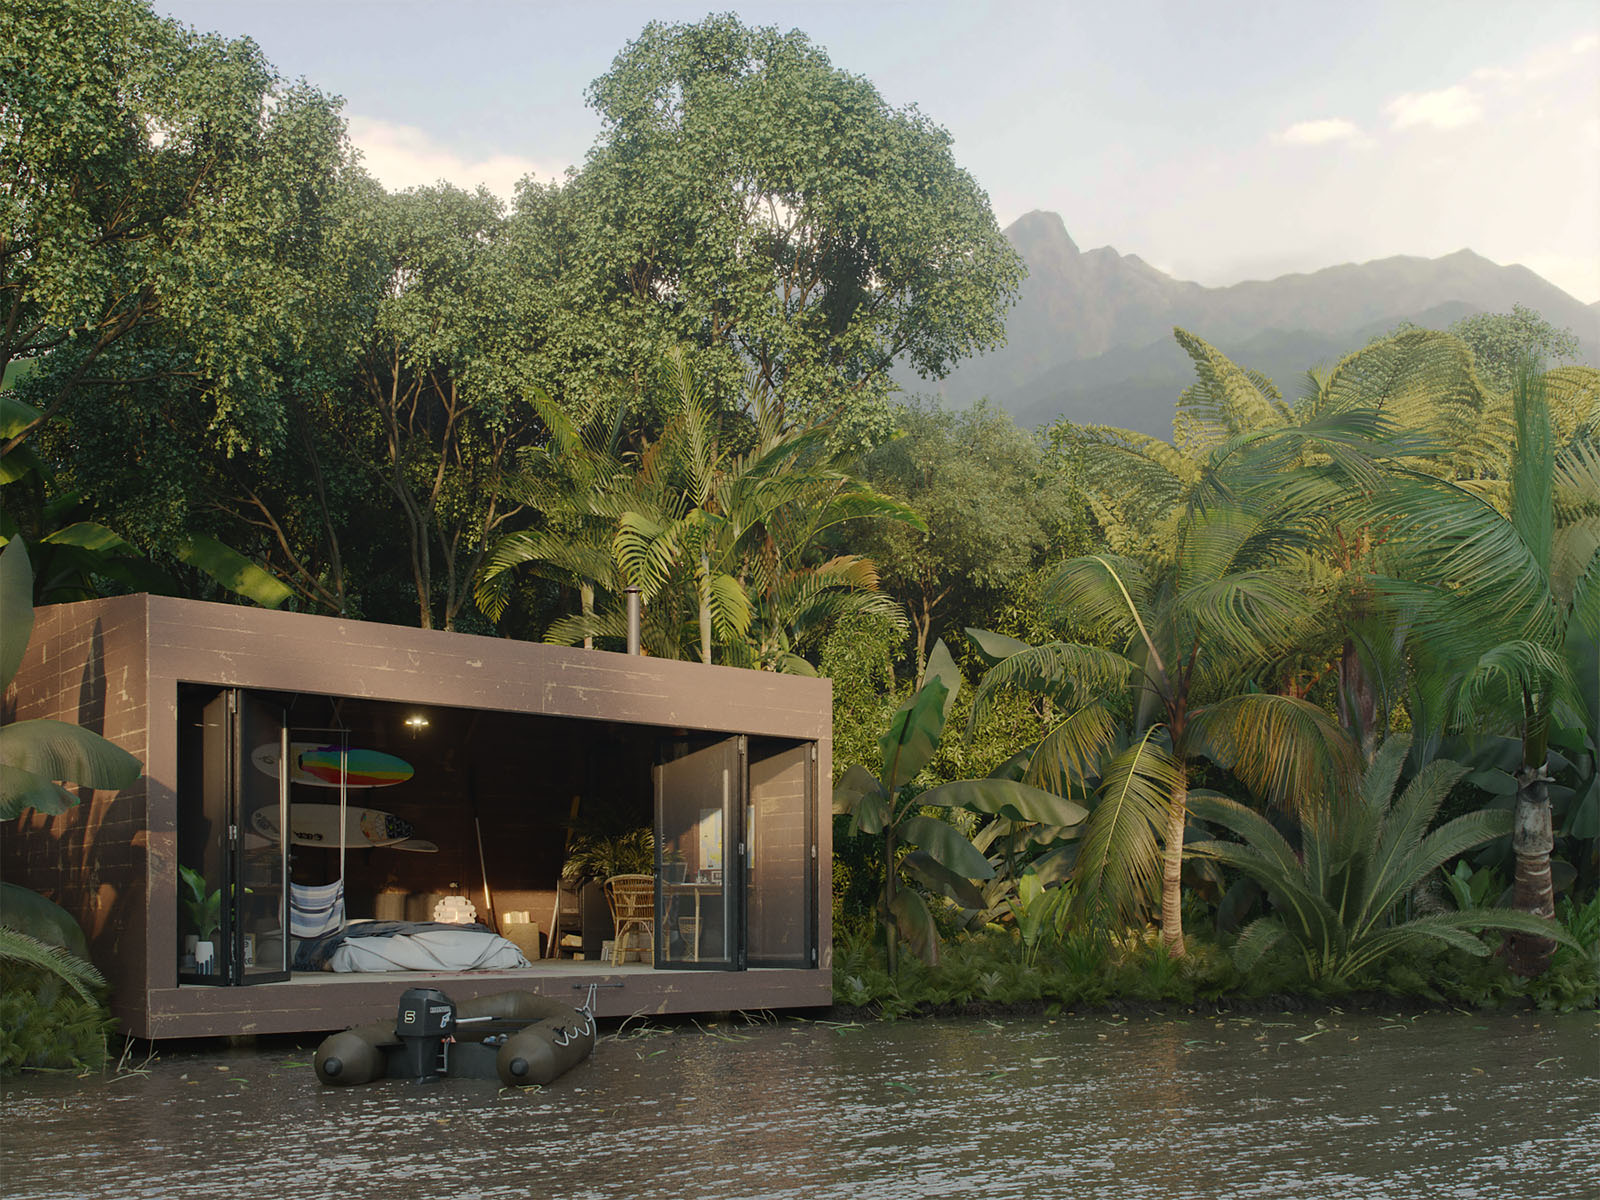
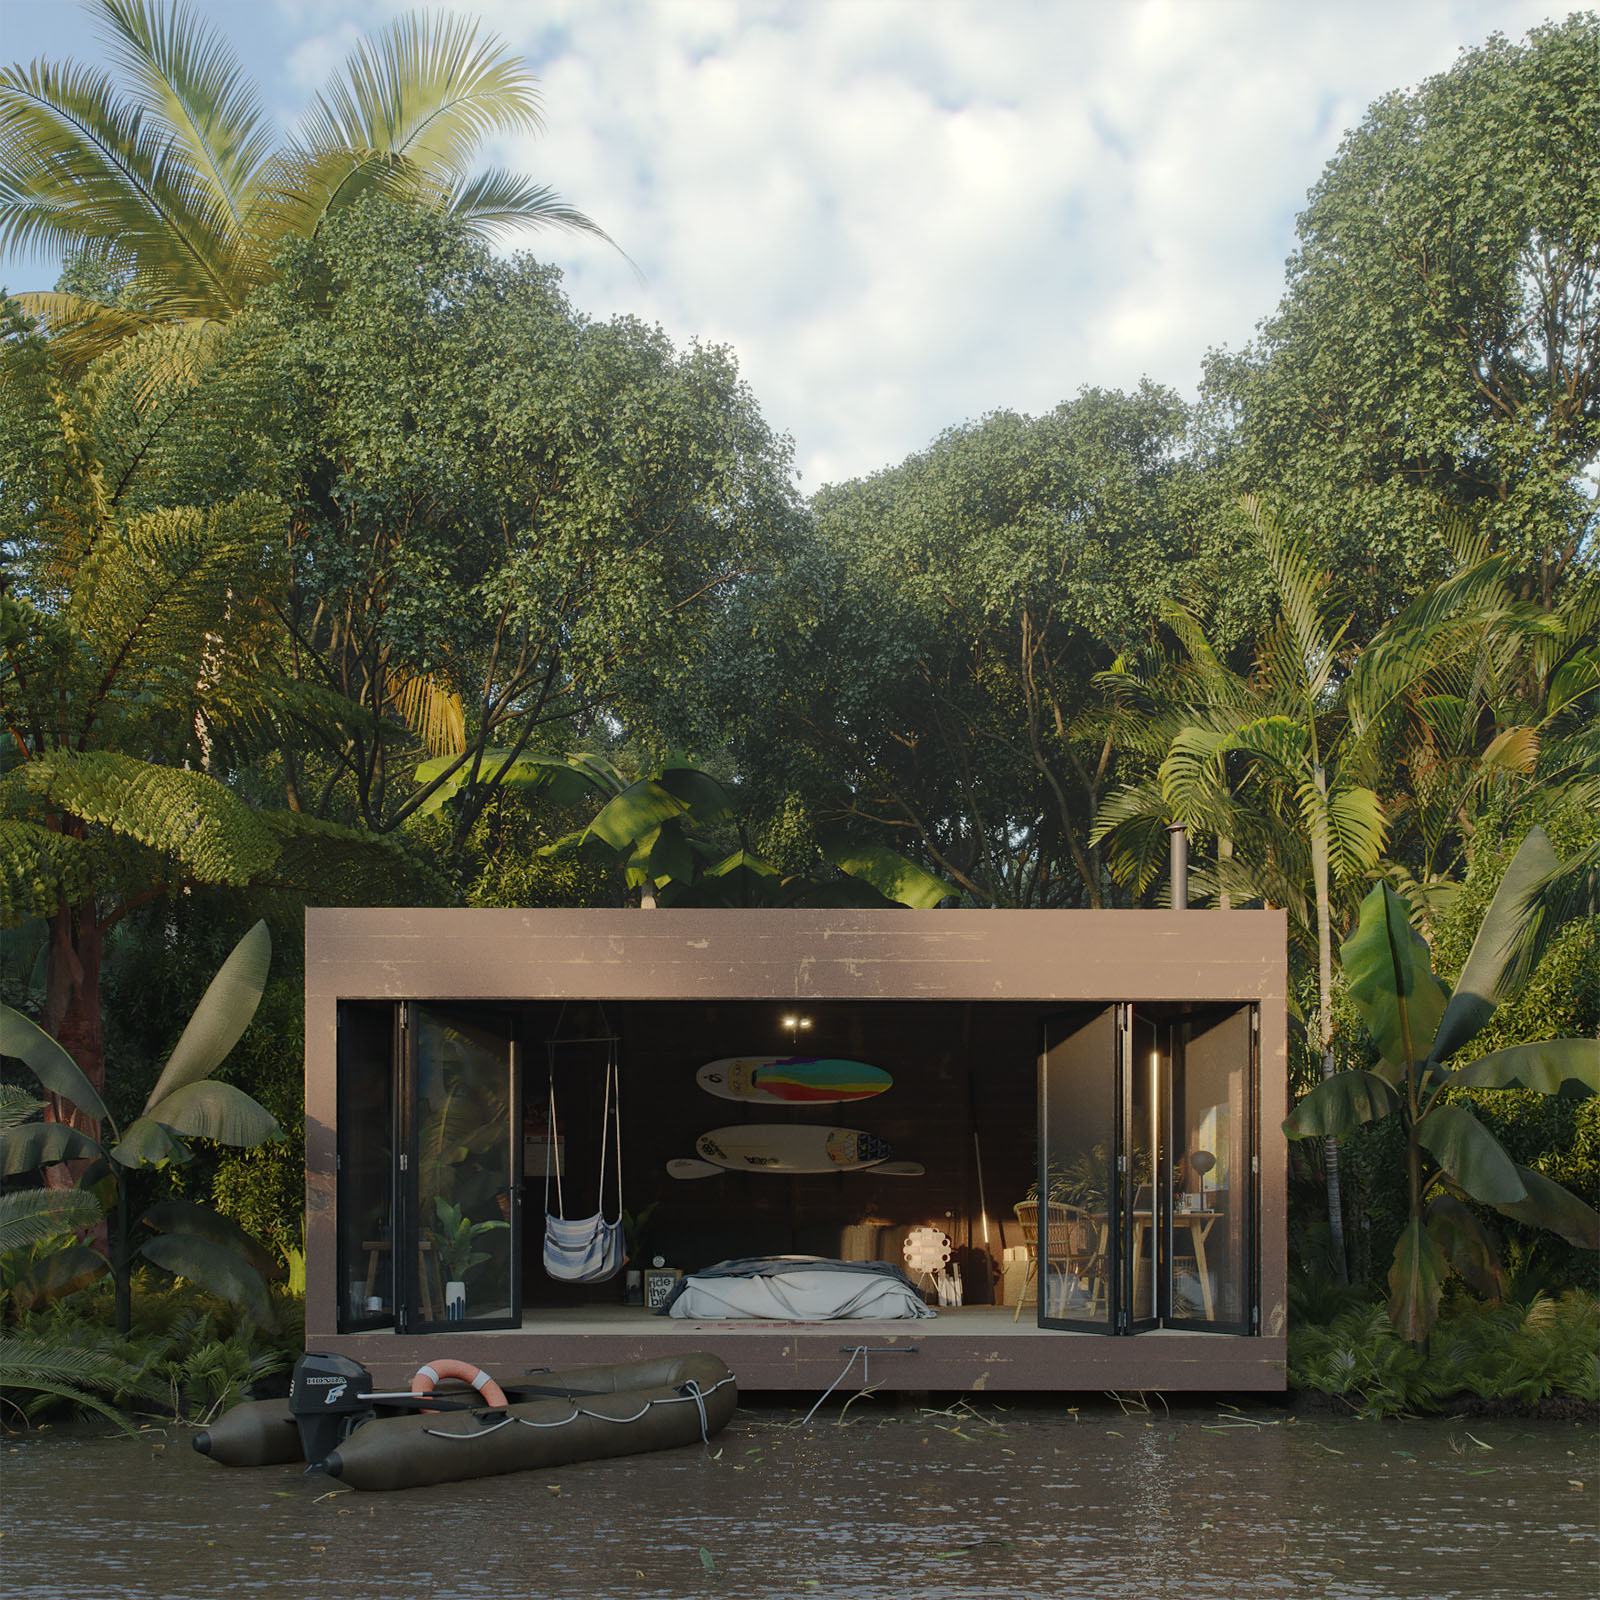
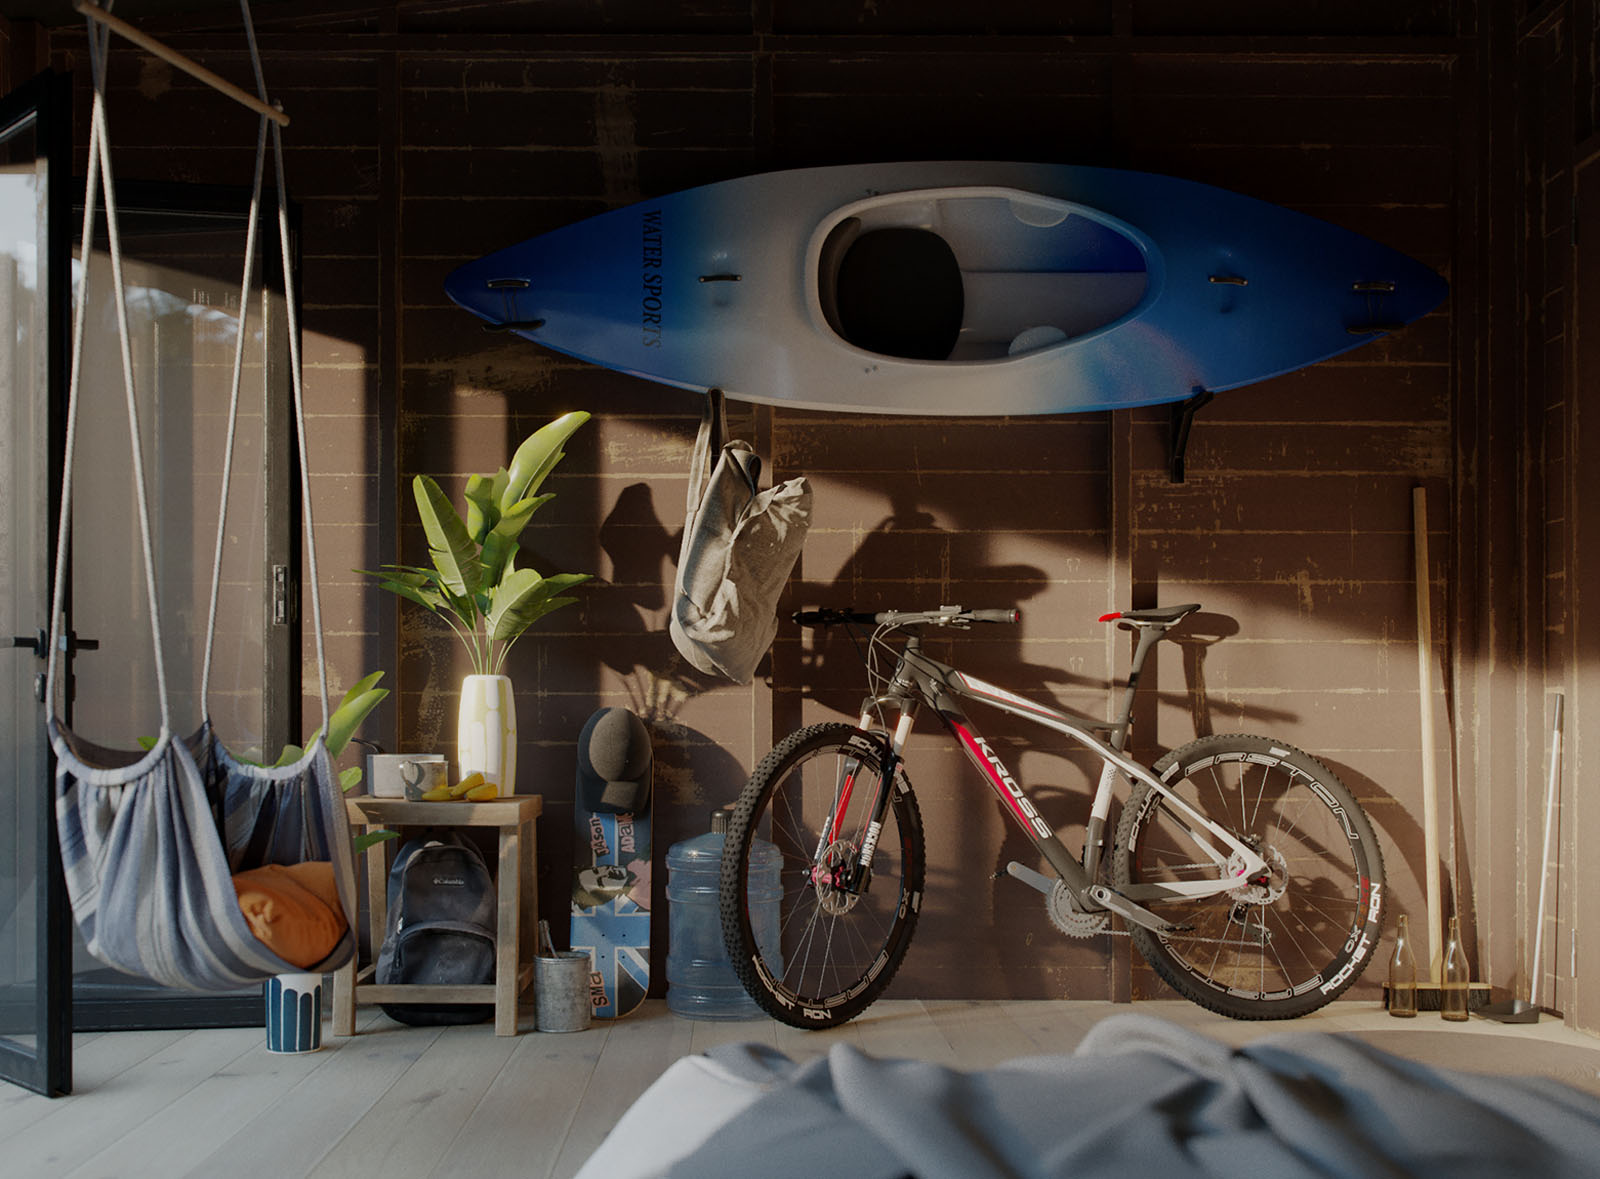
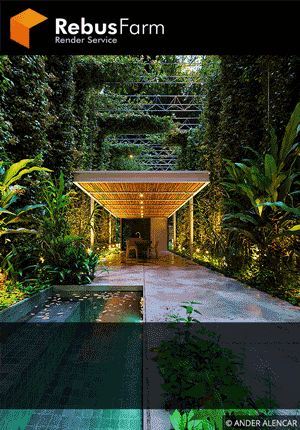
In this article I am trying to explain to you how I made my latest project “Hut adventurer”. The idea had lingered in my mind, but it couldn’t be materialized due to lack of time. I am trying to show a young guy who loves travelling and adventurous sports.
I started working on it right after New Year’s Day and finished early February. The process of creation took 3 weeks and another 10 days for rendering on my Intel i7 3820 with 22 GB RAM. Rendering took 5-10 hours for each picture depending on views. What I found very interesting is that I did it with Corona Render. After many years of working with Vray I am quite tired of this rendering system and Corona is like fresh air to me. It gives me inspiration for this work.
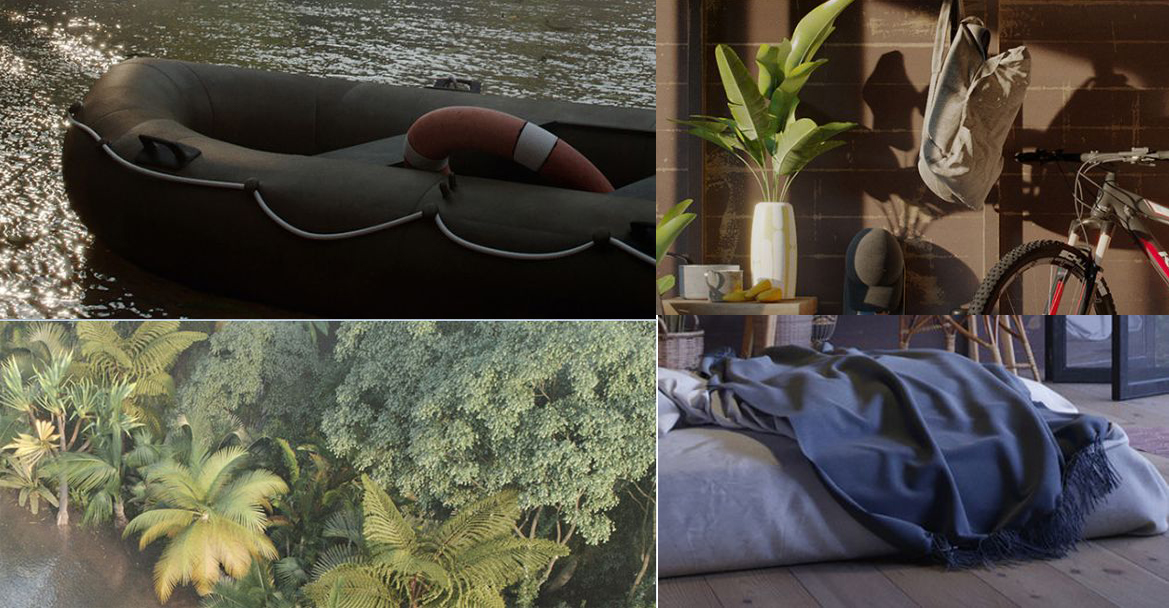
Now I will talk about this work in detail. I will tell you about my work principles and philosophy and then I will show you the hardest thing in this work. Each project that I start, I start it with reference images. You don’t need to come up with something special; simply use a google photo! I found some refs from the field I work in, such as jungle trees, rivers, interior of houses etc.
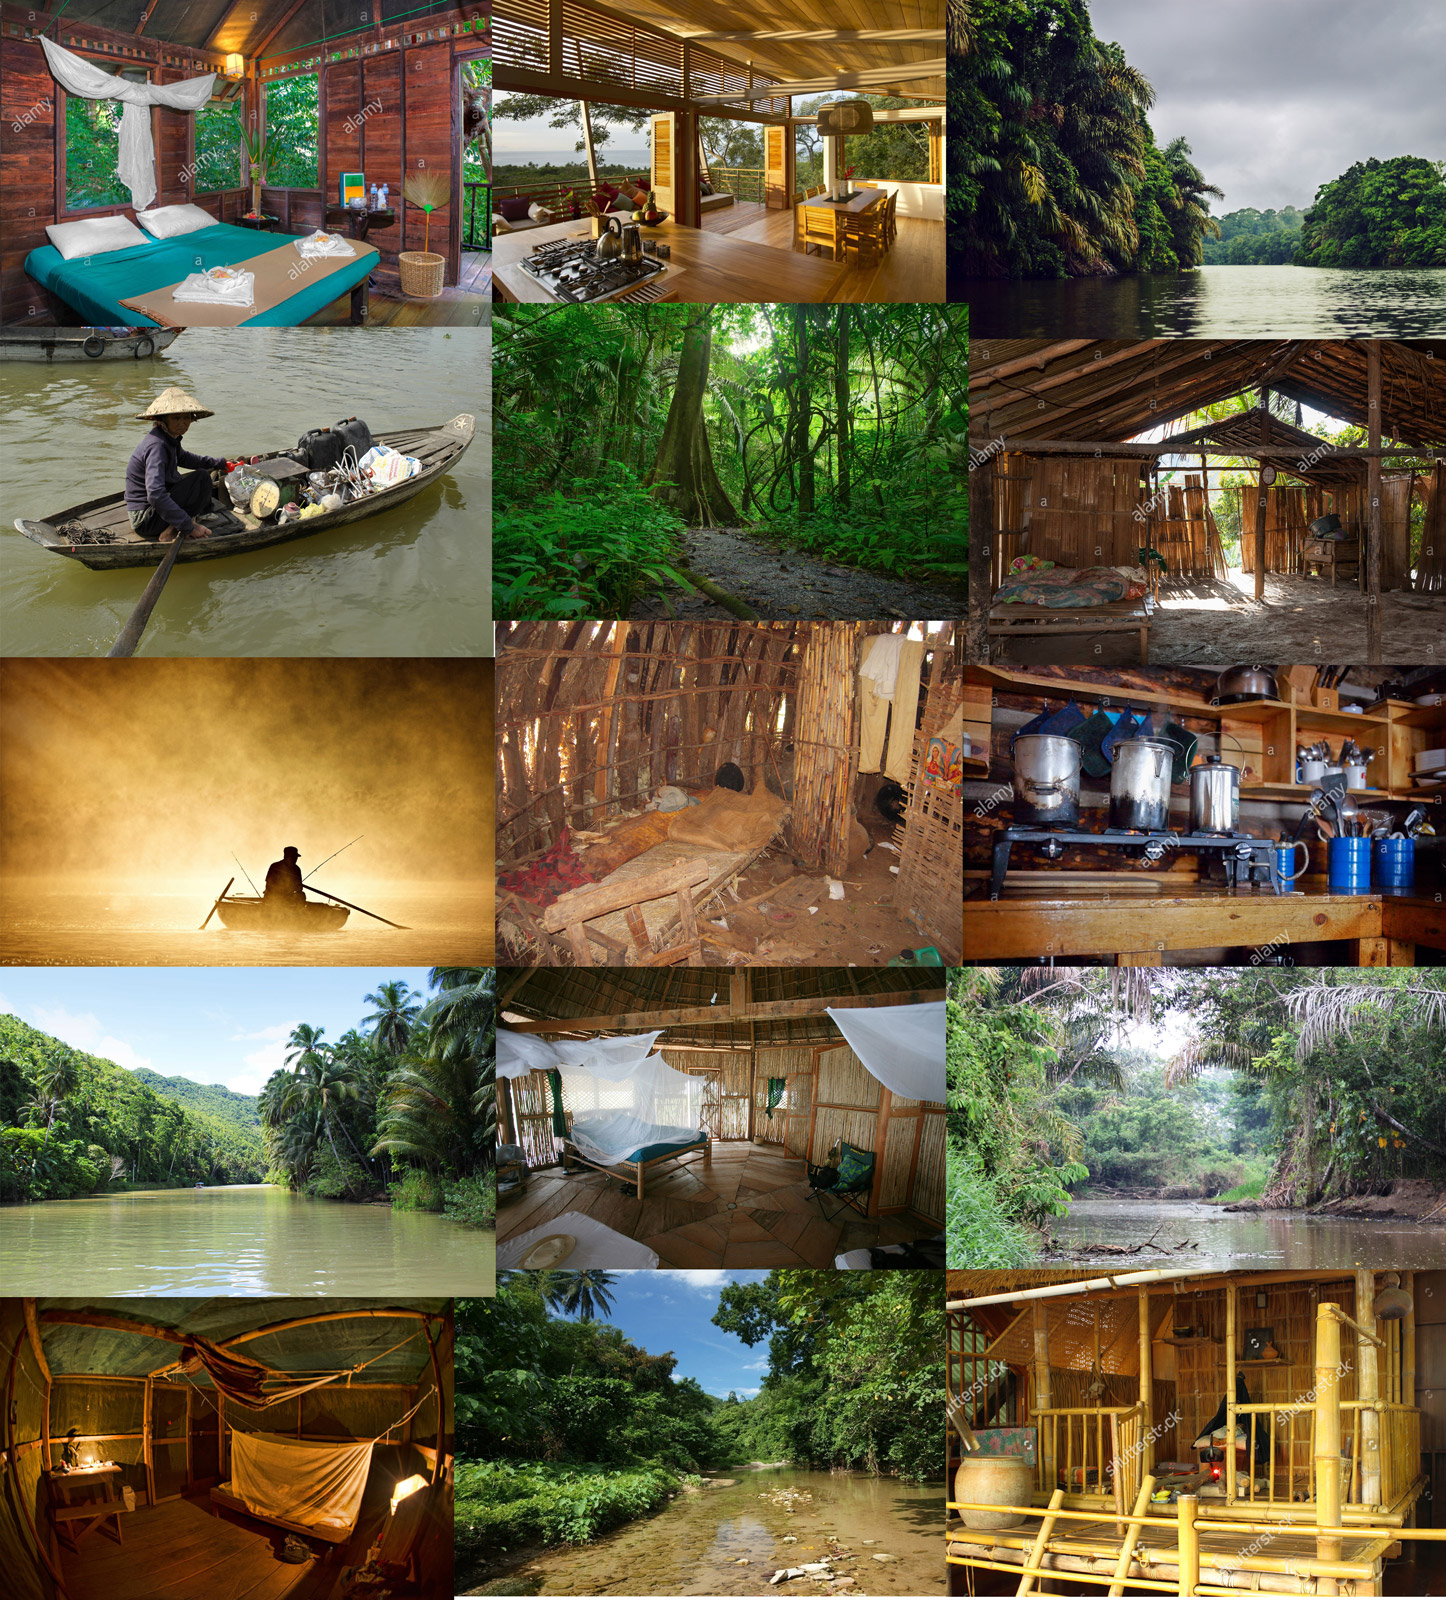
While I was collecting all refs and studying them, my head began creating ideas that could be useful for my project. Sometimes a good photo becomes a good example for some shots or camera positions. Furthermore, good quality references are very important in our projects. What I did next was calculate the size (content) of this project because I only had one PC to render and not 50 and I didn’t want to end this project after 2 weeks of work because my PC couldn’t render the final renders. Plus I had heard that corona has problems with scatter on big territory and that could be a problem for me too. But in the end everything was fine with it and corona scatter worked brilliantly. I began my work from territory sketch just to see (imagine) what I can have in the future and how I can use it.
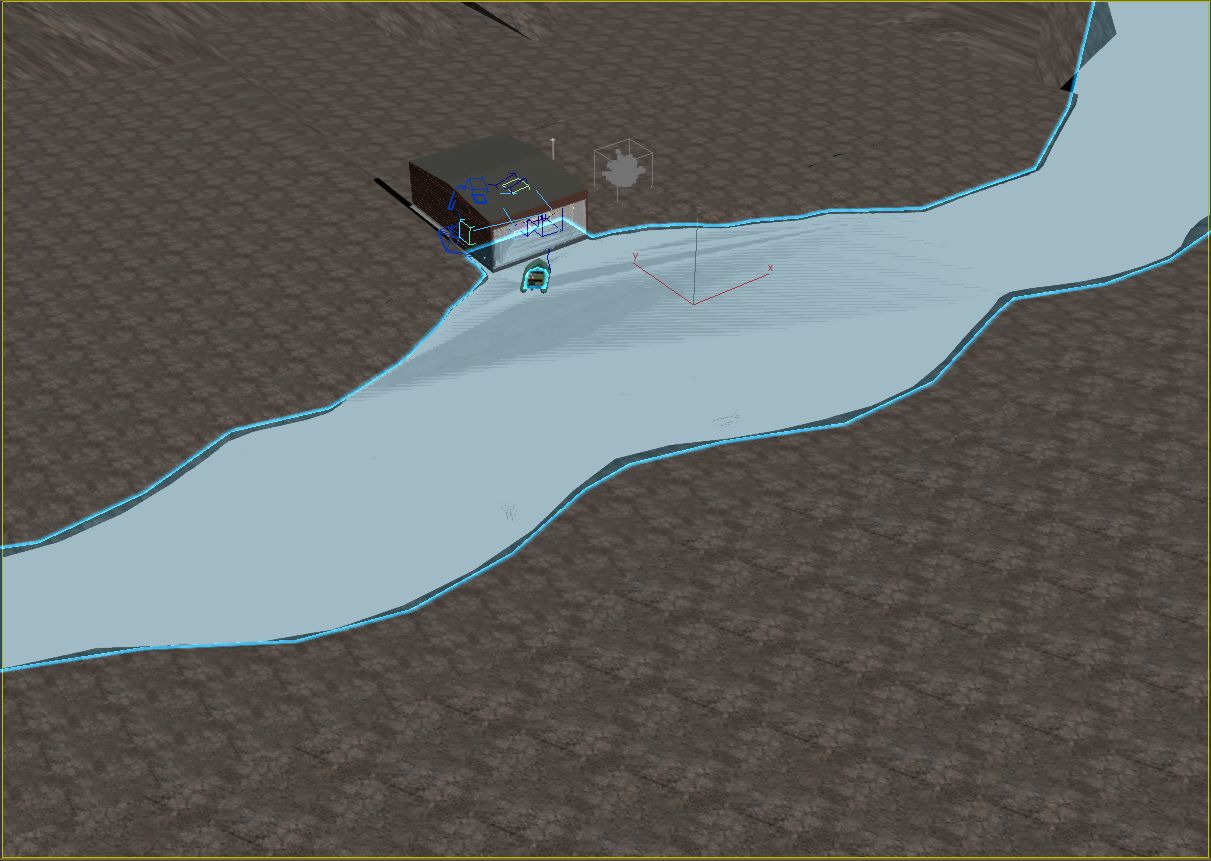
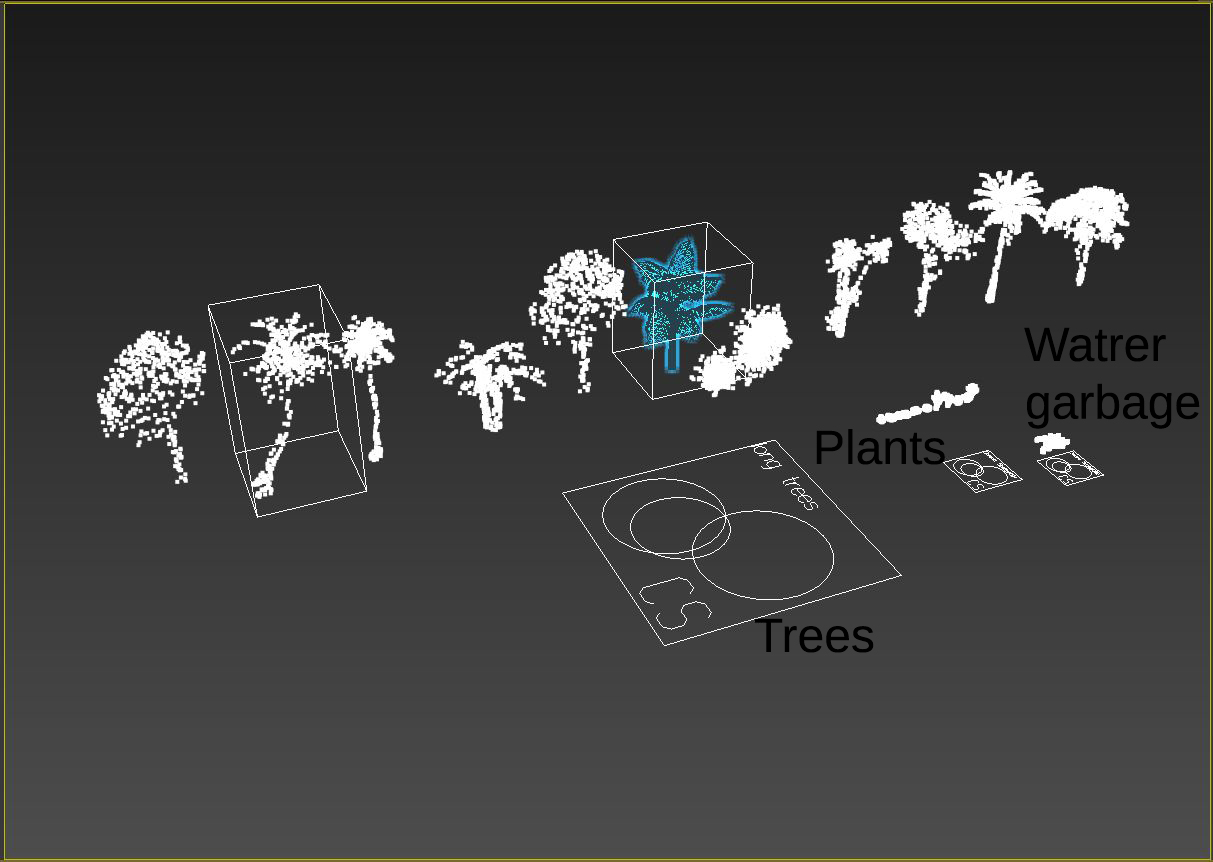
When I finished making the territory I started putting the trees and plants. All the trees near the water were placed so manually since scatter is not good for accurate placement. I did it all myself; each tree and plant demanded copying and changing with converting to proxy in the end.
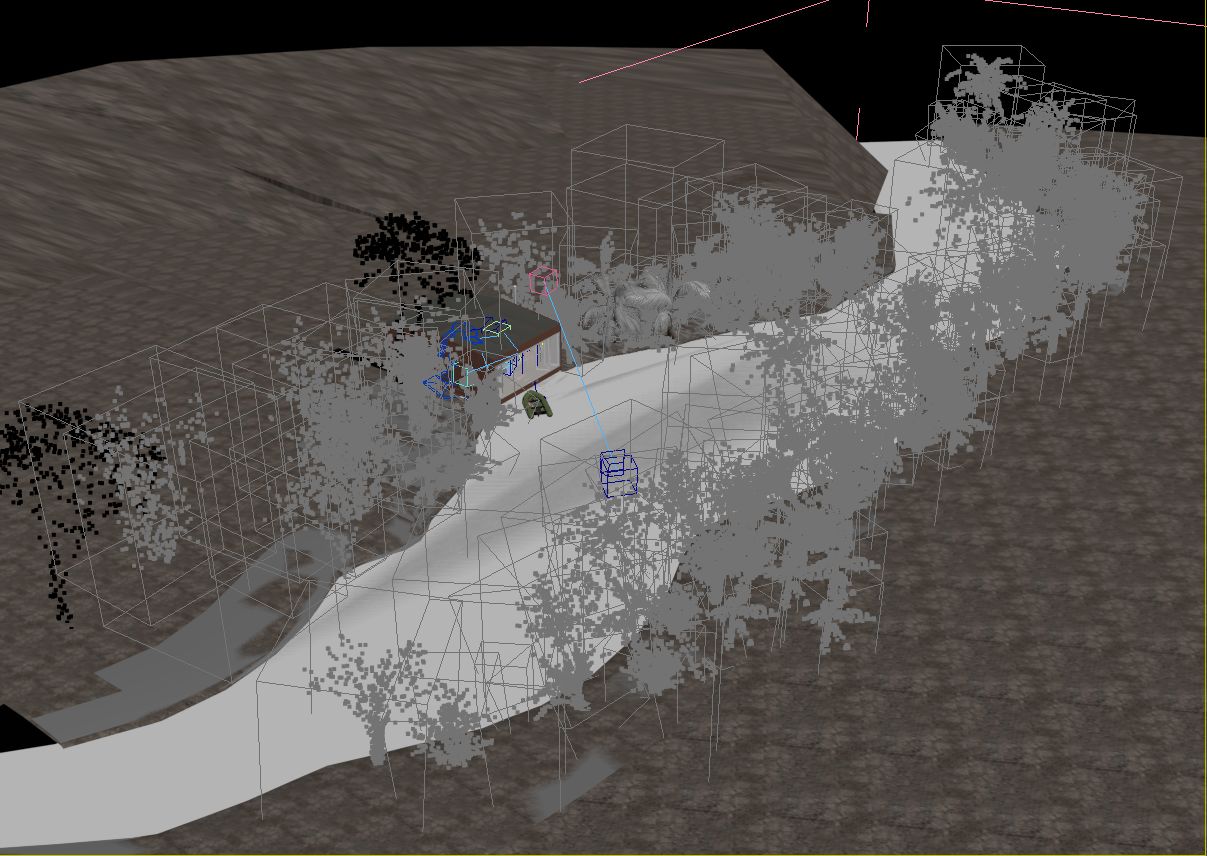
Models that didn’t need accurate placement such as the trees and ground plants, grass, and river garbage were copied with Corona scatter. For each model group there was its own scatter and all models were later added to proxy.
And don’t forget to press on generate mapping cords. We will use it with texture.
I must admit that I have never made objects that the camera didn't see, thus saving time. This is an old habit of mine and I started practicing with an old cheap notebook.
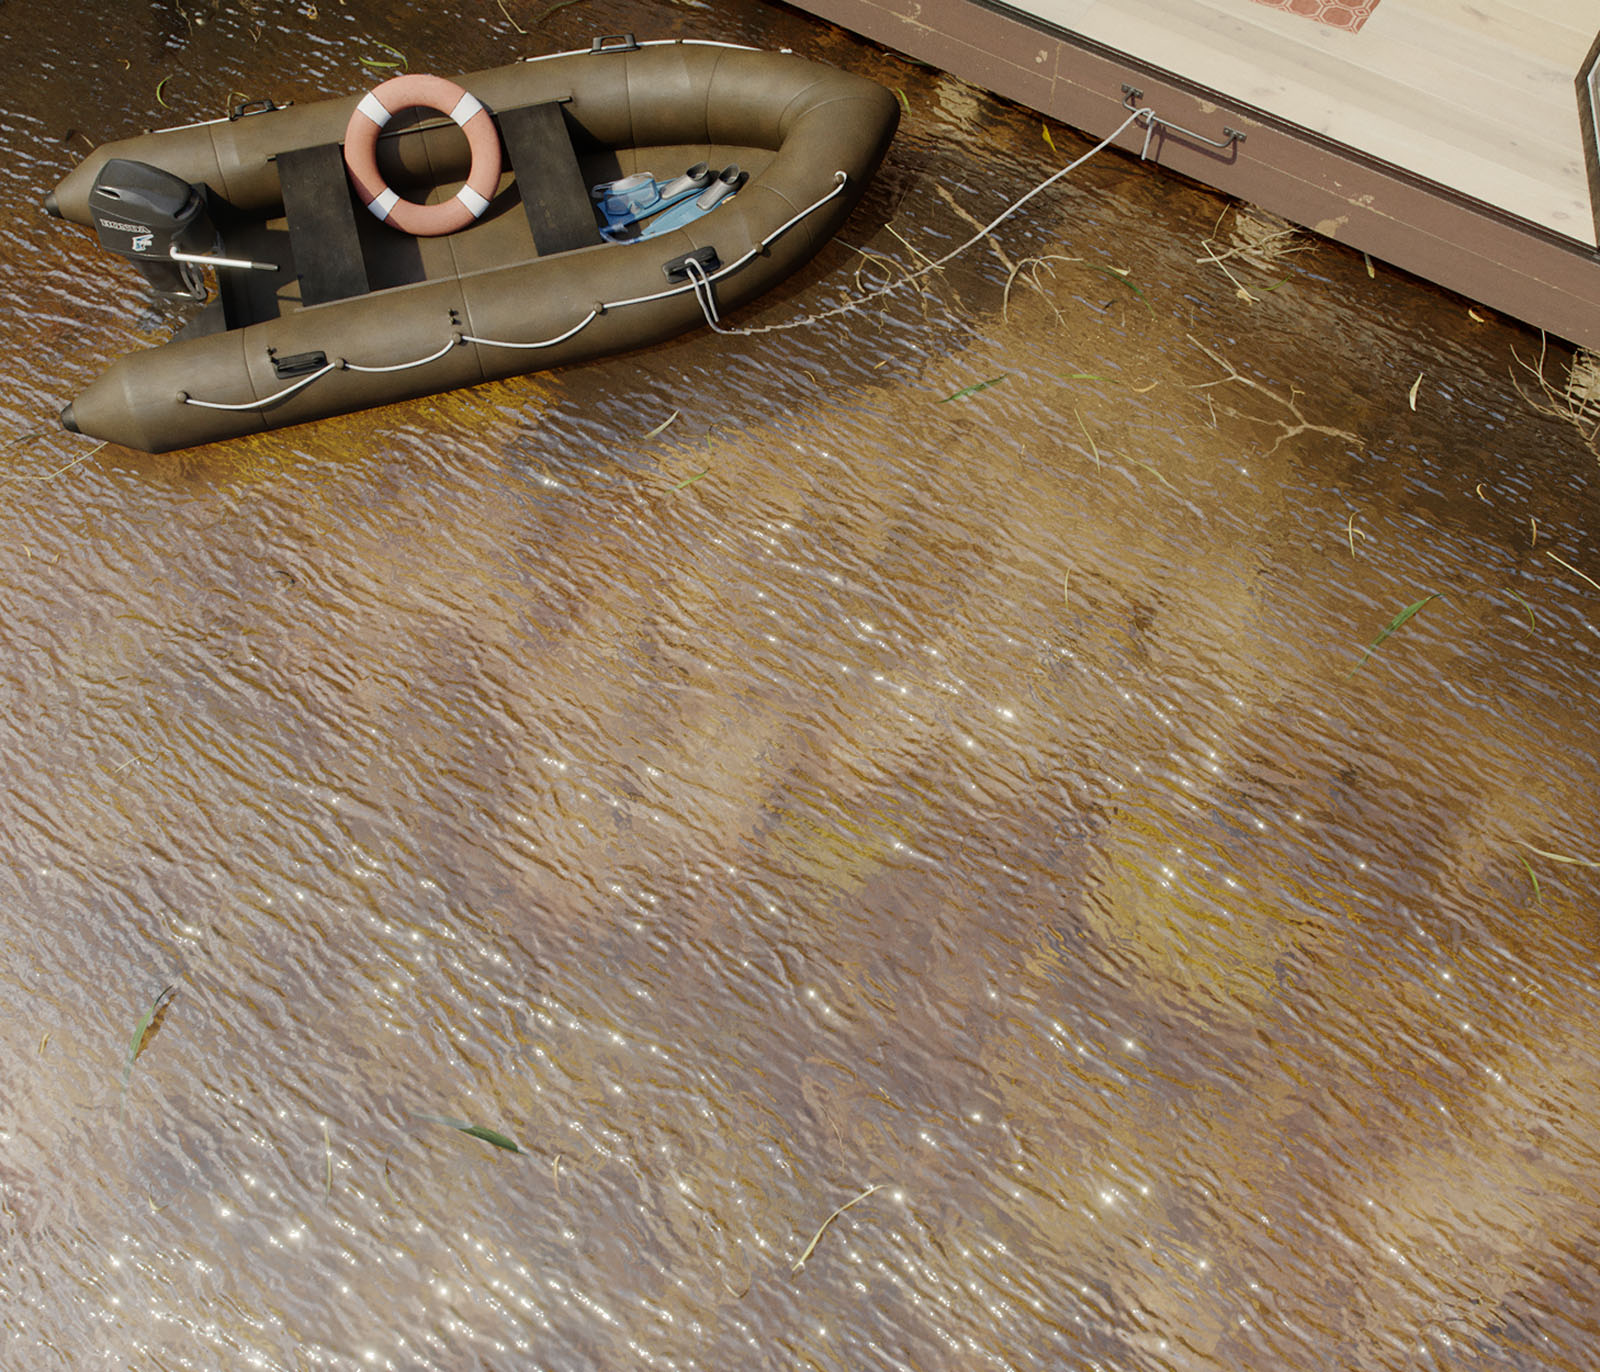
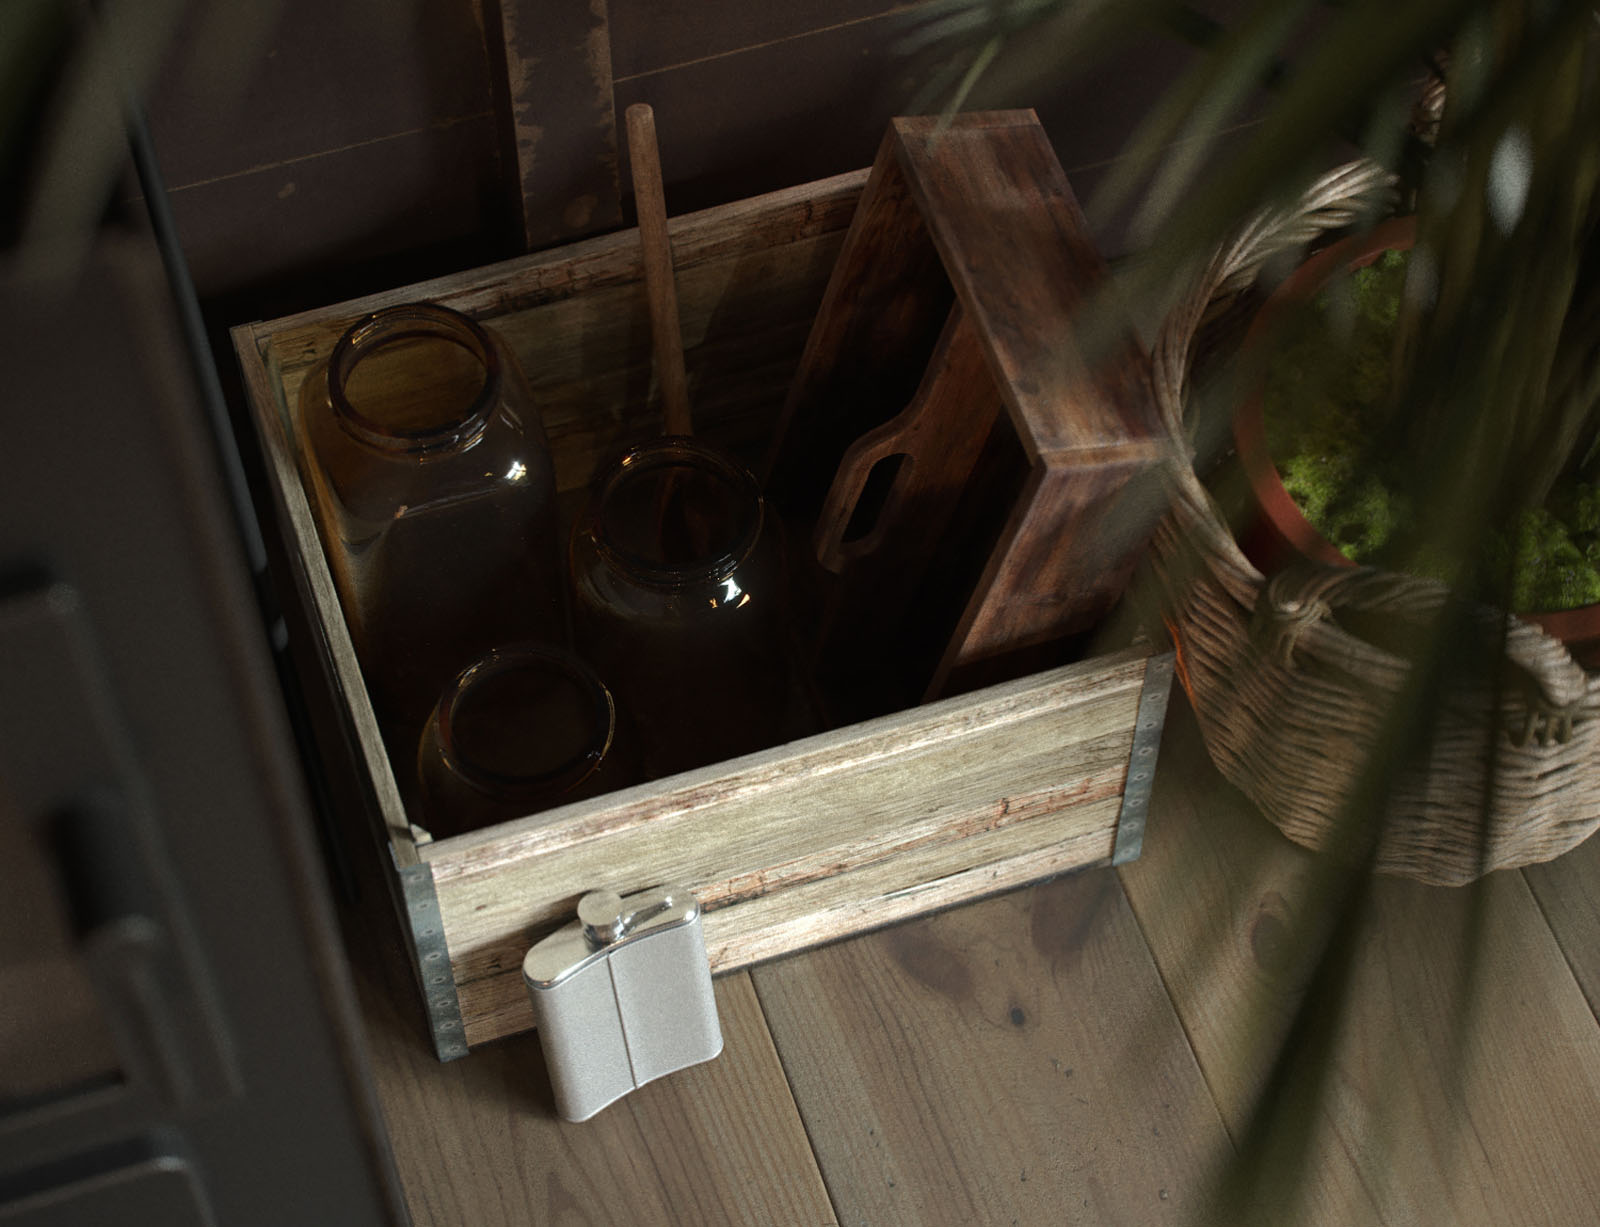
Now a few words about materials. The hardest thing for me was water nature and materials with dirt map. I am not very satisfied with corona AO and I think it needs more settings.
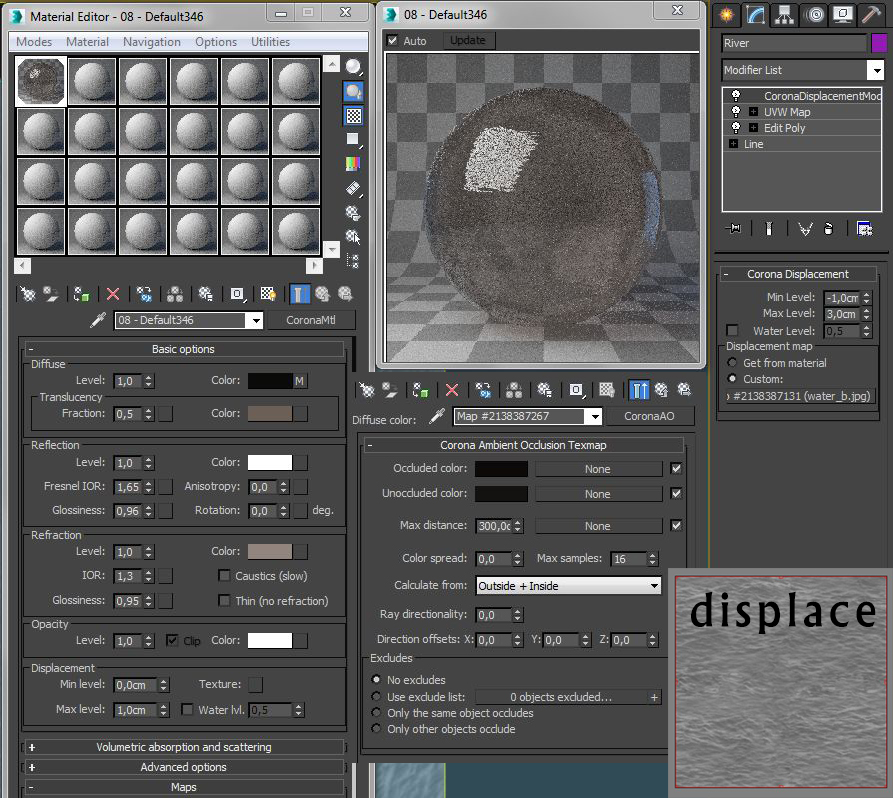
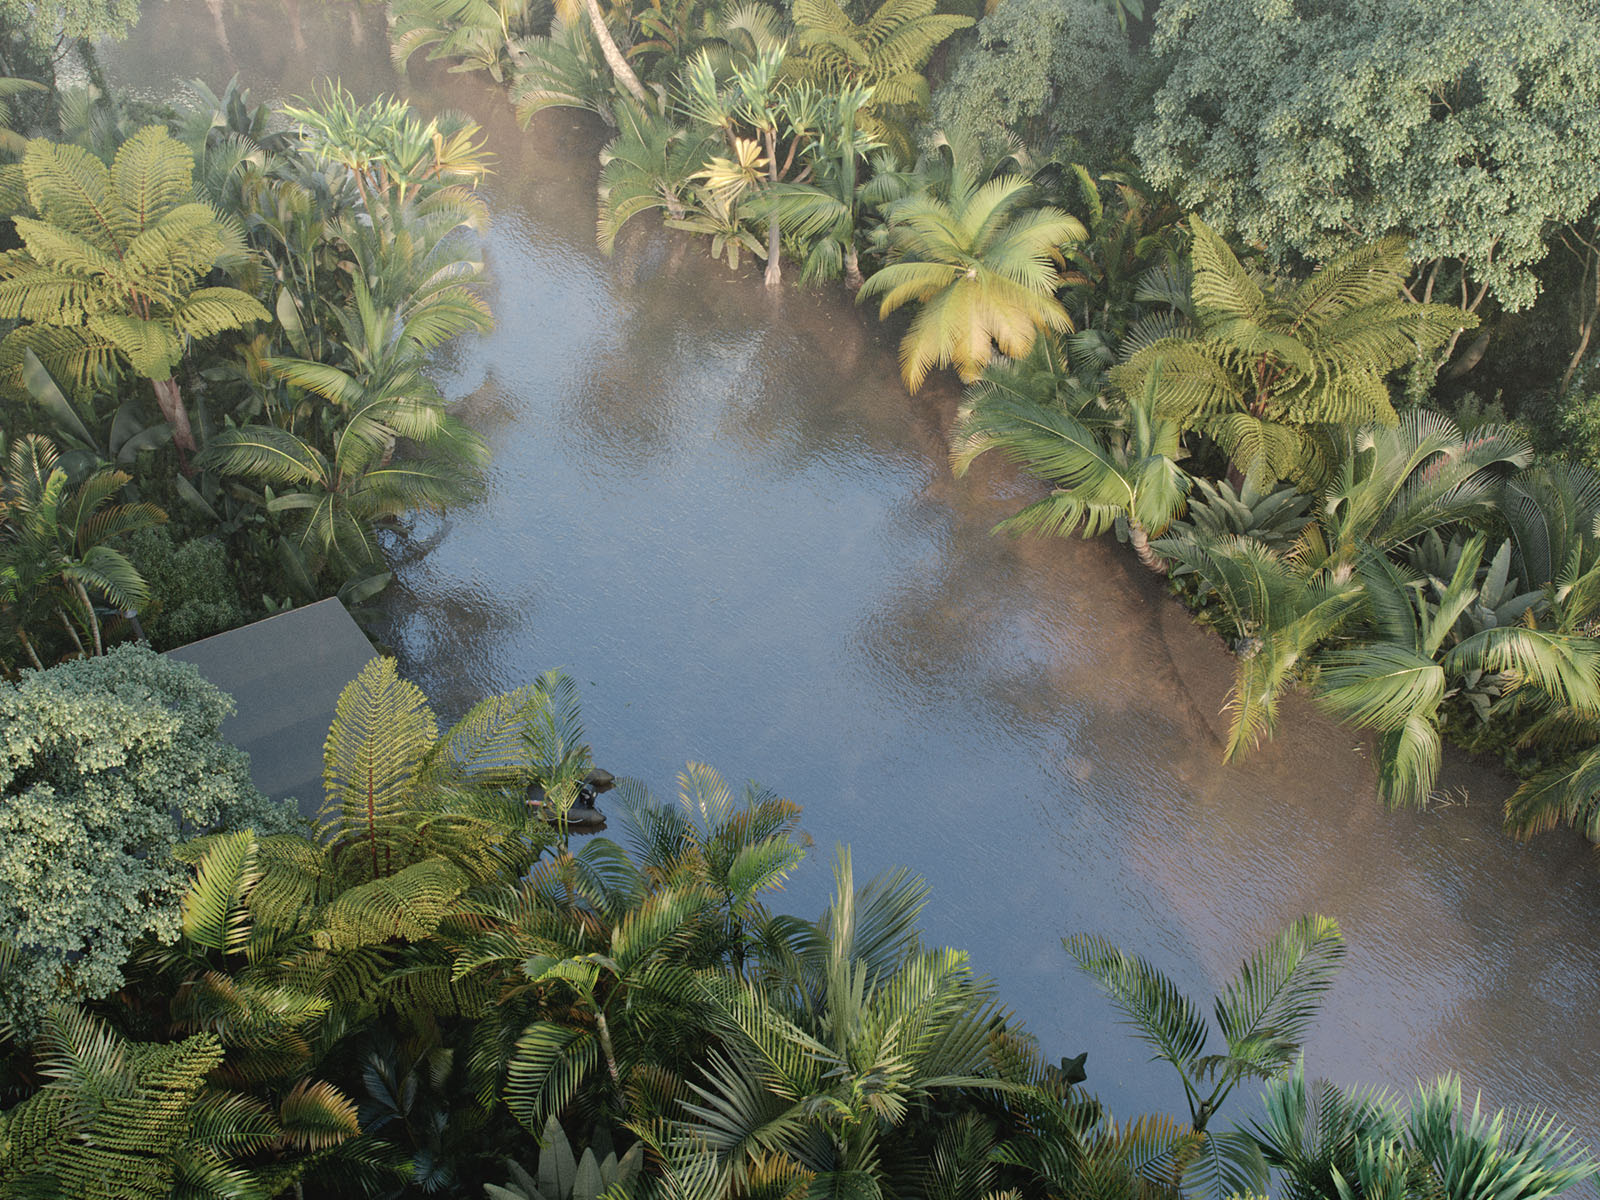
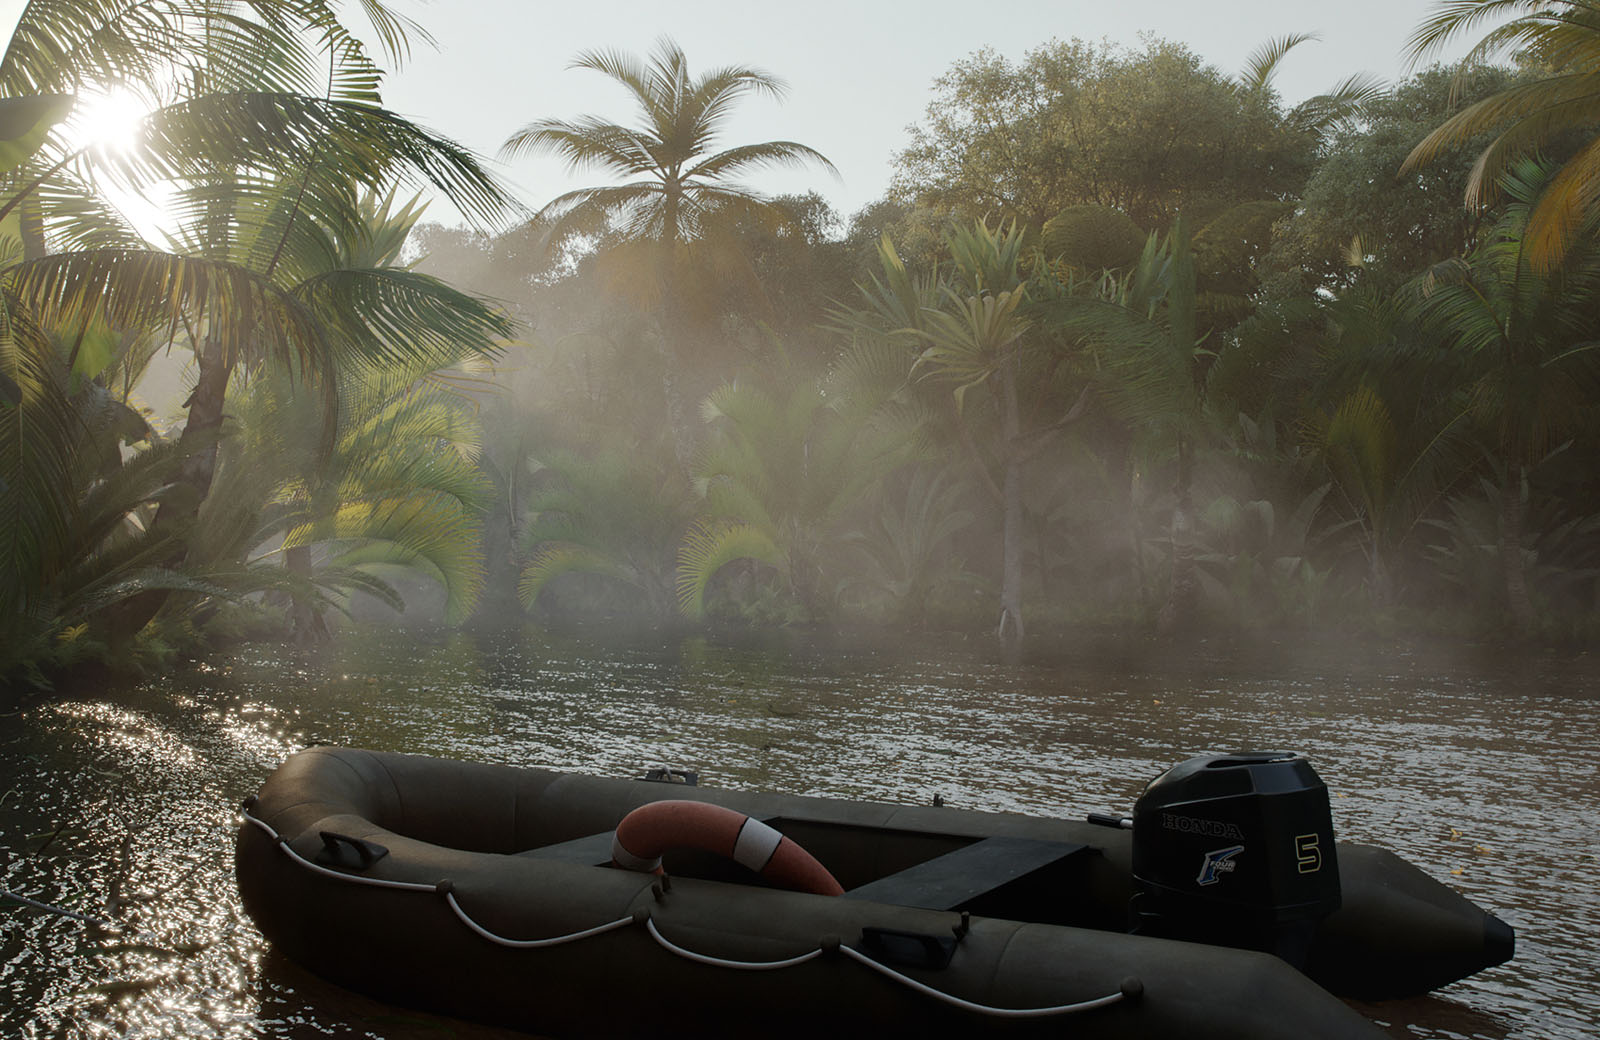
I made the water in references a bit muddy because of the clay and sand, although it is quite clear to see the bottom of the river. The colour of the water also depends on the clay and sand, thus being a bit yellow. I also added dirt map in diffuse map. The water near the coast must be darker and muddy. I created the bottom not too low and the river is small and not deep. And this is why on bird fly renders you can see the bottom.

Creating good plants material was hard. I fully changed the material twice because it looked odd with different light setting. At the end of these tests I used Translucency map only for realistic refract effect, no refract setting in material. And I have to say translucency made this work very good. I also added some reflections with reflections map and bump. On trunk materials I added a lot of bump or displace map.
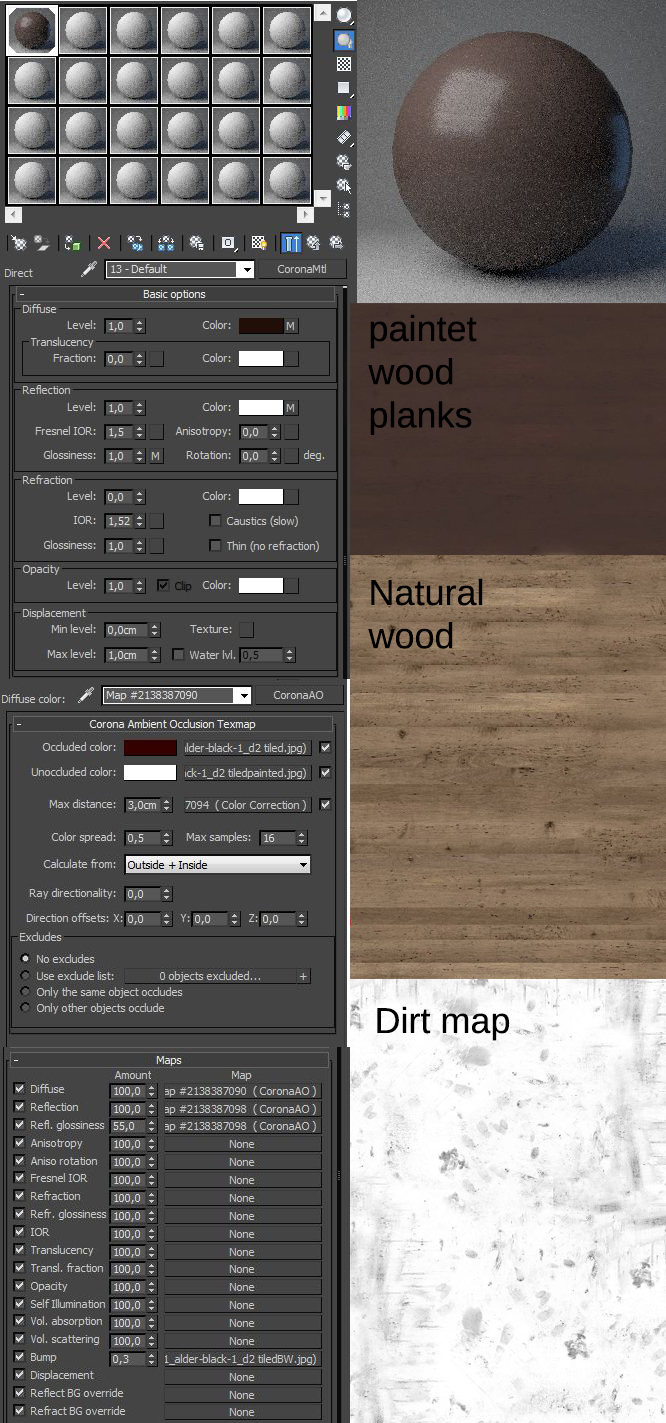
As far as house walls are concerned I will tell you about dirt and how I see it. I found out that Corona dirt (AO) material added dirt on each edge if you used outside dirt. This is not very good and we can’t use dirt on rounded objects. Objects must be flat (smooth). That’s why I use outside dirt only on smooth objects, such as wood boards, fireplaces, windows etc.
Regarding walls I made painted wood material for them with some frayed corners, but roughly speaking they got off the paint.
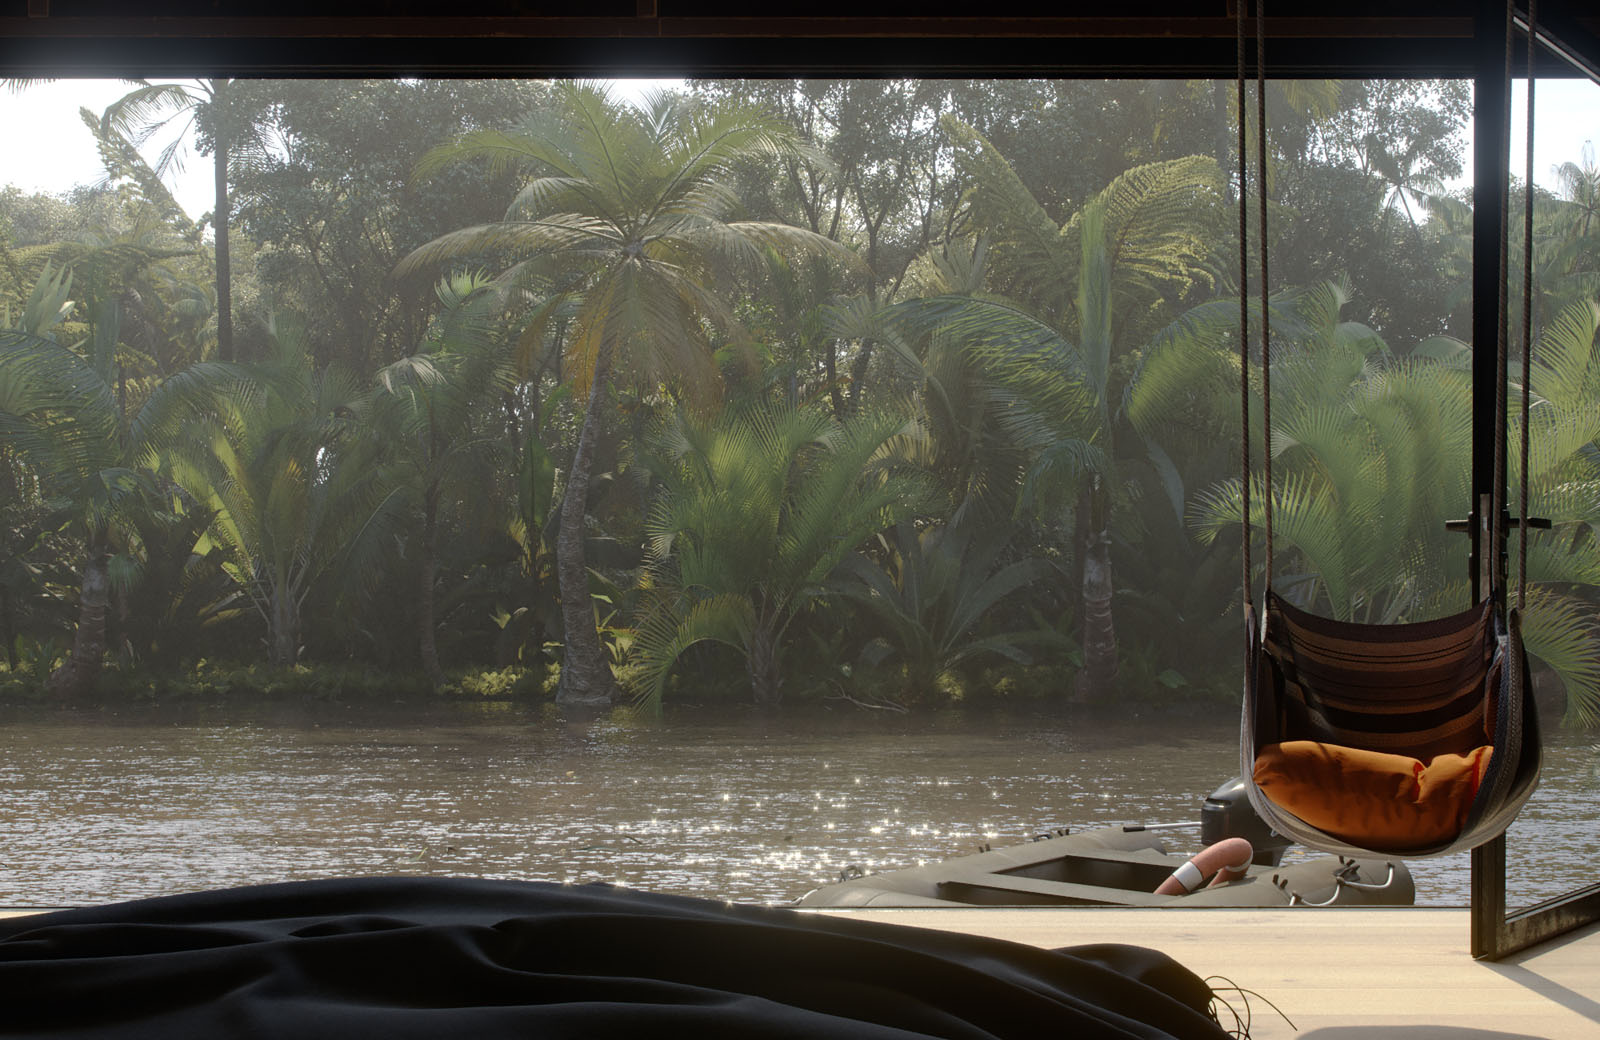
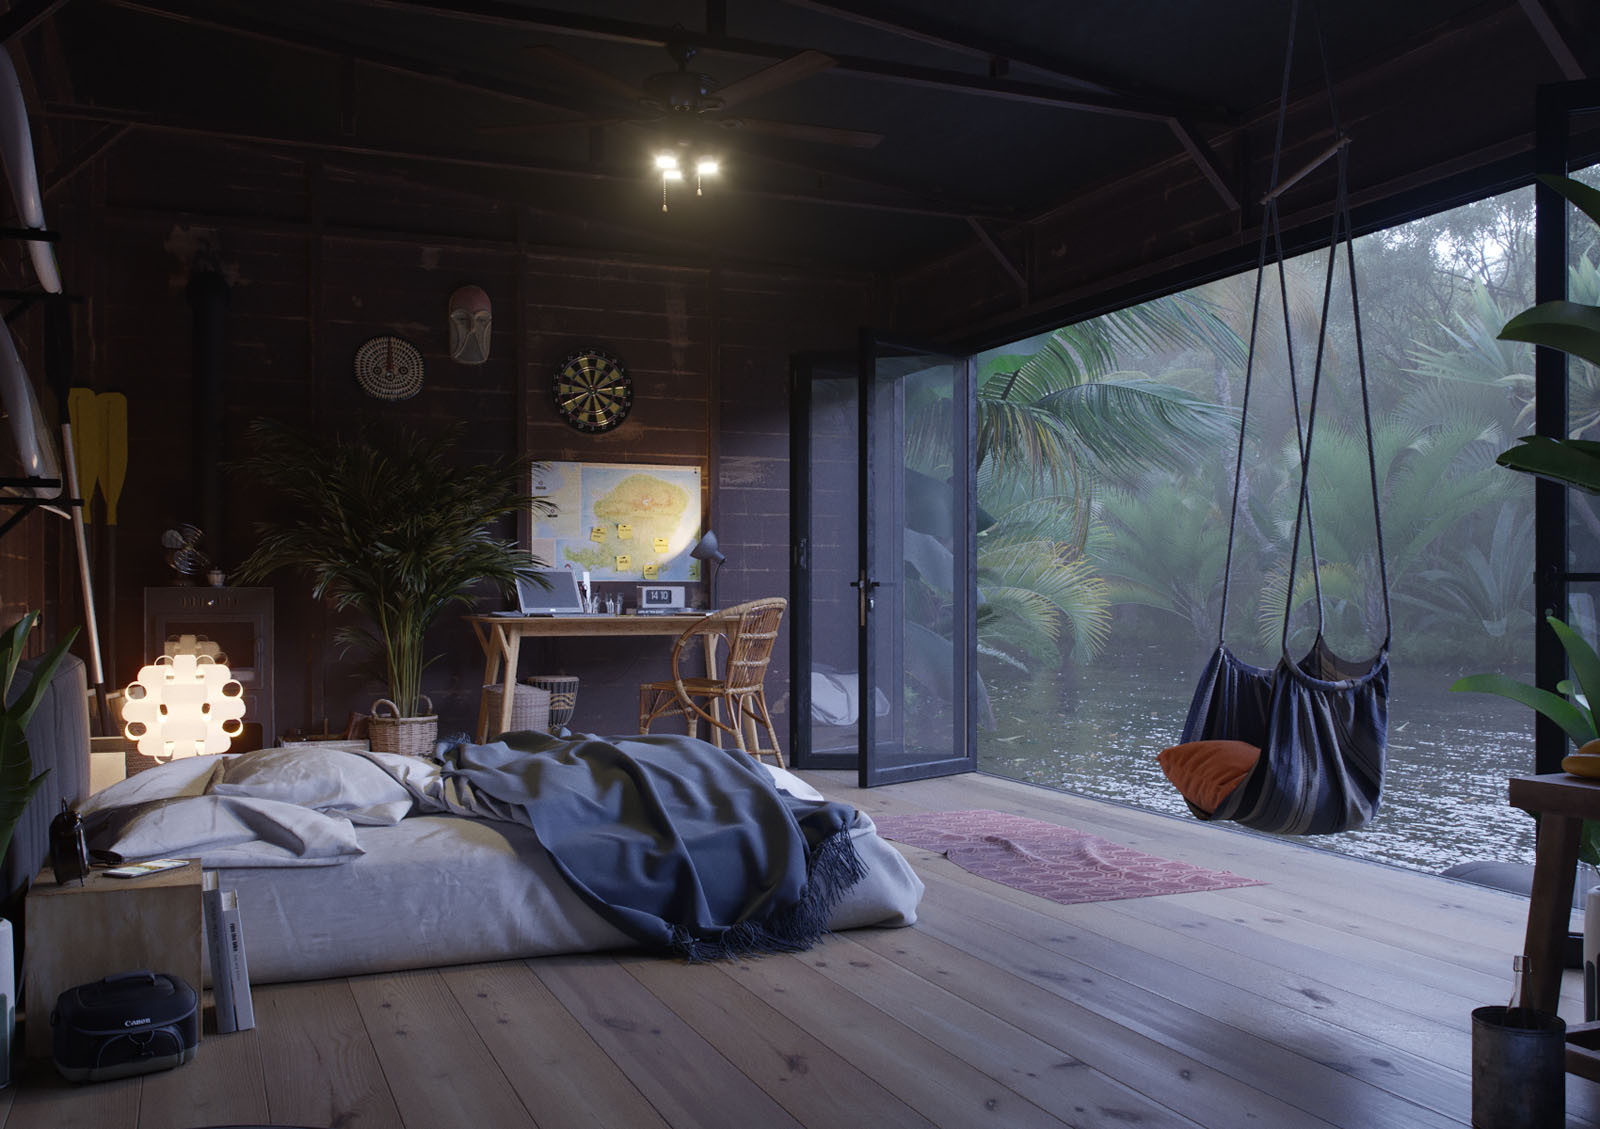
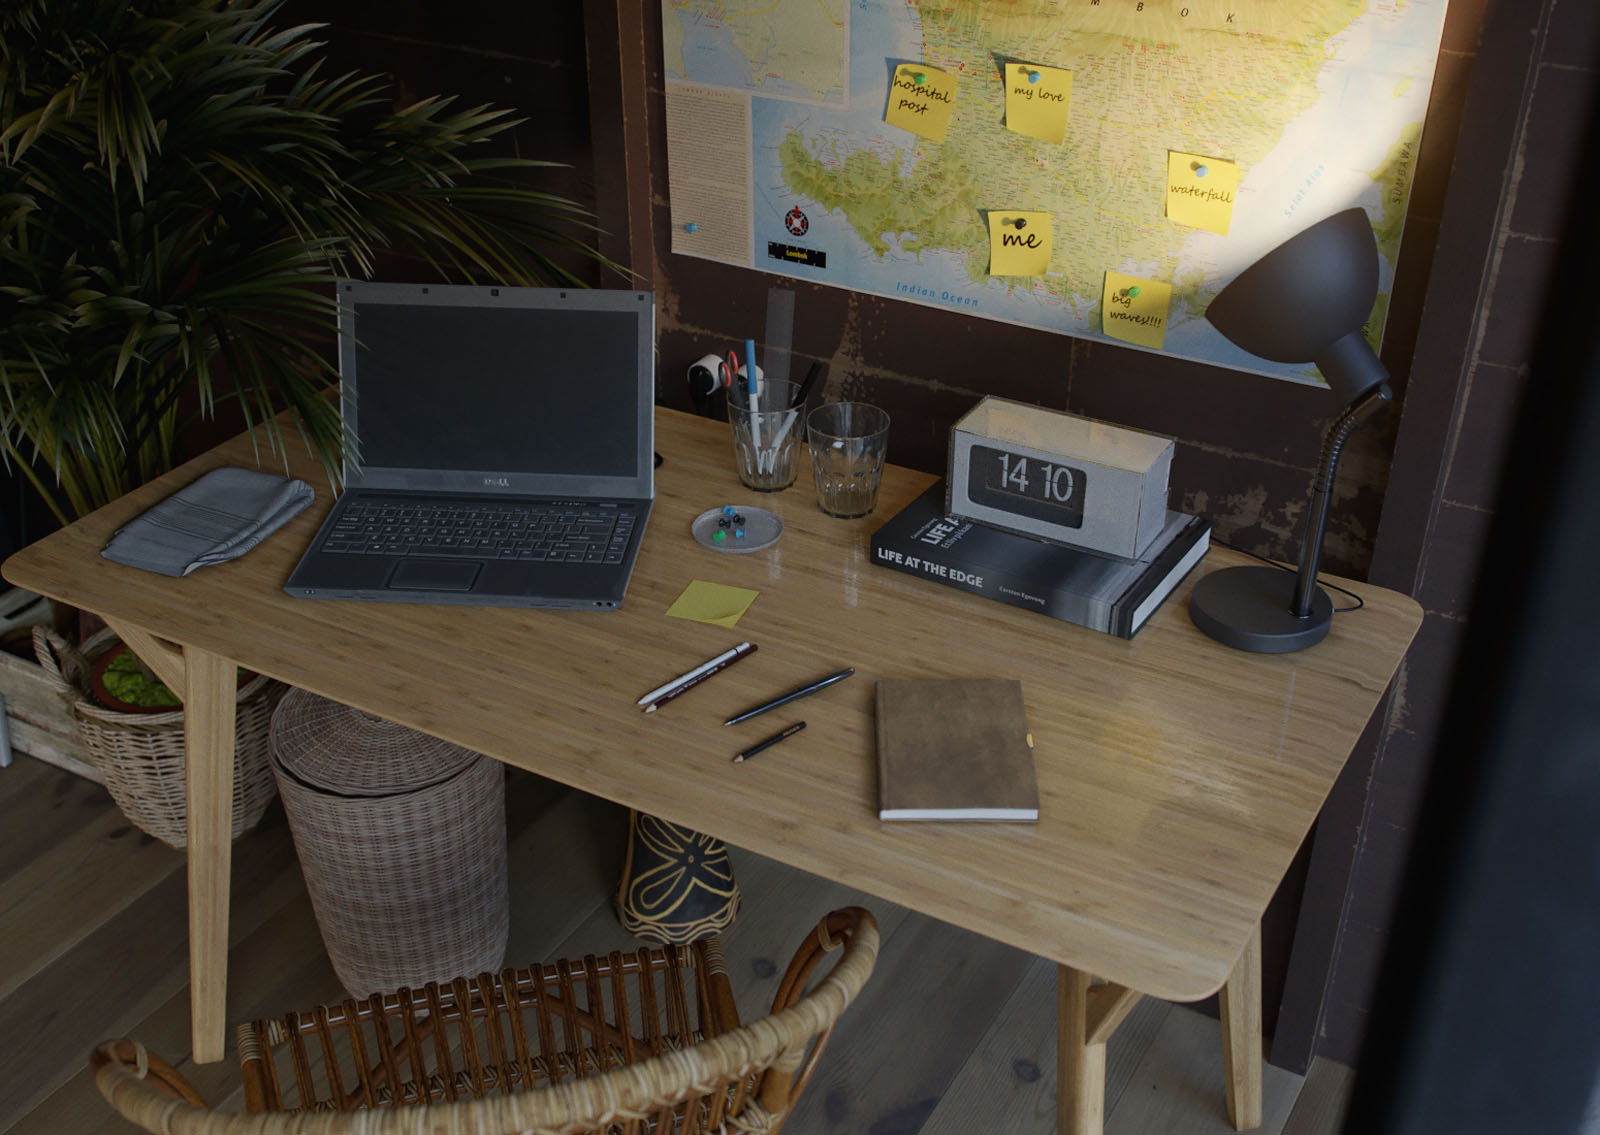
For lighting I used HDRI and Vray physical cameras. There is nothing special about it, you can find a lot of tutorials about that on the Internet. In cameras I only changed settings such as exposure, contrast, warm or cool tones etc. Moreover, I would like to tell you a few things about an important issue such as camera positions. The main rule I always try to follow is maximum depth for each object in scene. Positioning camera and sun so that I see each object with light and shadow at the same time. It makes objects look deeper and generally all renders look deeper.
As you can see here, each object has light and shadow on it. This can’t always happen but it is what I try to achieve each time. There are also two types of light in scene; the natural daylight and lamps’ light. To achieve this effect you must use one of these types of lights. Use daylight generally and make objects deep with it and add a bit of lamp light just to highlight lamps or objects close to these lamps. Otherwise you can add more electric light as general light and a bit of natural light in the interior. One light type must be general and the other secondary. Secondary light type must complement the general one and create harmony.
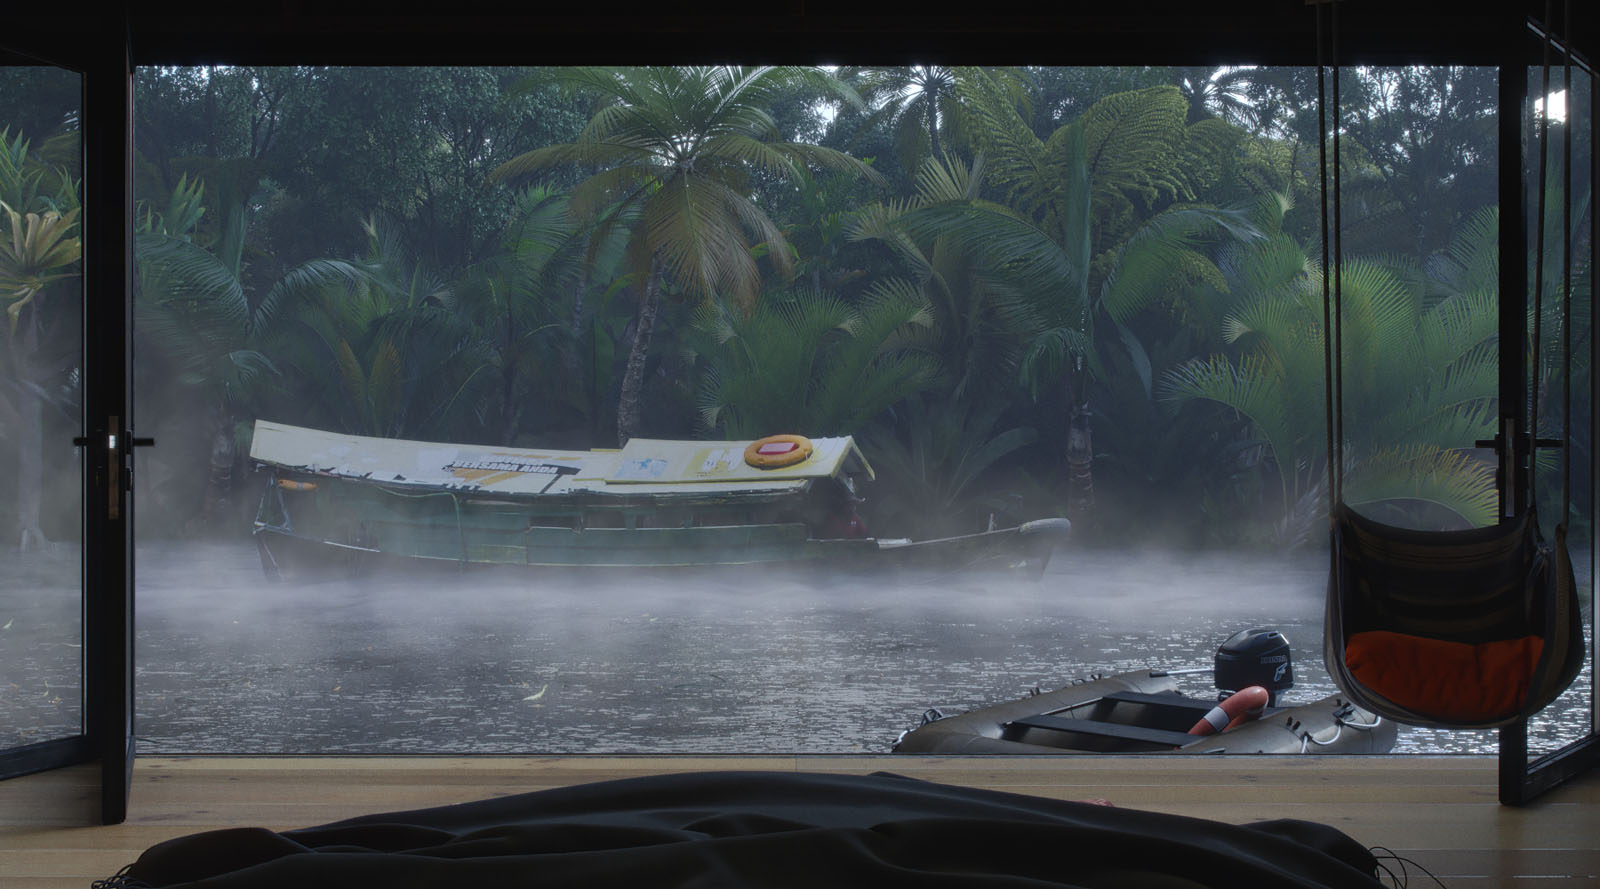
I also experimented with corona fog for the first time, a very funny system but not flexible so far. I had to use PS to complete the fog effect. But overall, all renders are 95% clear without PS.
Finally I need to say that for me it was a great adventure because I am basically an architect visualizer and a project like this one is something new to me. The most important thing is the right approach. You need to collect information and afterwards create a plan, think of what you will do in this project and how. You have to think about all the elements in scene before you start with it or you will have a bad result in the end or even an unfinished project. But don’t be afraid to try it, to try something new!
All the best,
Dmitri.