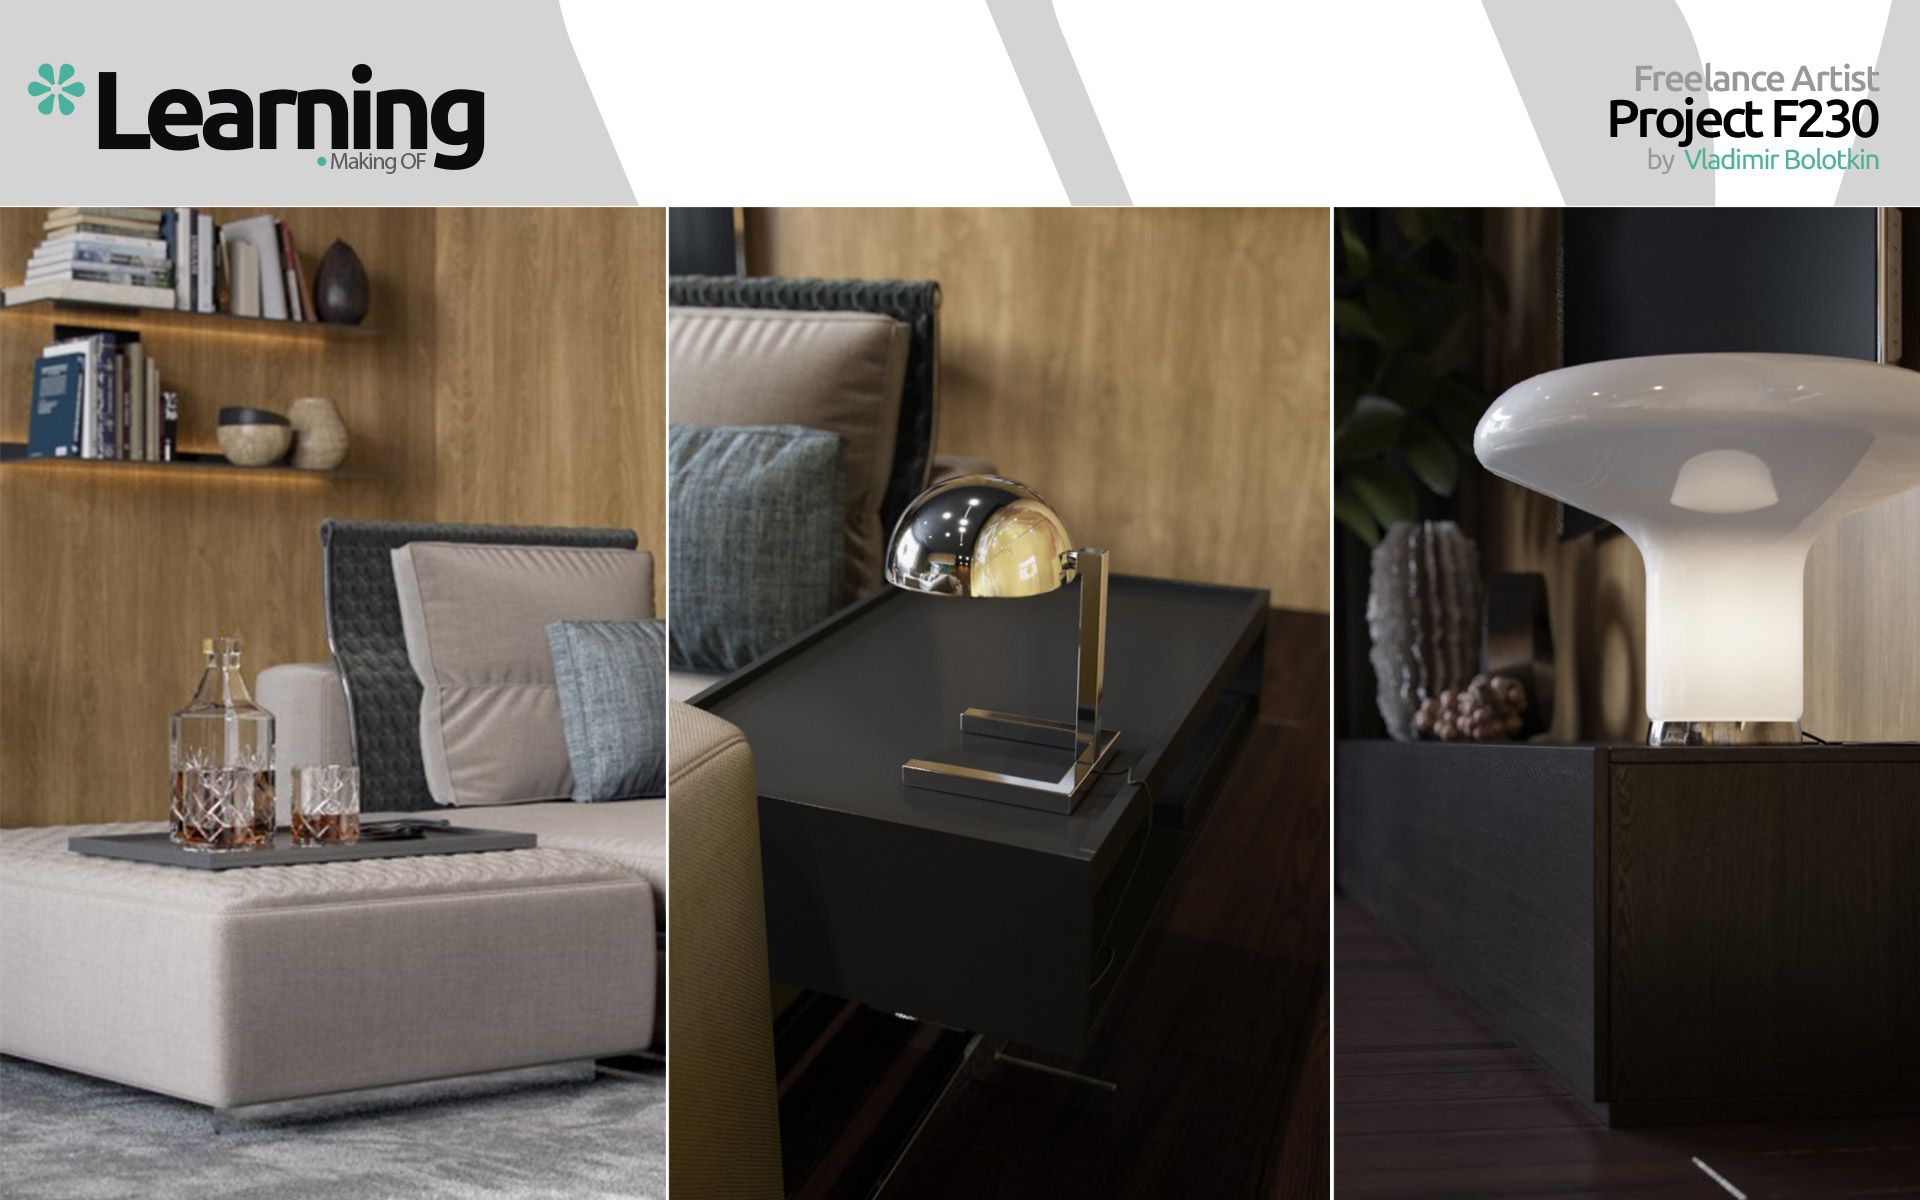
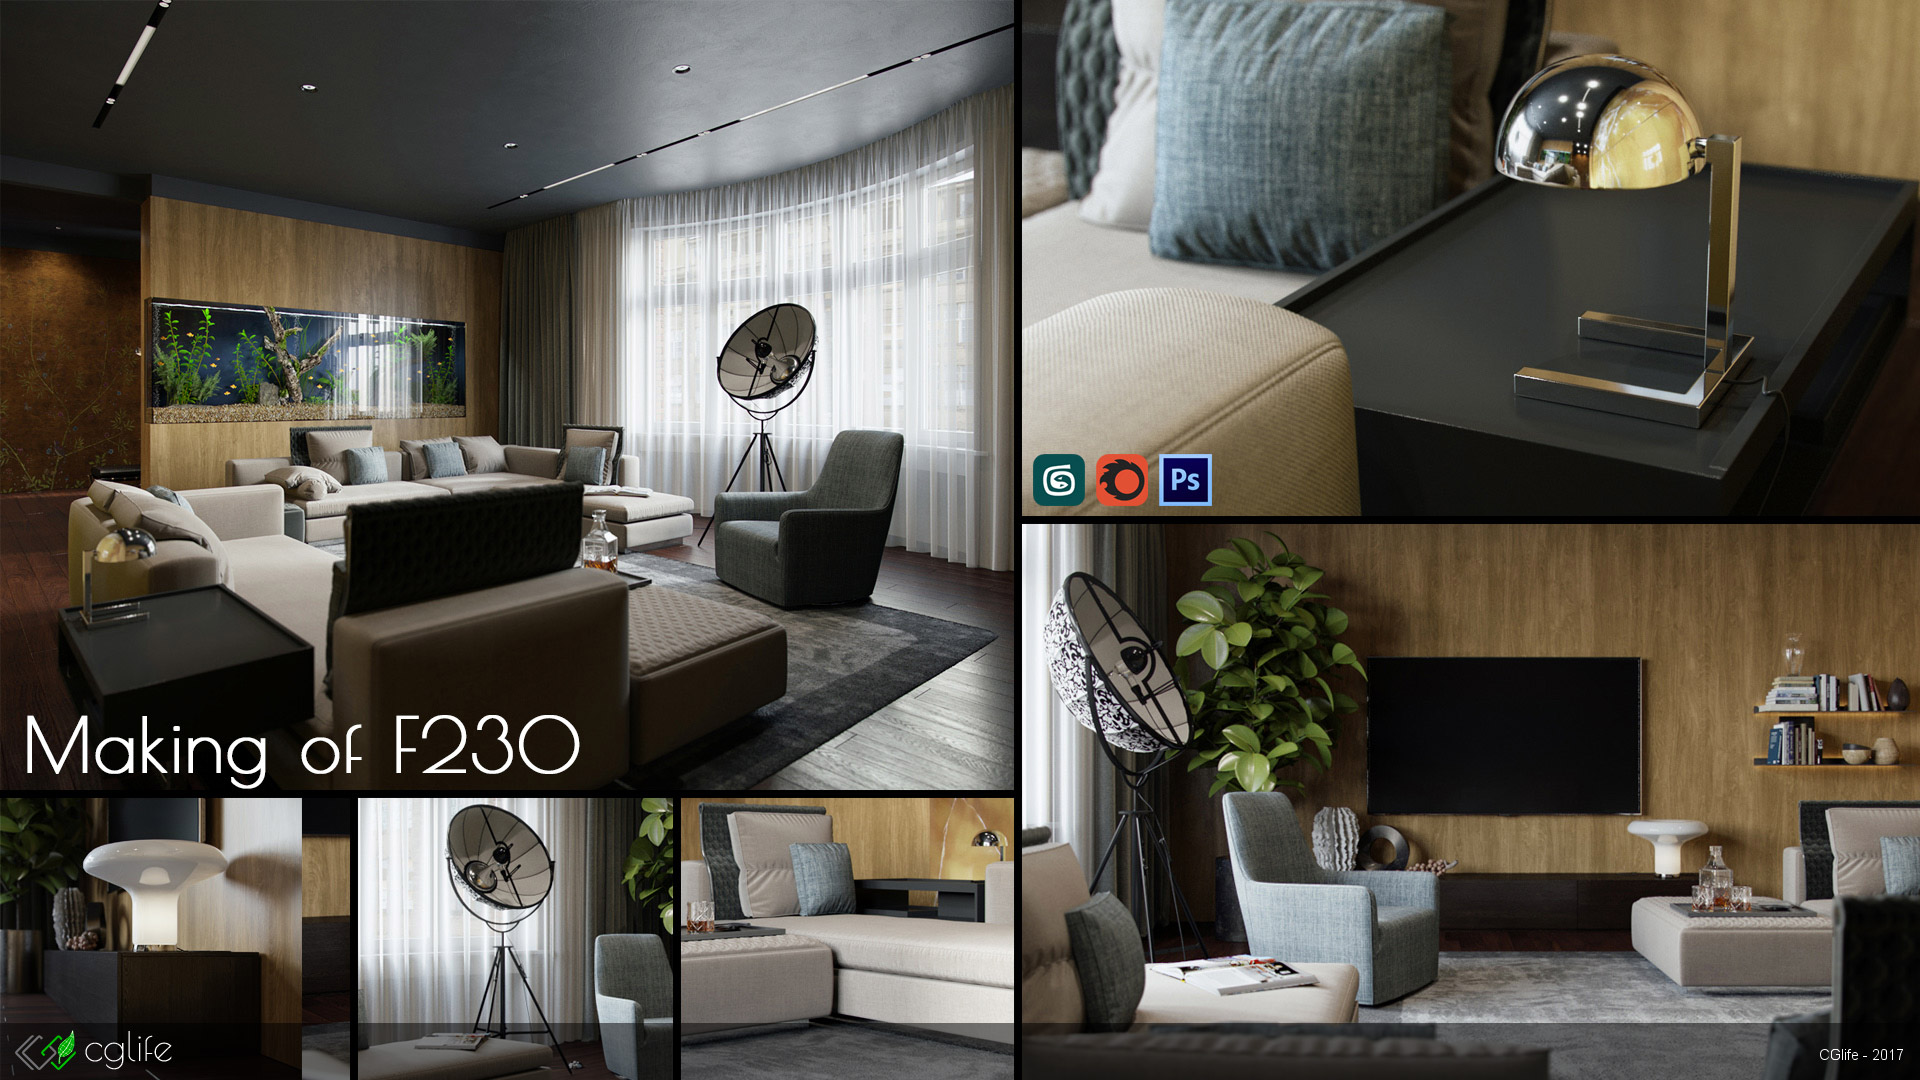
Making of article by Vladimir Bolotkin, showing how he created his F230 project, covering all the steps and a great breakdown of many materials!
Hi, dear colleagues! My name is Vladimir Bolotkin, and on the web I’m better known as “isnogud”. I’m into architecture/interior visualization, though there are exceptions of course! Some years ago I wrote the “Making of” of my projects “Ikea style” and “Inception”. Back then I was actively using Vray in my work, and the project’s creation was described exactly for this package. But since then, years have passed and things have changed and I forgot about Vray, as I’m using Corona Renderer now.
I think many people are interested in this package and it’s gaining popularity very quickly, so my “Making of” will be straight forward about my work using Corona Renderer for CGlife.pro portal.
I didn’t choose this work by chance but because it has brought me my first award from the Render.ru portal. Now I will talk to you about one room of this high-volume project and your feedback may encourage me to go on with my writing of “Making of”s.
Project designer – Mikhail Tkachuk
The hardest thing is to force myself to start writing this text and then to collect my thoughts and put them in the right order. So – let’s get it started…
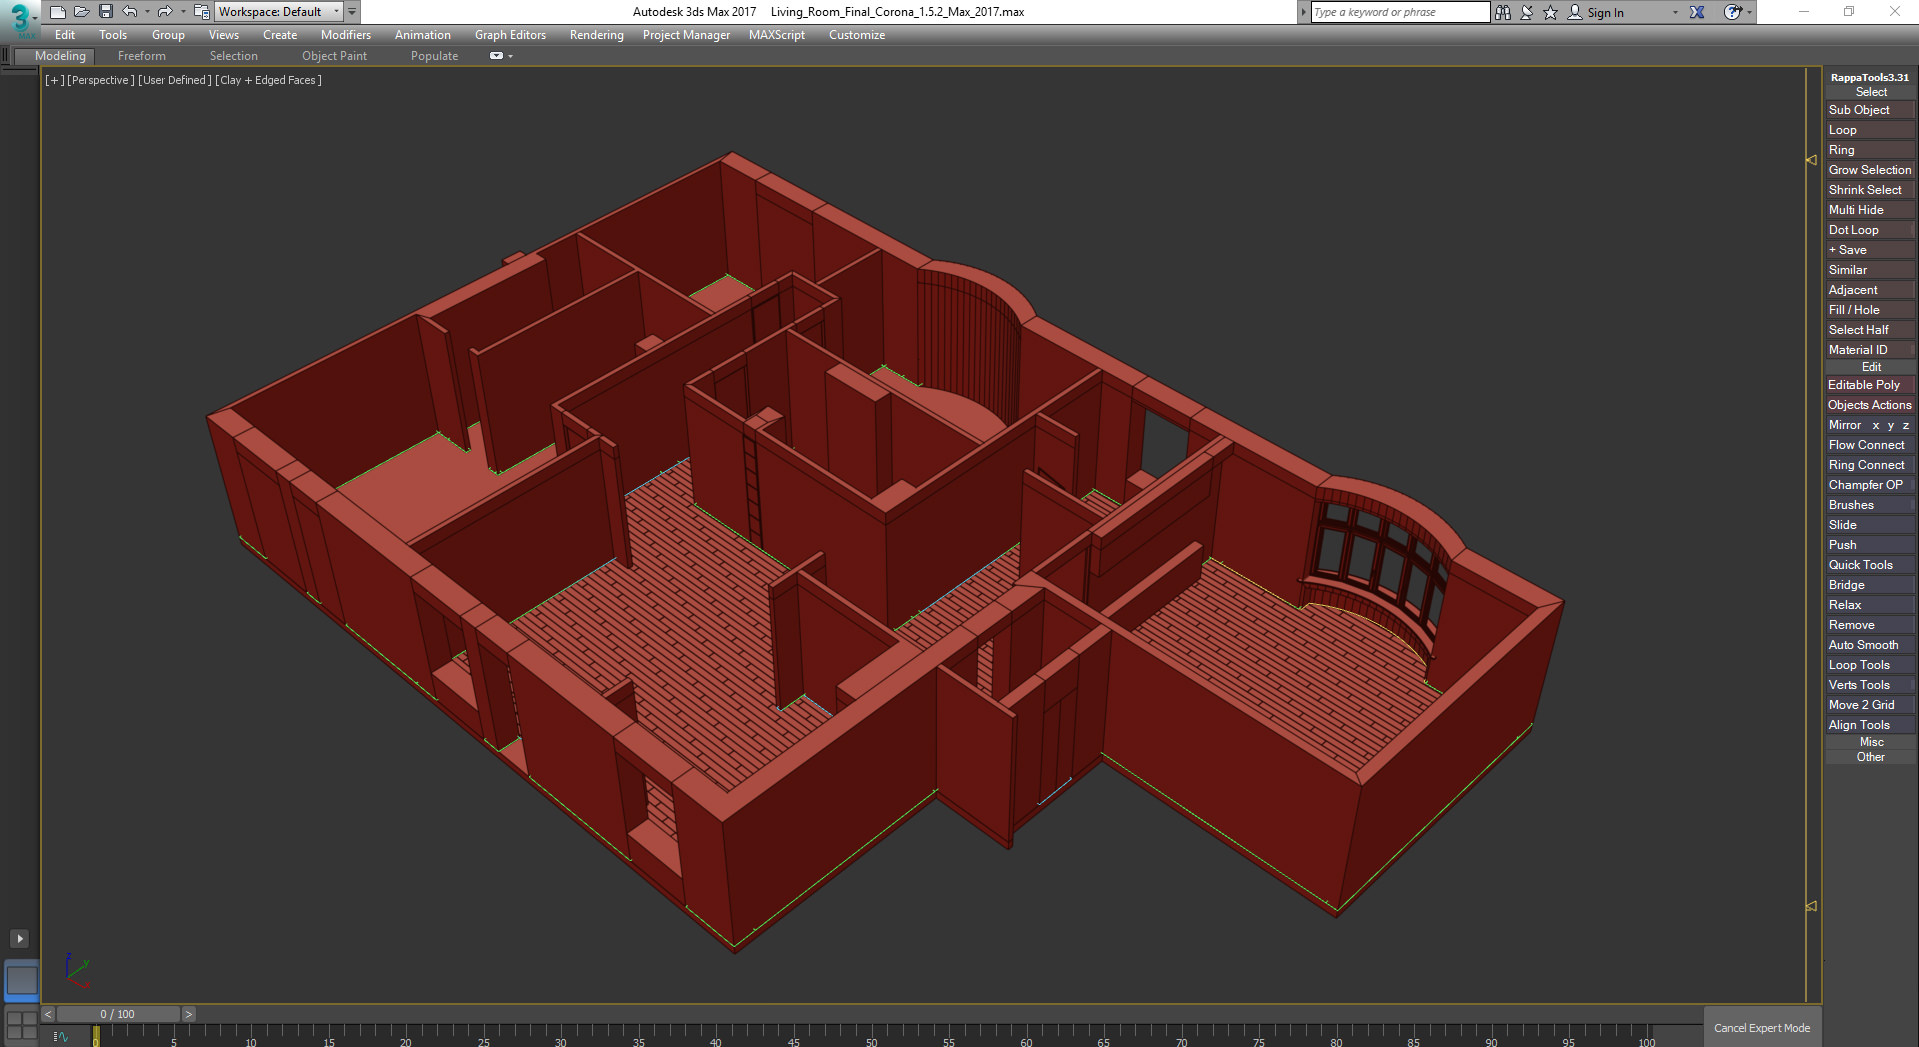
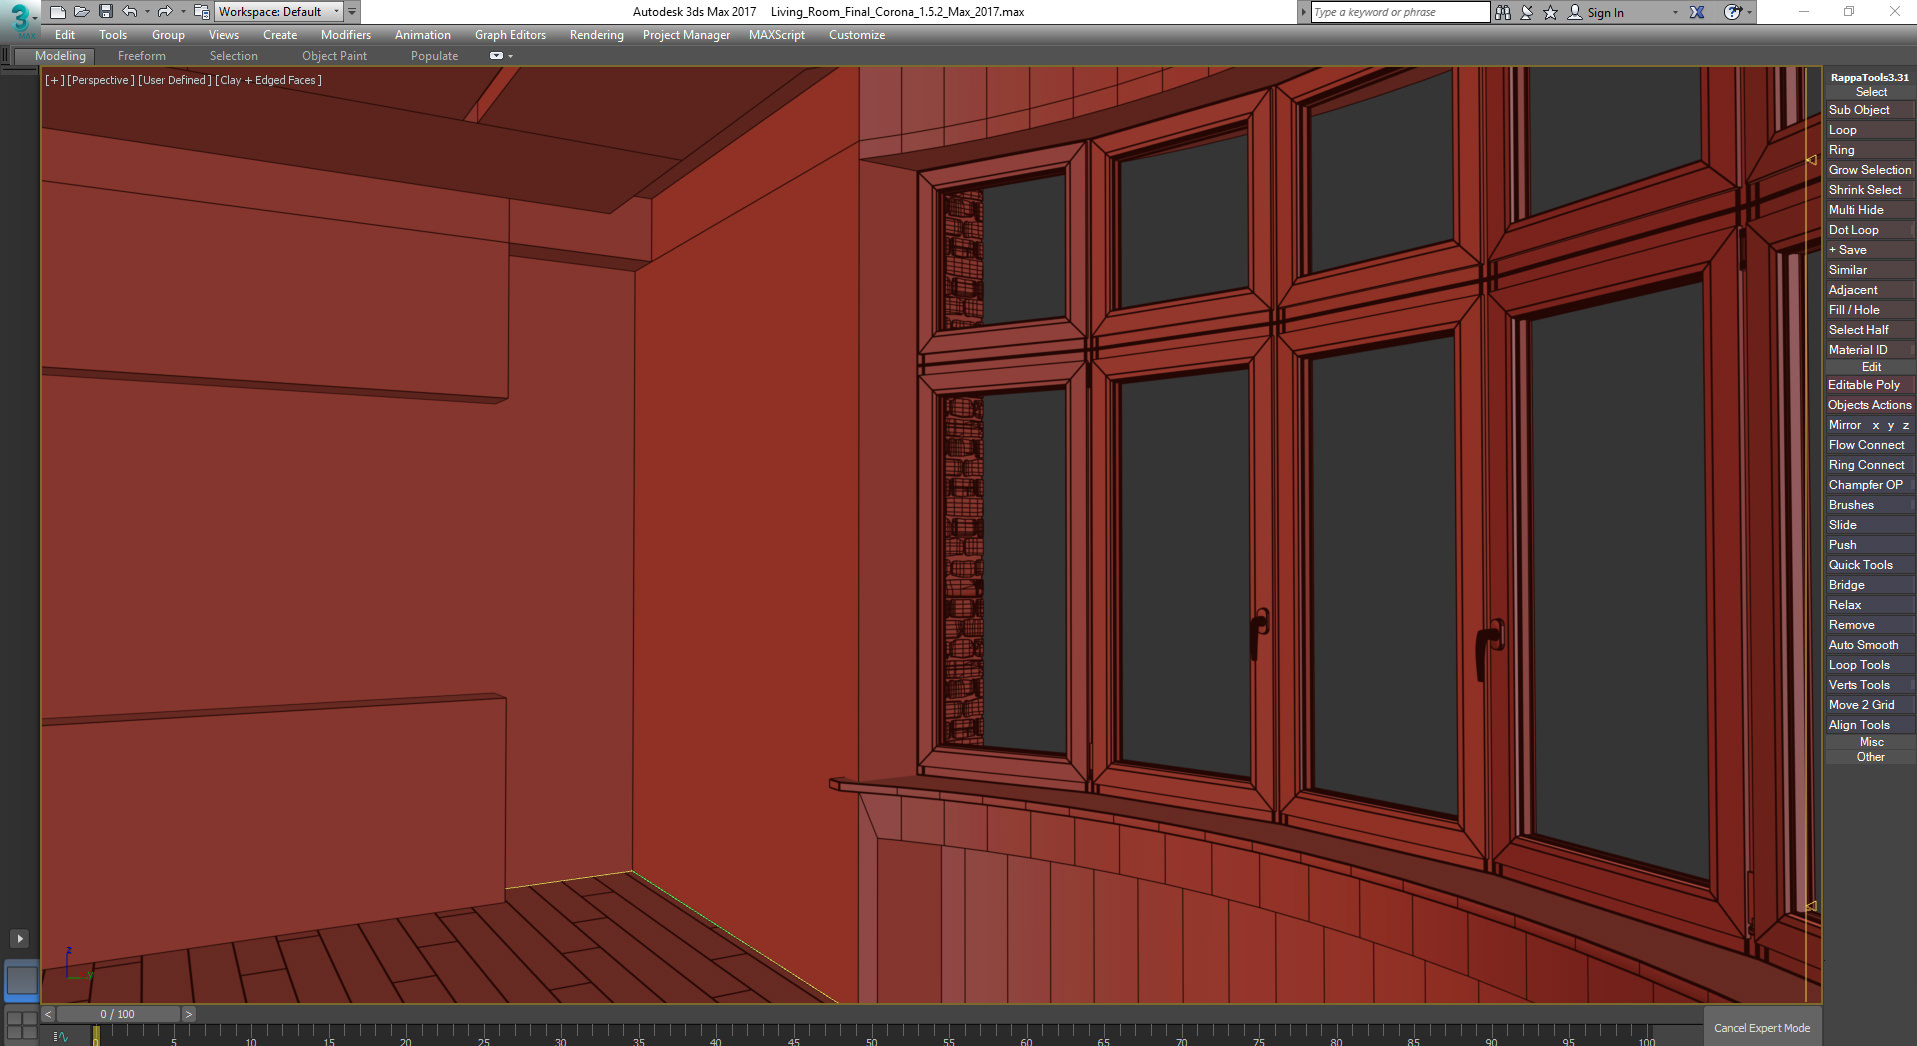
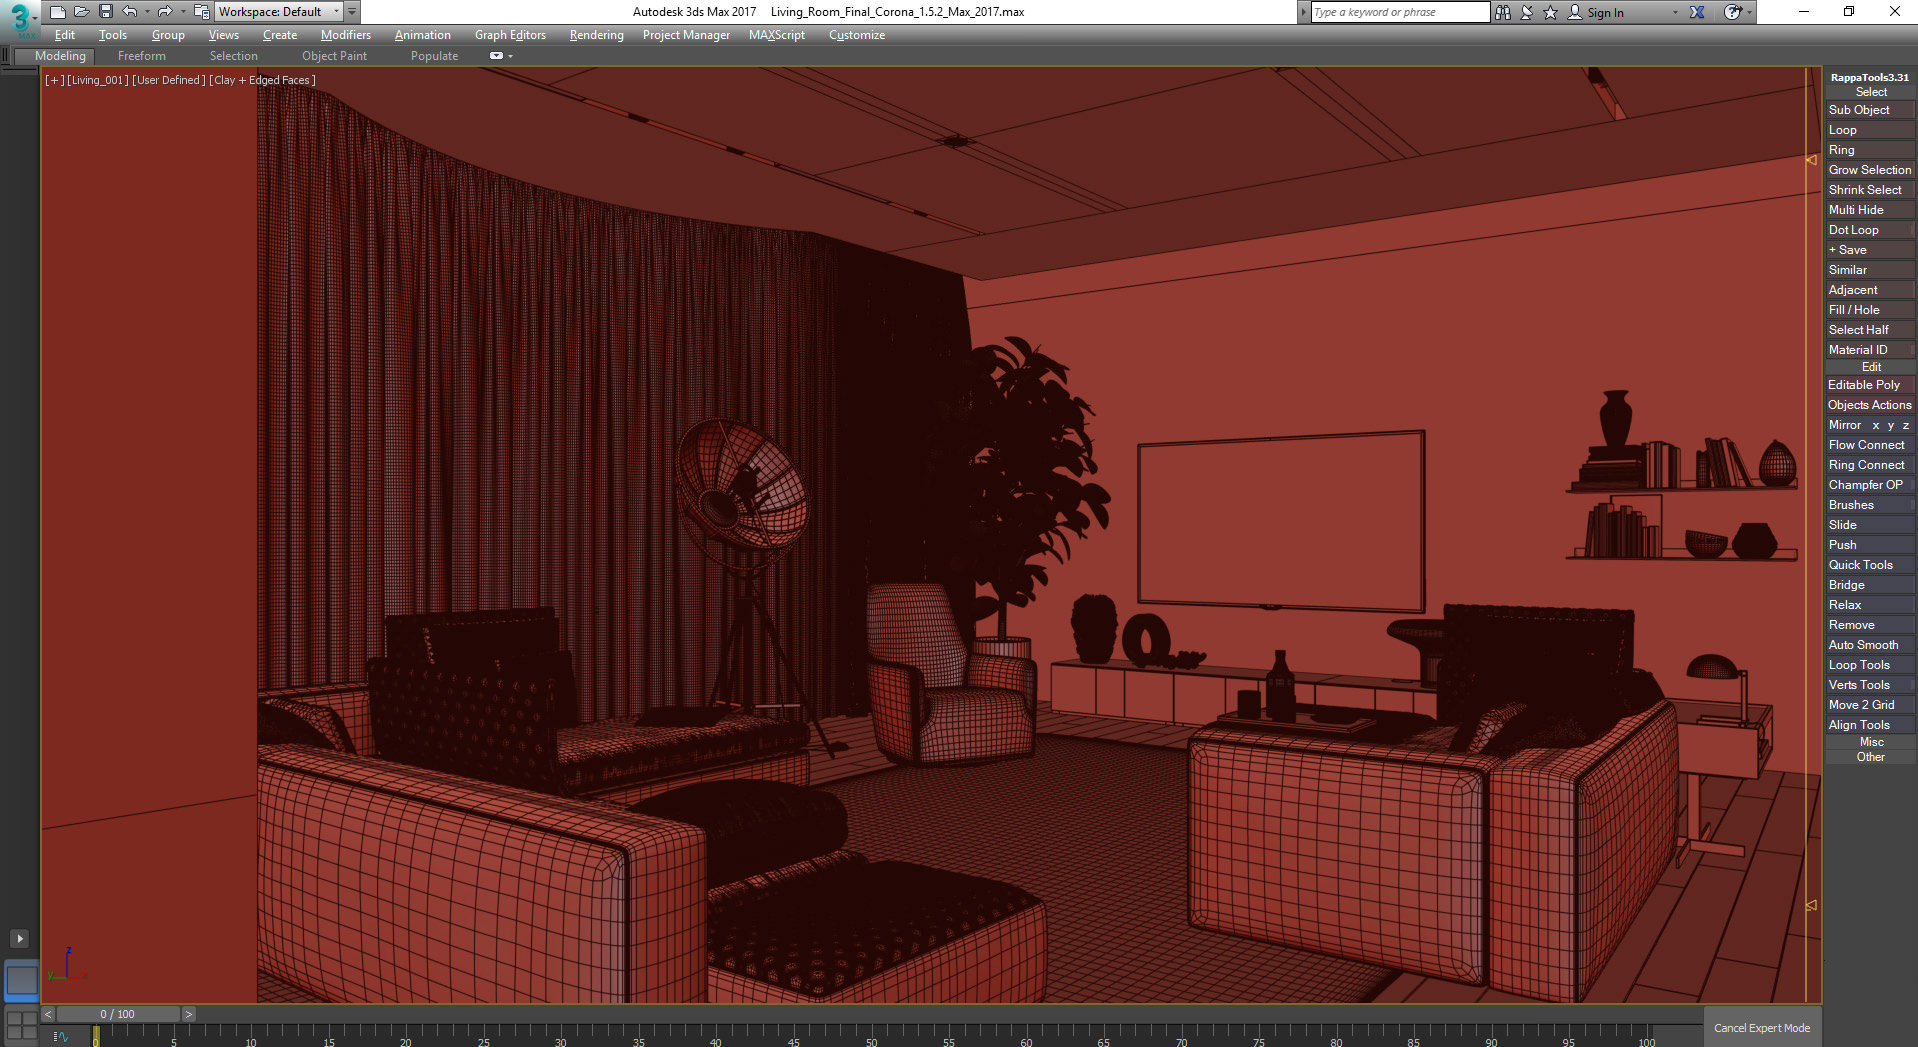
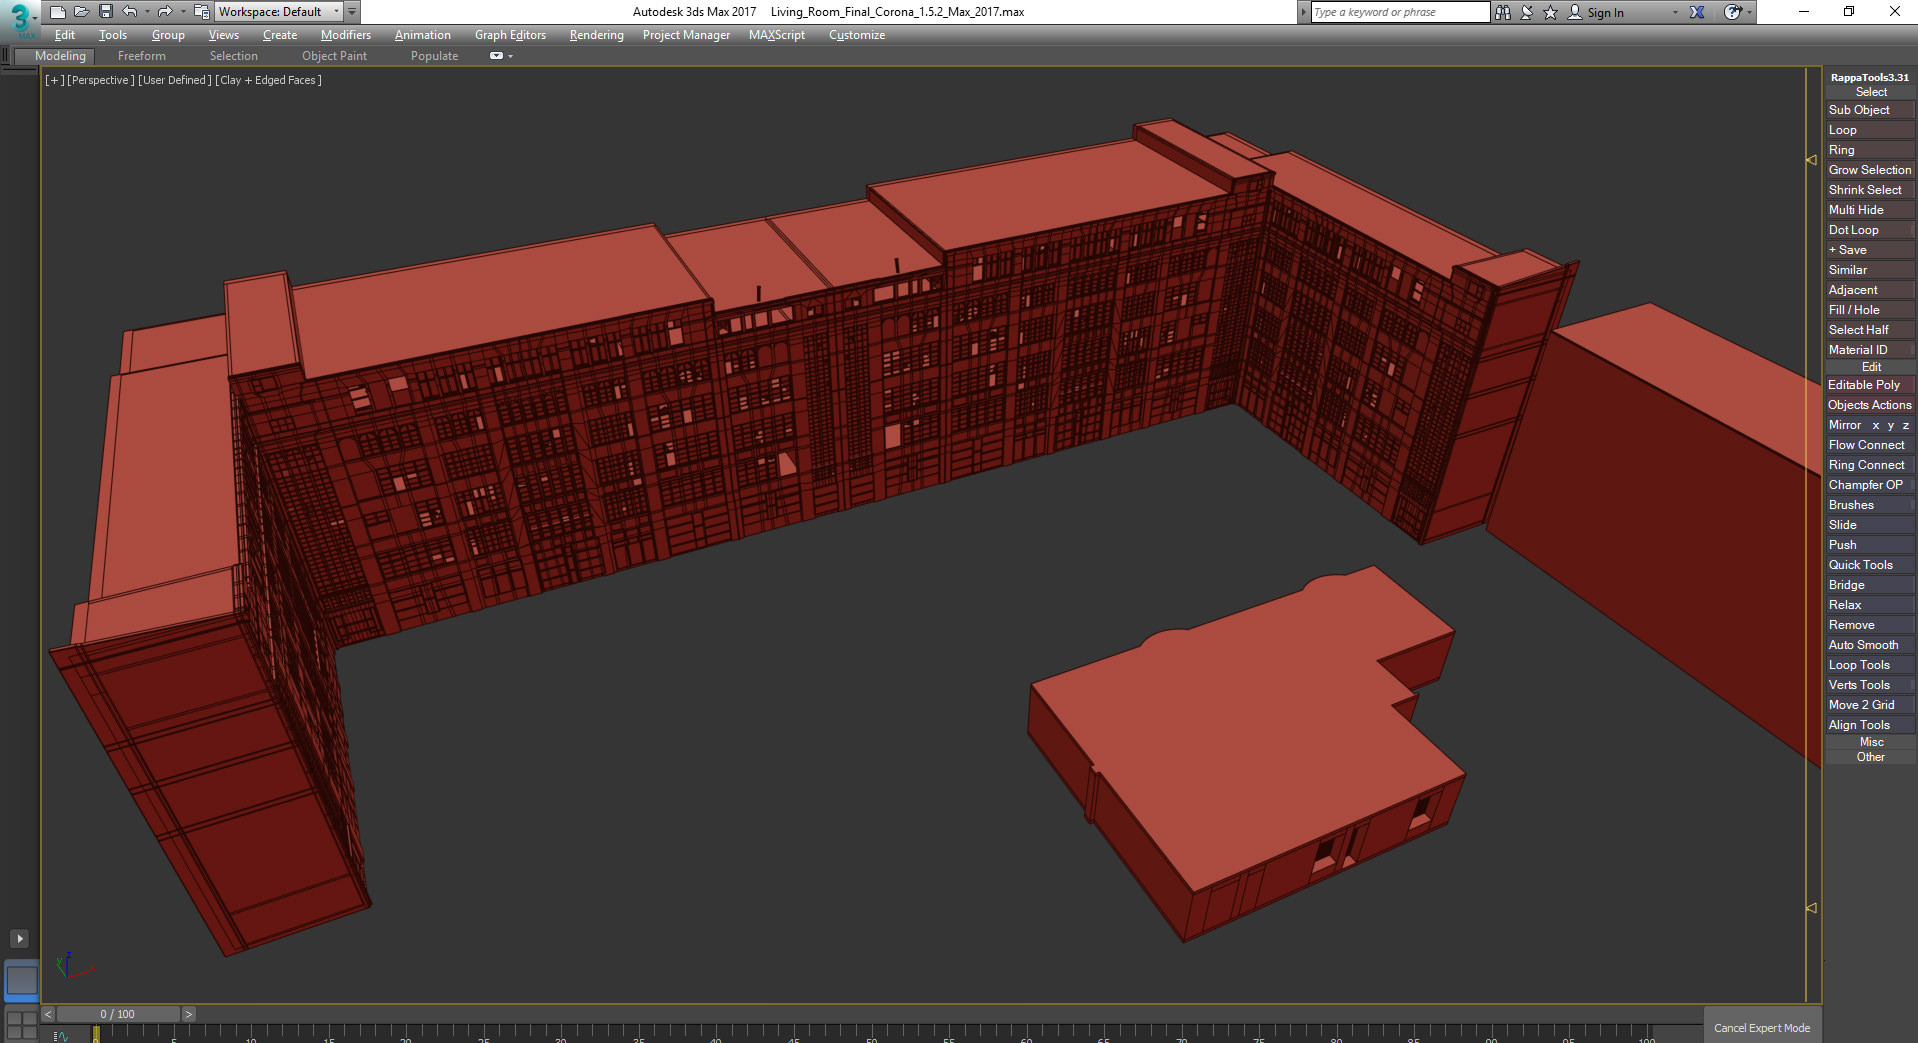
It all started with sketches; those were converted into DWG files from Corel Draw. Unfortunately I haven’t saved them and it’s a pity because I would love to show you what they would look like while you’re importing them straight into 3D max. Those who are aware of it will understand me.)) During the conversion there were thousands of odd pixels produced throughout the sketch, and even though fitting the scale was not a problem, clearing the sketch out would have taken plenty of time. It was much faster to re-draw it. So I had to double the work at that stage. Next, there was a volume construction based on re-drawn sketches, room walls decoration, the creation of floor covering and ceilings, lamps inset and the arrangement of windows and doors. In order for it to look more realistic, I added the bricks’ geometry on the outside of the windows’ slopes.
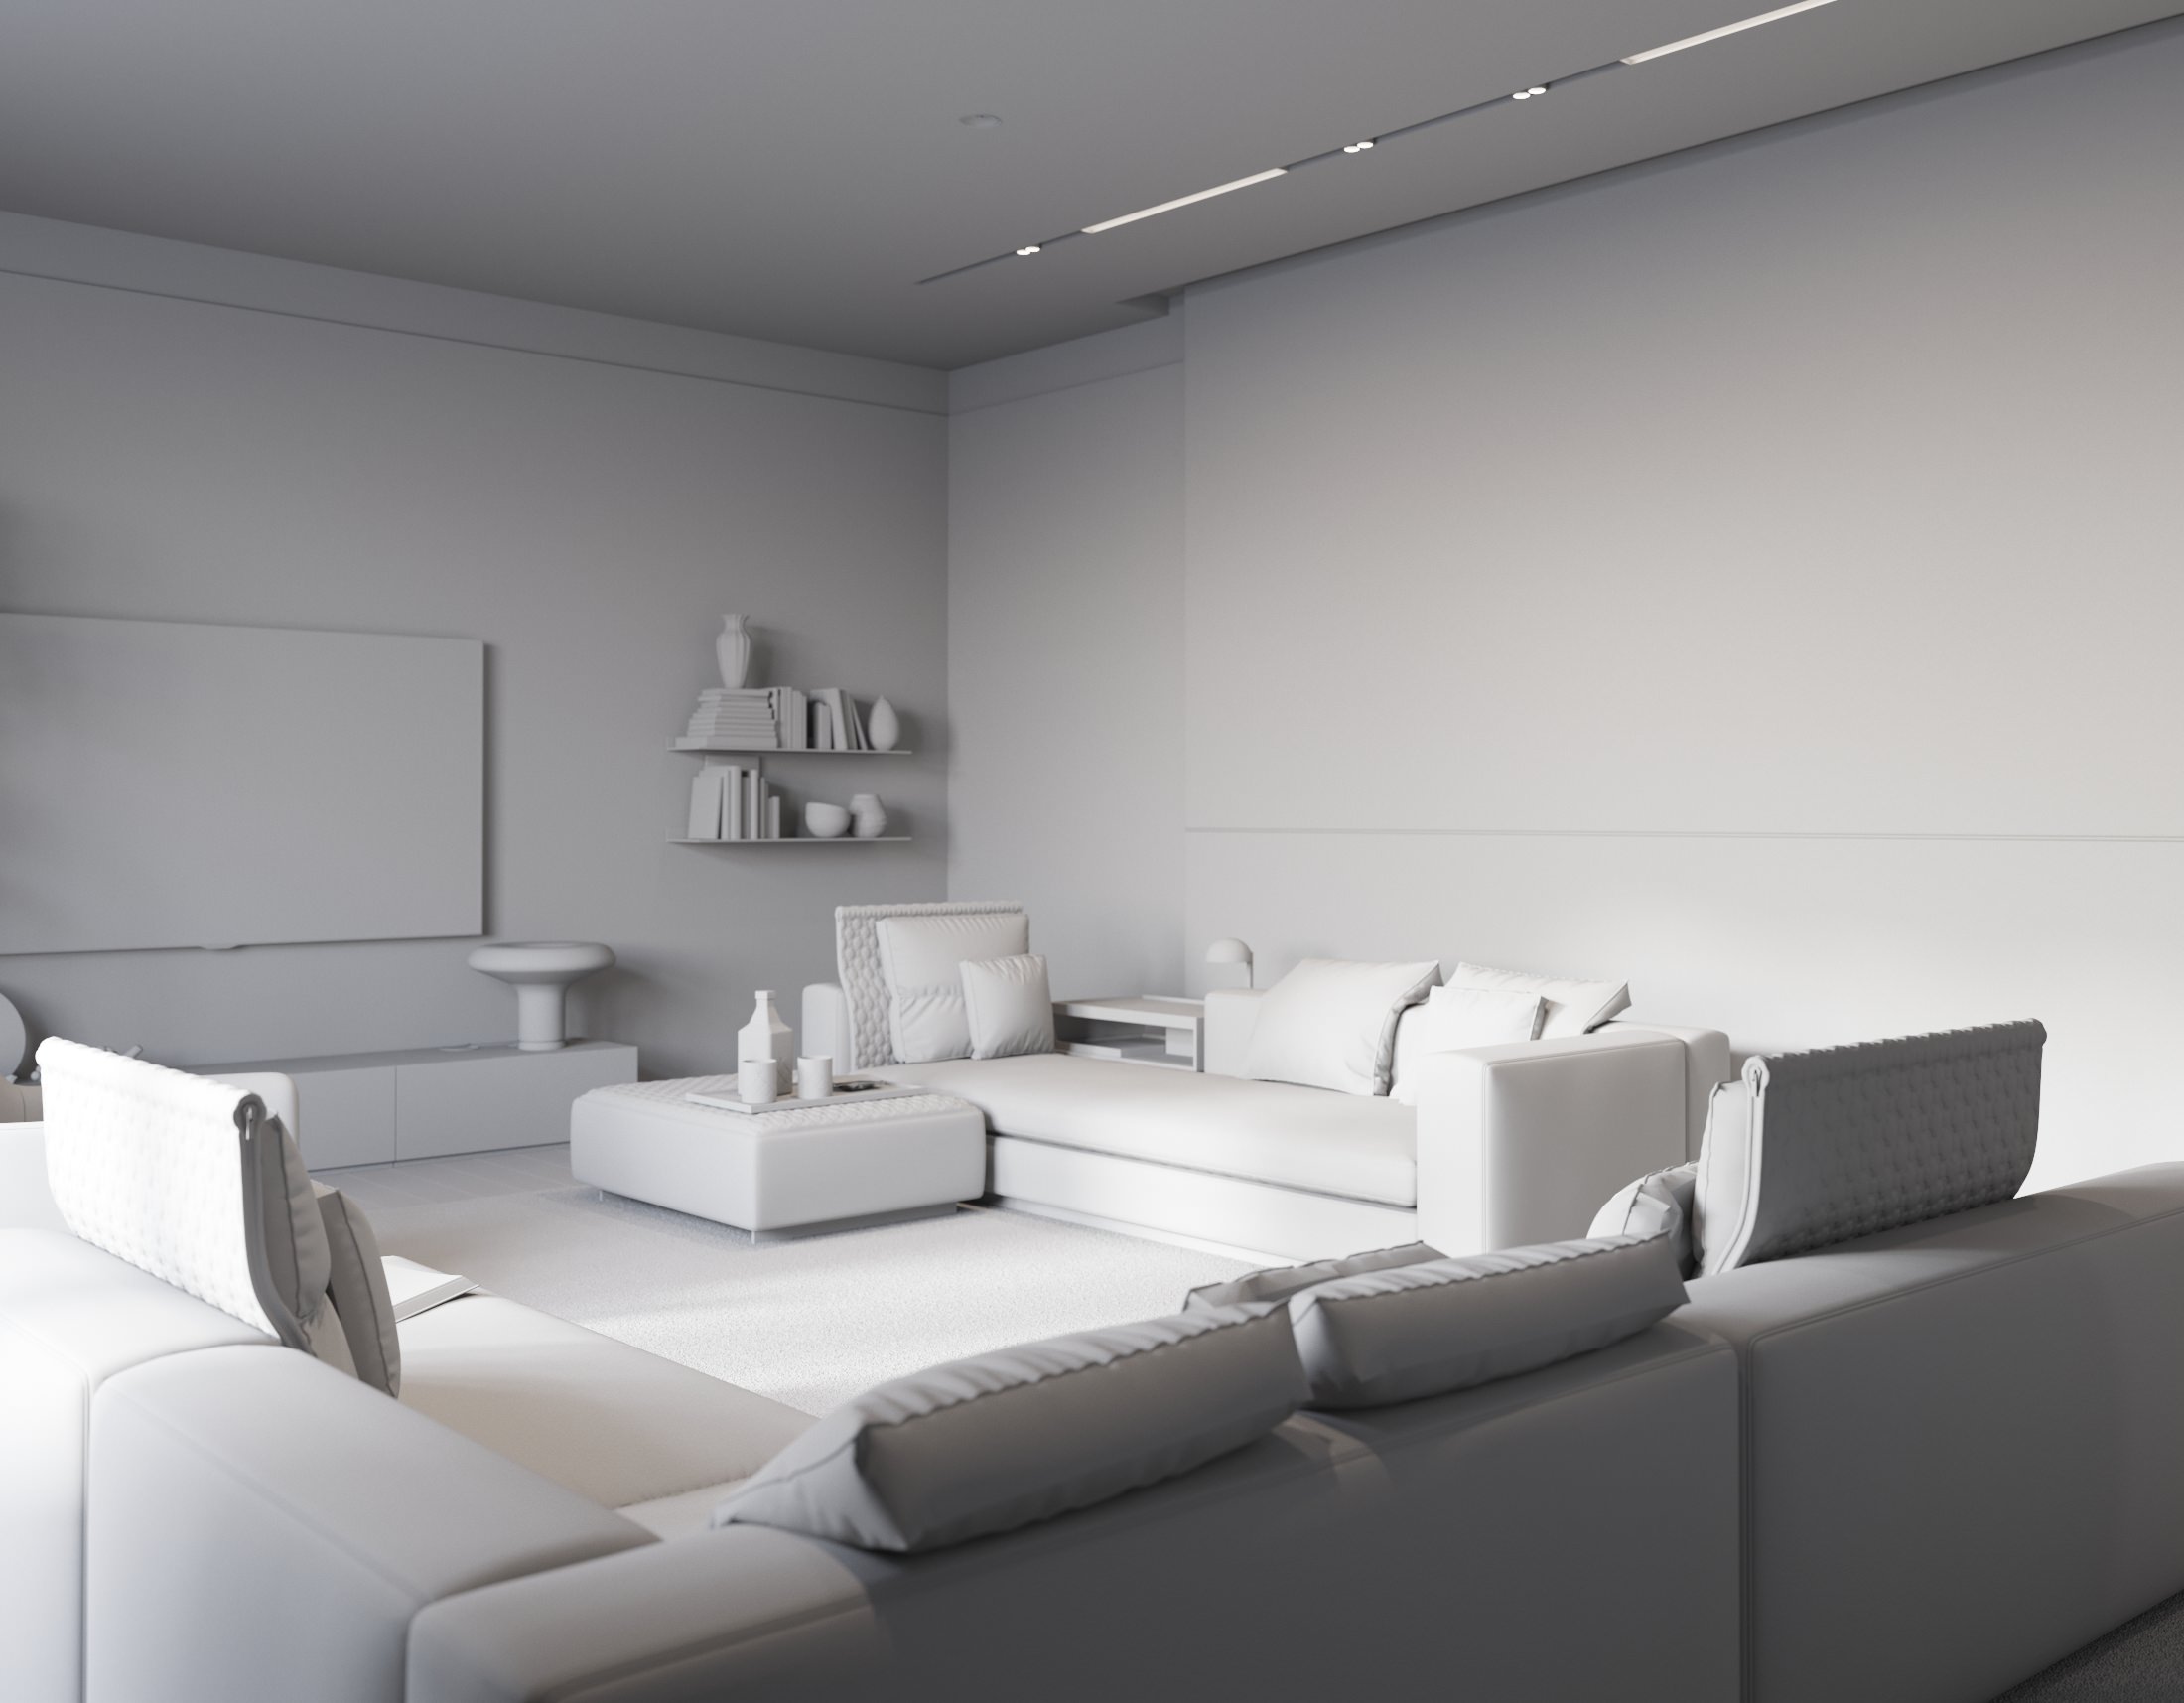
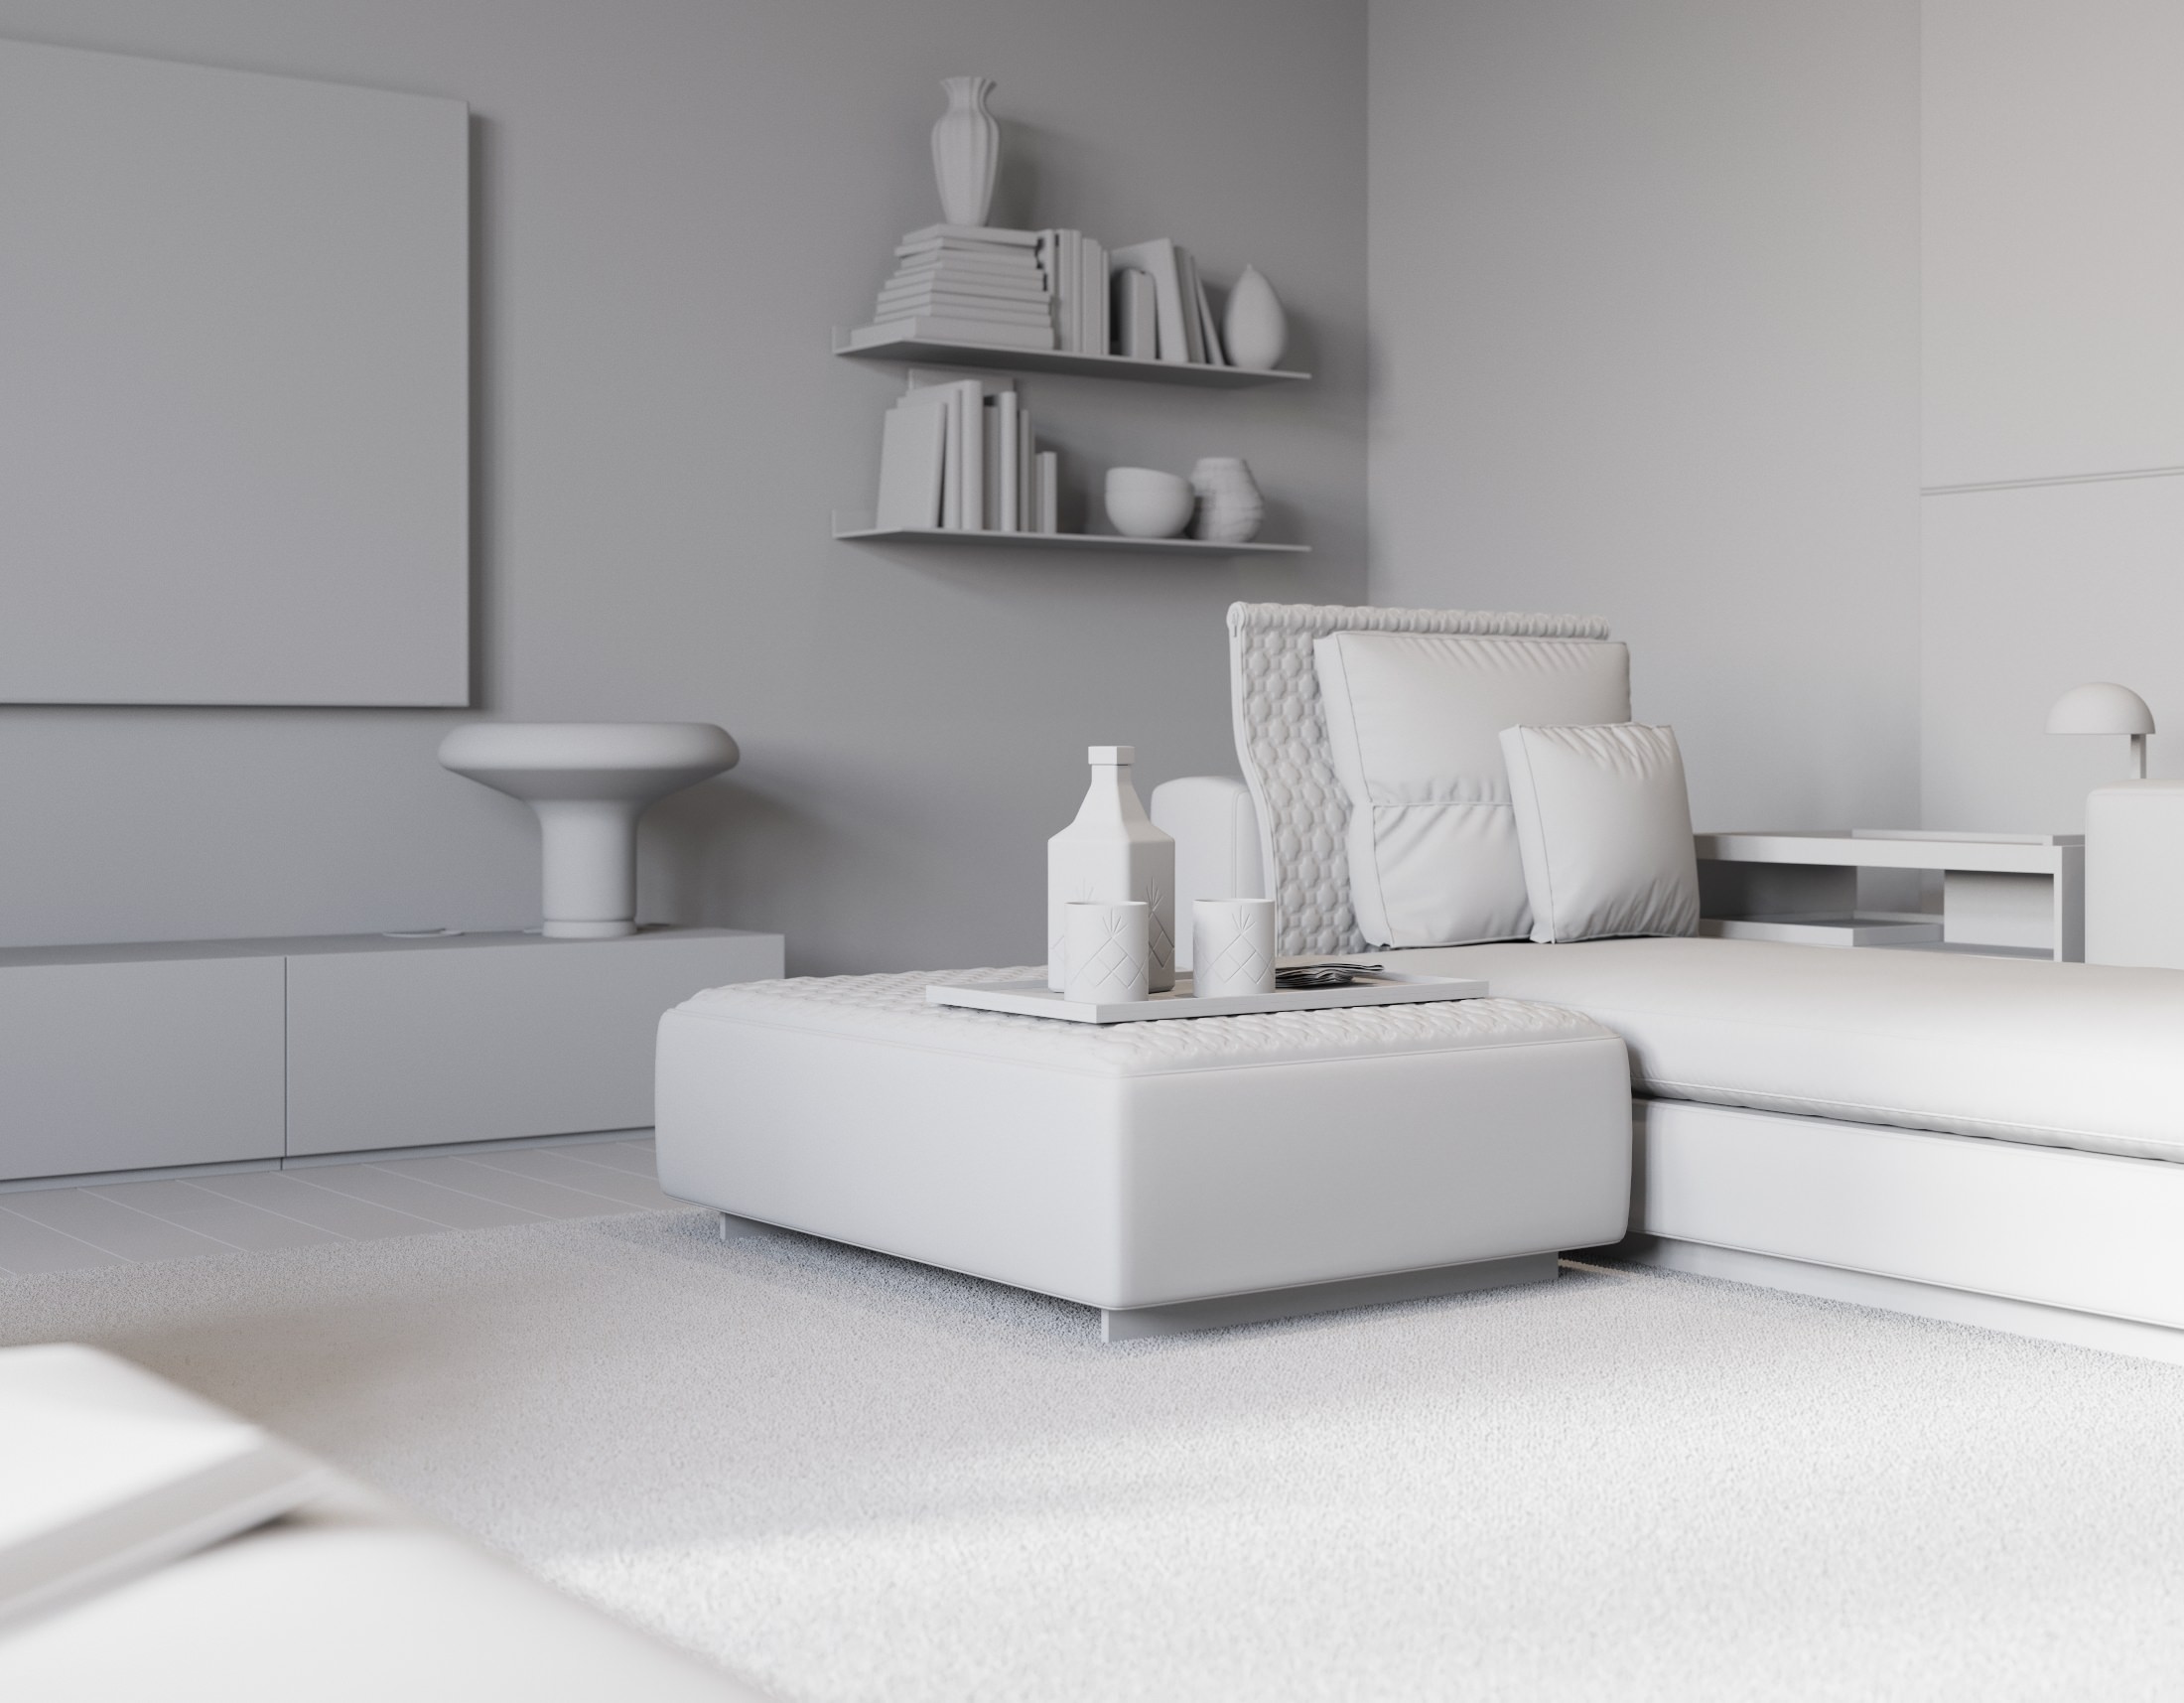
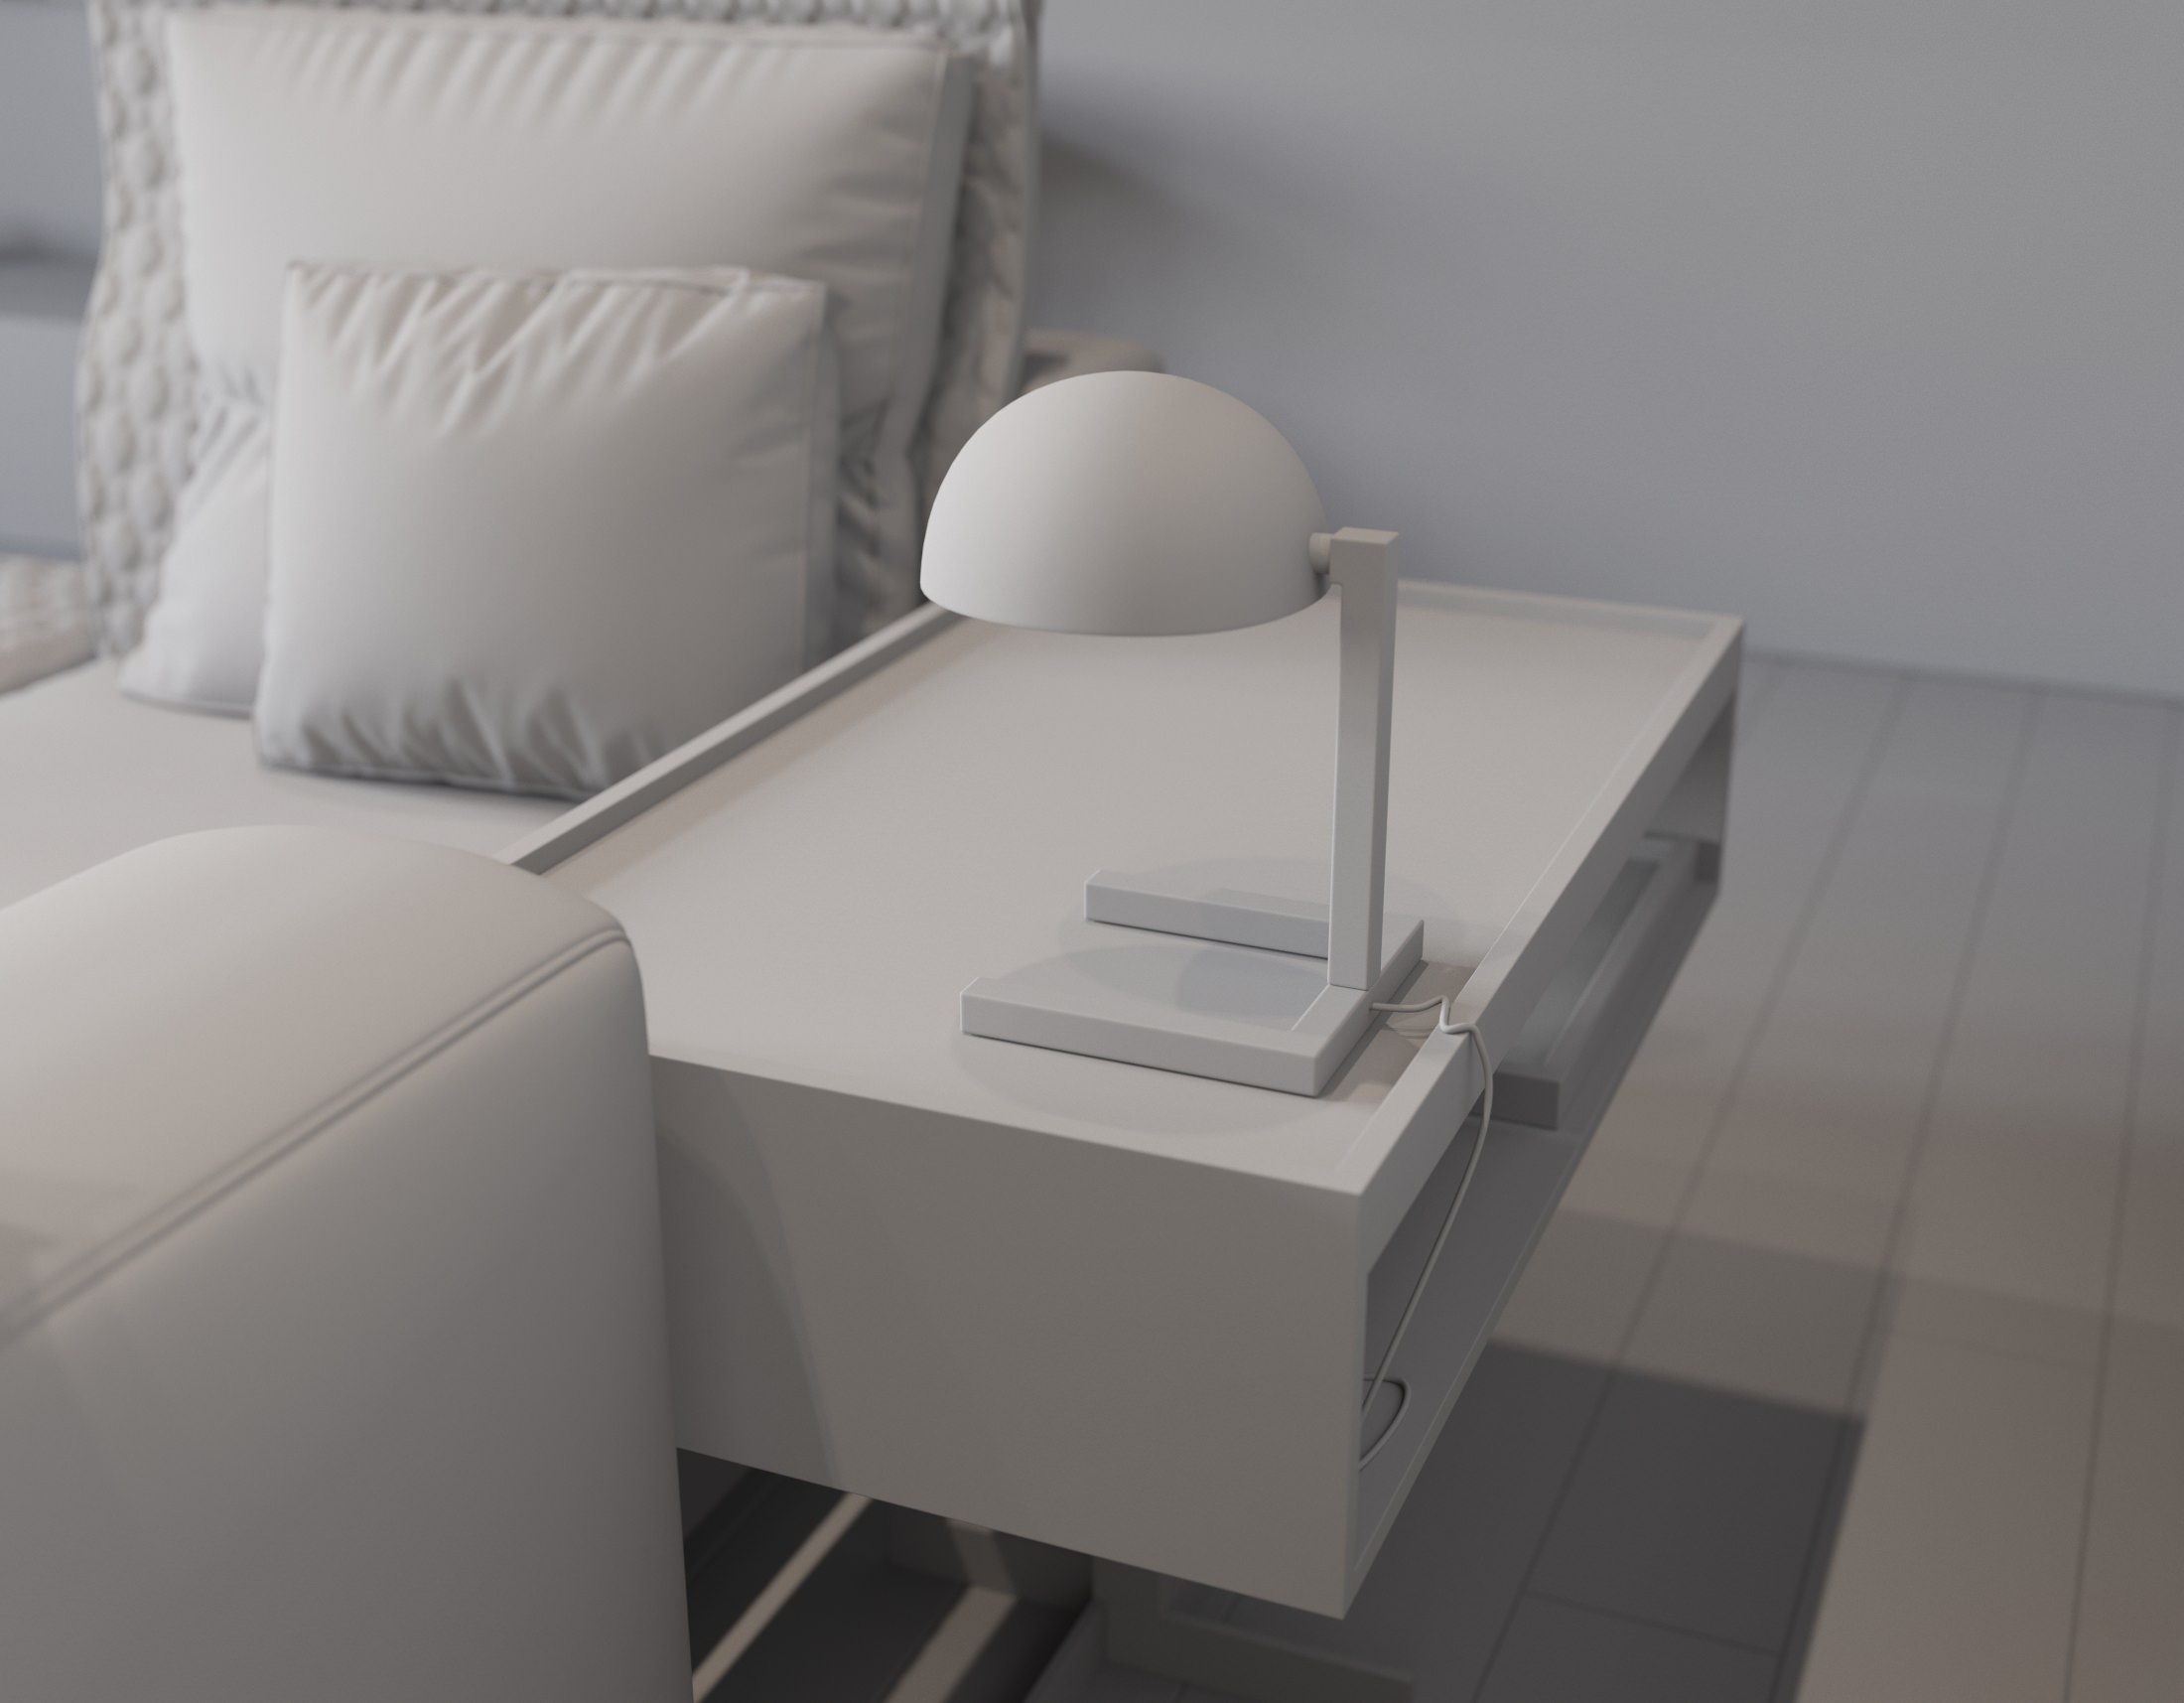
I think there’s nothing much to display here and I just took a few screenshots.


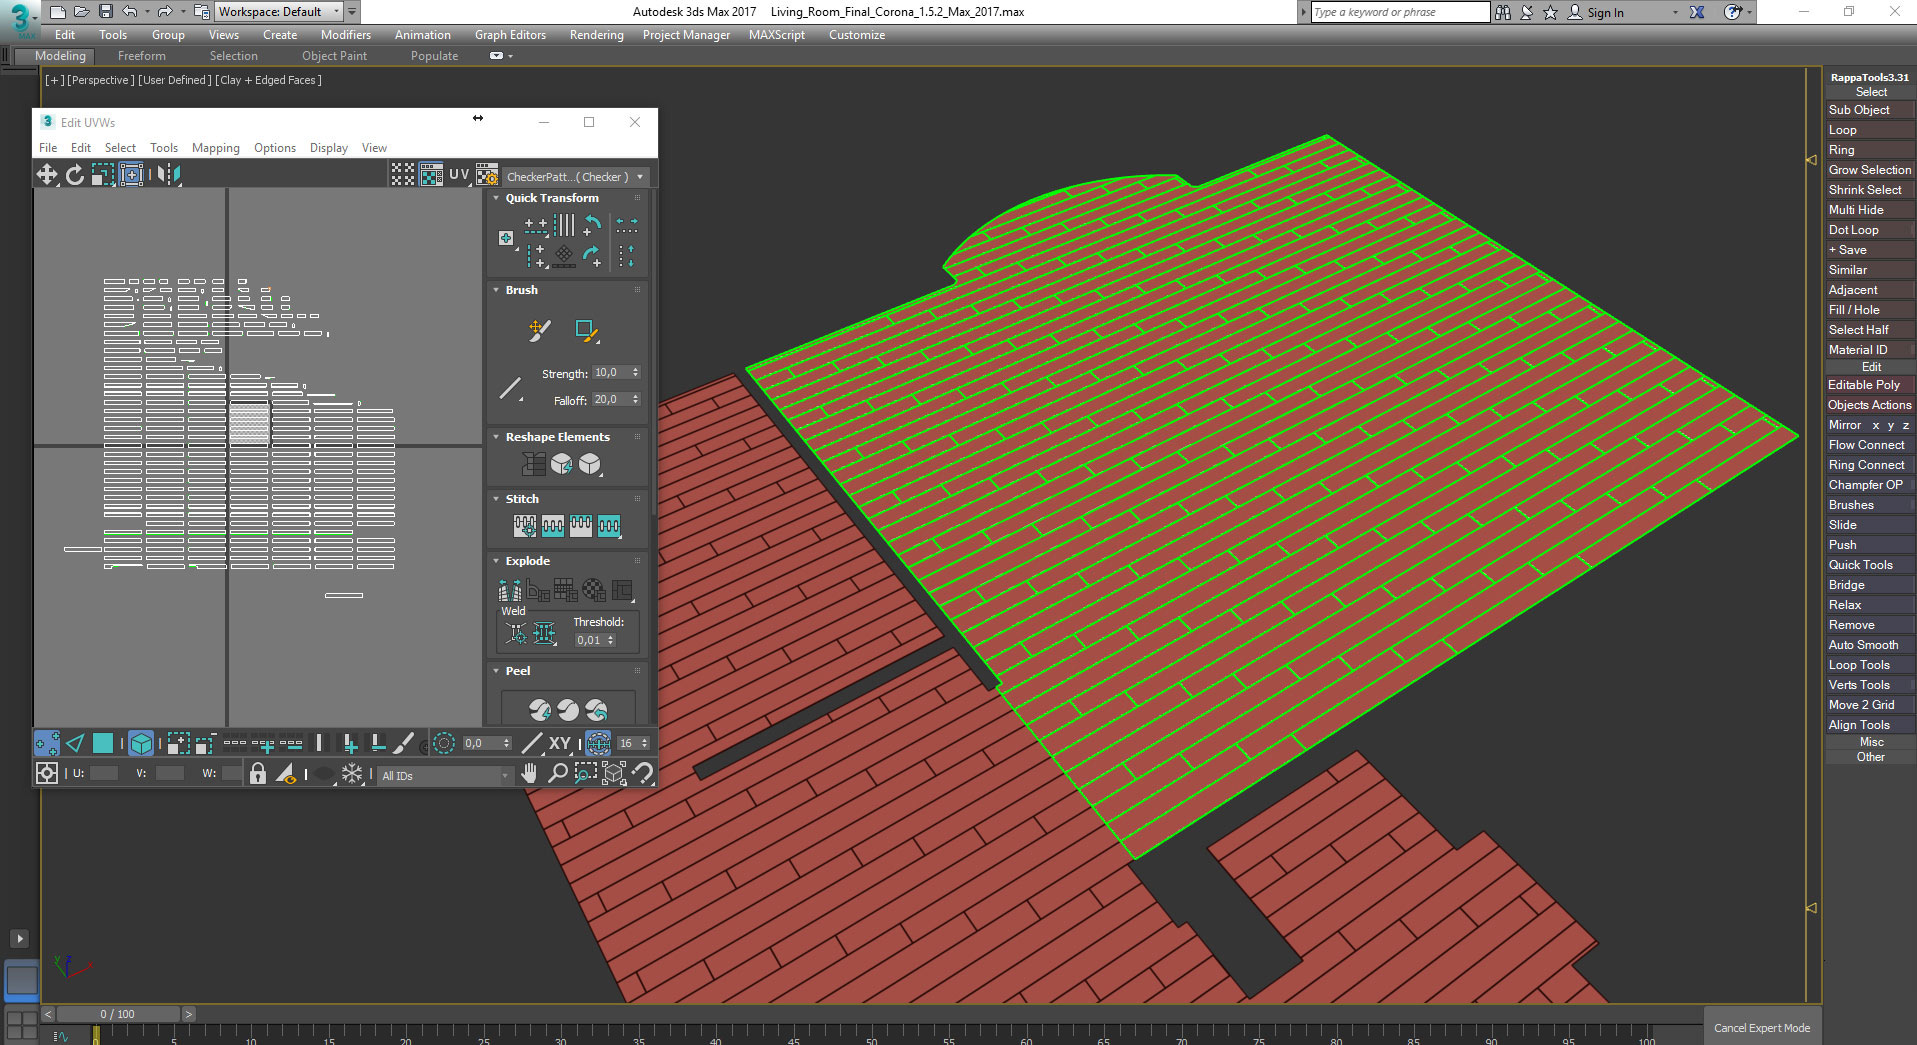
Floor Generator script was used to create the floor covering. Next, I made a flat pattern using Unwrap UVW modifier and it gave me an opportunity to use only one texture and that texture had no tiling of the bars at all.
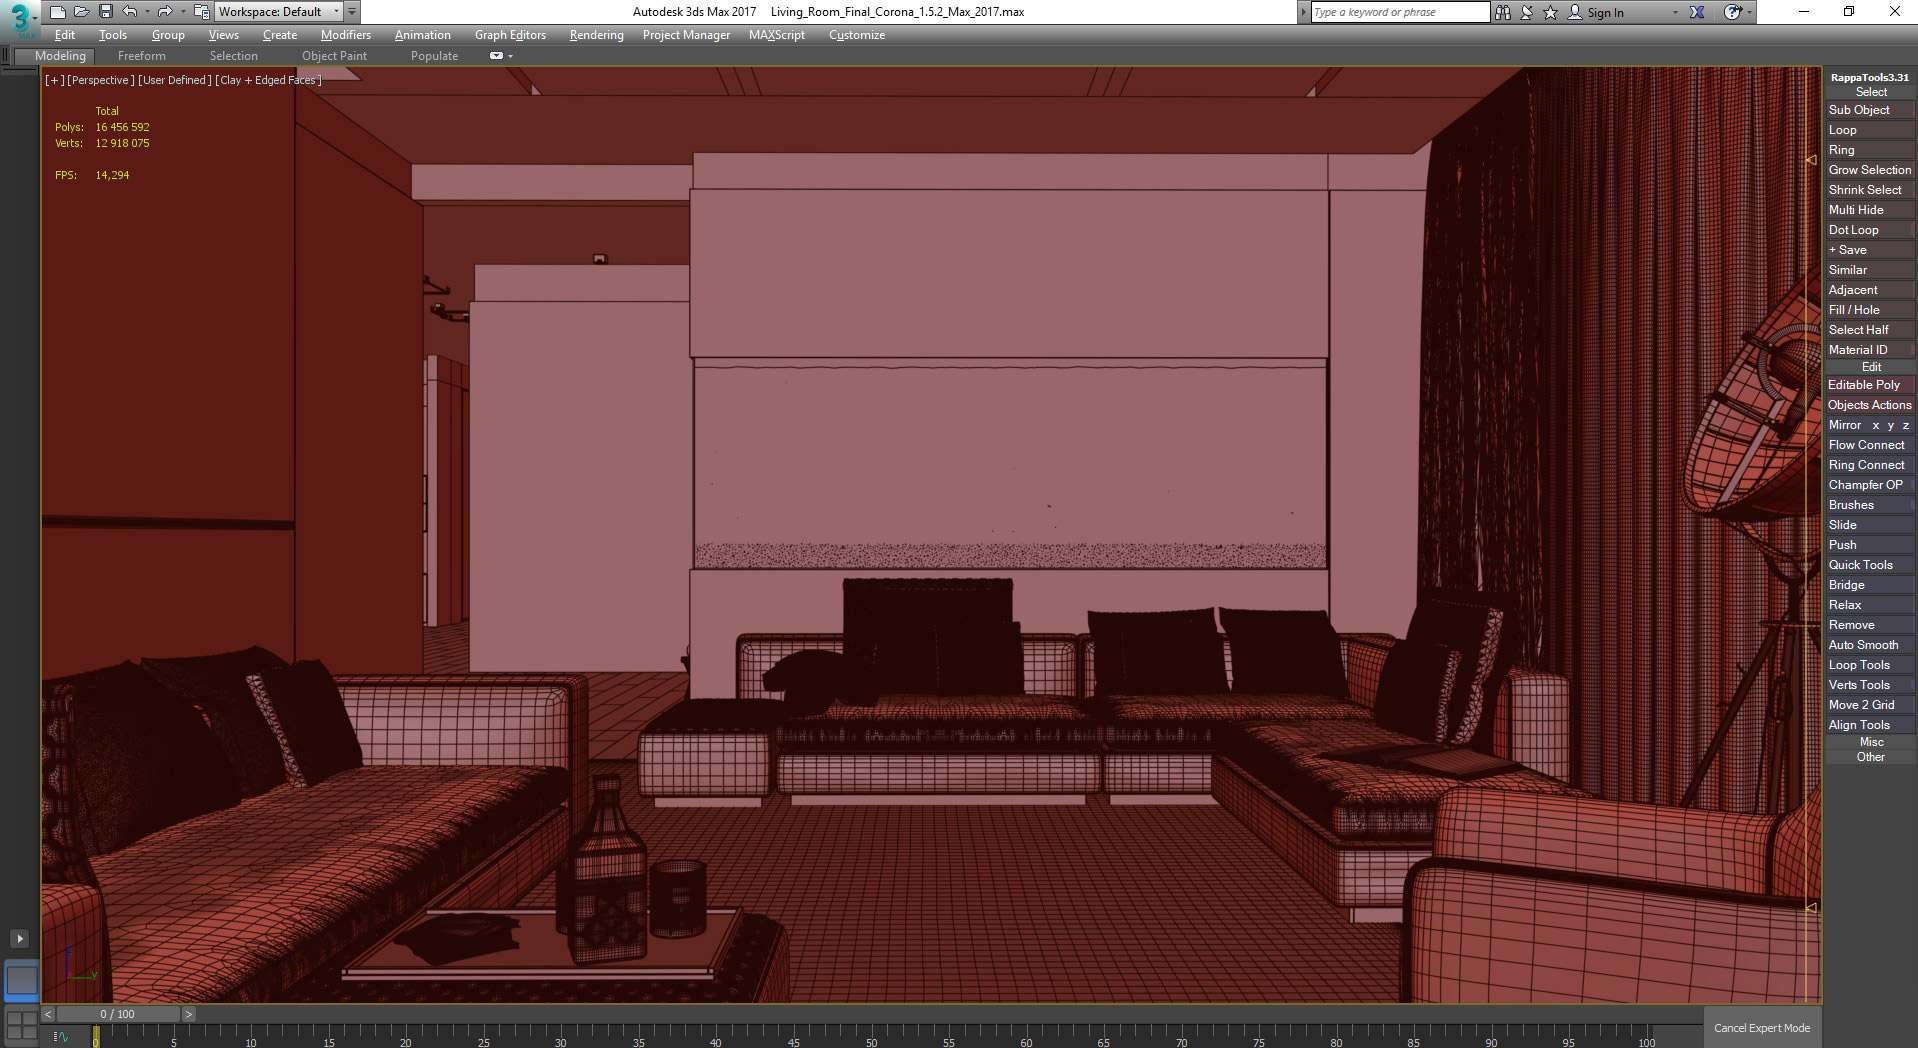
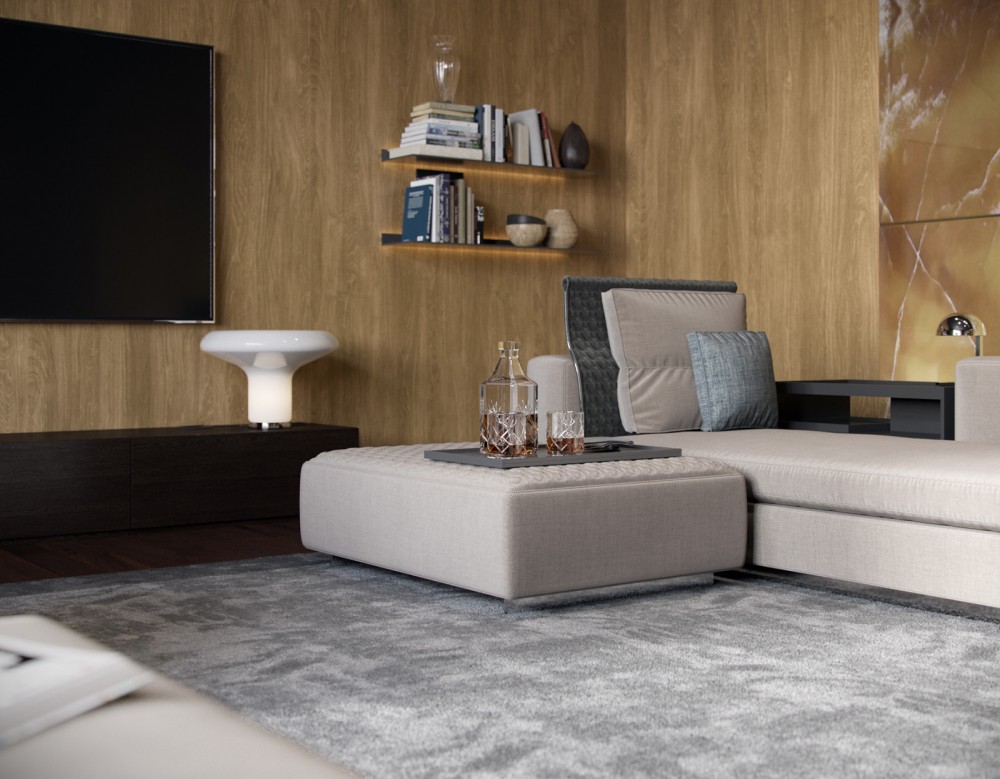
Then I added the curtains, the furniture according to the design assignment and the decoration. I didn’t optimize the curtains model on the spot since I wasn’t 100% sure whether they would stay in the project or I would substitute them with something else. The curtainsremainedafterwards, but I was a little lazy to optimize the model, so it cost me a light slightness during the viewport scrolling with adding new detailstointerior. To make my work more comfortable, I just turned their reflection on in Display as Box mode.
I’d like to highlight the most interesting details.
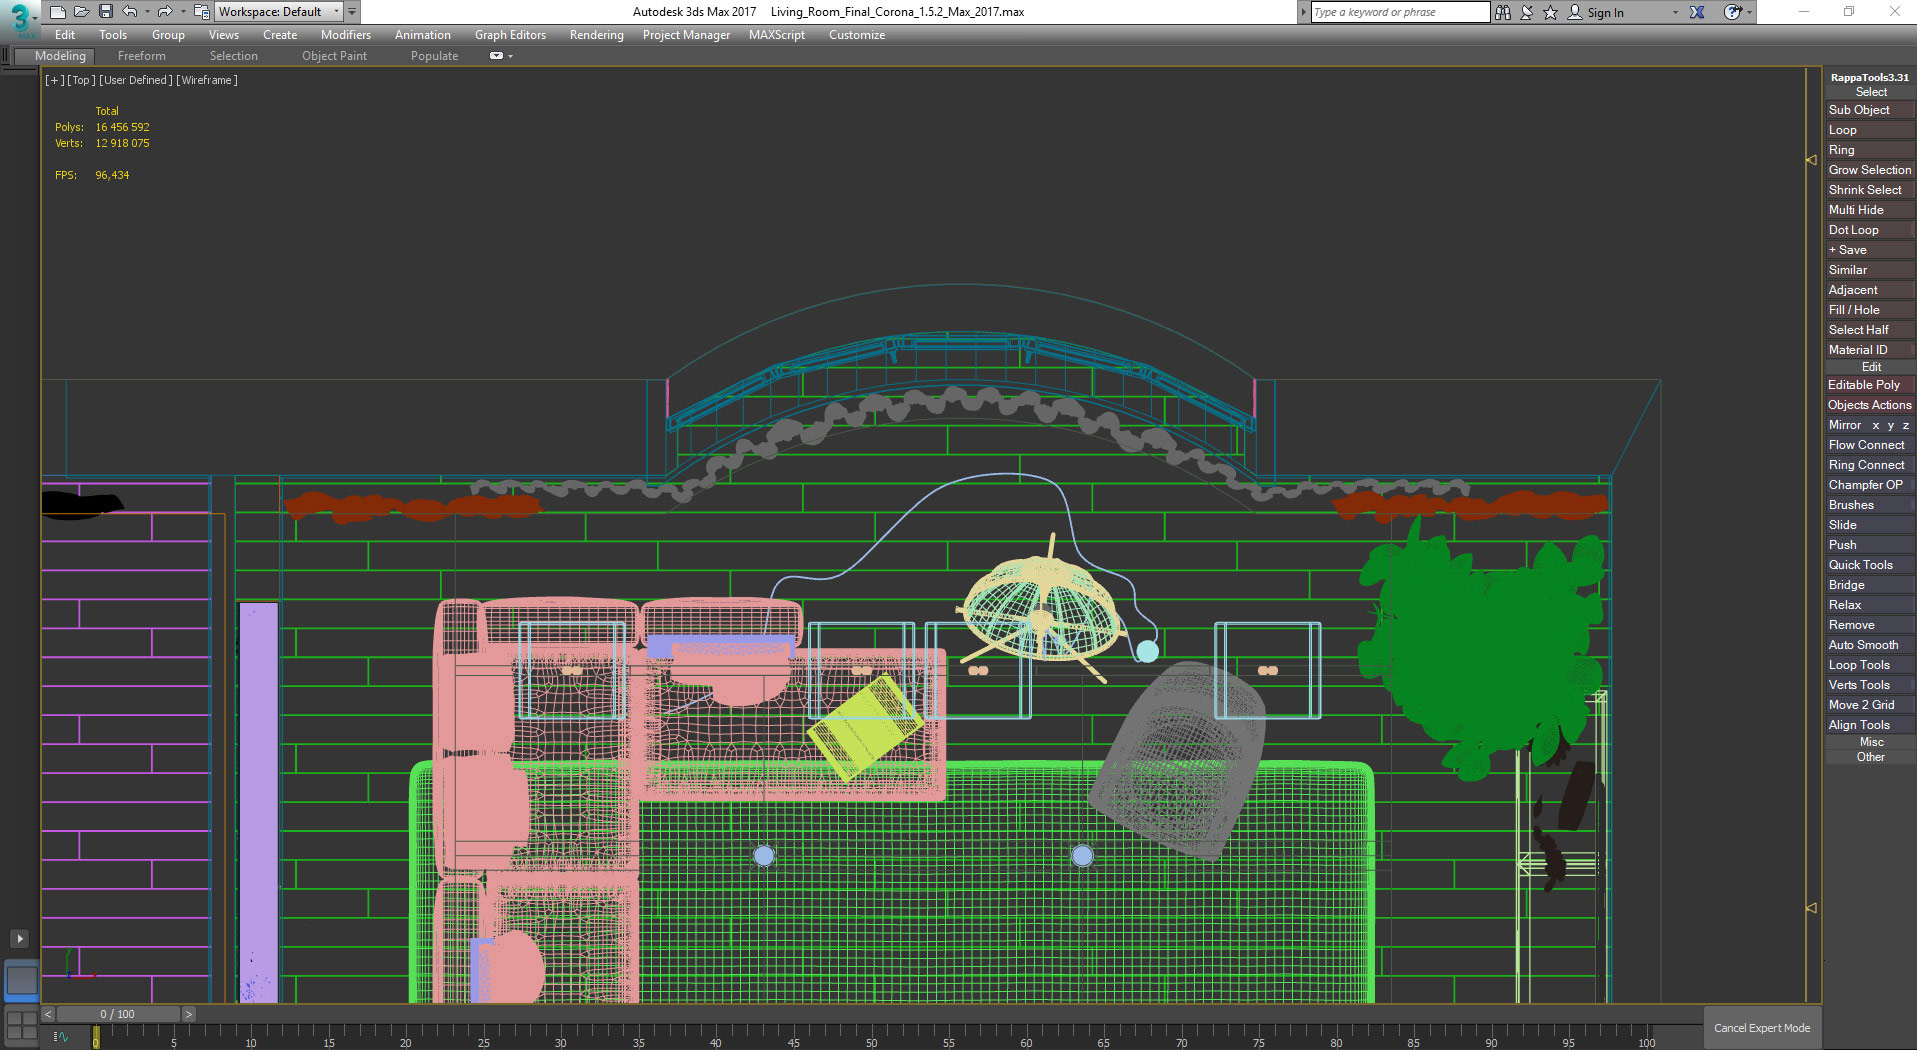
As long as there was a bay-window, it was necessary to stretch the curtain wall-to-wall according to the bay-window curve. In order to do that, I created a spline on the form of the room with a wall and a window and thatsplinewas used as the path for a smooth curtain-model, along which the curtain was curved by using the Path Deform modifier. I have to mention that modifier is very convenient for such operations. It was impossible to convert the object withtheforementionedmodifier via EditablePoly,otherwise everything could fly apart, so the curtain model was collapsed. (Collapse All command at the object modifier nesting-store)
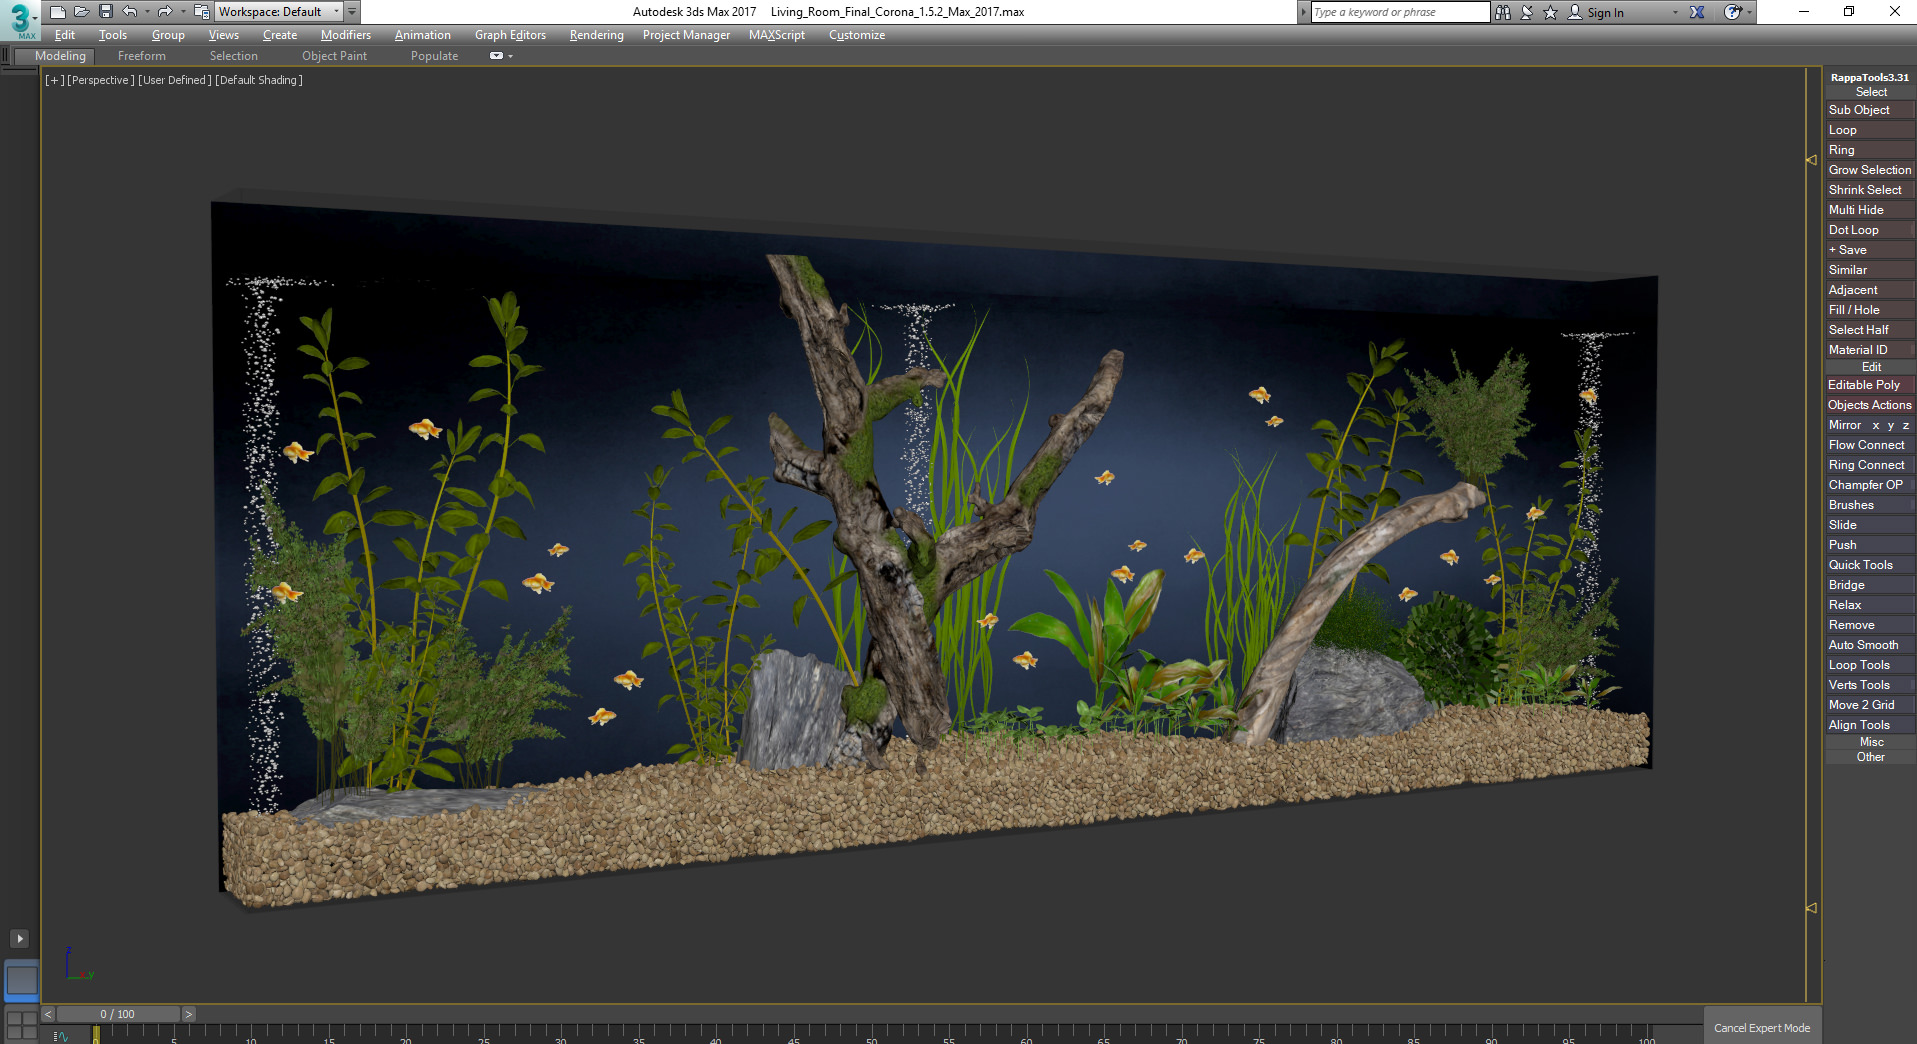
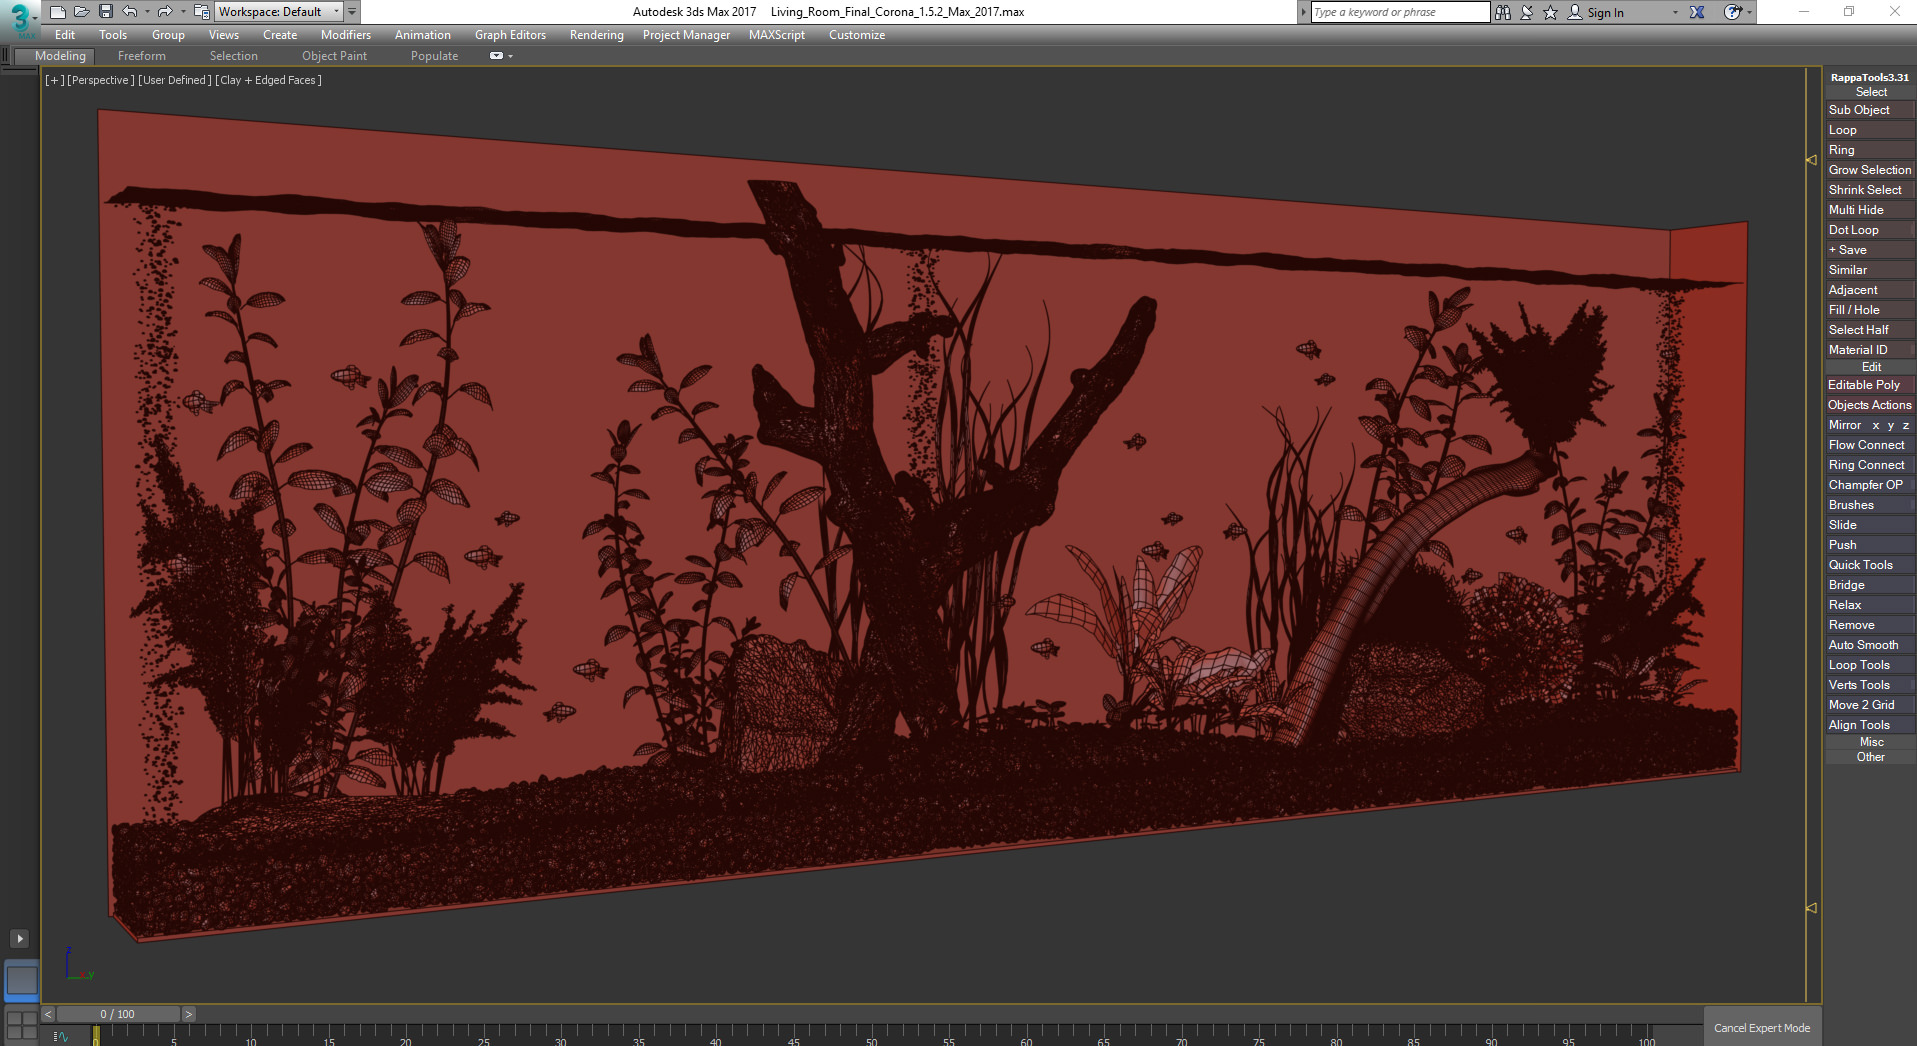
Moving forward, there are a few words about the aquarium model creation. A reference from the customer has been provided and it was necessary to create a roughly similarfilling-inwith plants and atmosphere according to that reference. You can see the resultatthe screenshots below.Generallyit is models selection and putting them together in a proper form. To create the filling-in of the bottom with stones, MassFX was applied; for some kinds ofgrassMultiSkatter was used.

Environment:
For the environment’s creation, I decided to step back from the regular HDRs and to search out for more interesting buildings’ geometry.Afterward, those buildings brought more interesting filling-in of the room with light.
You can find the building model at Turbosquid
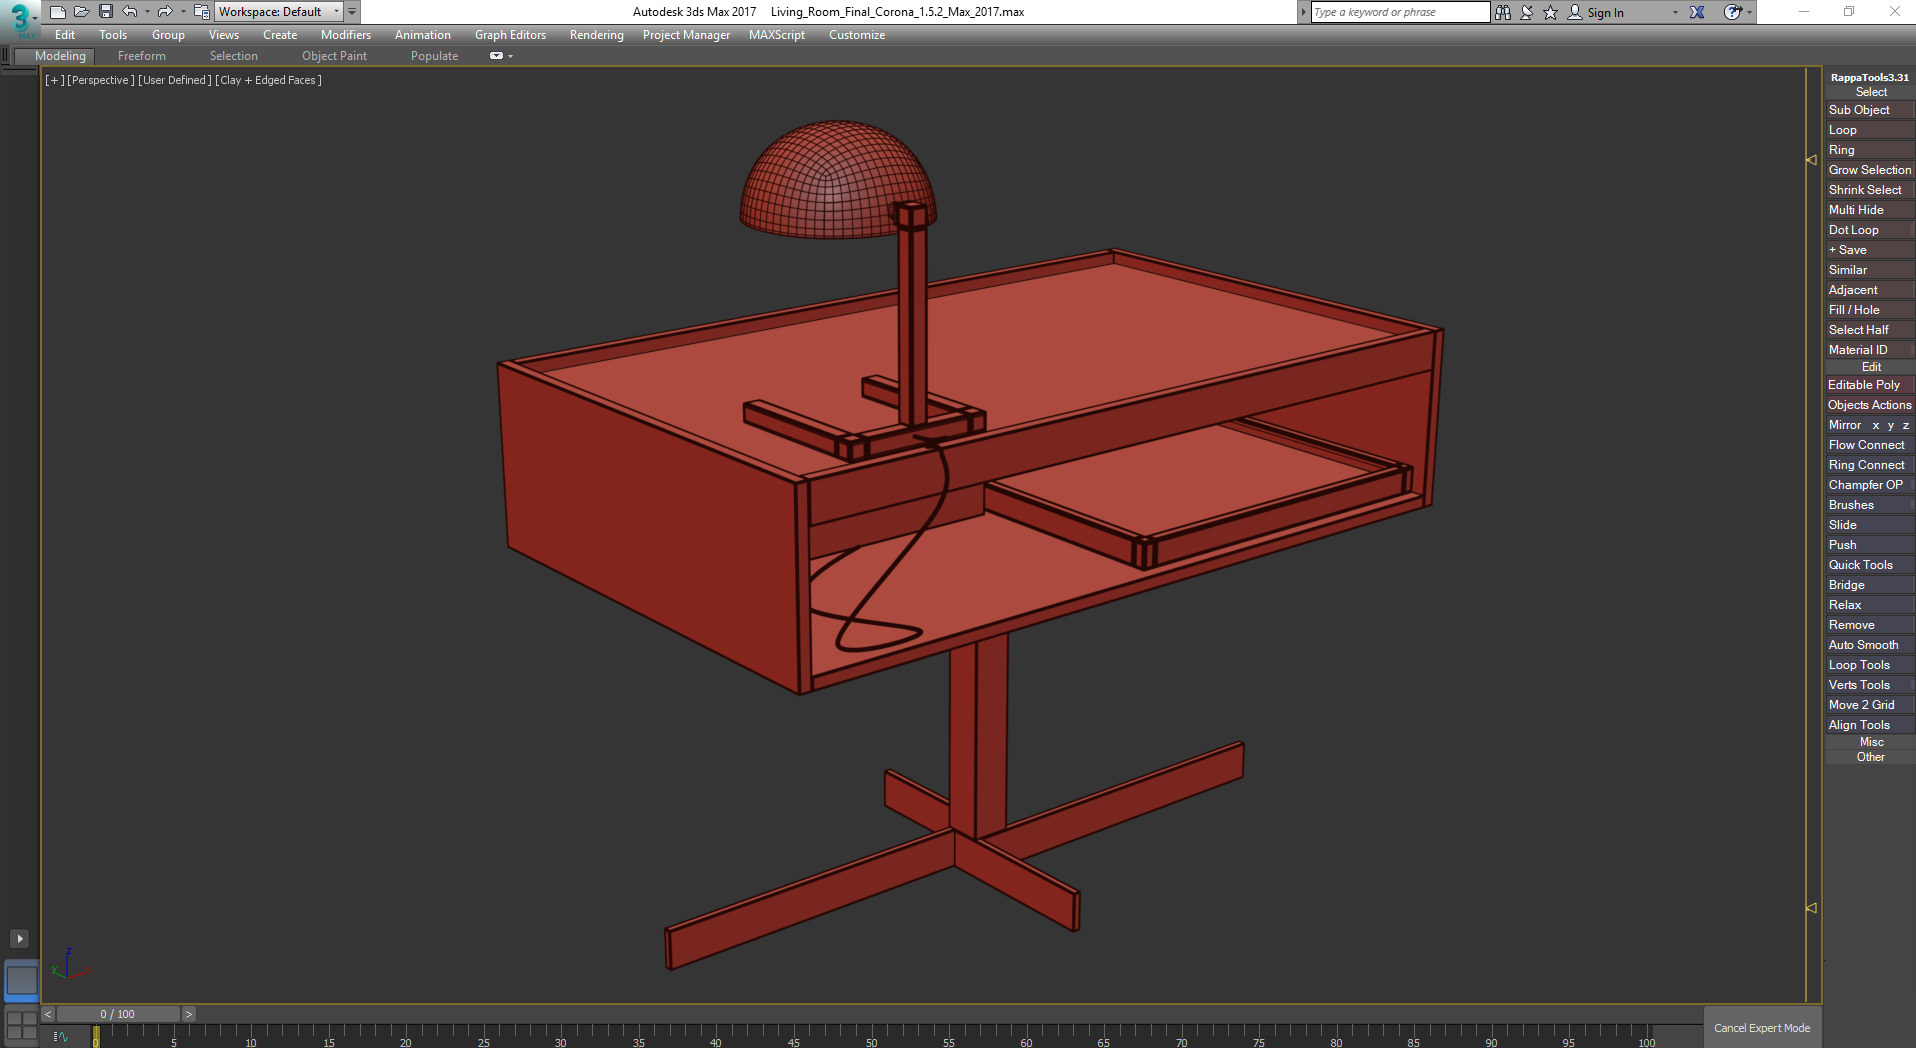
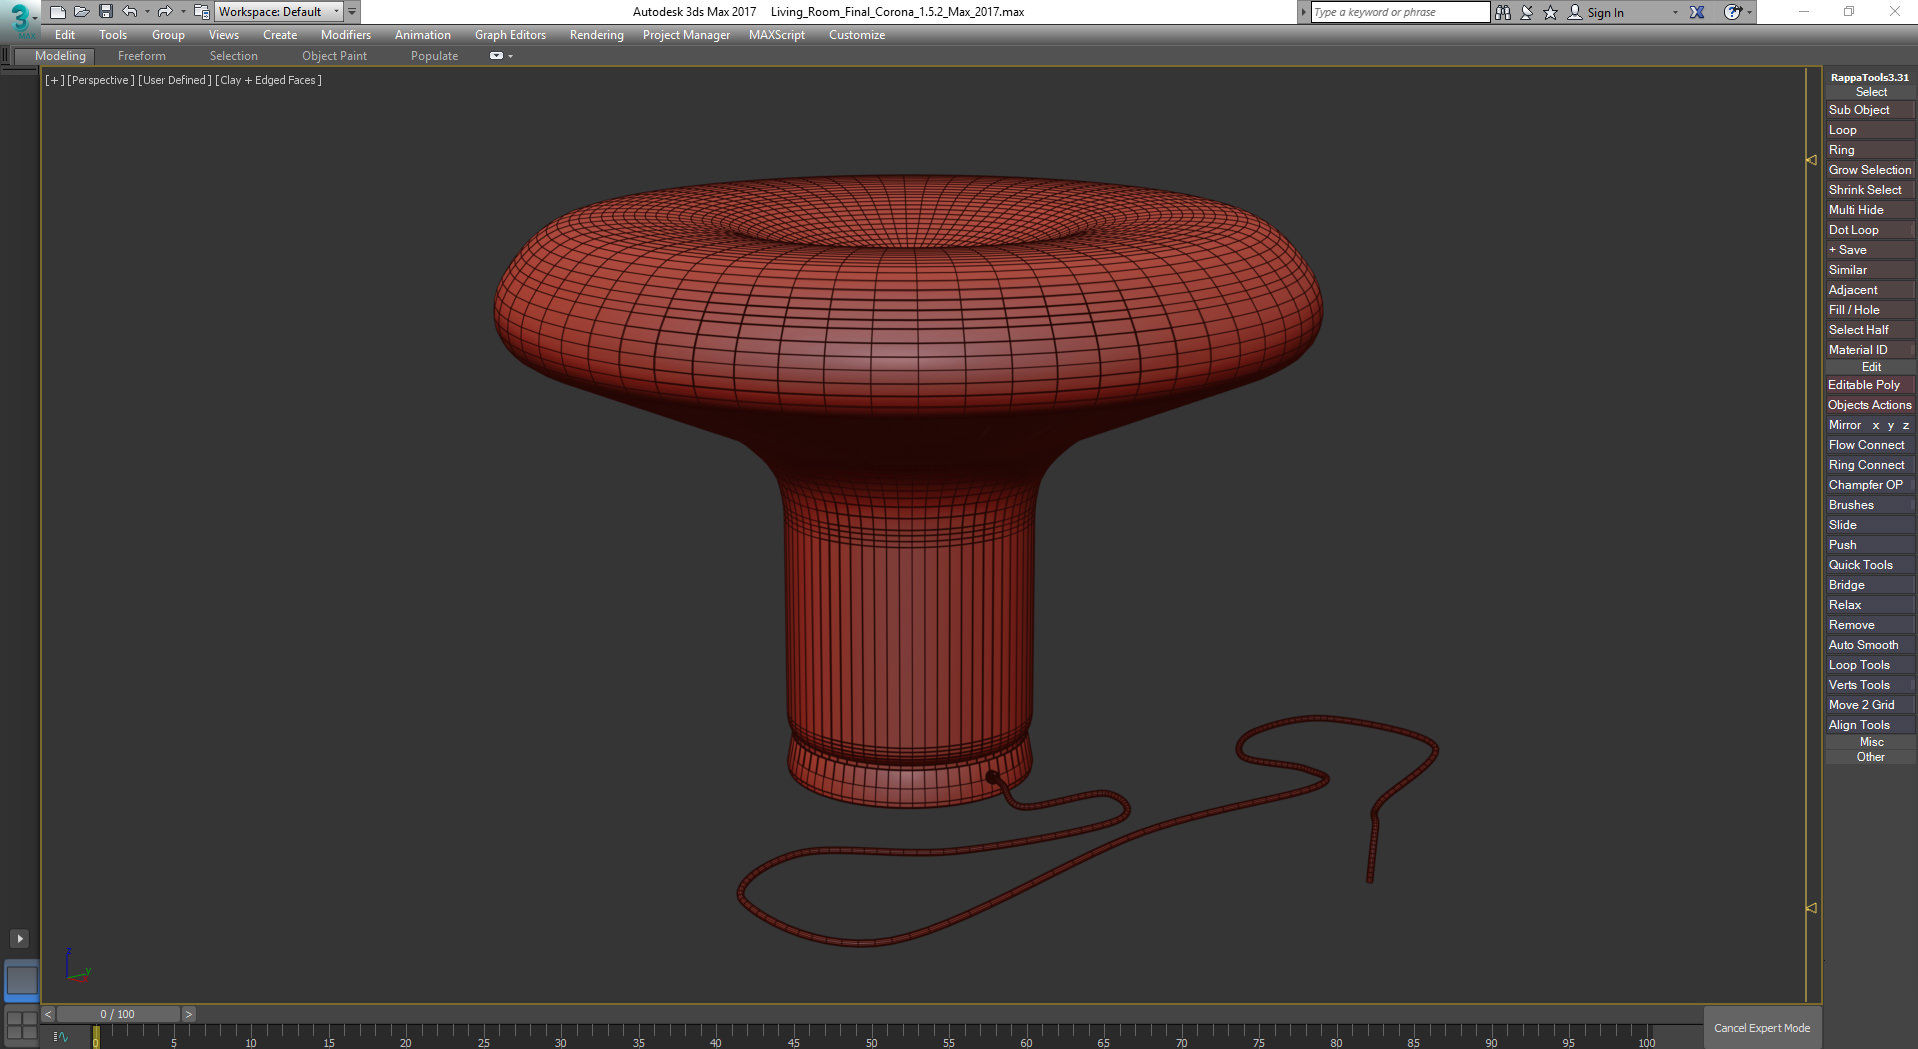
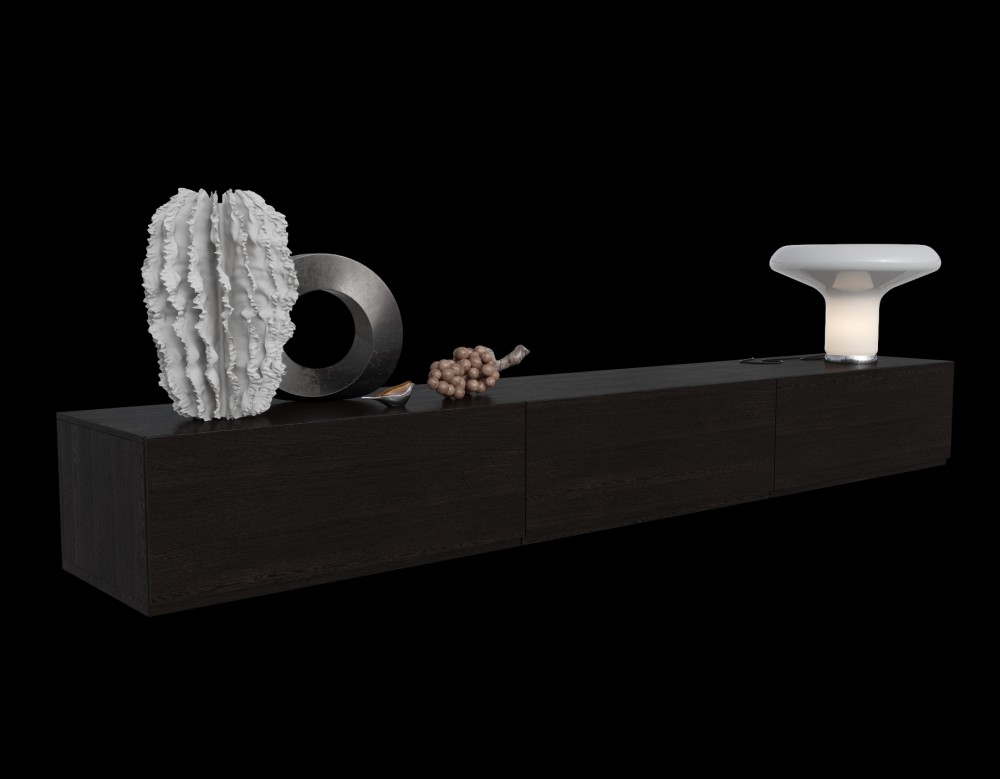
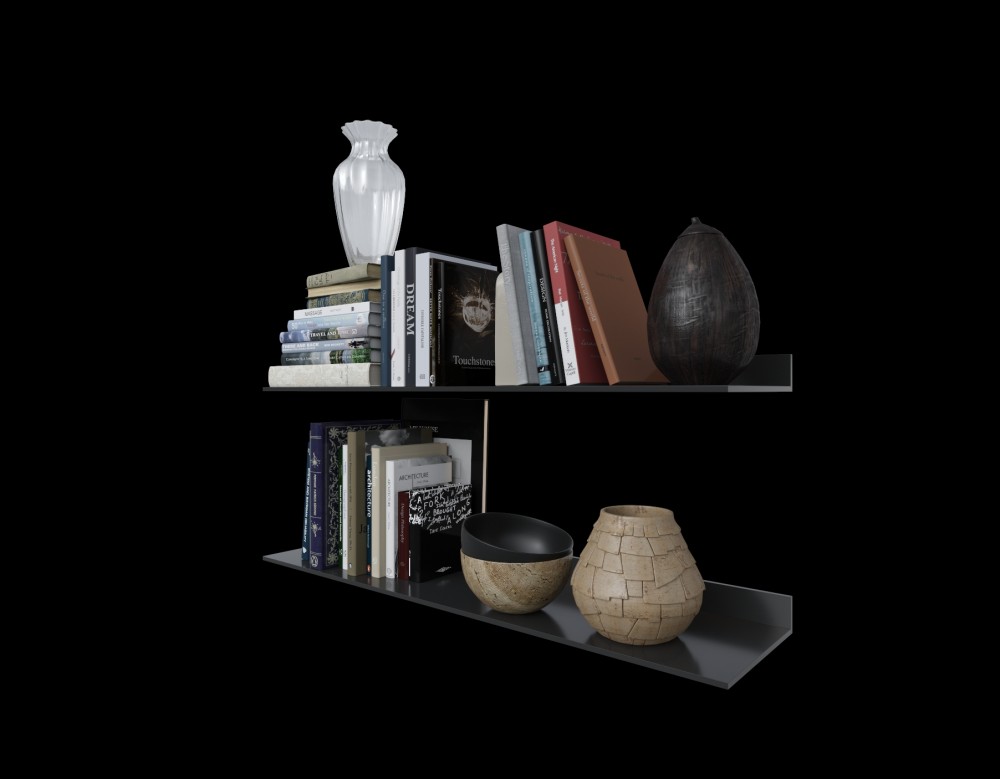
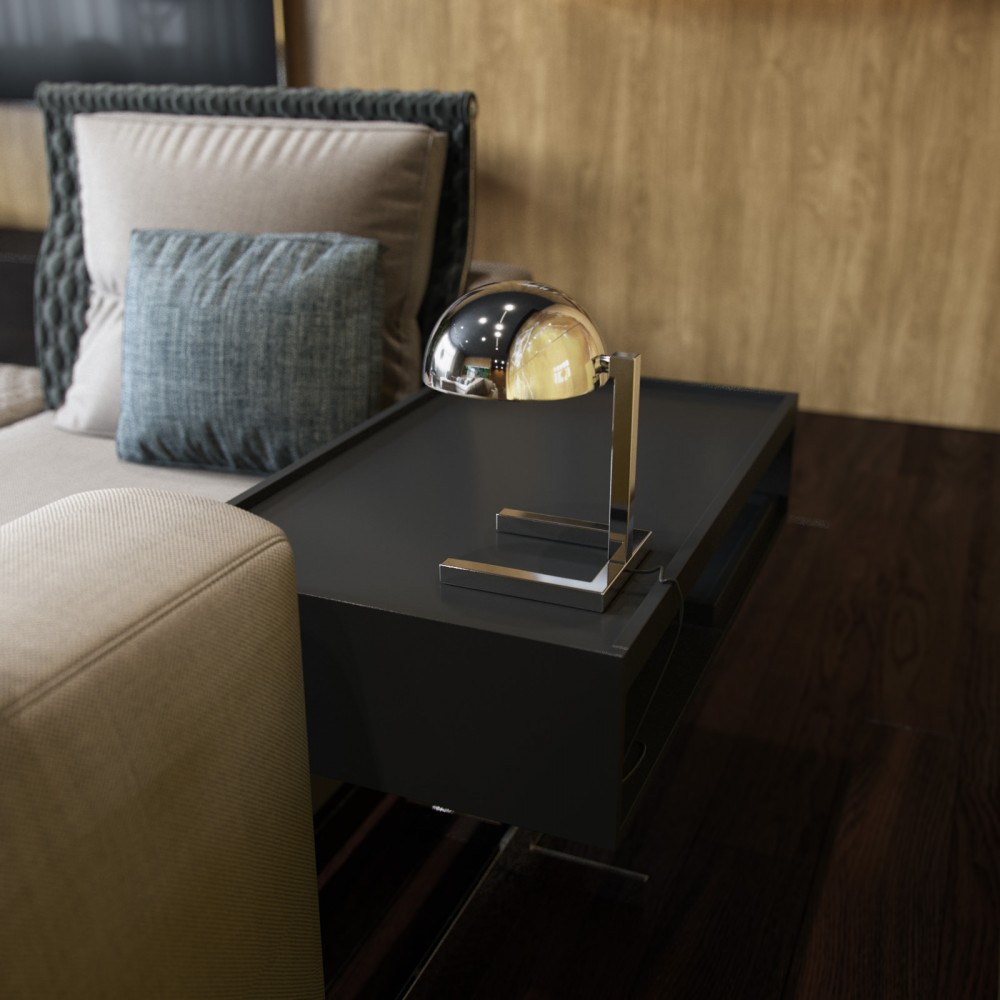
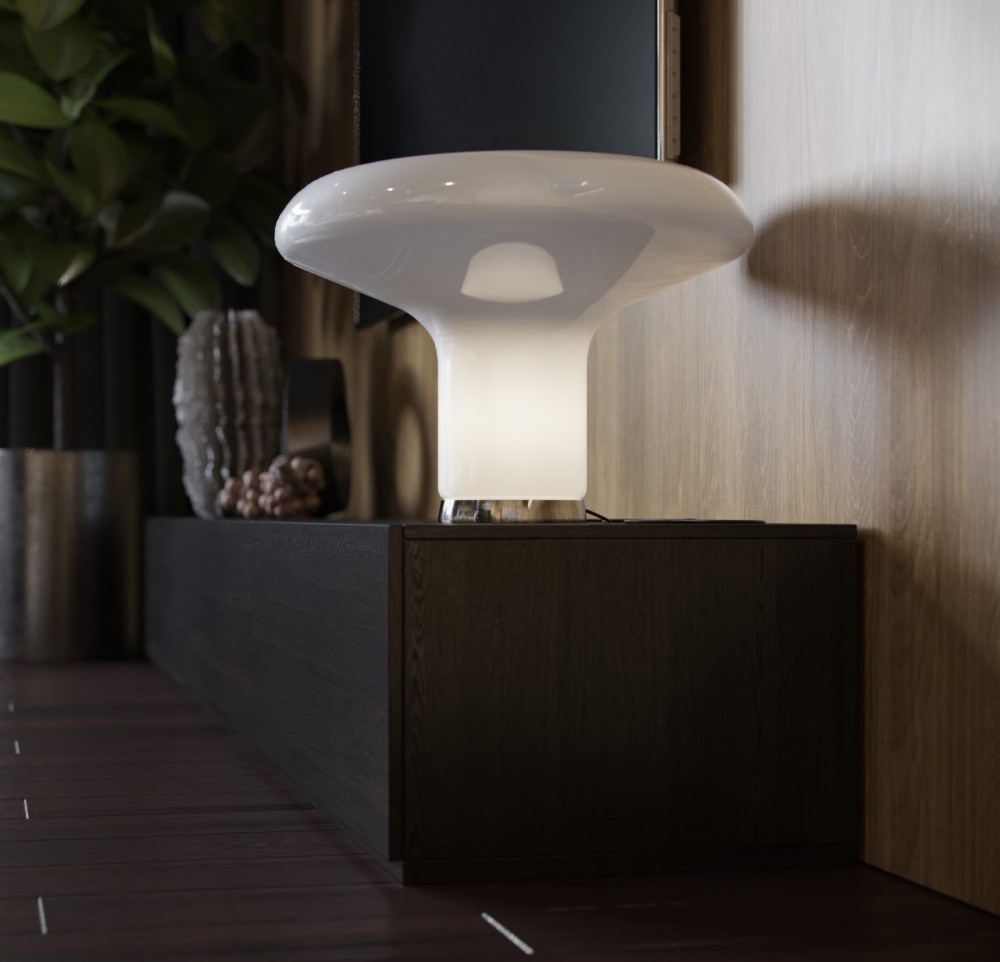
After that, I modelled some lamps and a simple geometry in the form of a table, shelves and a chest-of-drawers for TV. I always have a habit to create a flat pattern for the models I make by myself whether it’s a simple box or lounge furniture.
Totaled up, about 16 500 000 polygons were produced in the scene. Back then I used i7-3930k CPU, AMDFirePROW7000 display card and 48 Gb RAM. Due to the process, rendering was going very slowly but the RAM helped to calculate large volumes correctly more than enough. Stage of modeling and the scene installation was completed, so I started to set up lighting.
Firstly, I installed cameras by picking up photo-opportunities; those revealed the room as a whole and, as a safety-outletI set a couple of cameras for close-ups.
I tried many analogs and schemes while setting up lighting, including HDR. With the express purpose of the sitting-room and kitchen, I settled upon CoronaSky and CoronaSun.
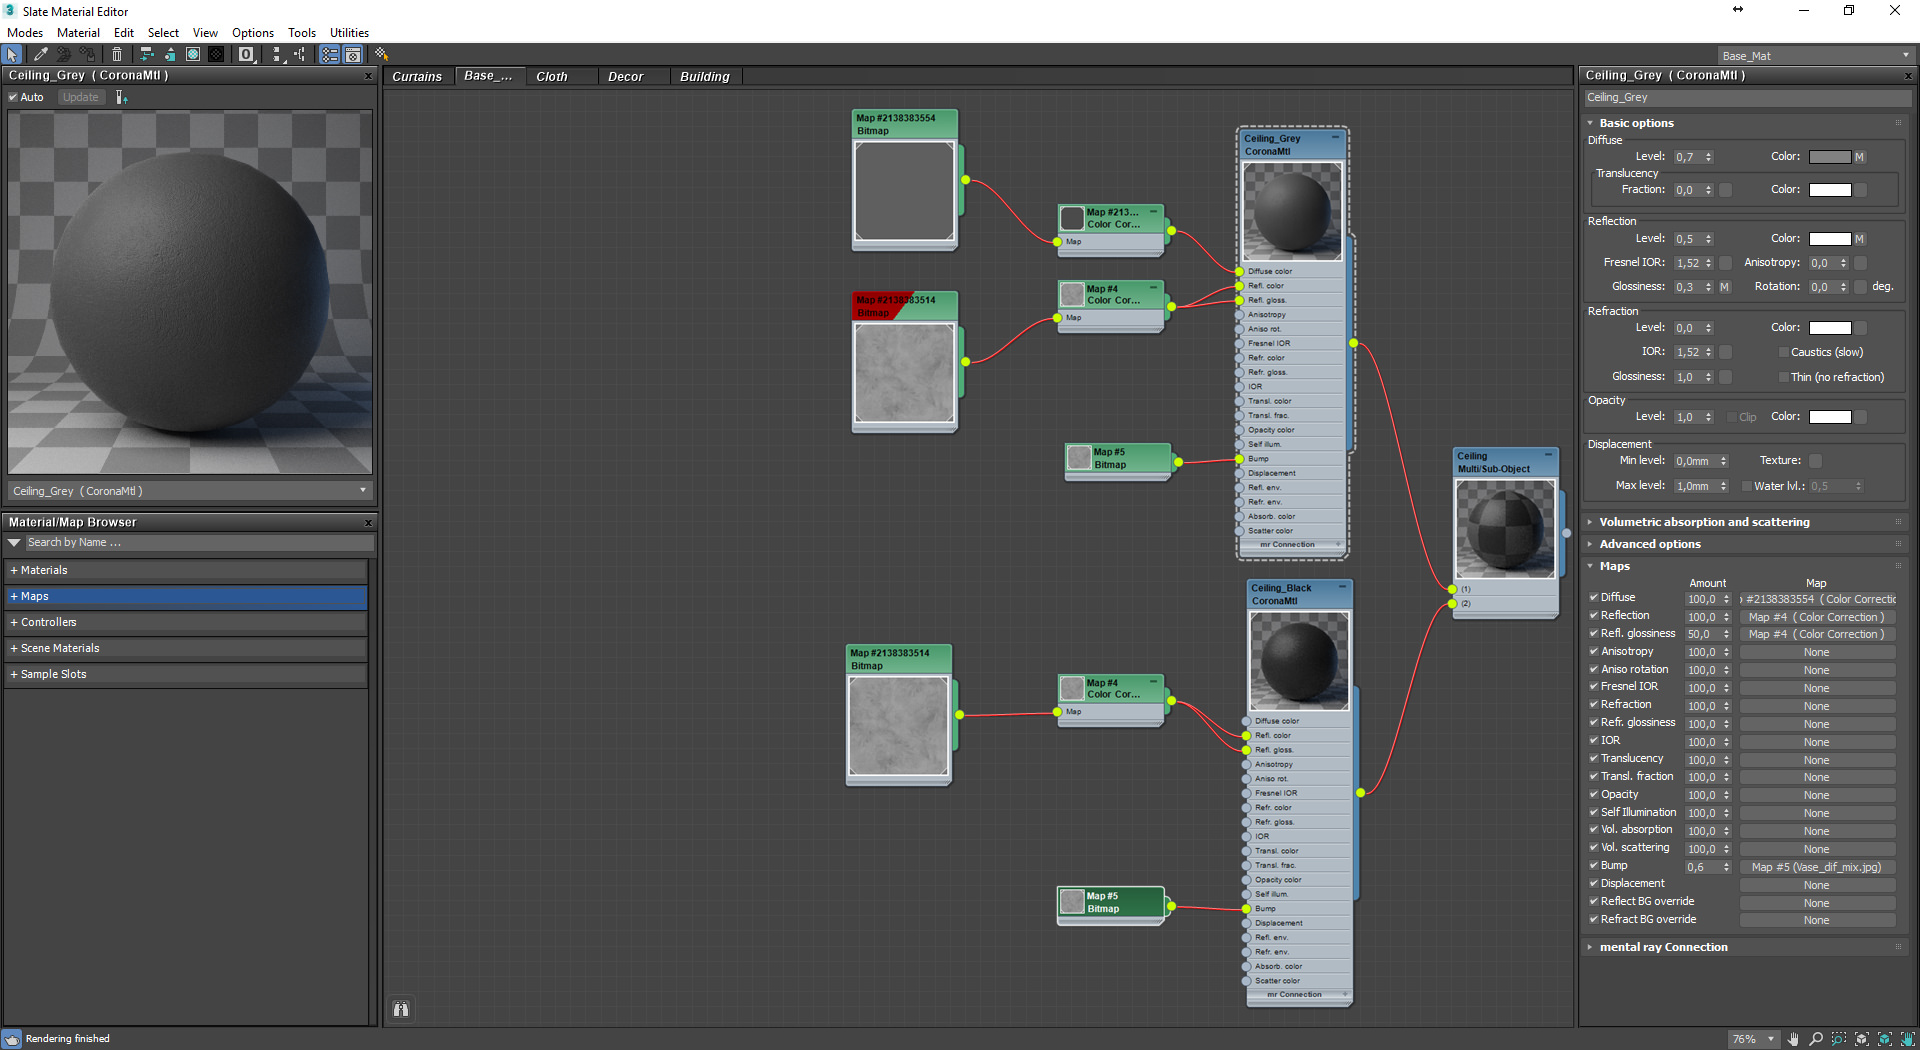
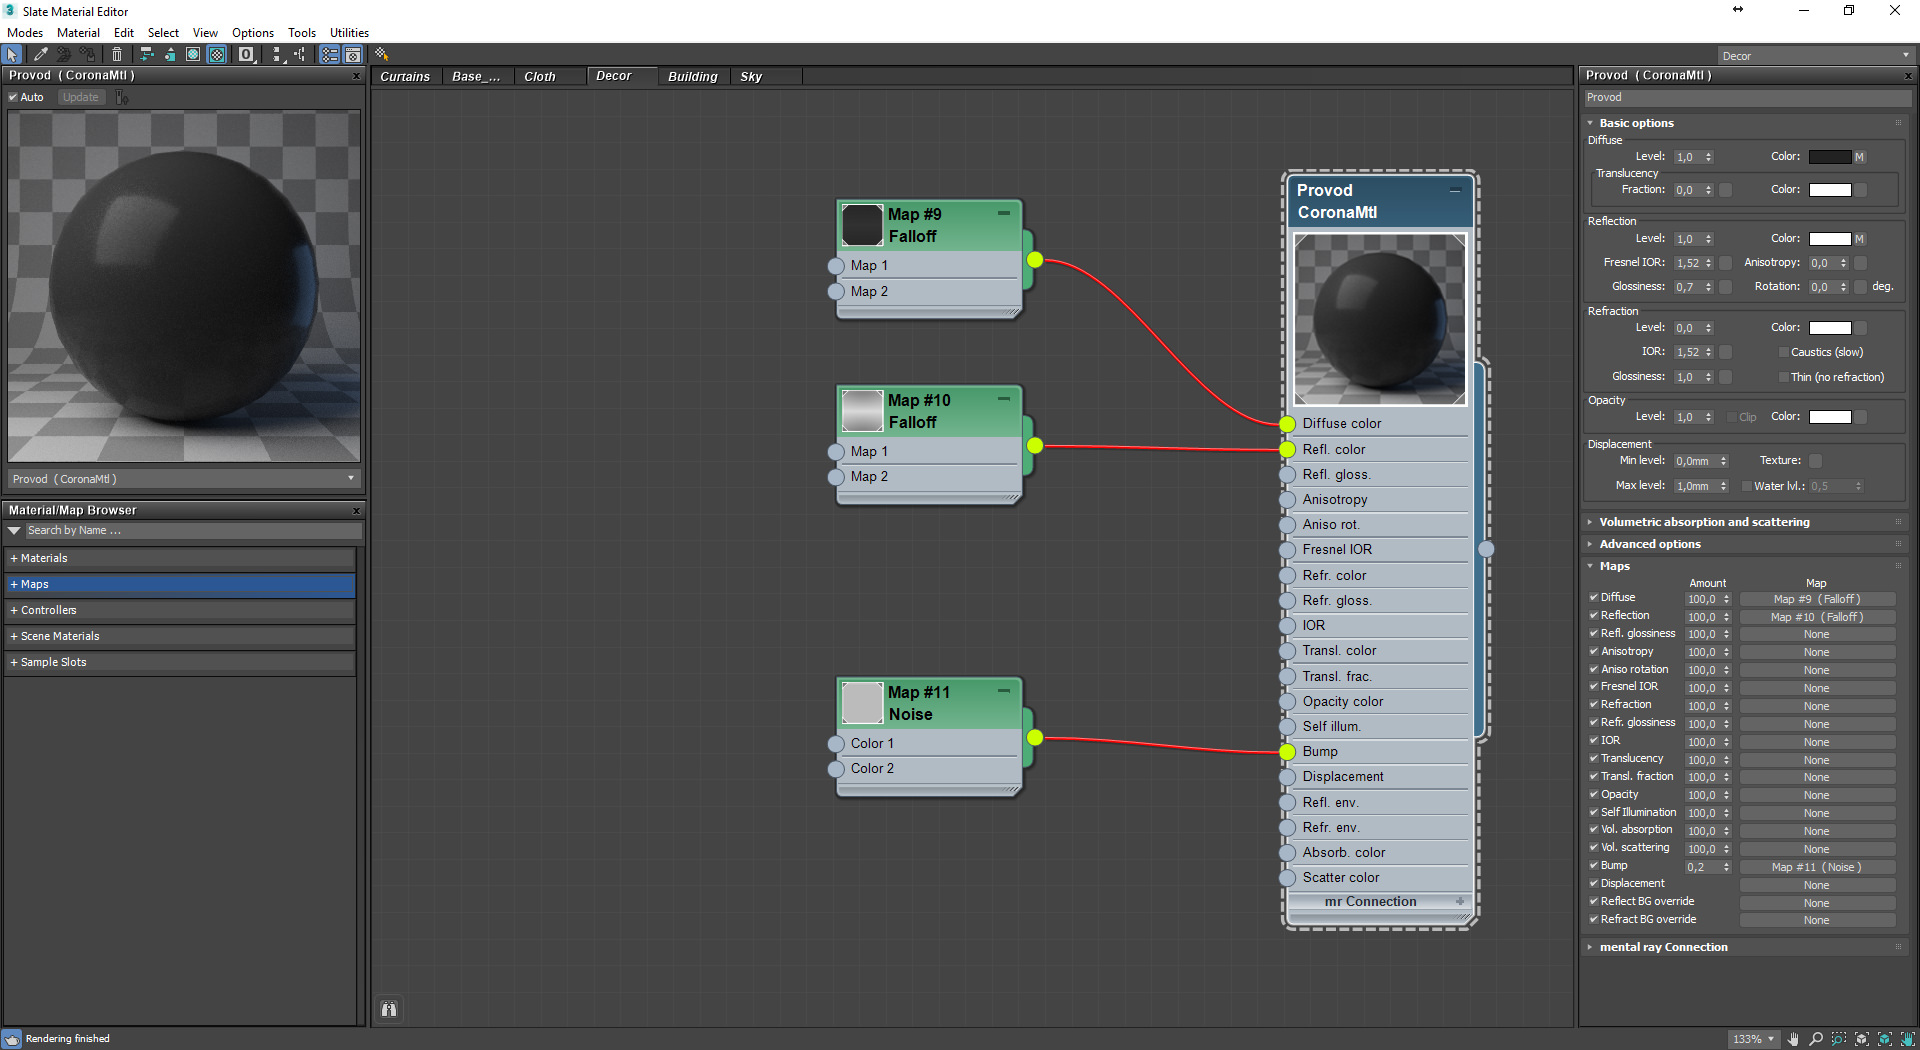
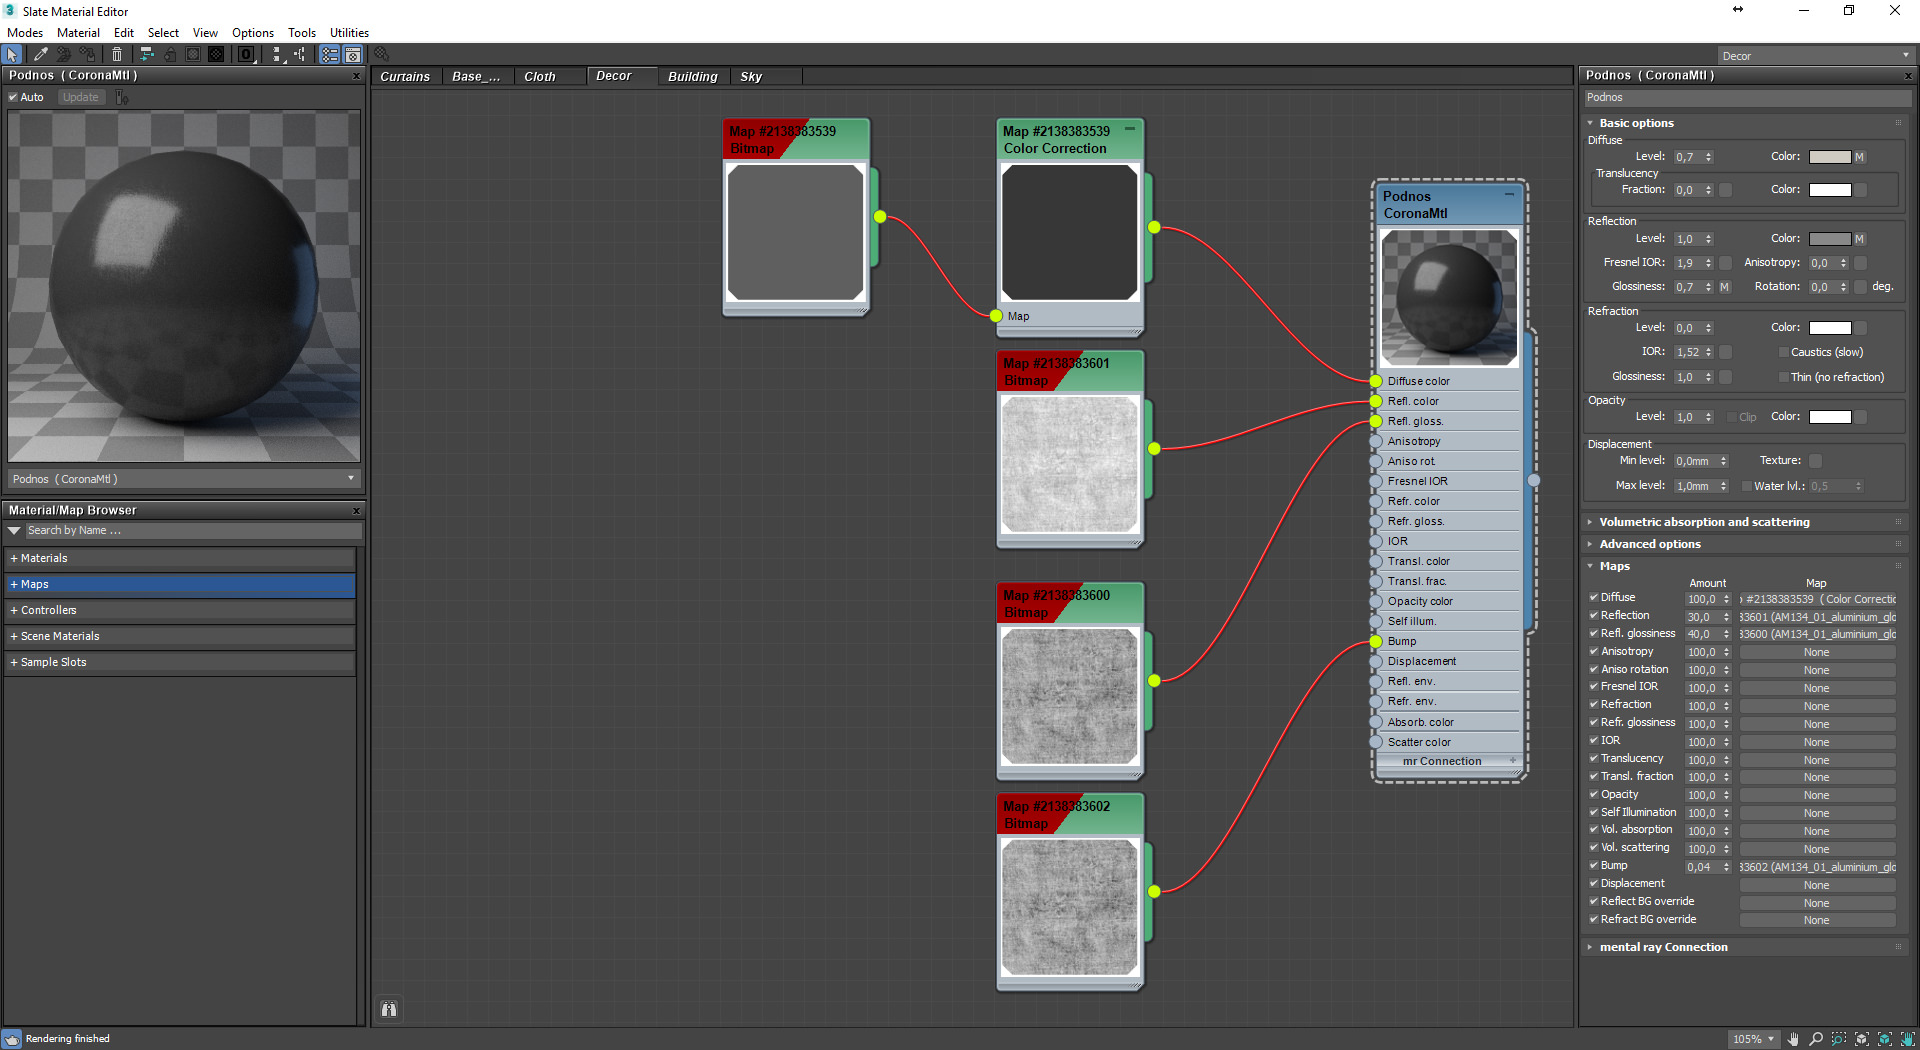
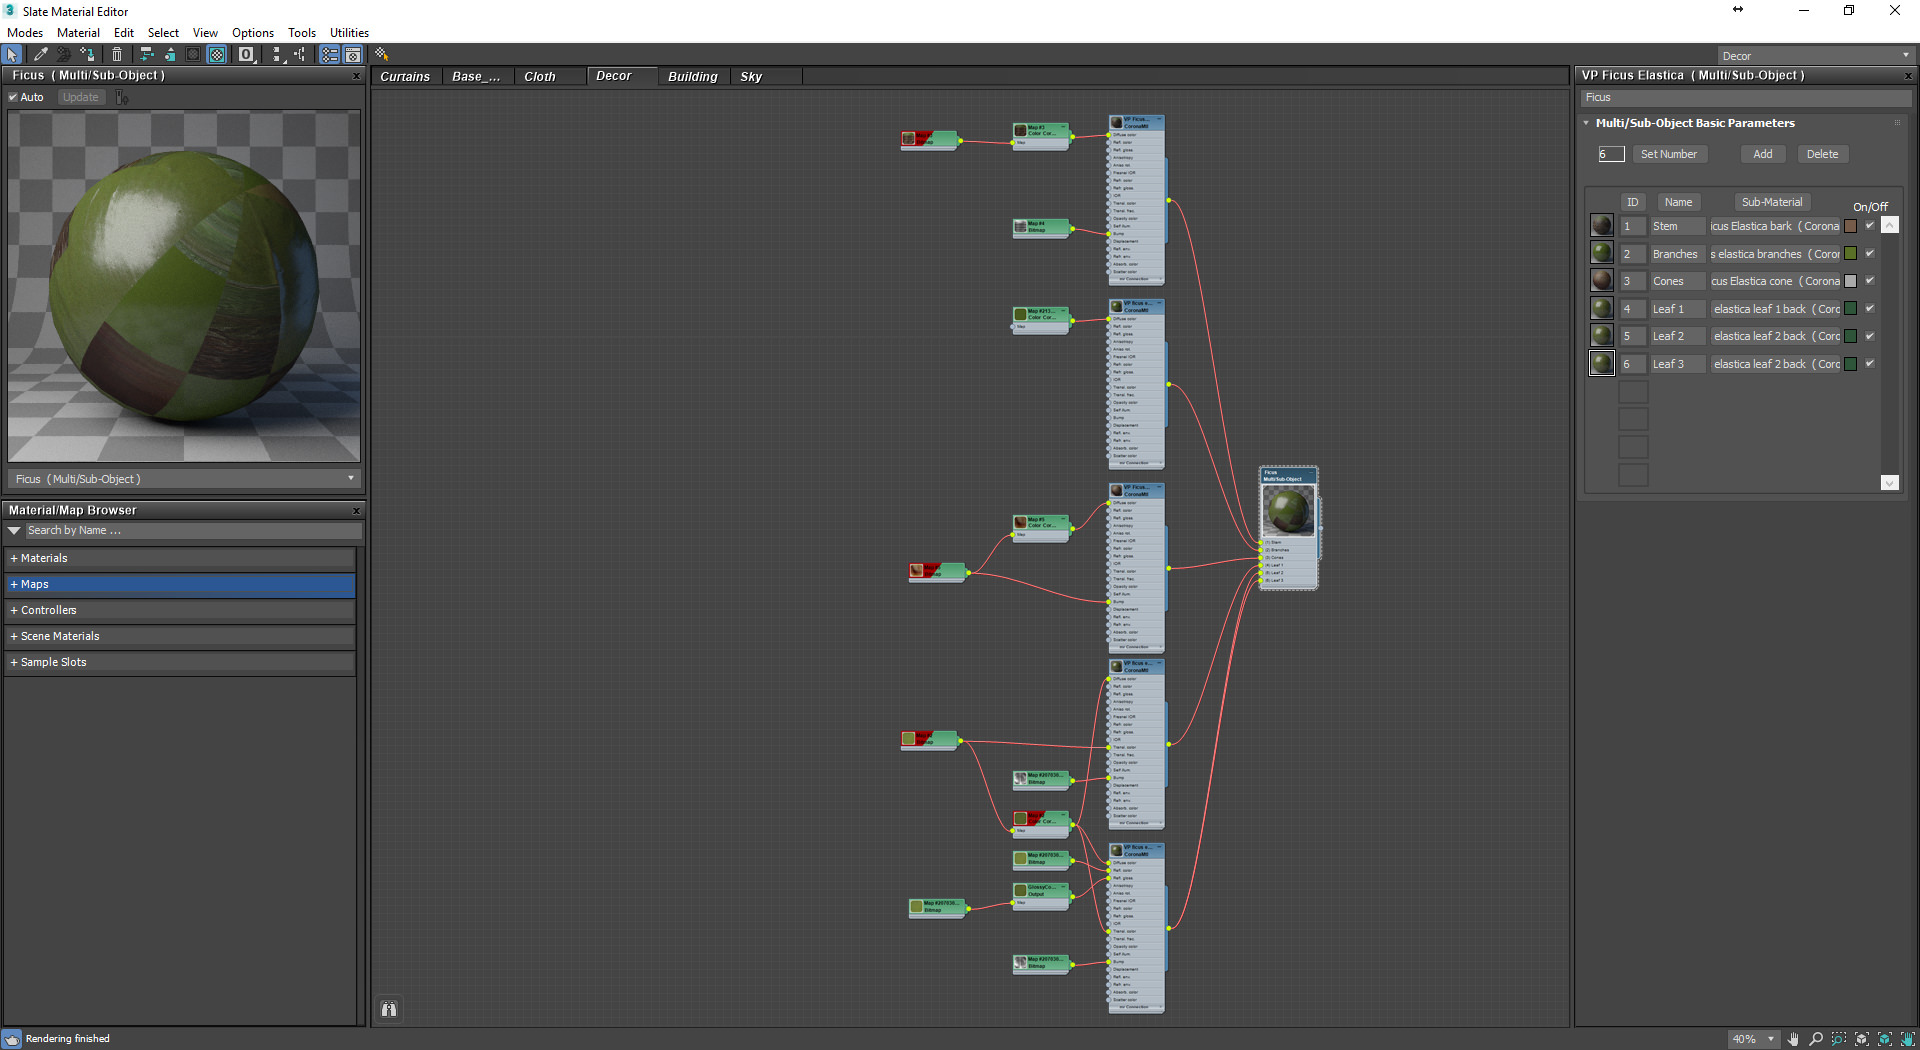
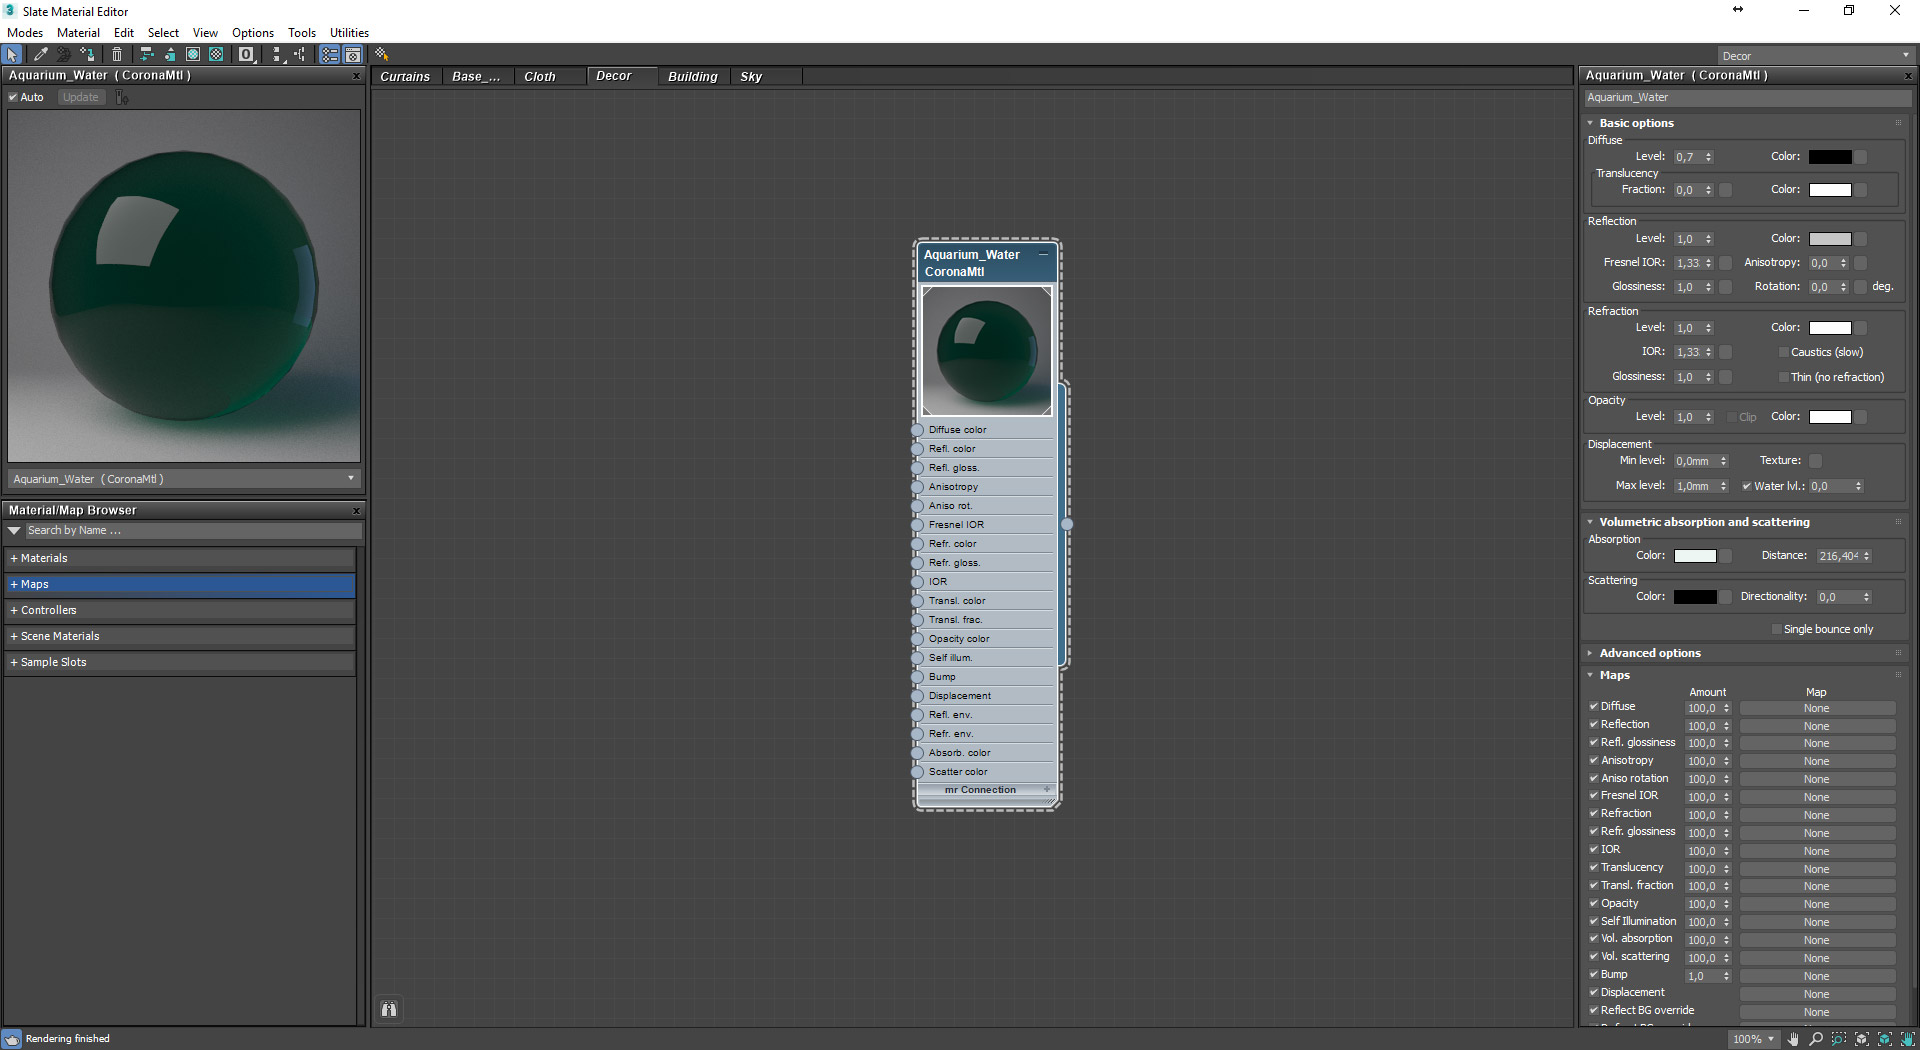
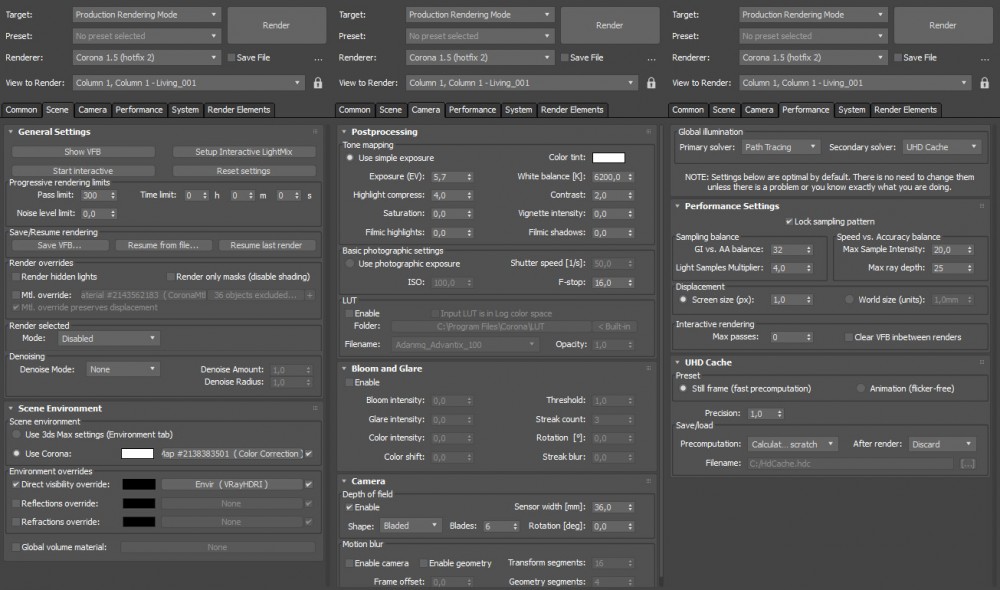
I use Compact Material Editor in my work, but the screenshots below are shown in Slate mode, for it allows displaying the material scheme more informatively.
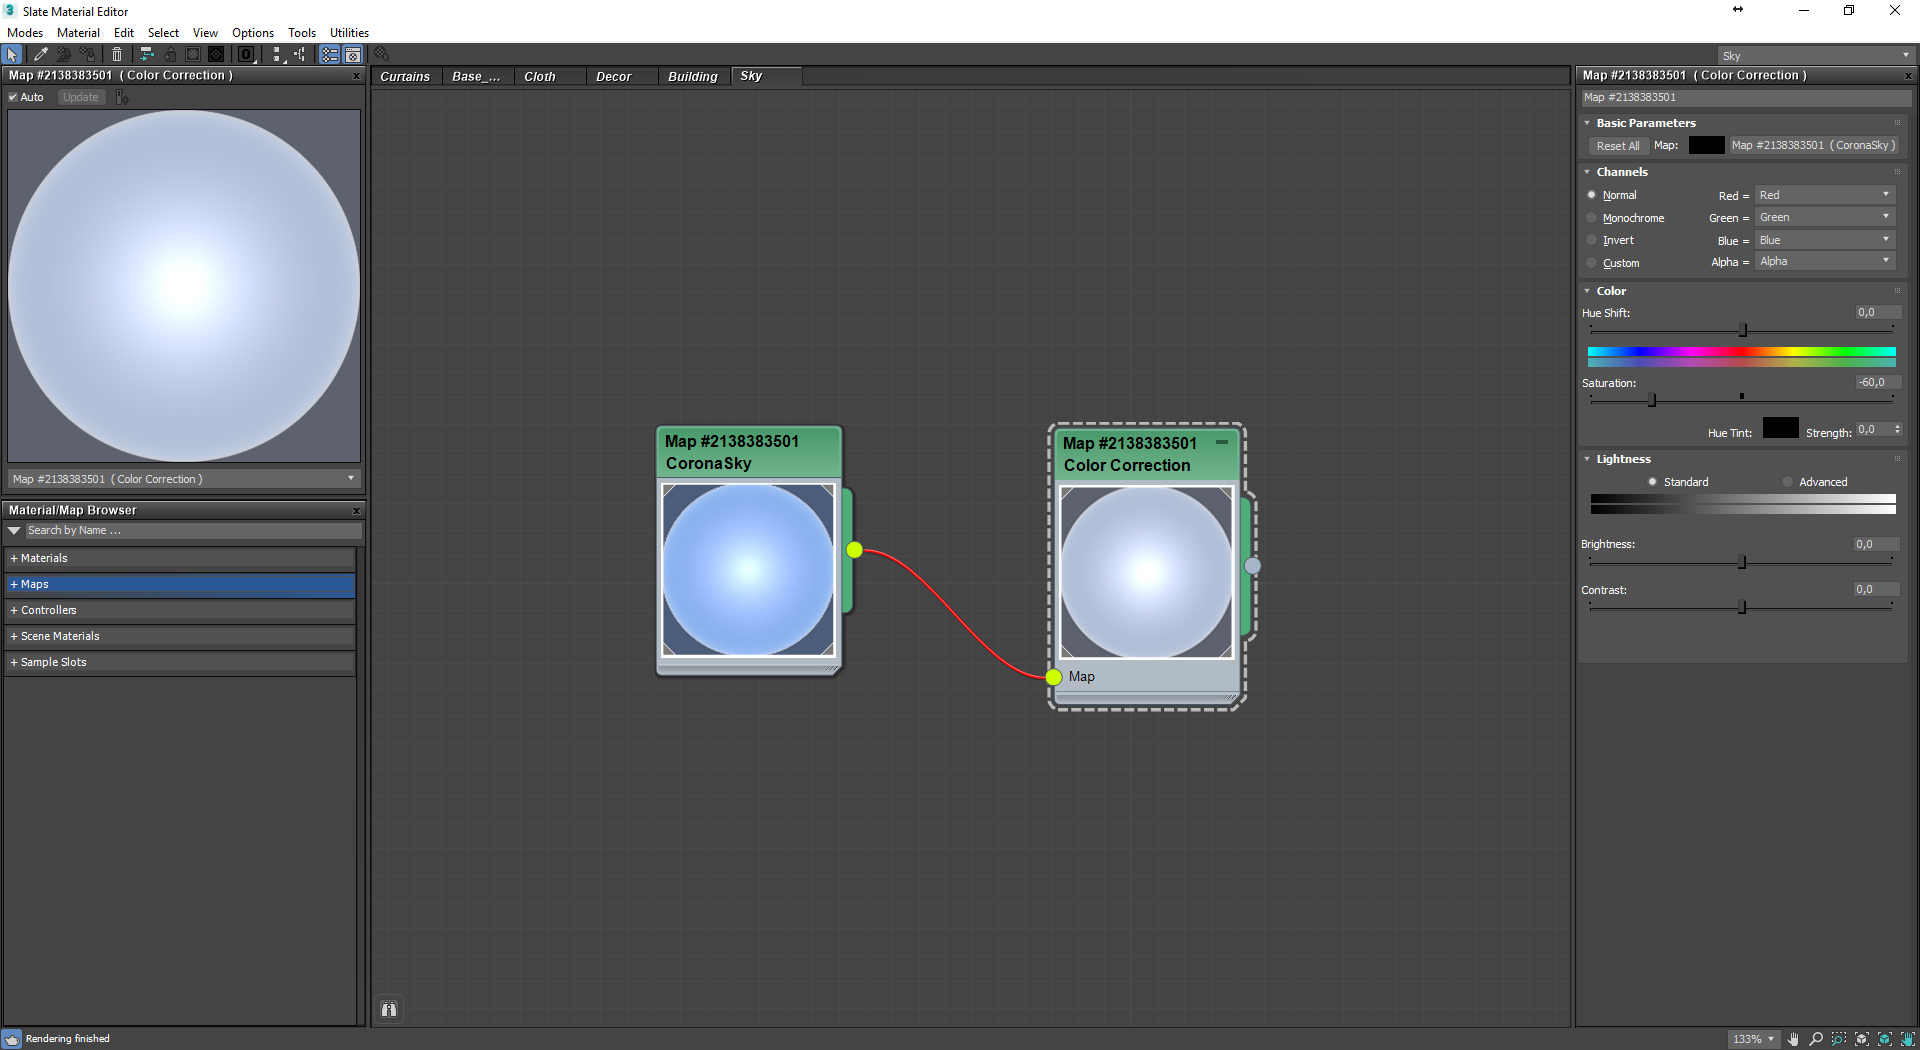
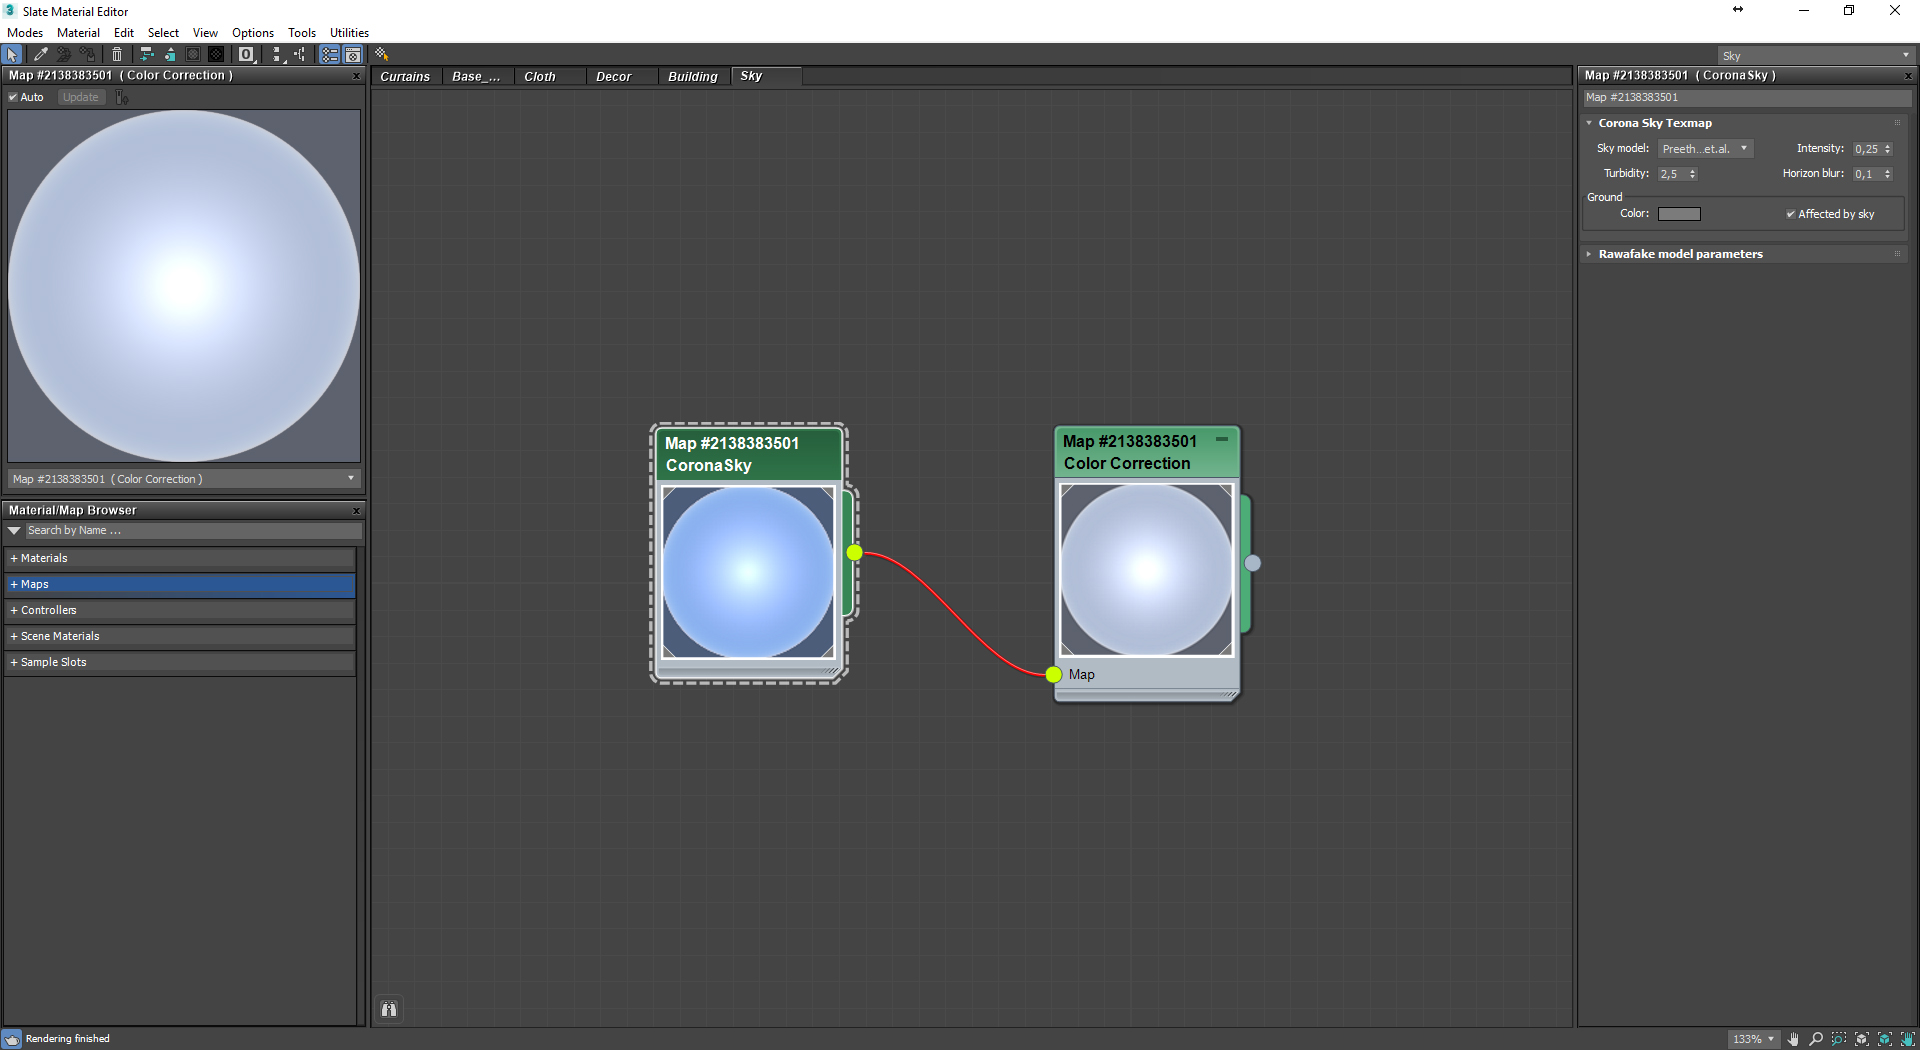
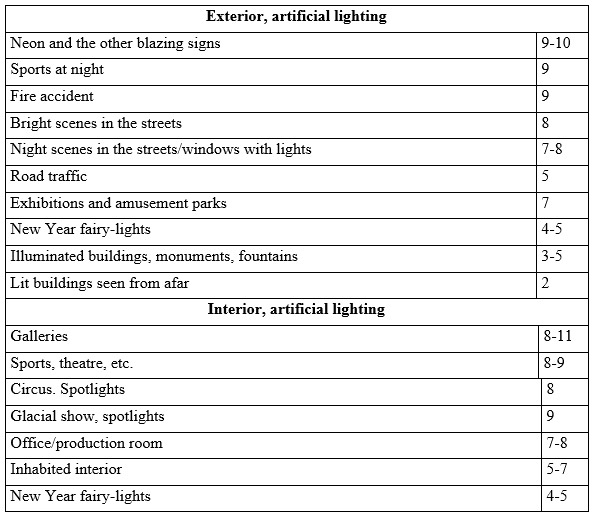
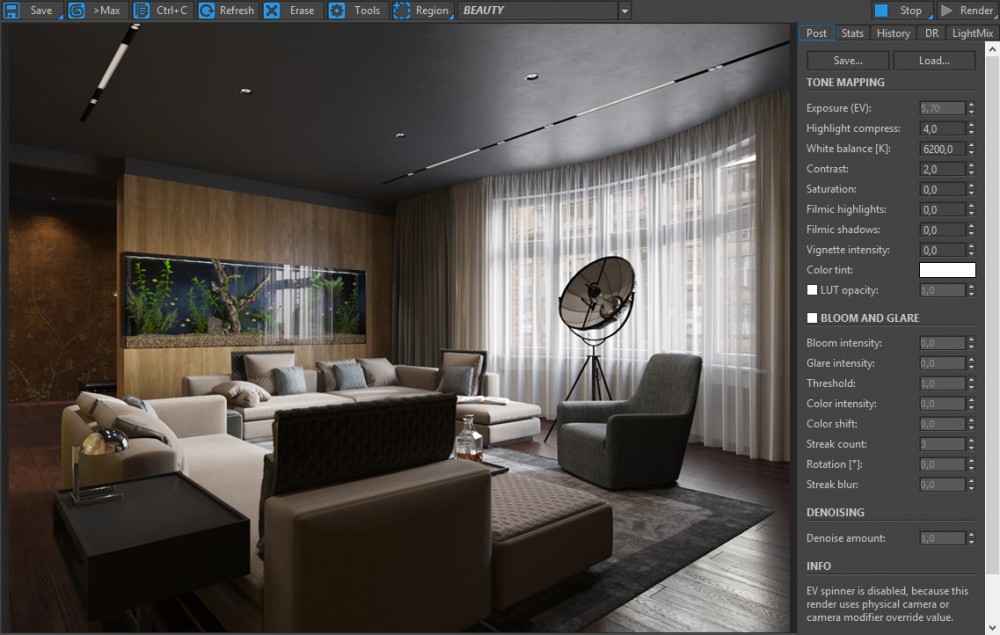
As you canseeatthescreenshot, I transmitted CoronaSky through the ColorCorrection map in order to lower the sky saturation by setting up the intensity at 0,25. In my frame buffer, the exposure is controlled by a high EV (combination of shutter speed and aperture), where shutter speed and aperture depend on ISO (sensitivity), and EV characterizes the exposition couple in whole. If you look for recommended values for shooting, you will find that for an inhabited interior this value equals 5-7. A small table on this matter is attached below.
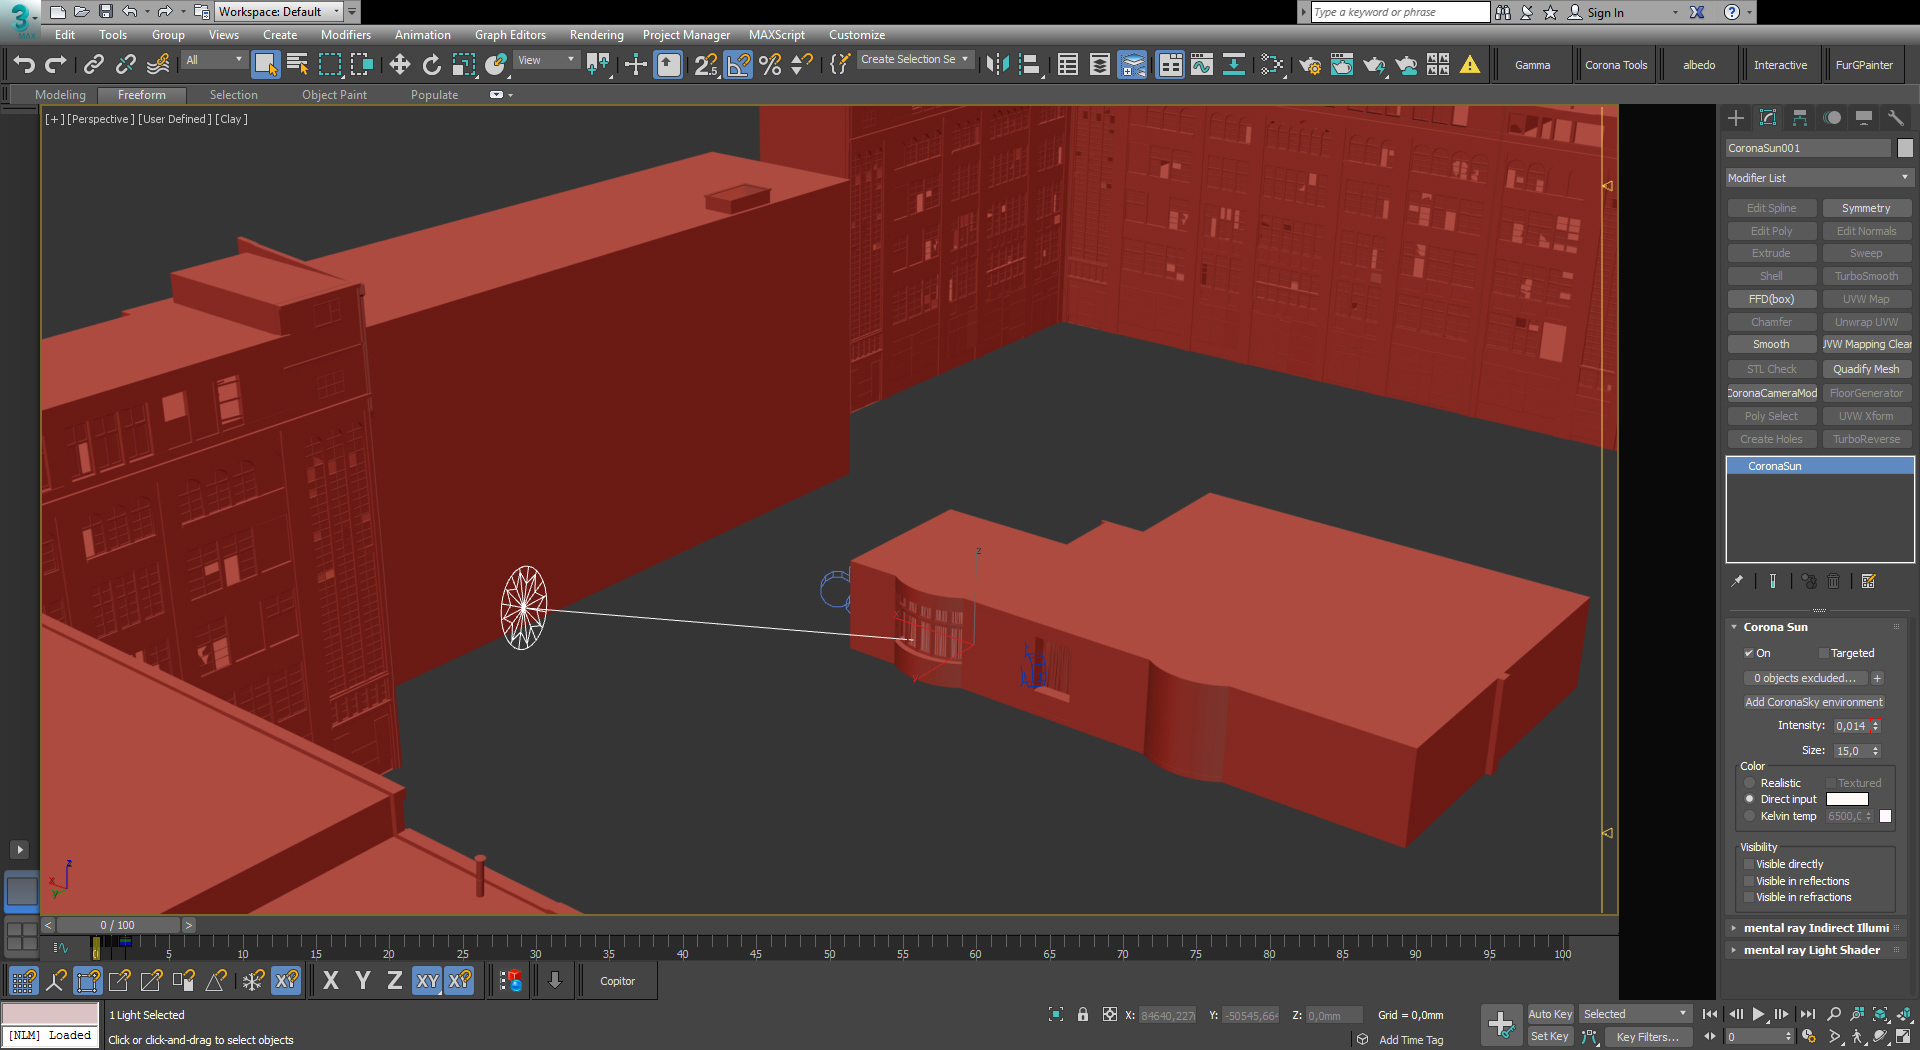
I enlarged the sun dimension to a great extent to have shadows blurred and lowered its intensity in order for CoronaSun -at its lower position- not to overshine the room by its light, but made the light a bit more interesting than just sky light. The sun was also animated in order to make possible to render the other rooms, with windows facing opposite site, in one file. CoronaSun disposition and its parameters are given on the screenshot below.
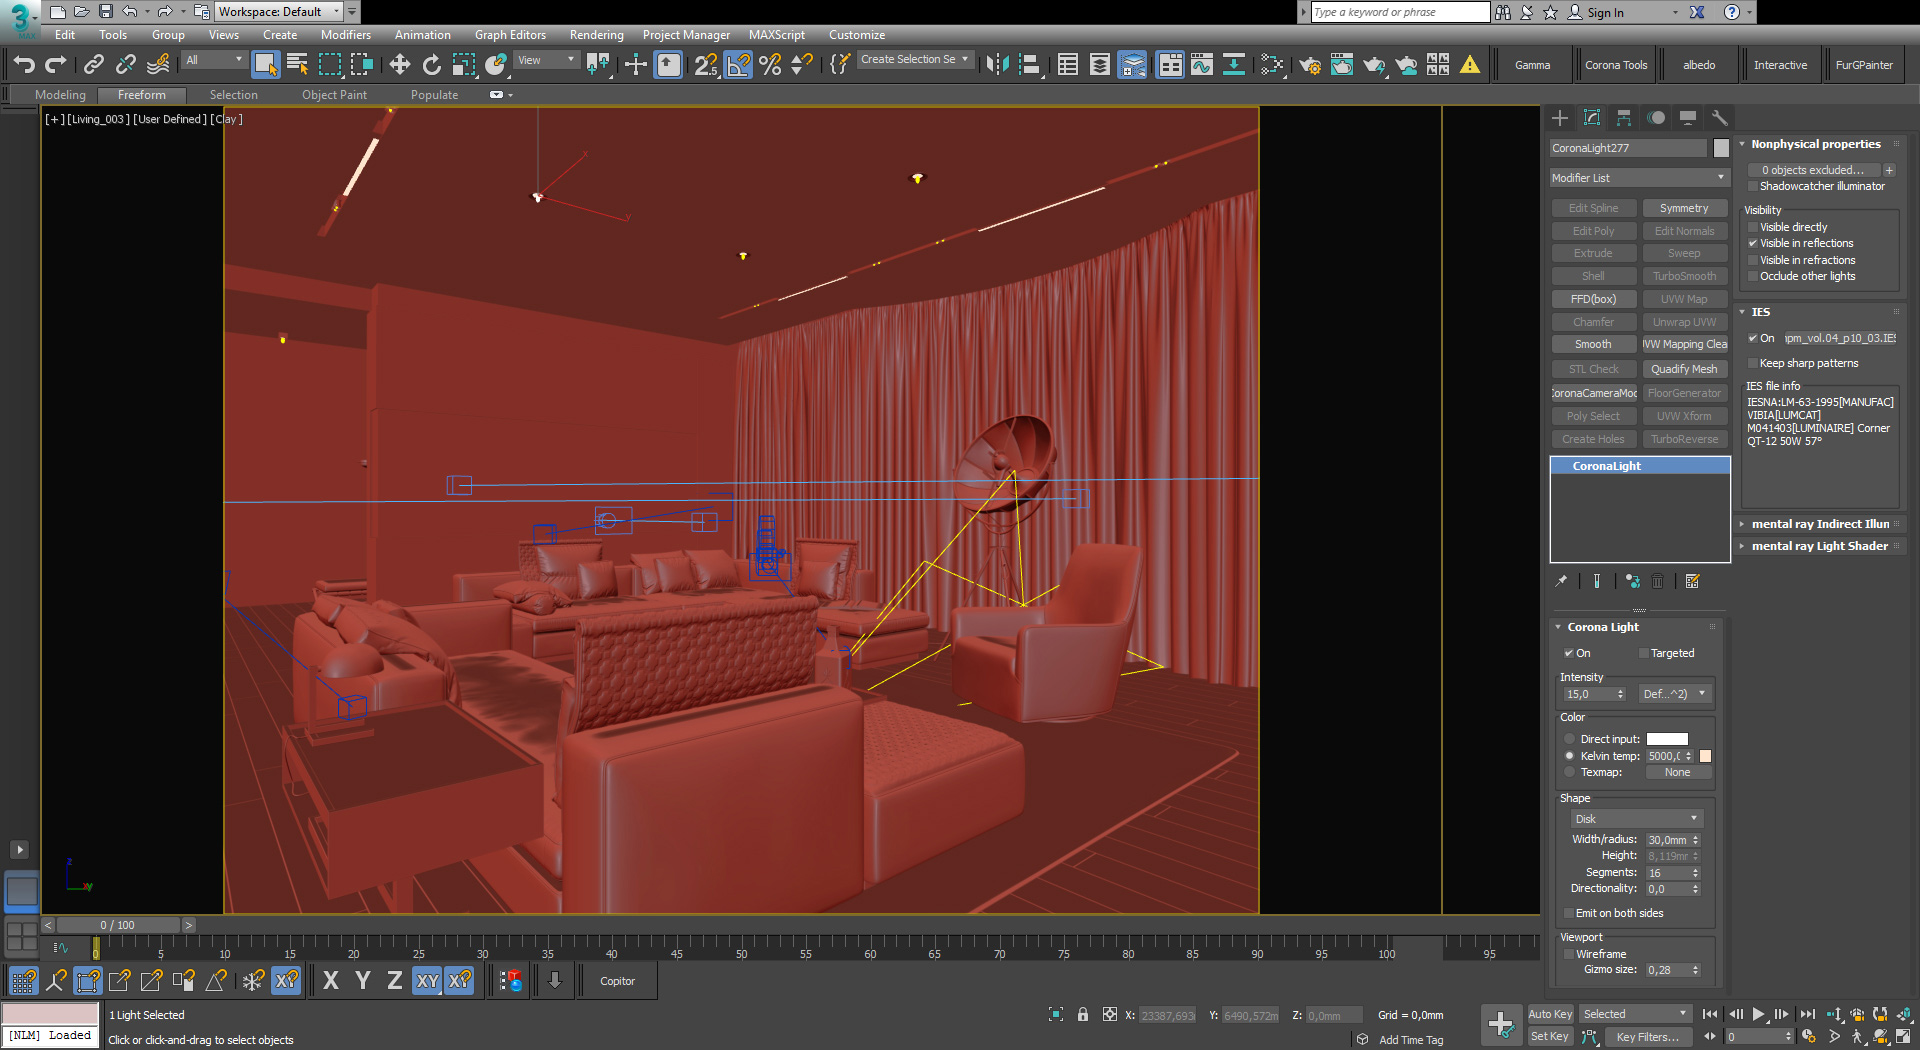
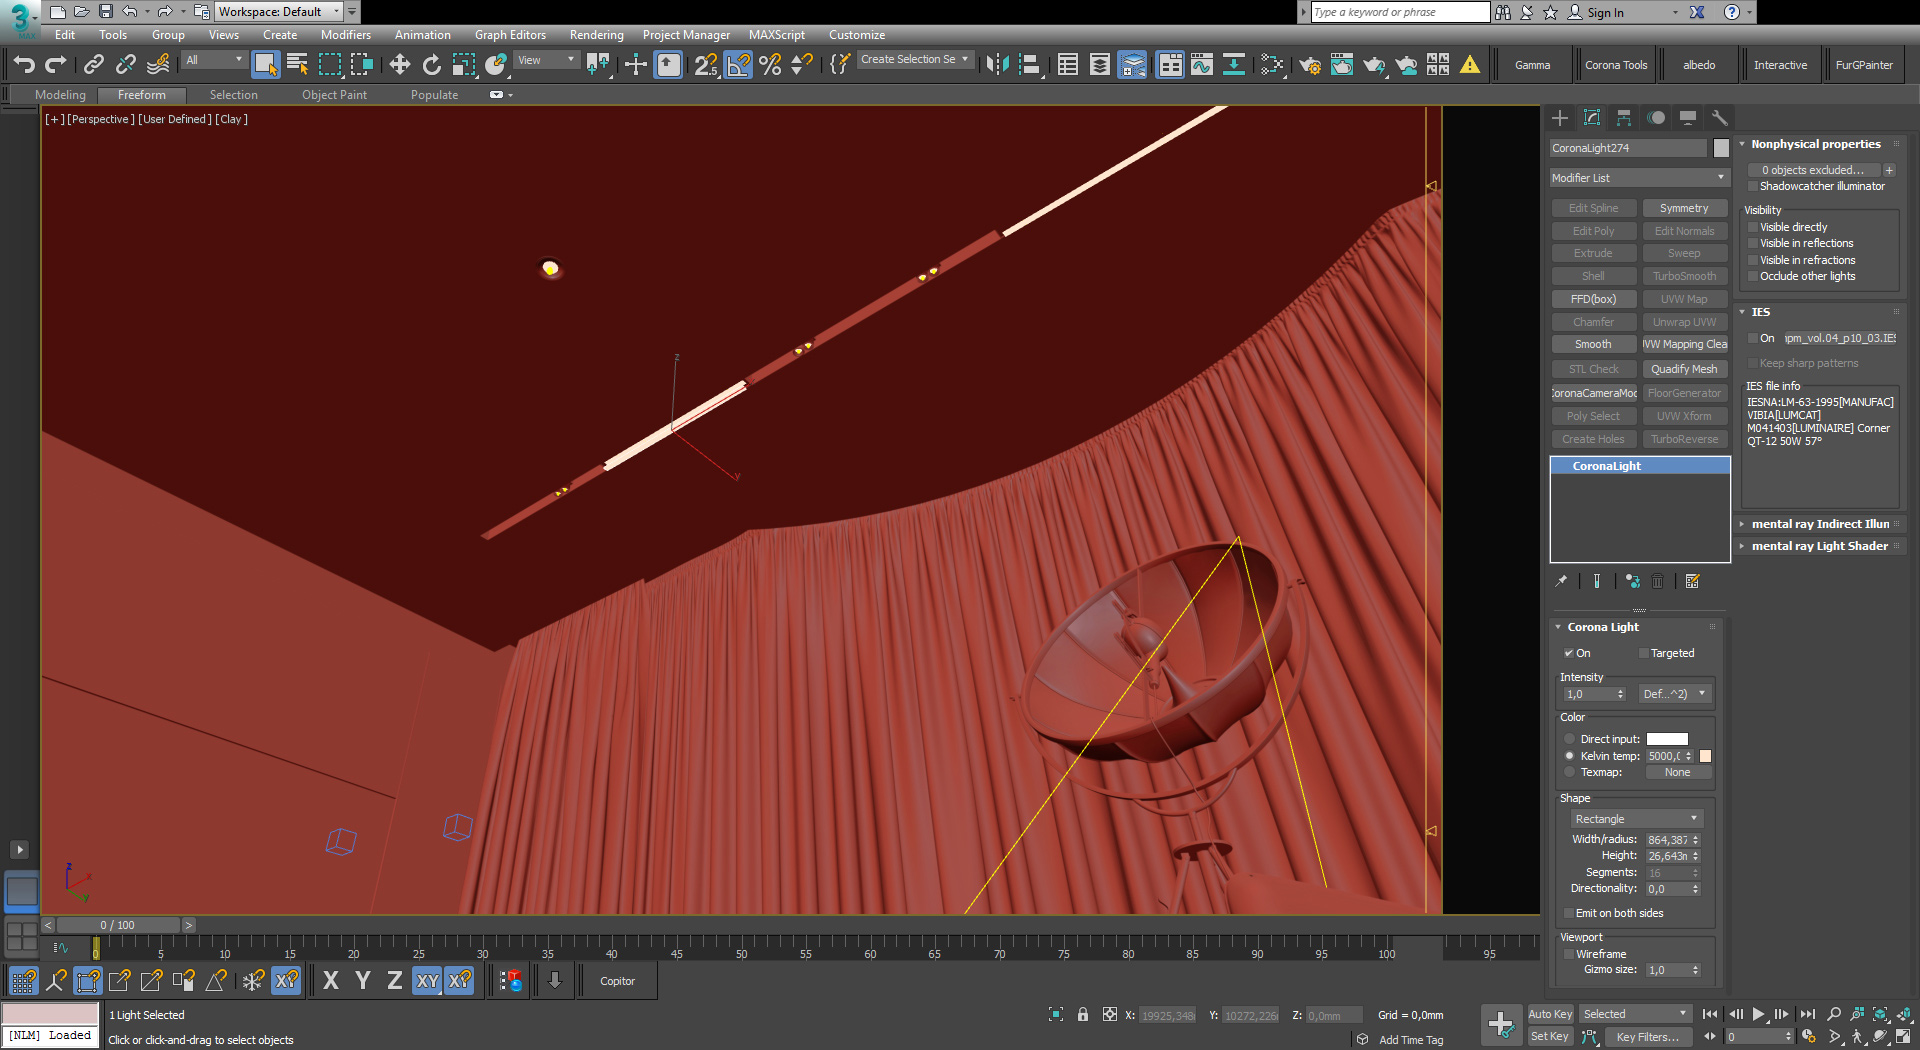
As a built-in lighting in the ceiling, I used CoronaLight as a dis, and assigned Ies for this source of light. Rectangular light sources were used for other ISs. Full arrangement of luminaires and their parameters are on the pictures.
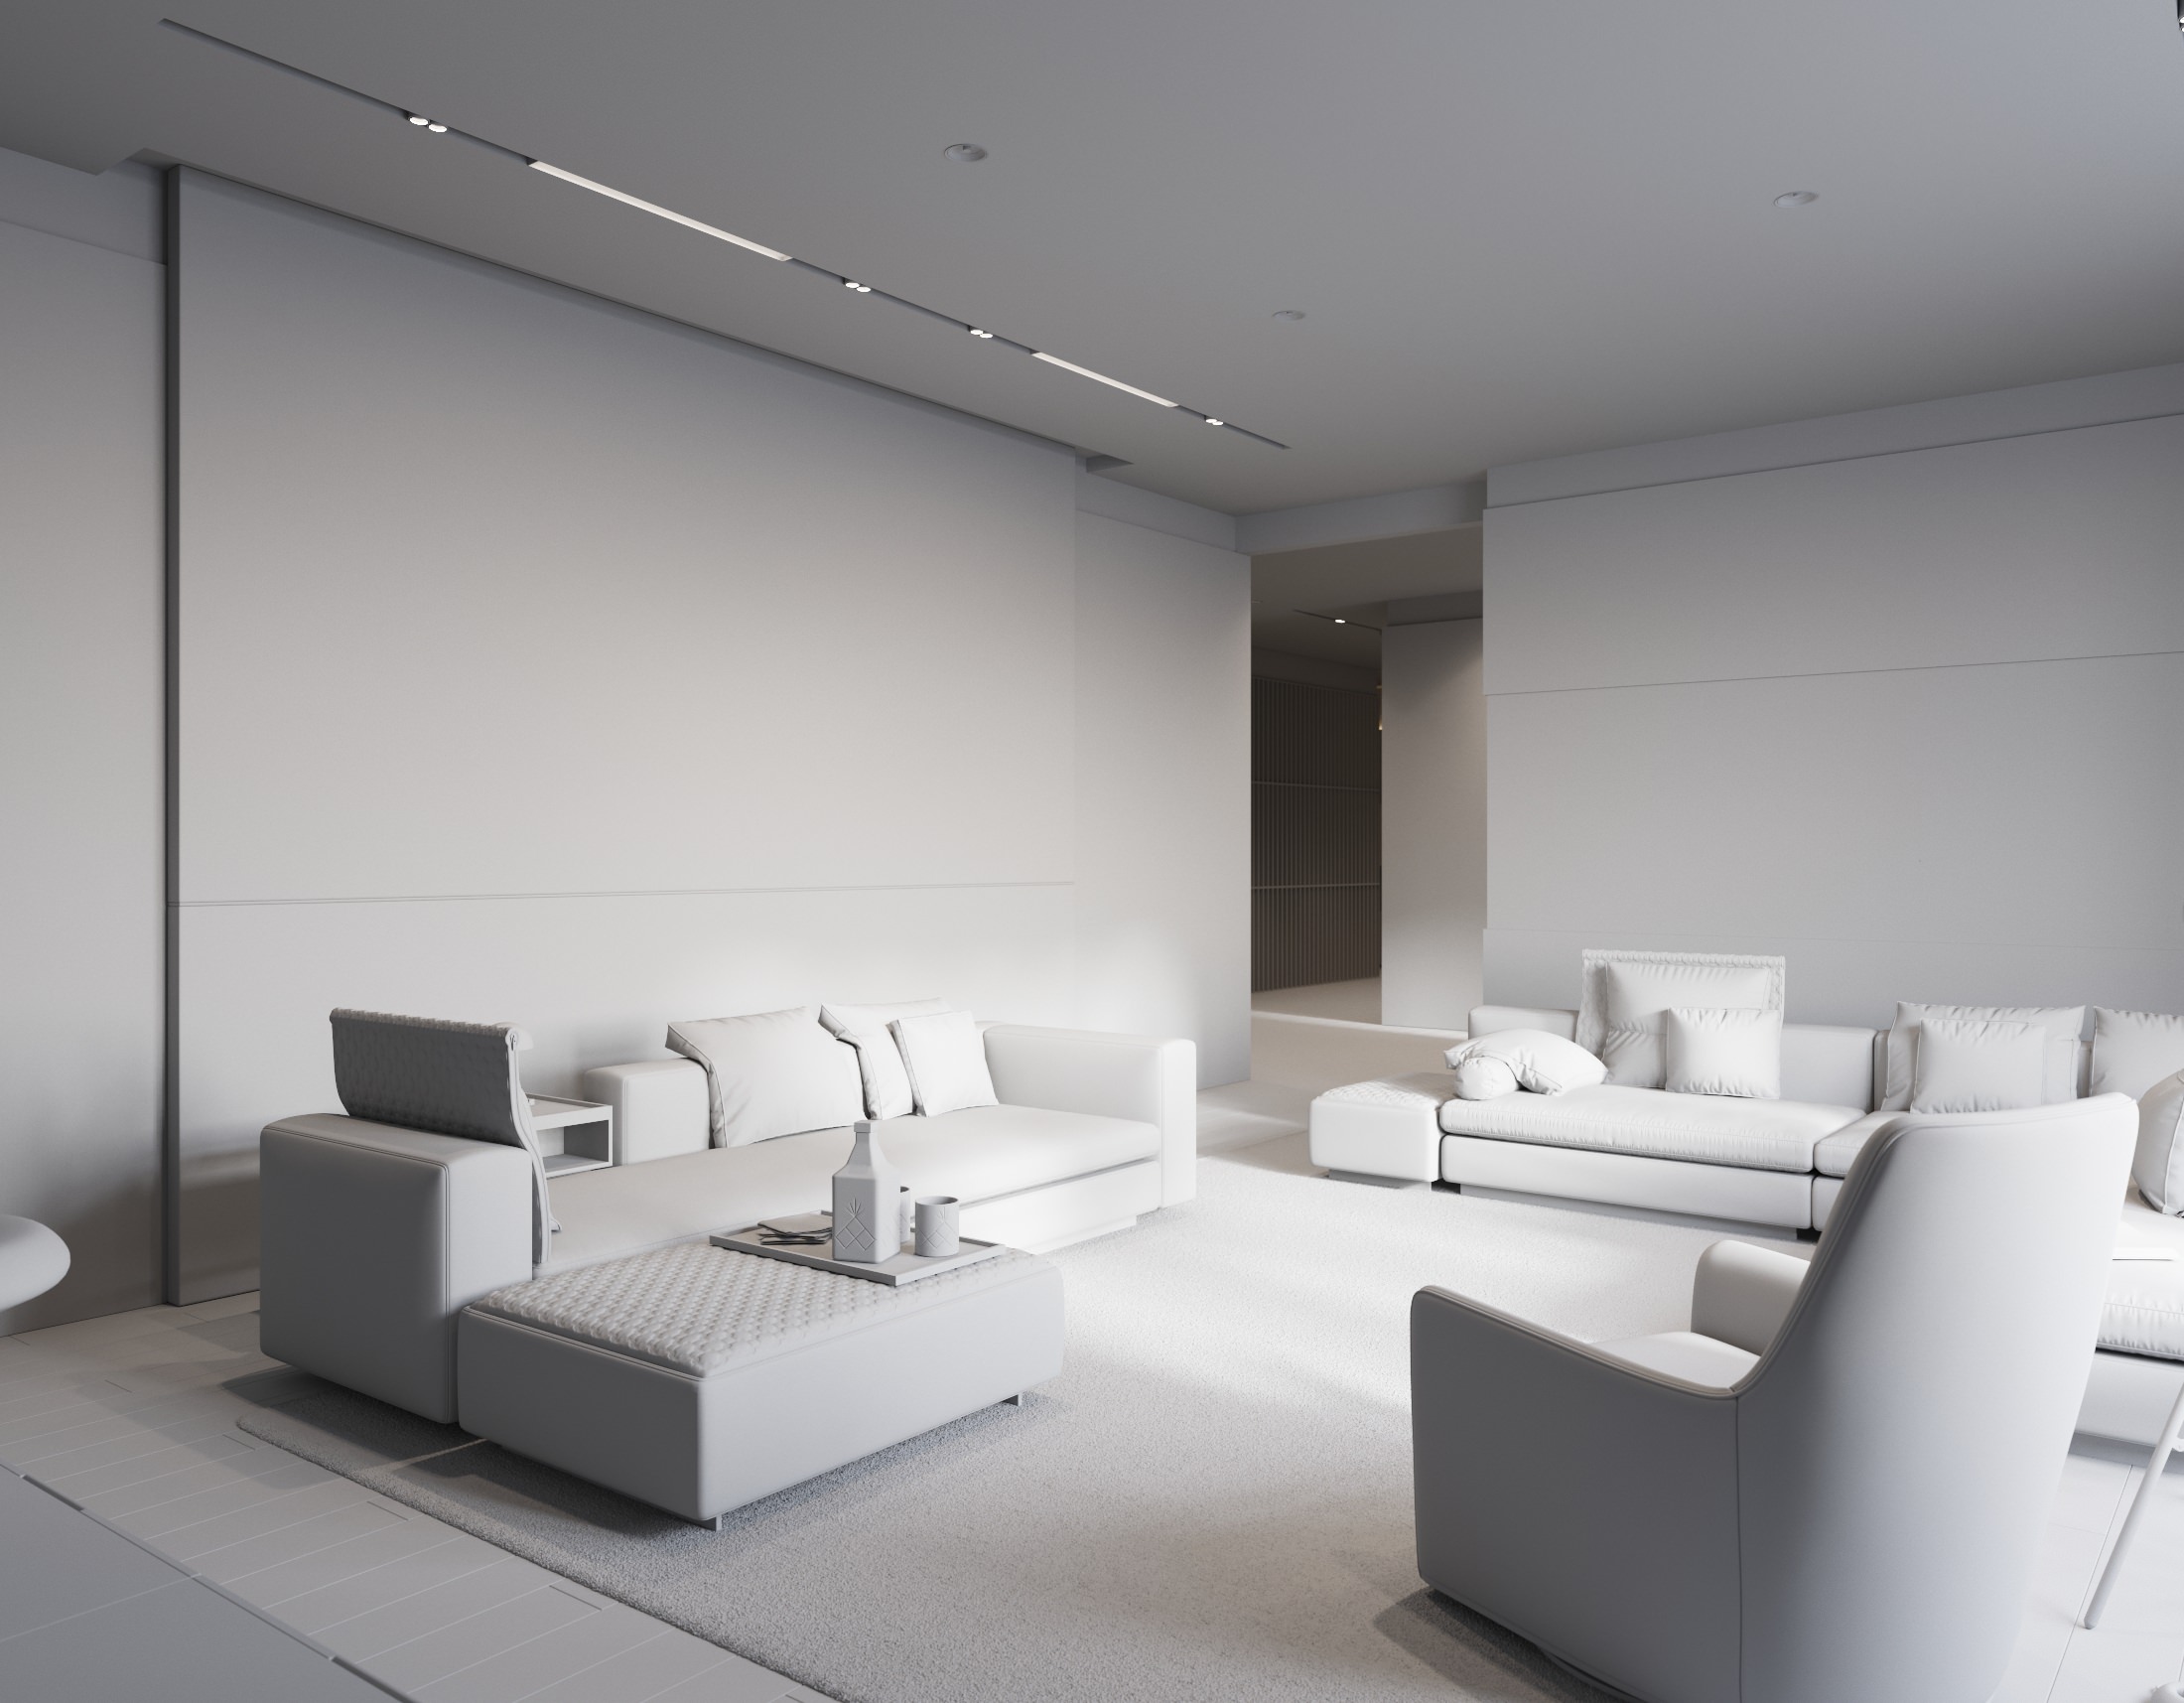
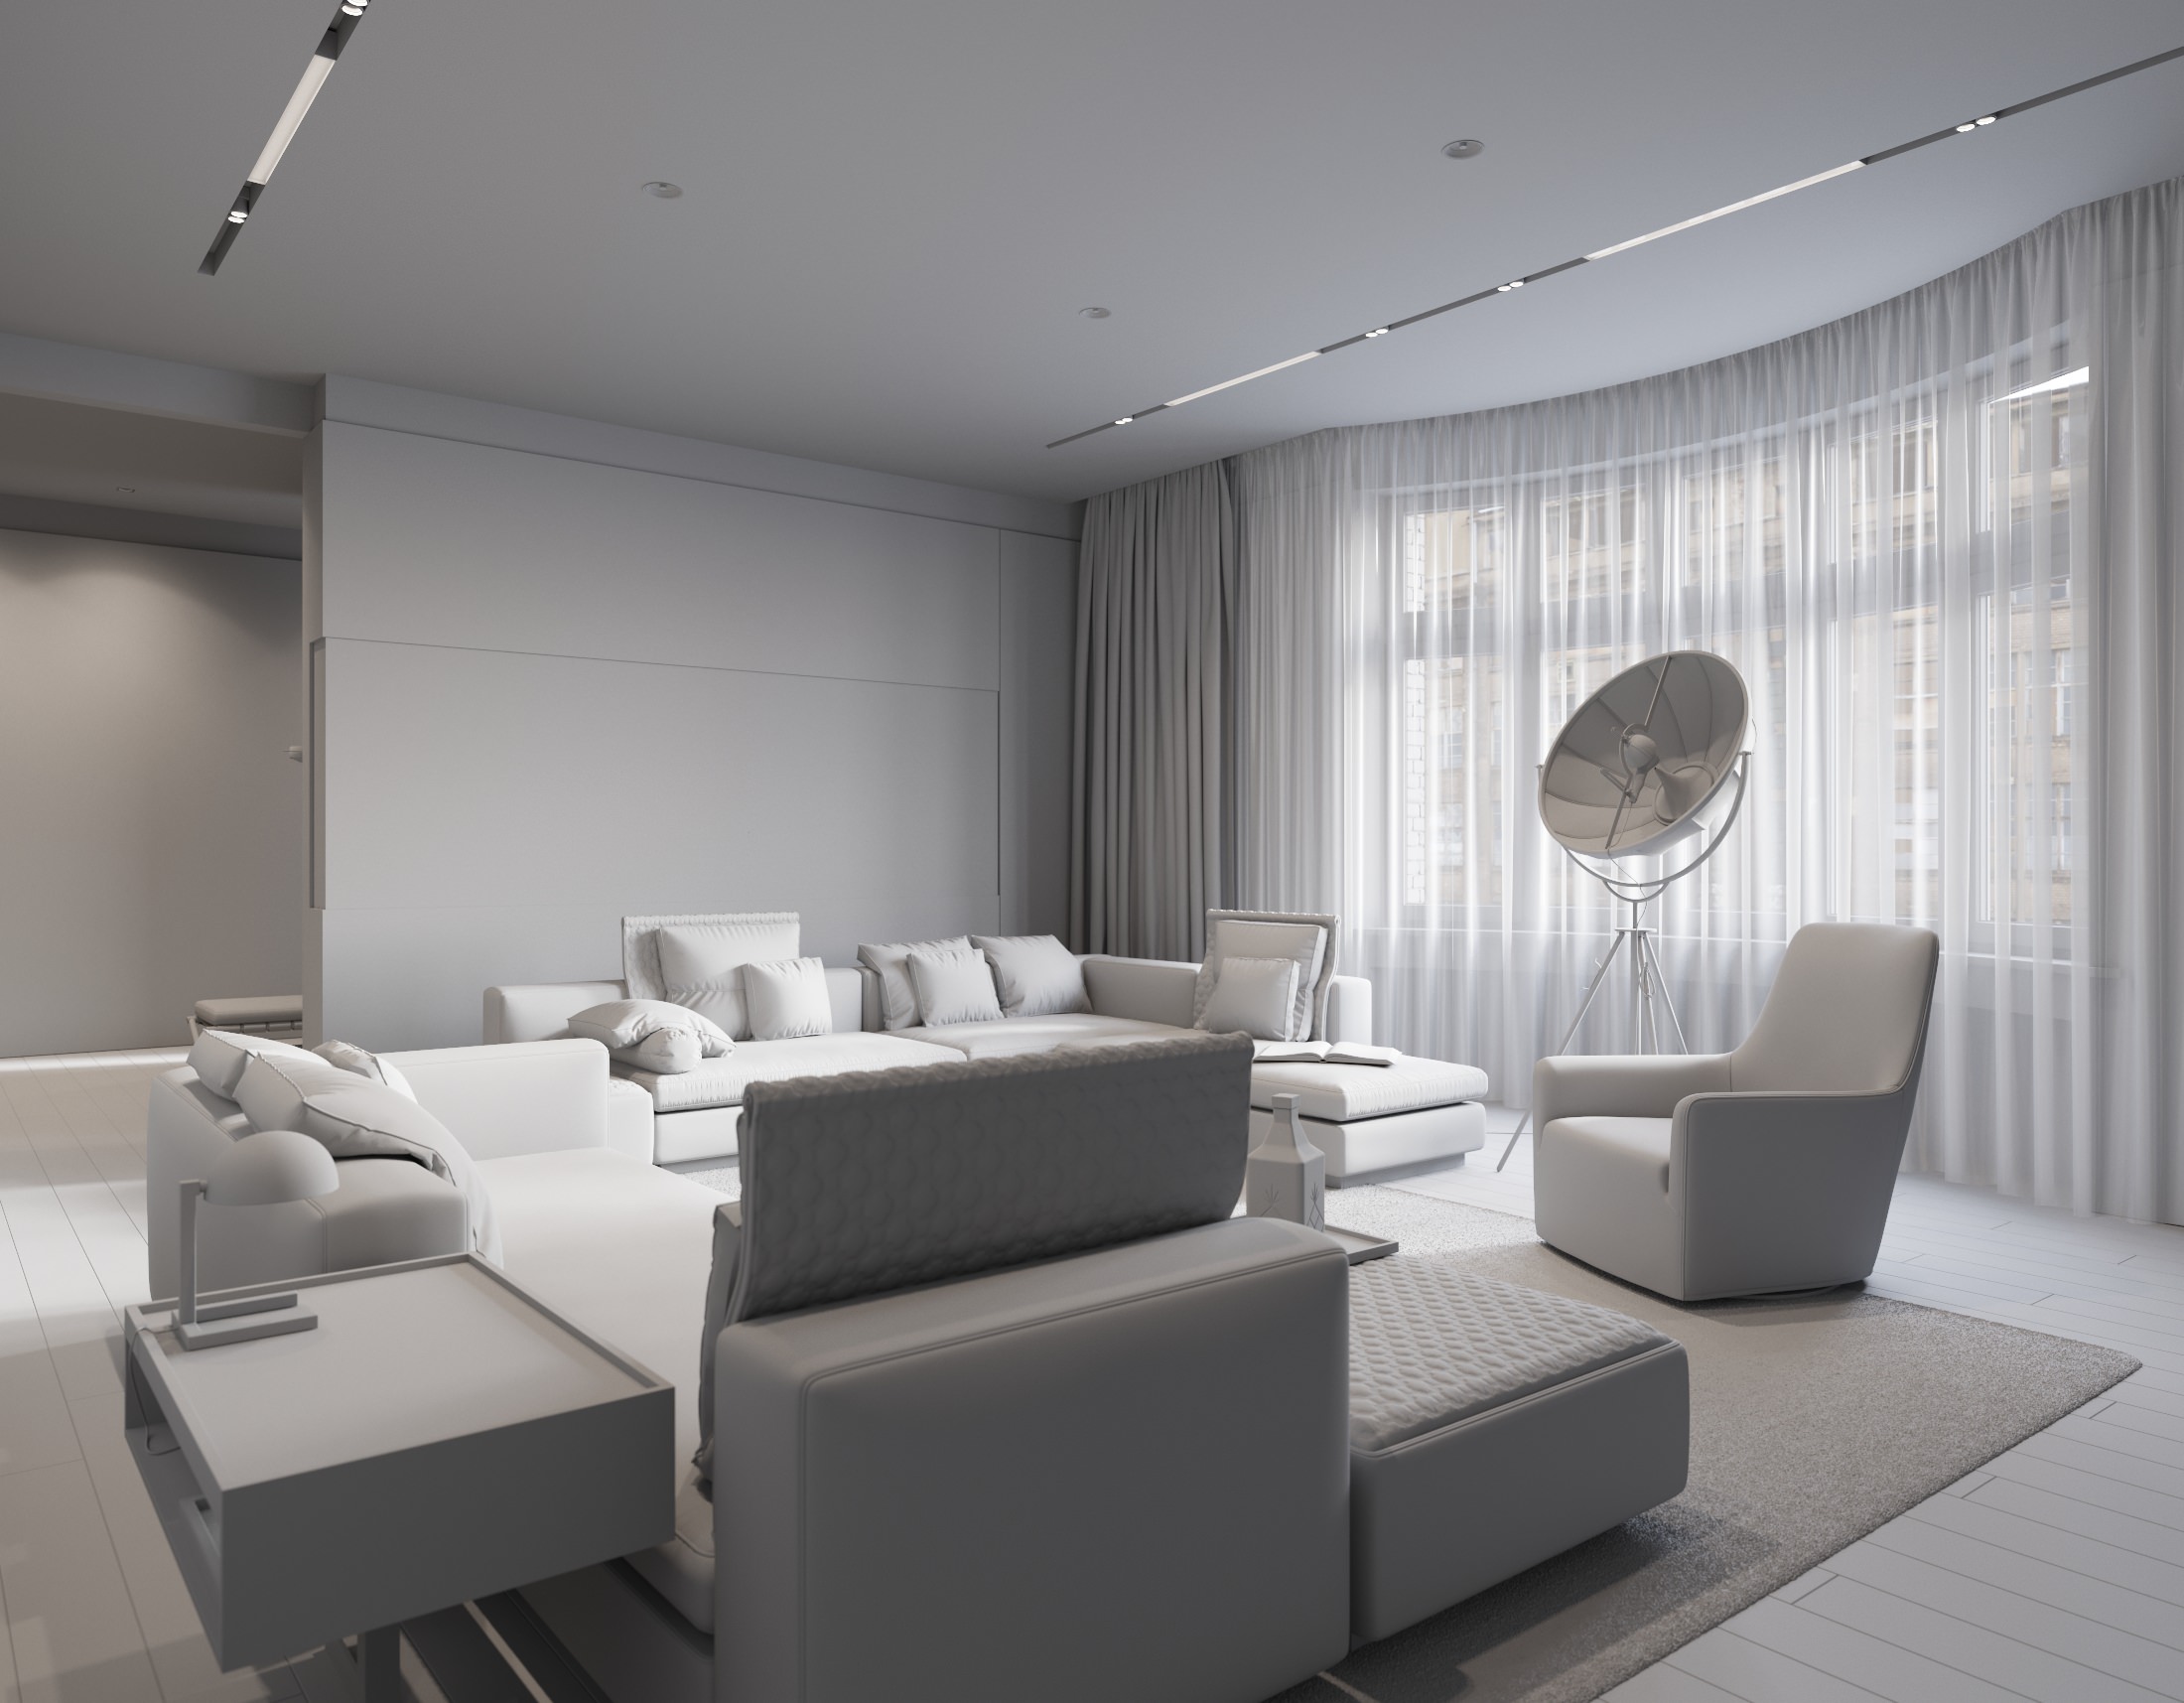
After numeroustestsI got primary lighting in GreyMtl.


Materials’ parameters and structure could be easily understood by looking at screenshots; here I merely touch upon the main materials, since most of them are very simple by their structure.
Material of a ceiling:
Two materials were used here, they only differ incolour. Agreycolour material was used here for the main part of the ceiling, and a black one for the embayments with lamps.
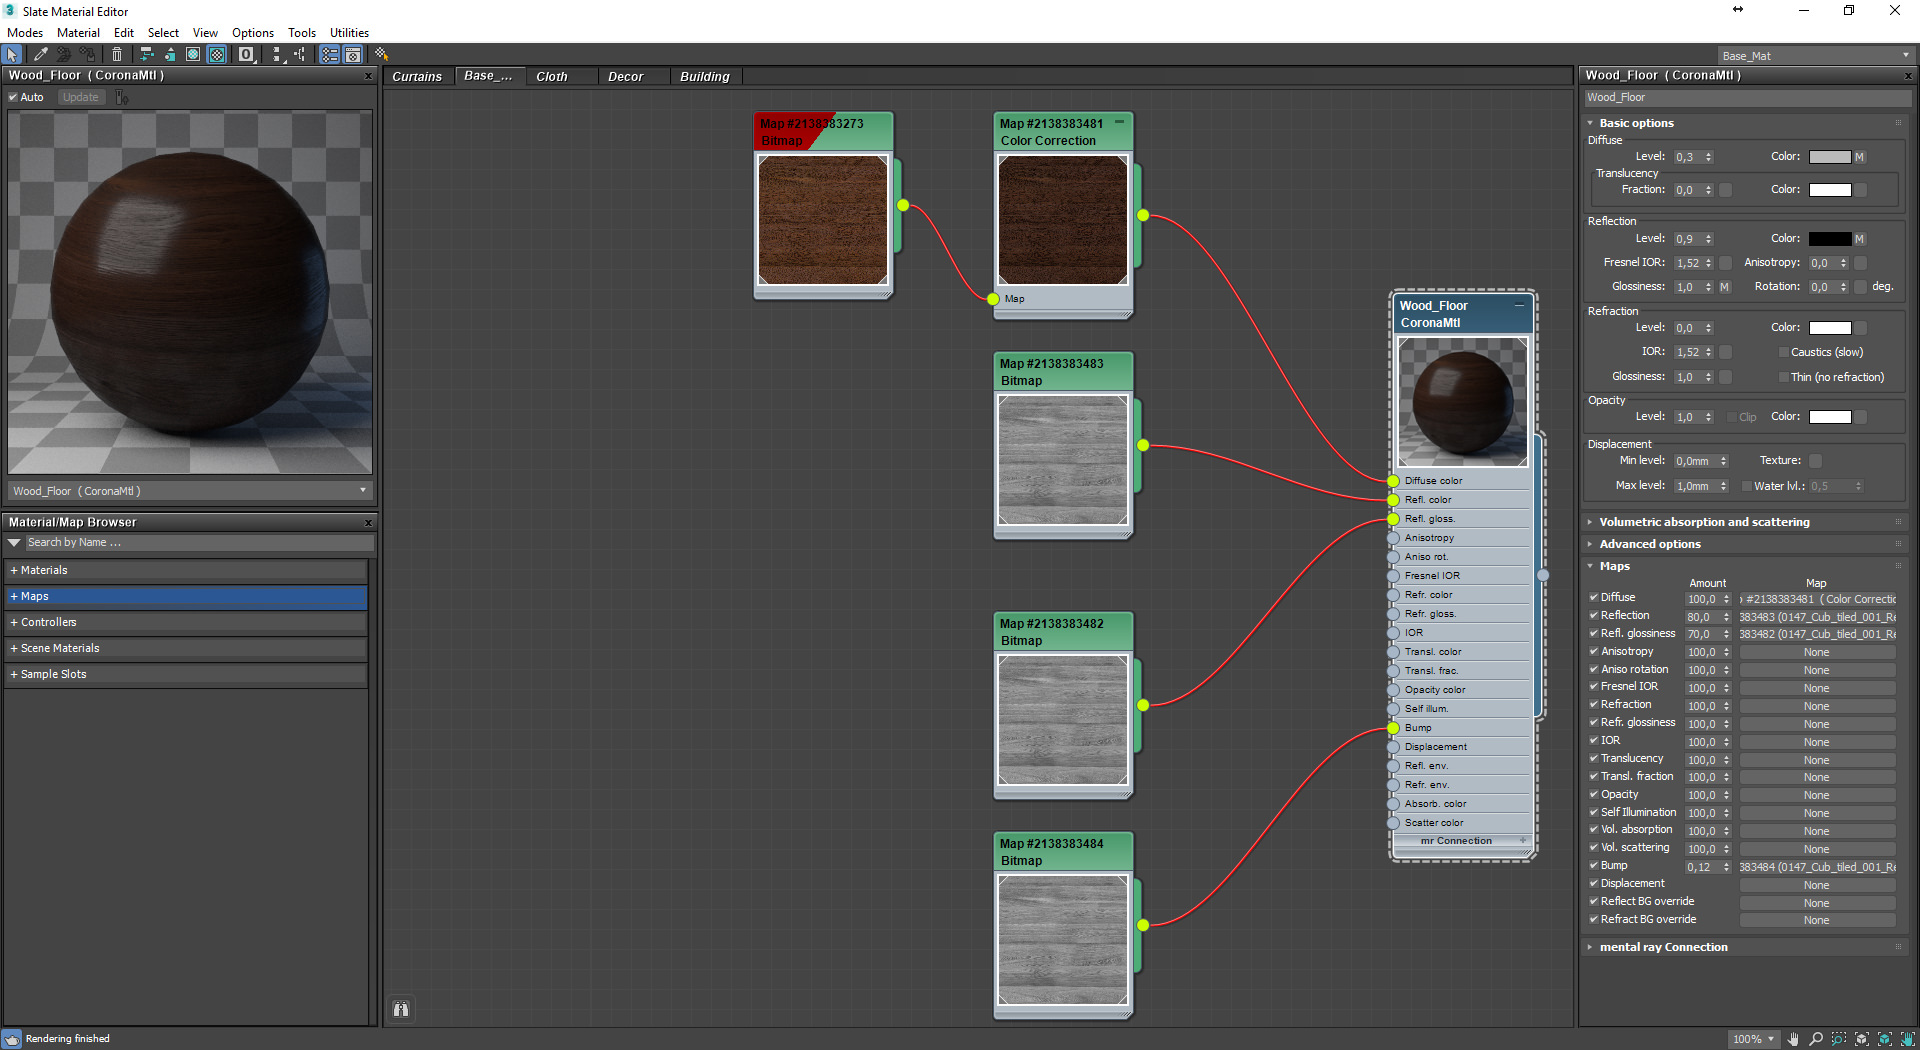
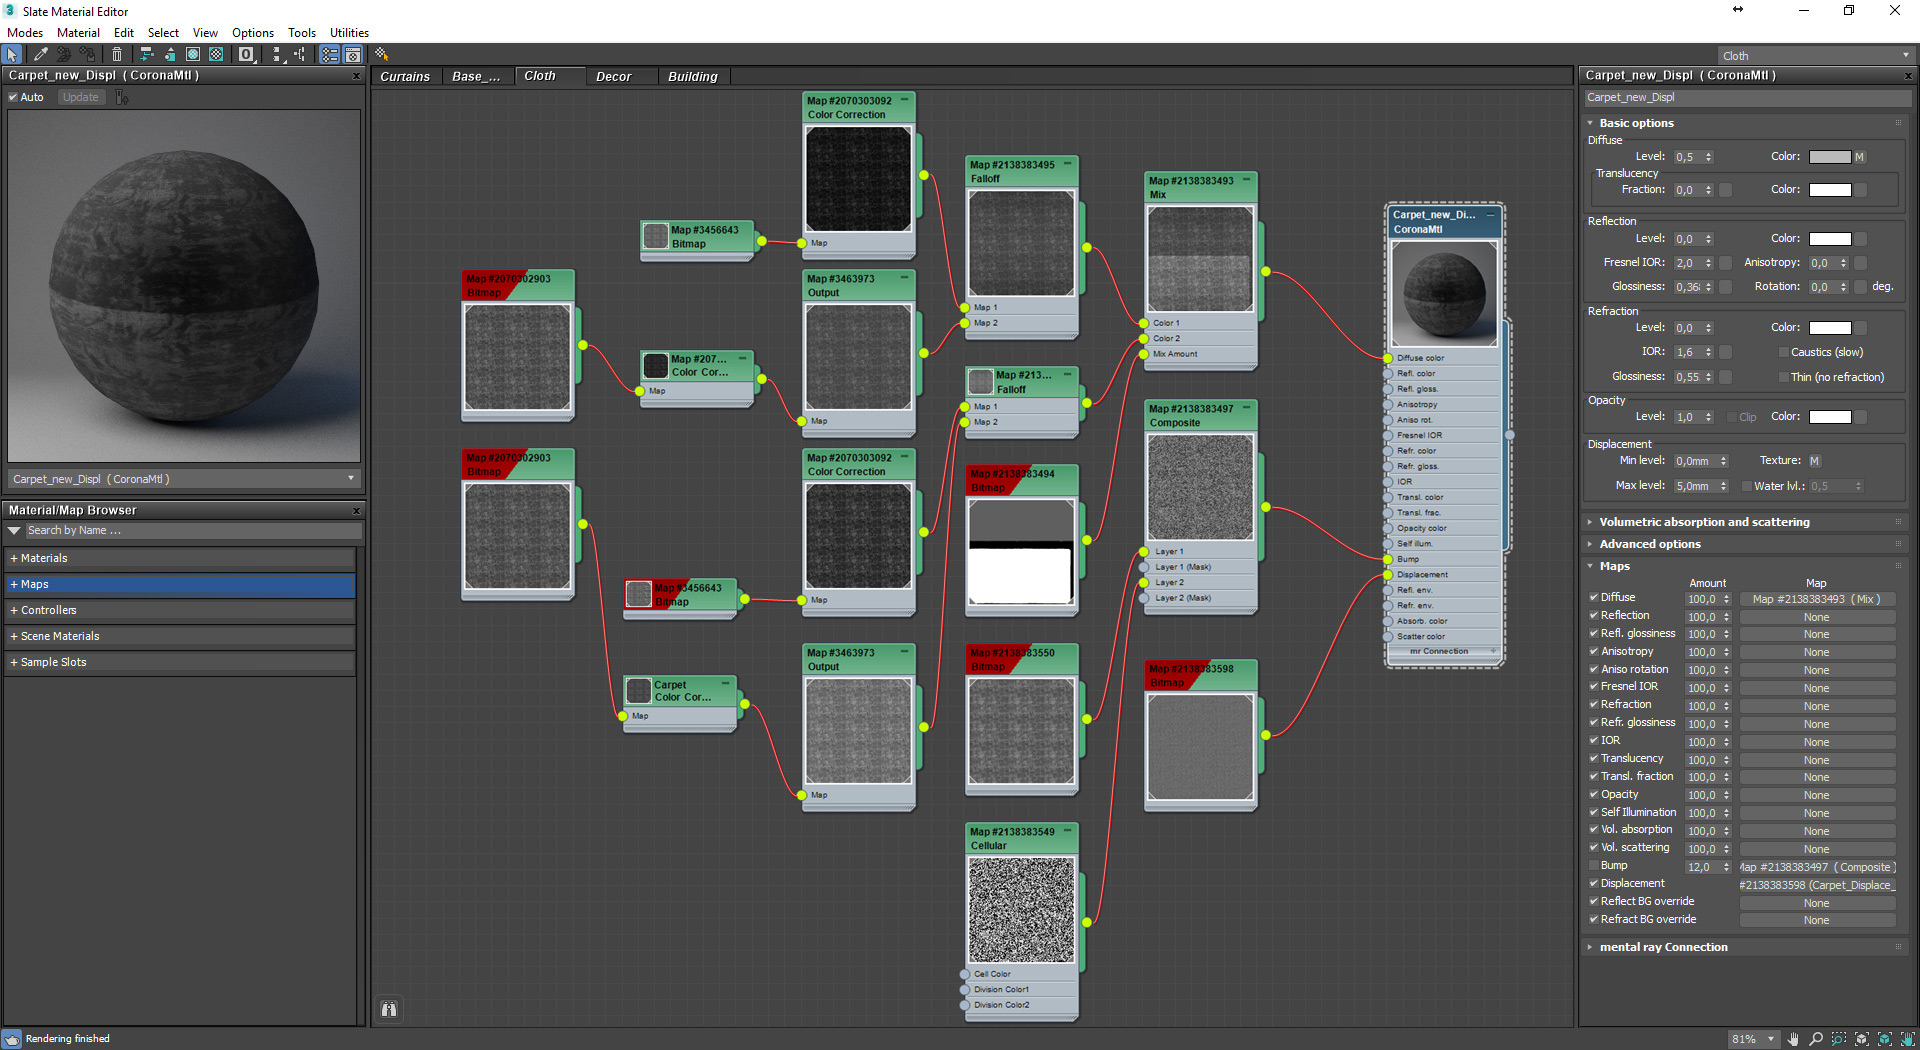
Material of the floor:
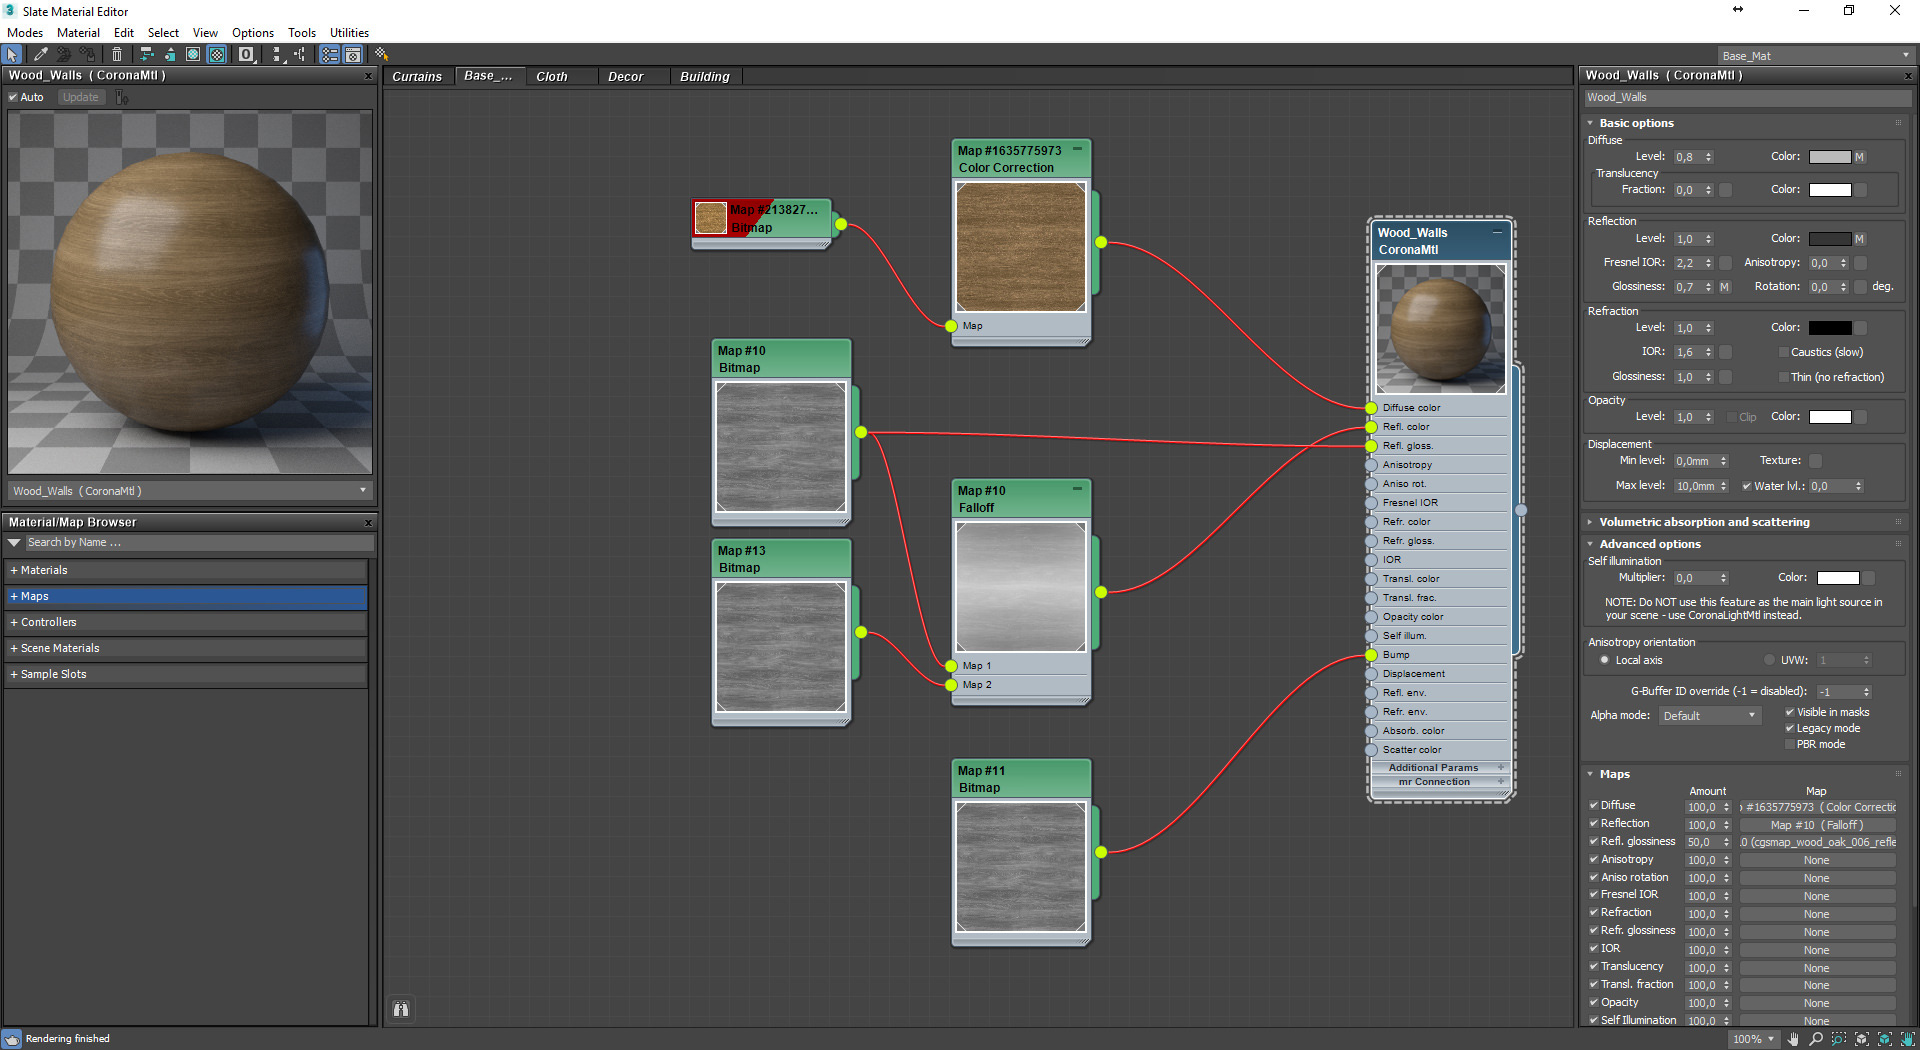
Material of wood paneling:
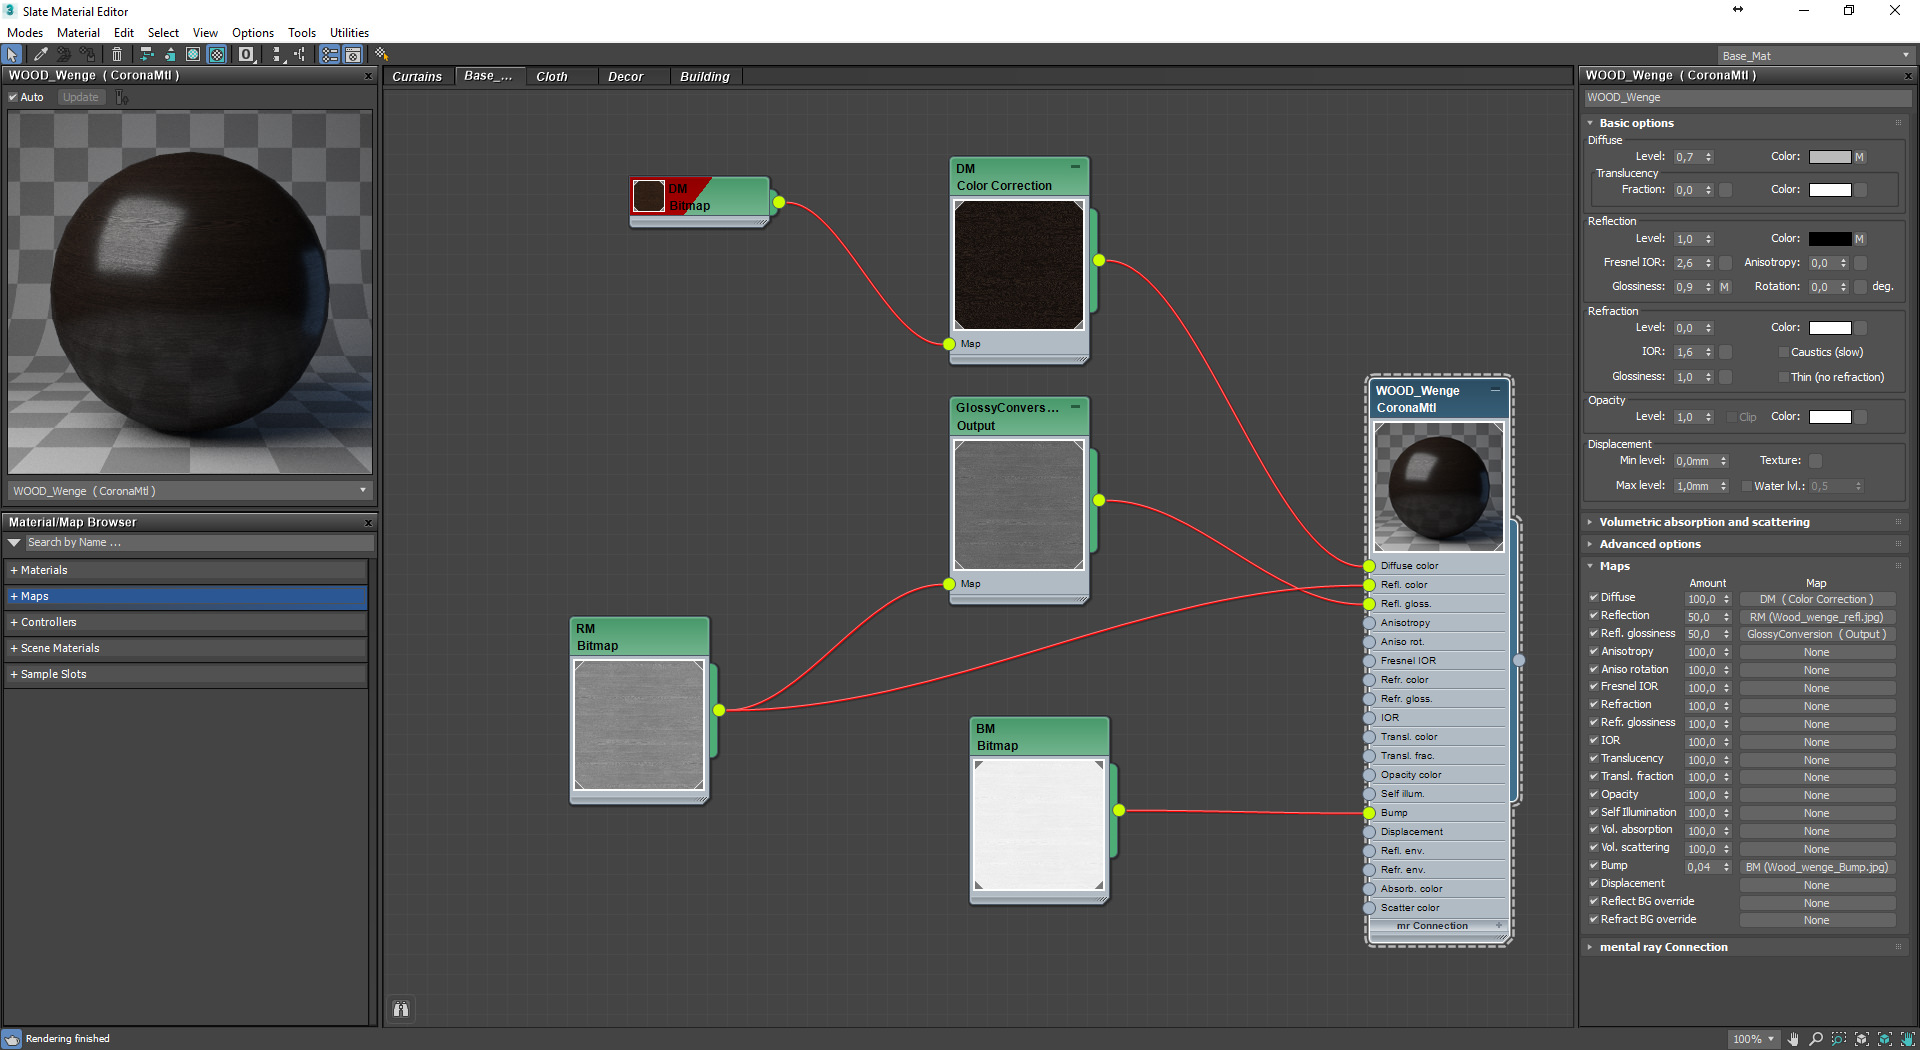
Material of a chest-of-drawers for TV:
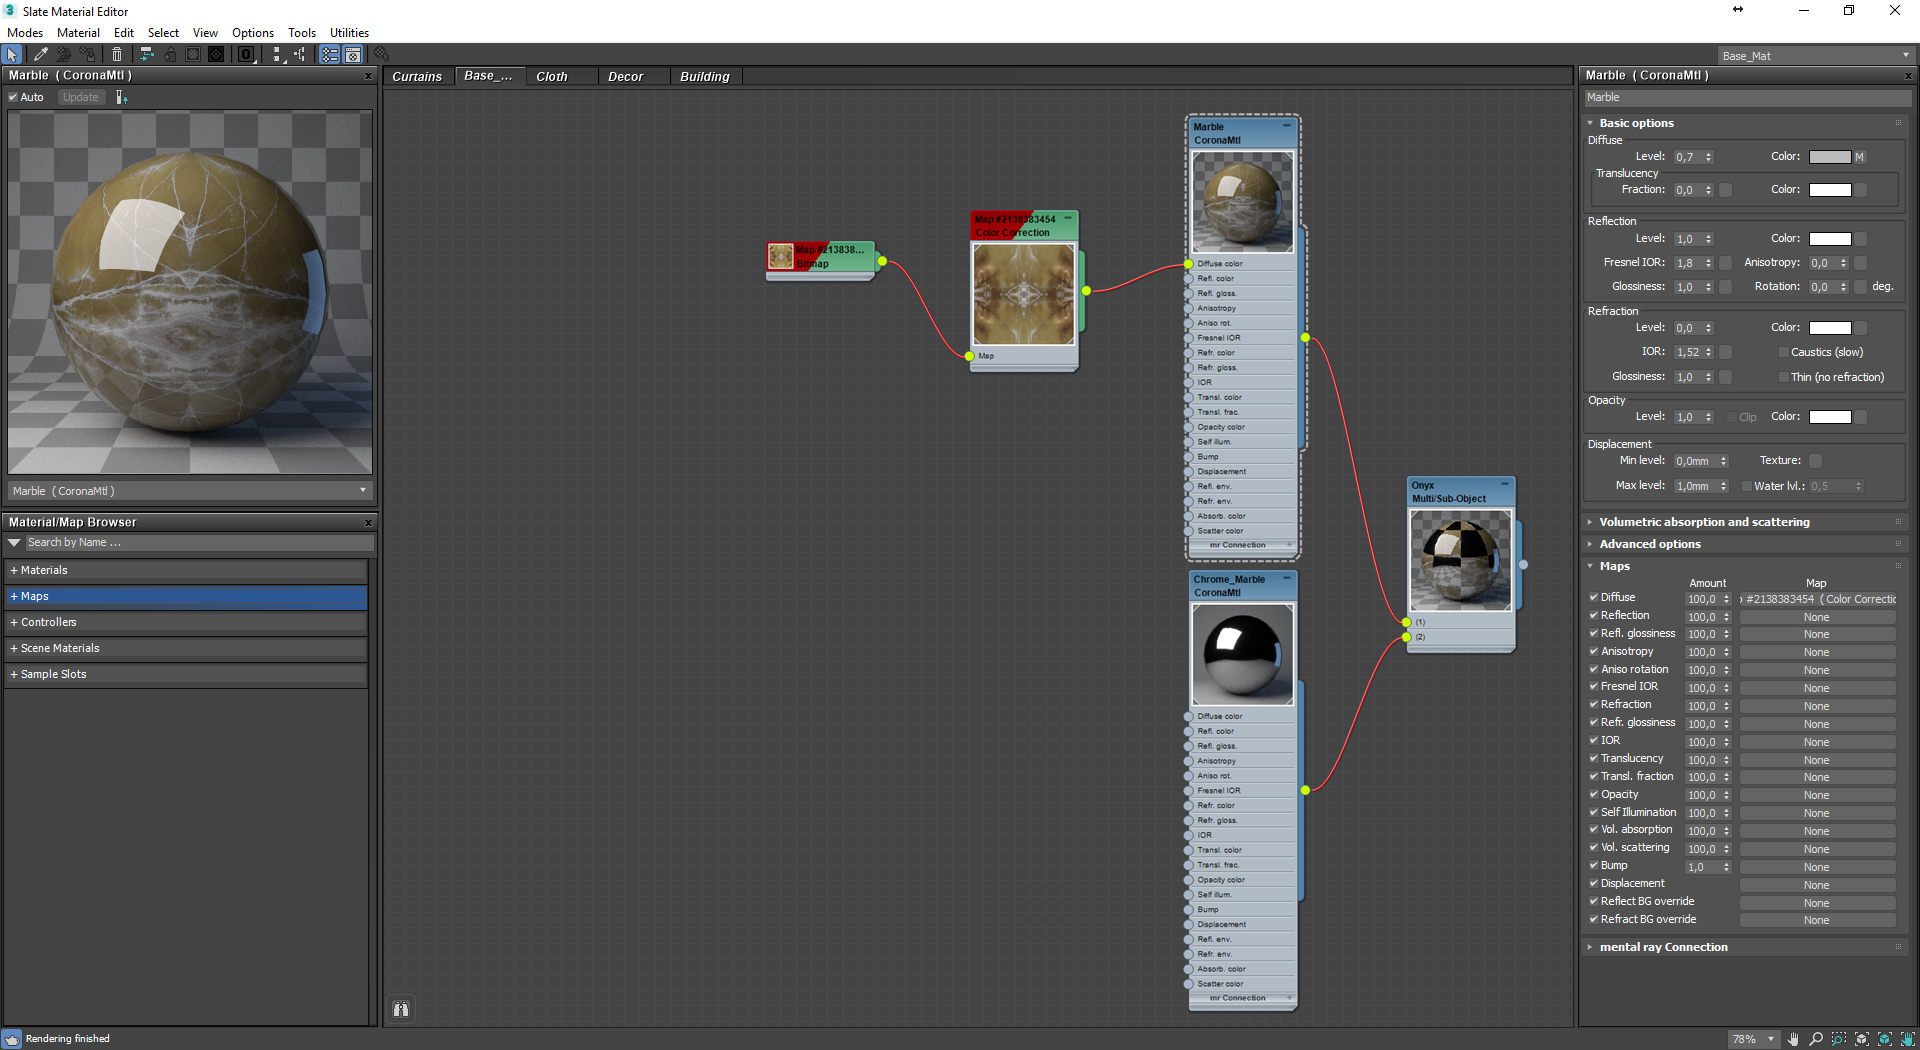
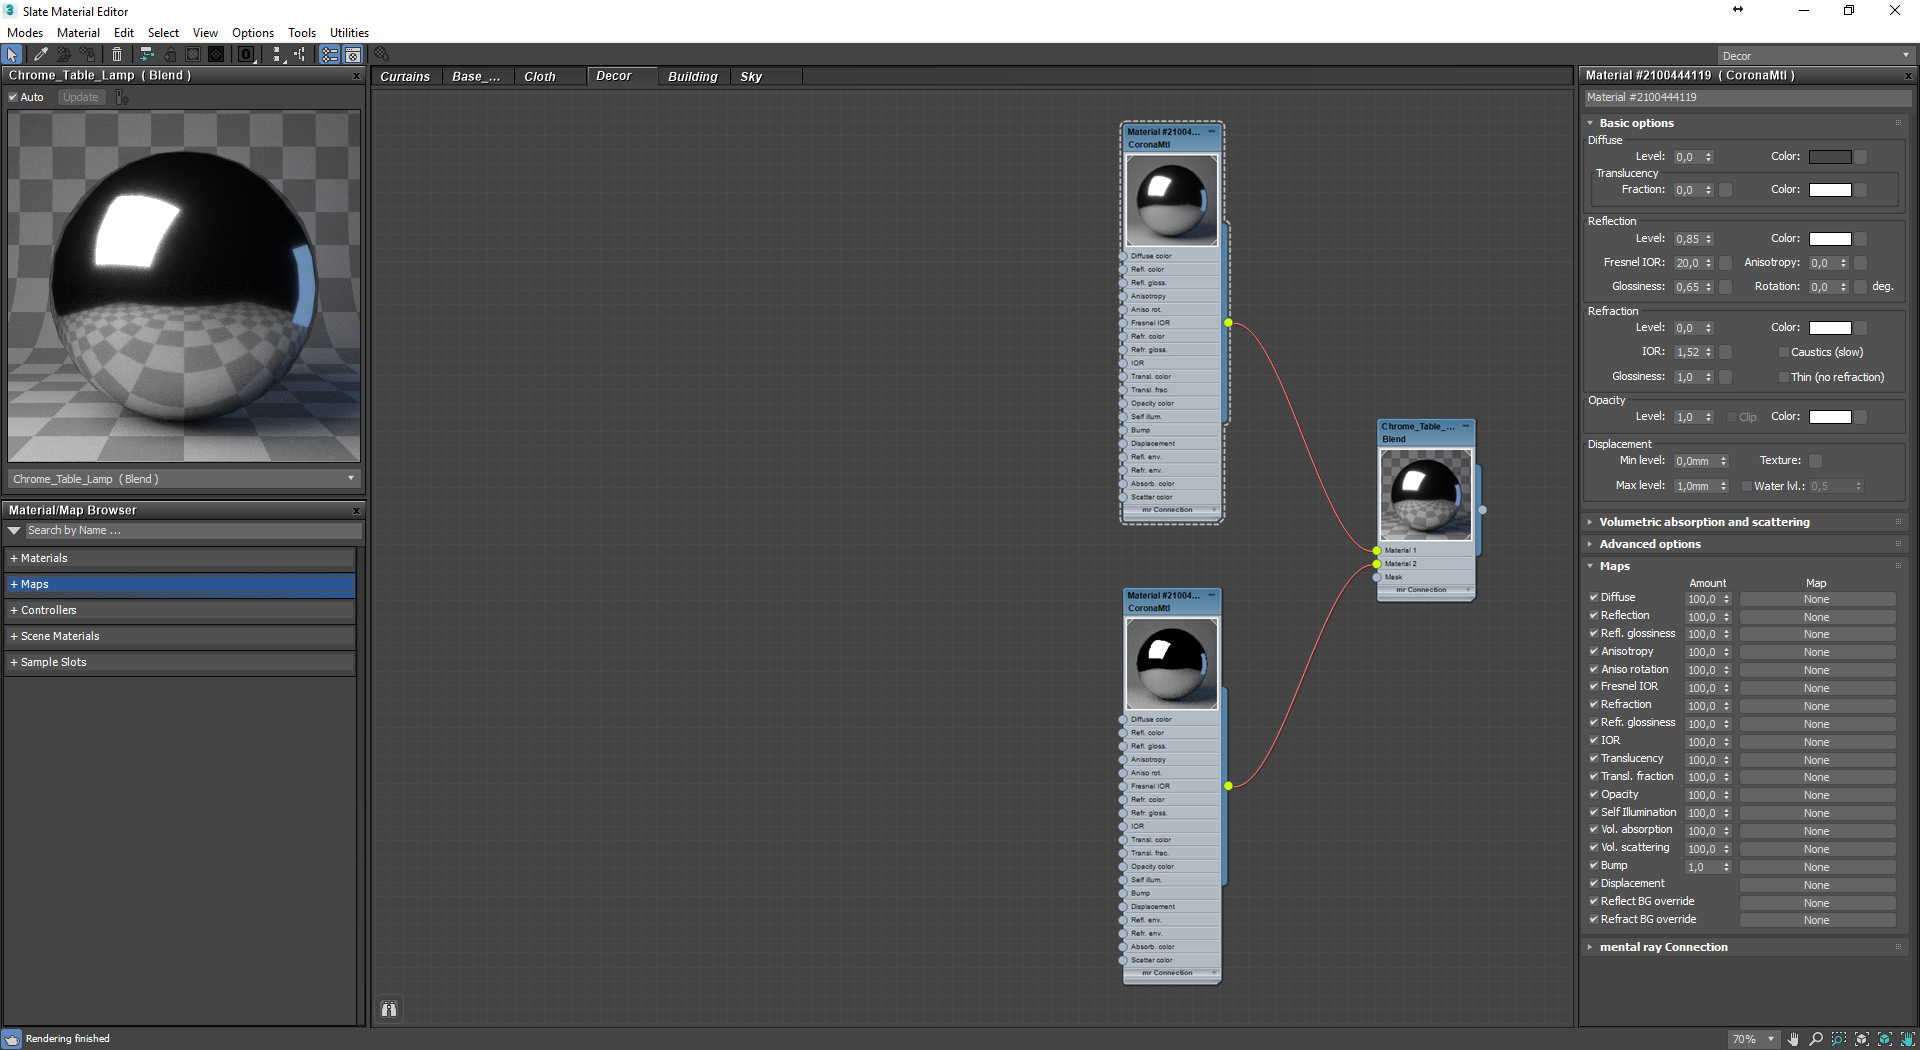
Material of marble on the wall and a chrome strip:
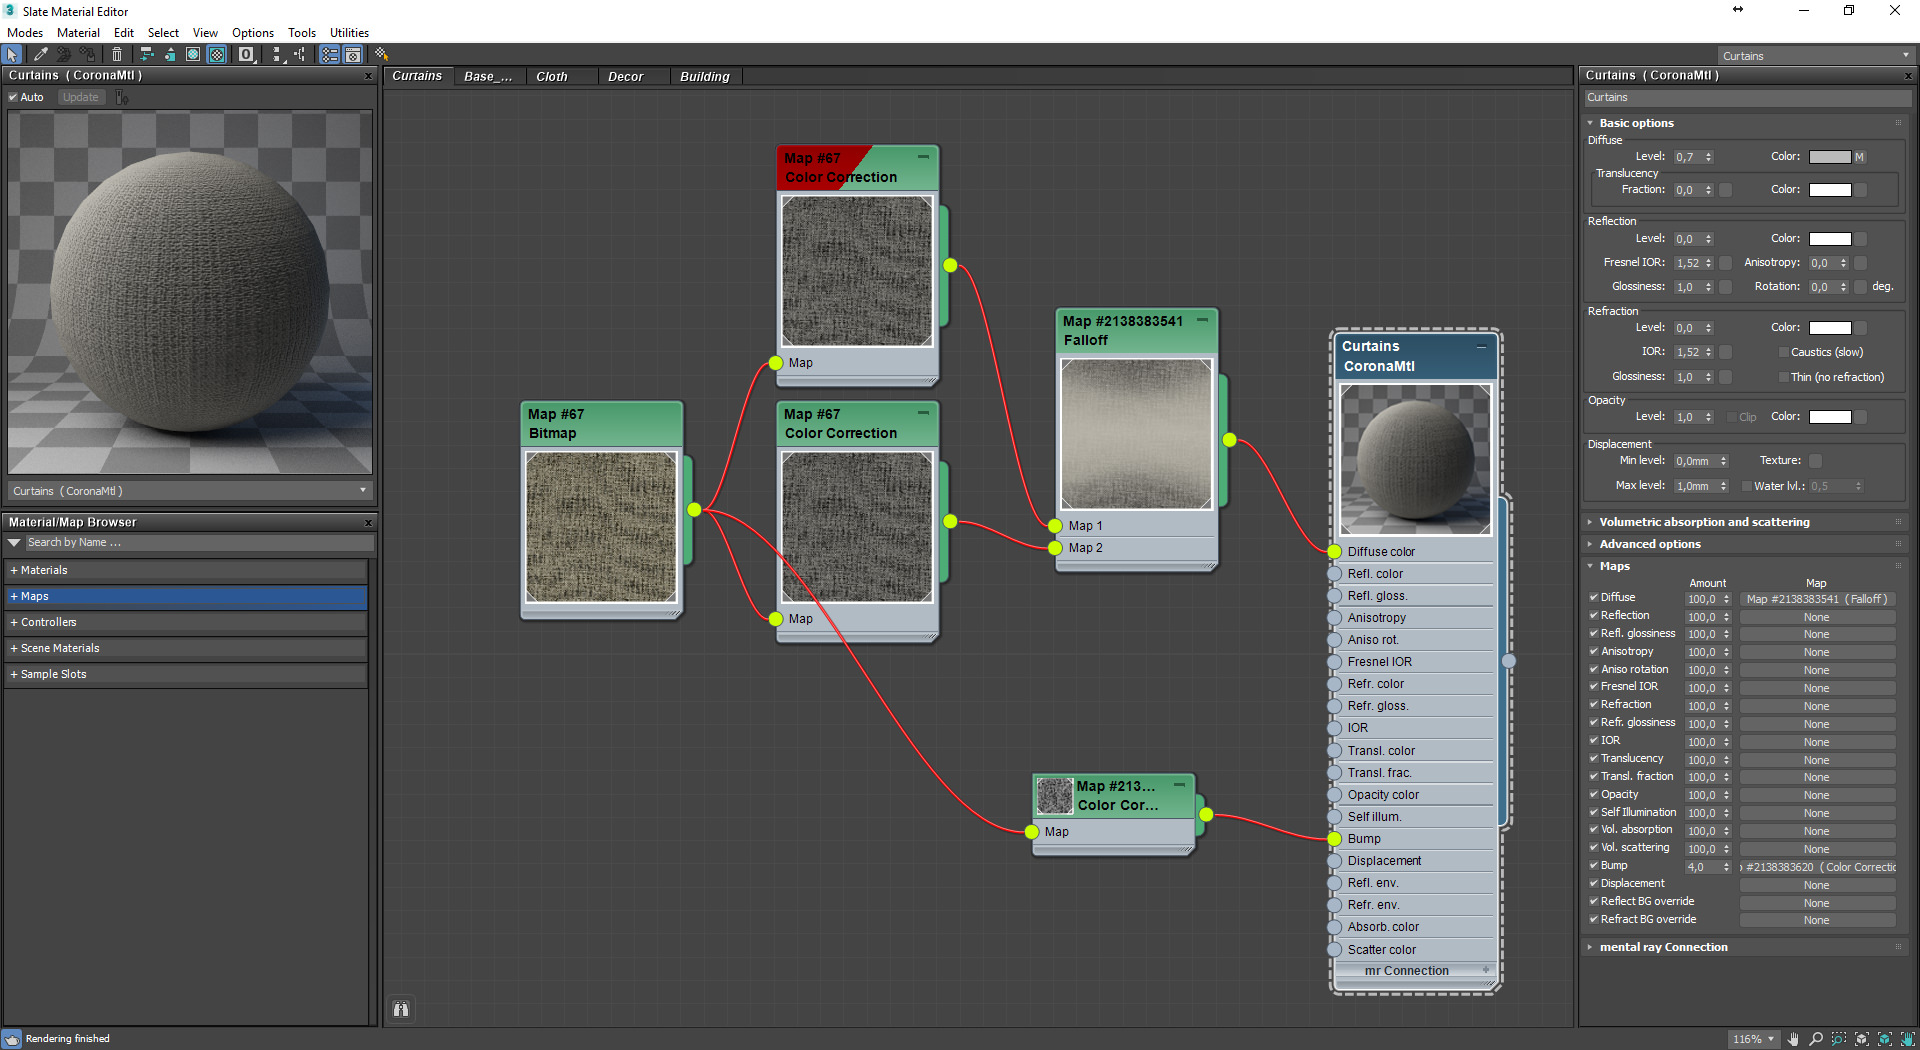
Material of drapes and curtains:


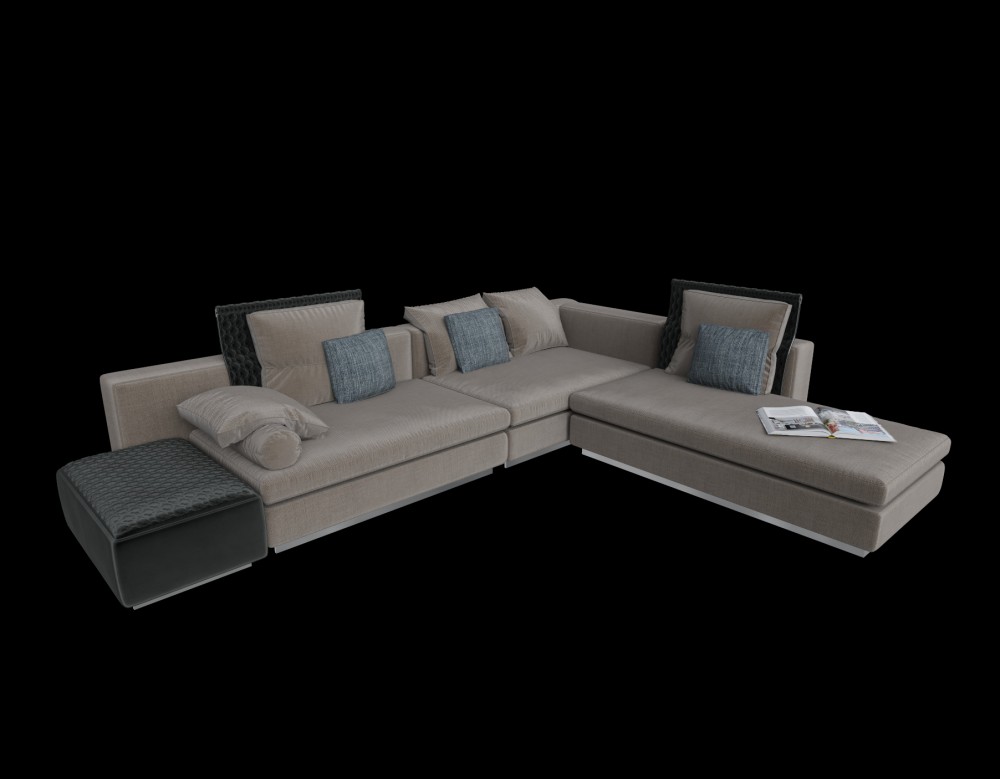
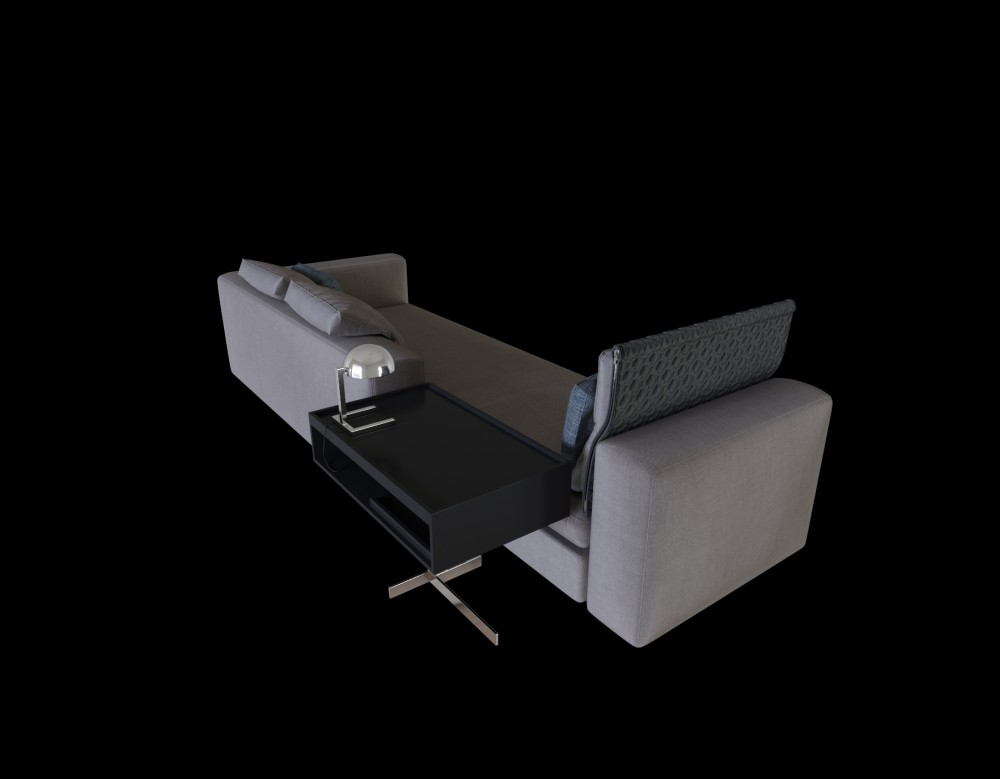
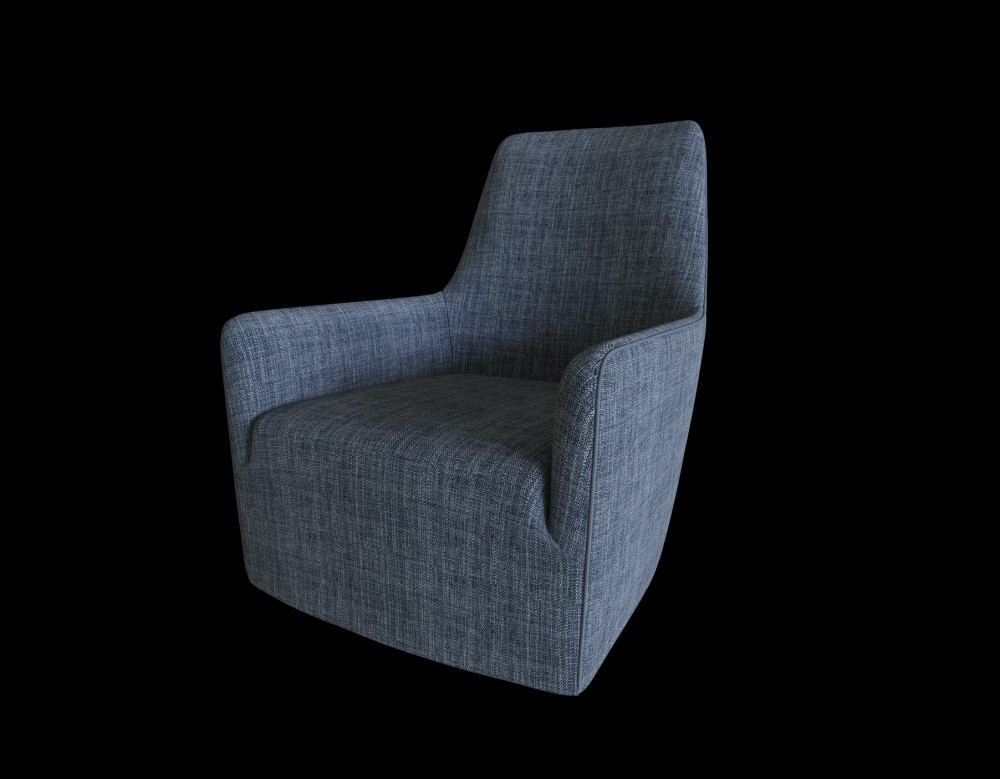
Material of sofas and pillows:


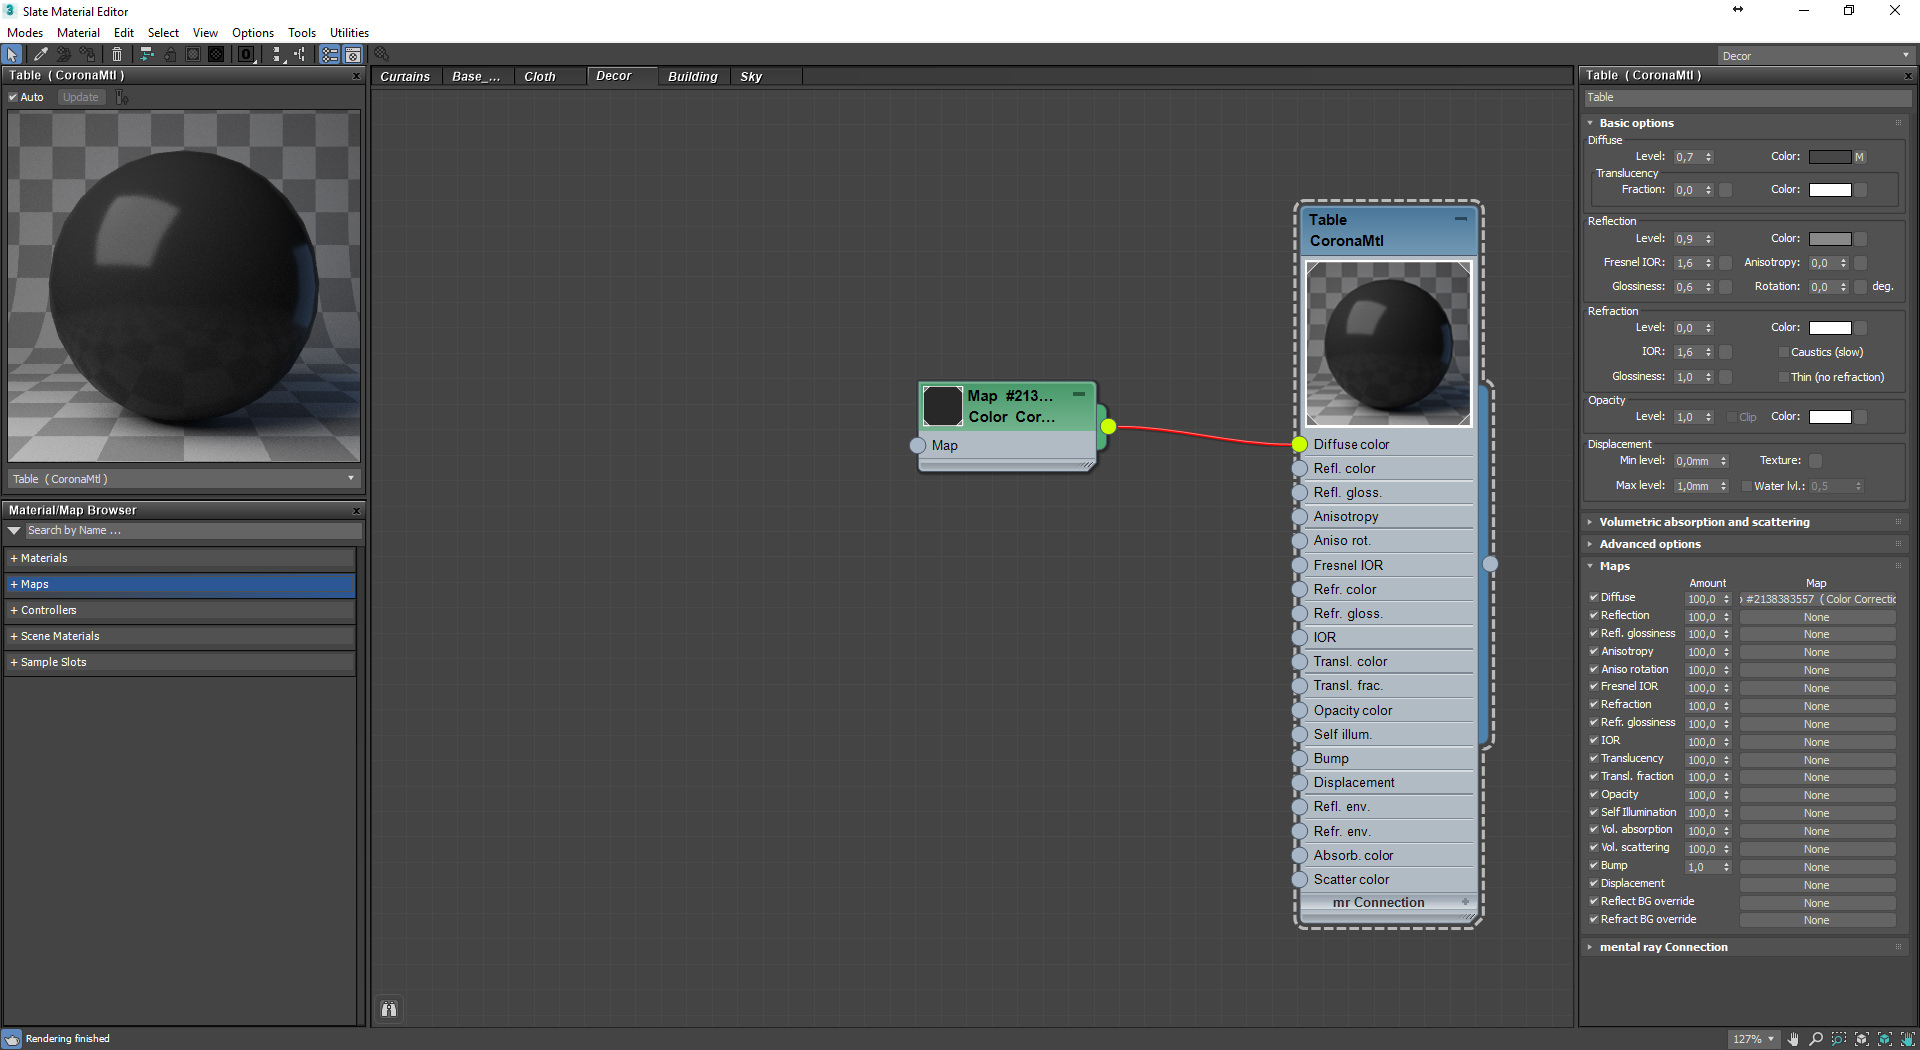
Material of a colored table:
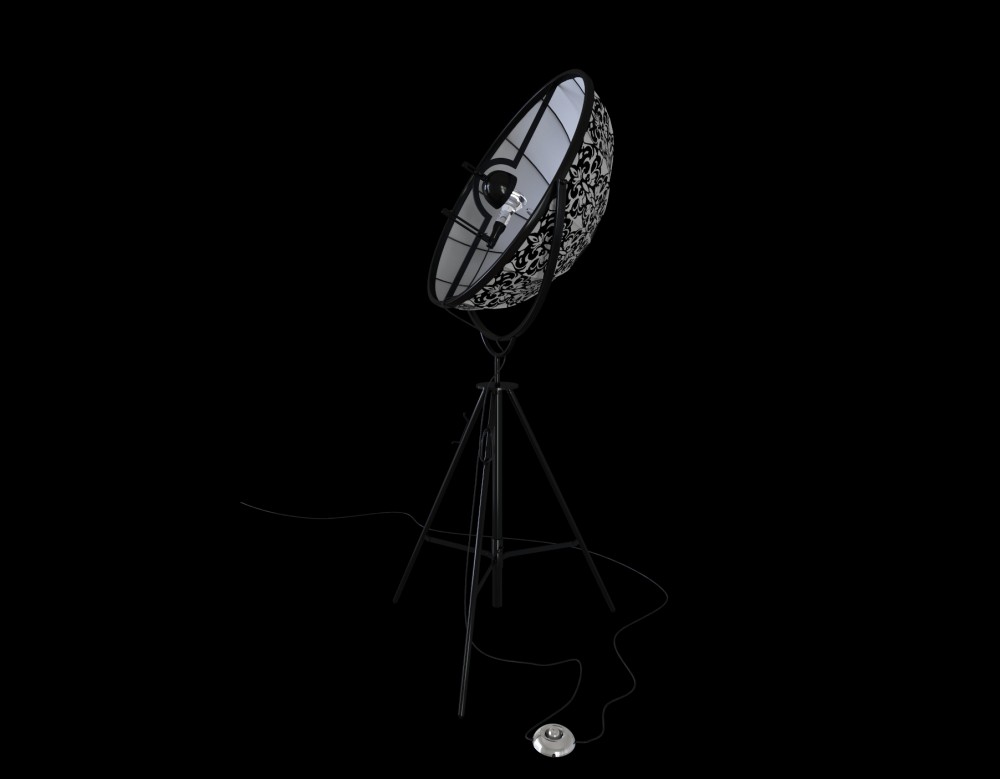
Material of a lamp cord:
Material of a tray and whisky:

Material of water in aquarium:
When working on a project, I always work in layers, and now I can’t believe how I could work differently some years ago. Layers help to structure the project for the sake of convenience, make it possible to hide unnecessary groups, freeze them, make them invisible on the render, etc. I do not like max manager, so I use third-party layers manager. I’ve shown demonstrably in video both how the scene is split into these very layers and the screenshot of the manager itself.


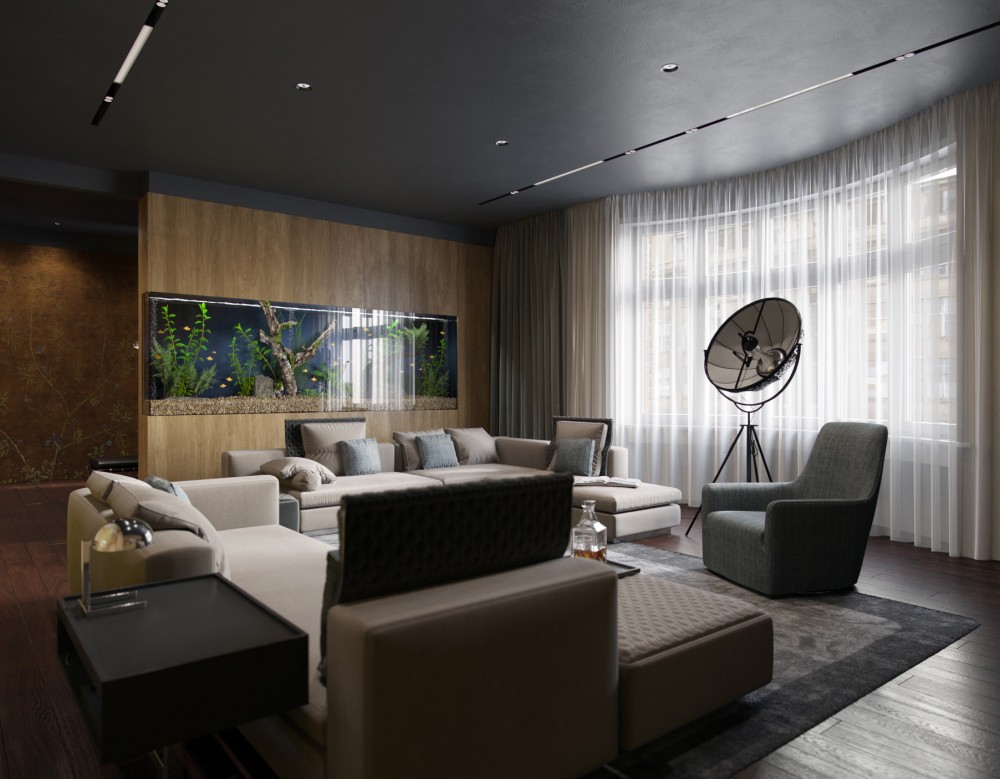
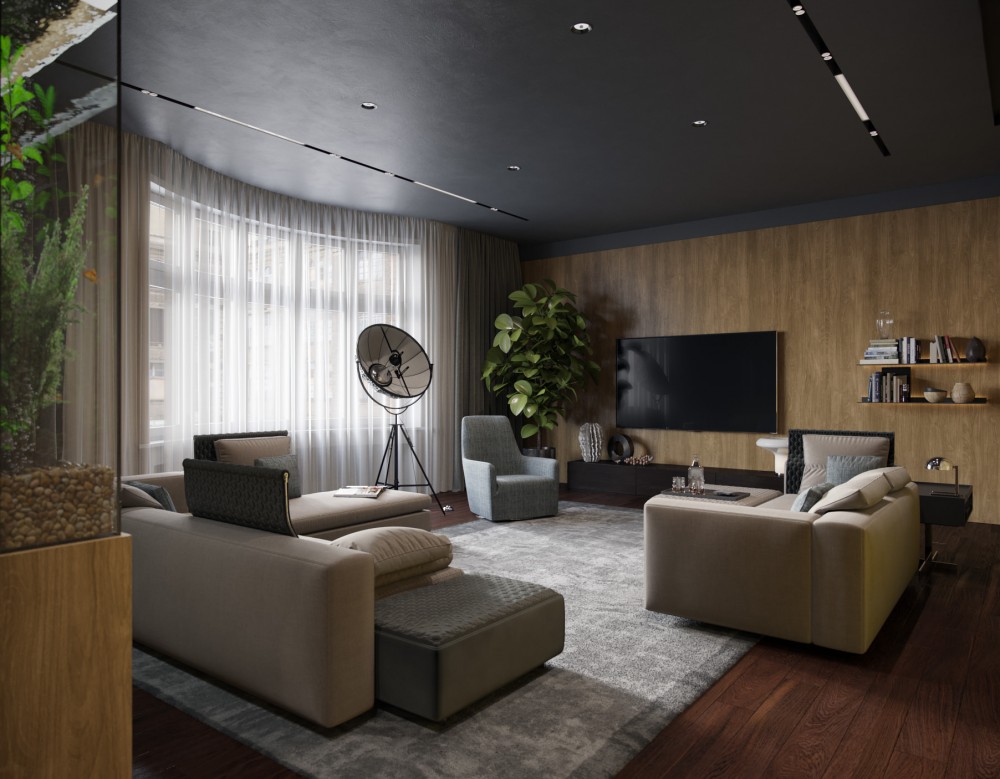
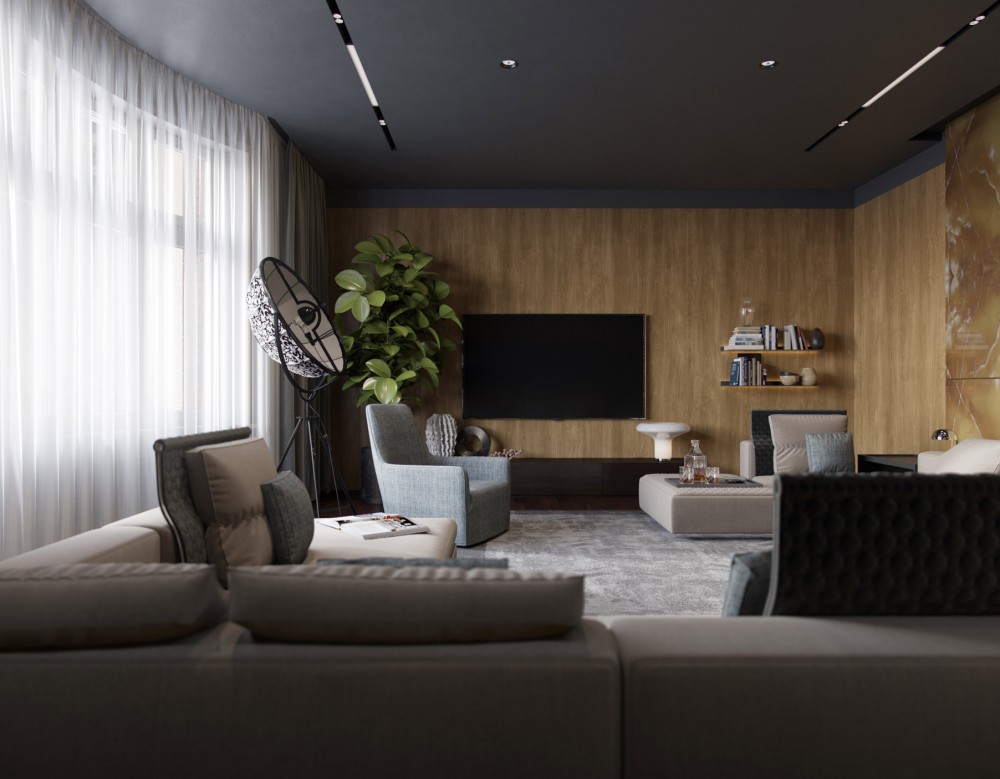
The images were almost notpost processed; I just added chromatic aberration and a little glow from the window. Possibly some colour grading was made but now I can’t say that for sure. Below are the final renders:

Well, here my story about the project F230 has come to an end. It was one of the longest projects in my experience with huge breaks in its implementation. Those breaks were 6-8 weeks long, sometimes even longer. It wasn’t easy to have such long breaks but nothing depended on me. I even thought of giving up a few times, but then pulled myself together and as a result the project was accepted by a customer without corrections.
As you can see I’m not a master of short stories and I’m the keenest to text information. It took me about 24 hours to prepare and write all the material on this work.
If you like this information, share it with your colleagues. Maybe this Making of will help them solve some of their tasks and it will be an incentive for me to write new stories more often. Please use the comment section at cglife.pro, and I will be very glad to answer.
See you next time my friends!