Matas won our award "Best ArchViz Project" for the month of November 2013 presenting the Scandinavian interior as a personal project. The photo-realistic level of this project is amazing, that's why we asked him to share with us his workflow. An informative making of article was born. Just enjoy it!
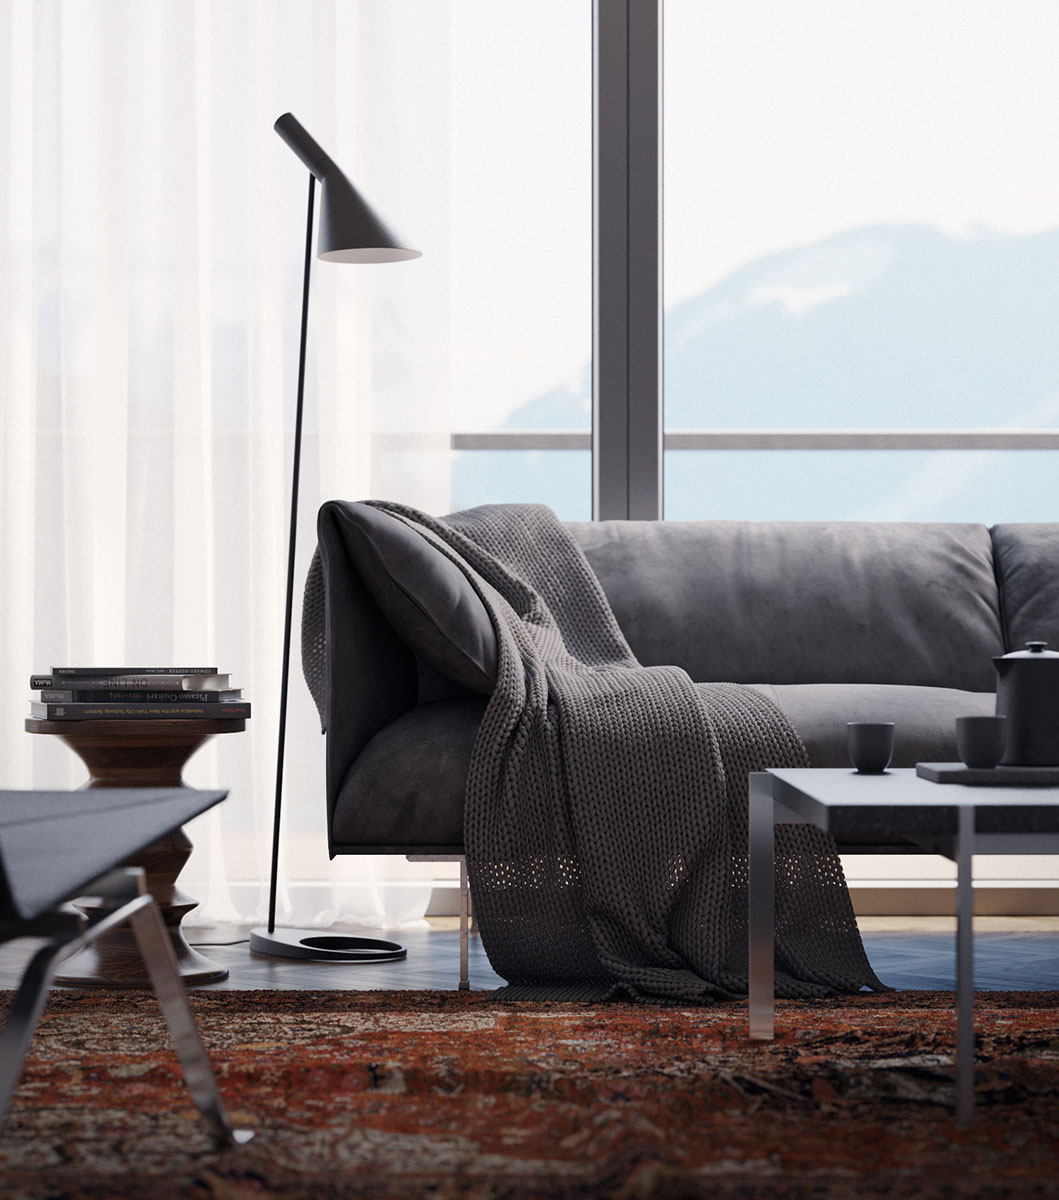
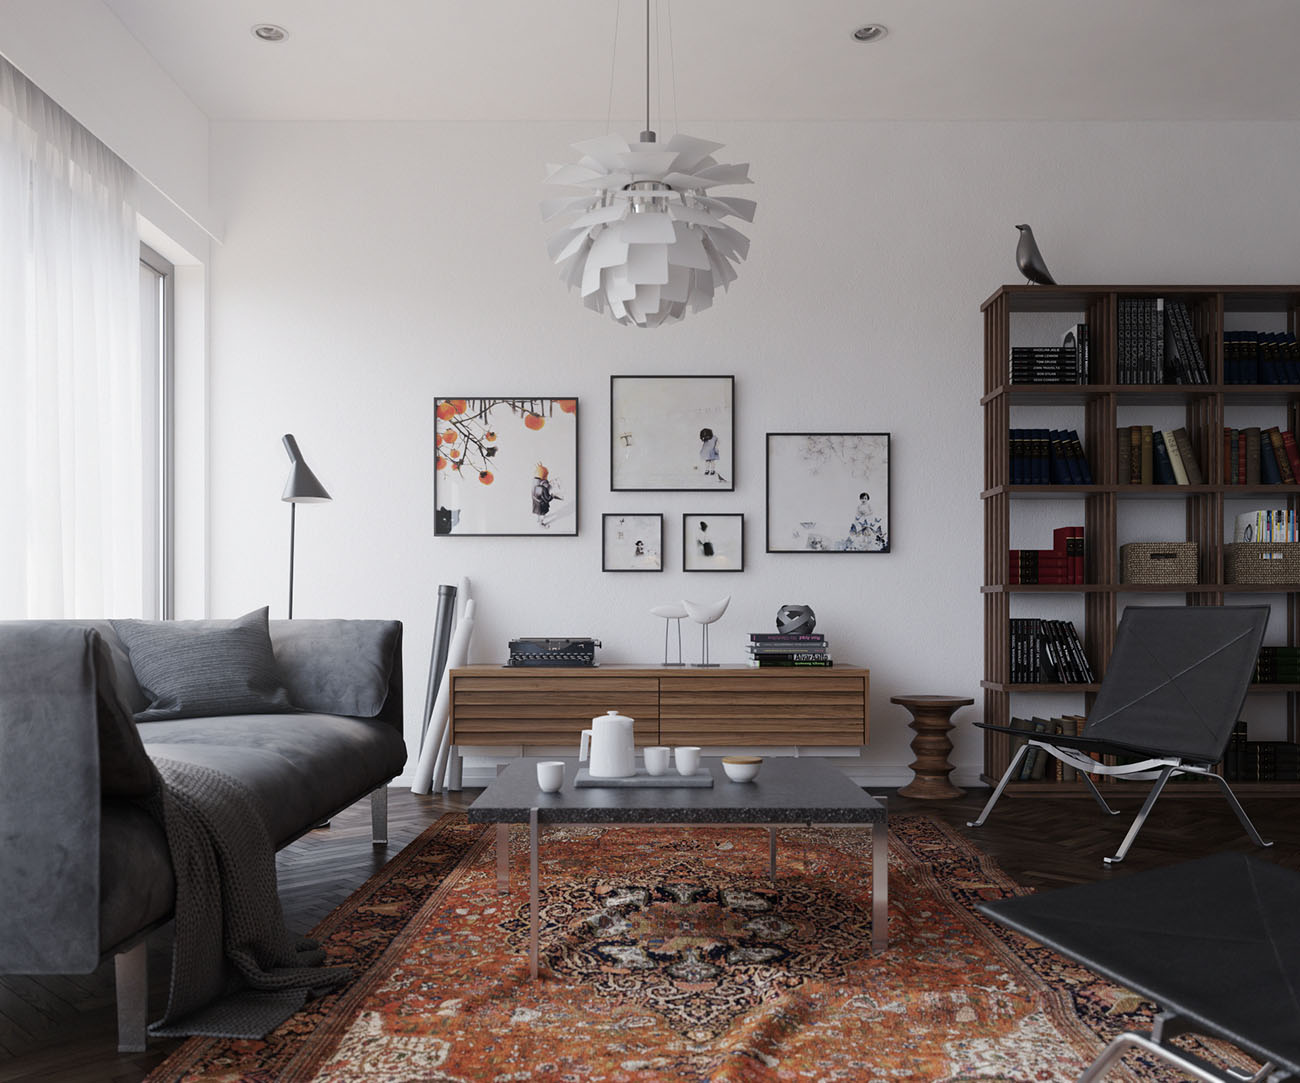
Hi! Let me introduce myself: I‘m Matas Mačiulis, an interior designer and 3D artist from Vilnius, Lithuania. A few months ago I‘ve posted my noncommercial project "Scandinavian interior" on various pages. The main aim of this project was to get deeper understanding about image composition and to learn some new tricks on natural lighting and texturing. I am more than pleased that this project got a lot of positive feedbacks, including that it was nominated as image of the month on V-ray world. So when I was asked to write the making-of I agreed without a doubt. Here it is!

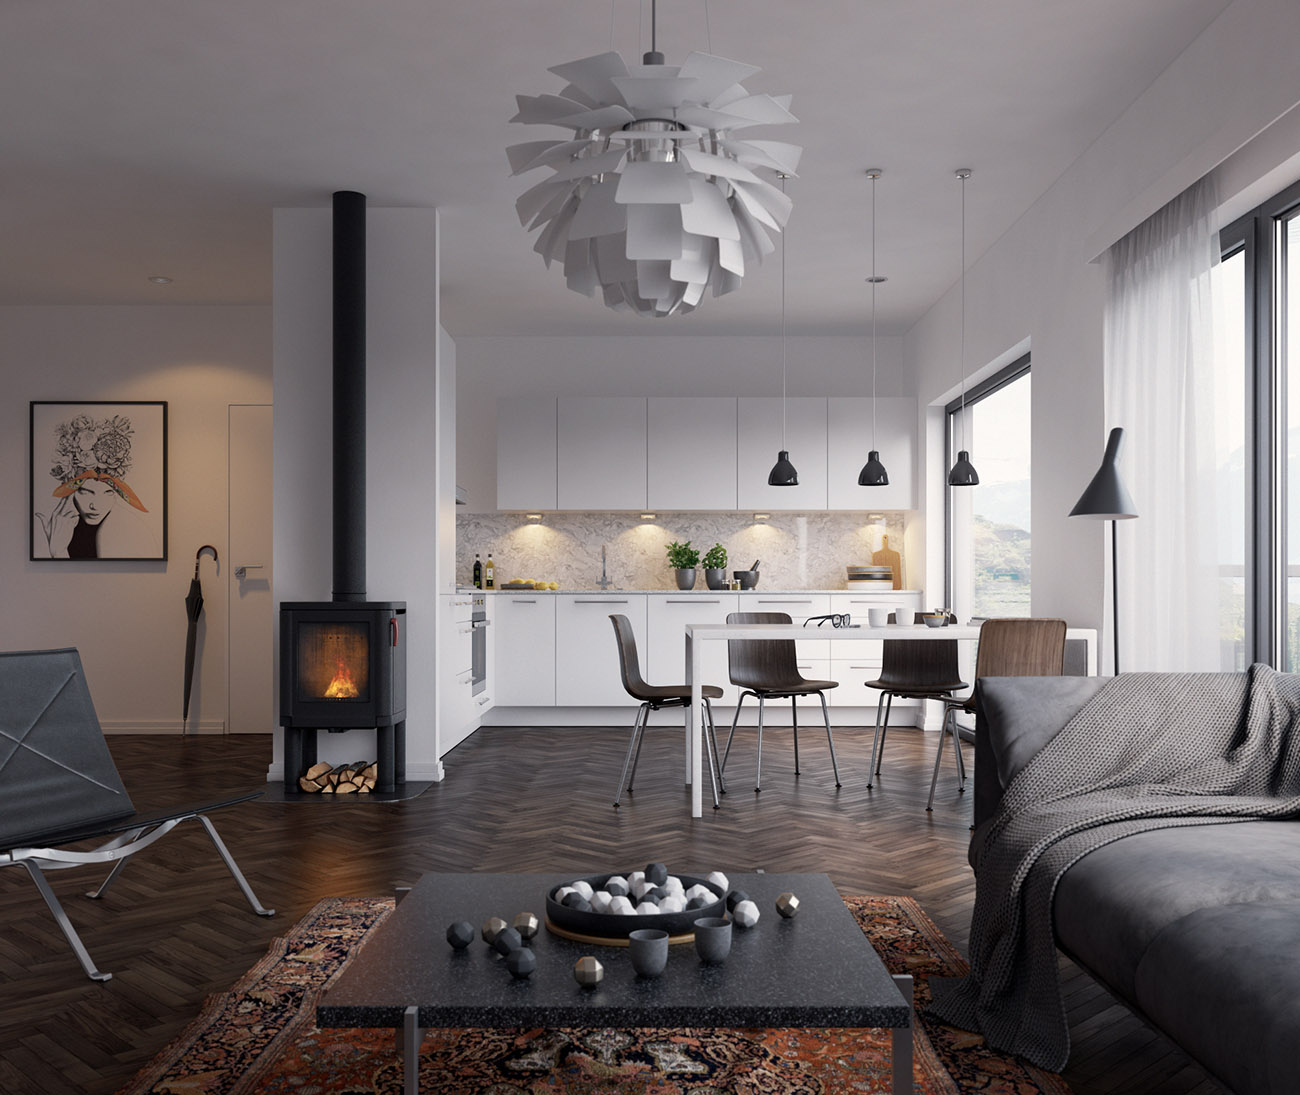
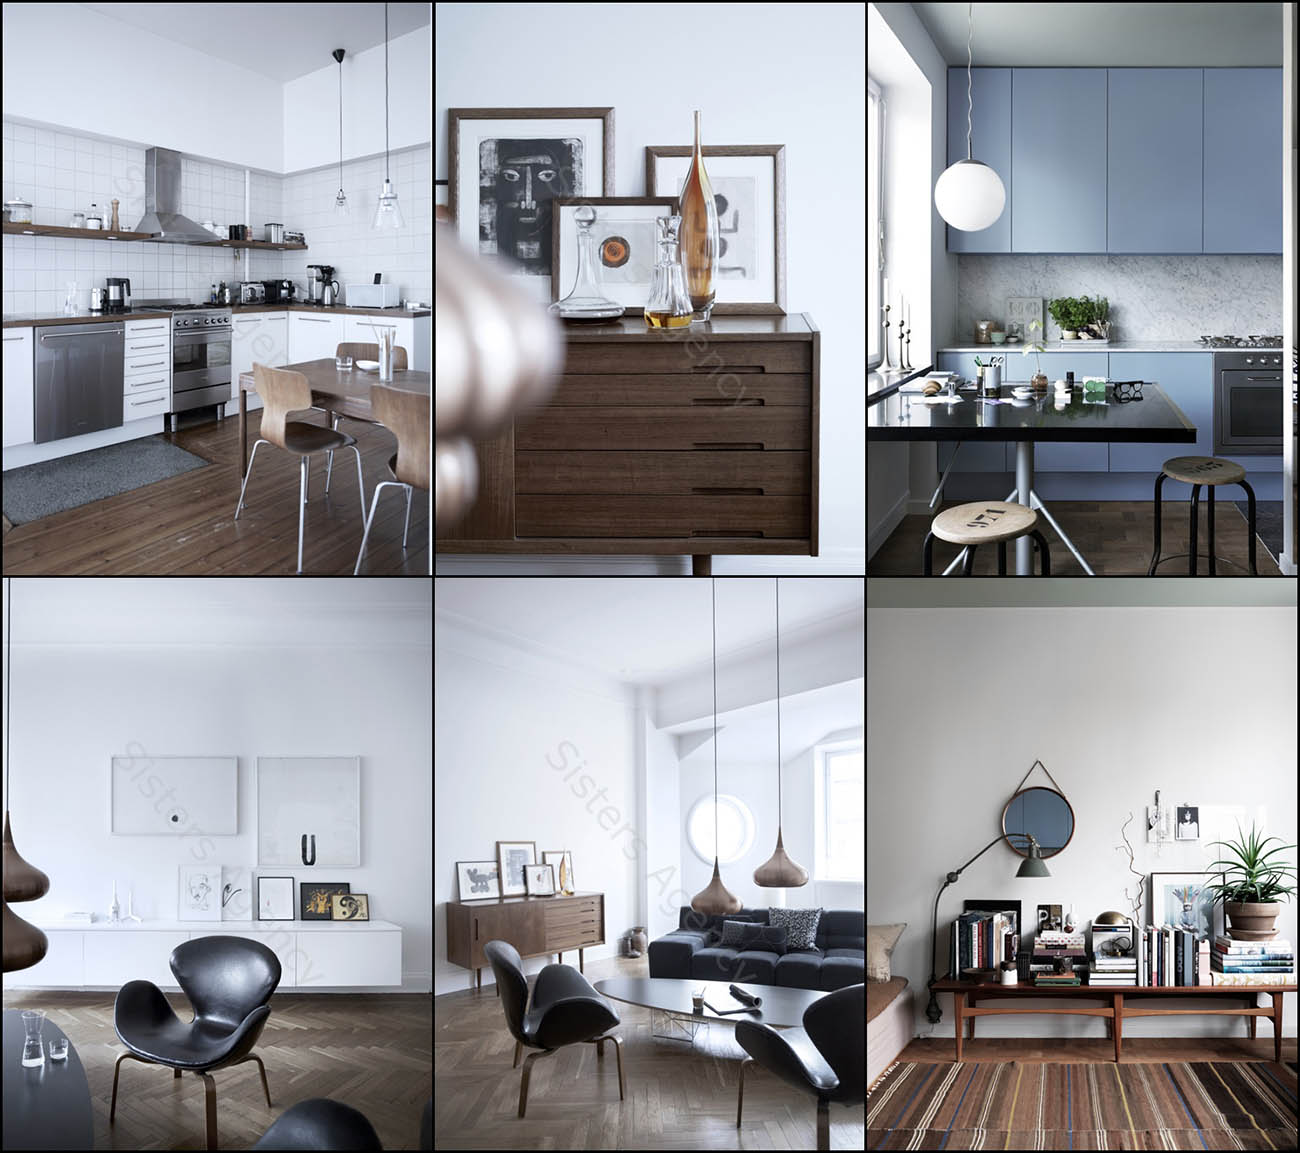
Personally, I’m a huge fan of Scandinavian design and architecture. I constantly visit this amazing Emmas blog and more times than not I find a lot of inspiring projects there. This time wasn’t an exception - there were some images that made a big impact on atmosphere, interior style and colors of “Scandinavian interior” project.
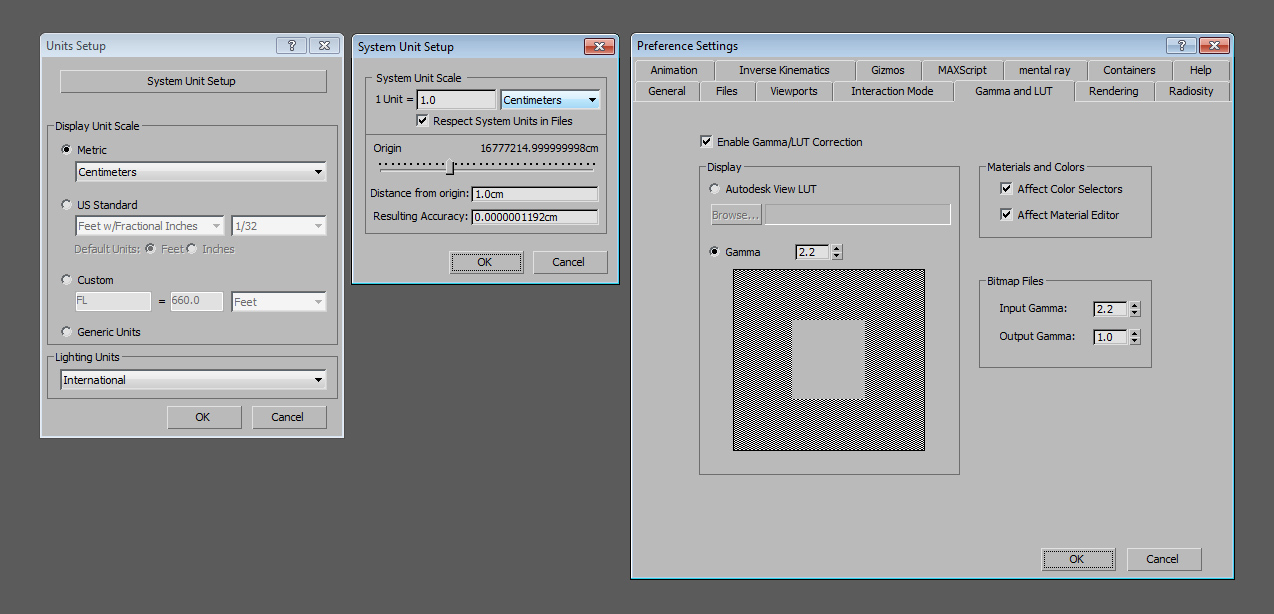
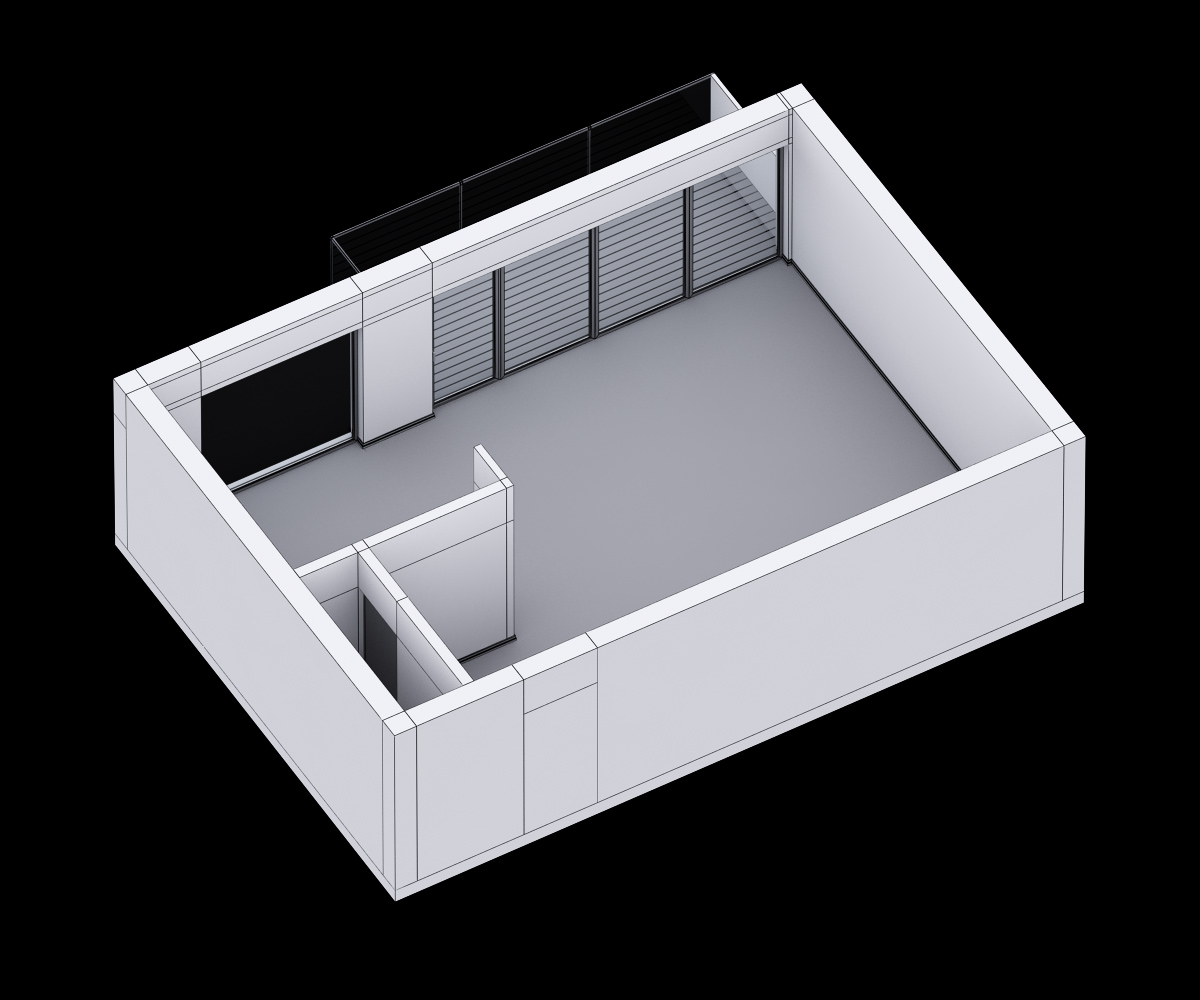
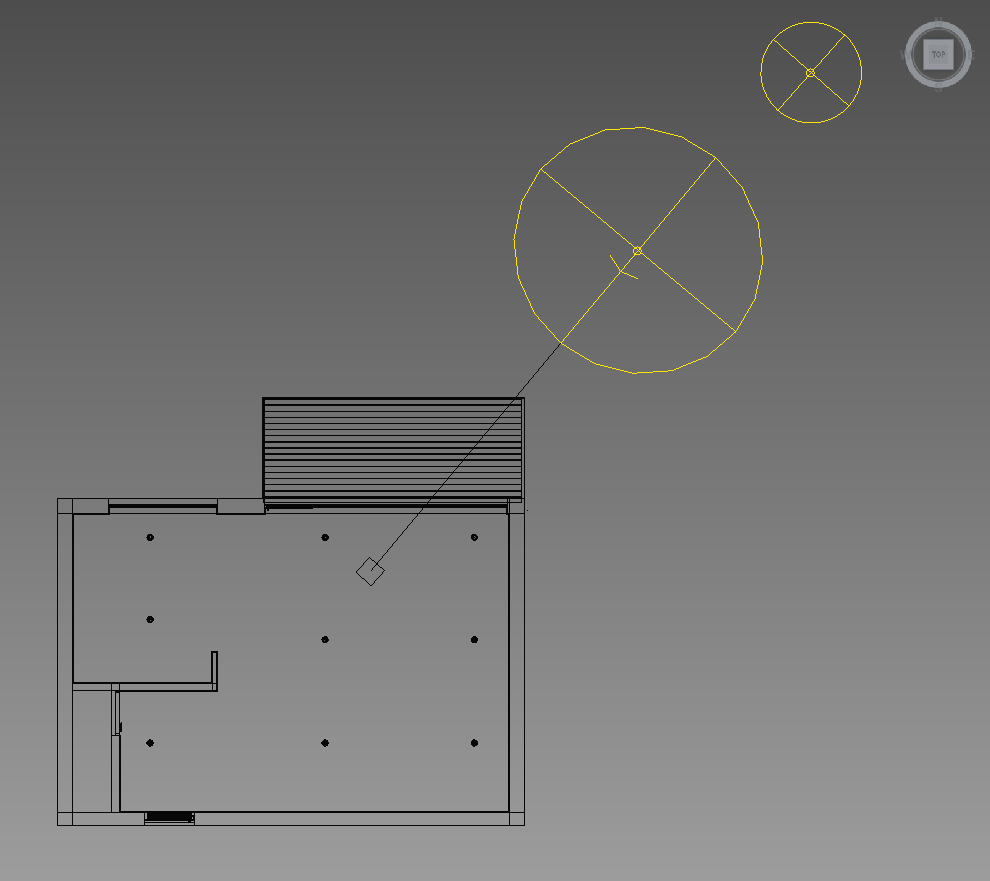
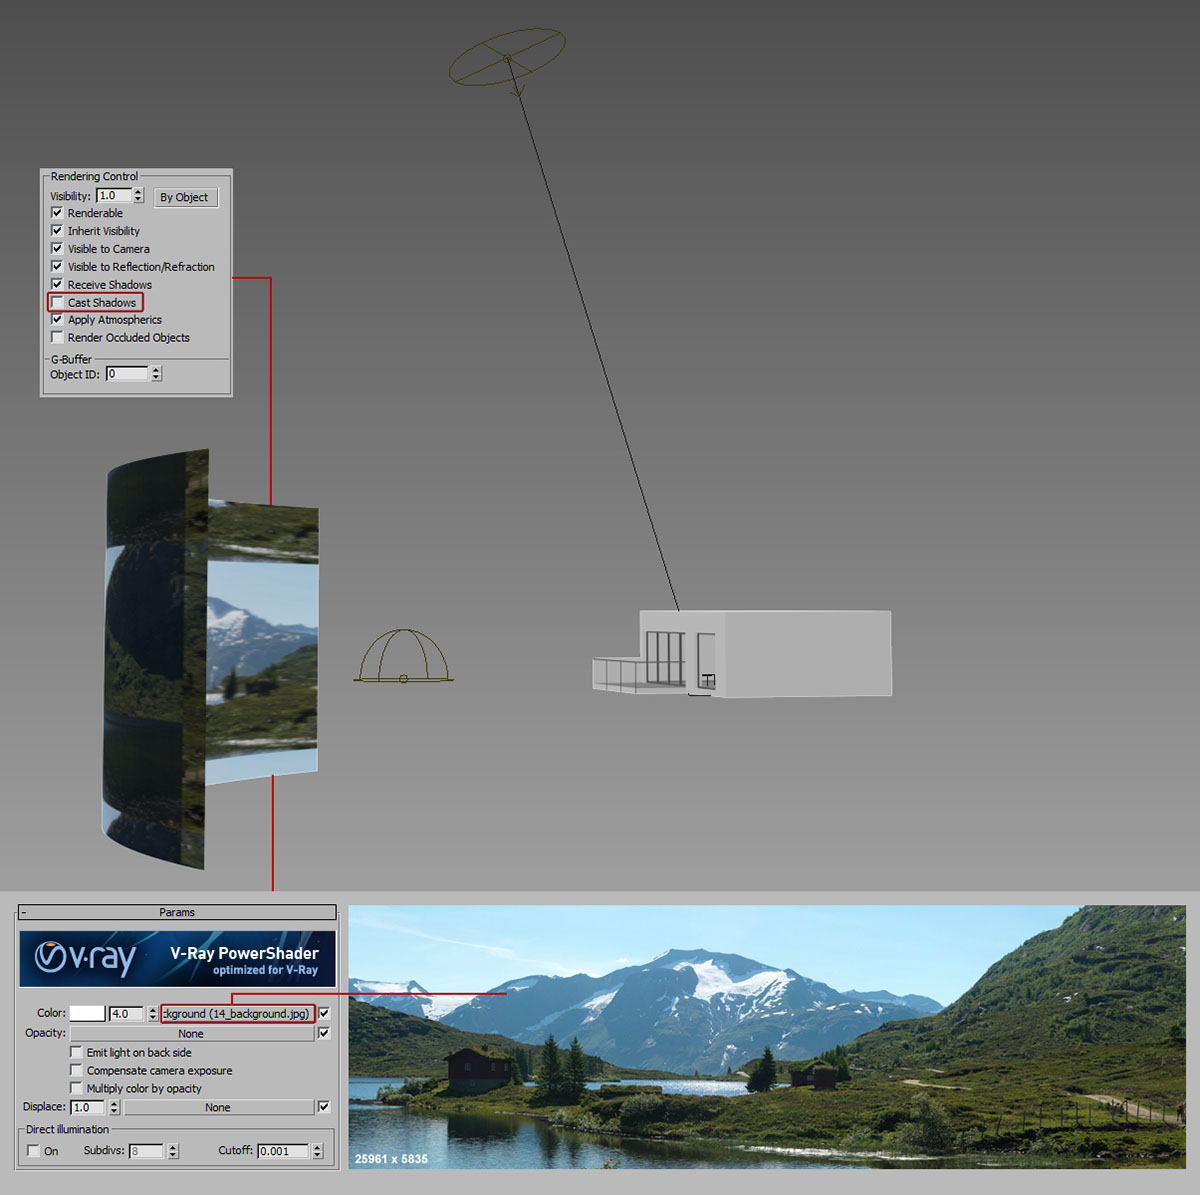
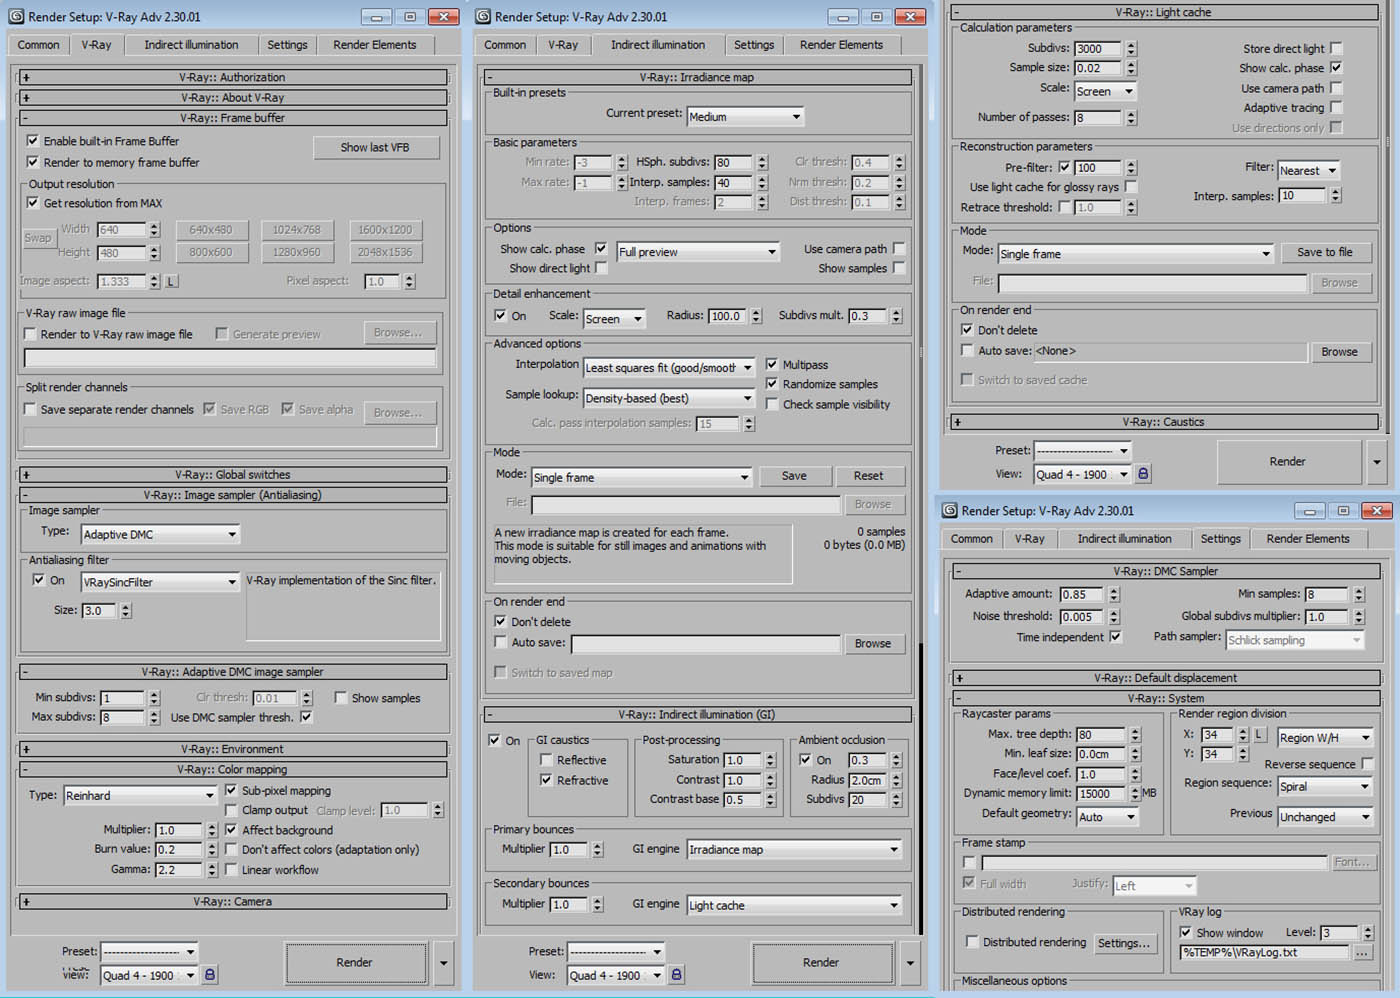
Here are the general scene setup settings…
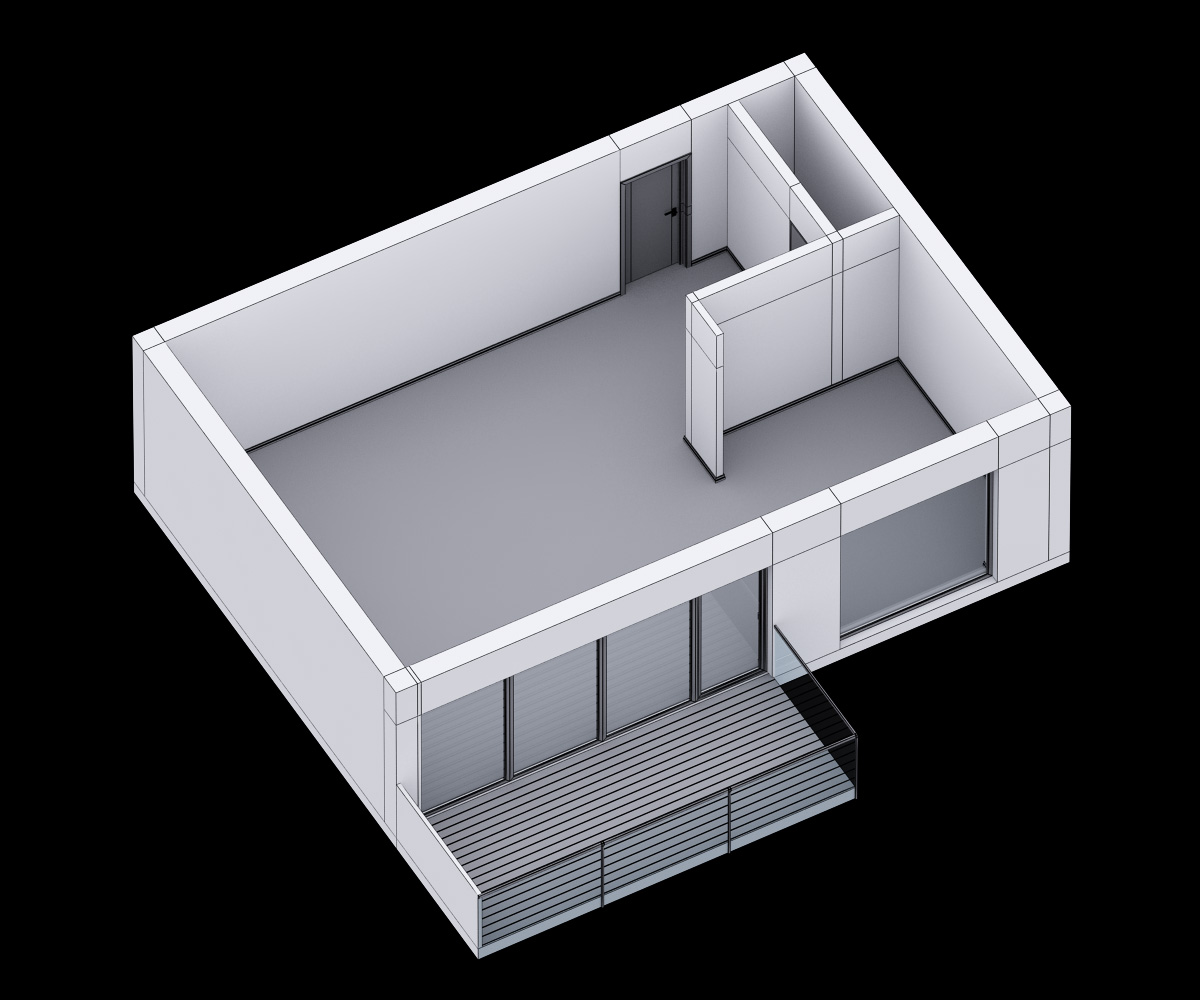
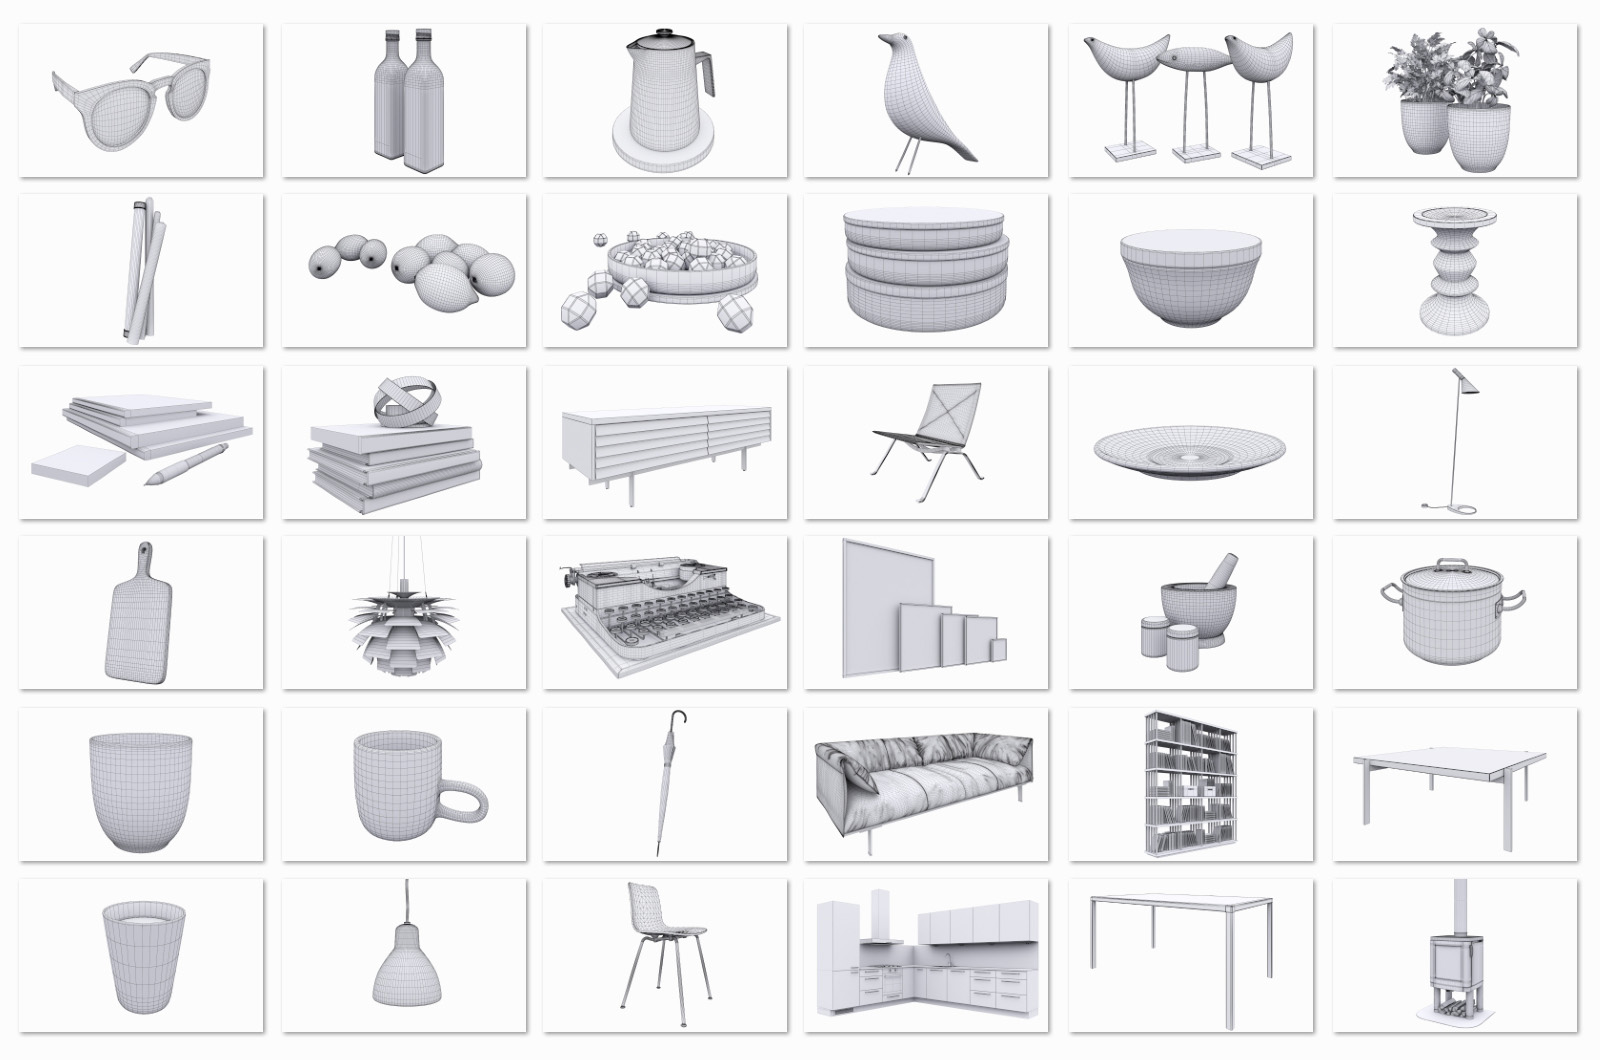
Honestly, there was nothing special on the modeling part of this project. The majority models of furniture and interior elements were taken from my data base.
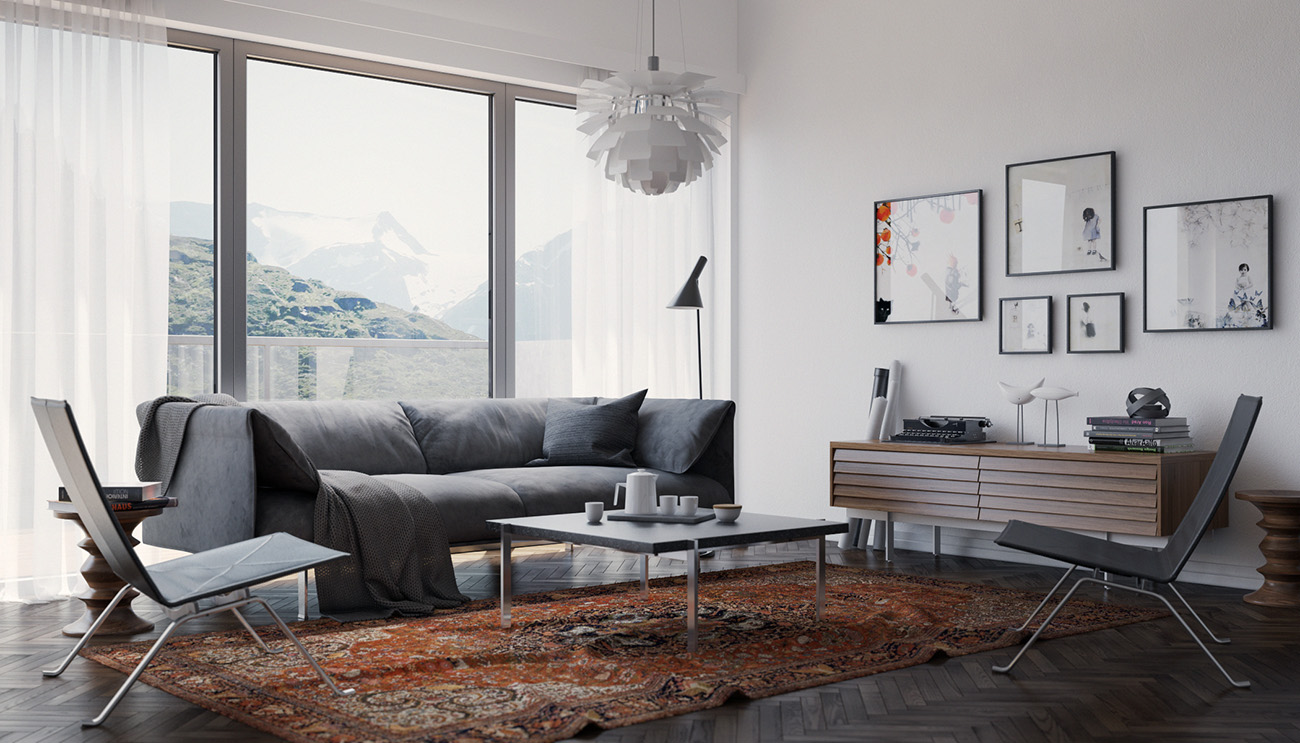
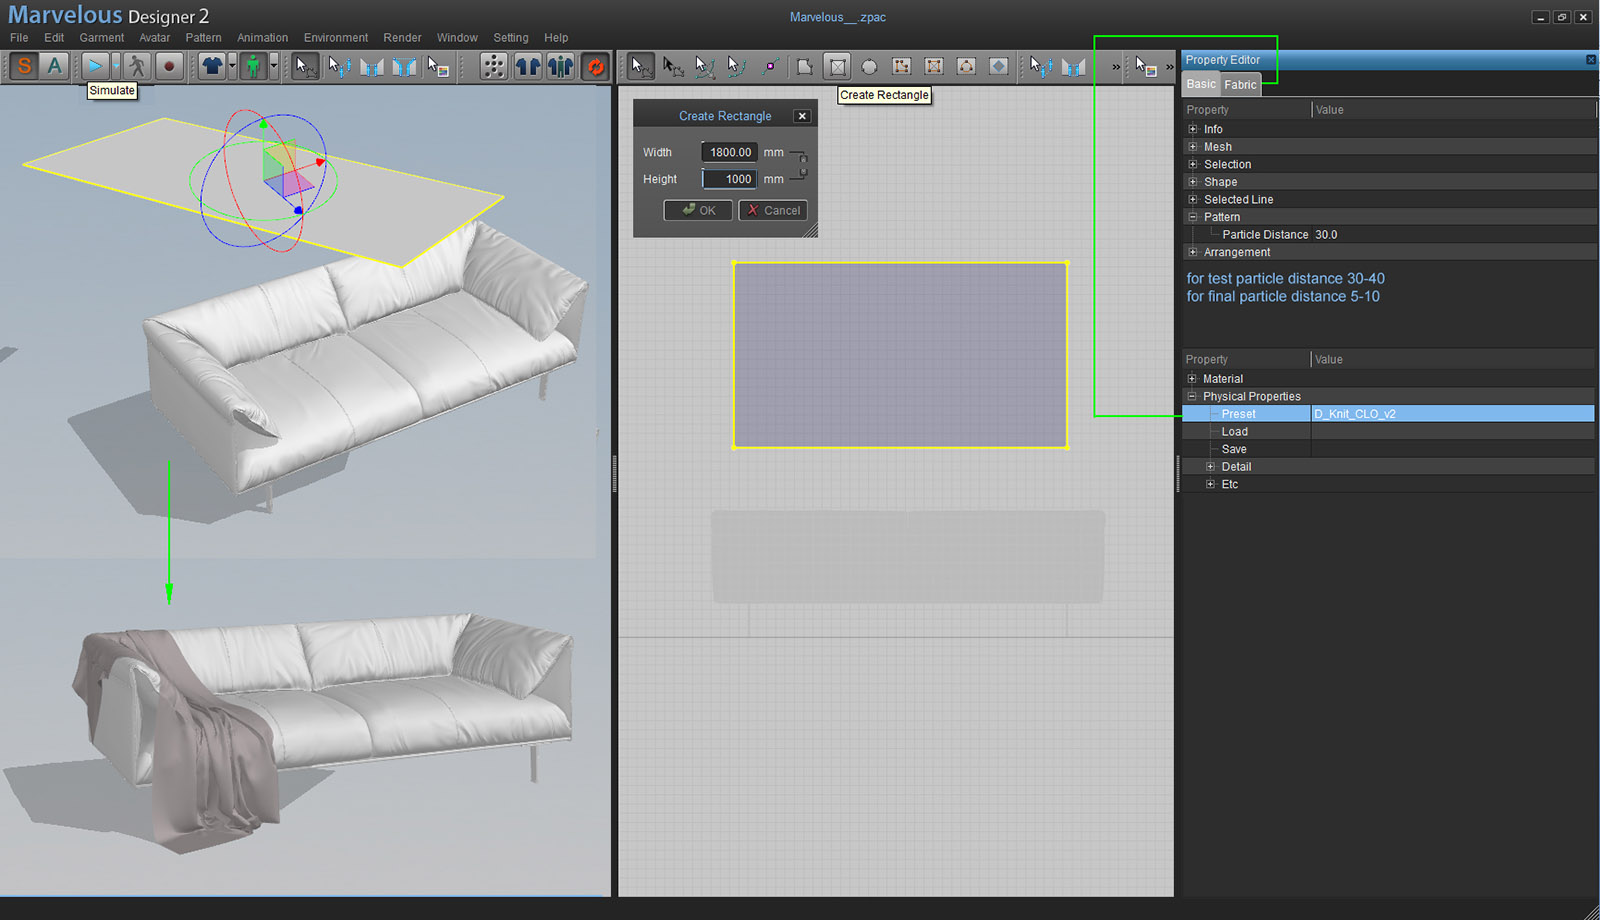
8 steps and cloth is on the sofa :)
1) Load obj sofa file to marvelous designer
2) create rectangle cloth up to sofa, for exp 1800x1000mm
3) Fabric > Preset >D_Knit_CLO_v2
4) Property Editor Basic > Pattern> Particle Distance 30-40 (FOR TEST)
5) Press simulate
6) Just drag cloth with mouse until you will find best simulation result.
7) Set Particle Distance 5-10 (FOR FINAL RESULT)
8) Save cloth as obj file and import to 3dsmax.
Pillows were made with the help of this tutorial and curtains with this one.
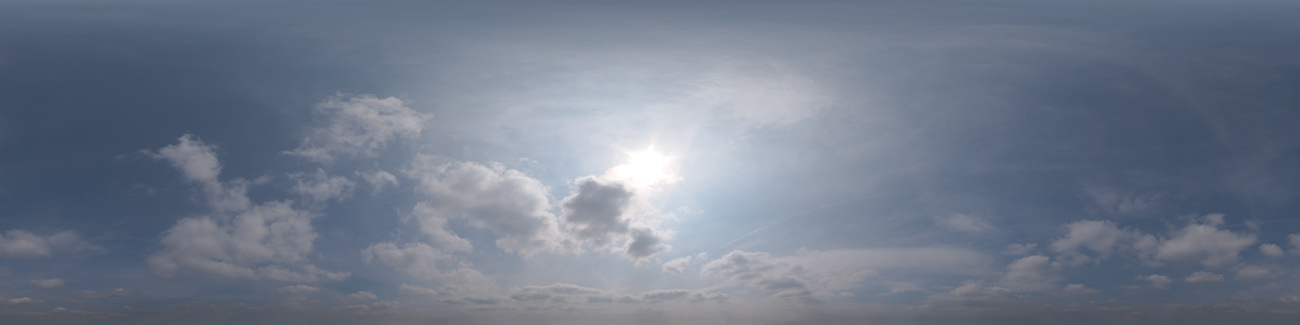
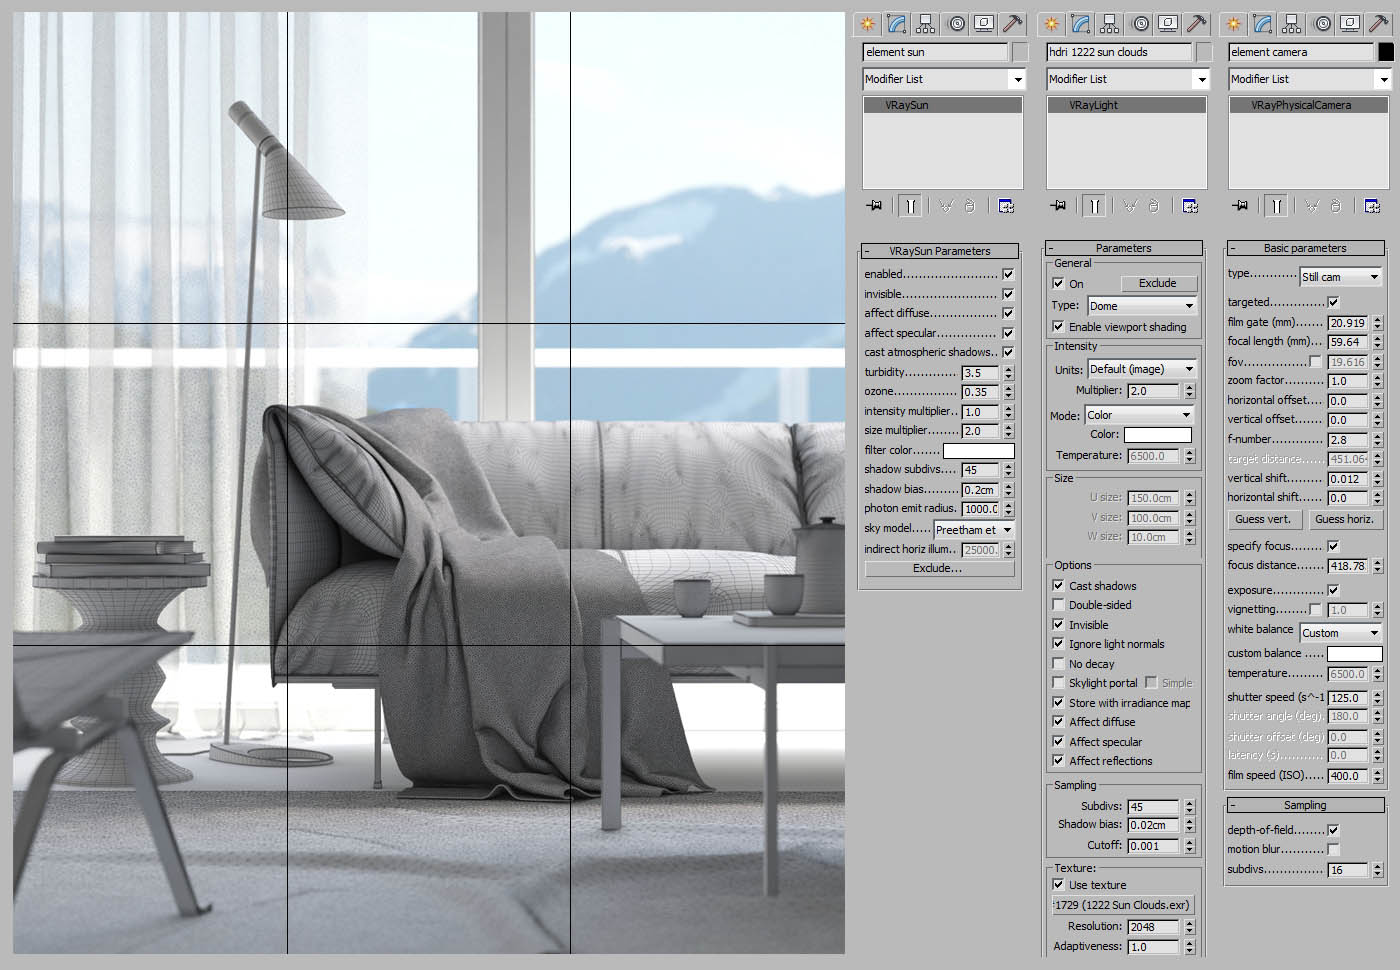
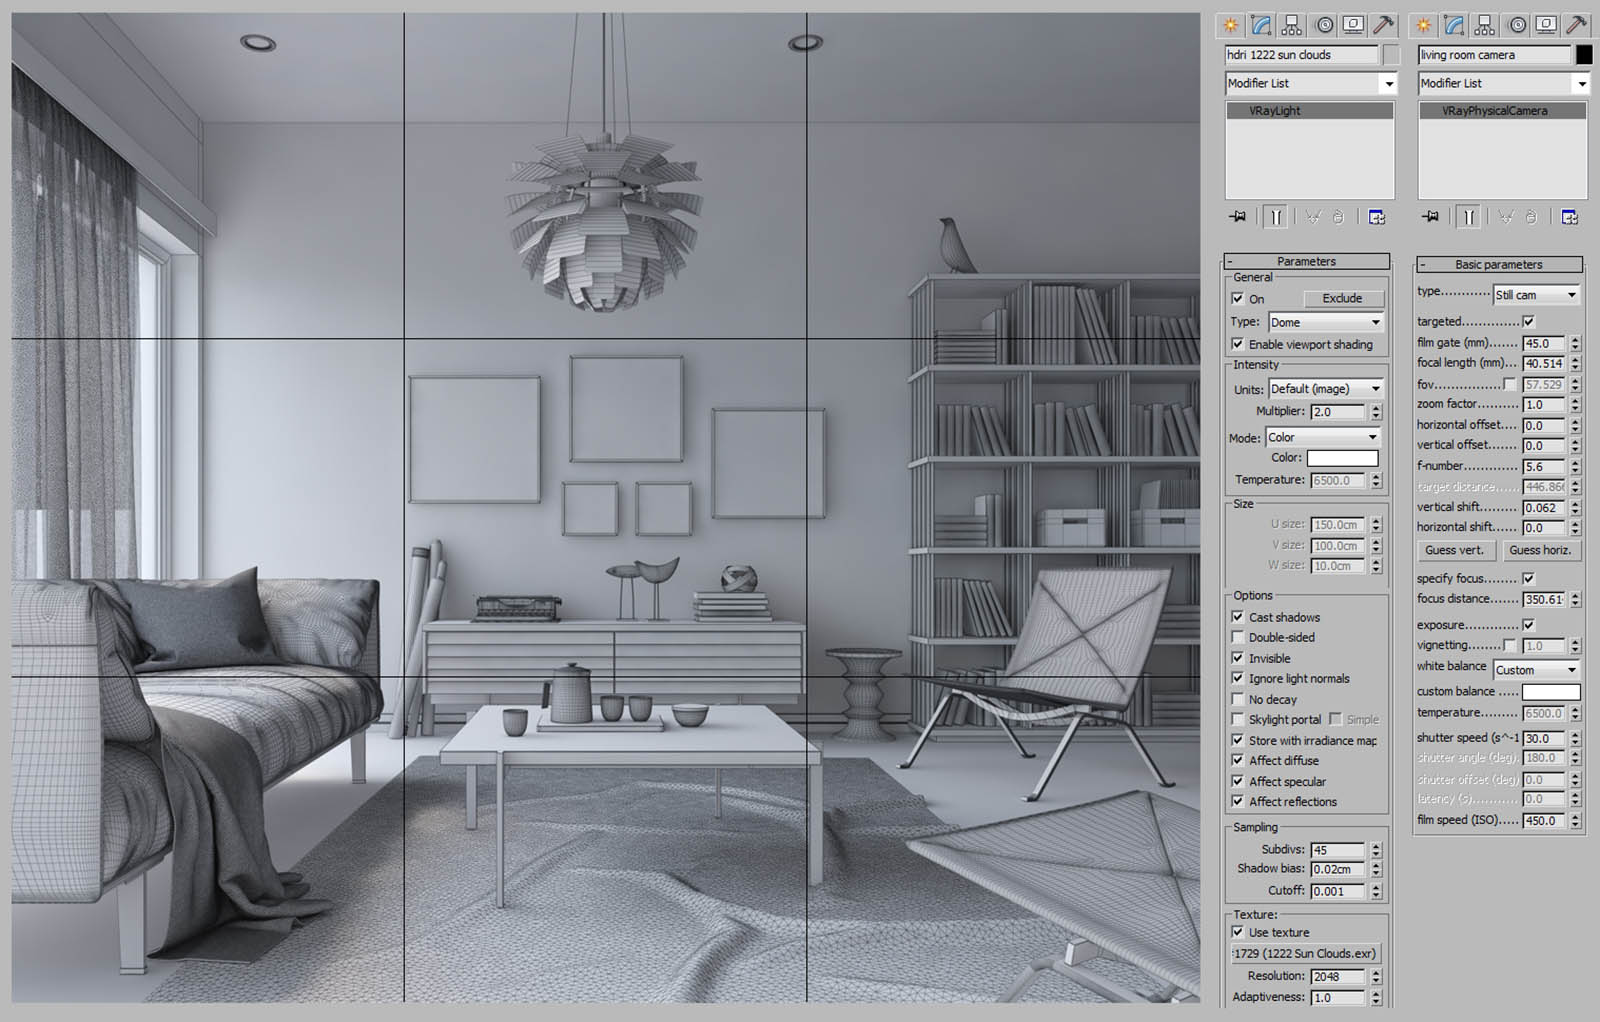
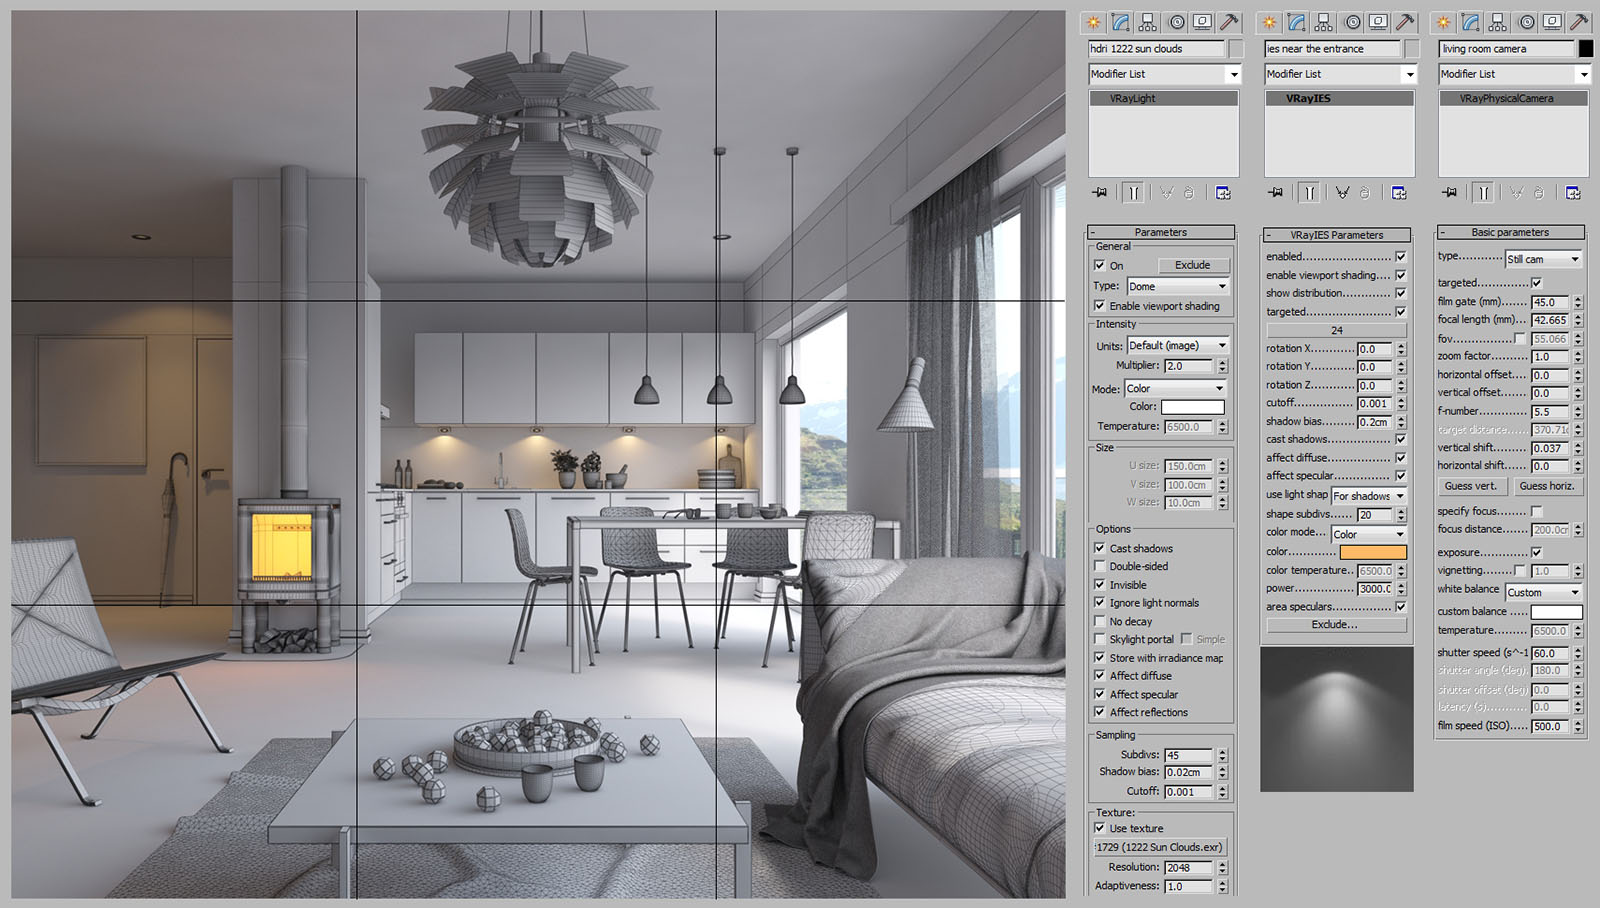
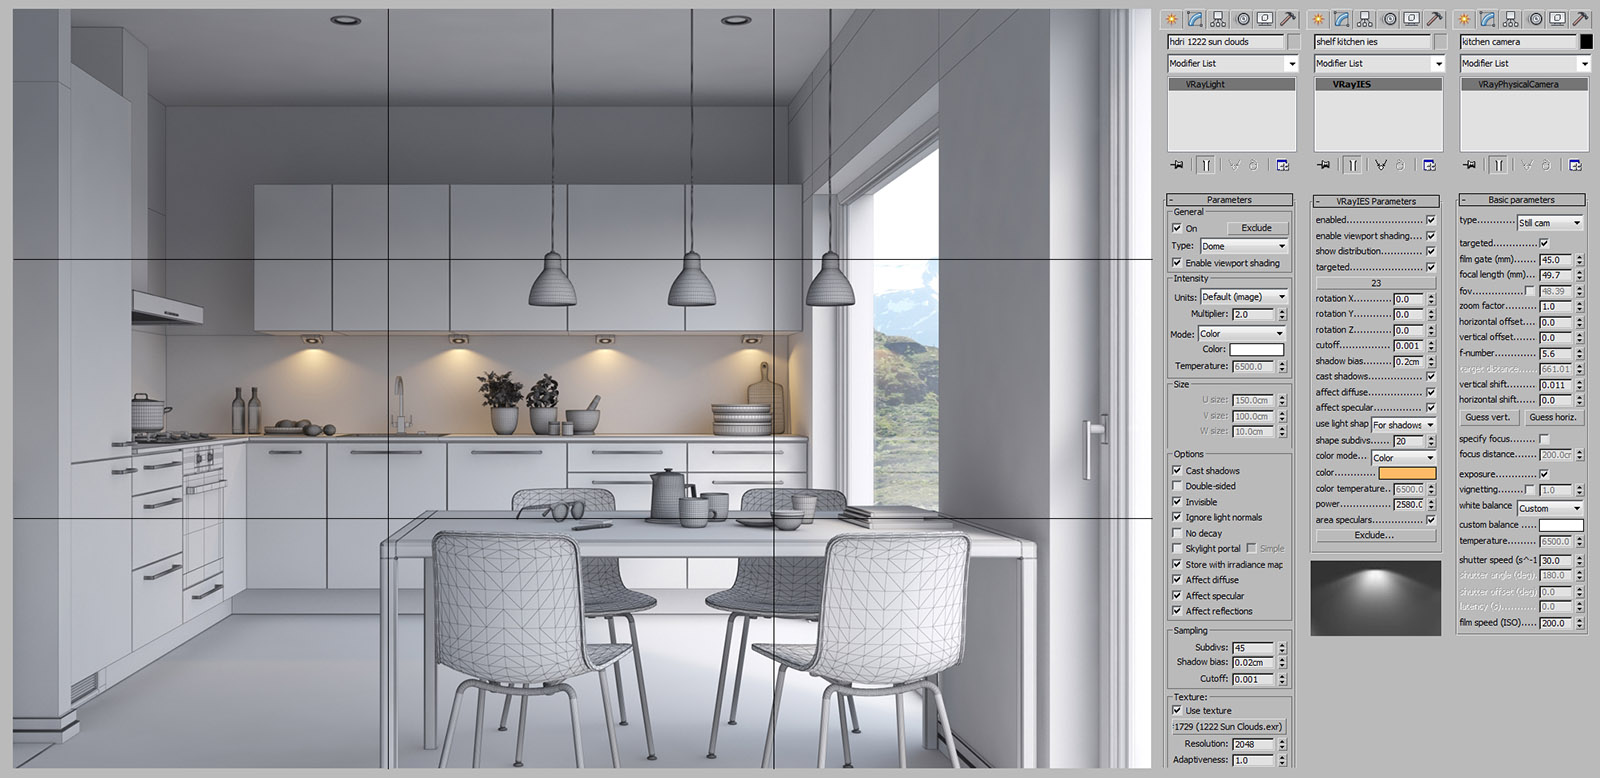
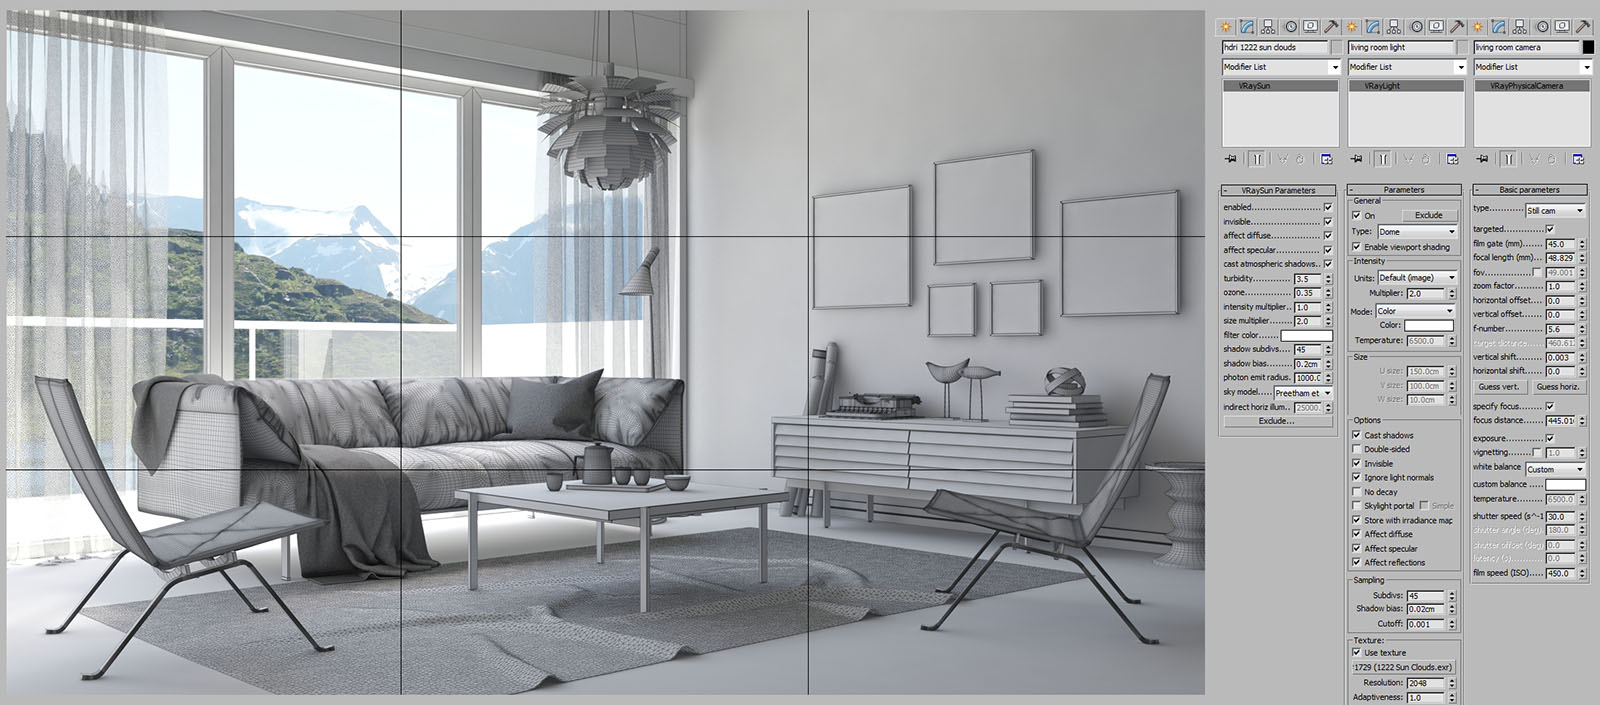
At least to me, the lightening is probably the most interesting part of the project because it has the strongest impact on the mood and the atmosphere of the final image.
In this project it was created with VRaySun and VRayLight Dome + HDRI from Peter Guthrie sun clouds 1222

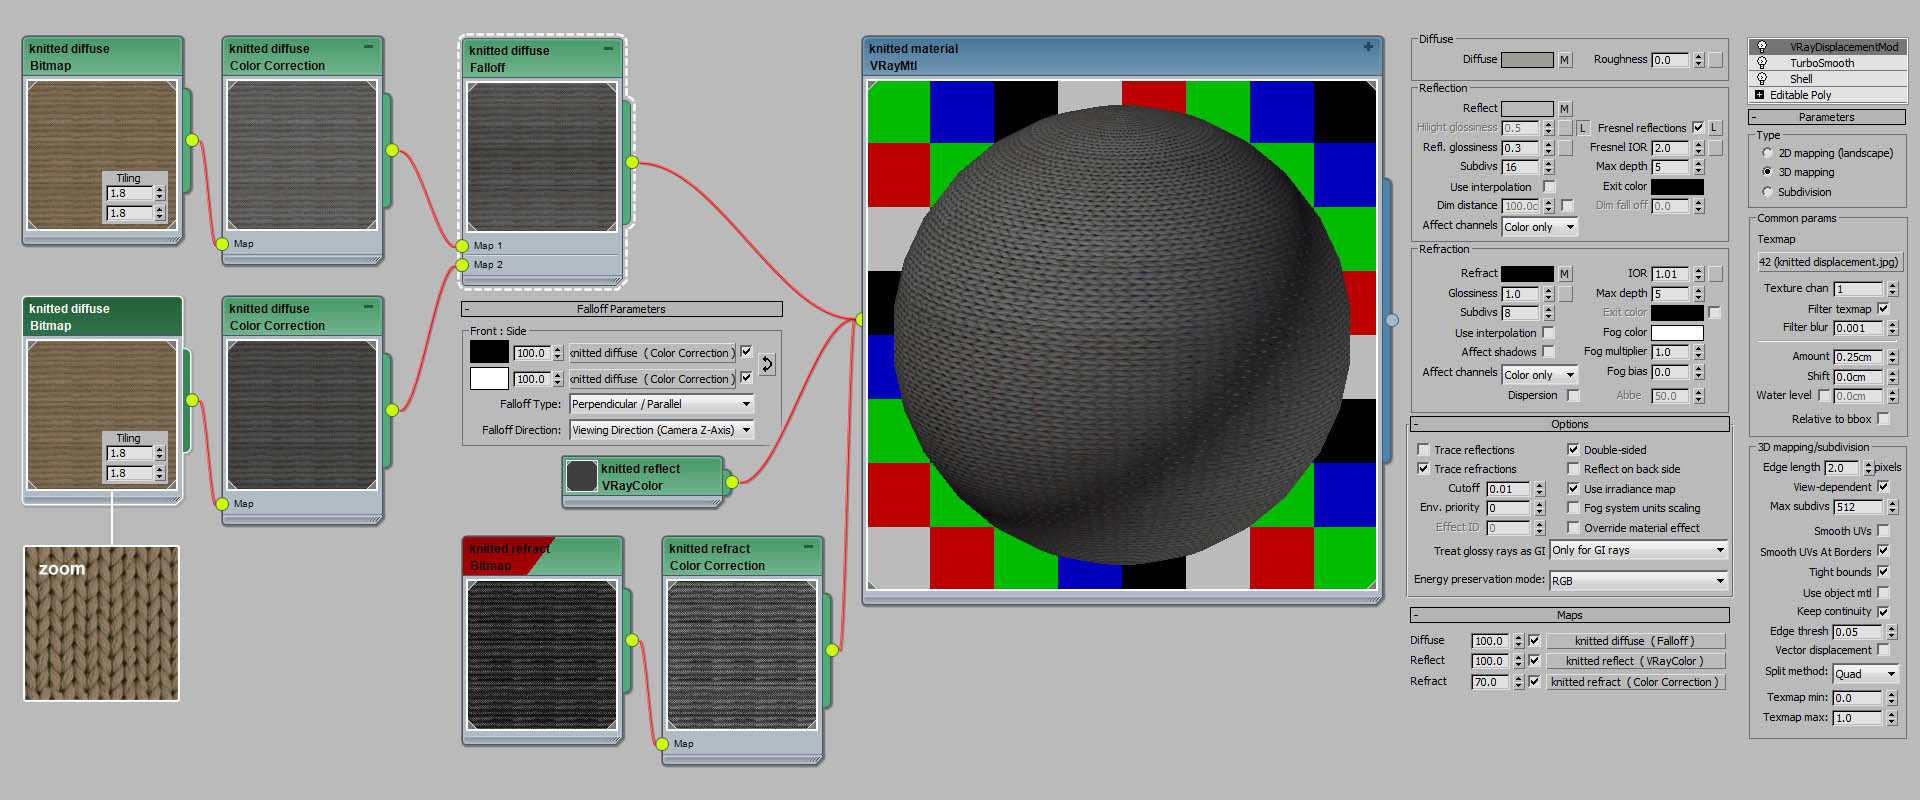
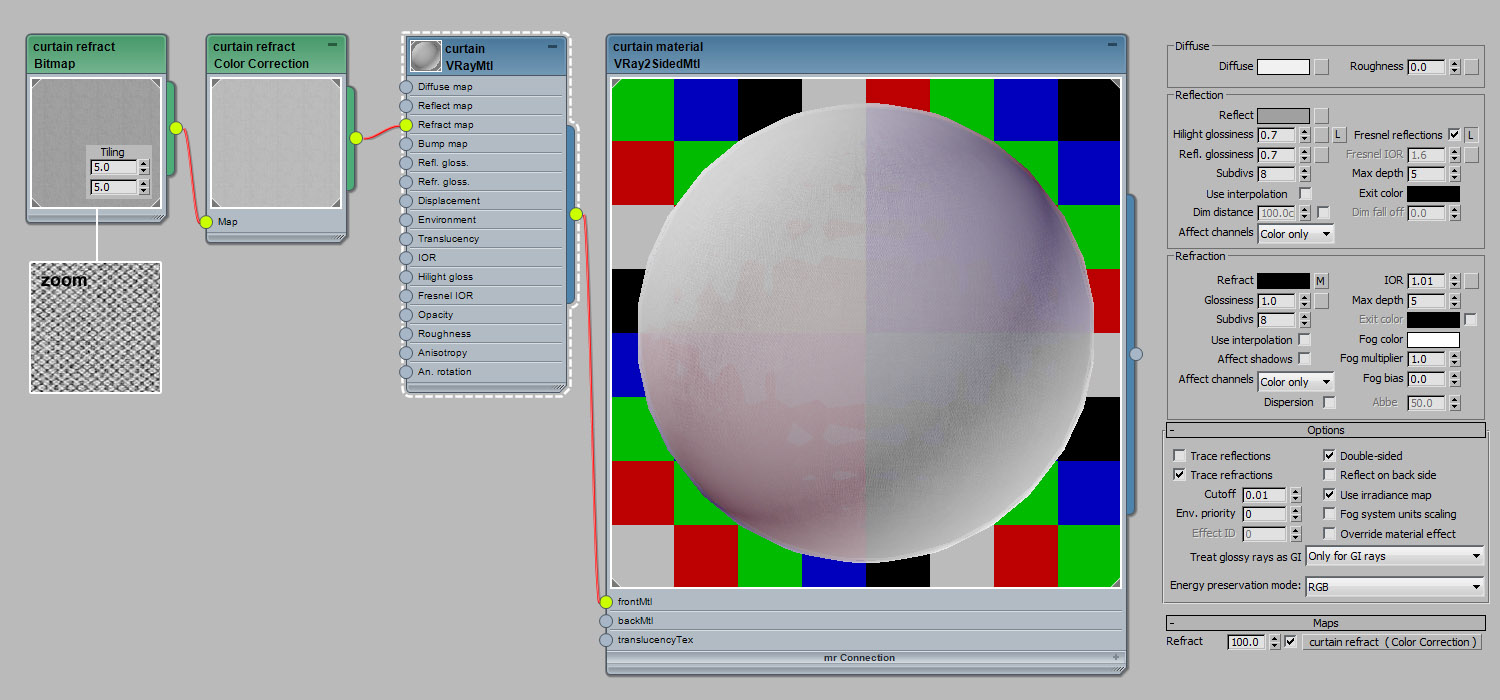
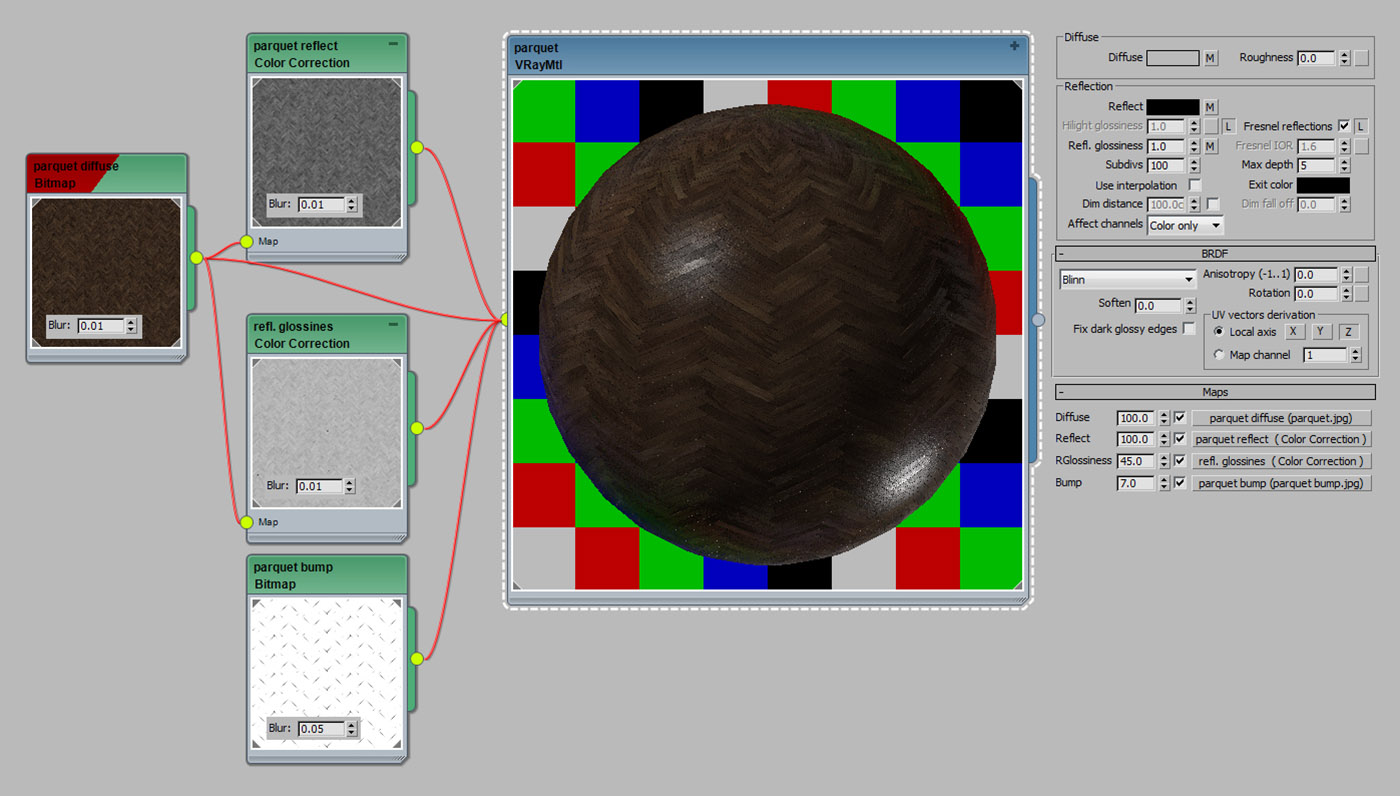
After posting this project I’ve received a lot of questions about and comments on cloth material. I’d like to share with you the technique and textures of it :)
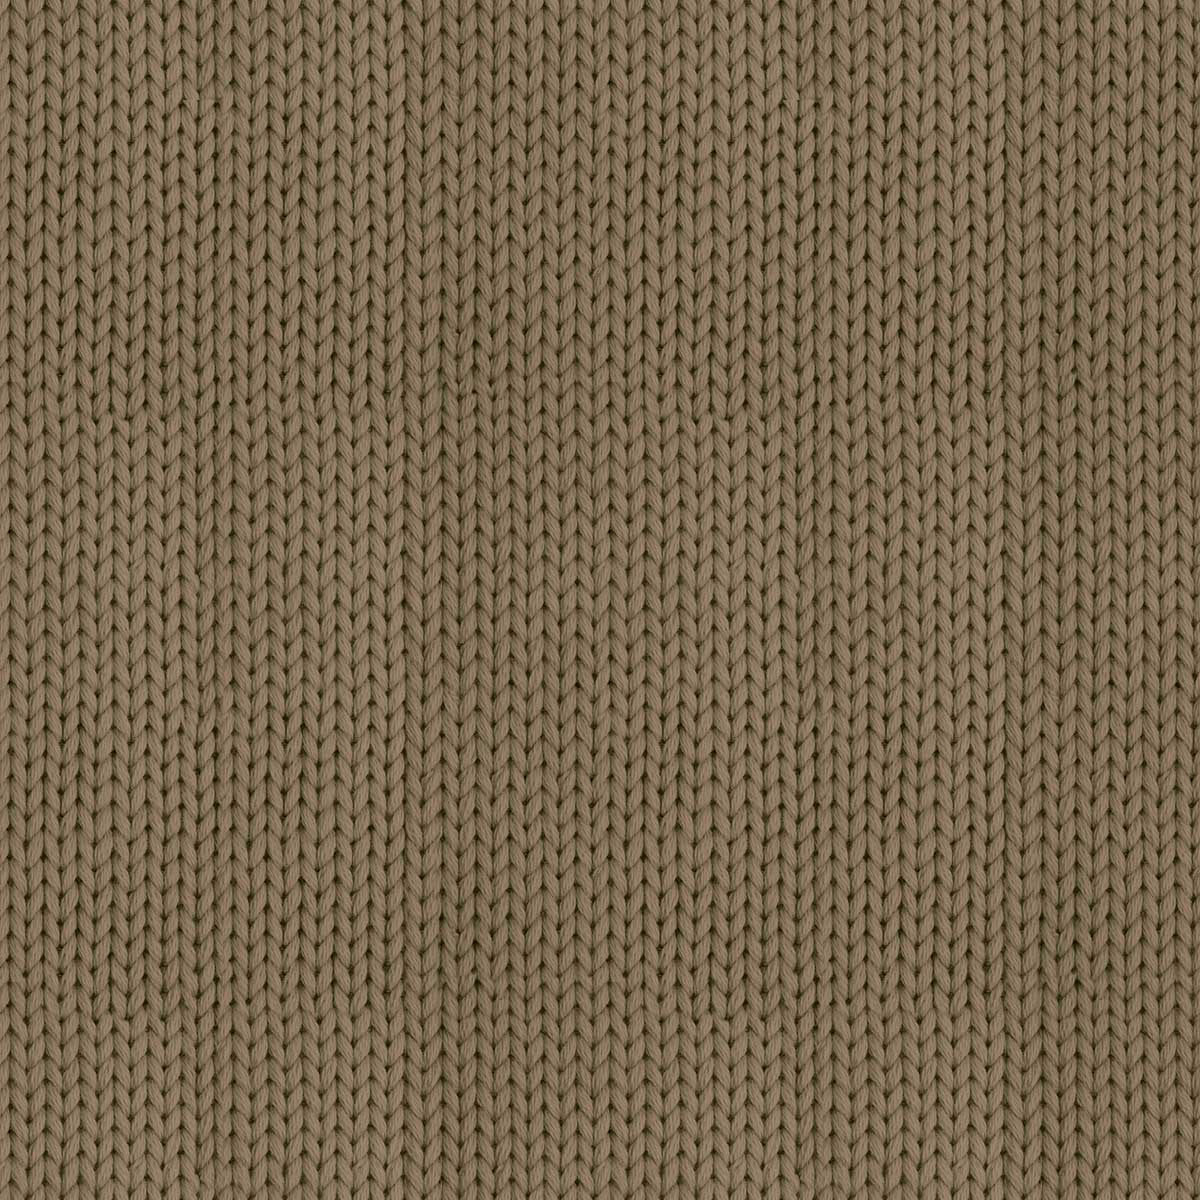
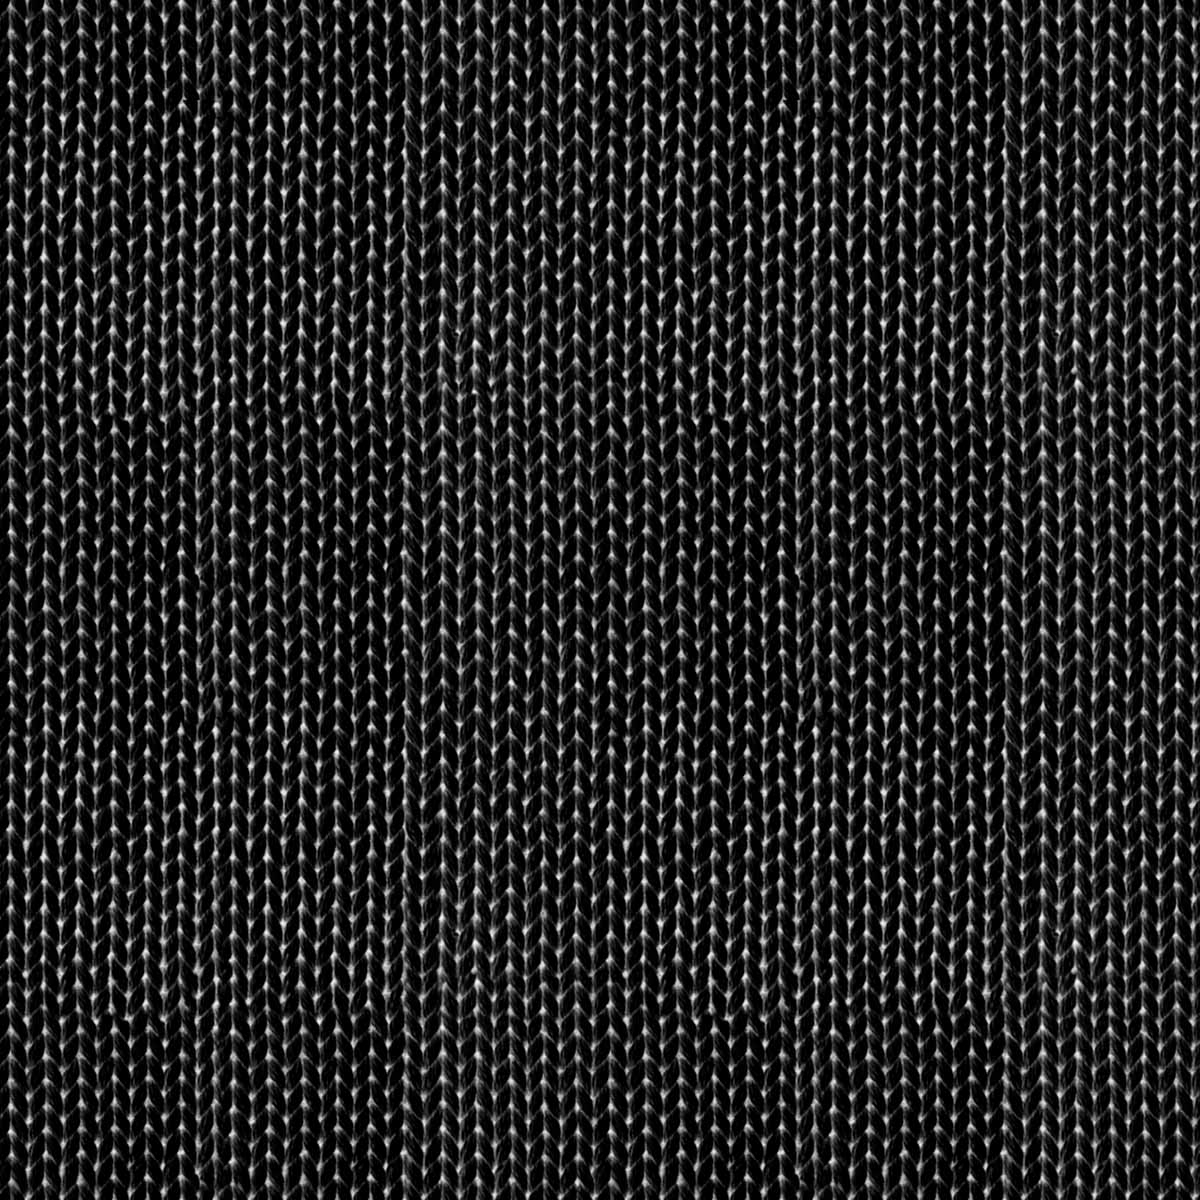
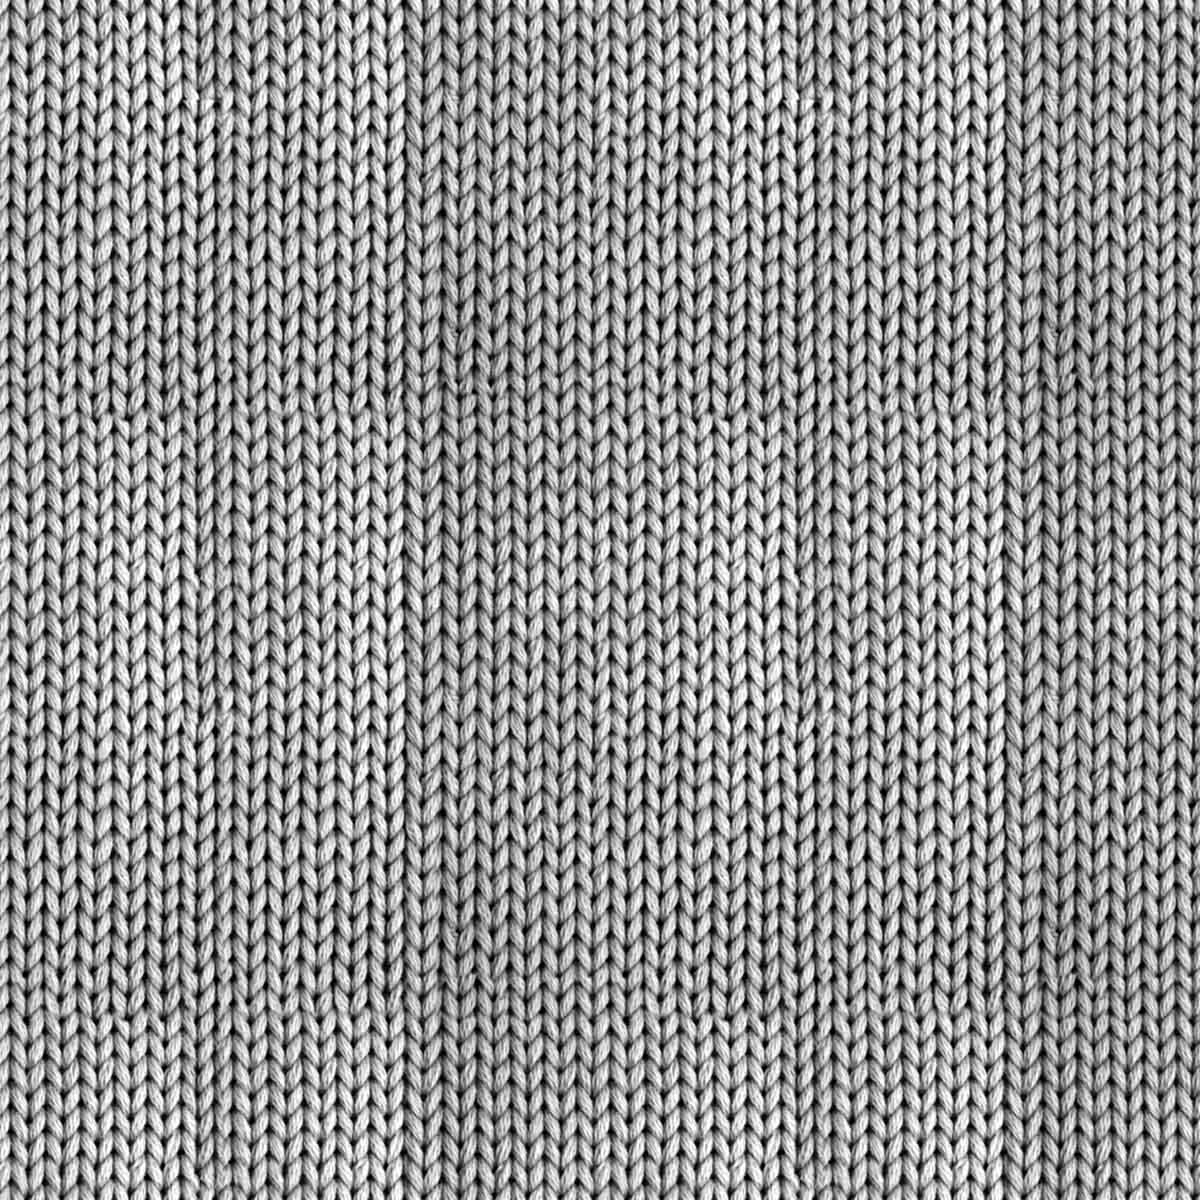
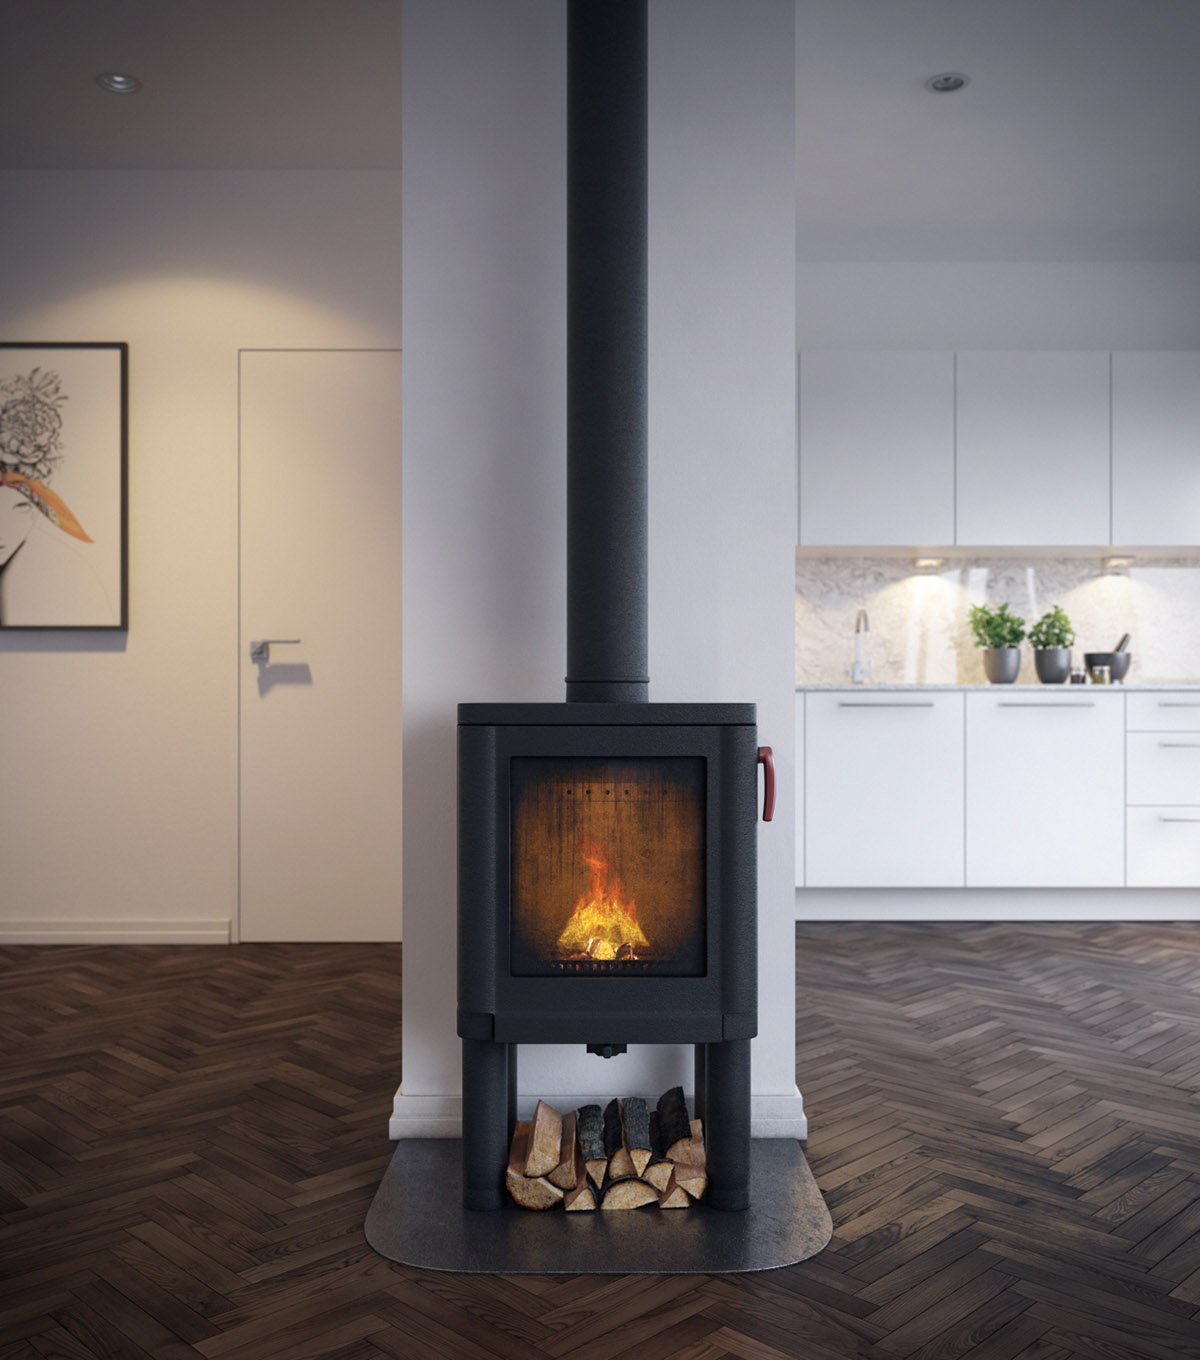
And there is material setup for Curtains, Parquet and Metal of the fireplace.

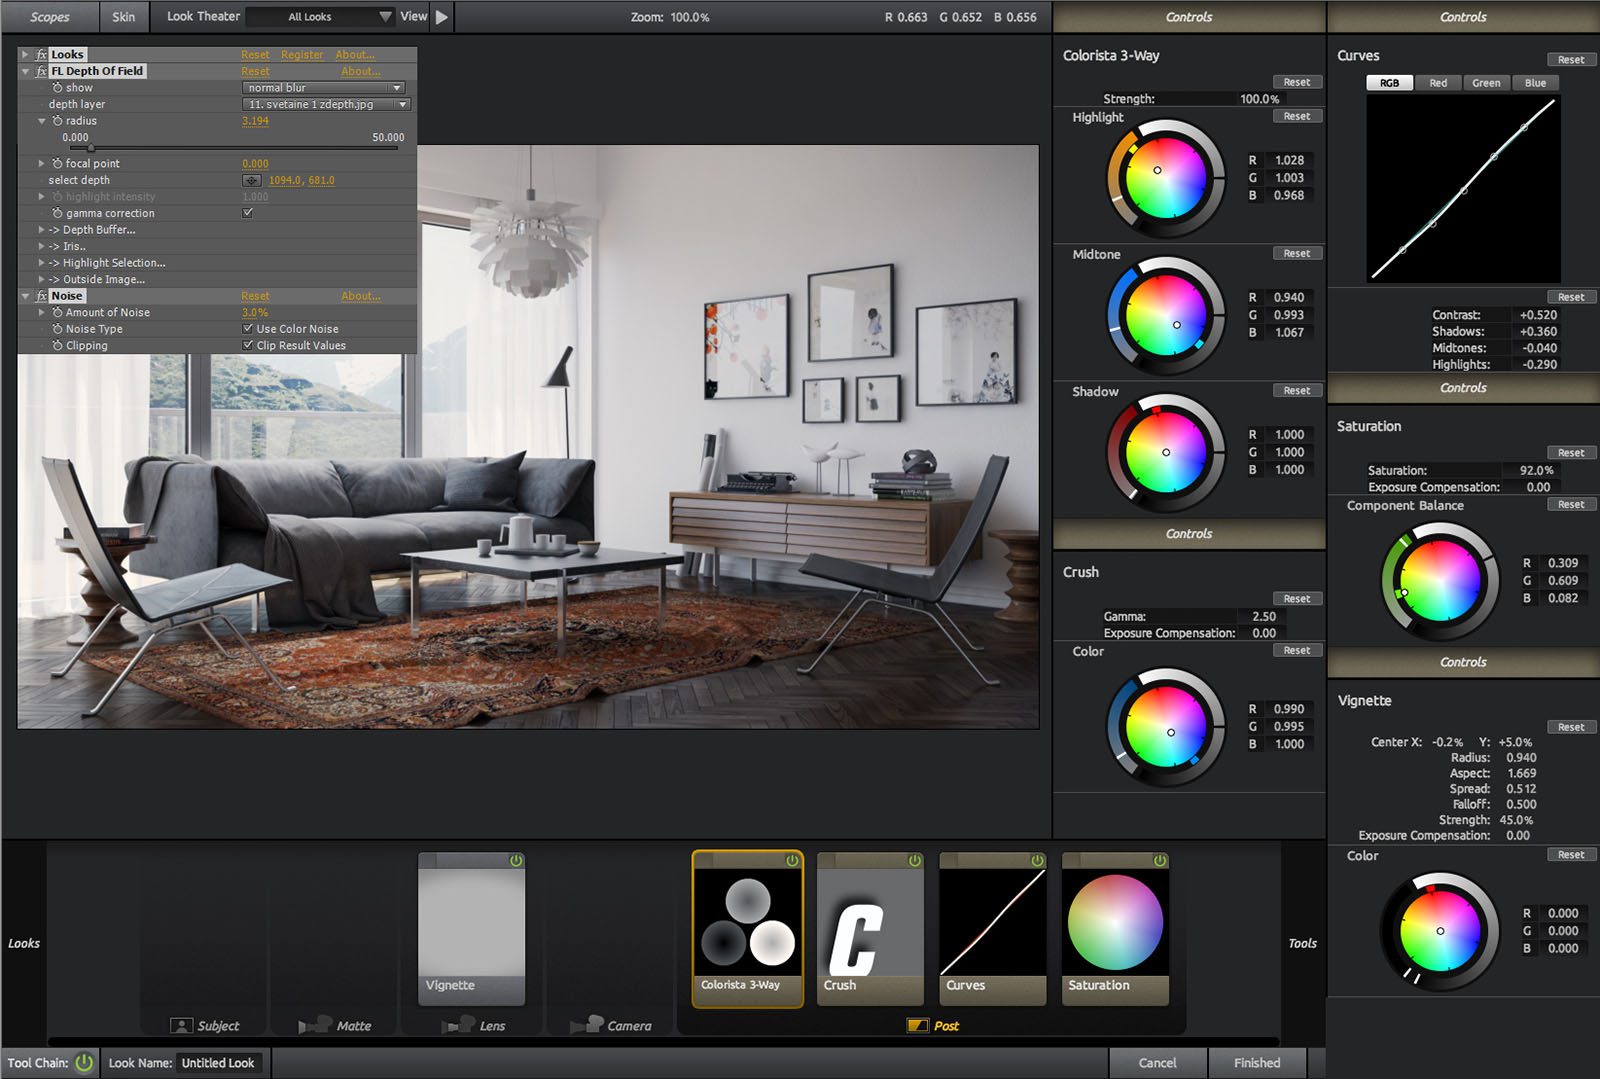
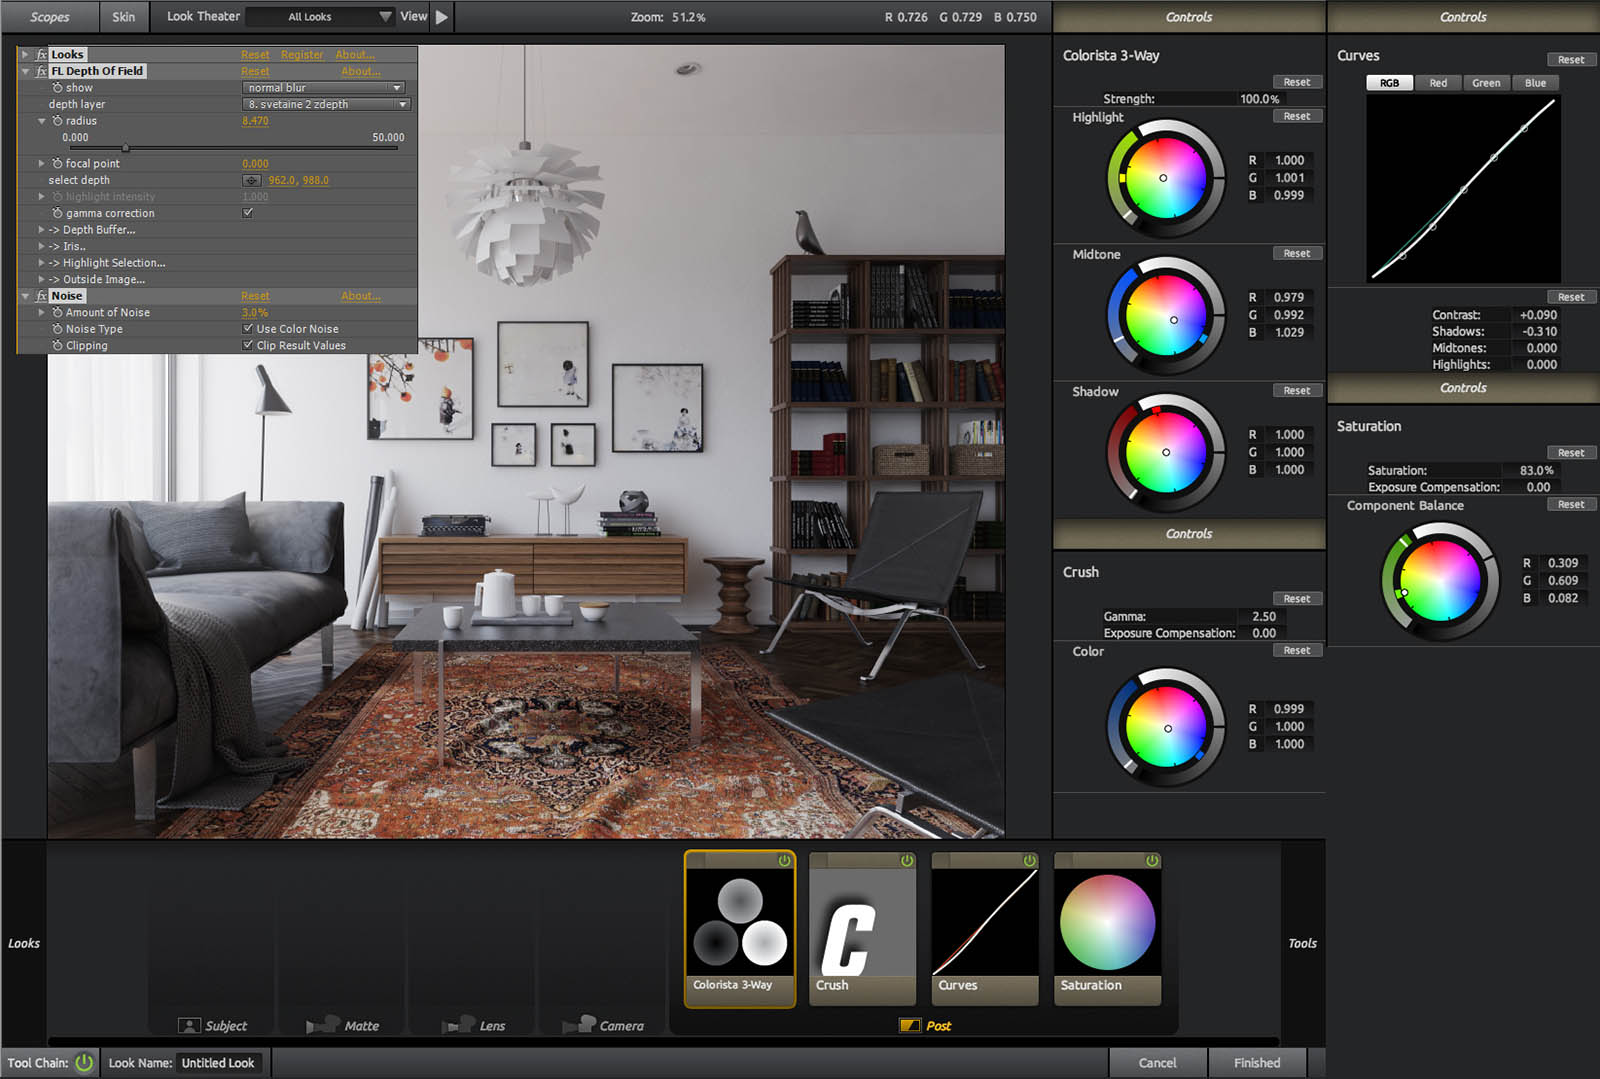
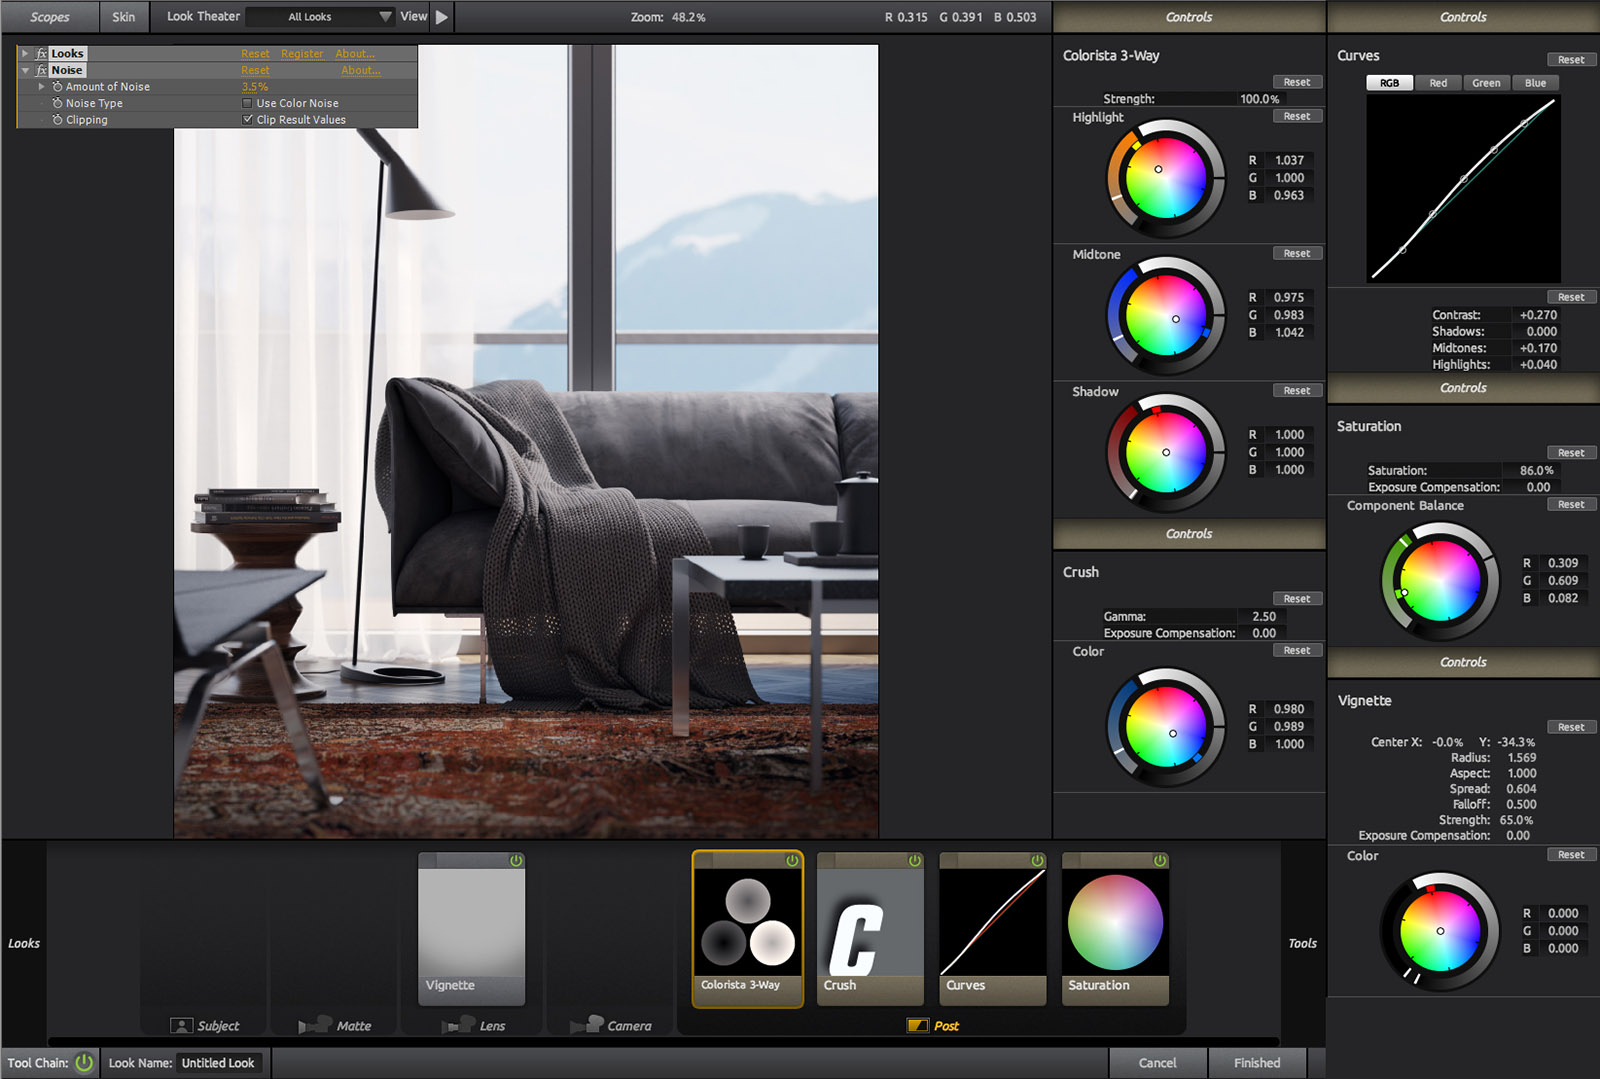
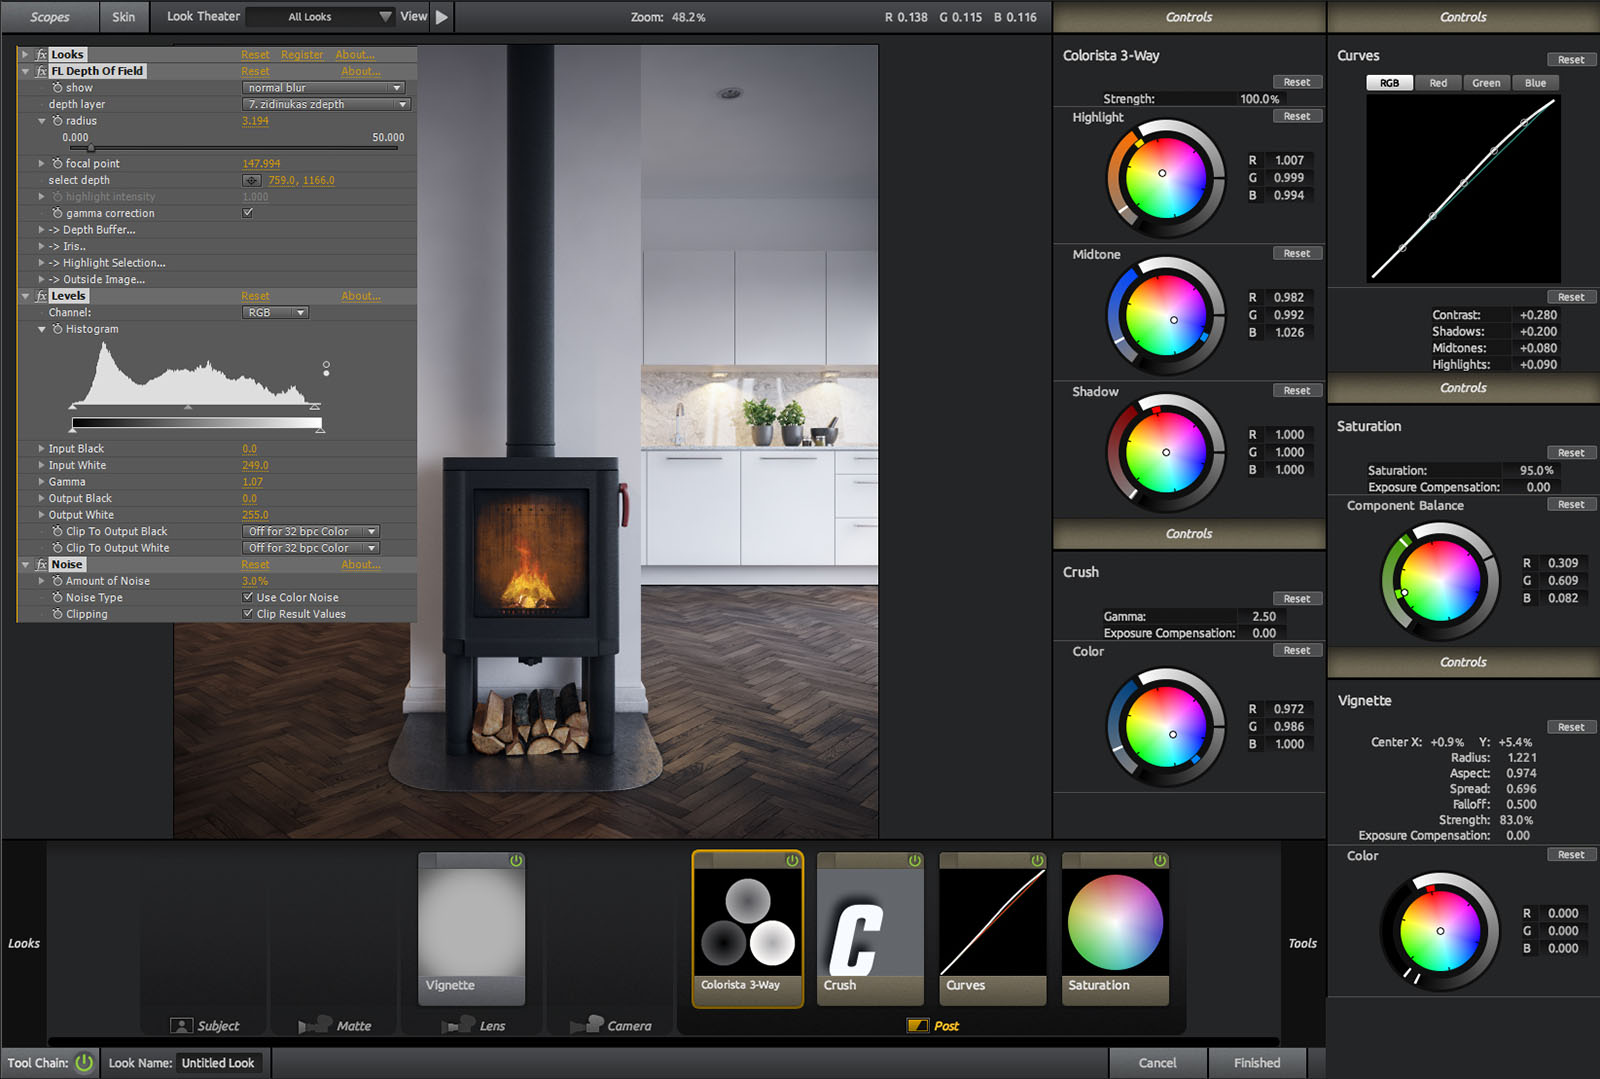
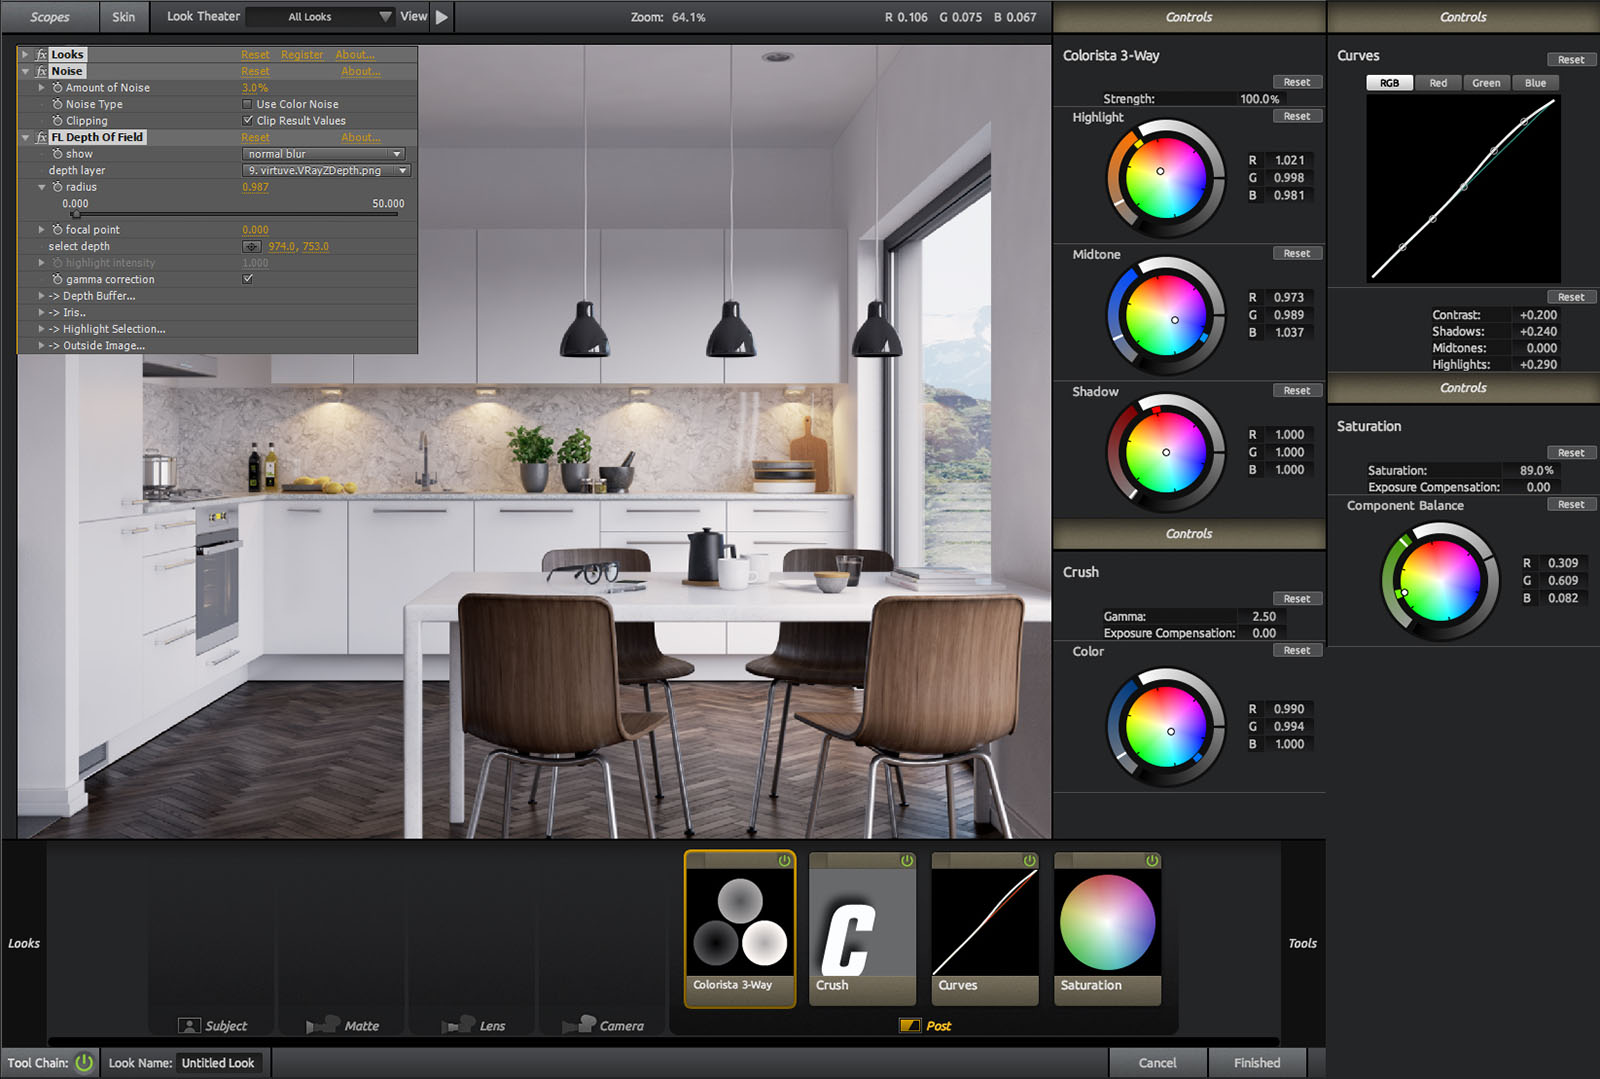
I was quite satisfied with my final renders, so that’s why post-production was simple enough. I’ve just had to make some subtle corrections. Each render was modified with Curves and Levels on Frame Buffer. Later, I did some soft postproduction on Adobe AE and used Magic Bullet looks as well as Frischluft Lanscare plugins.

That’s it. Thanks for your time and attention, hope someone found this information useful. And, hopefully, see you next time! ;)