Hello my friends! First of all I would like to thank you for the time that you will spend reading this article. I really hope that you will enjoy it and find it somehow useful!
My name is Karim Abou Shousha and I am a 3D artist from Egypt. Even if I'm used to using Sci-fi visualization, in this project I tried to experiment with Sci-fi scene for the first time. The goal was simple as always, I tried to draw something, pushing my limits and giving a maximum quality according to my skills. I do not really know the level I finally reached, but let's find out together!
There wasn’t a specific task, just the outline and maybe some interesting atmosphere, this is what I need! Being in this mood and with these thoughts in mind, I went to the art station to find the concept art references.
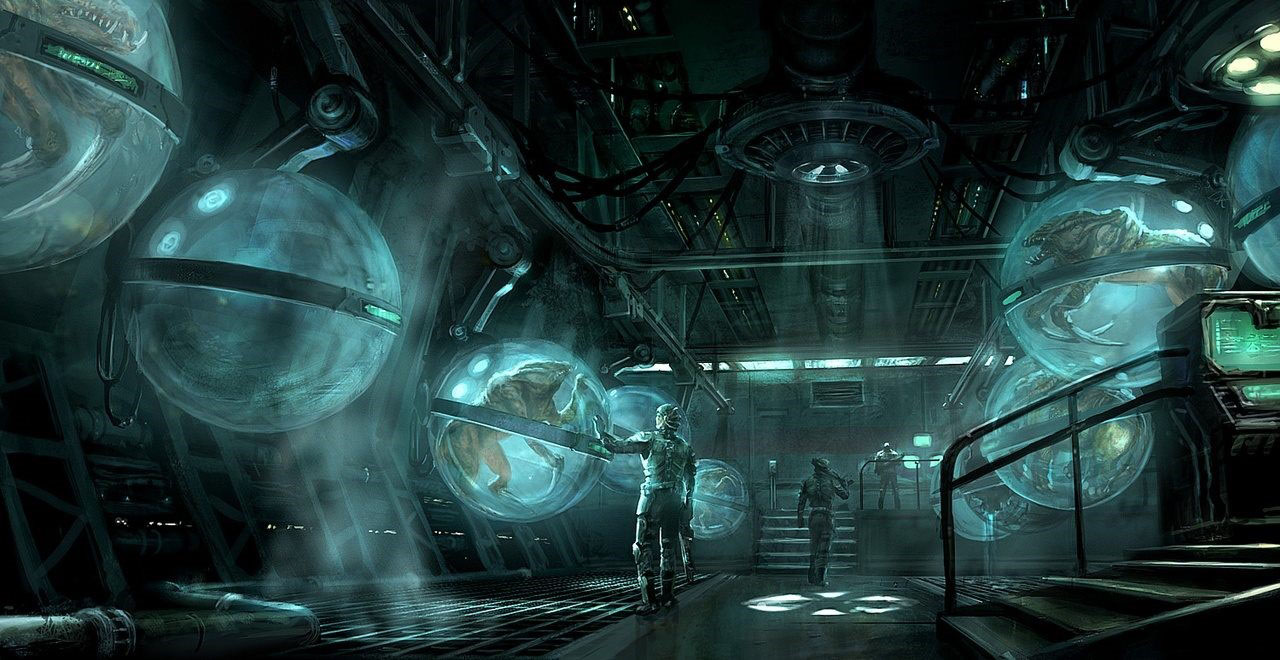
As you can see, the reference was the basis for the main angle. By placing the image on viewport background, I modeled a simple model of a glass sphere.

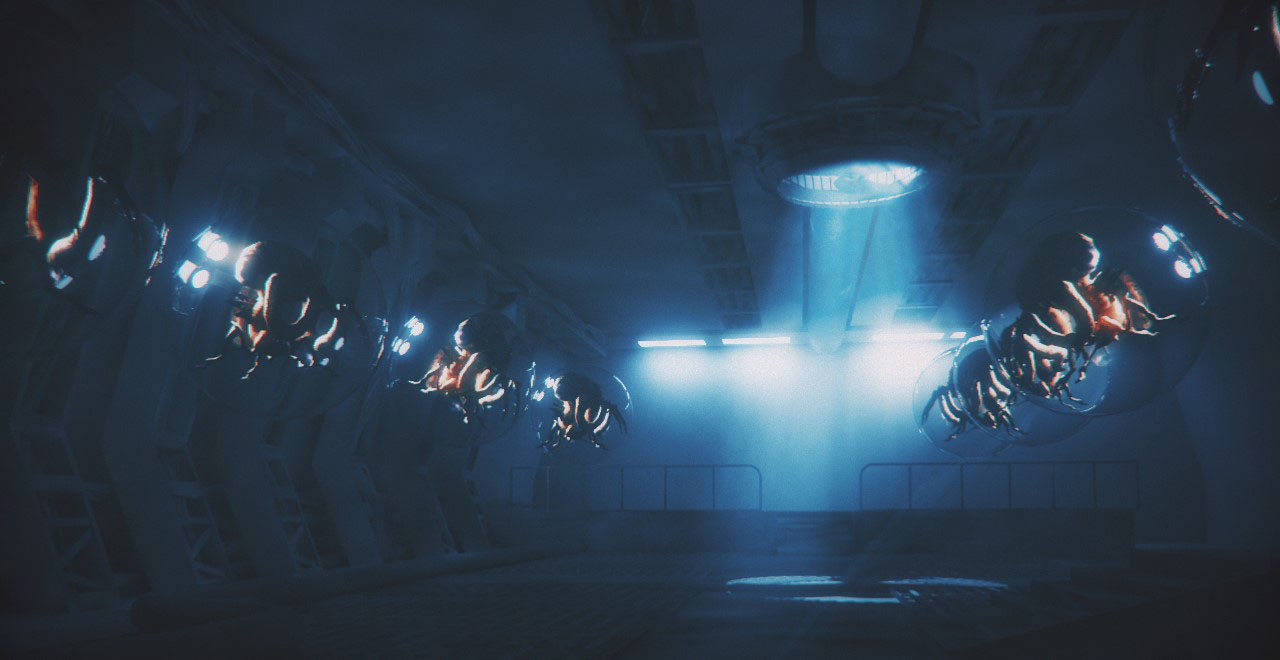
After setting the angle it became clear what size the scene should be. I started with the wall and sphere simulation. I won’t give so many details about it as it is just a "Simple" poly modeling technique. But I always like to set the main light to see the color mood with gray color because it’s very important to me. If you put the proper light everything will be okay.
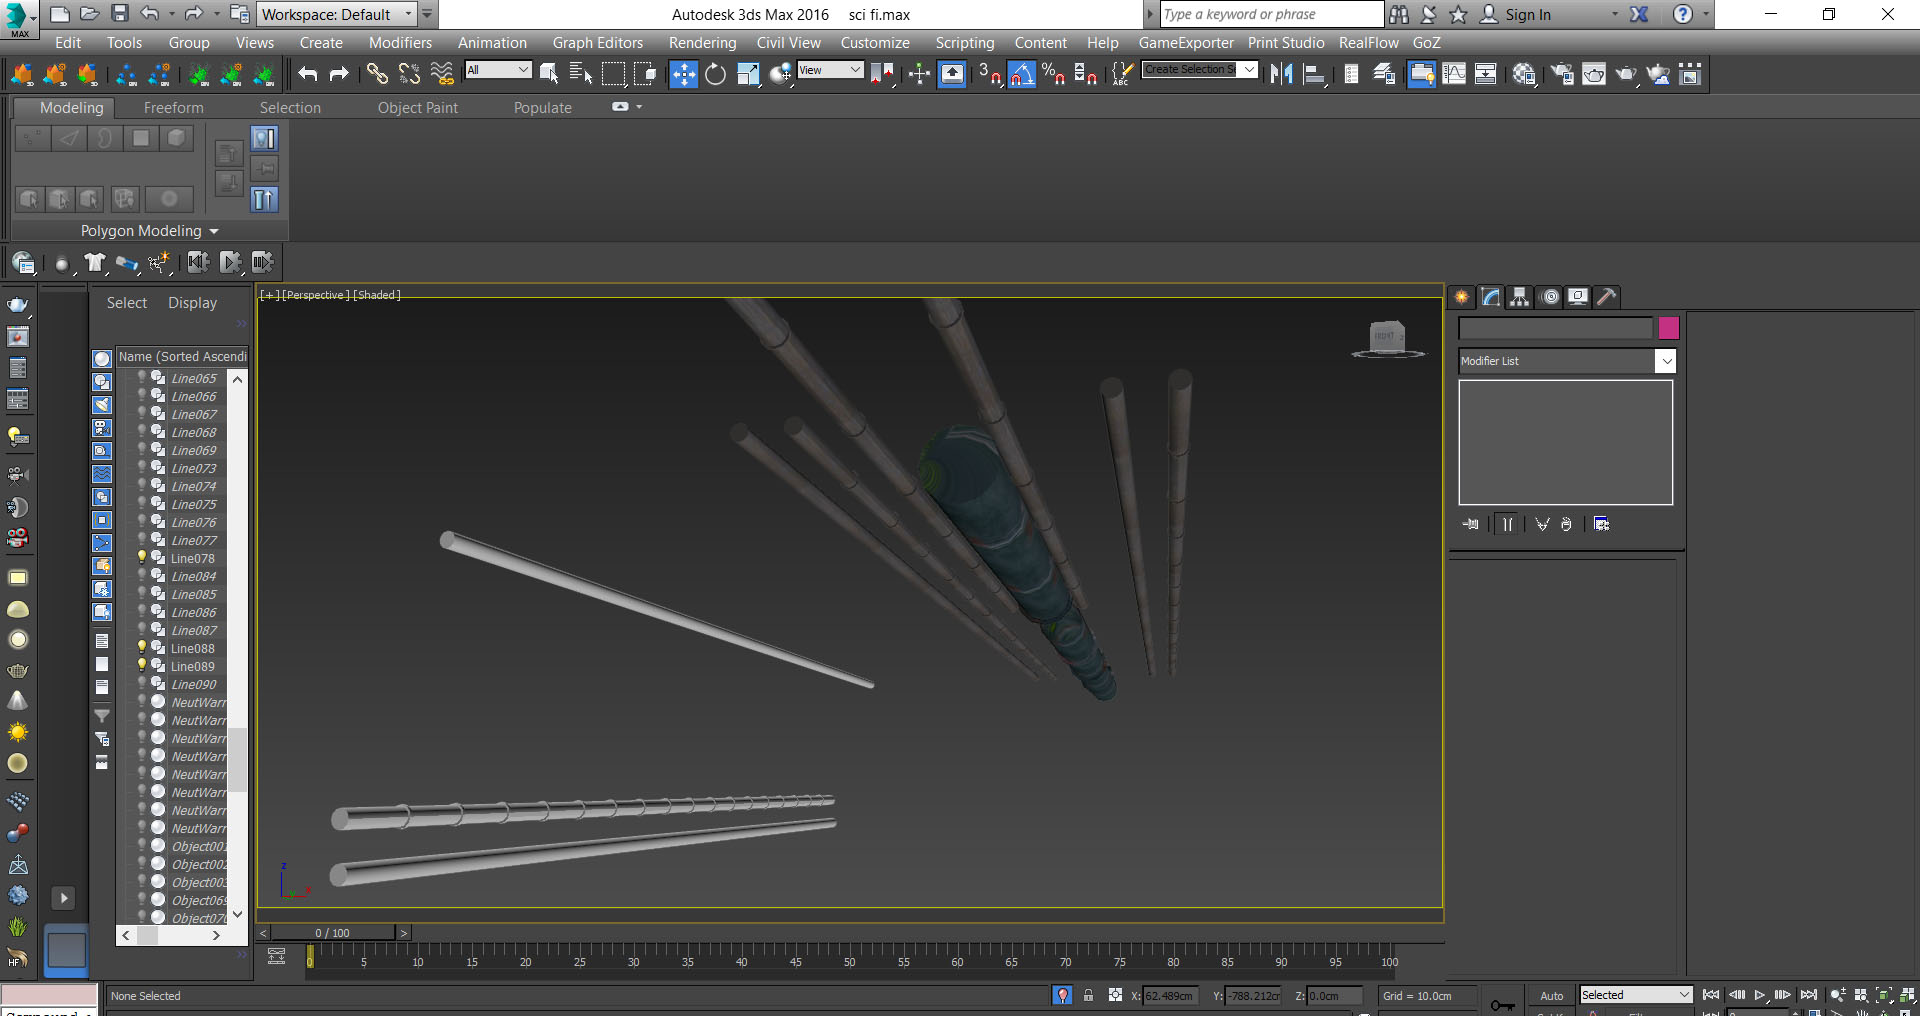
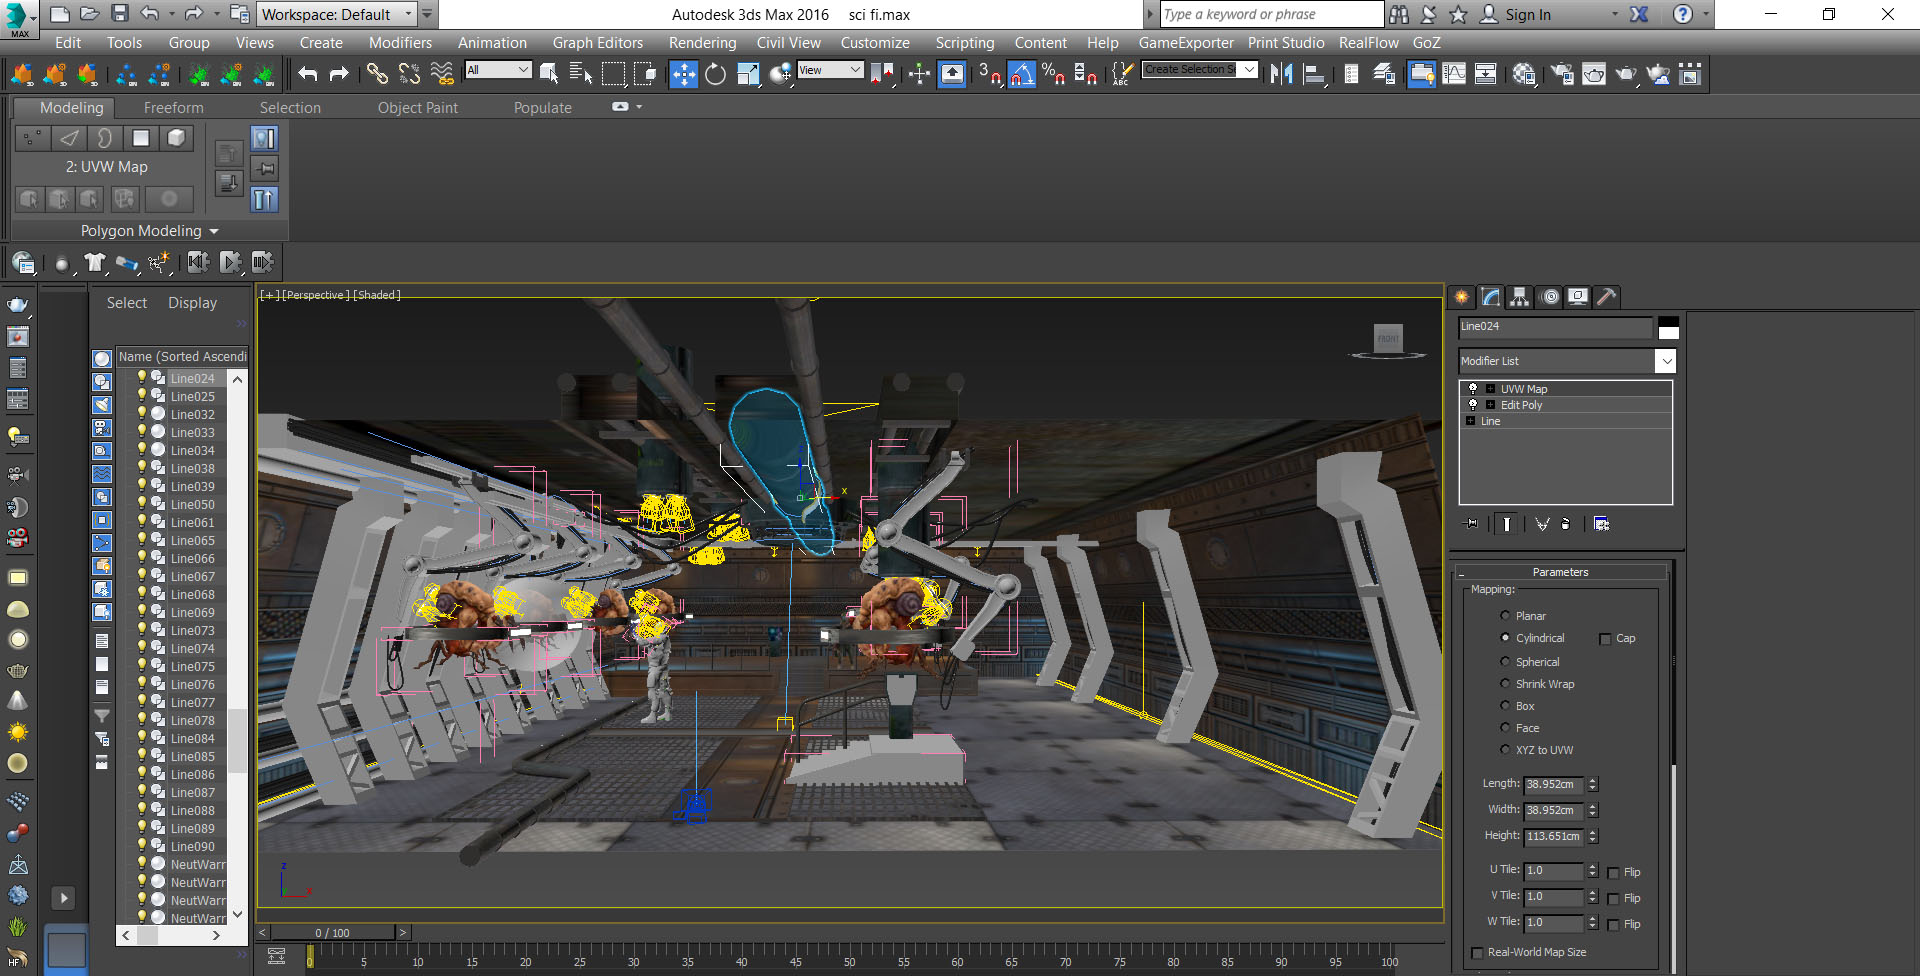
I started creating the wires which were very easy. I created some Circles and then I attached them all and added an extrude modifier and increased the amount and segments.
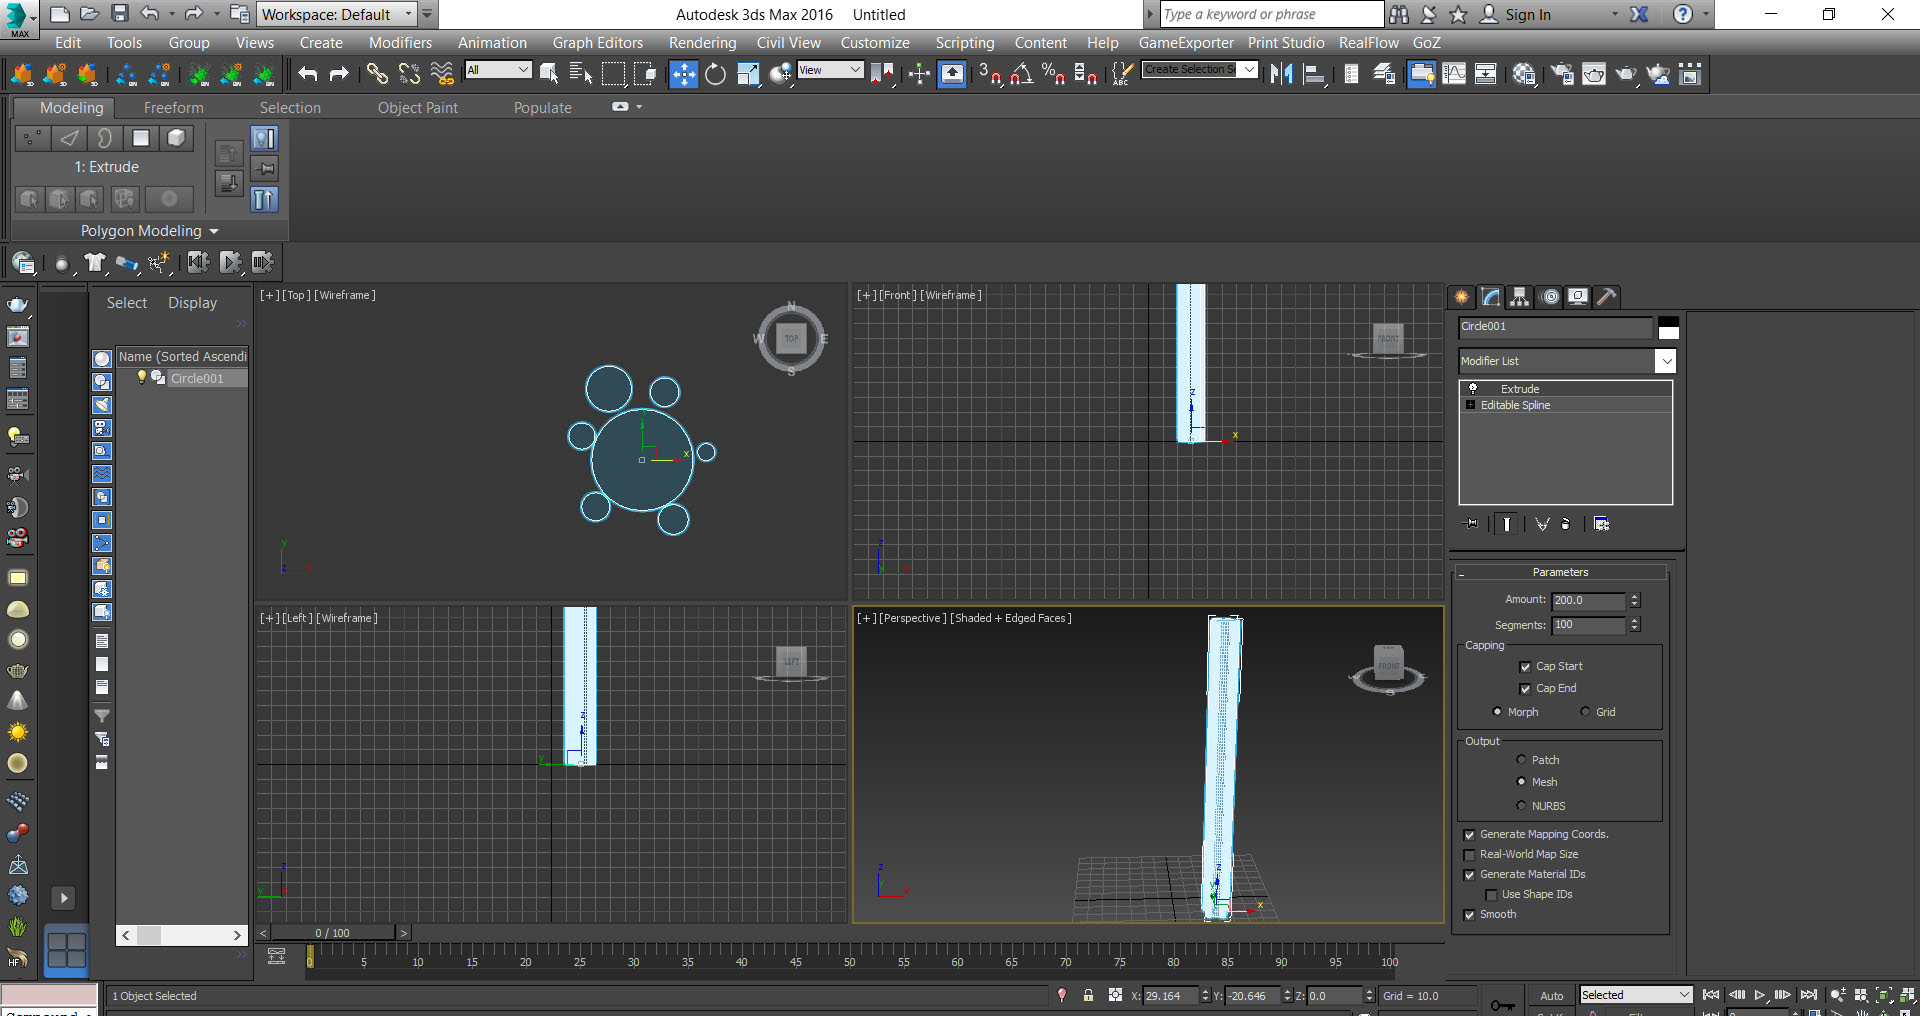
Then I drew a line, I selected the circles and added a modifier path deform. Afterwards, I picked the line and pressed move to path, chose the axis and played with the setting. I changed the rotation and twist etc.
And don’t forget to press on generate mapping cords. We will use it with texture.

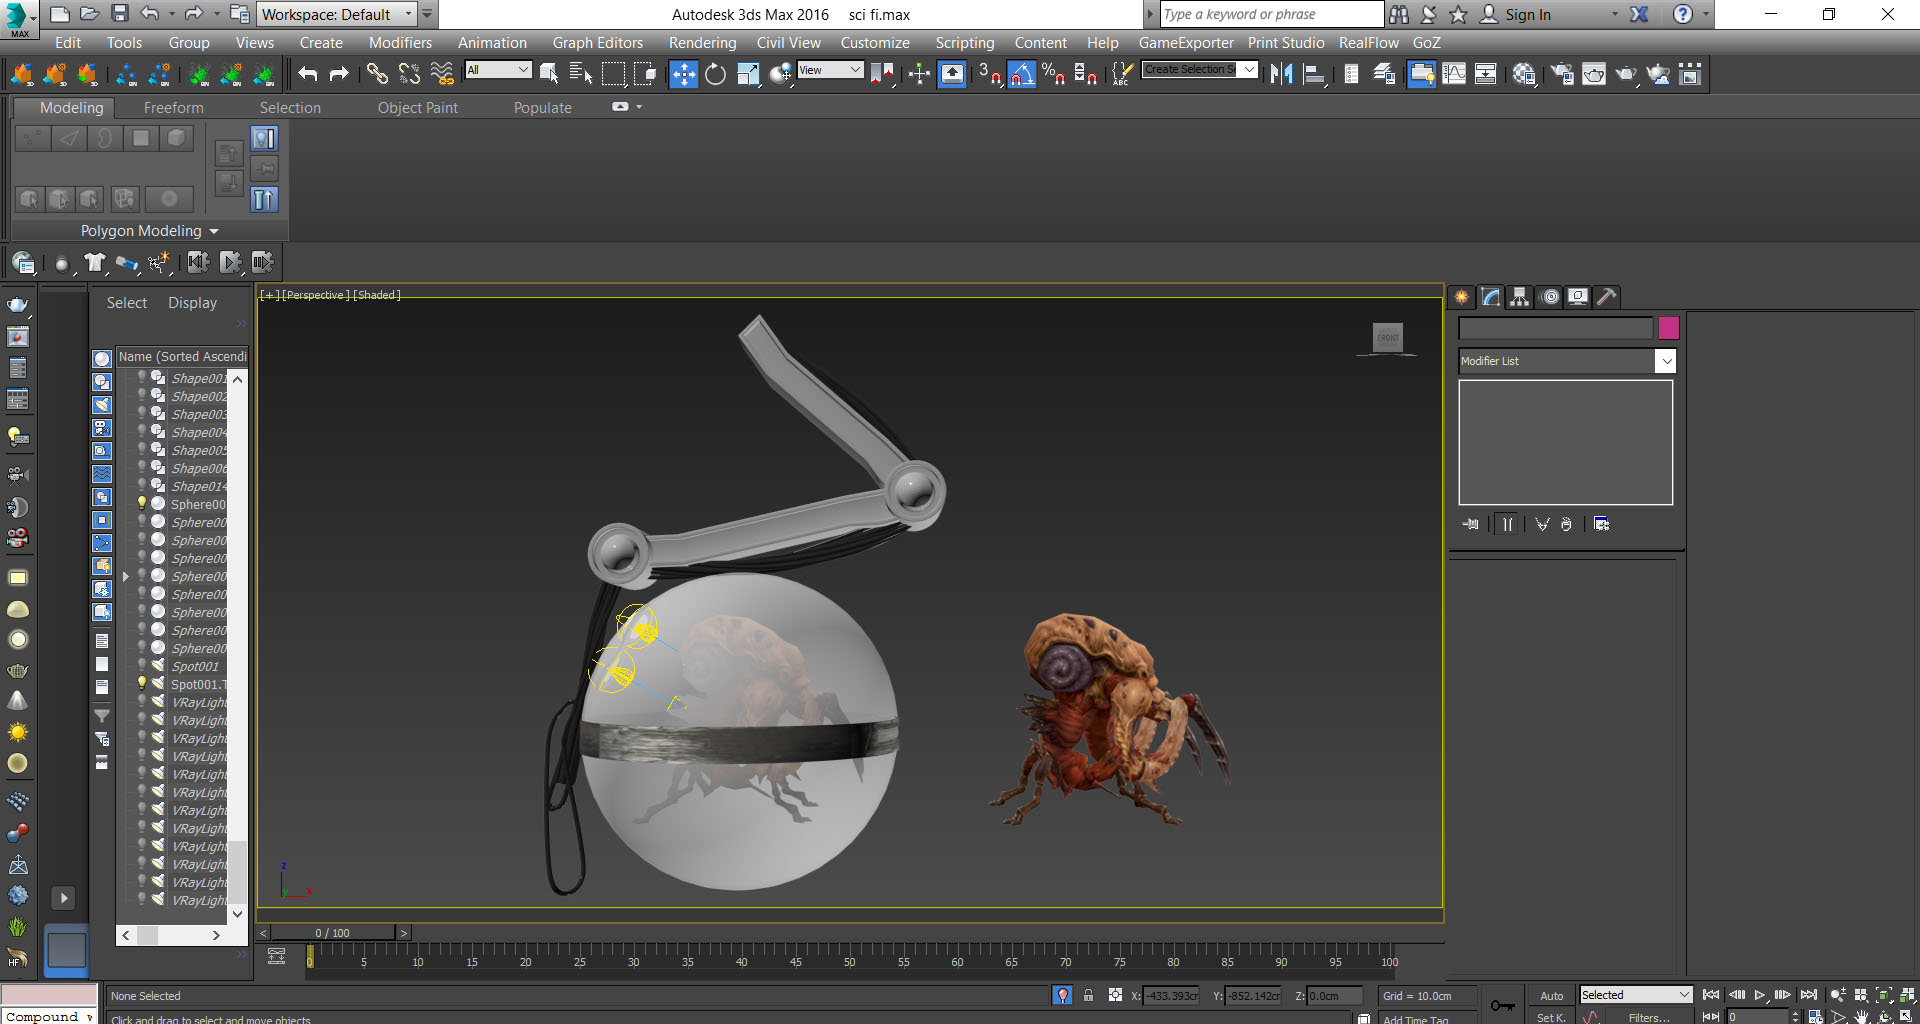
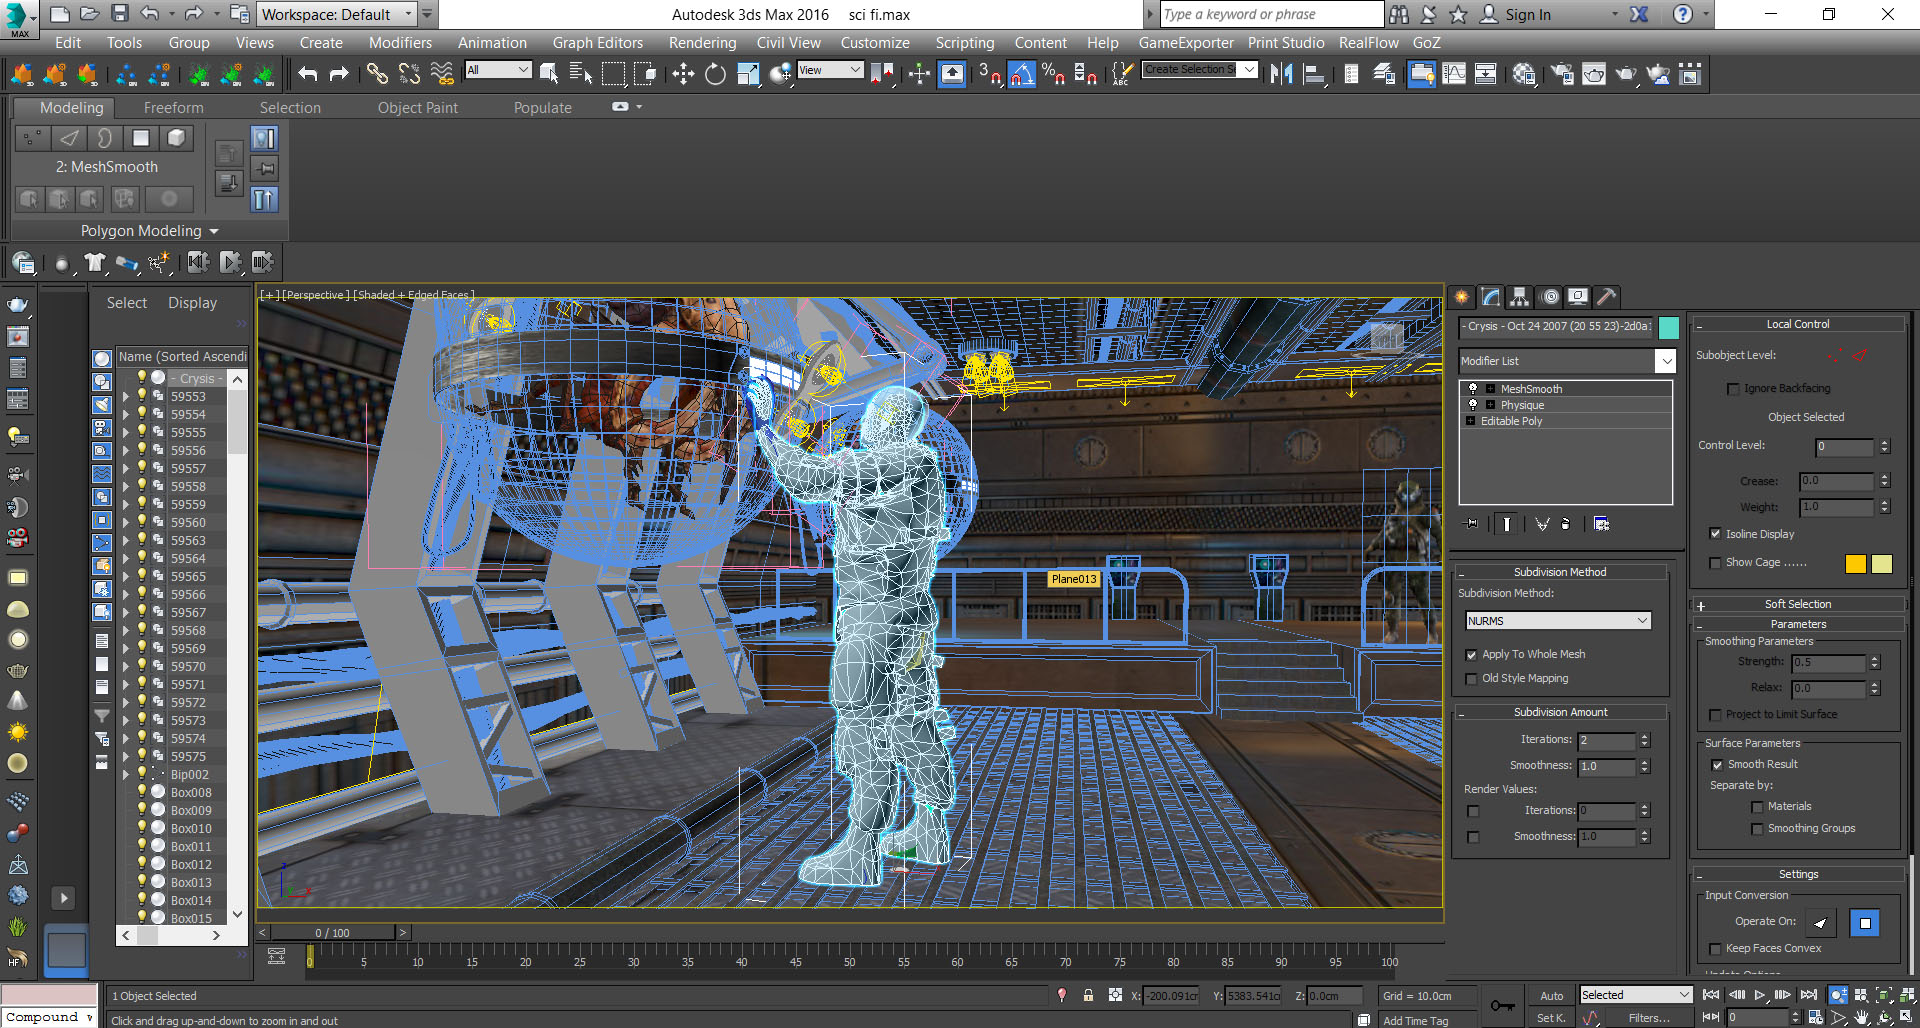
Then I created the sphere with machine arms and I used free modeling for alien. It’s a very simple model.
Here I created a few cylinders to give me more details. For SCI-fi mood I put it on the sides and on the top.
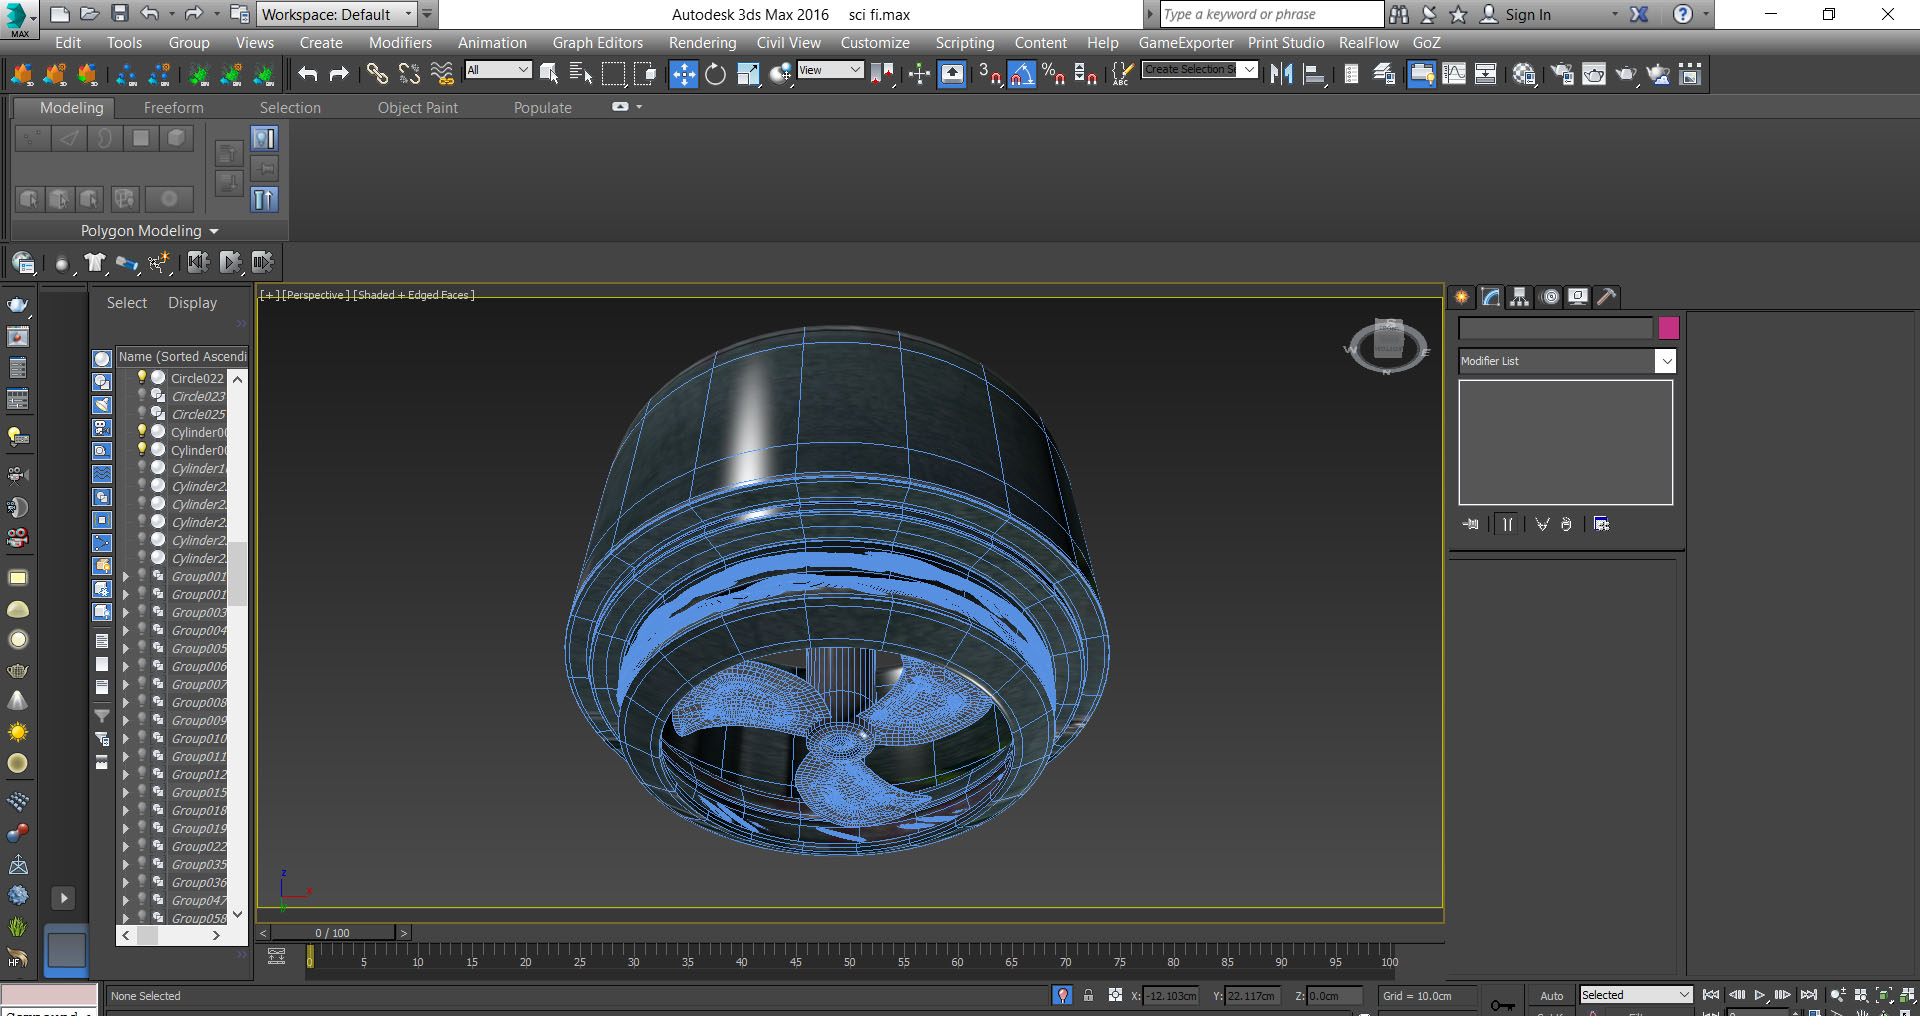
Then I created the fan from cylinder and I used edit poly to add more details. I also put some wires.
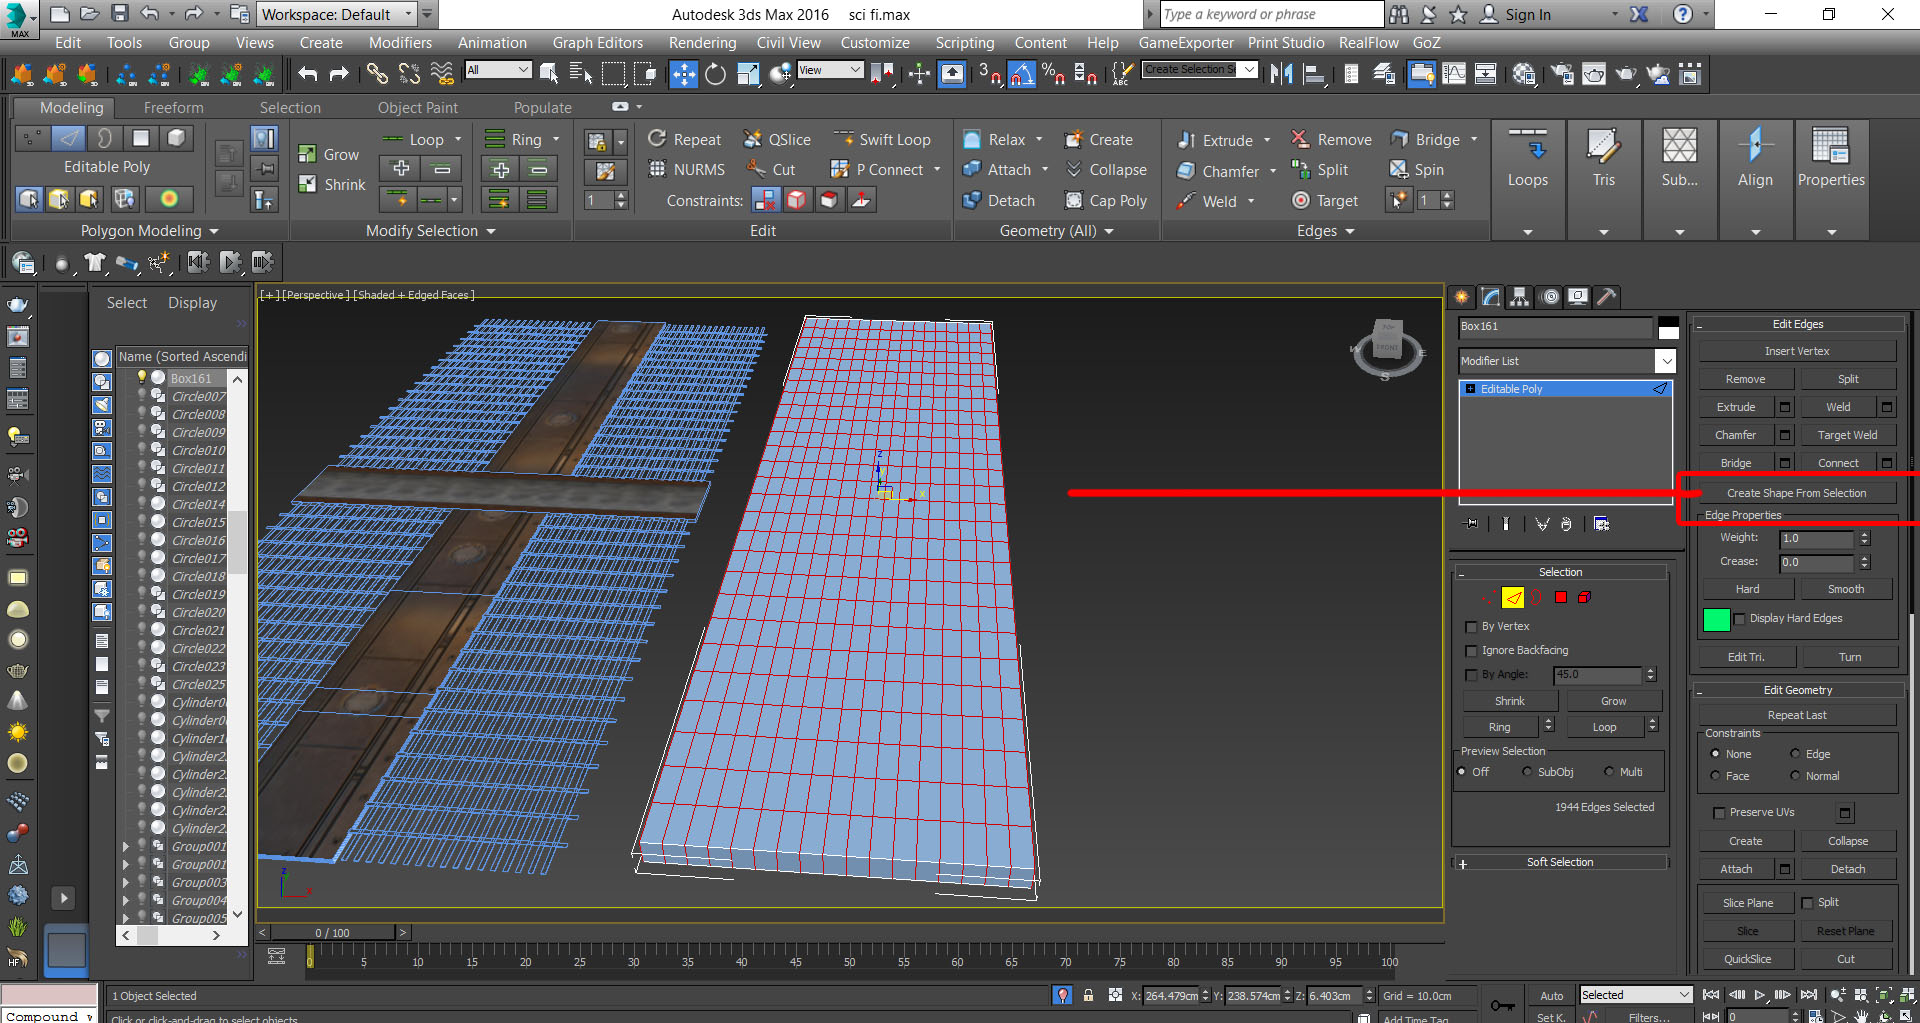
Then I started creating the floor details. I used tricks to create this floor. Here you can find my tricks. I created a box and added segments and then I converted the box to edit poly.
Later I selected the vertical and horizontal edges and pressed loop and then pressed create a shape from selection and chose linear and pressed ok.
Here we have some lines and now you change the setting.
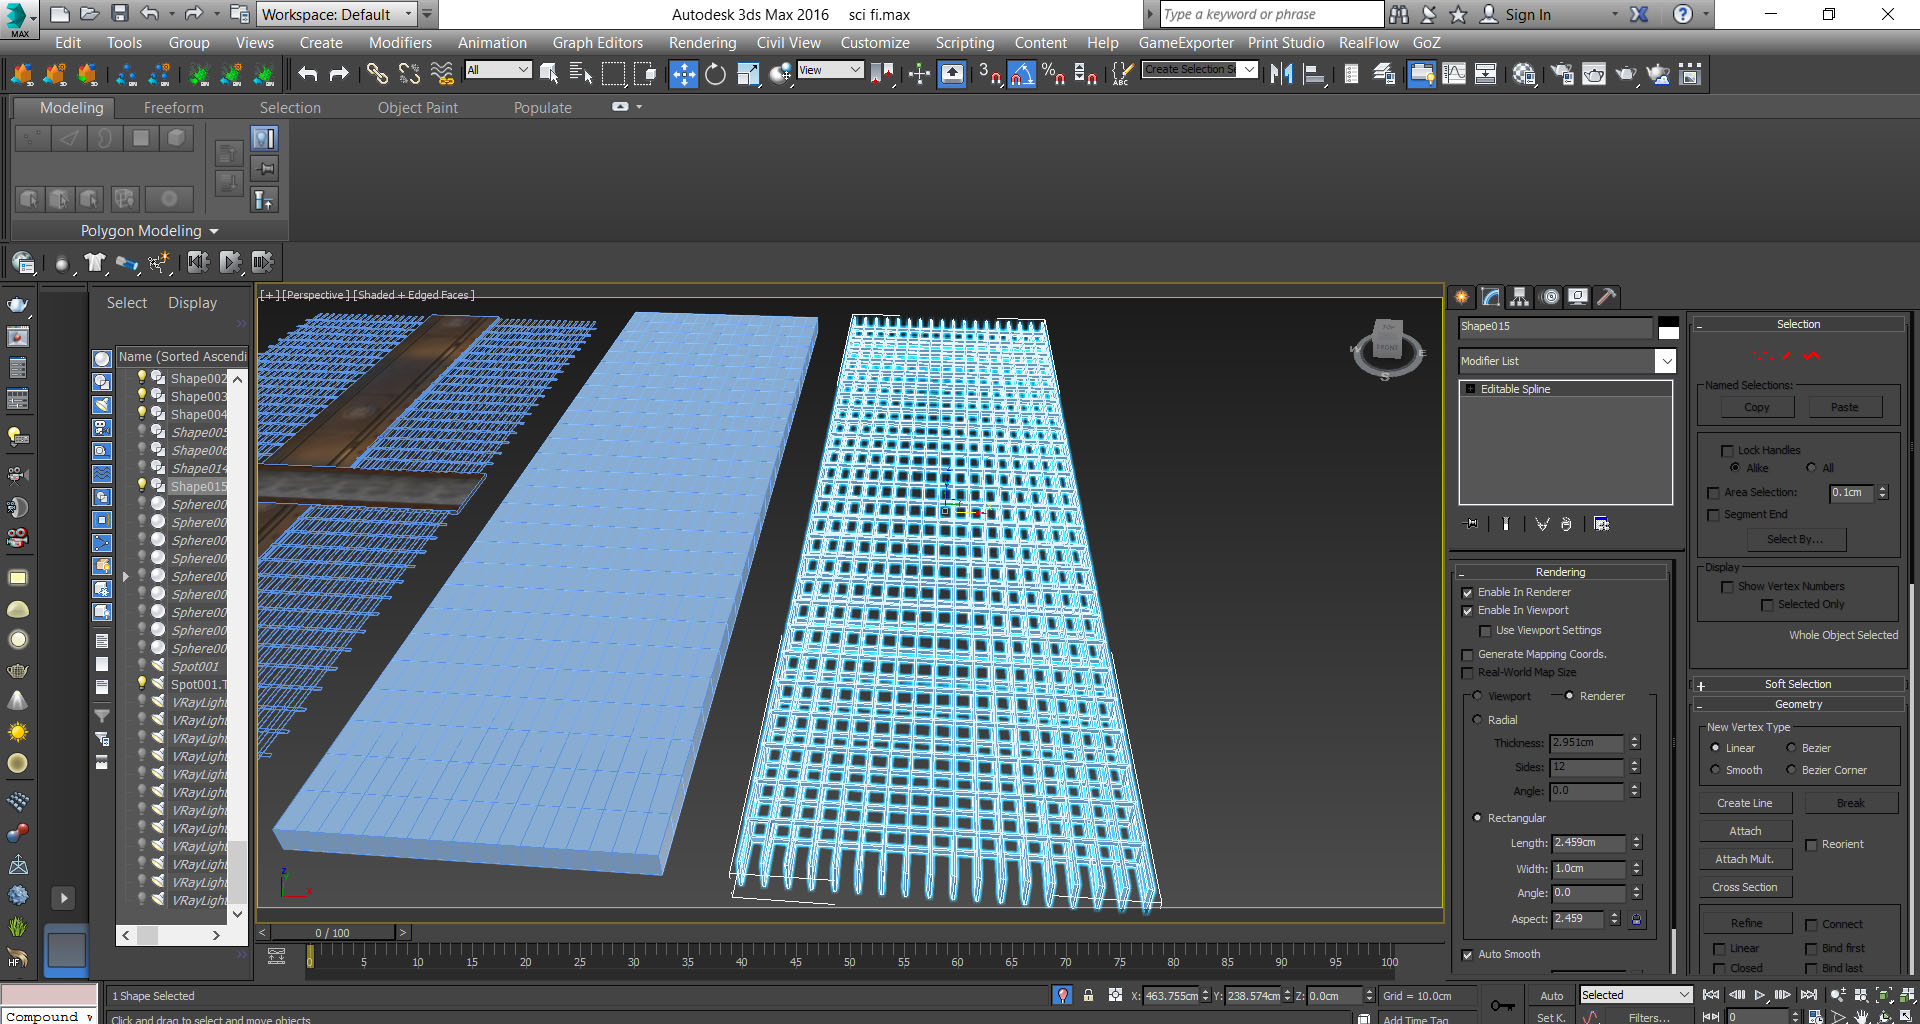
Then I added more details on my scene from plane and box by edit poly.
For the soldier, I used free modeling from the internet and I created the simple rigging and I gave it the right pose.
Here I finished my scene and started putting the light before I added textures. The most important thing you should know is how you can put the light to give you the right mood. So this is my light setting.

I put v-ray ies in the sphere to give me the right feeling for the spot light and I put vray light plane for indirect lights on the sides and I gave it an orange color.

Now we will start putting the texture. I used a very normal texture I downloaded it from texture.com But I played with the Vray displacement modifier.
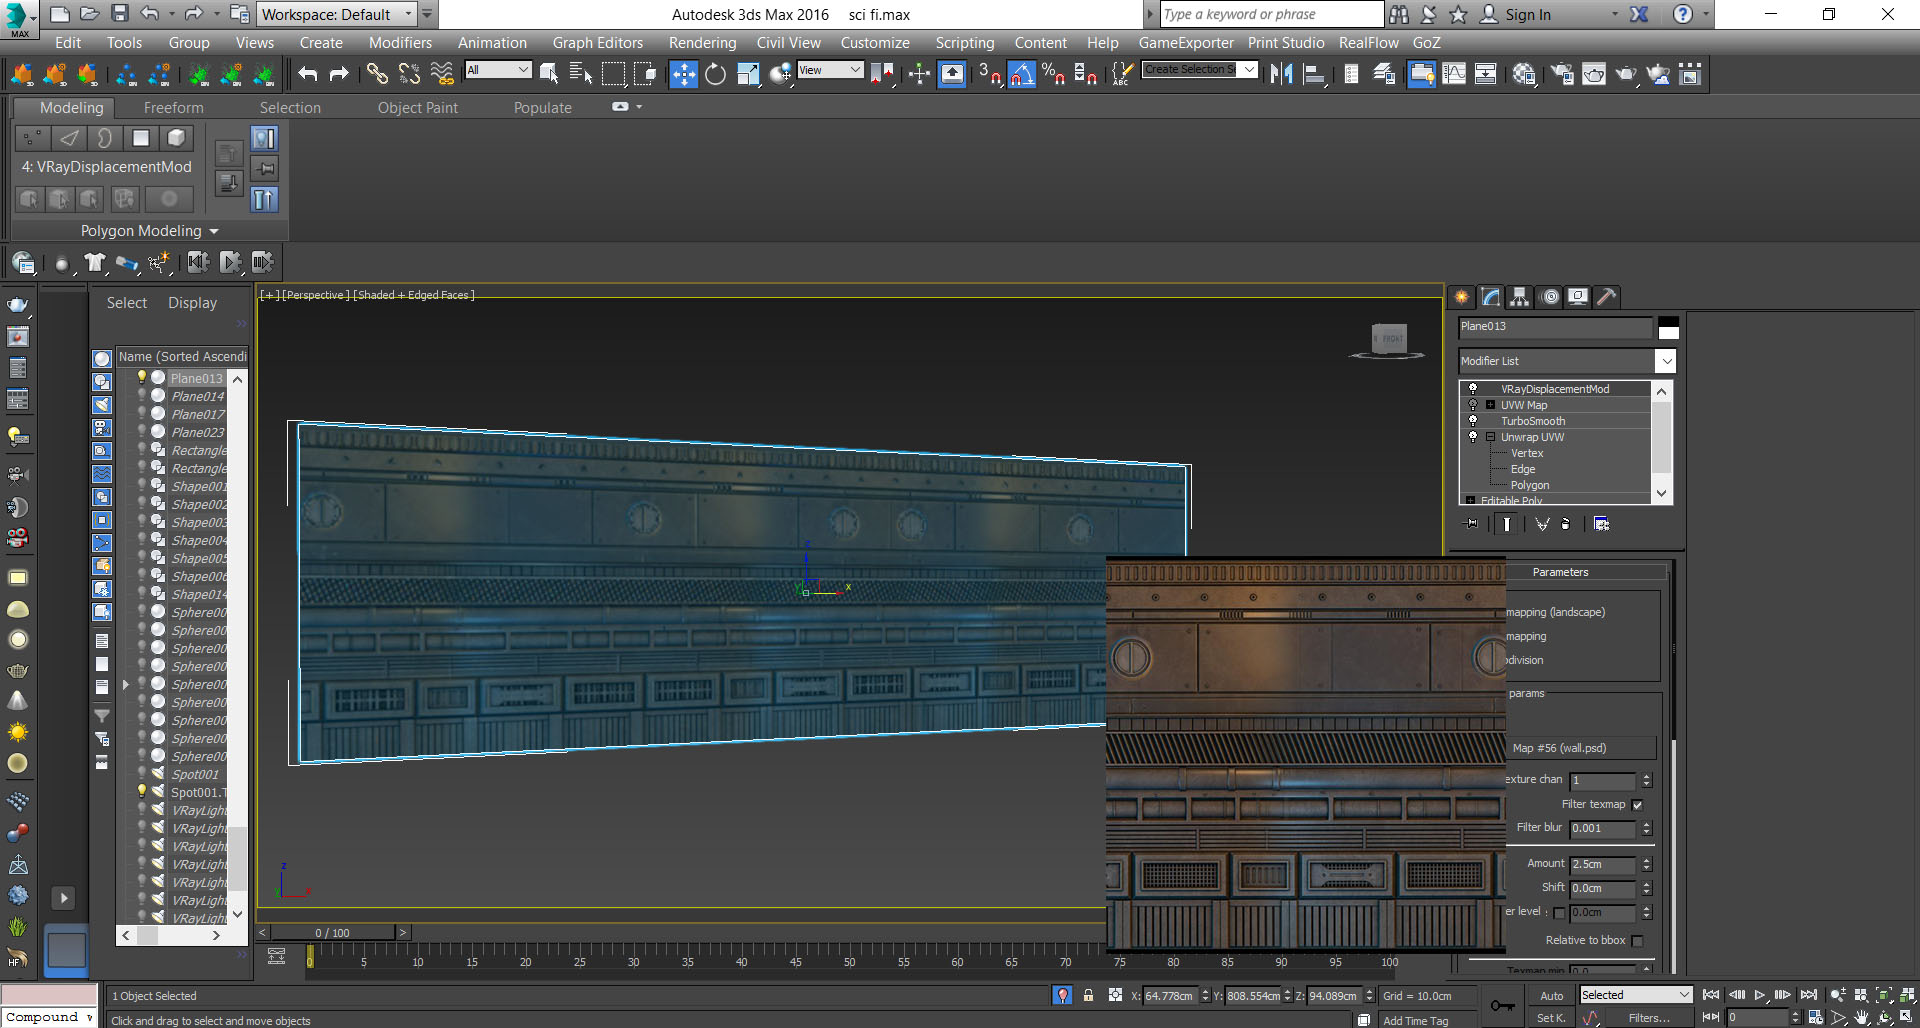
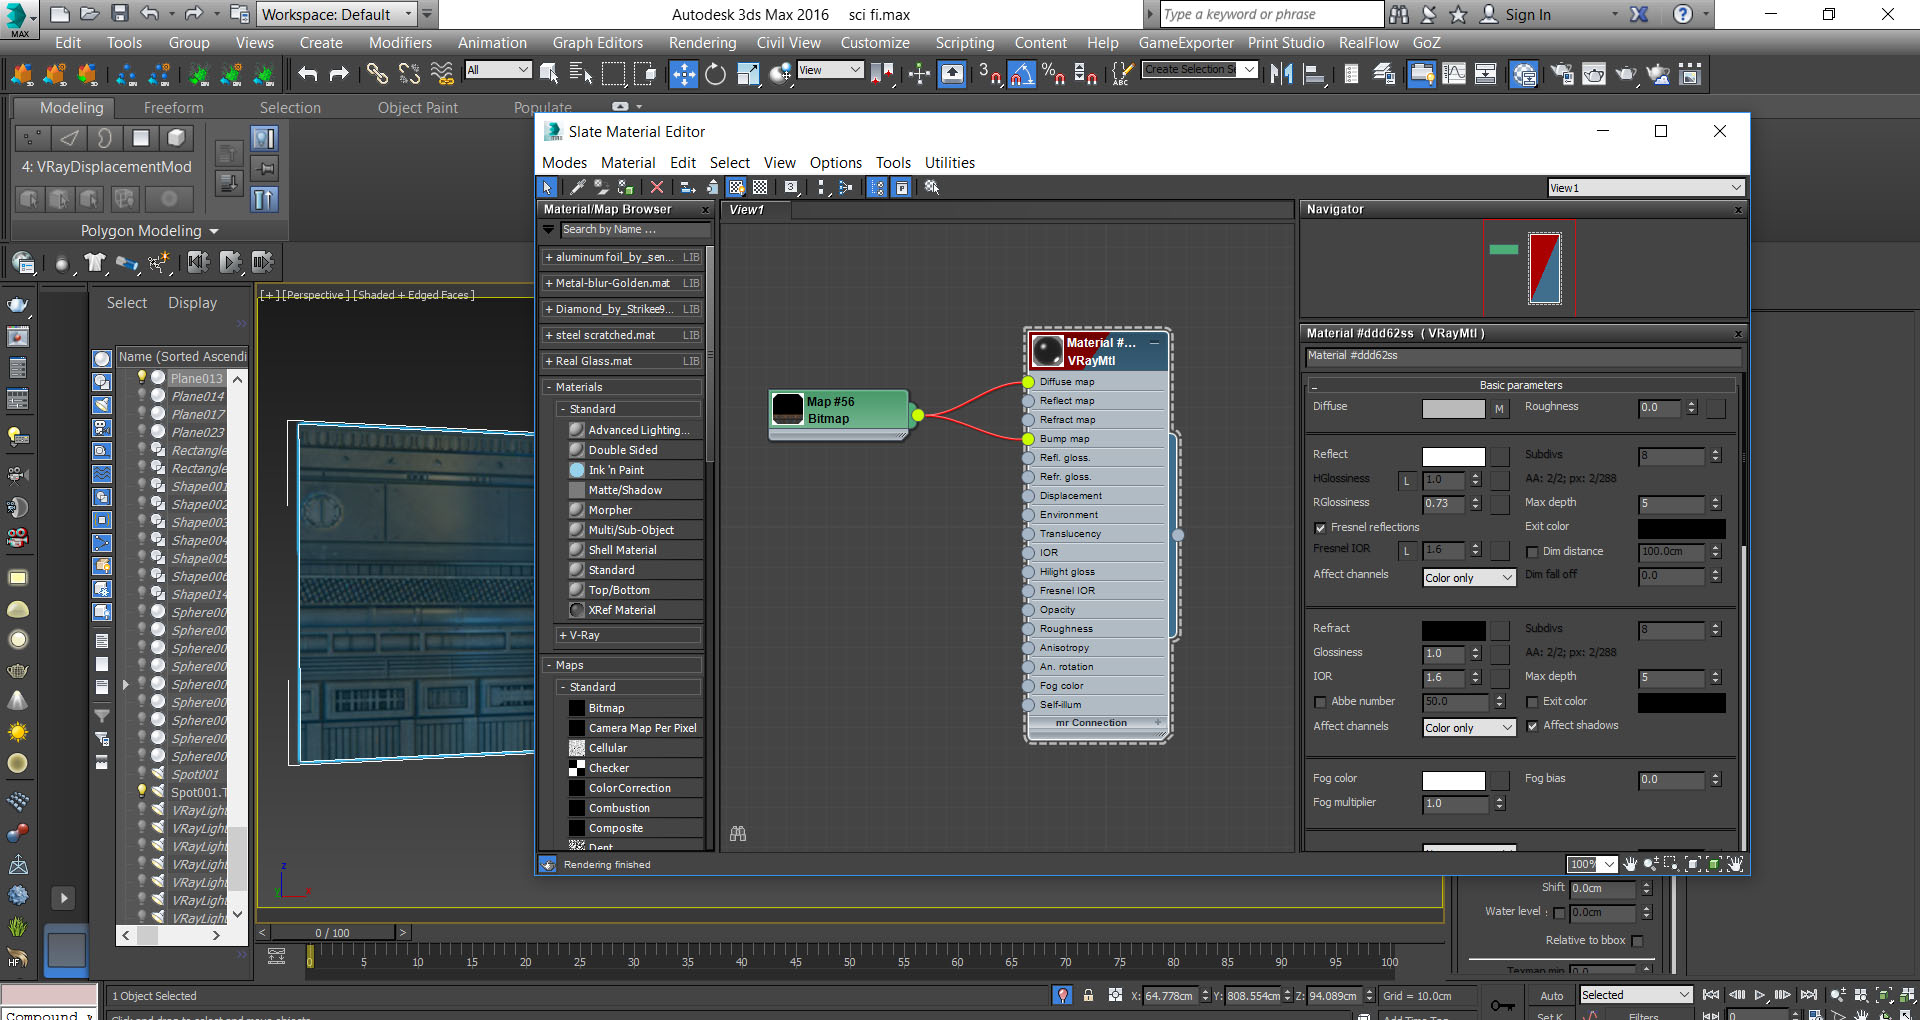
Wall material.
Floor material.

Glass material.
The most important thing in this material is IOR because I need to show the alien and the light inside the glass. I put 1.1 for IOR so I can get the right view.

For metallic material, I like to choose microfacet GTR from BRDF because it’s very nice for metallic materials.
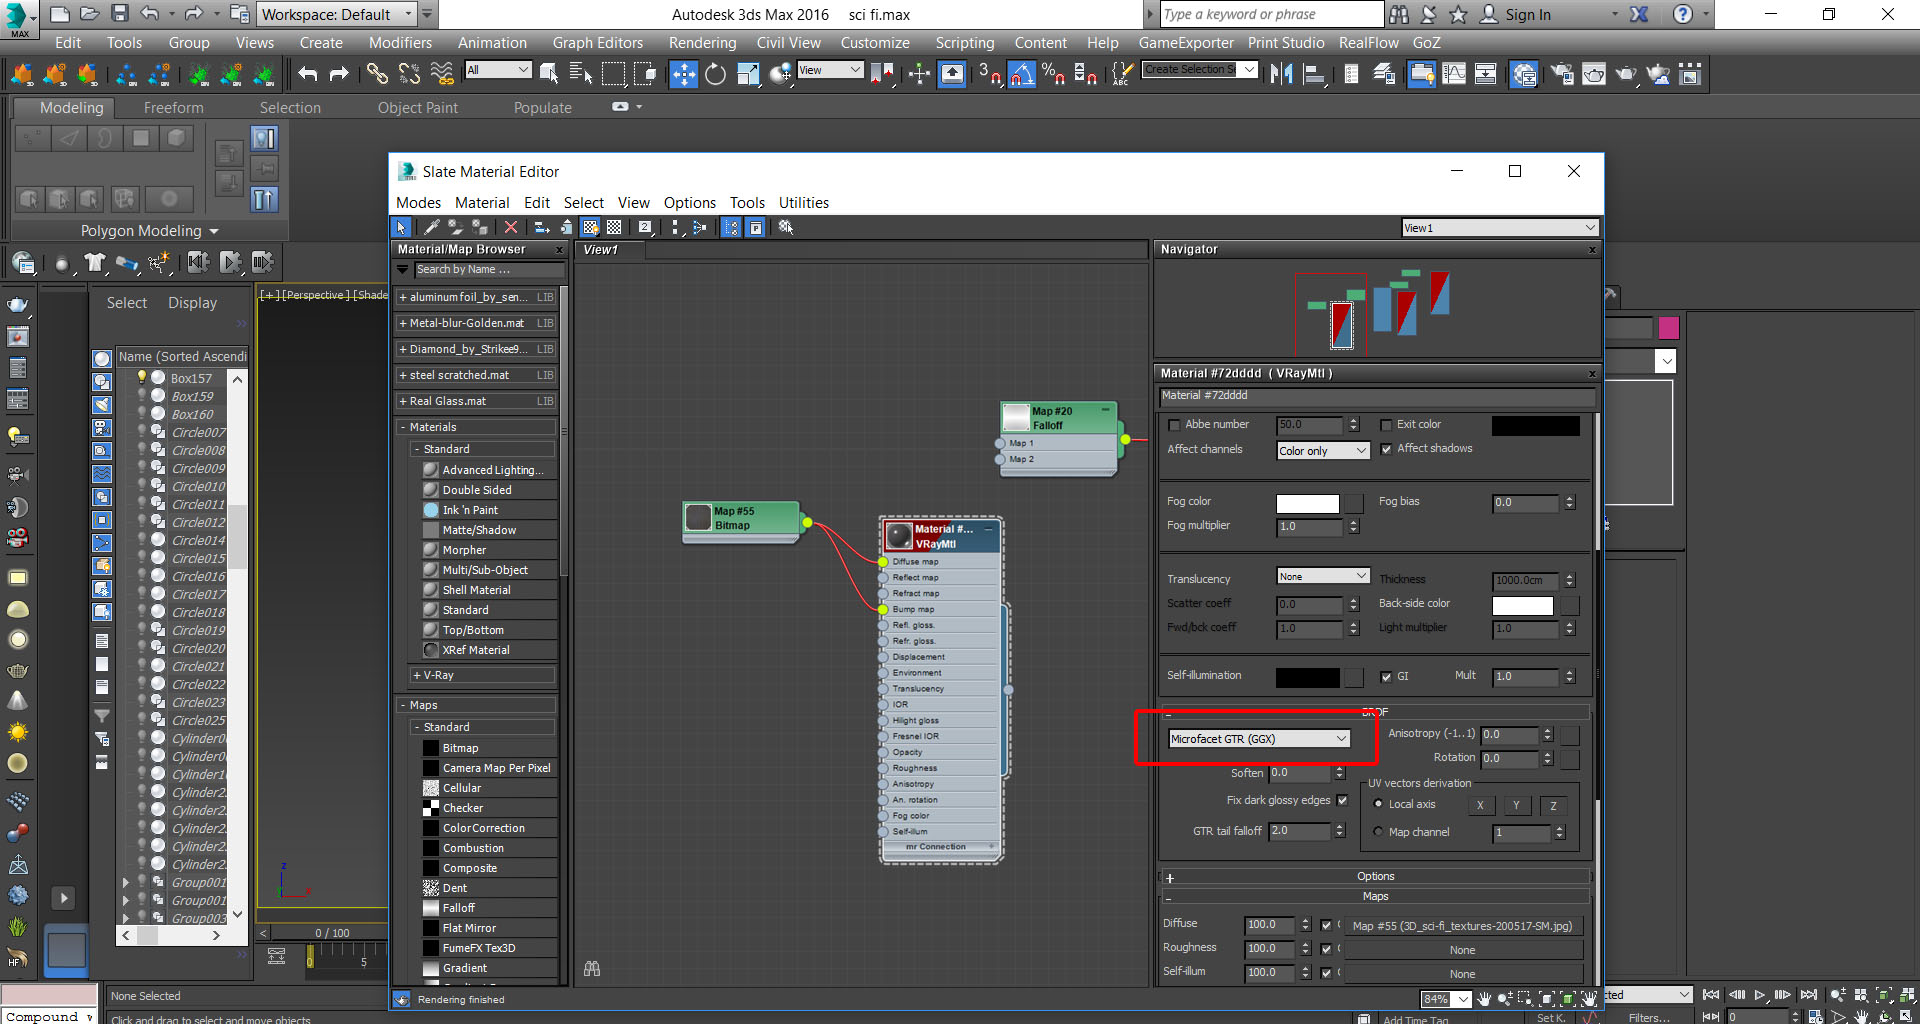
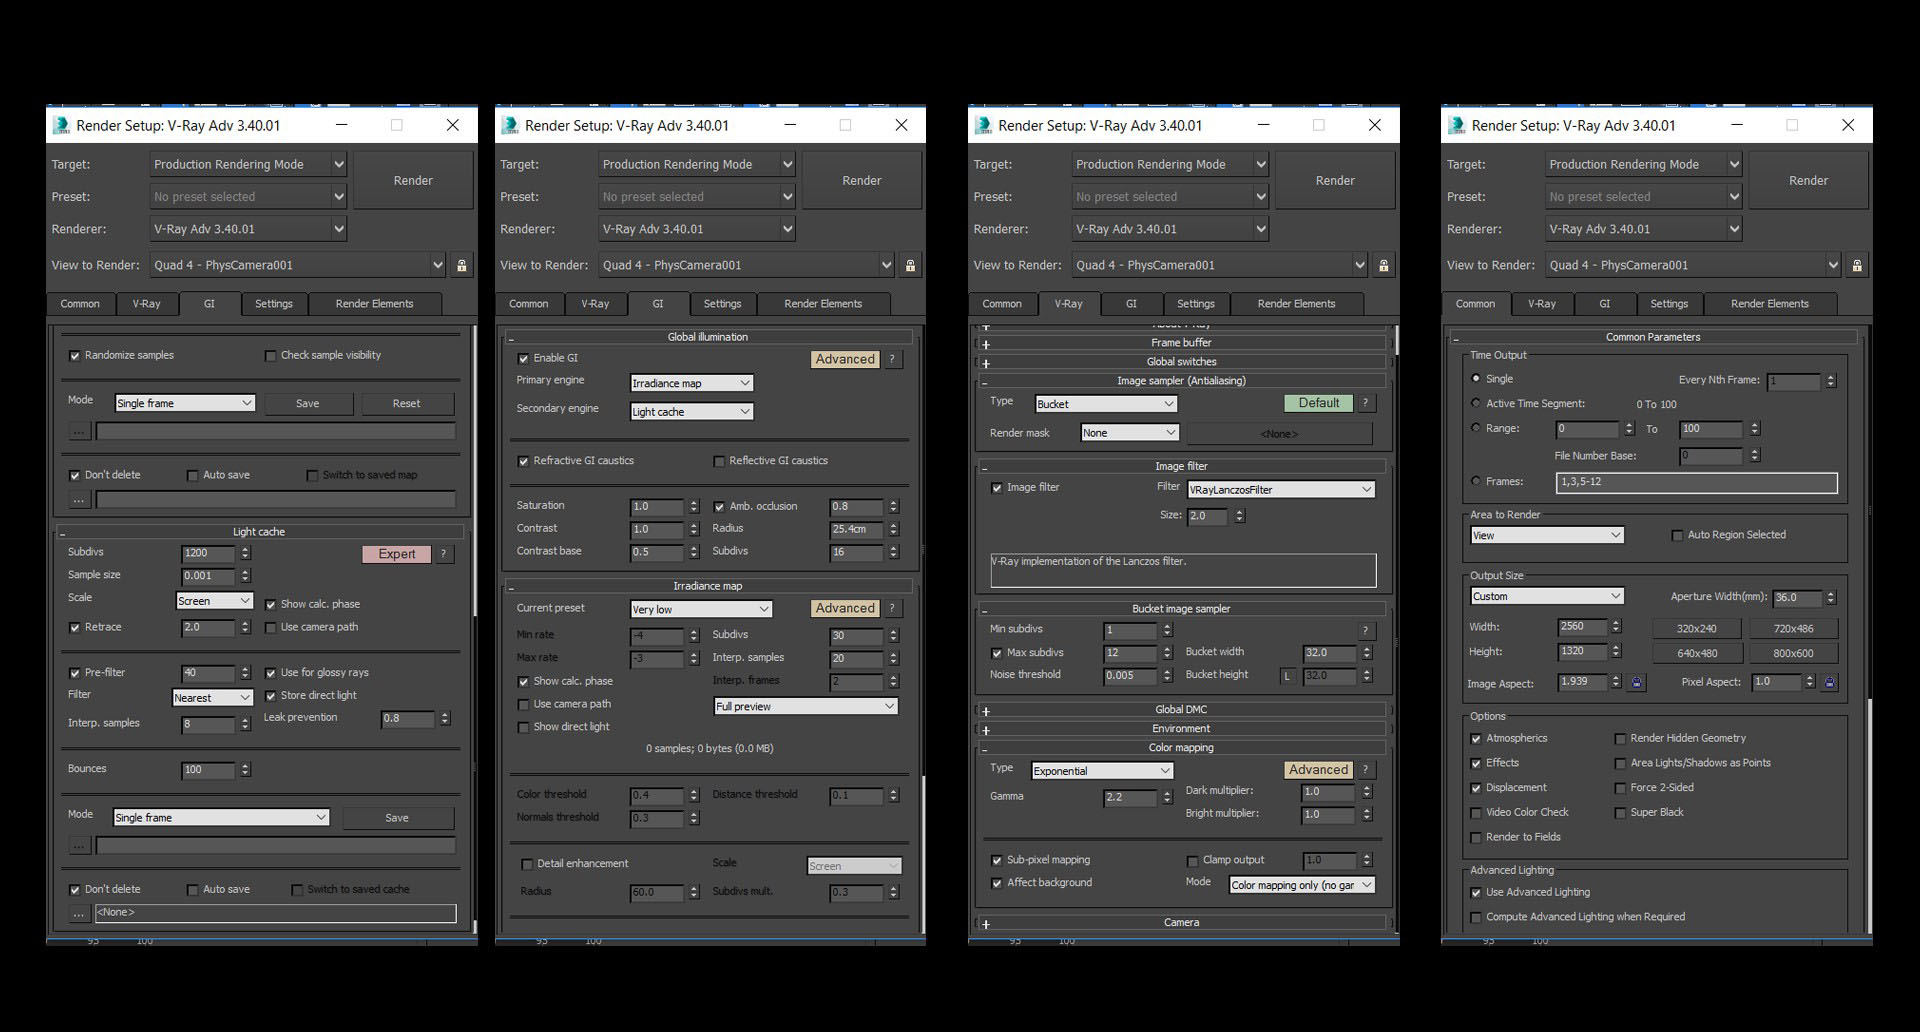
If you want good quality you should add the right setting.

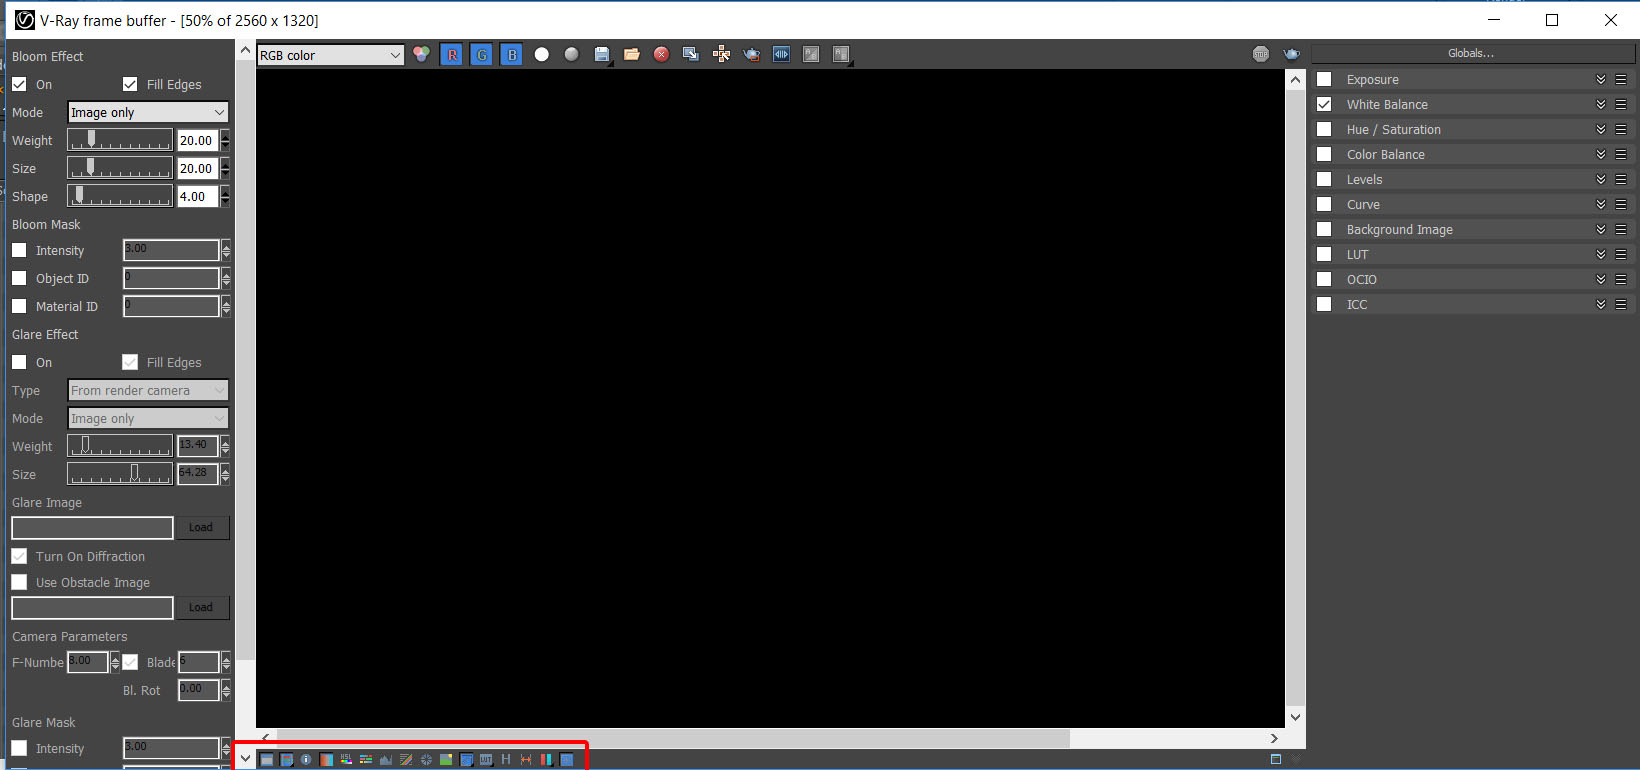
Before I start the render I like to switch on lens flare and bloom effect and color correction from frame buffer because it’s a very nice tool and it puts me in a good mood.
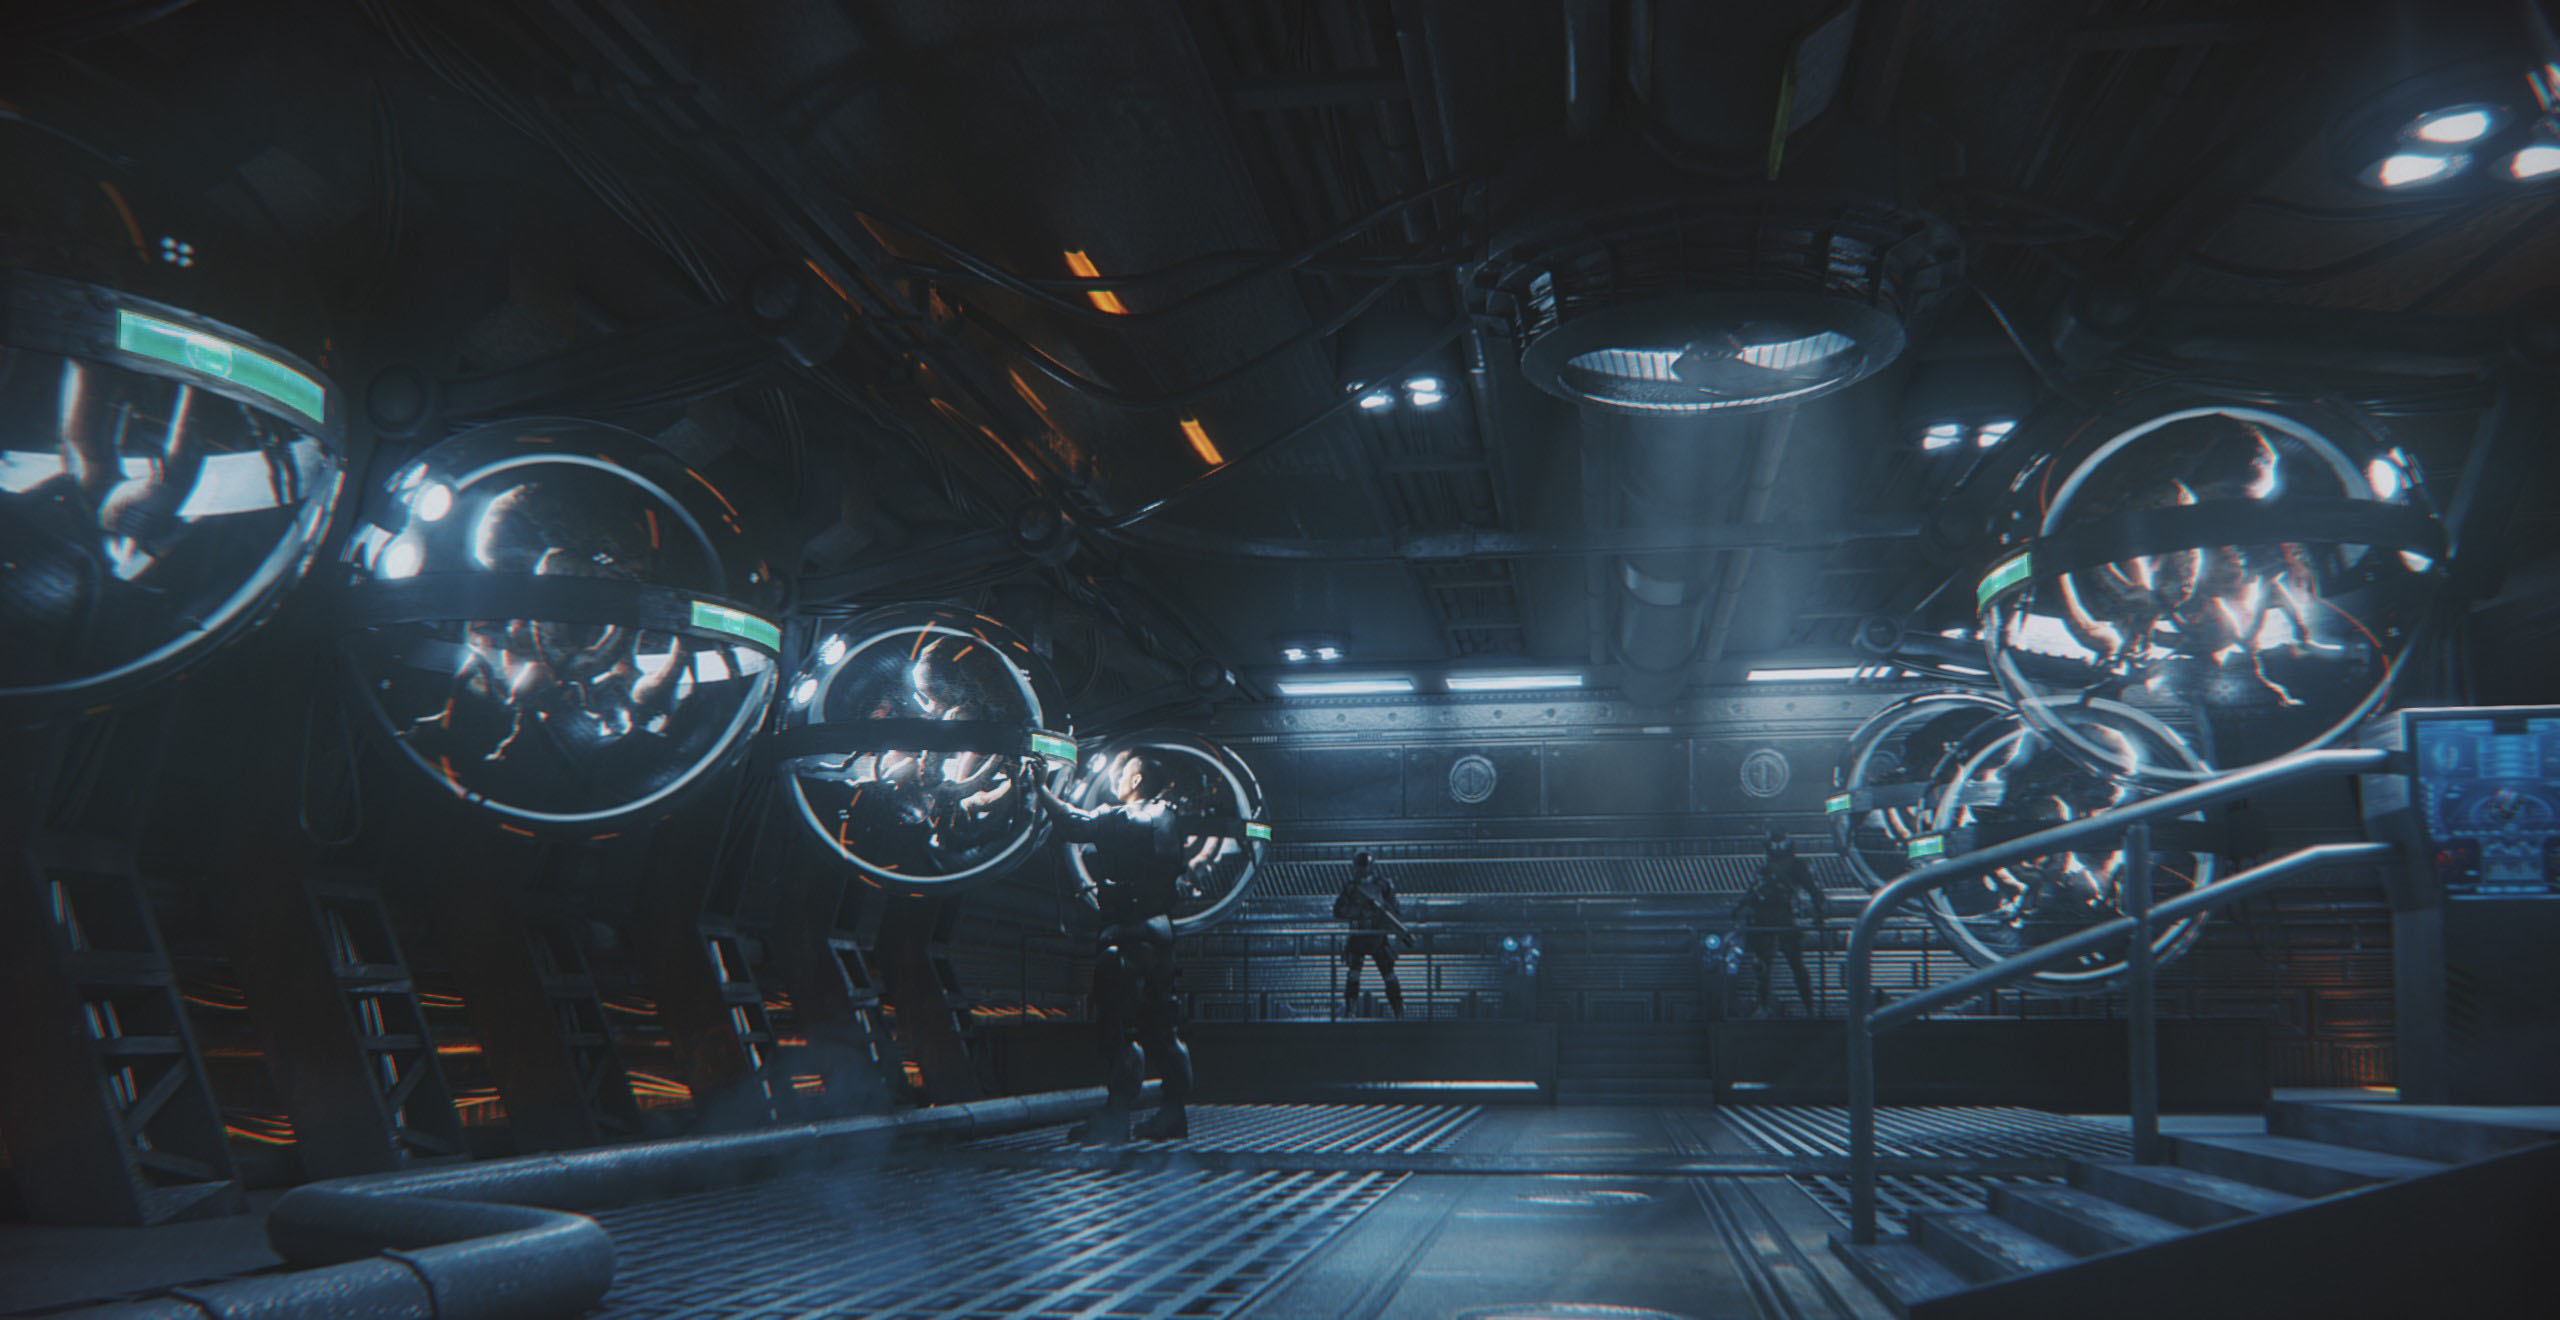
Here is the final raw image render I will start on post production.

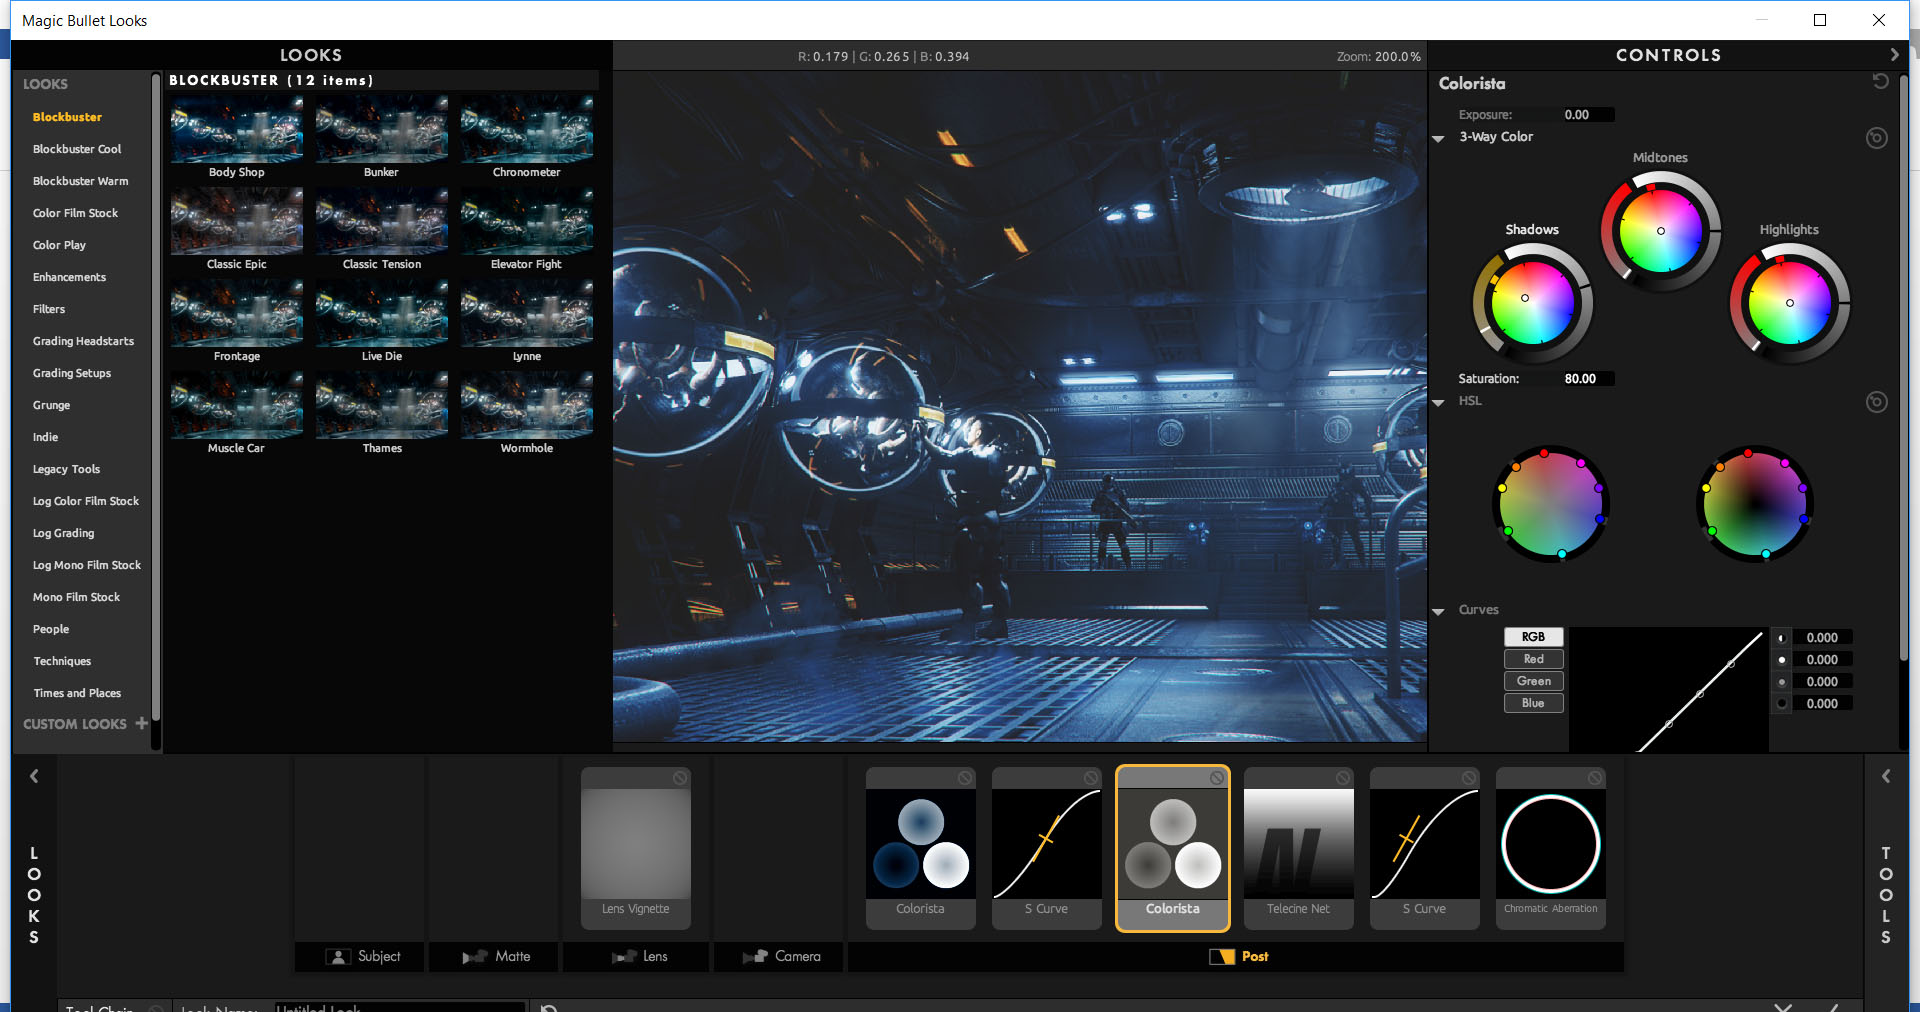
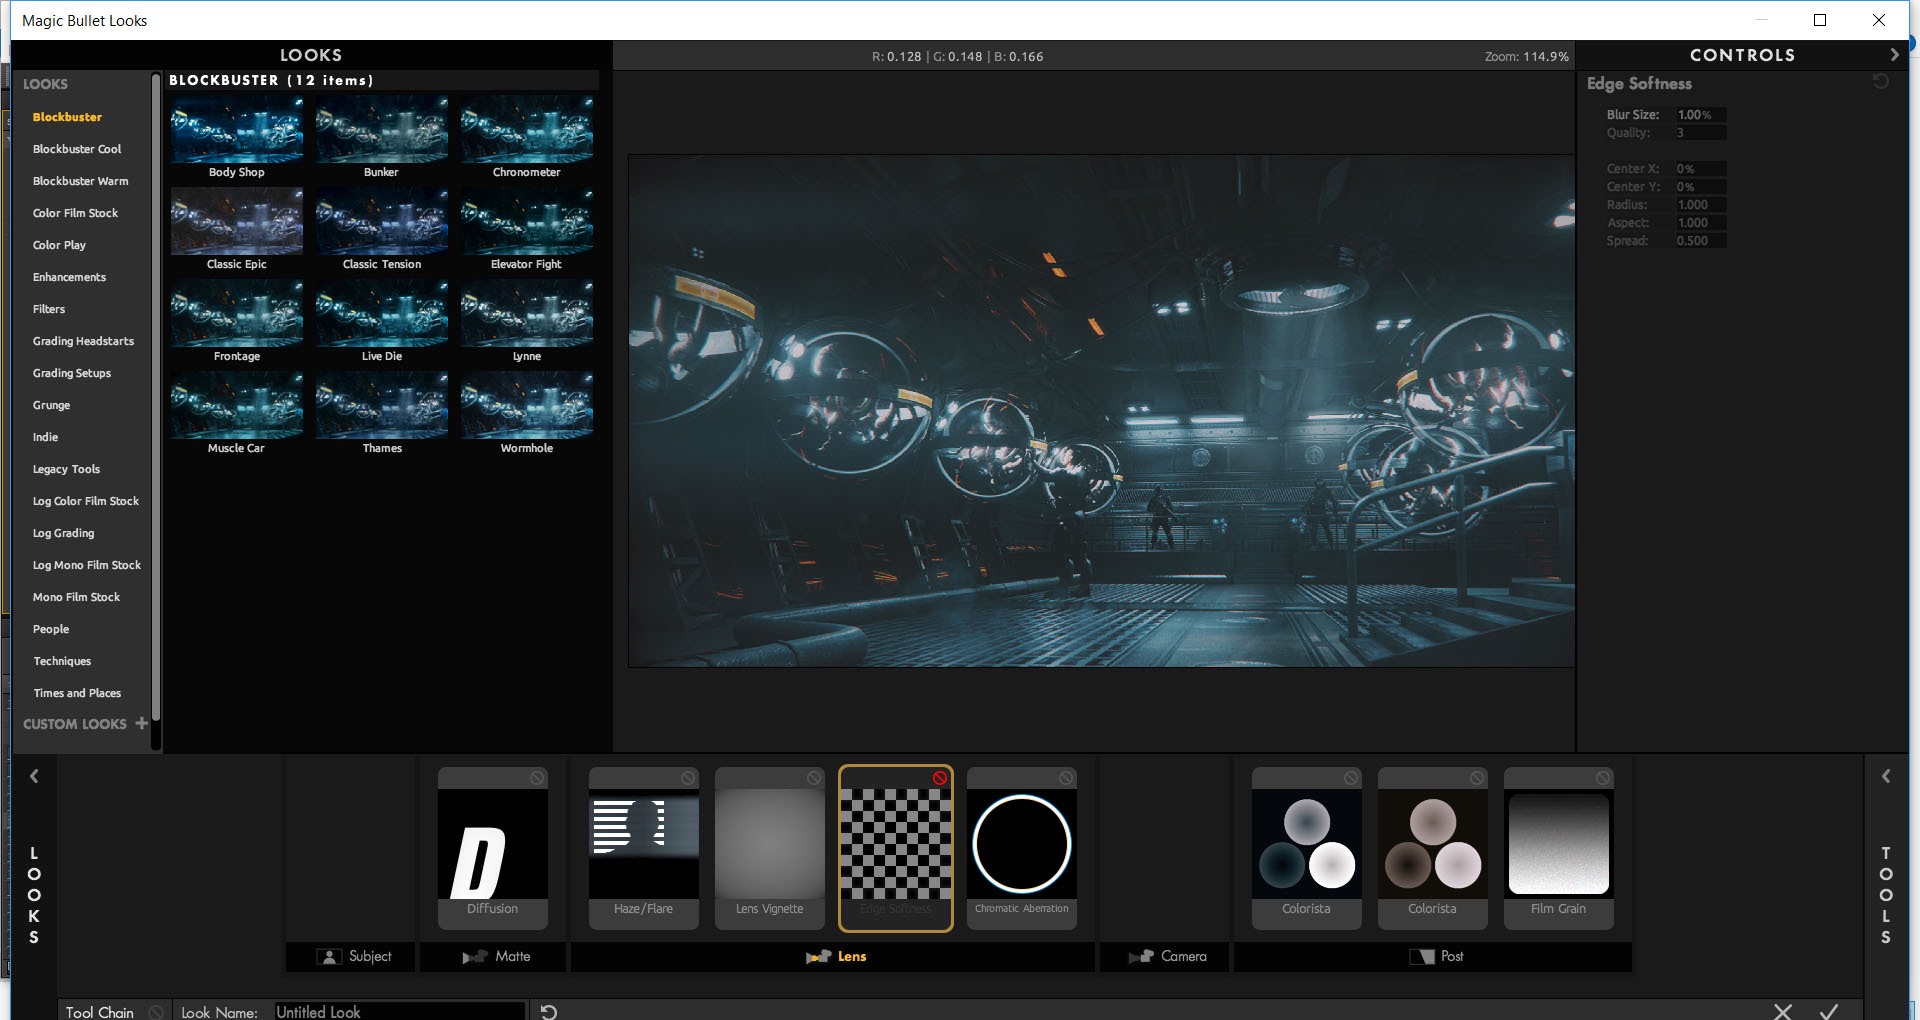
I used after effects for post-production and I used a magic bullet look because it’s very nice and it easily gives me the right colors.