Romi Valentino kindly shared with our community a making of article of his last project as a Christmas giveaway. He paid more attention to describe the concept of his project and the way he is used to go with the mood of his scene as well as the way he uses Hair and fur effect in 3ds Max.

Hi Guys, after my absence for so long, I am back with new artwork and thus I would like to share with you a making-of article of Xmas Scandinavian interior, which I inspired with a Christmas feeling. We will talk about the concept, modeling, post-production and an important tip of making fur using hair and fur modifier. I did the majority of the modeling, texturing, rendering, and composting process from scratch.
First I tried to find my inspiration through several reference images which represent a bright white colour, old woods and soft fur.

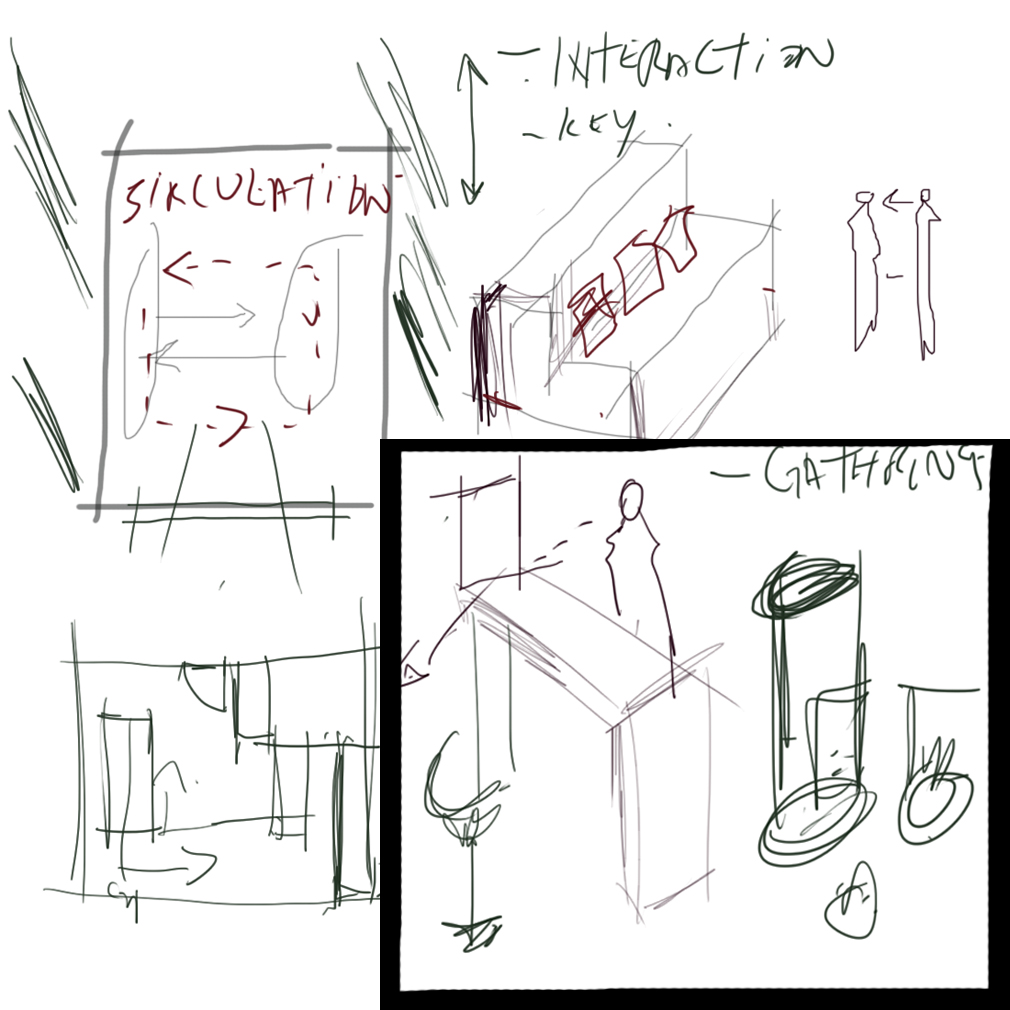
After that I made the design layout. When I create personal projects I try to select a good and strong concept to have it as a base. So my concept was a small interior with an opened space which connects both the living room and the small kitchen in an interactive way, a bit warm and easy to communicate.
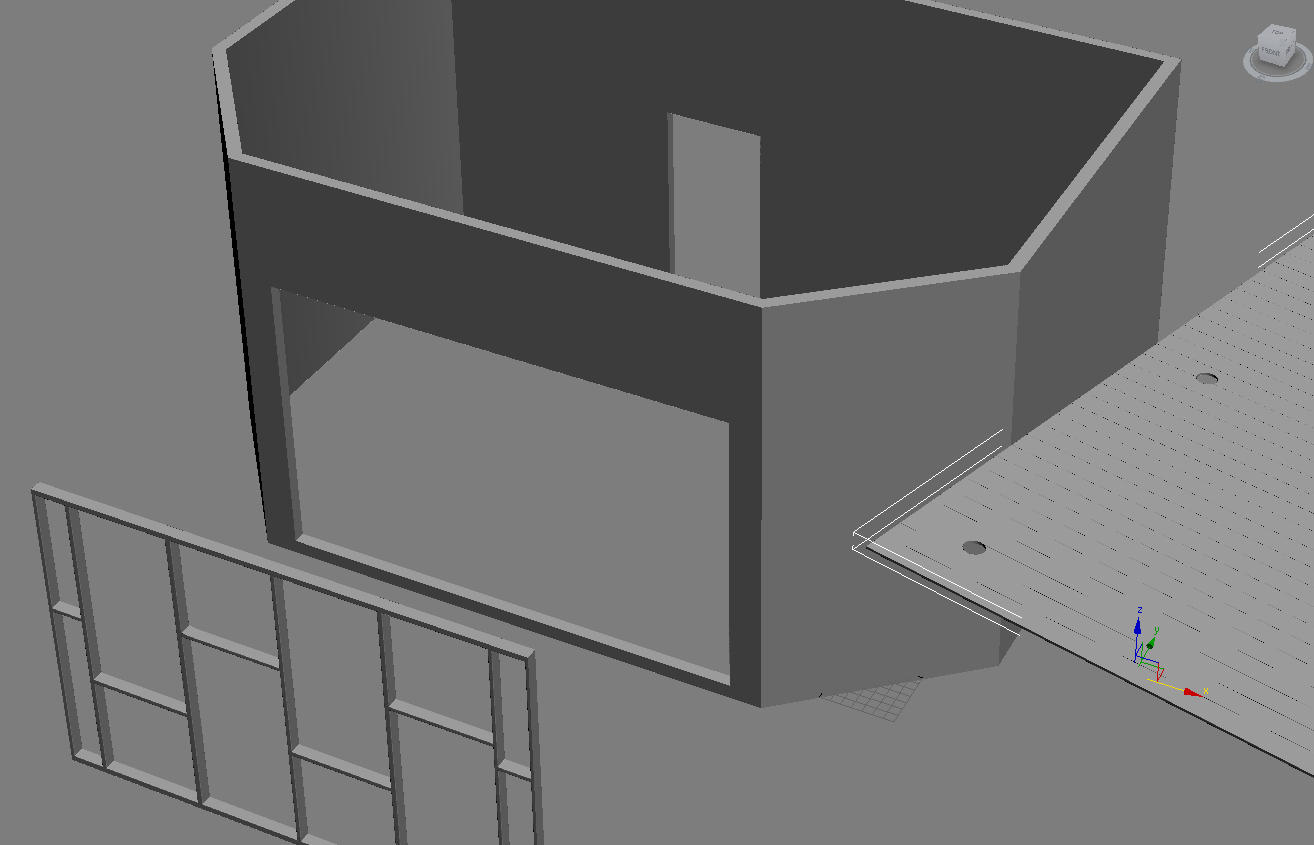
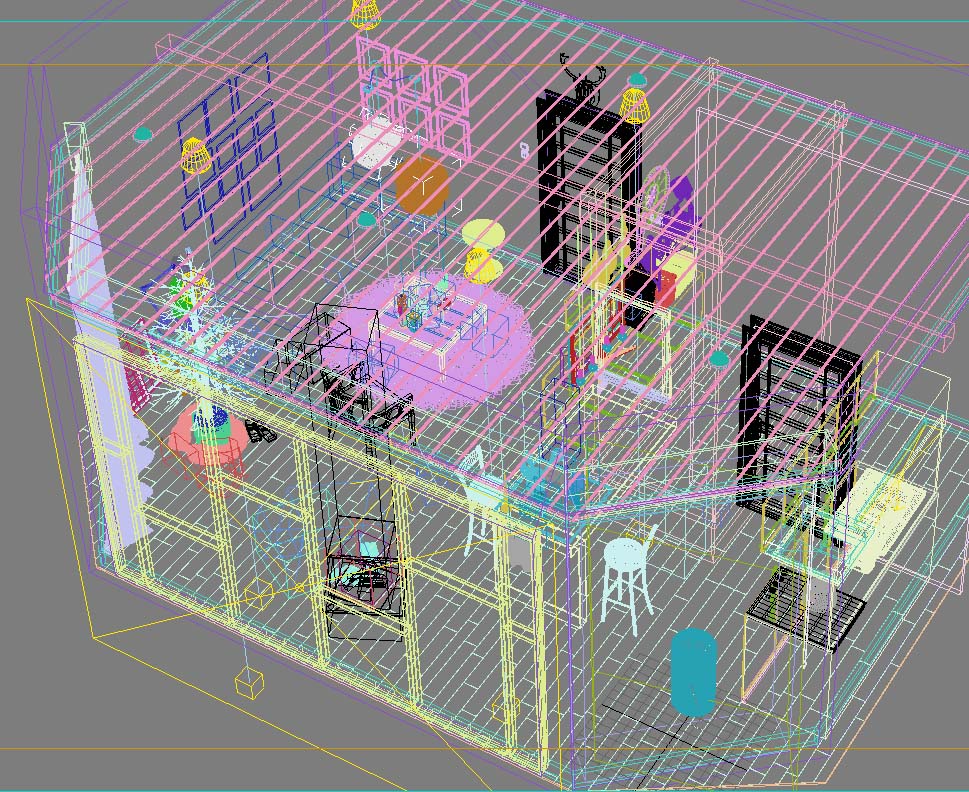
I began directly using 3dmax and spline modifiers to model manually the walls and the basic constructive elements.
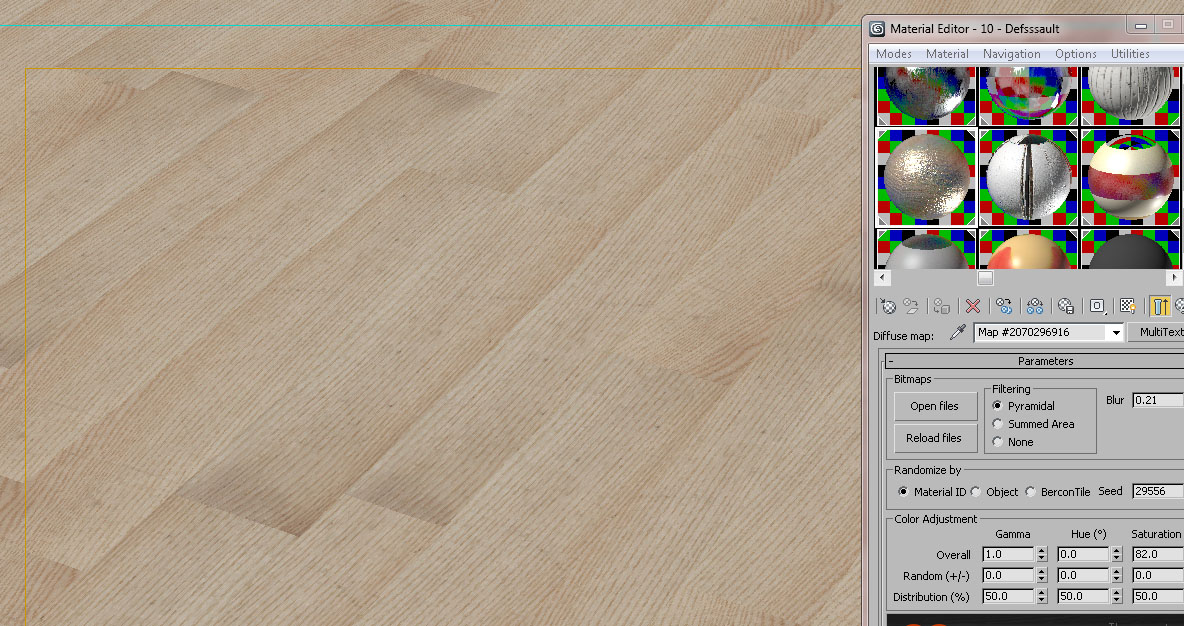
I also used Marvelous Designer to model the fabrics and Floor generator script to create a good wooden floor.
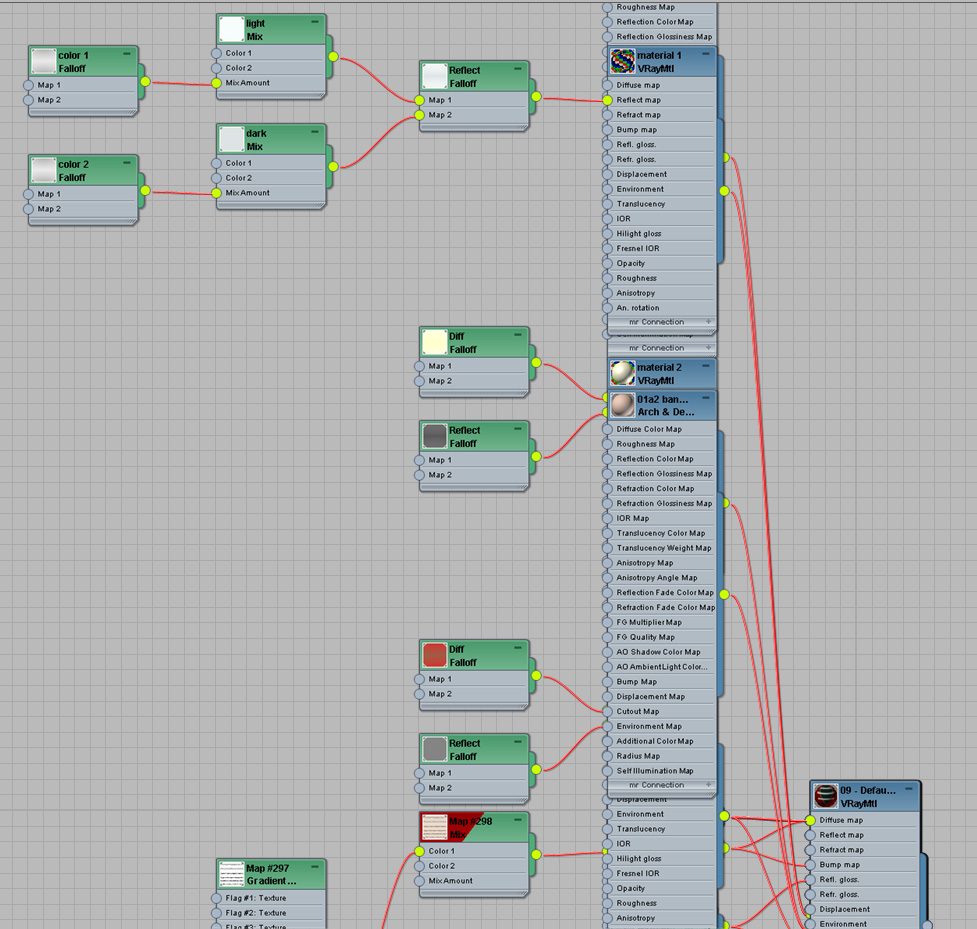
I used normal materials and not something extraordinary.
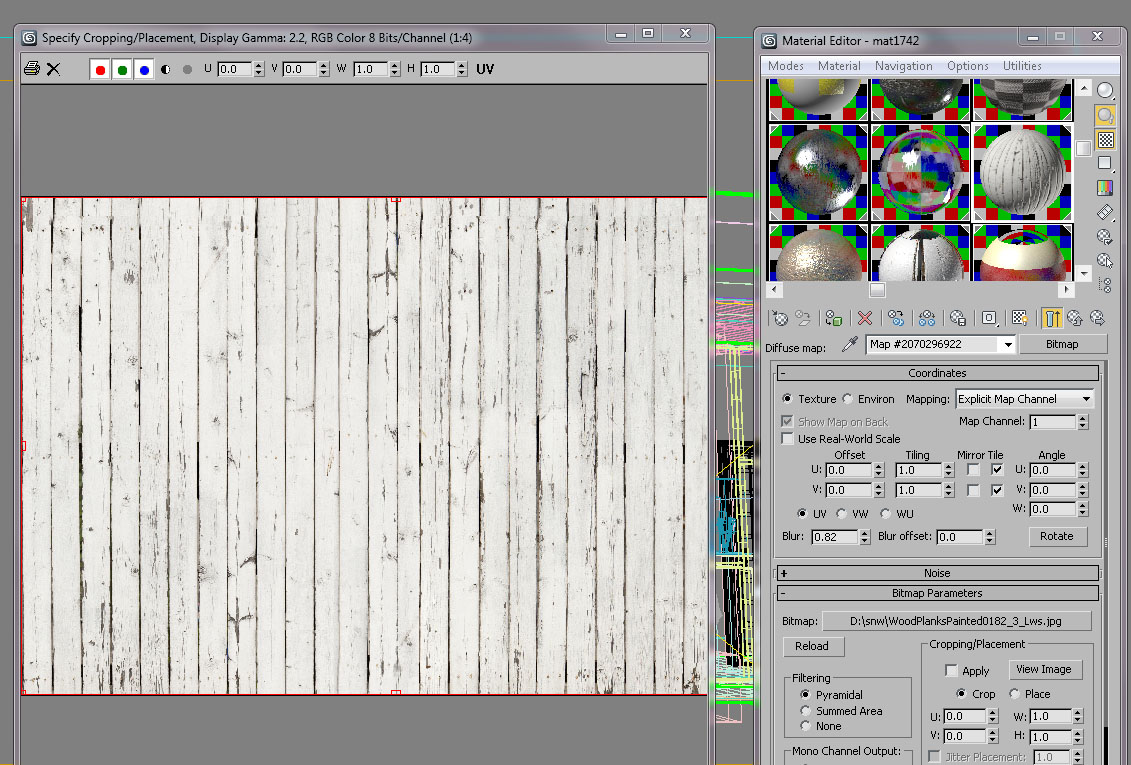
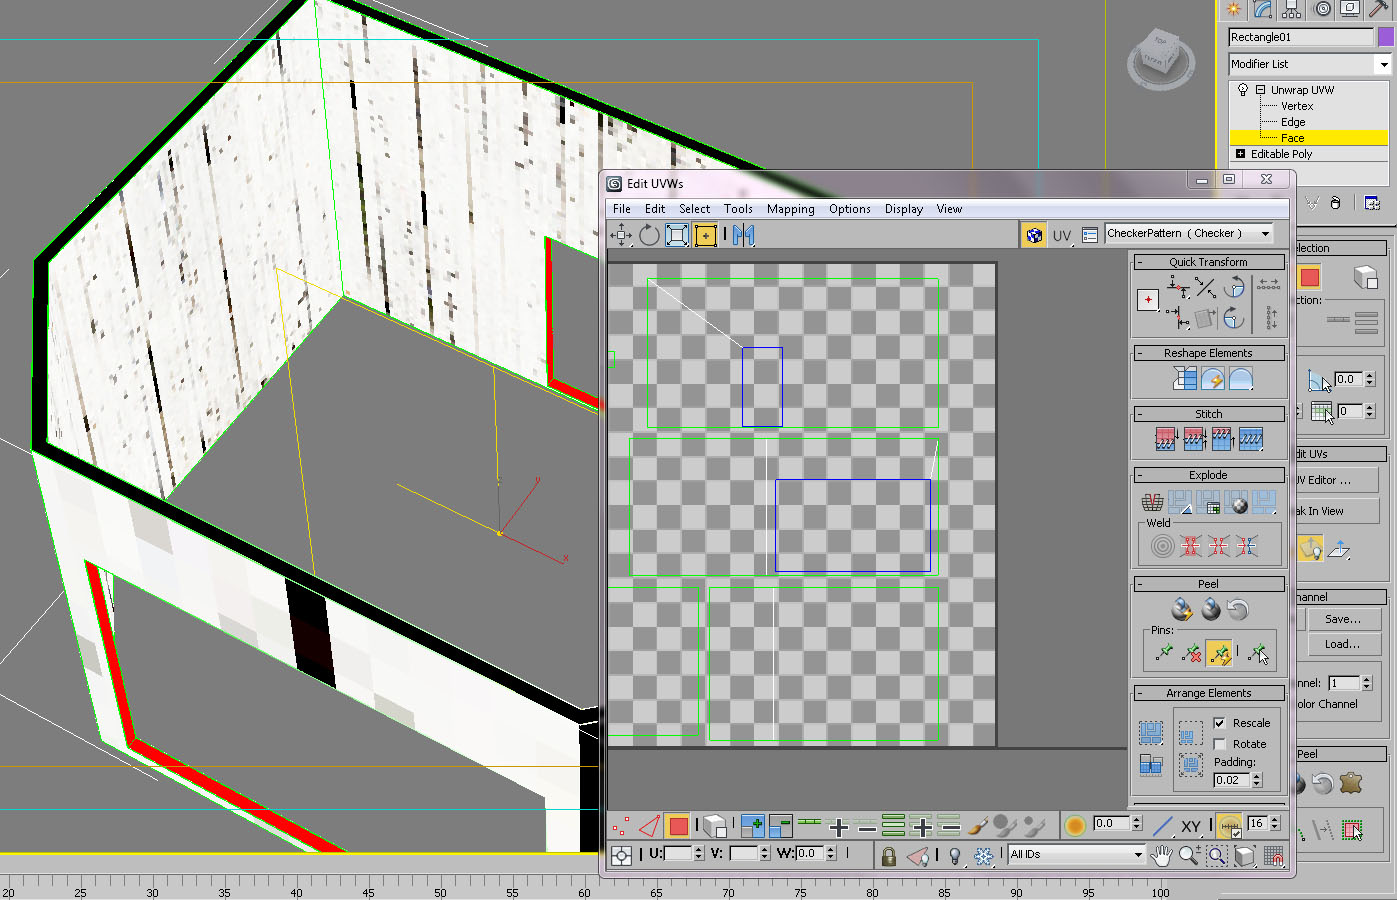
After I had finished with all of them and I was satisfied enough, I tried to achieve a nice wall texture using unwrap modifier with the help of Photoshop software. The wooden walls represent the main core of a Scandinavian room as in such an interior style we have full of wood usage. I found the texture from CGTextures.
A lot of people asked me about how to make a quick and simple hair and fur. Basically, I learnt a lot around the web, and I will share some of the settings that I used. Below I will describe a step by step process. Please note that I recommend you a computer RAM with minimum 12 GB of RAM).
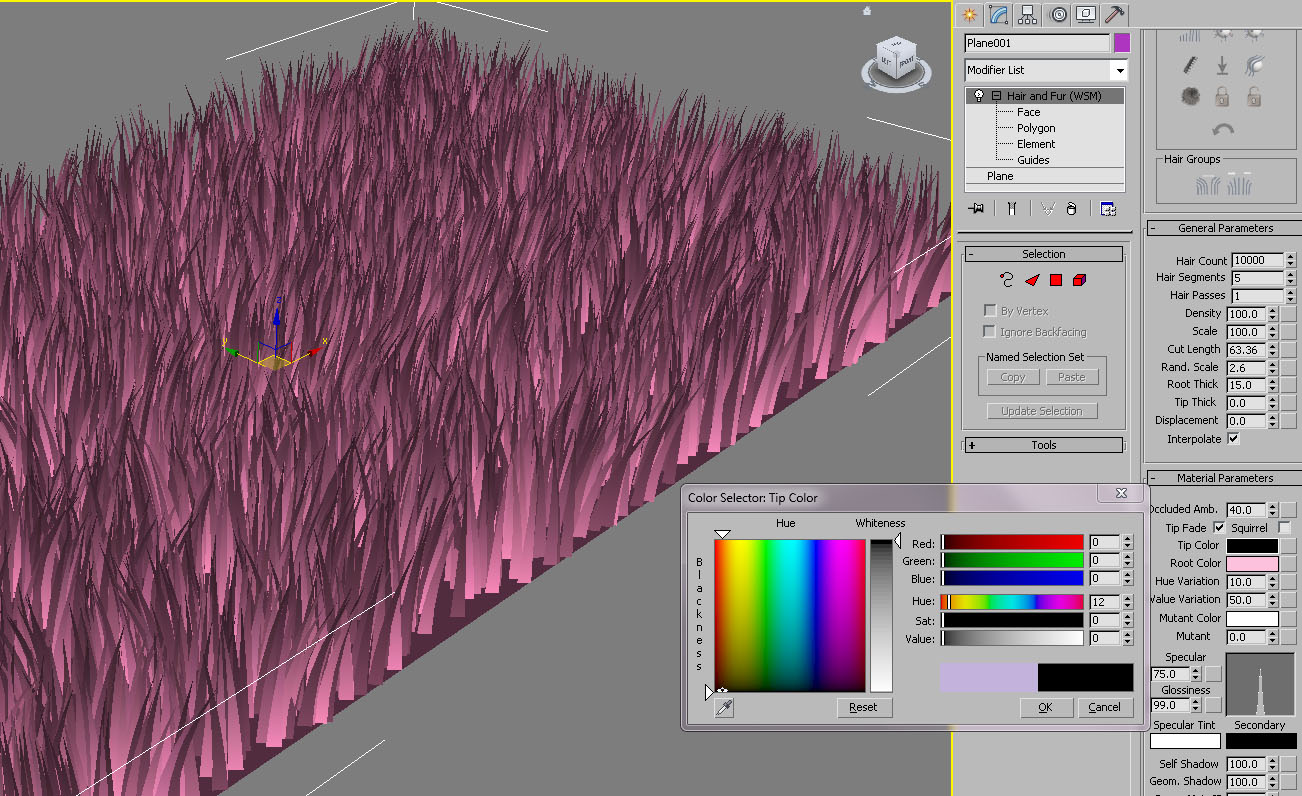
1. Create a plane and apply a simple vray material on it. After that add Hair and Fur modifier.
2.When it is first applied, there is a big amount of brown hair displayed, but no worries. Due amount of RAM I normally use some of its settings and not all of them.
General parameters
Hair Count: The amount of the hair you want to be displayed in your viewport and your rendering. I normally use 120.000
Hair segment: more segments means more hair wrinkles you could have.
Density: 1 displays nothing and 100 displays a full fur.
Scale: Scaling hair.
Cut length: longer or shorter hair.
Rant scale: With a small amount you could get a thin fur, just like a cat's fur
Root thick: Make your root fur more visible and big.
Material Parameters
Almost same with material tweaks in material editor, so that's why I only used tip color for upper hair and root for bottom hair.
Clumping Parameters
These parameters give more clump. You can test them for more rotation, more randomness ect...
Display
Uncheck if you don't want to see the fur or increase the number of max hair to see more of it in your viewport.
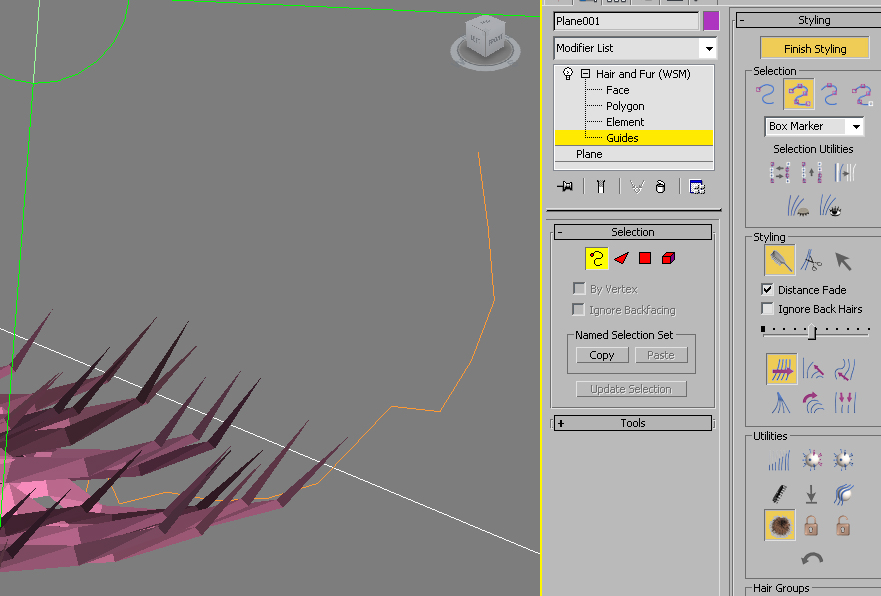
Styling
Another trick that you could use is Styling. You can brush or cut hair using styling parameters. If your comb has a large distance, you can adjust it through cursor line (the green arrow).If you don't want to display hair and fur, just click toggle hair on/off.
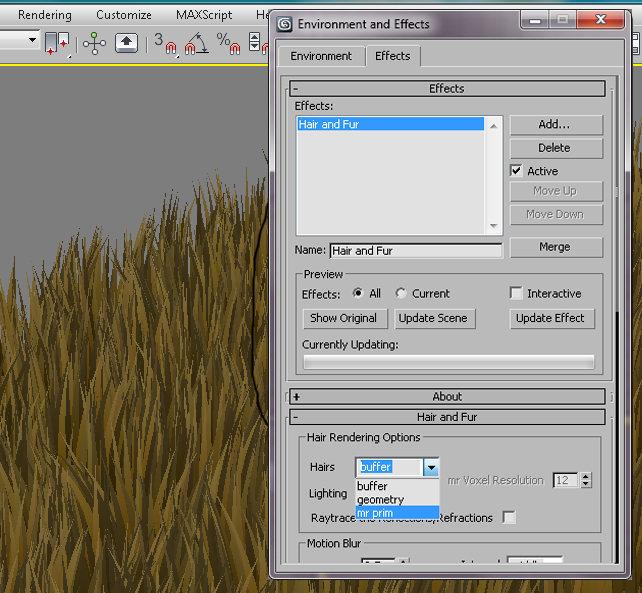
Rendering Hair and Fur
Hit shortcut 8 -> Effects -> Select Hair and Fur effect -> In Hair and Fur rollout Pick geometry or mr prim. Personally I prefer geometry which is more quick as it converts hair to geometry, but it depends on you.
TIP: When you want to achieve a faster test rendering on several objects in your scene you should disable Hair and Fur effect by turning of both Active slot and modifier.

I often spend a lot of time to achieve a nice camera angle because I feel that it is a really important aspect. Instead of talking further about this issue I will suggest you an article by Lasse Rode. It's a really nice and professional article which I enjoyed a lot. Find it on Ronen's Blog.
I didn't use anything special, just 1 large V-Ray light plane + some normal ies lights.
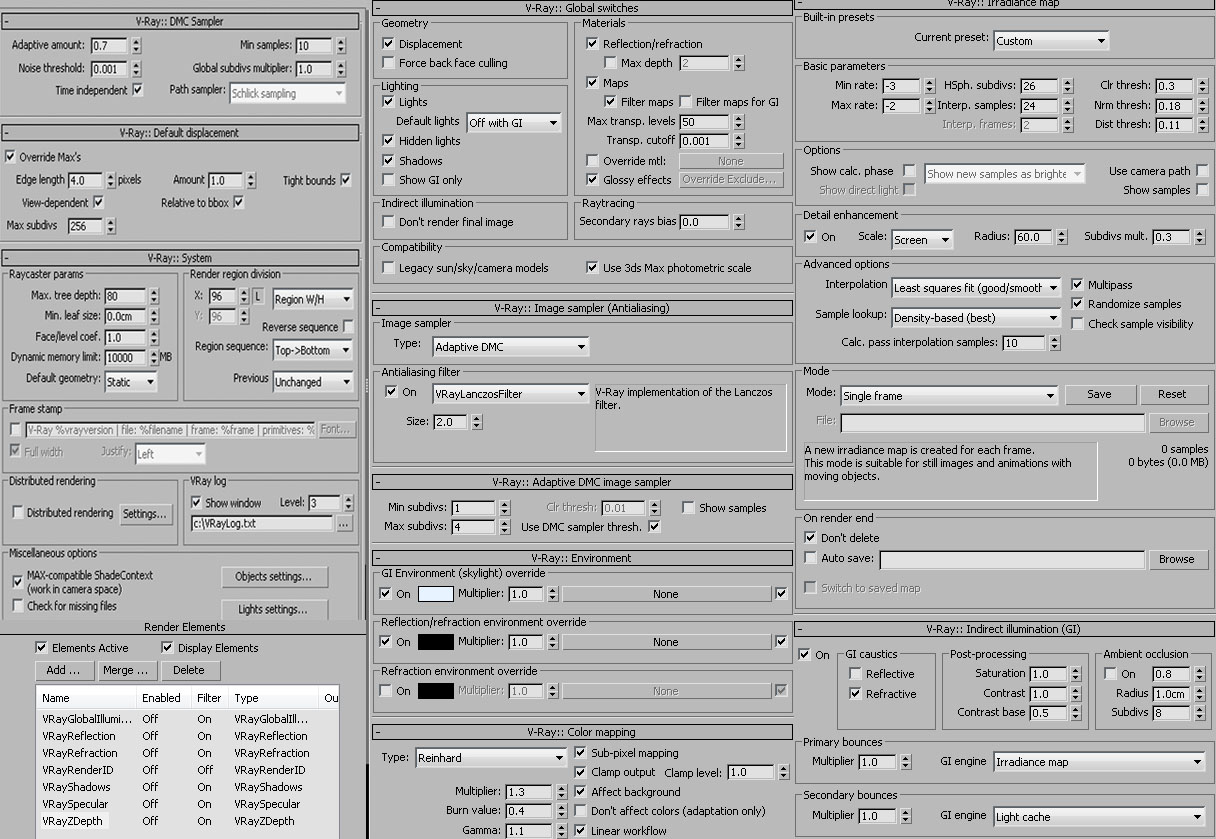
I used only a few render passes to export and some normal V-Ray settings.
First I blended render passes in Photoshop, using soft light filtering. A lot of detailed tutorials can be found around the net!

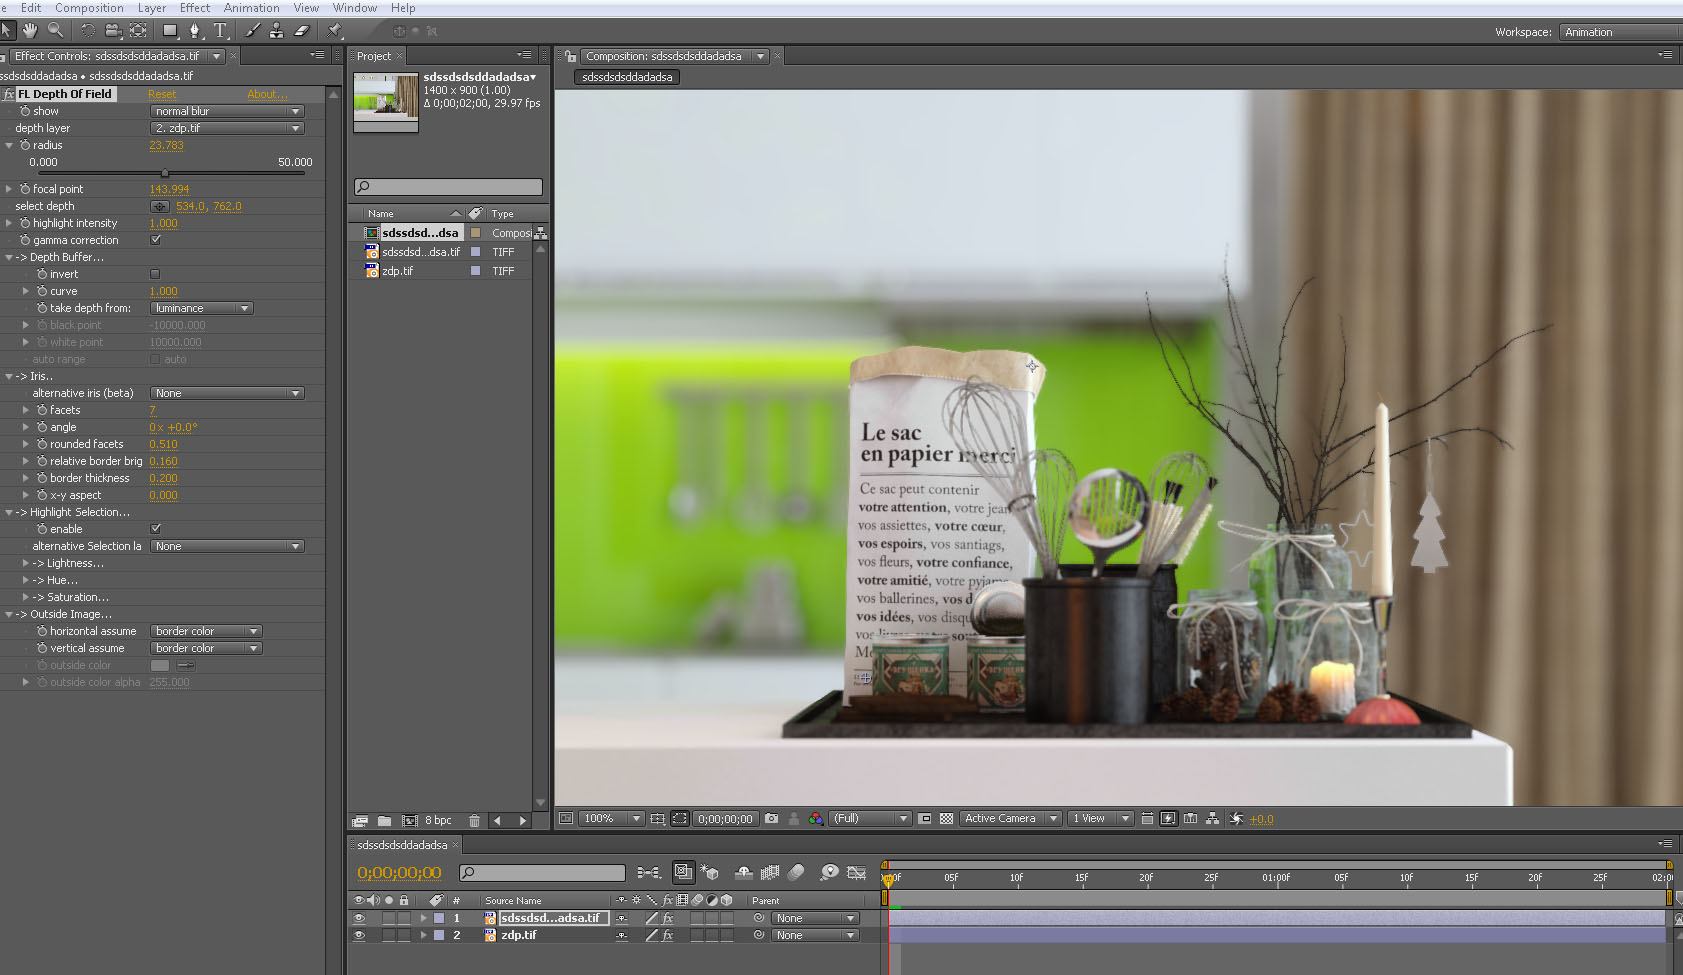
Then I played with Dof using After Effects.
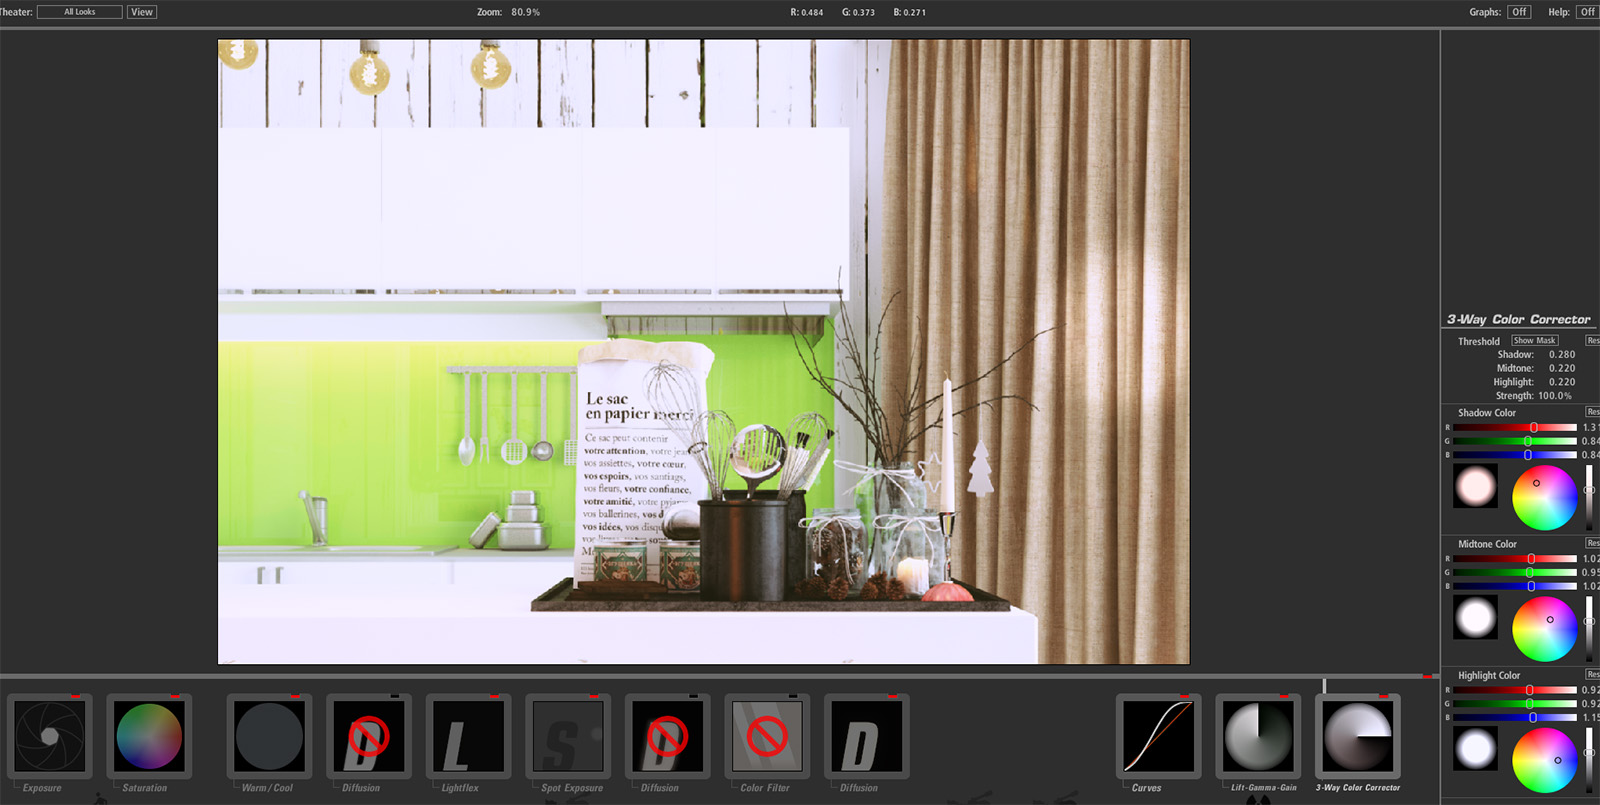
If I need to play with colour gradient , or add a more warm colour, I normally use magic bullet, a software which is giving me the opportunity to add a more moody style by using a 3 way gamma. I often use more pinky hues to make my mood more colorful.
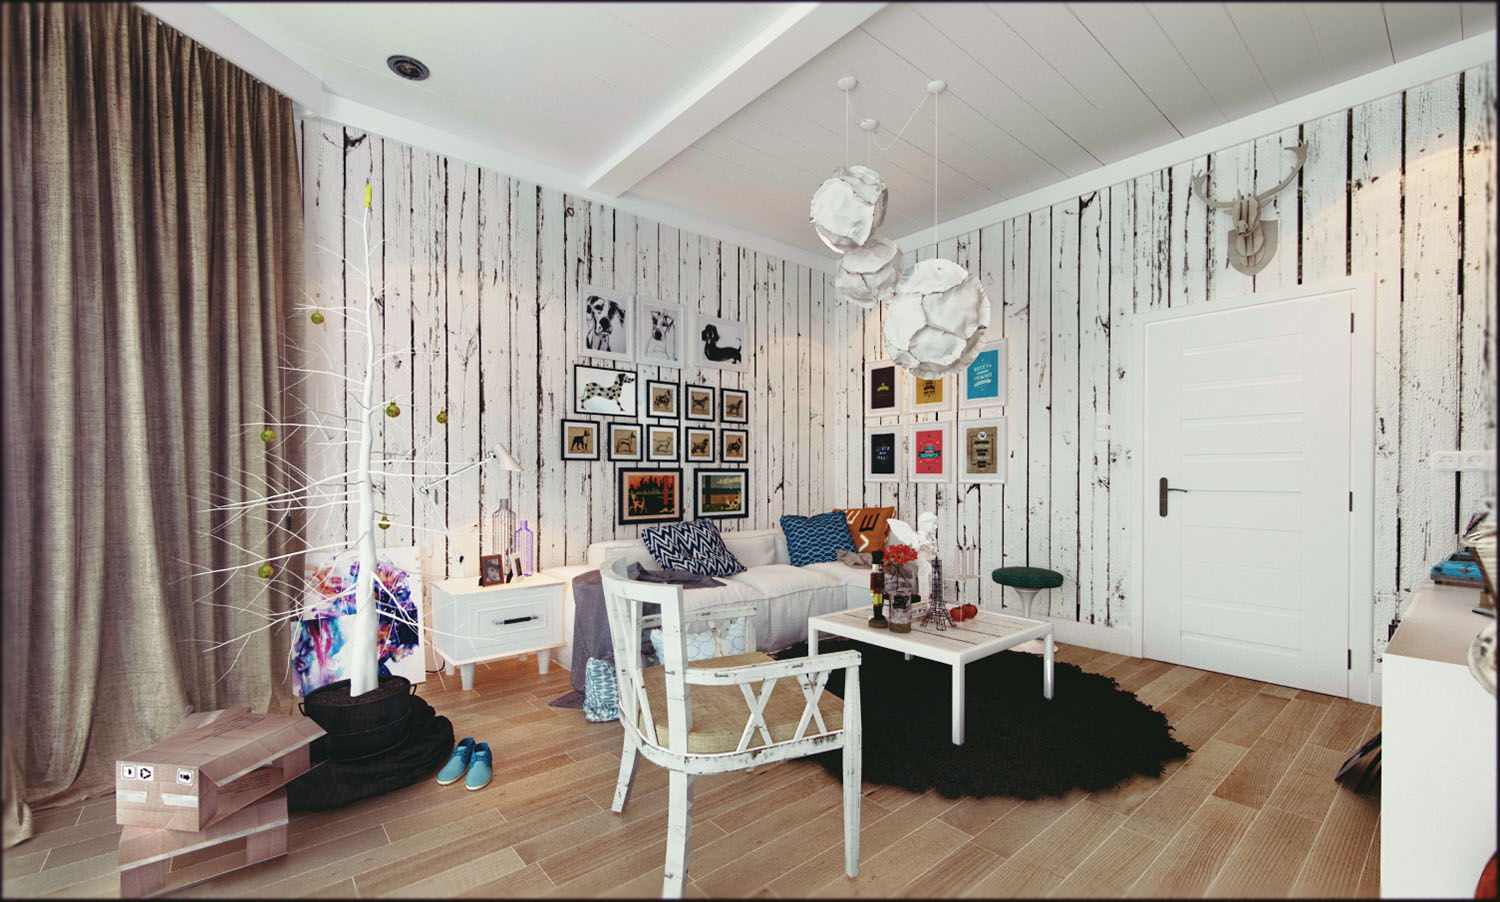
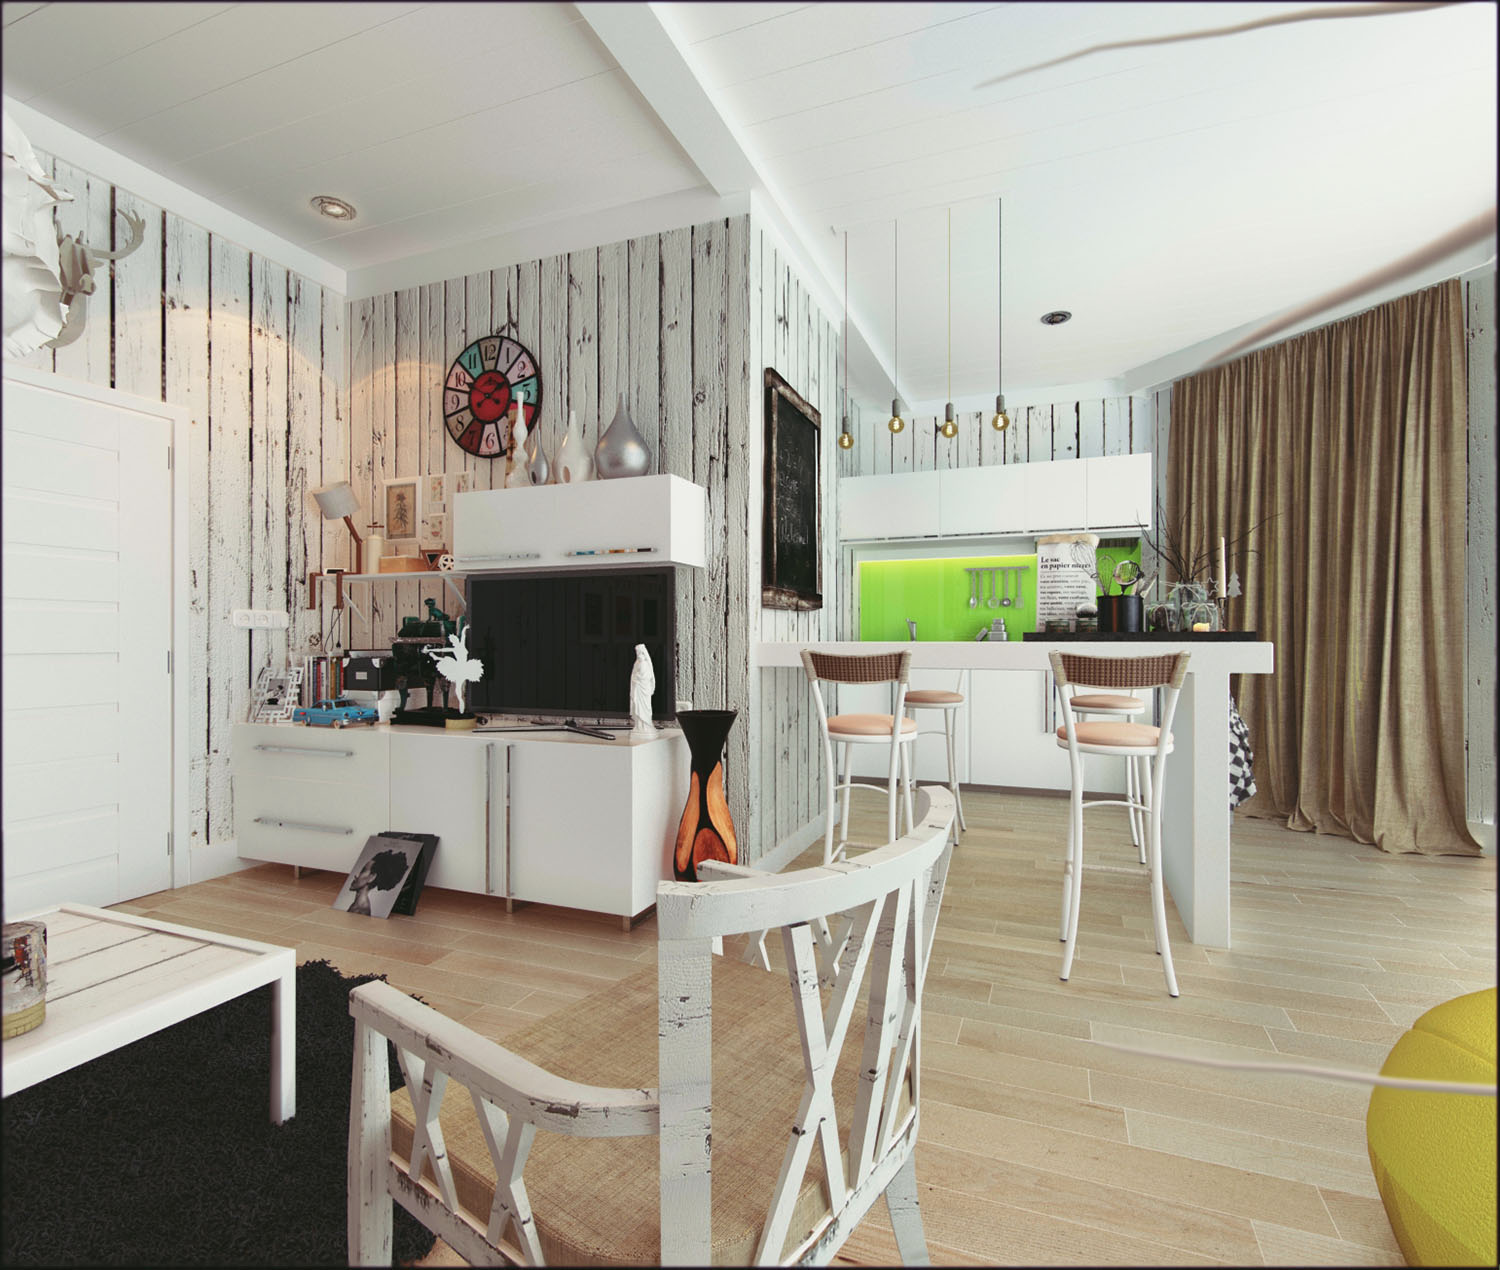
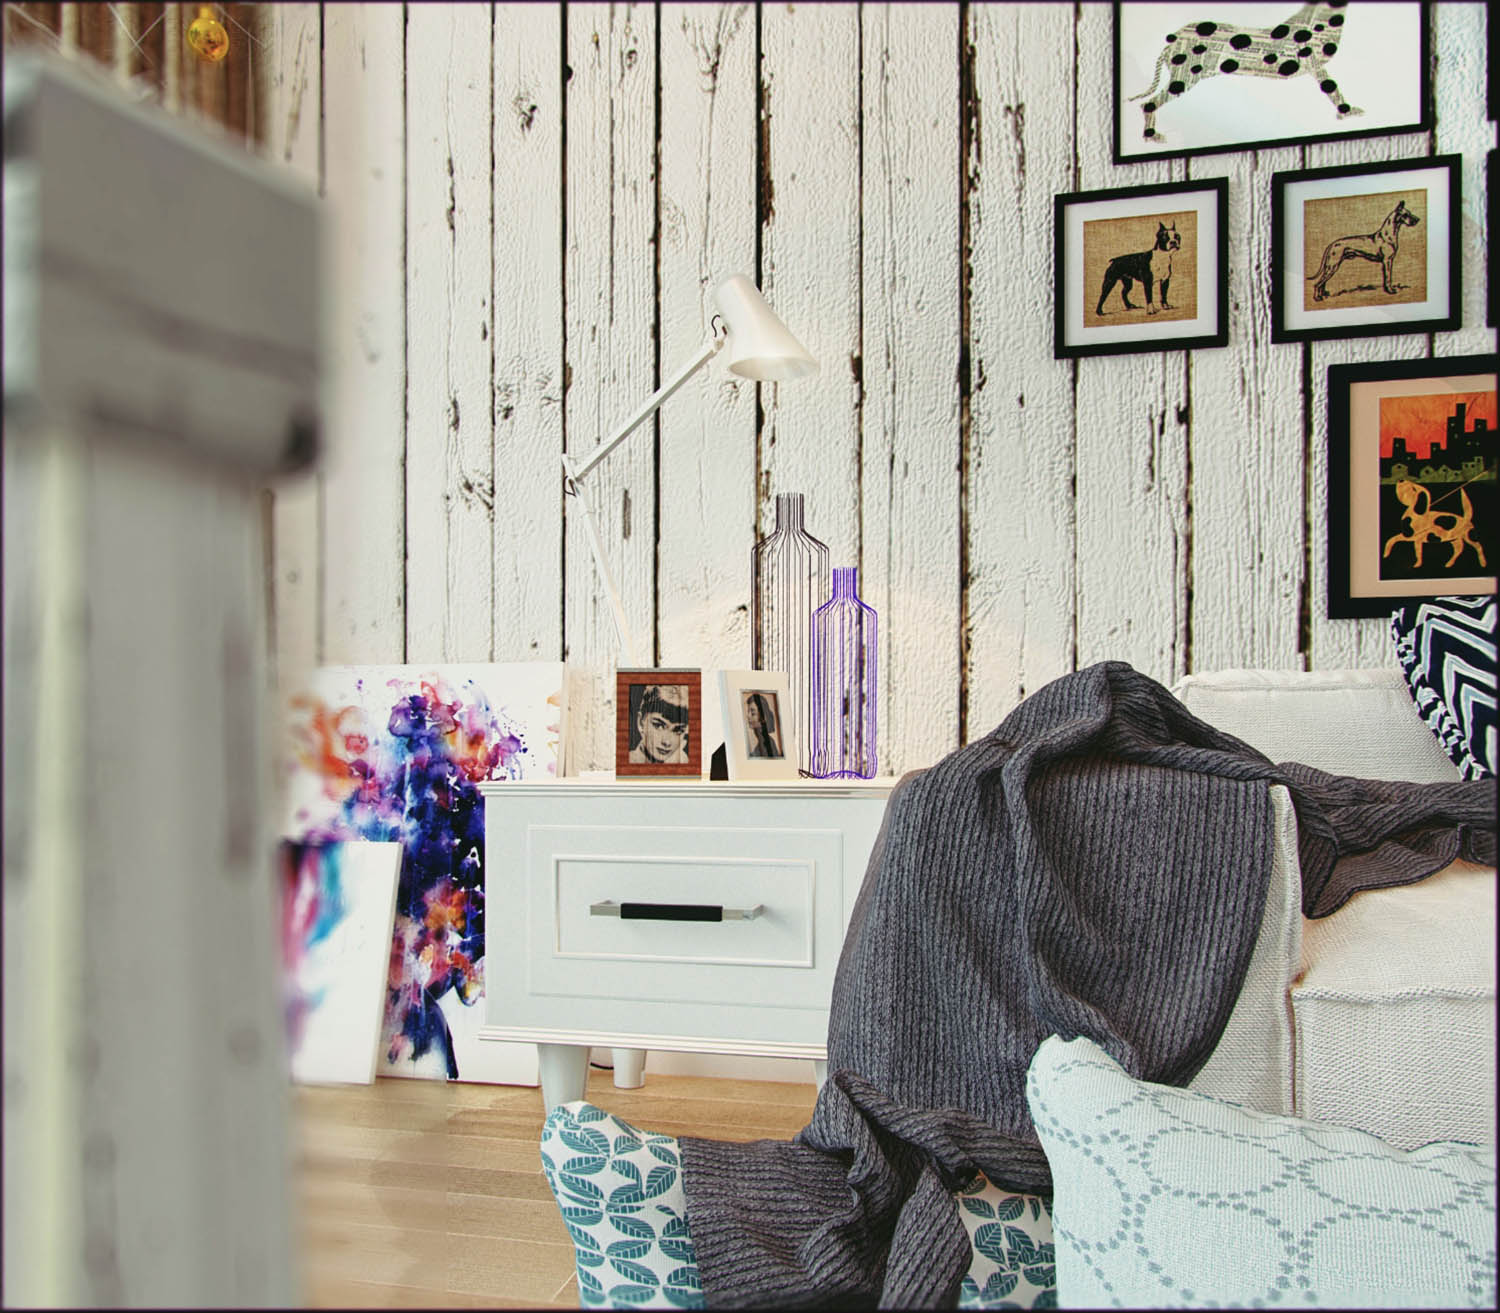
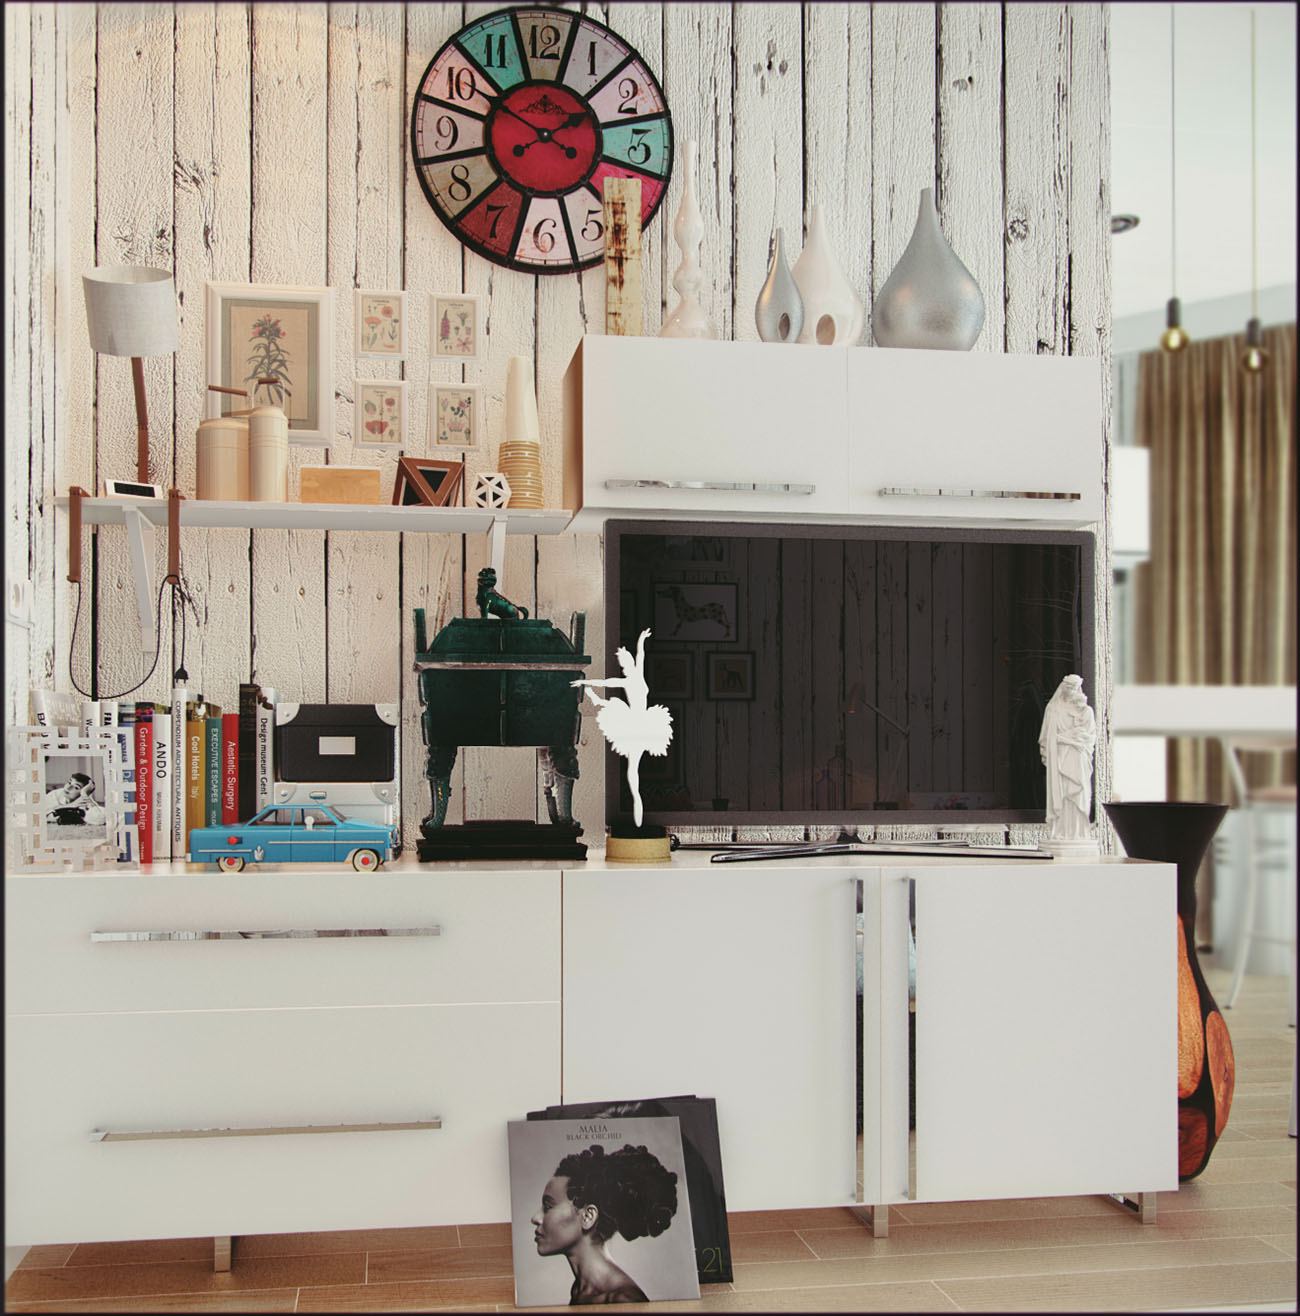
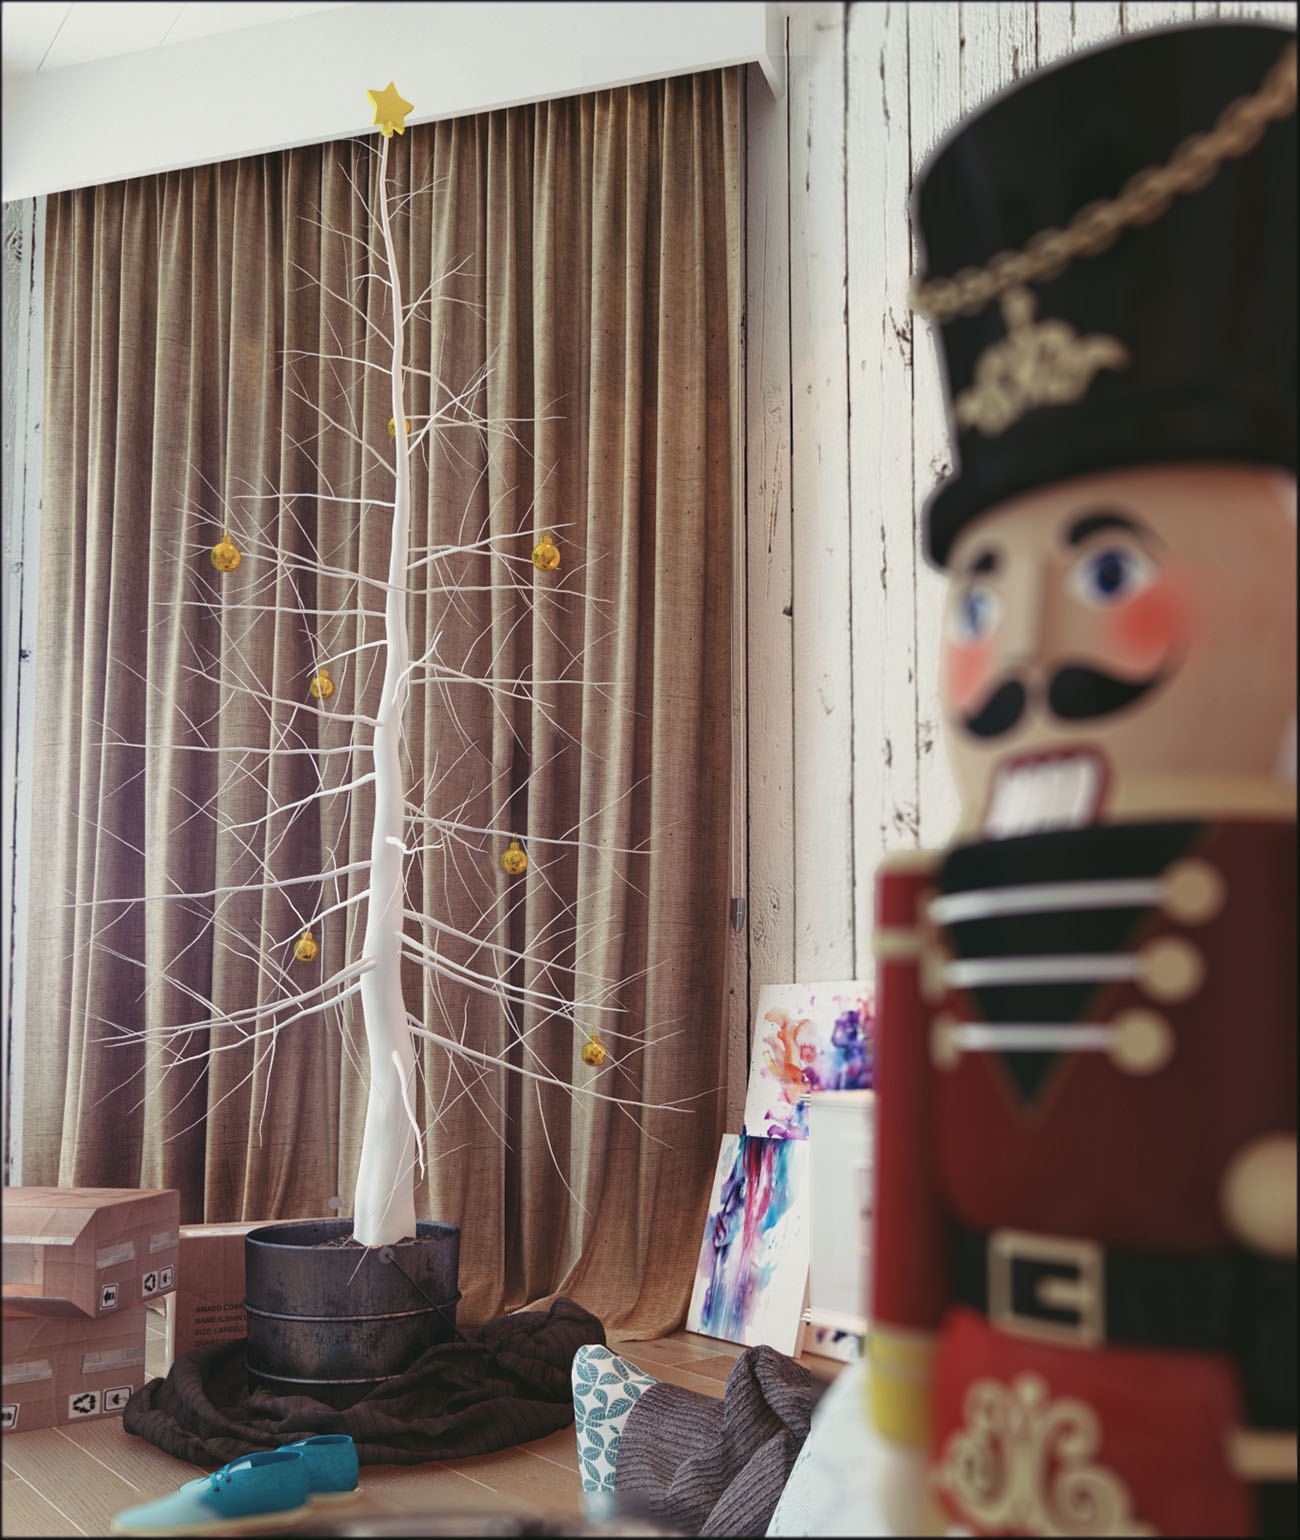
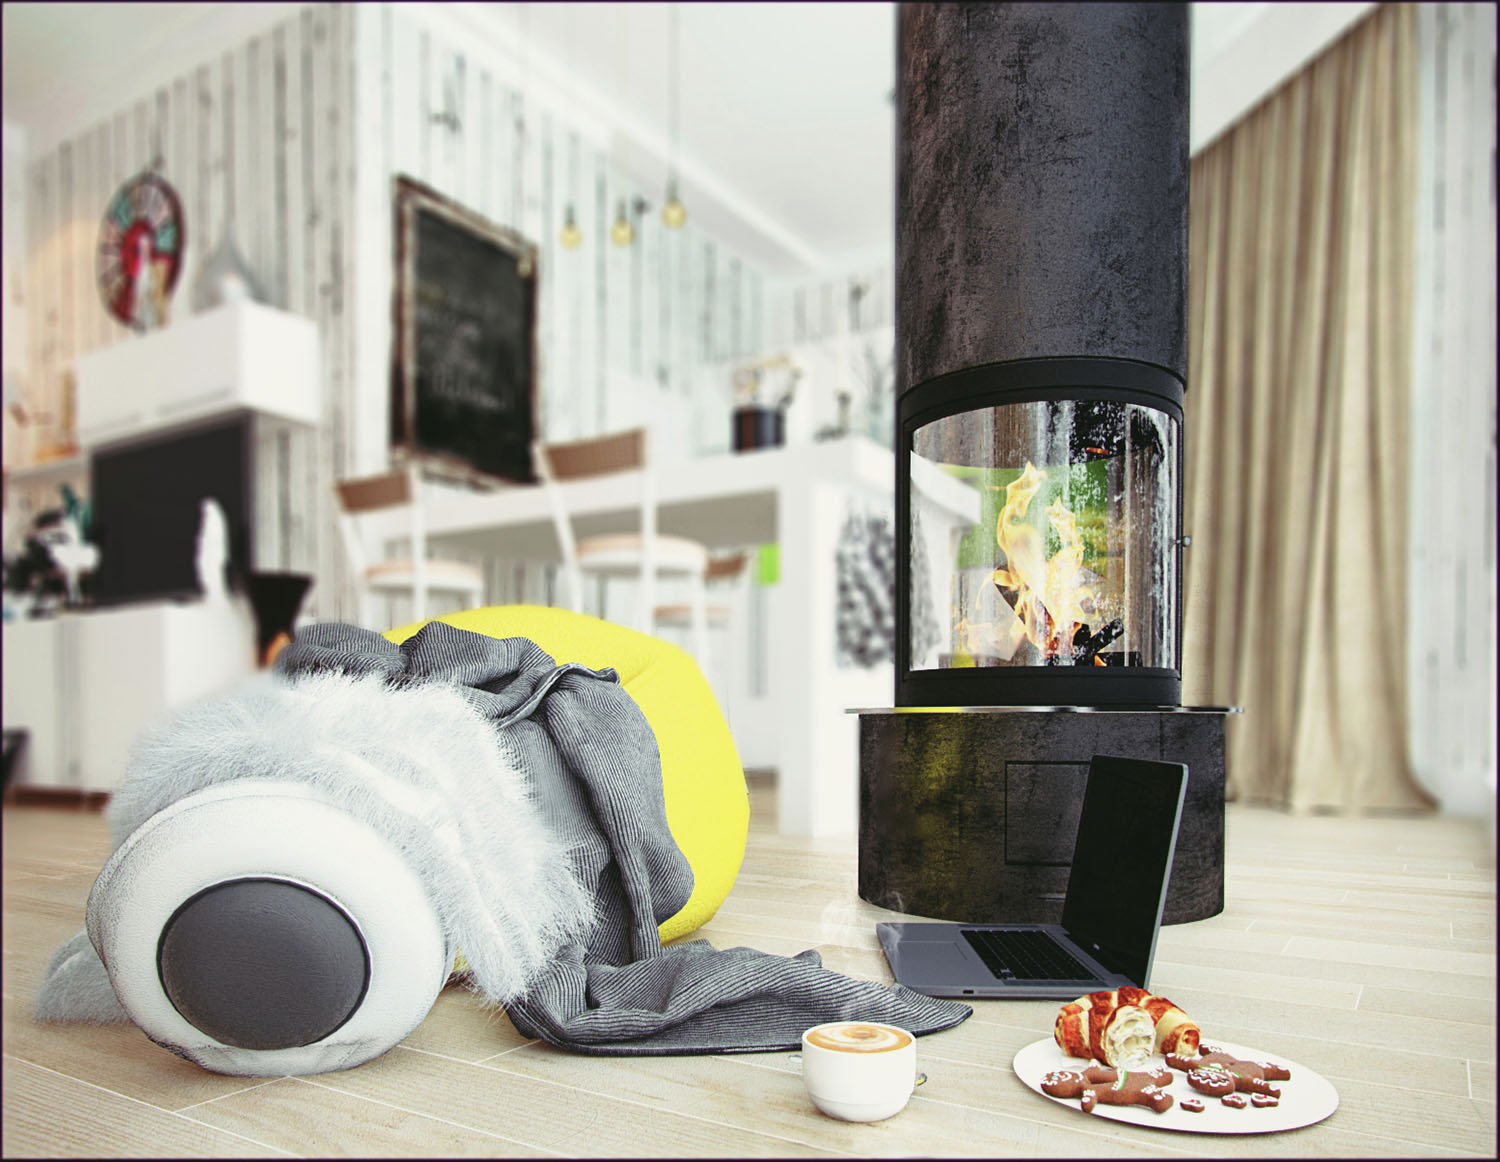
Here are my final renders.


Thank you guys a lot for reading this making of and I hope that you found it useful somehow. For further making of articles I 've already share on Evermotion and Ronen Bekerman please visit my Webpage and my FB account.
Best wishes!