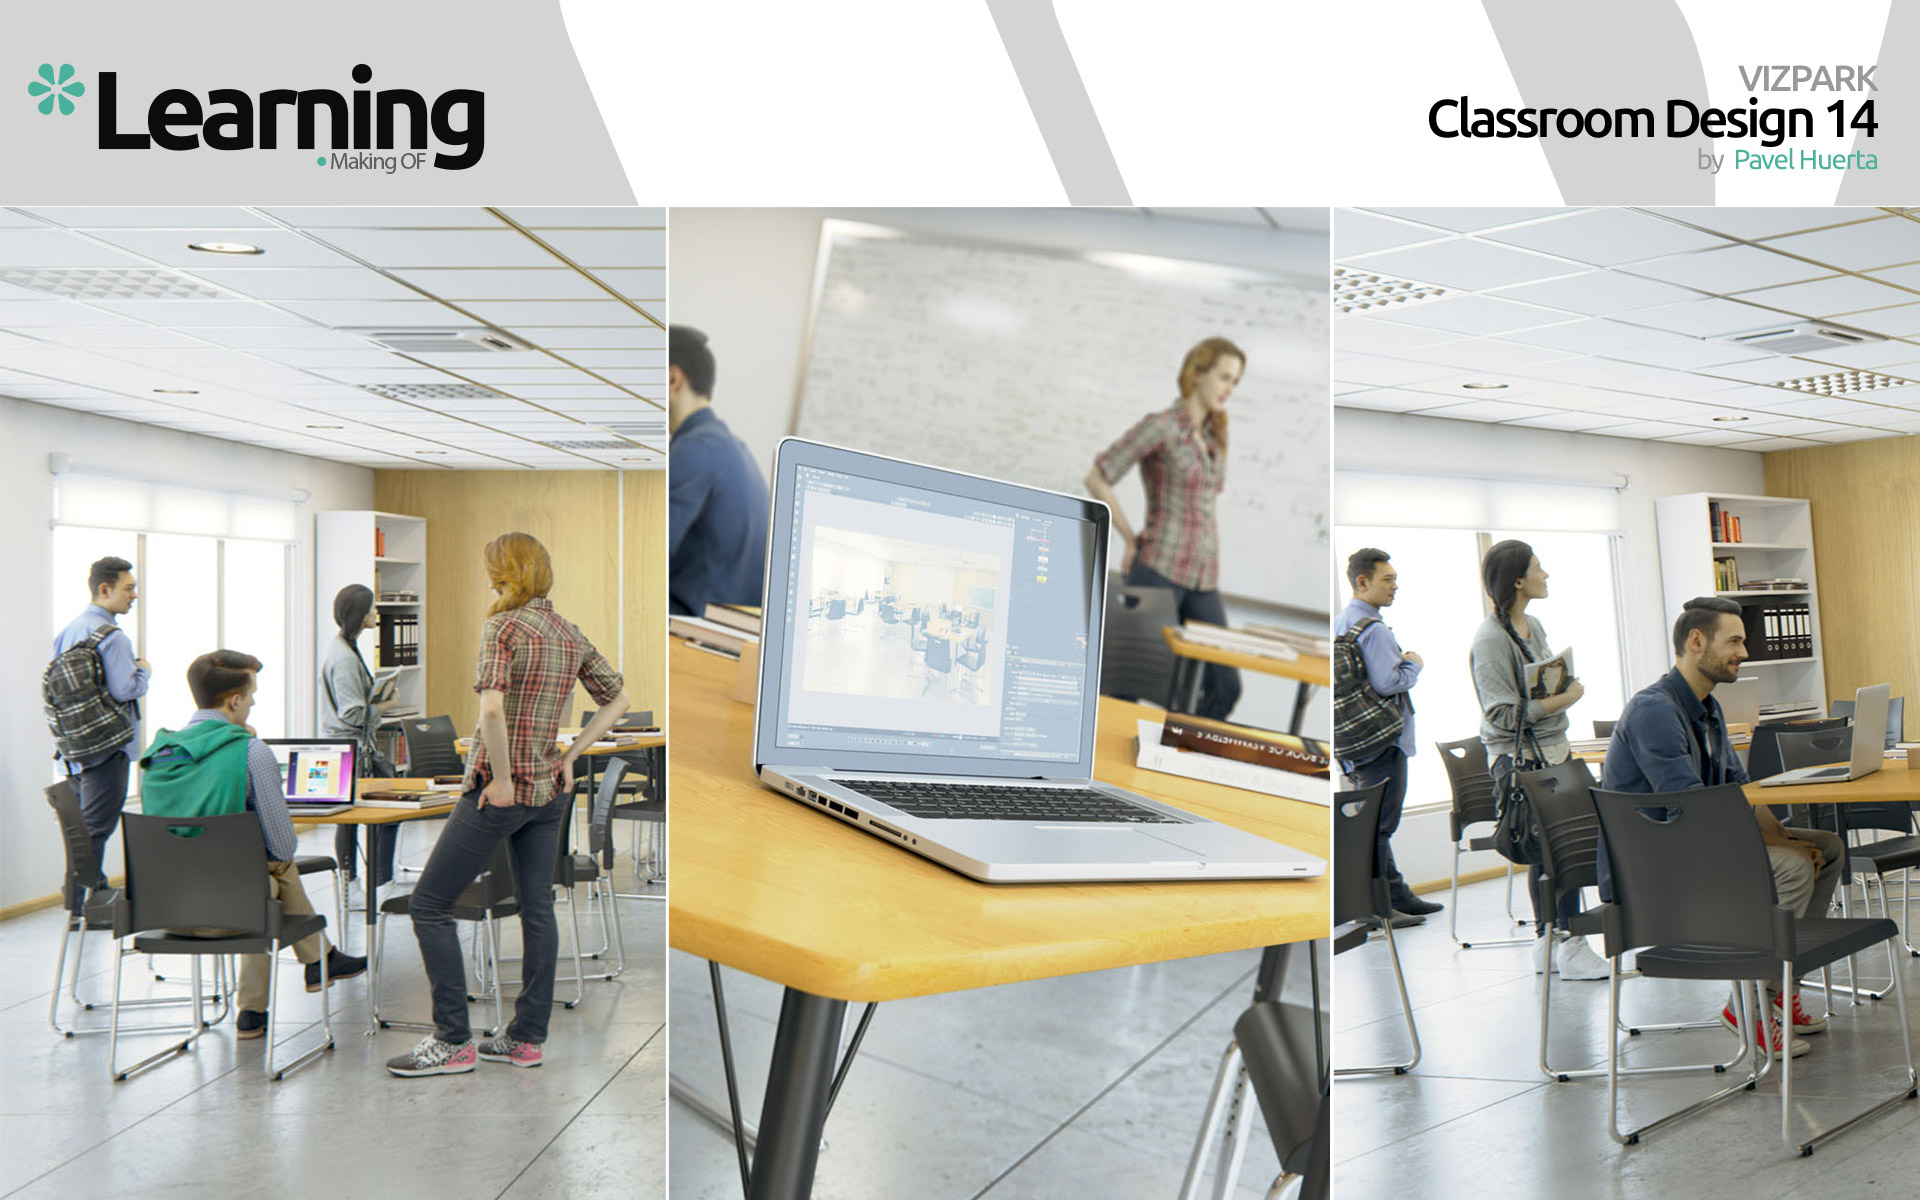
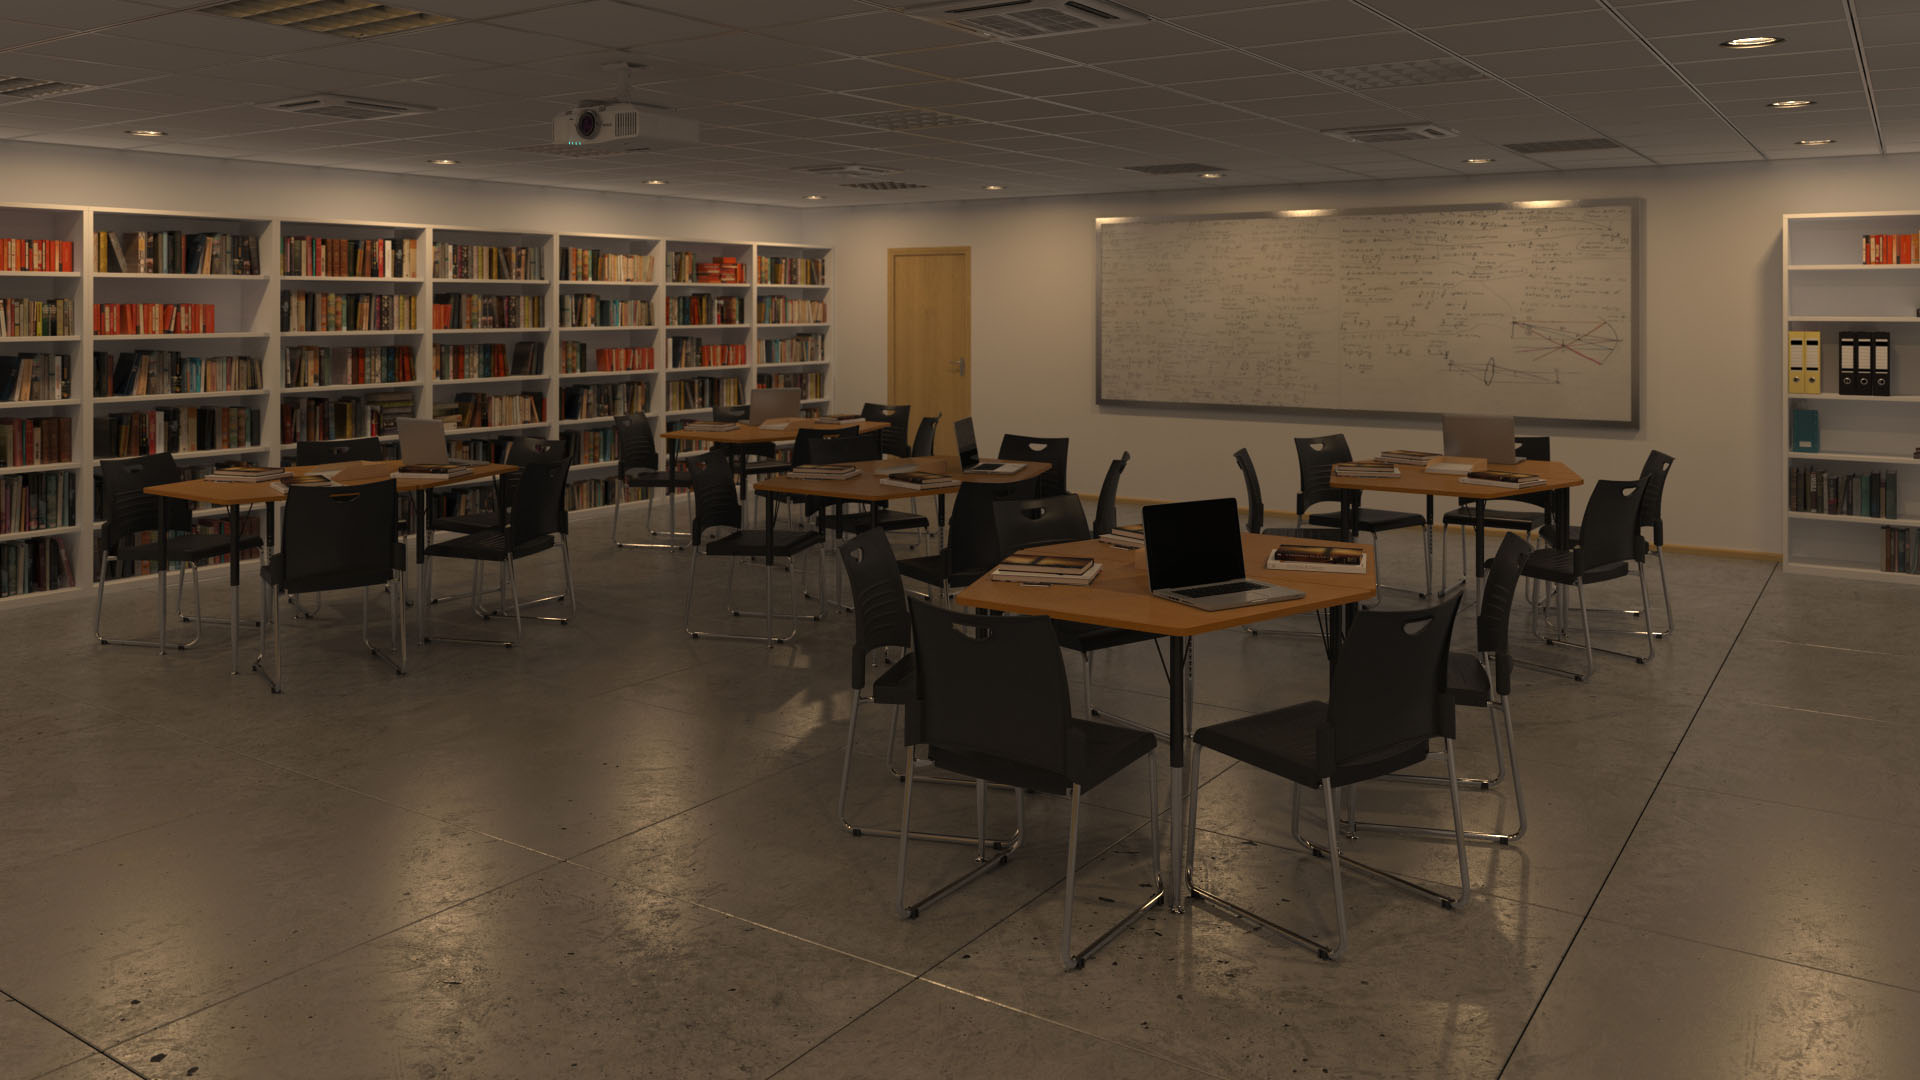
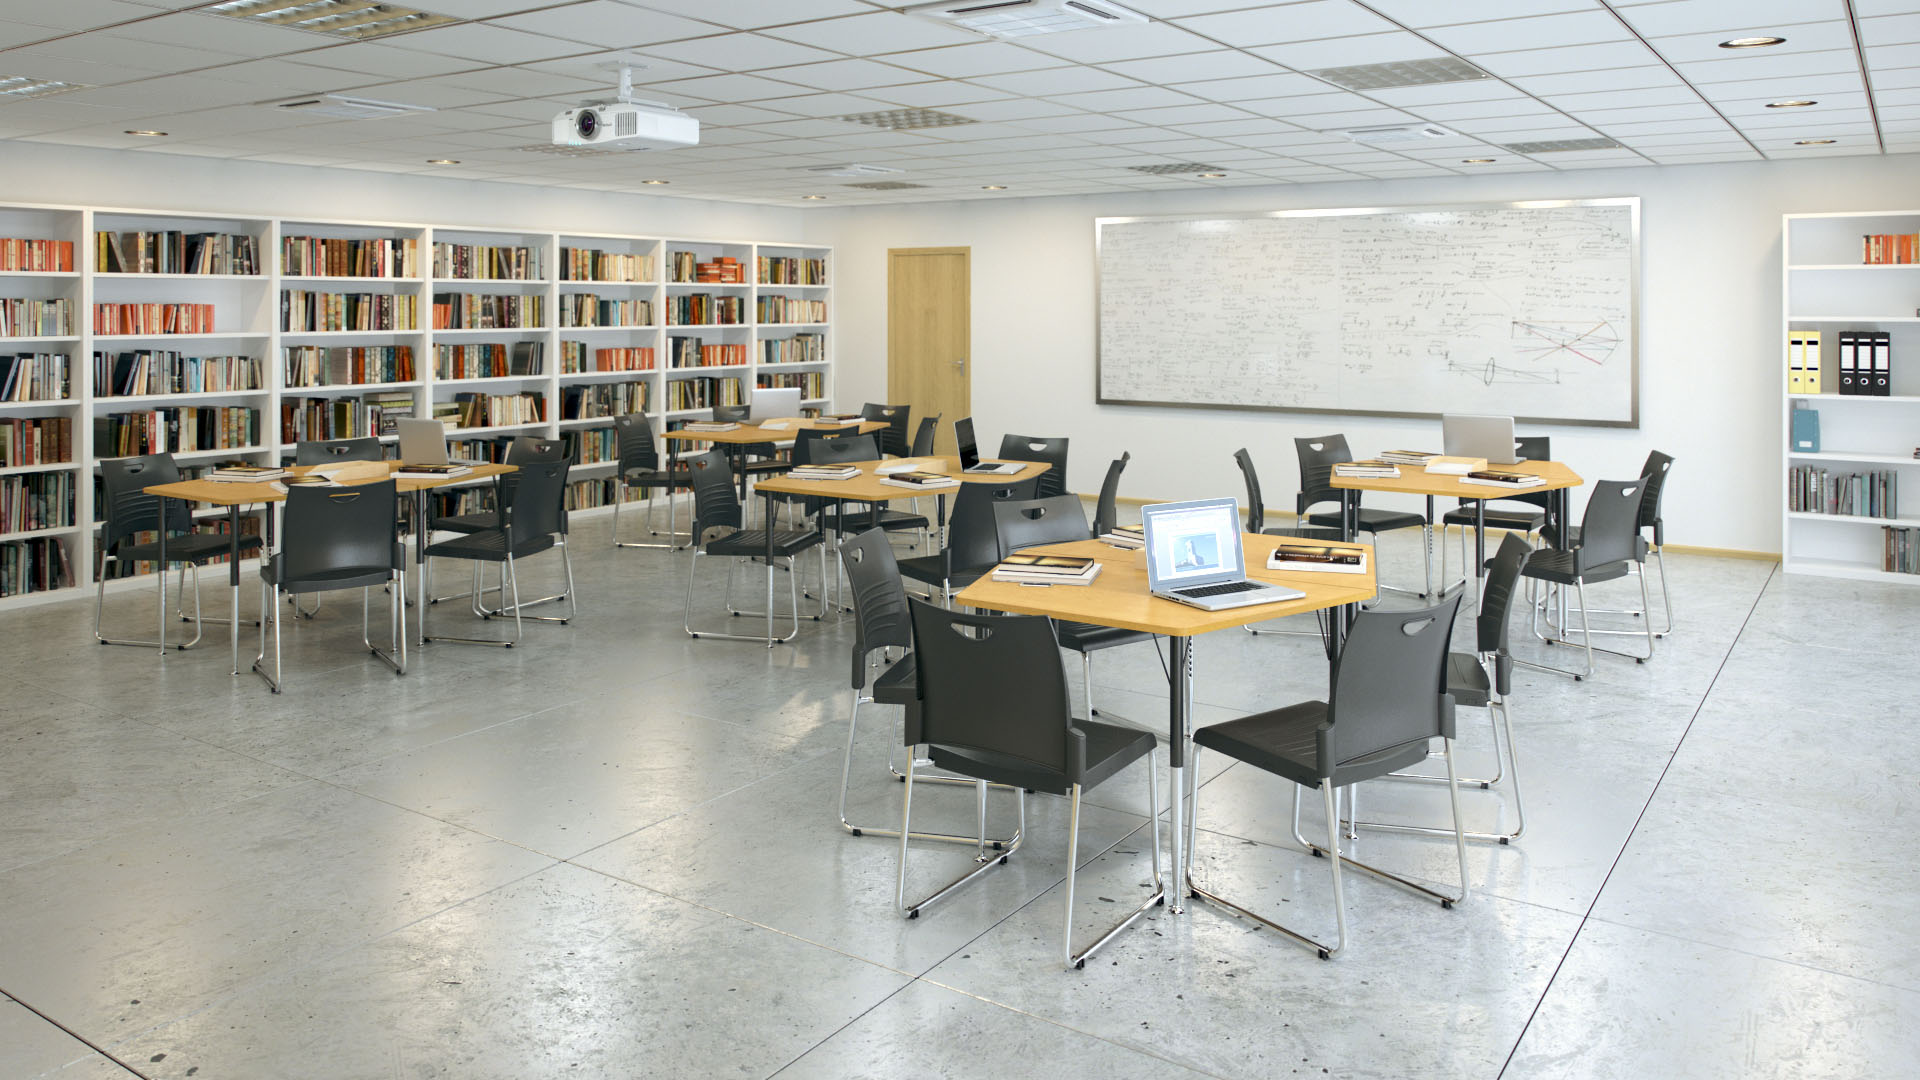
Hi everyone, before I get started I would like to thank VWArtclub for inviting me to make this "making of" on the field I love so much. I hope that you will enjoy and find it useful!
This classroom is part of many projects I’m working on and the main goal is to show how to make better furniture designs in spaces that are designed by me. Furniture like tables, desks and chairs are the common items I’m testing in those virtual spaces.
In this making of I will share with you a common workflow which I used on this one and is similar to many other kinds of work and projects. Hopefully, you'll find it useful…
In addition, before I started this project I used 3ds Max 2016, VRay 3.40, Photoshop and Nuke for Post‐Production
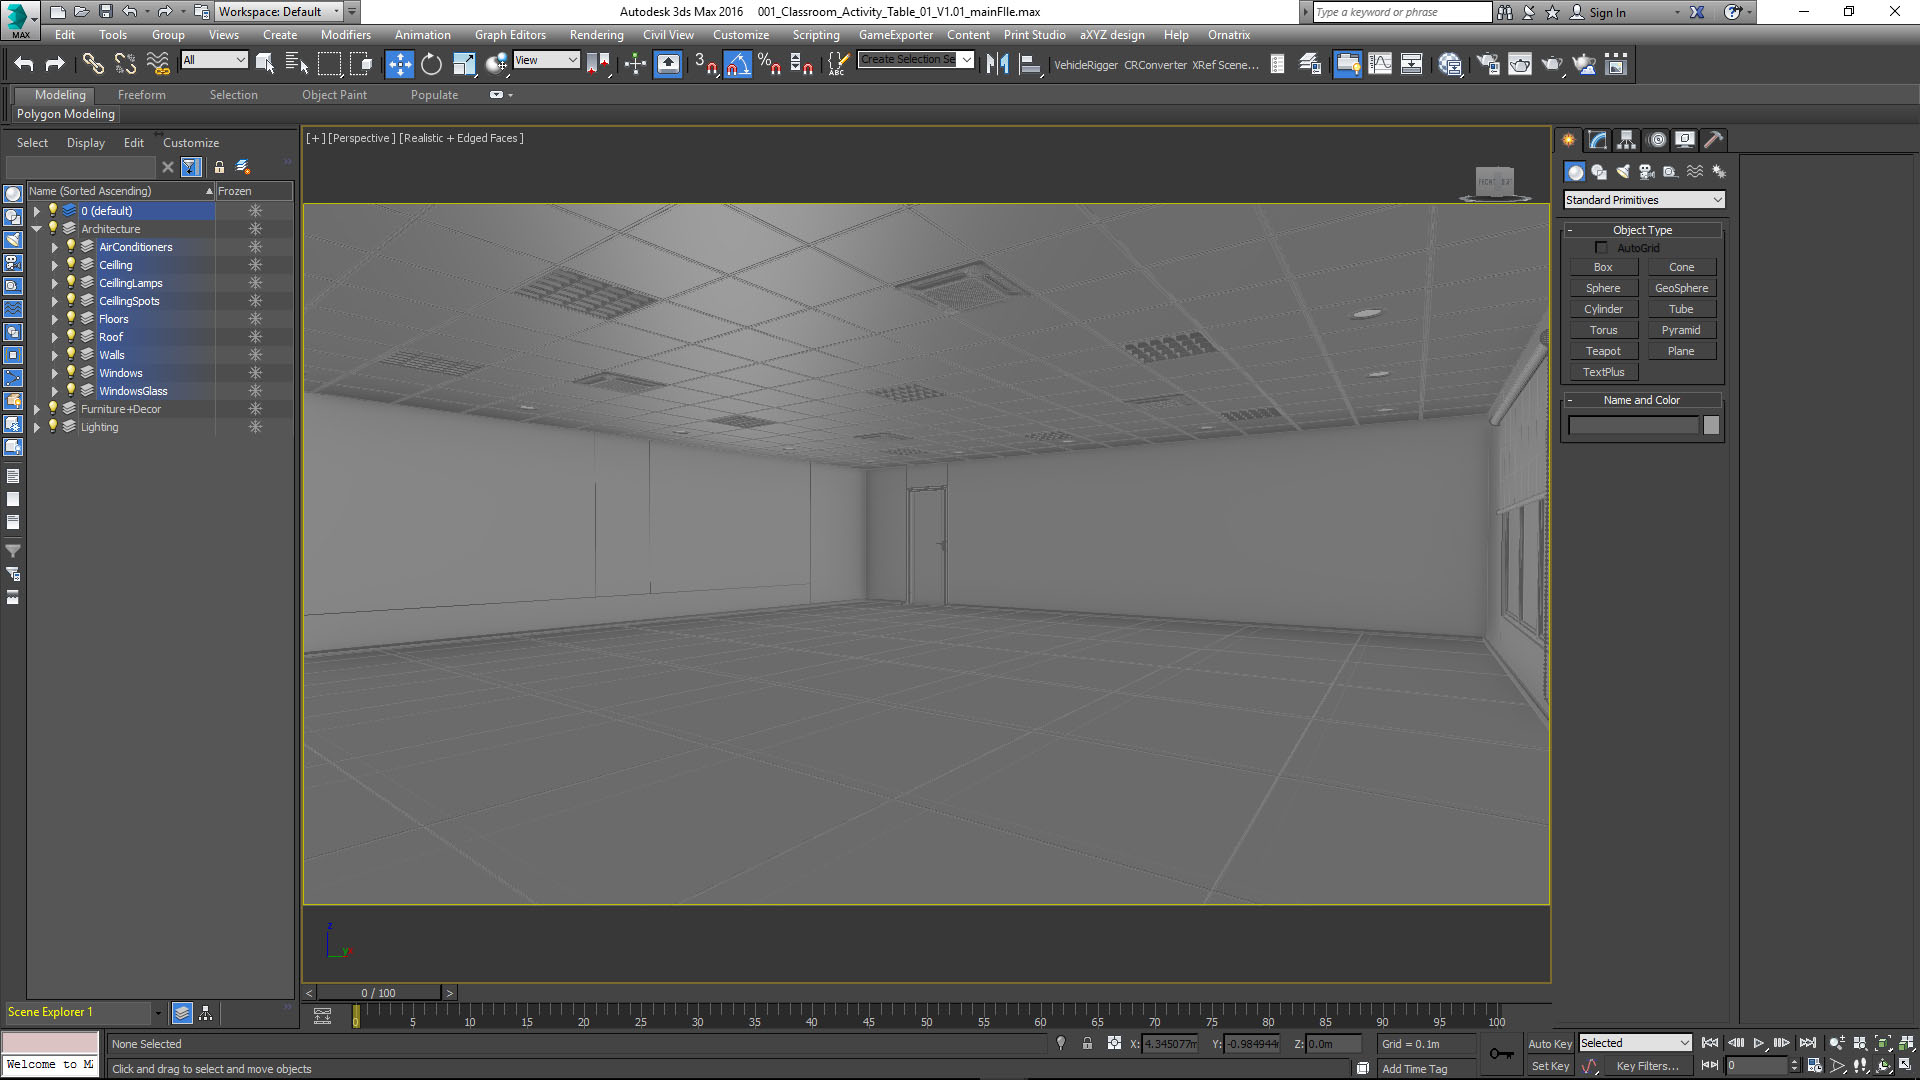
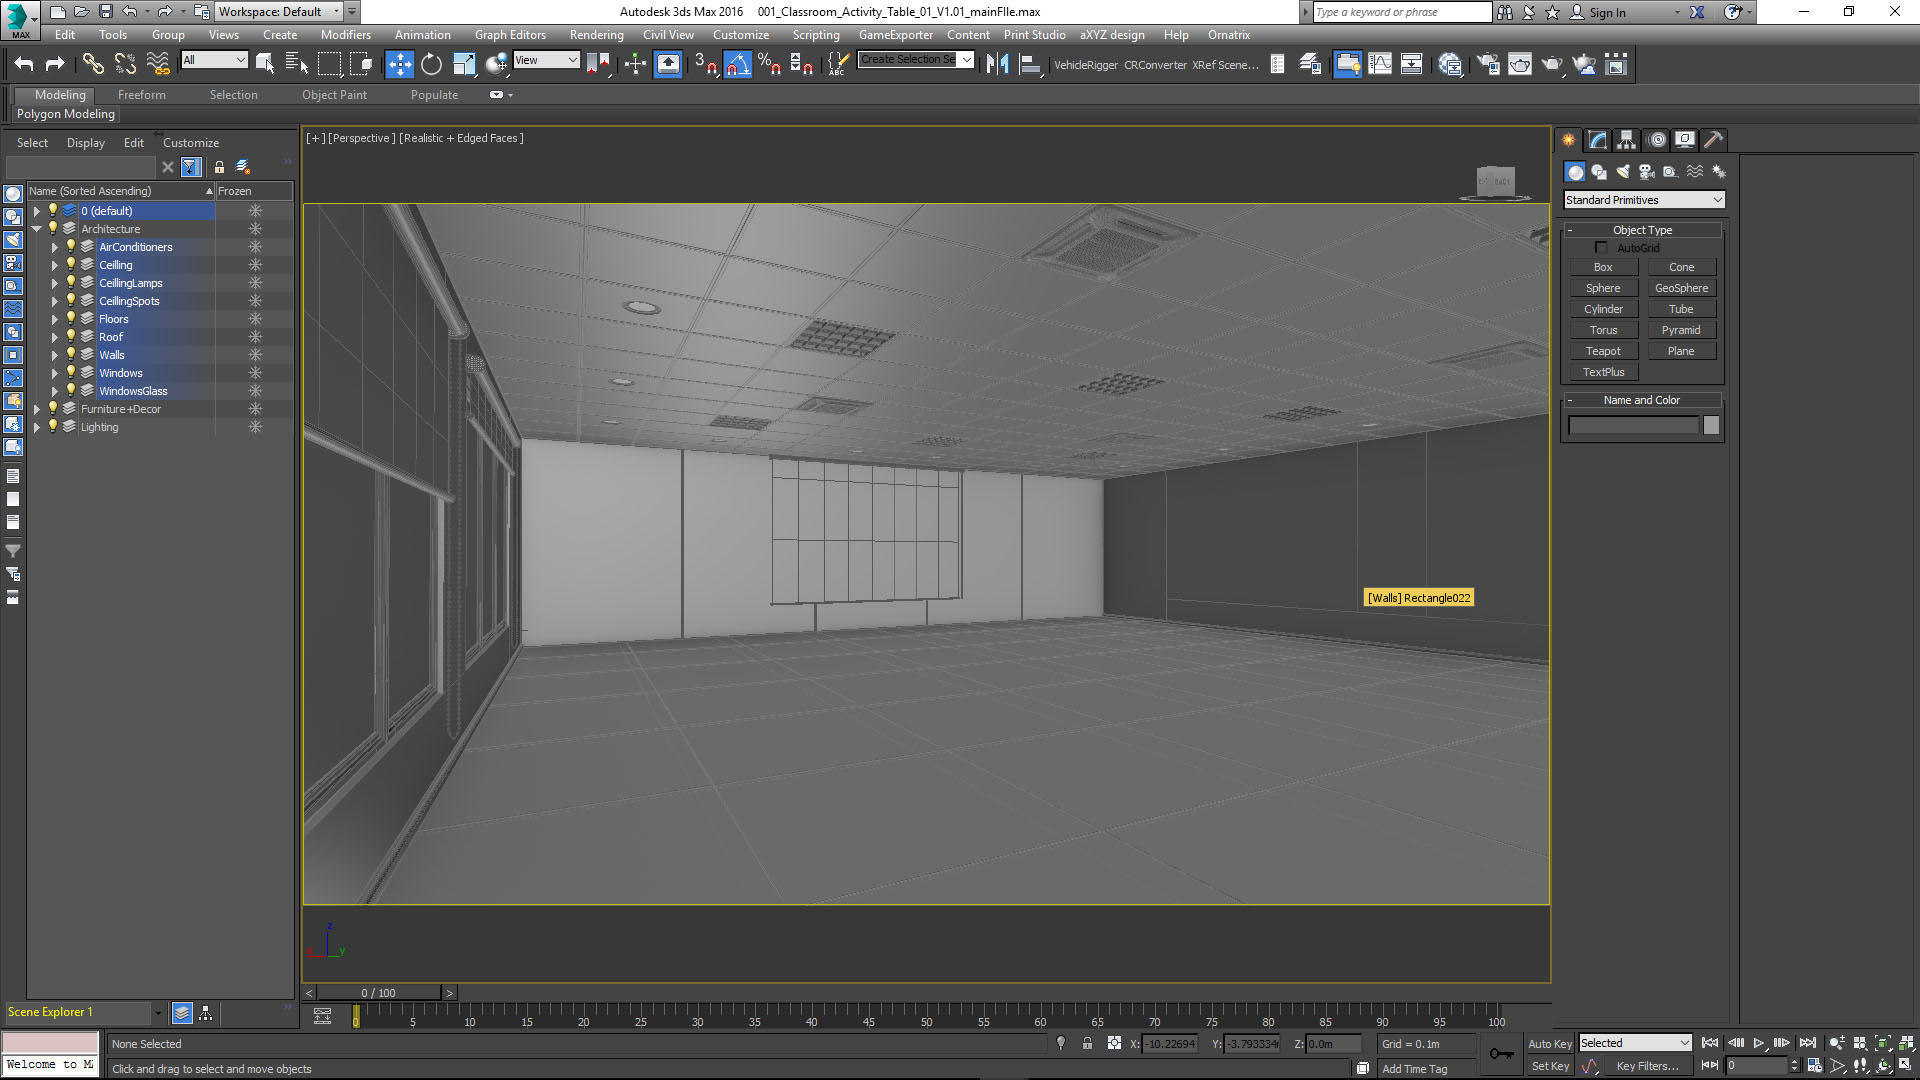
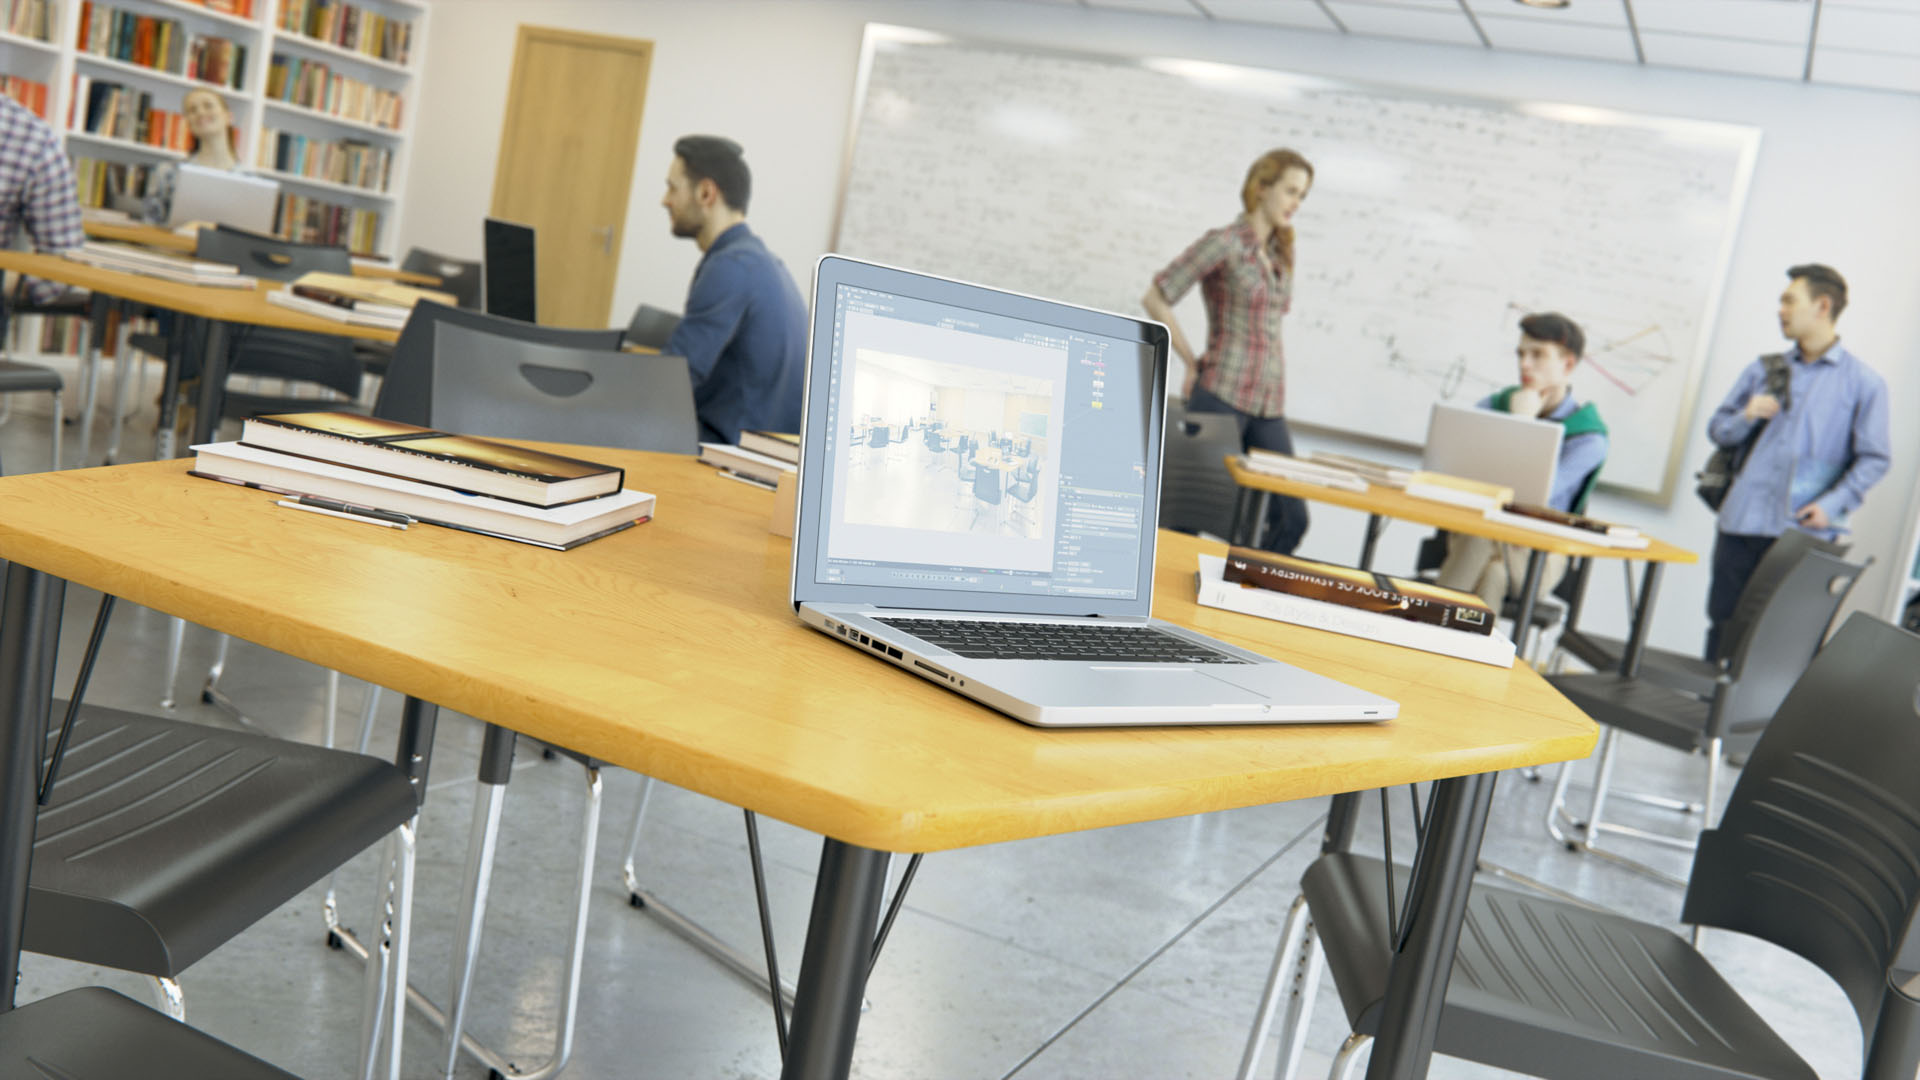
As you can see in this project I don’t spend so much time in modeling the architectural space for this project and I think the most important thing about this project was the composition, lighting and shading. Anyway, I will highlight here the main things about the basic architecture.
Modeling Architectural Elements.
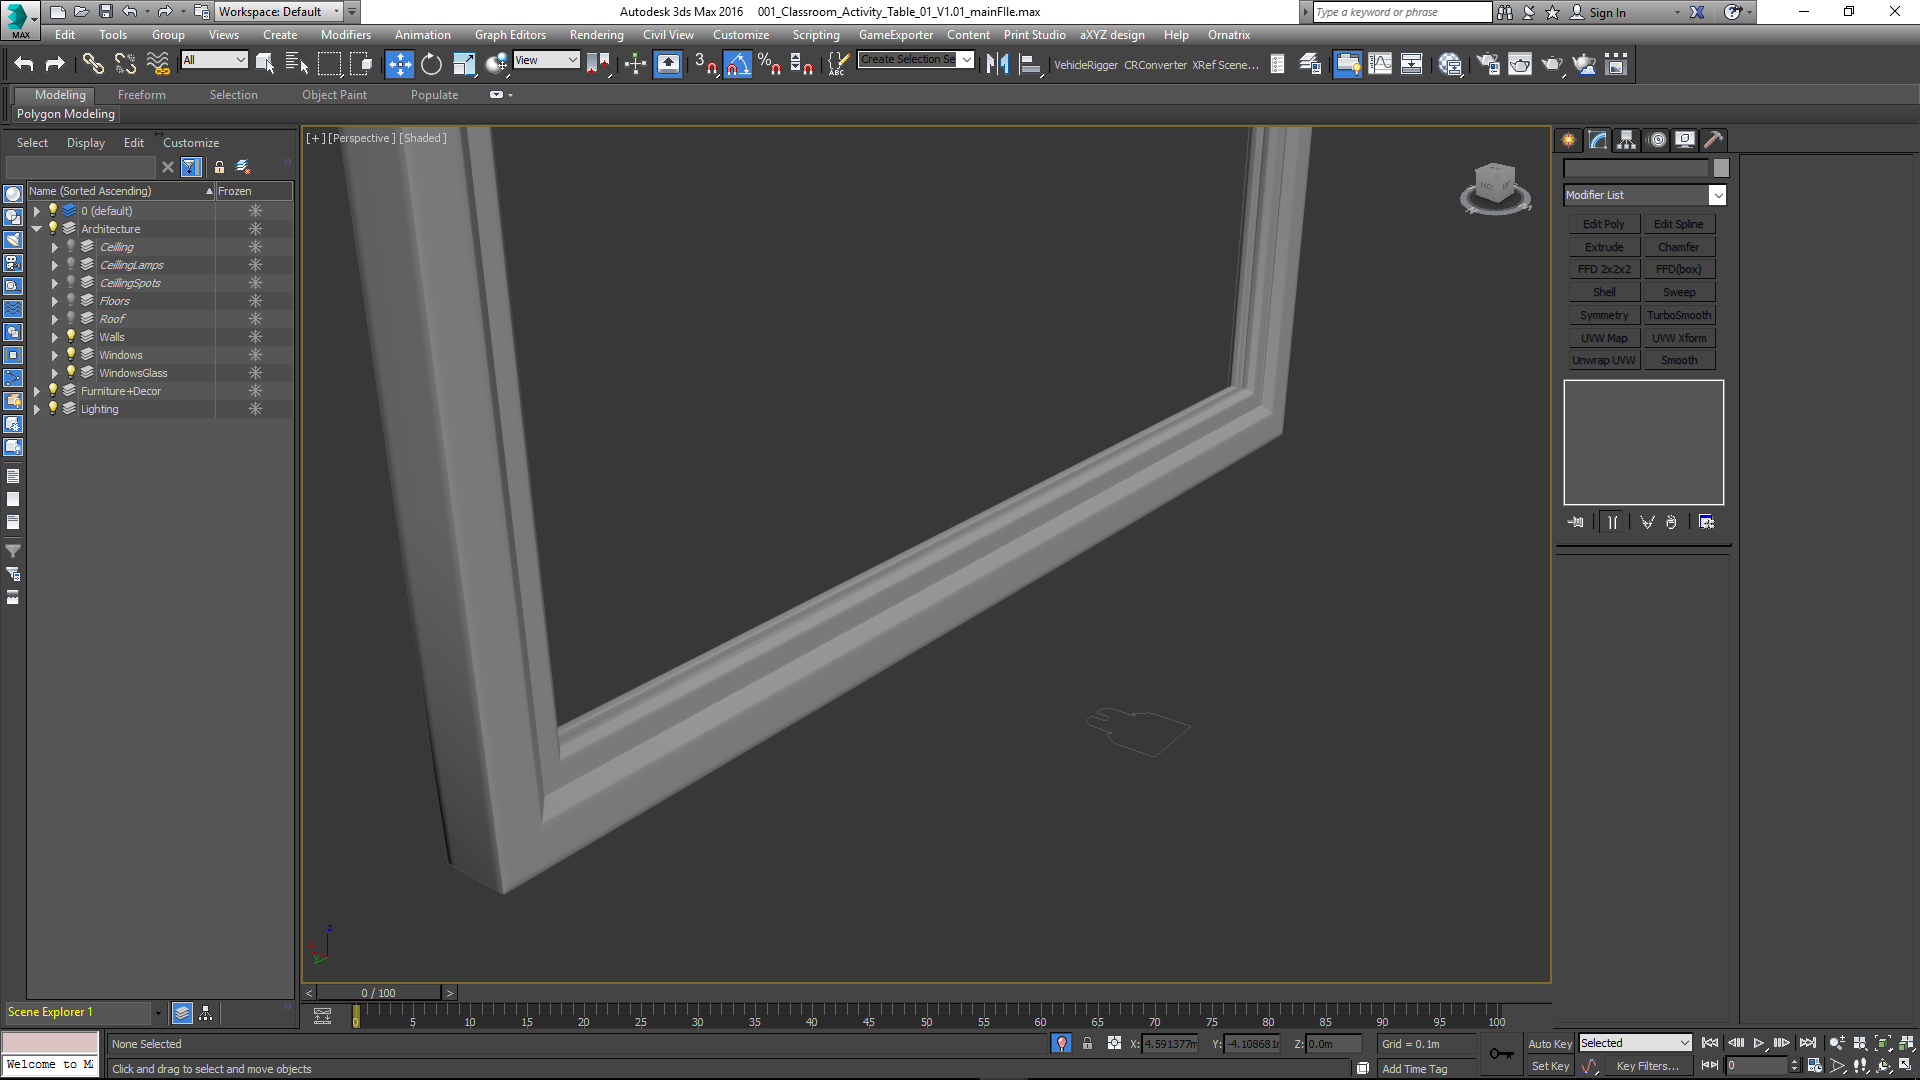
Walls were done with simple splines and extruded modifiers

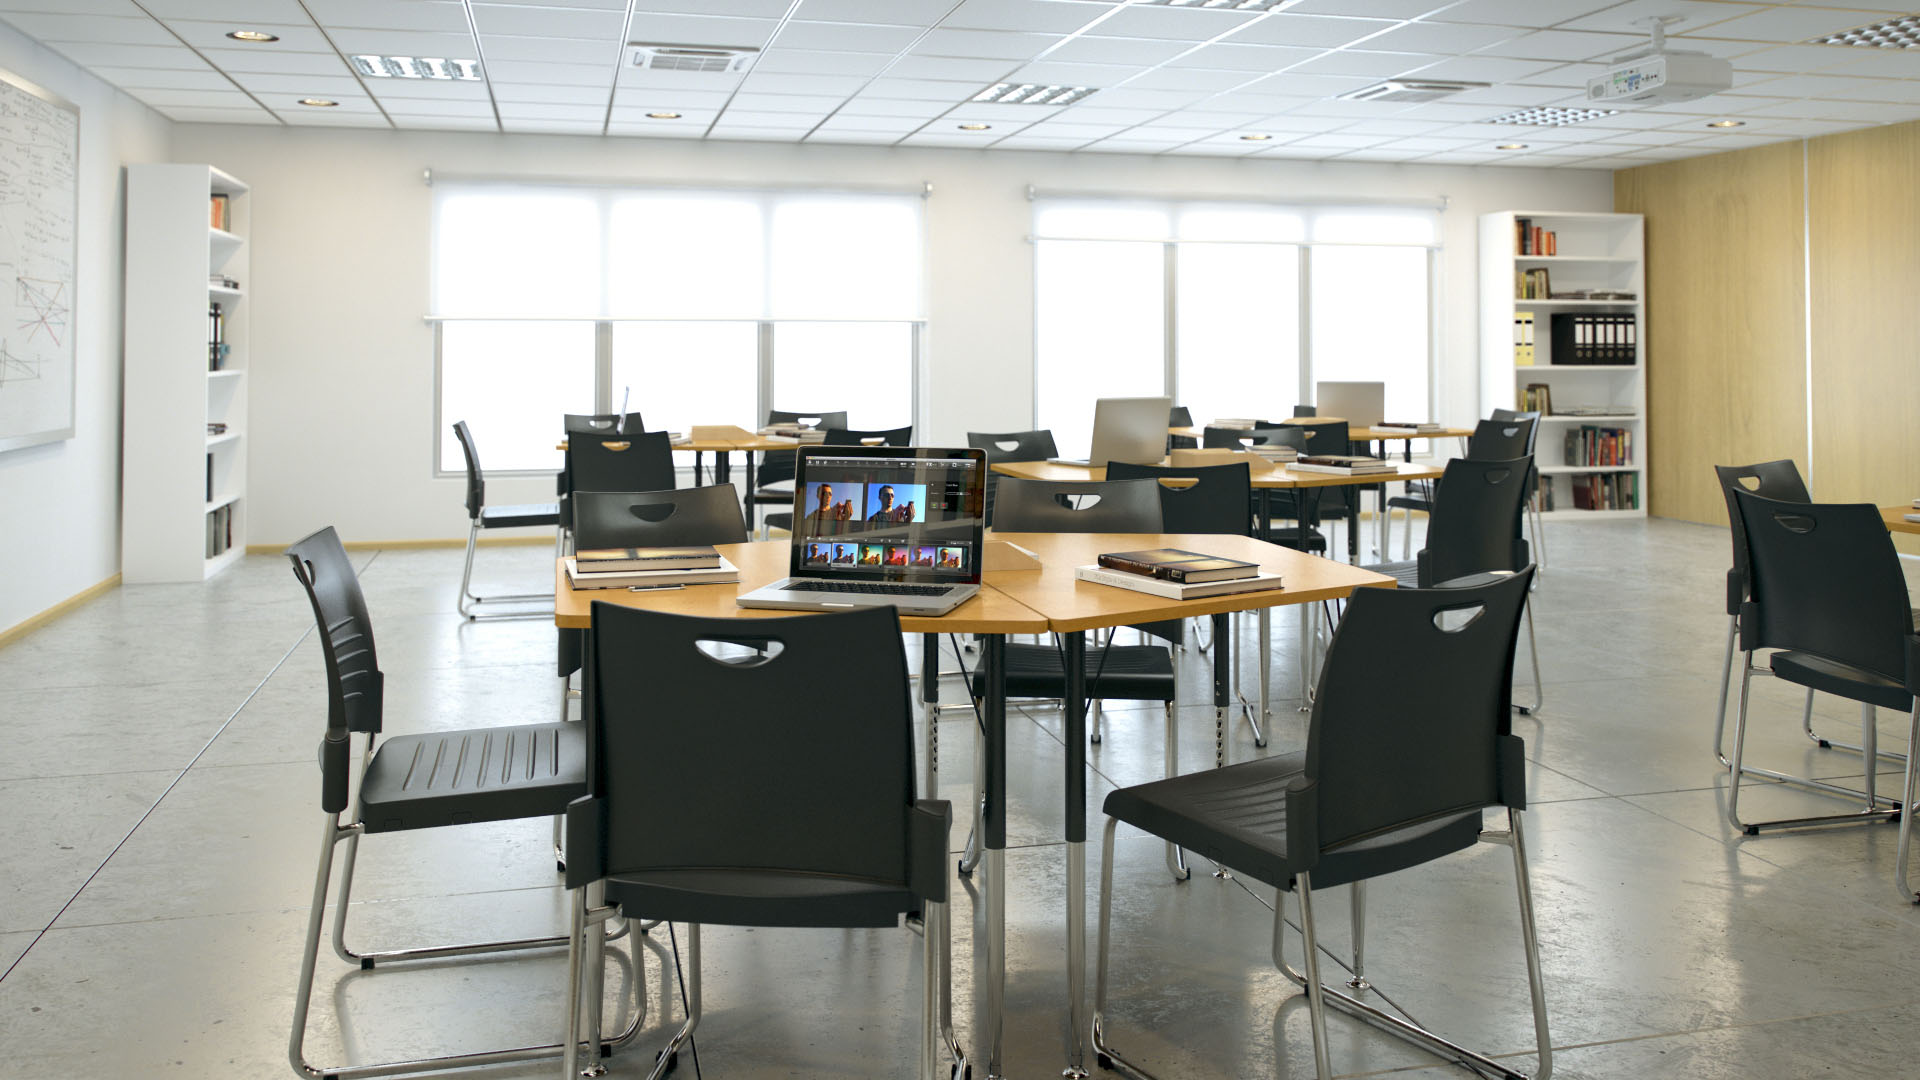
Elements like baseboard were done using sweep modifier and custom profile.
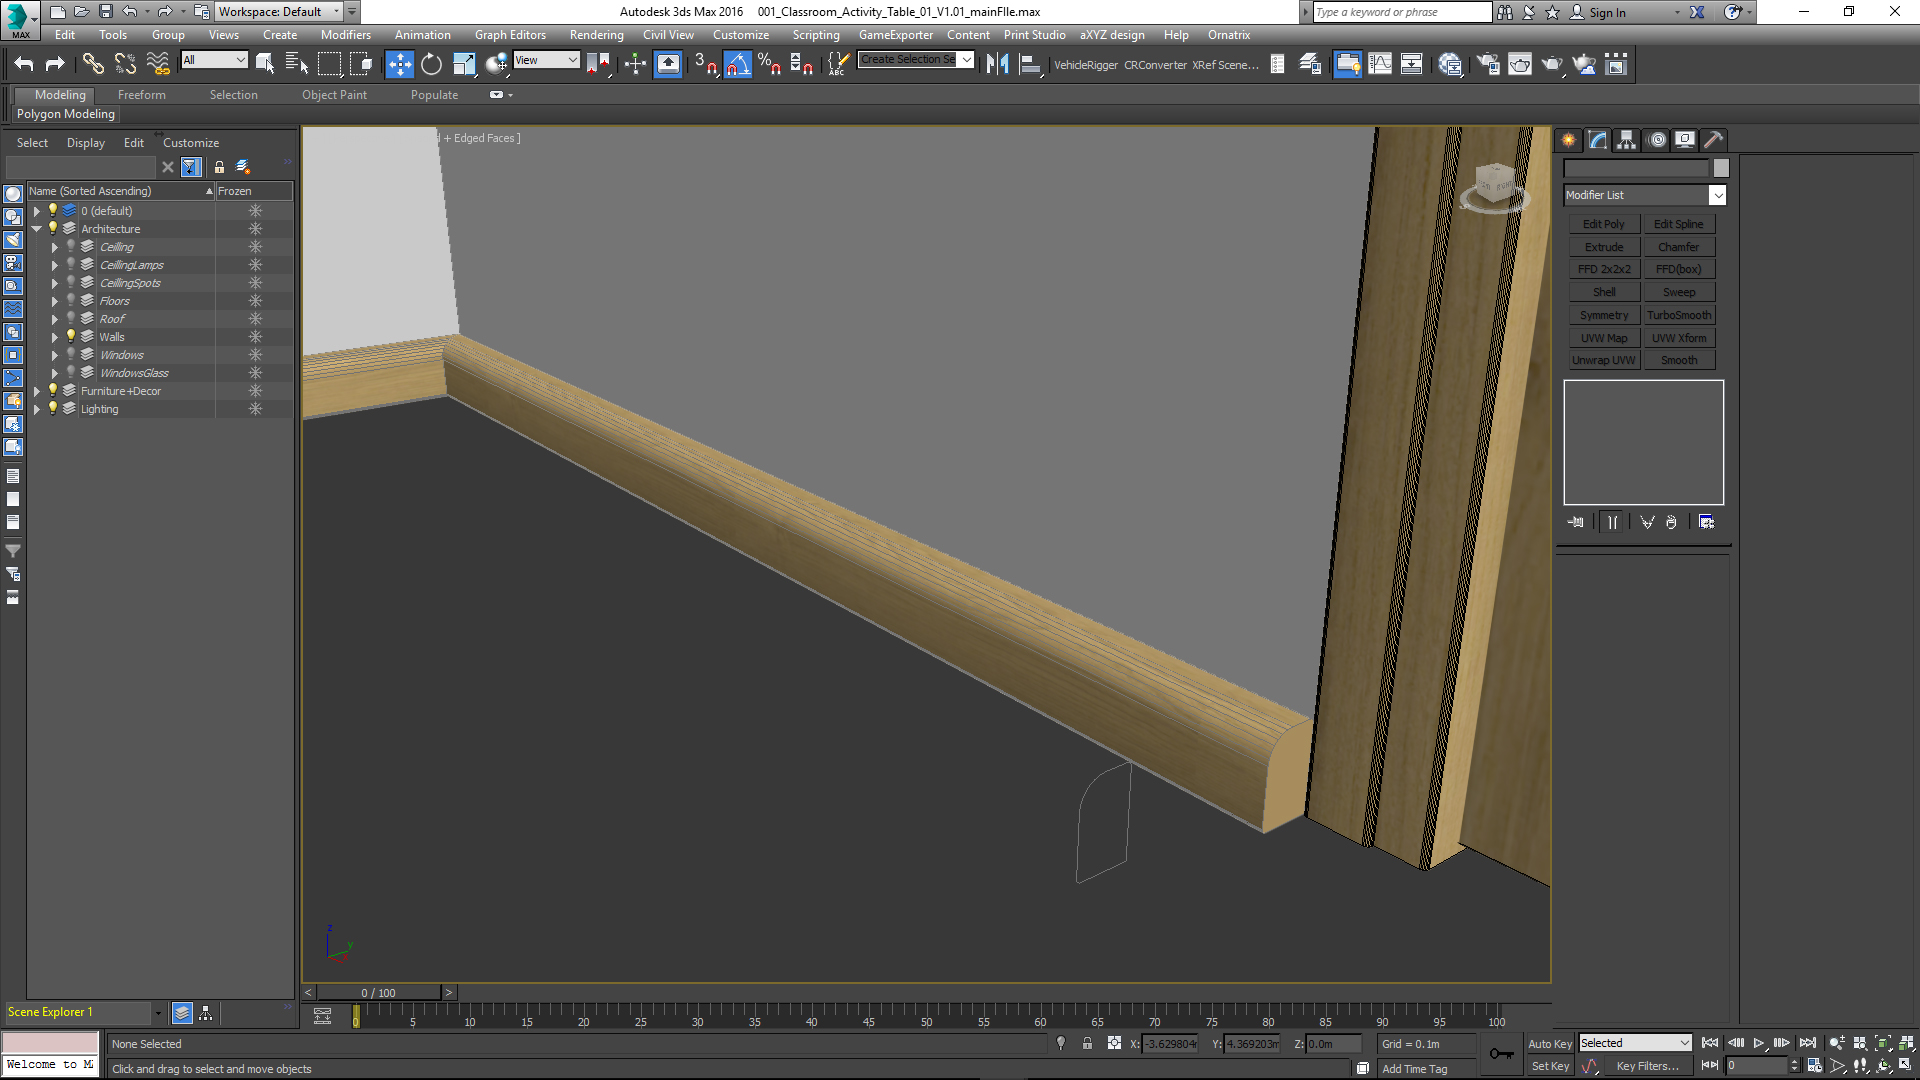
Windows were done using sweep modifier and custom profile again. I made the glass an individual element to remove the shadow casting and thus to reduce the noise for the final render.
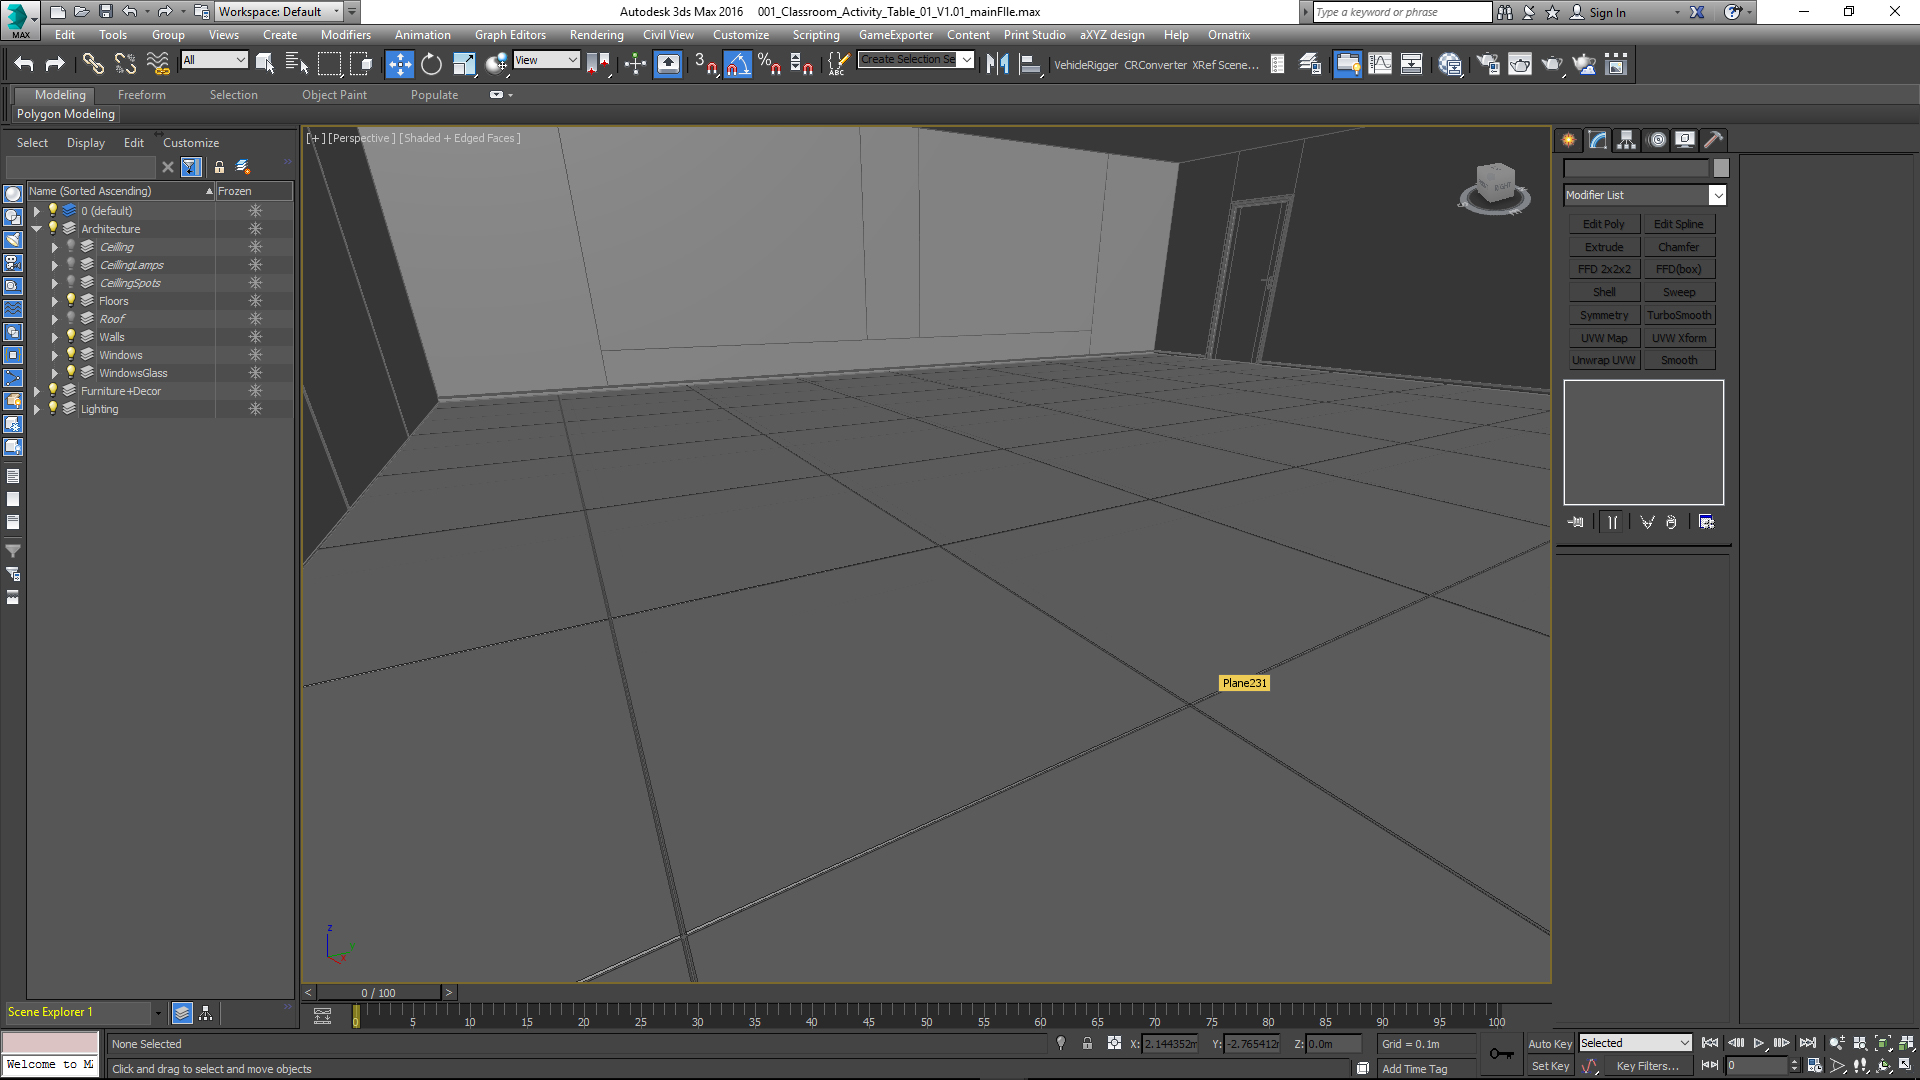
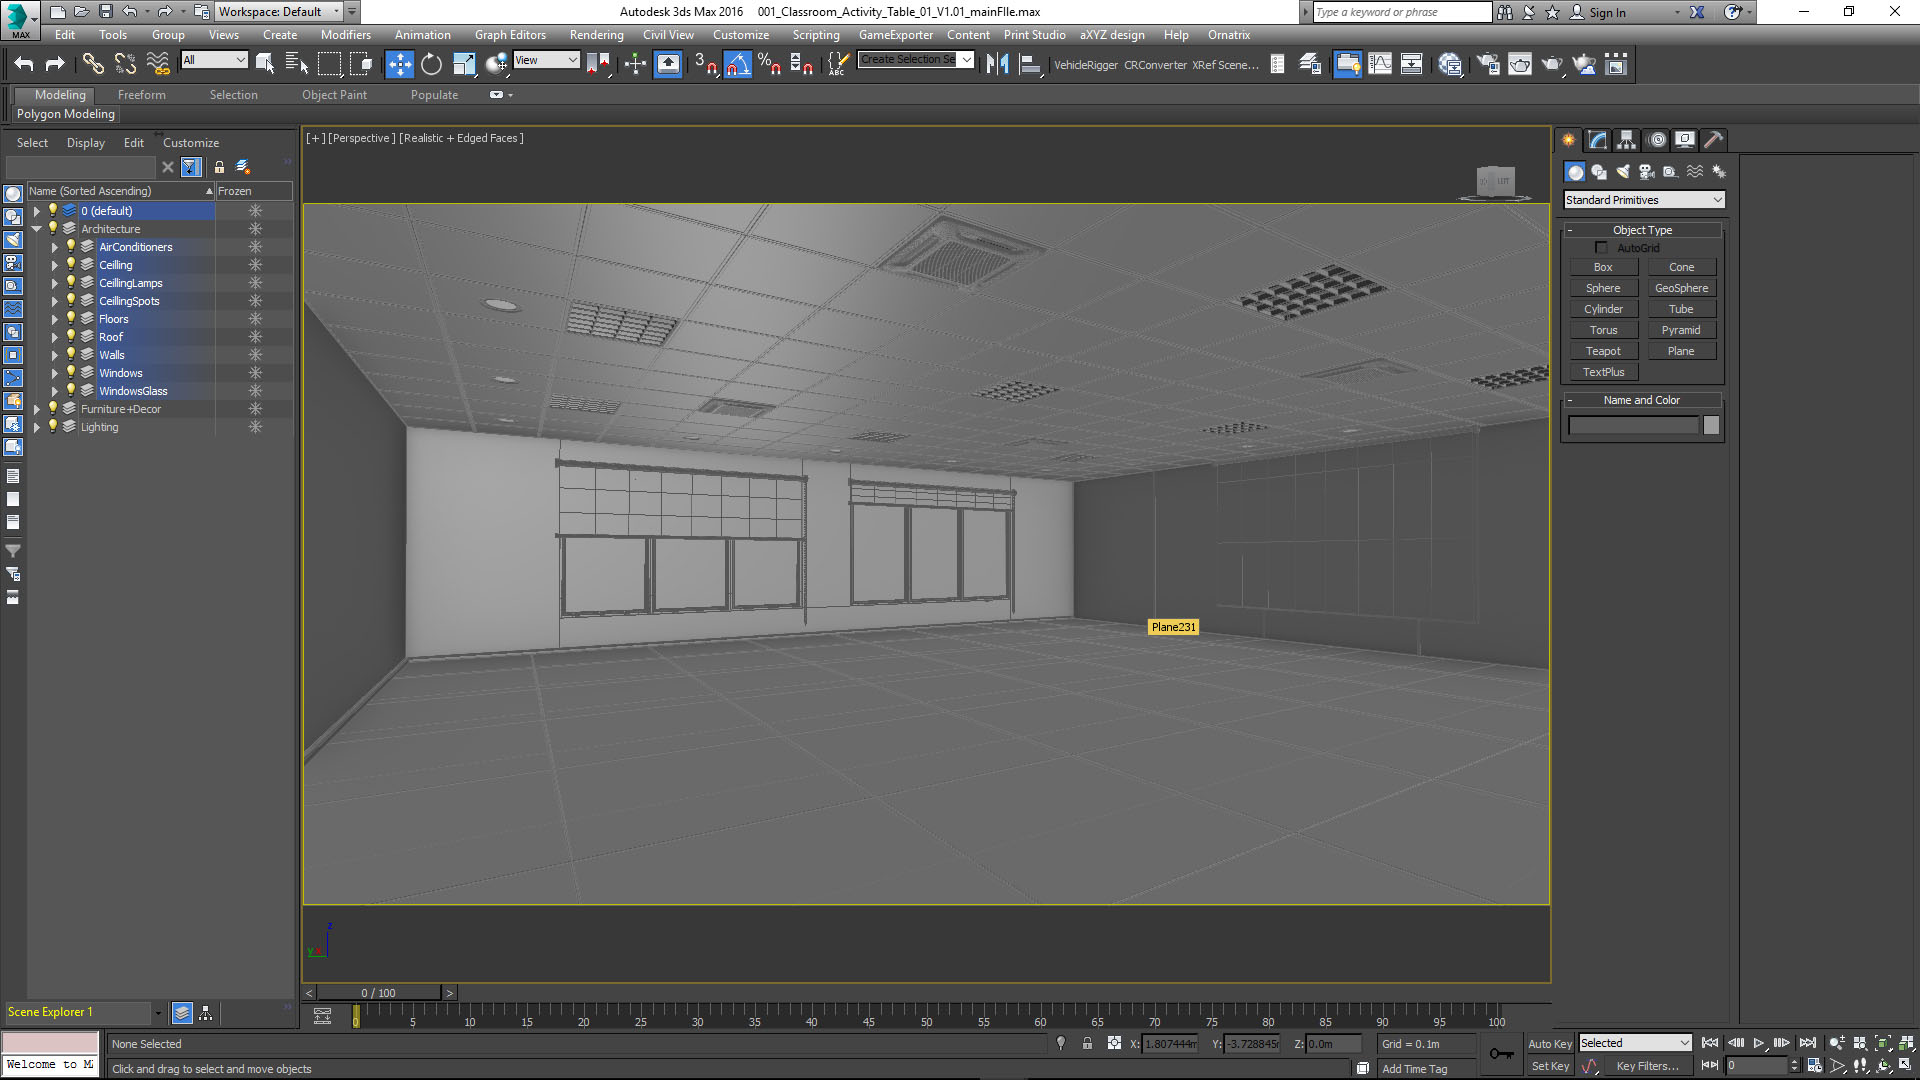
For the floors, I used the script called Floor Generator.
The ceiling grid was hand-made. Firstly you need to create the grid and after that you need to create the repetitive elements. Then, the second thing you have to do is to create some holes for spots and other holes for square lamps.
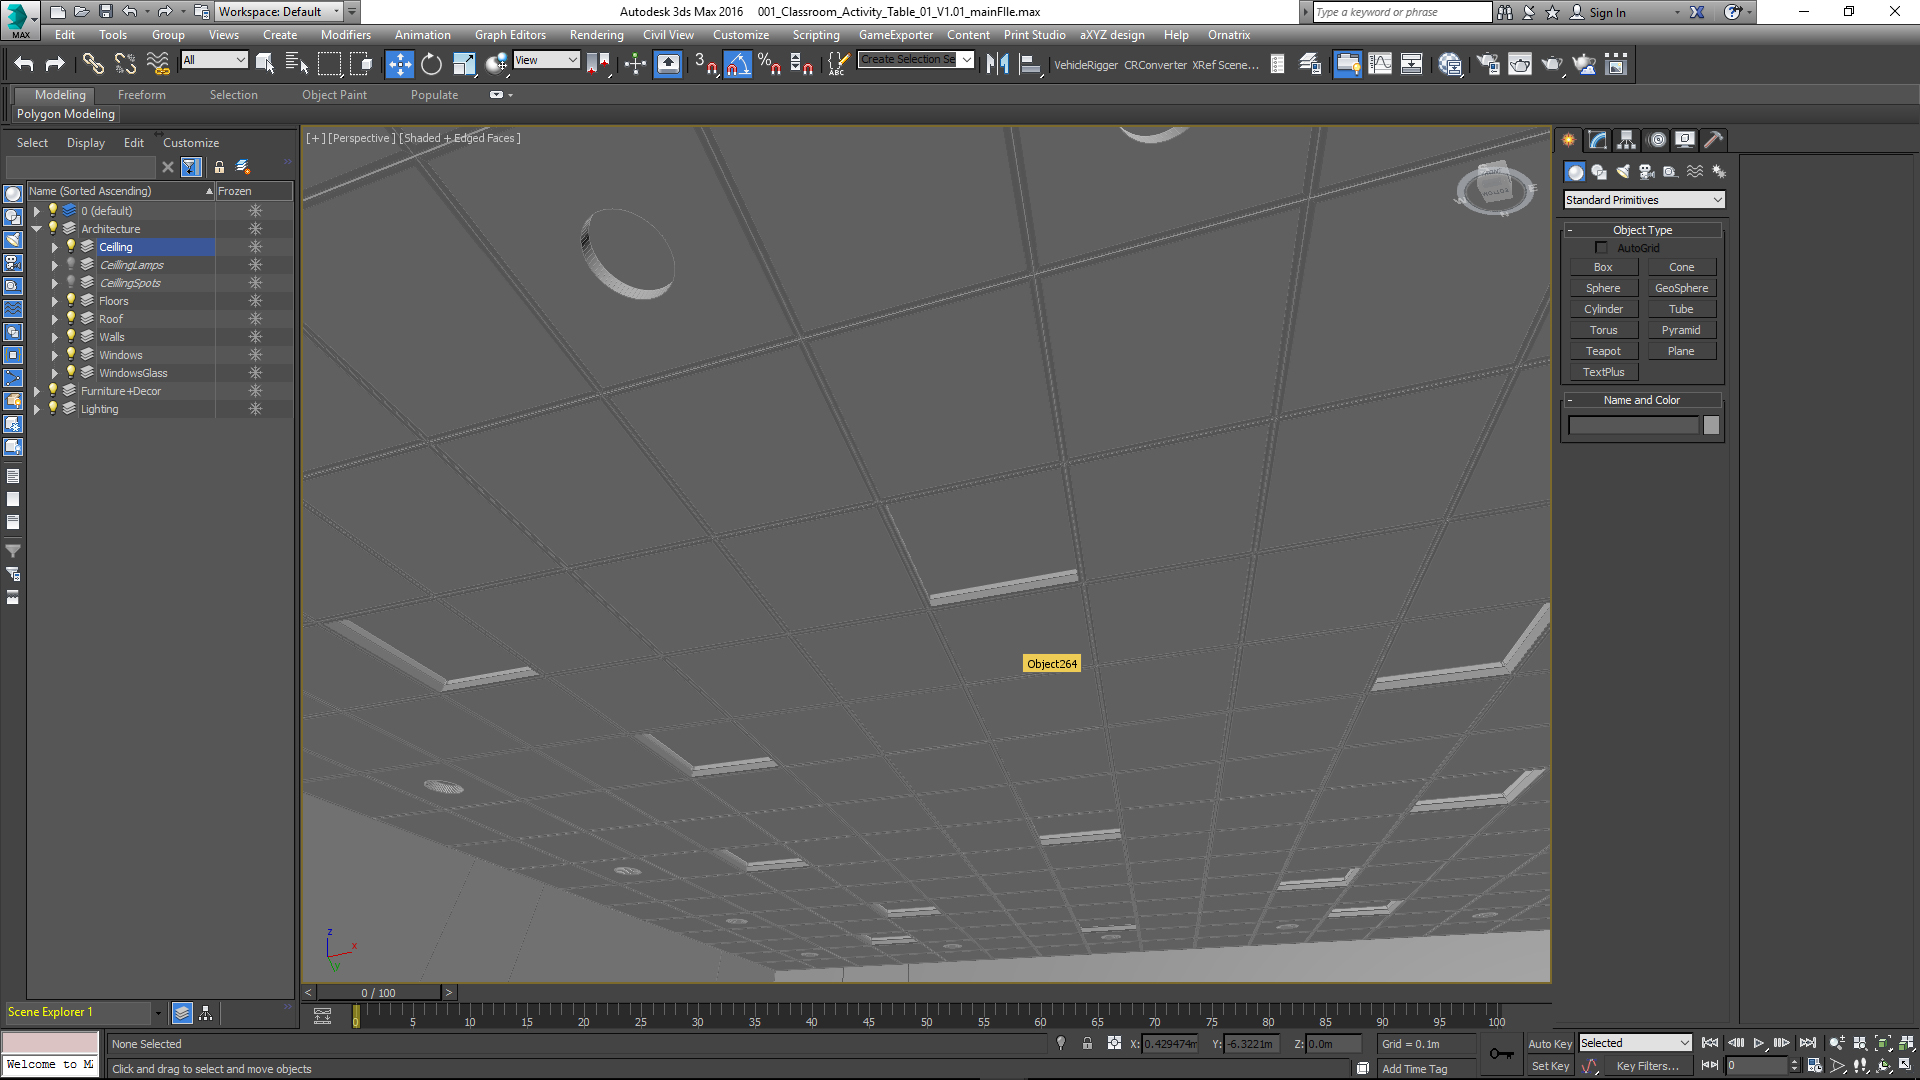
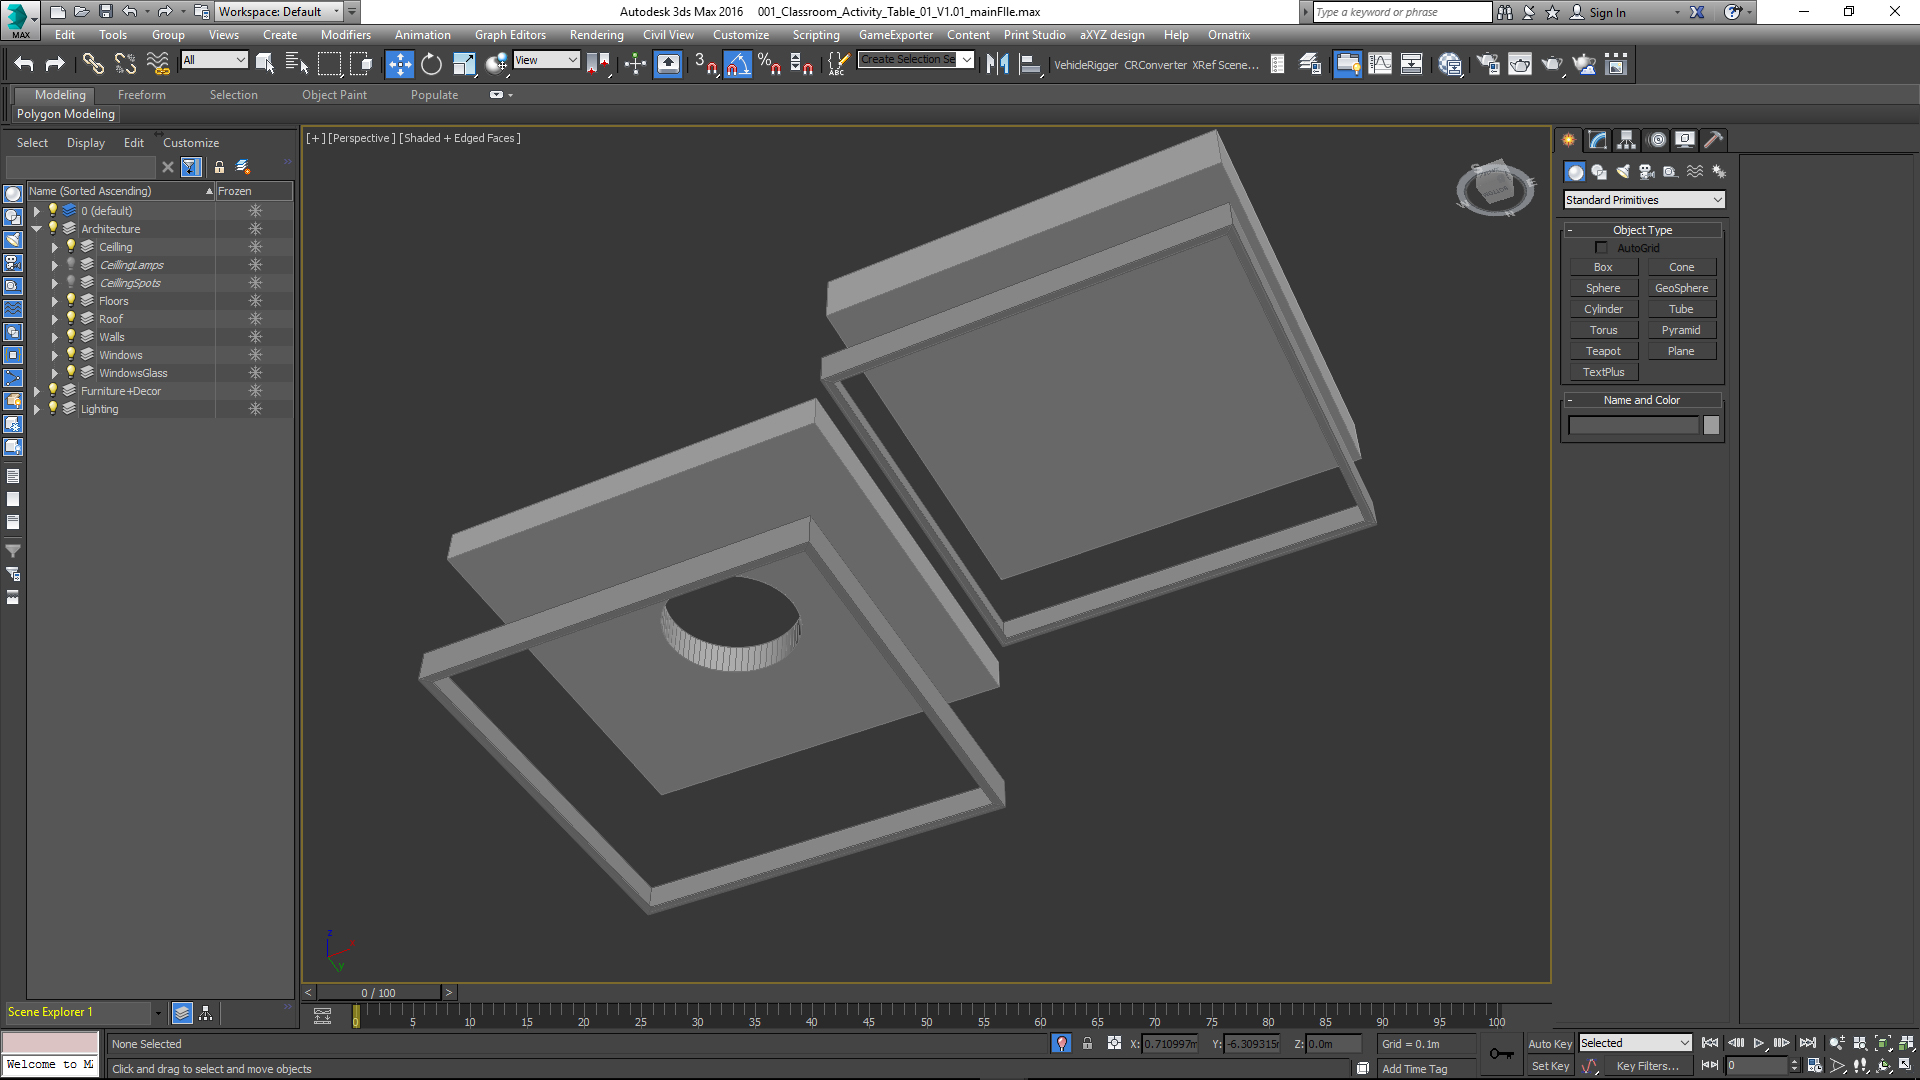
And to finish with architecture I added the spots, lamps, wooden boards, A/C, blinds, etc.
Modeling Furniture Elements.
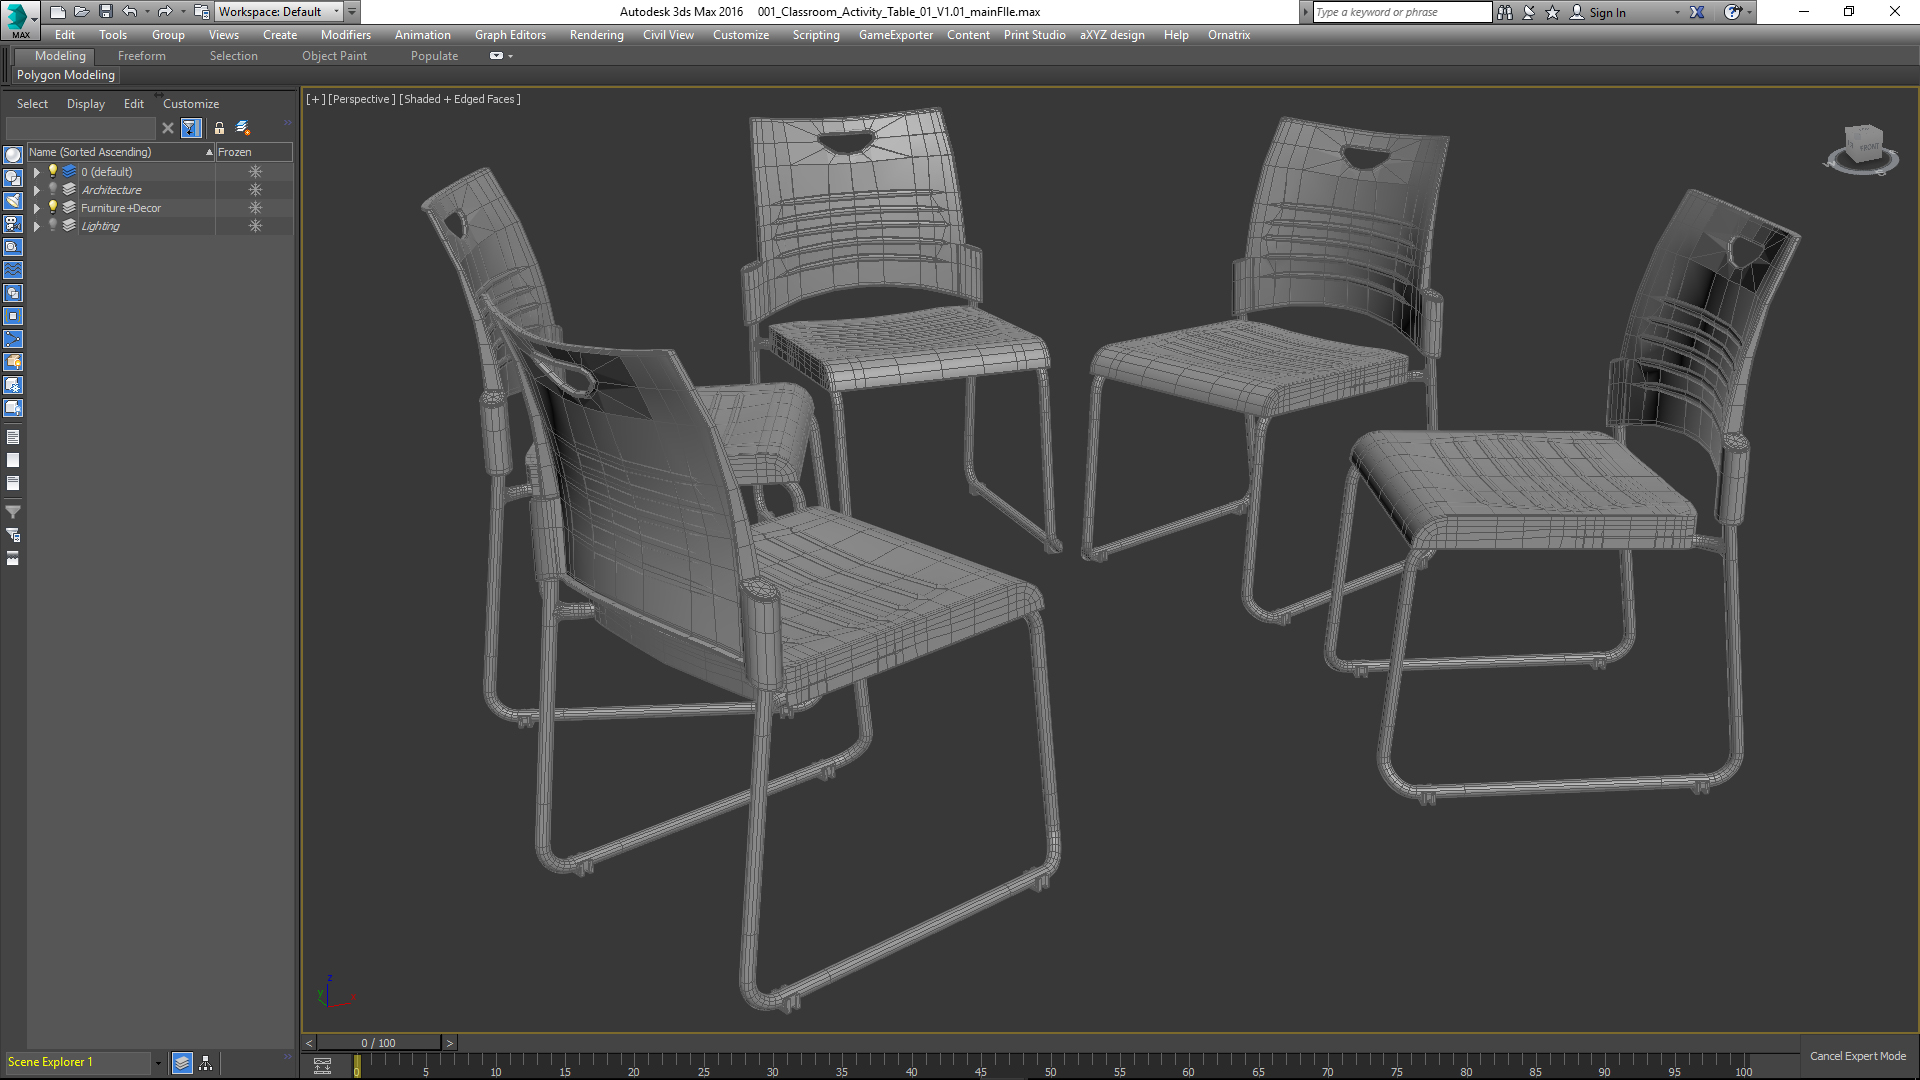
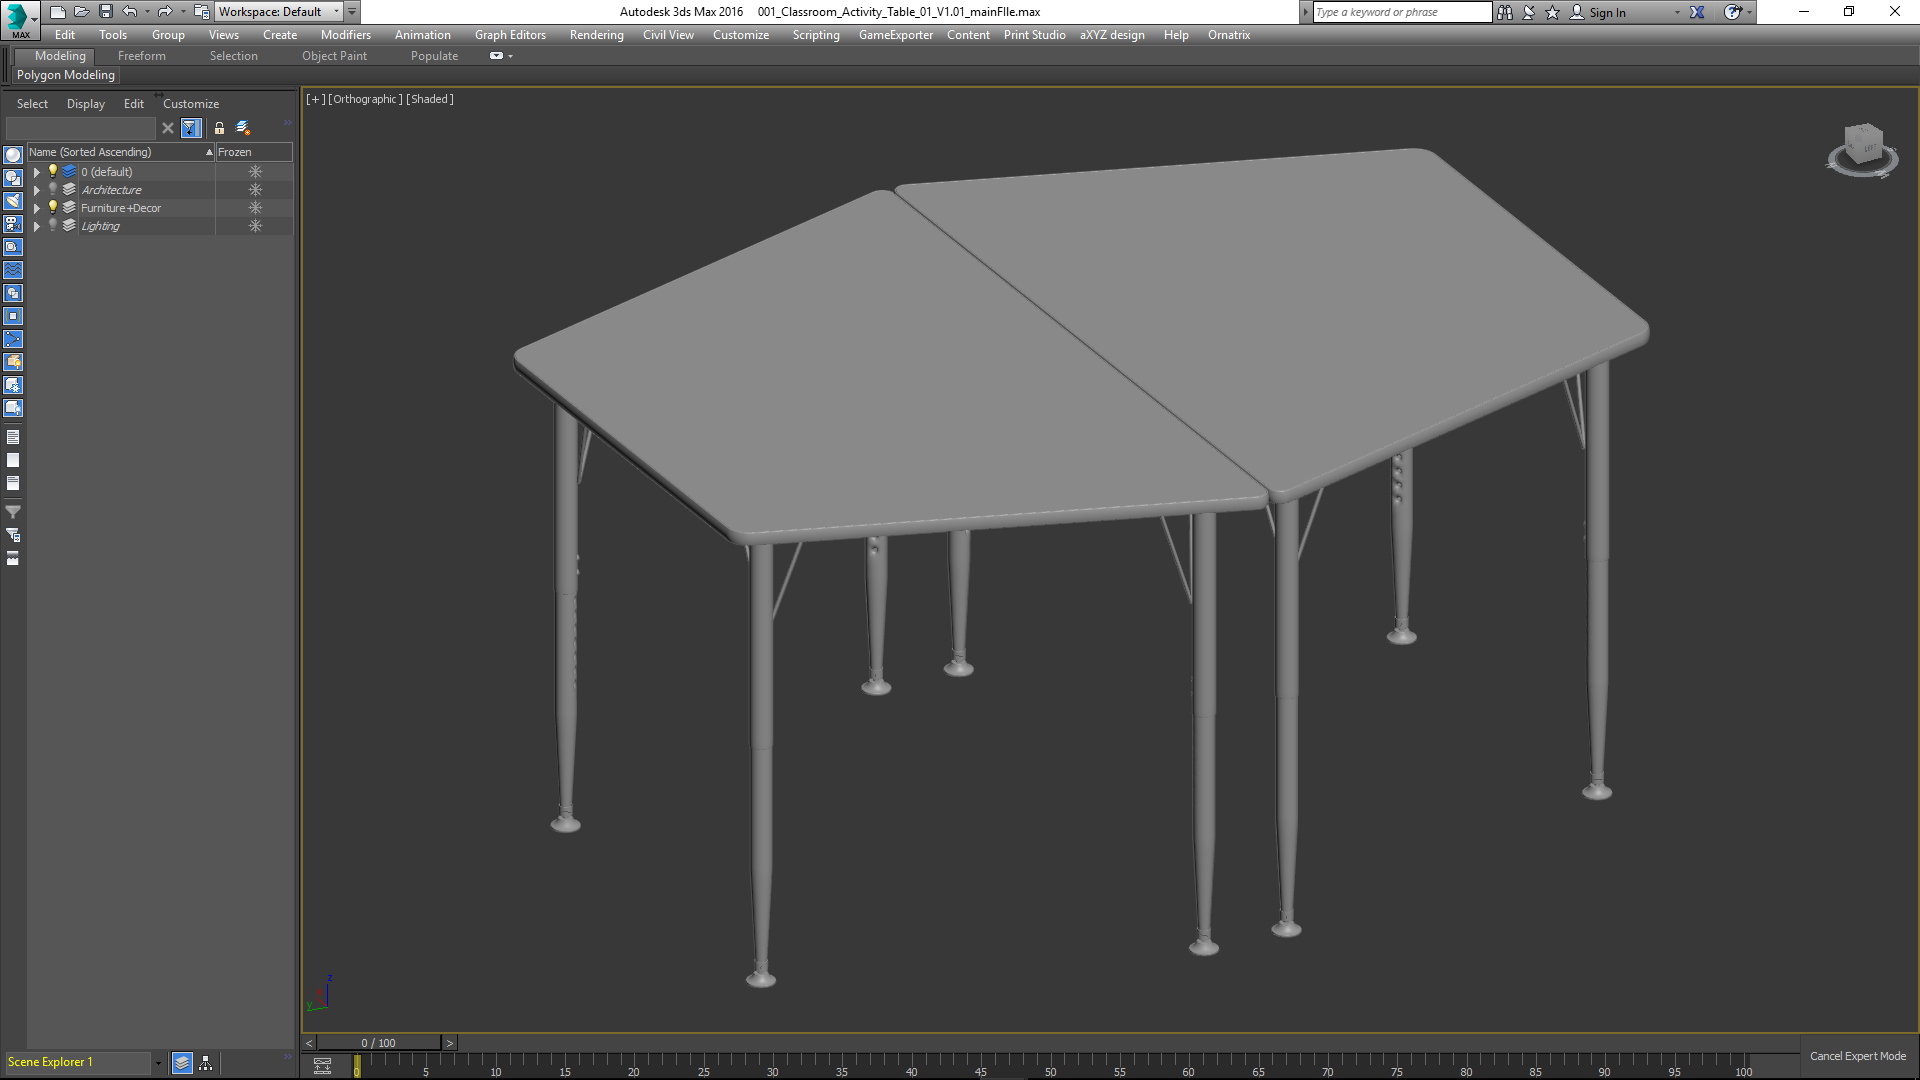
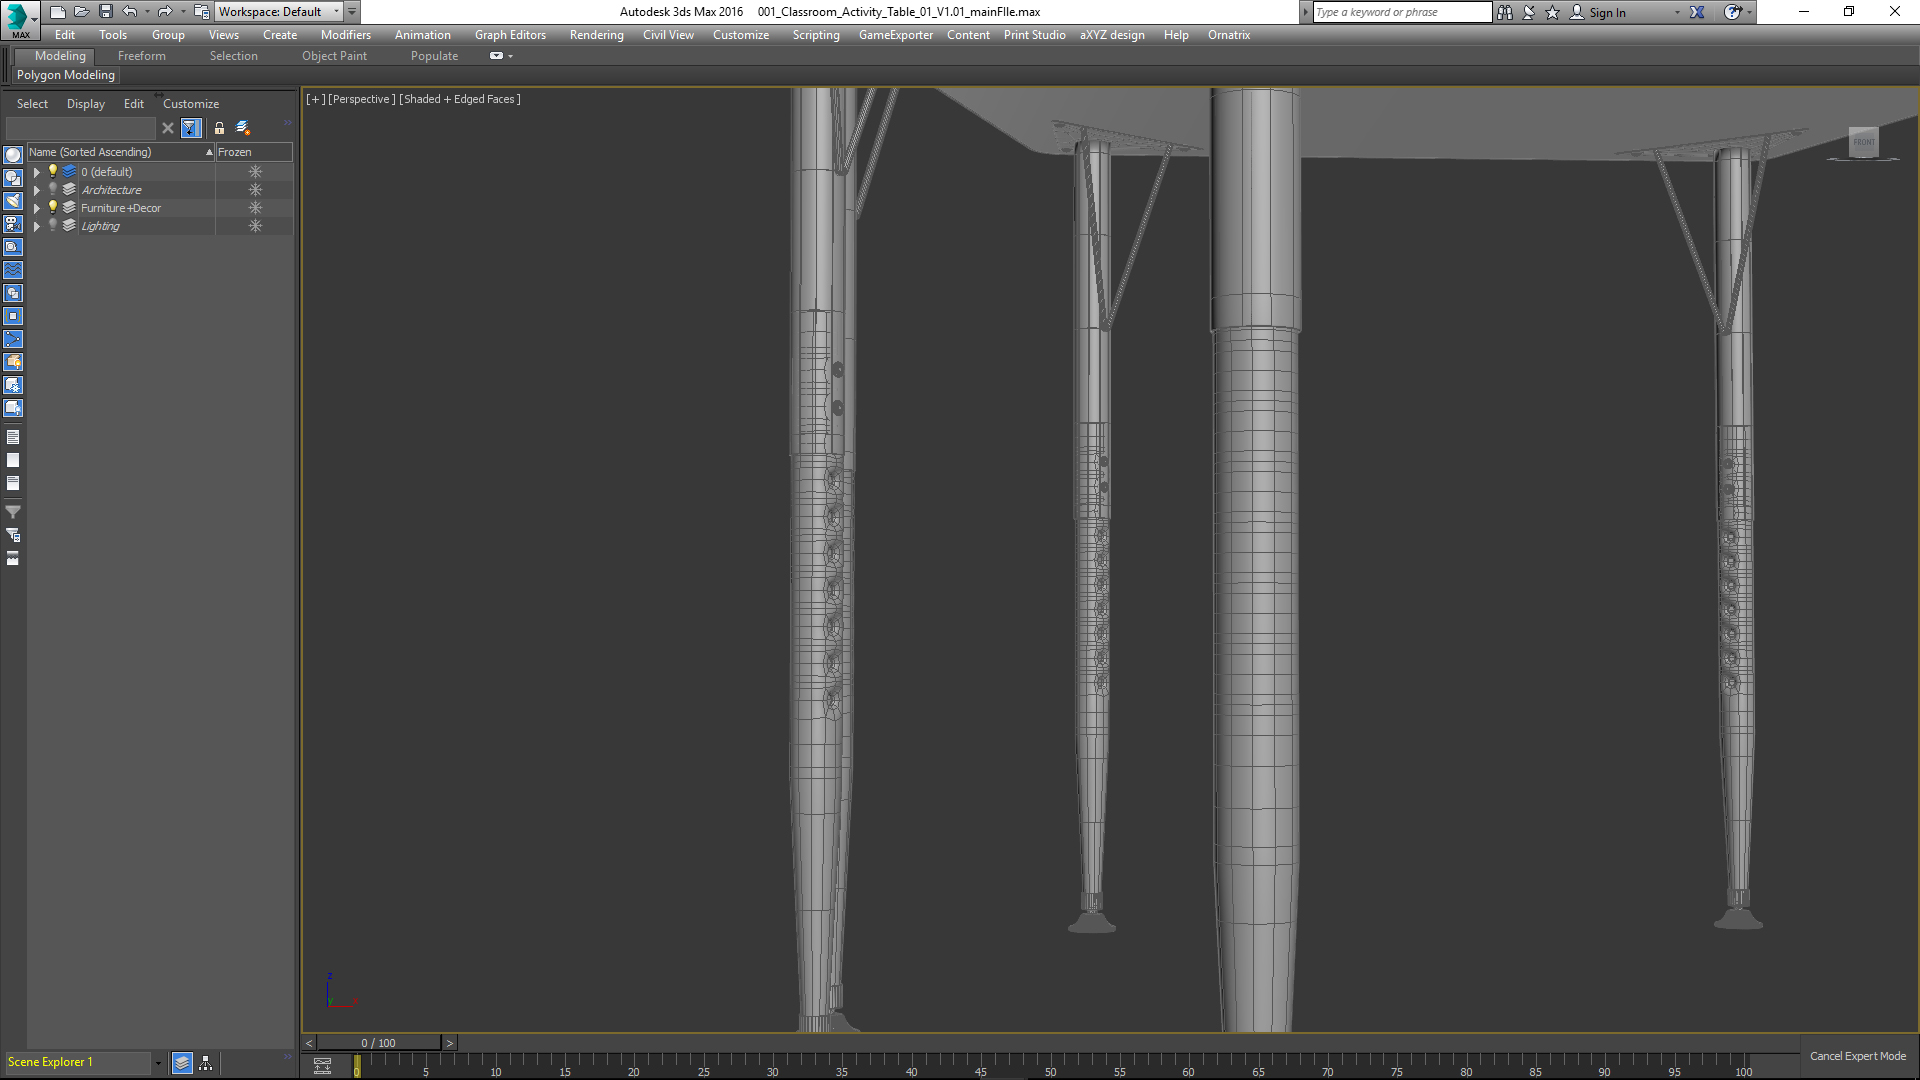
I modeled the main furniture pieces like chairs and tables. Below you can see some screenshots of those models:
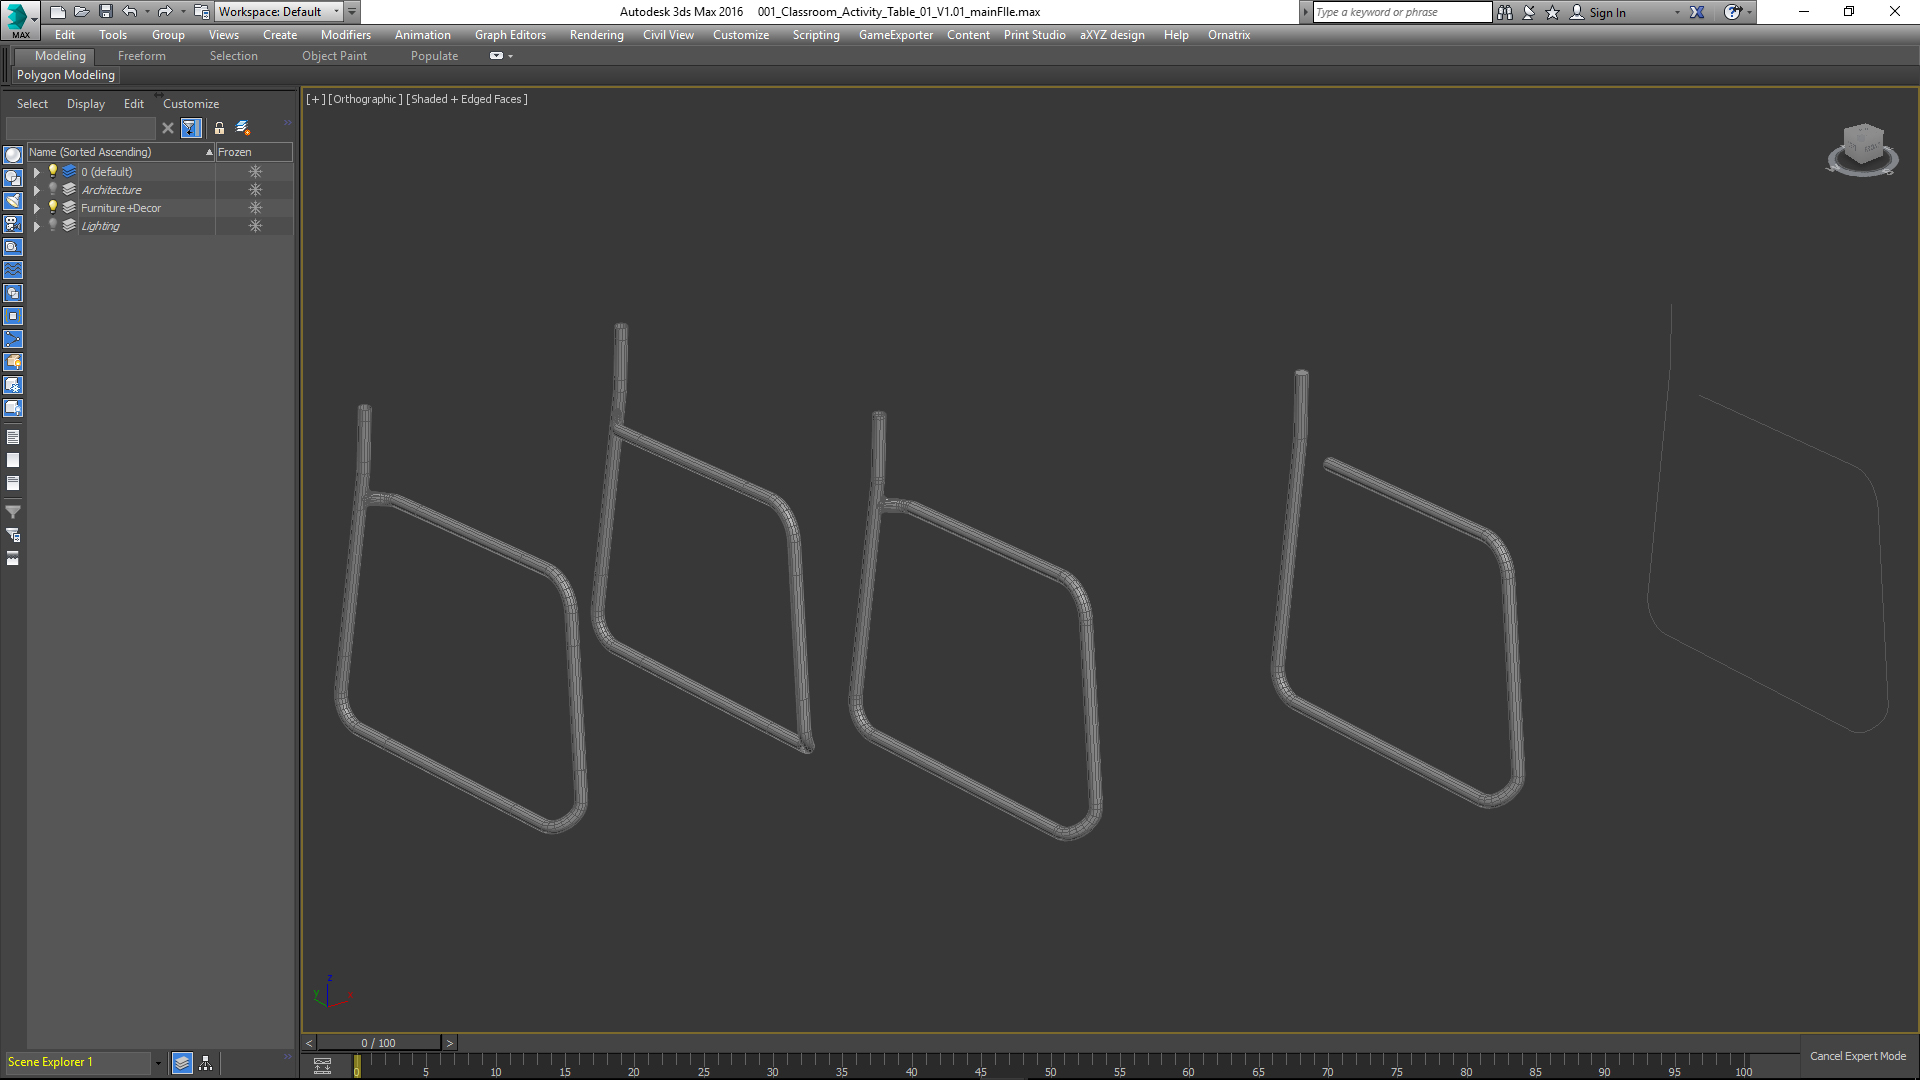
The chair with sled legs was done using spline and sweep. After that, the weld effect was done in polygon modelling.
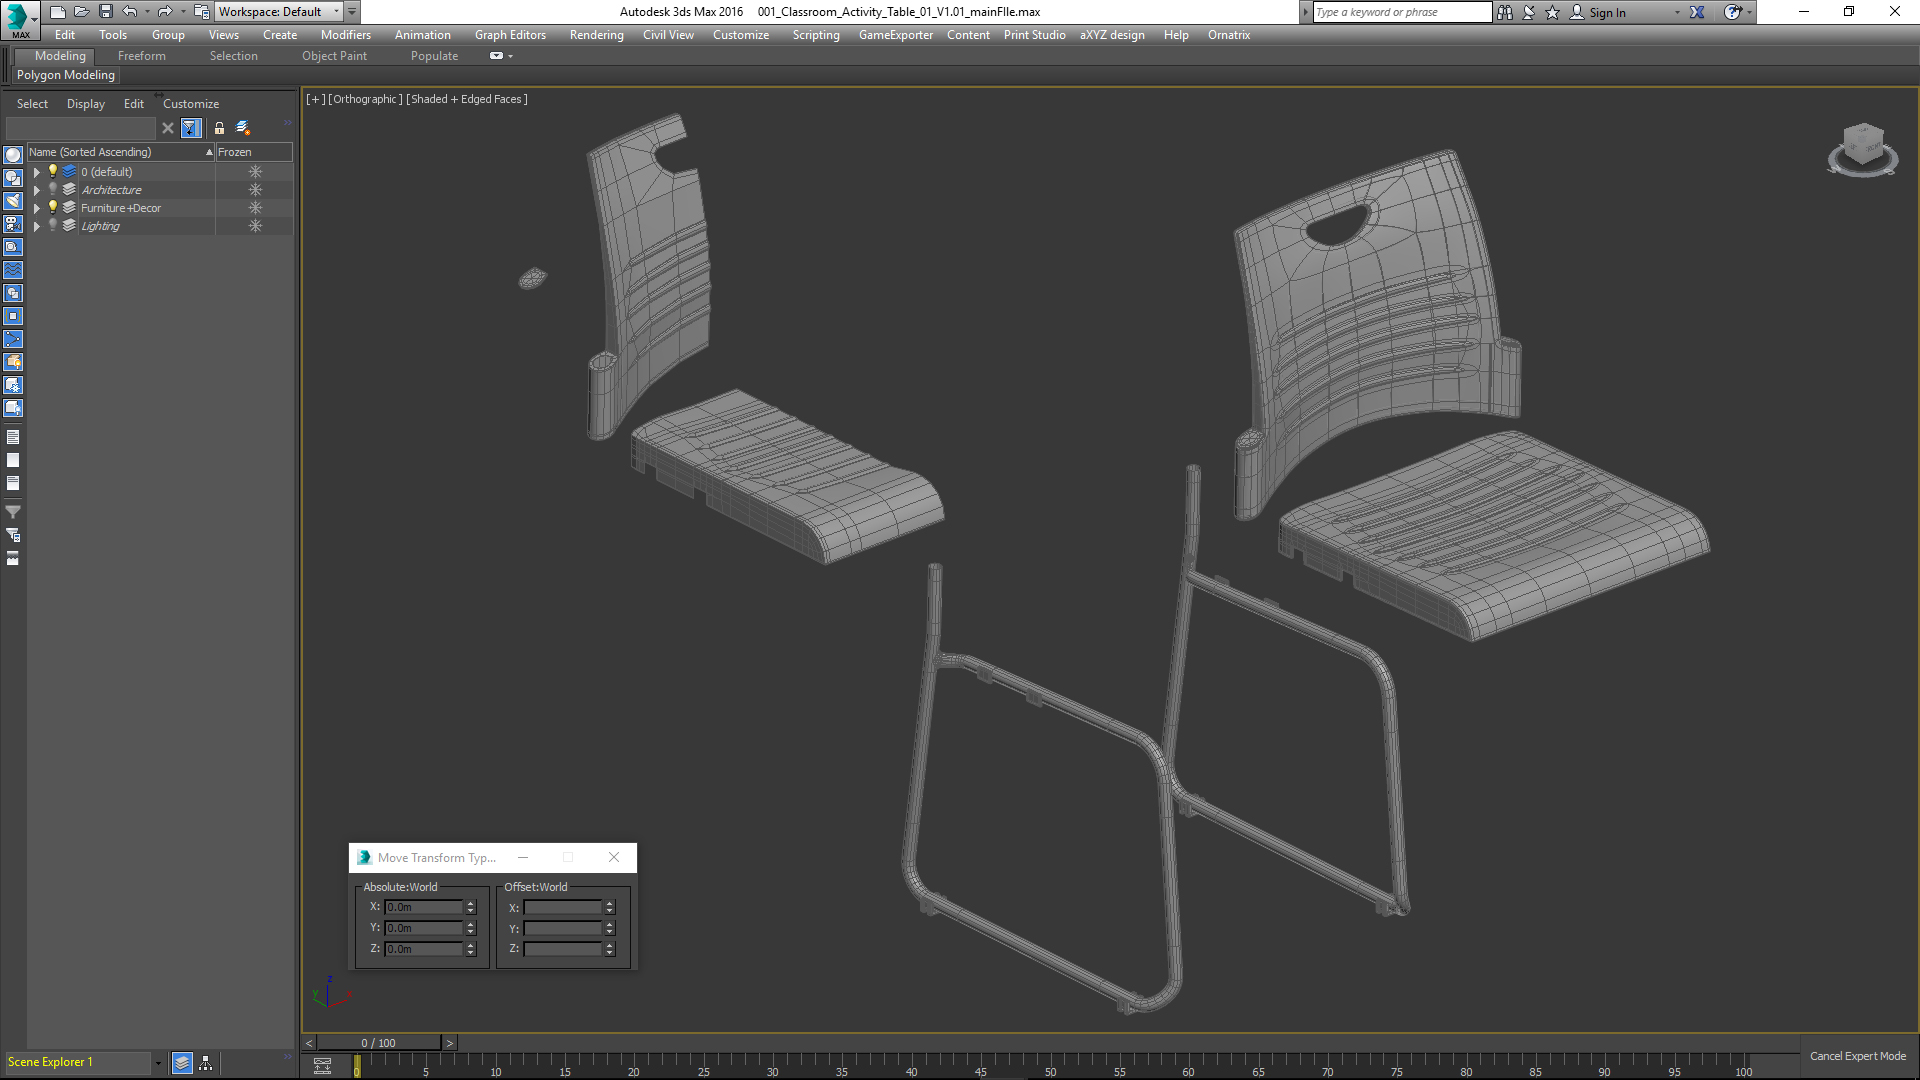
Chair seat and back elements were done using polygon modeling technique.


That’s all about modeling stuff.
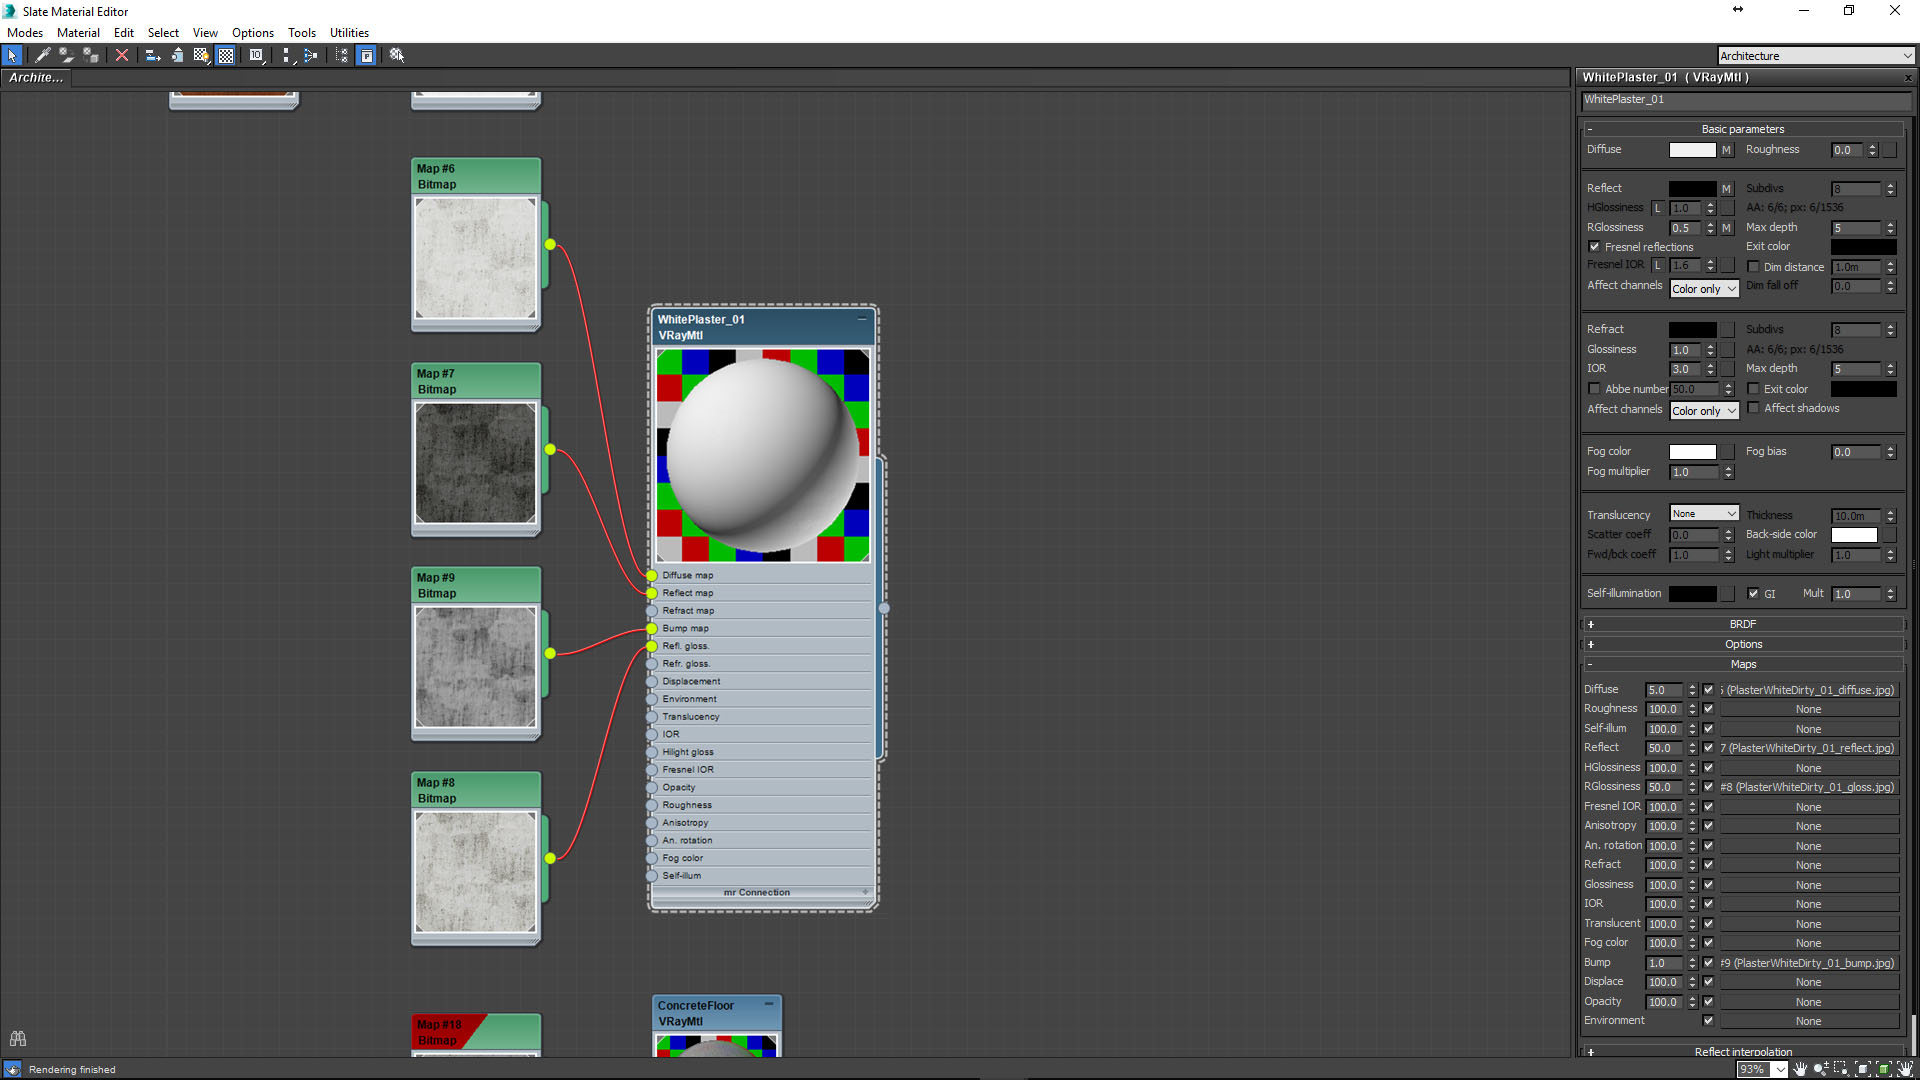
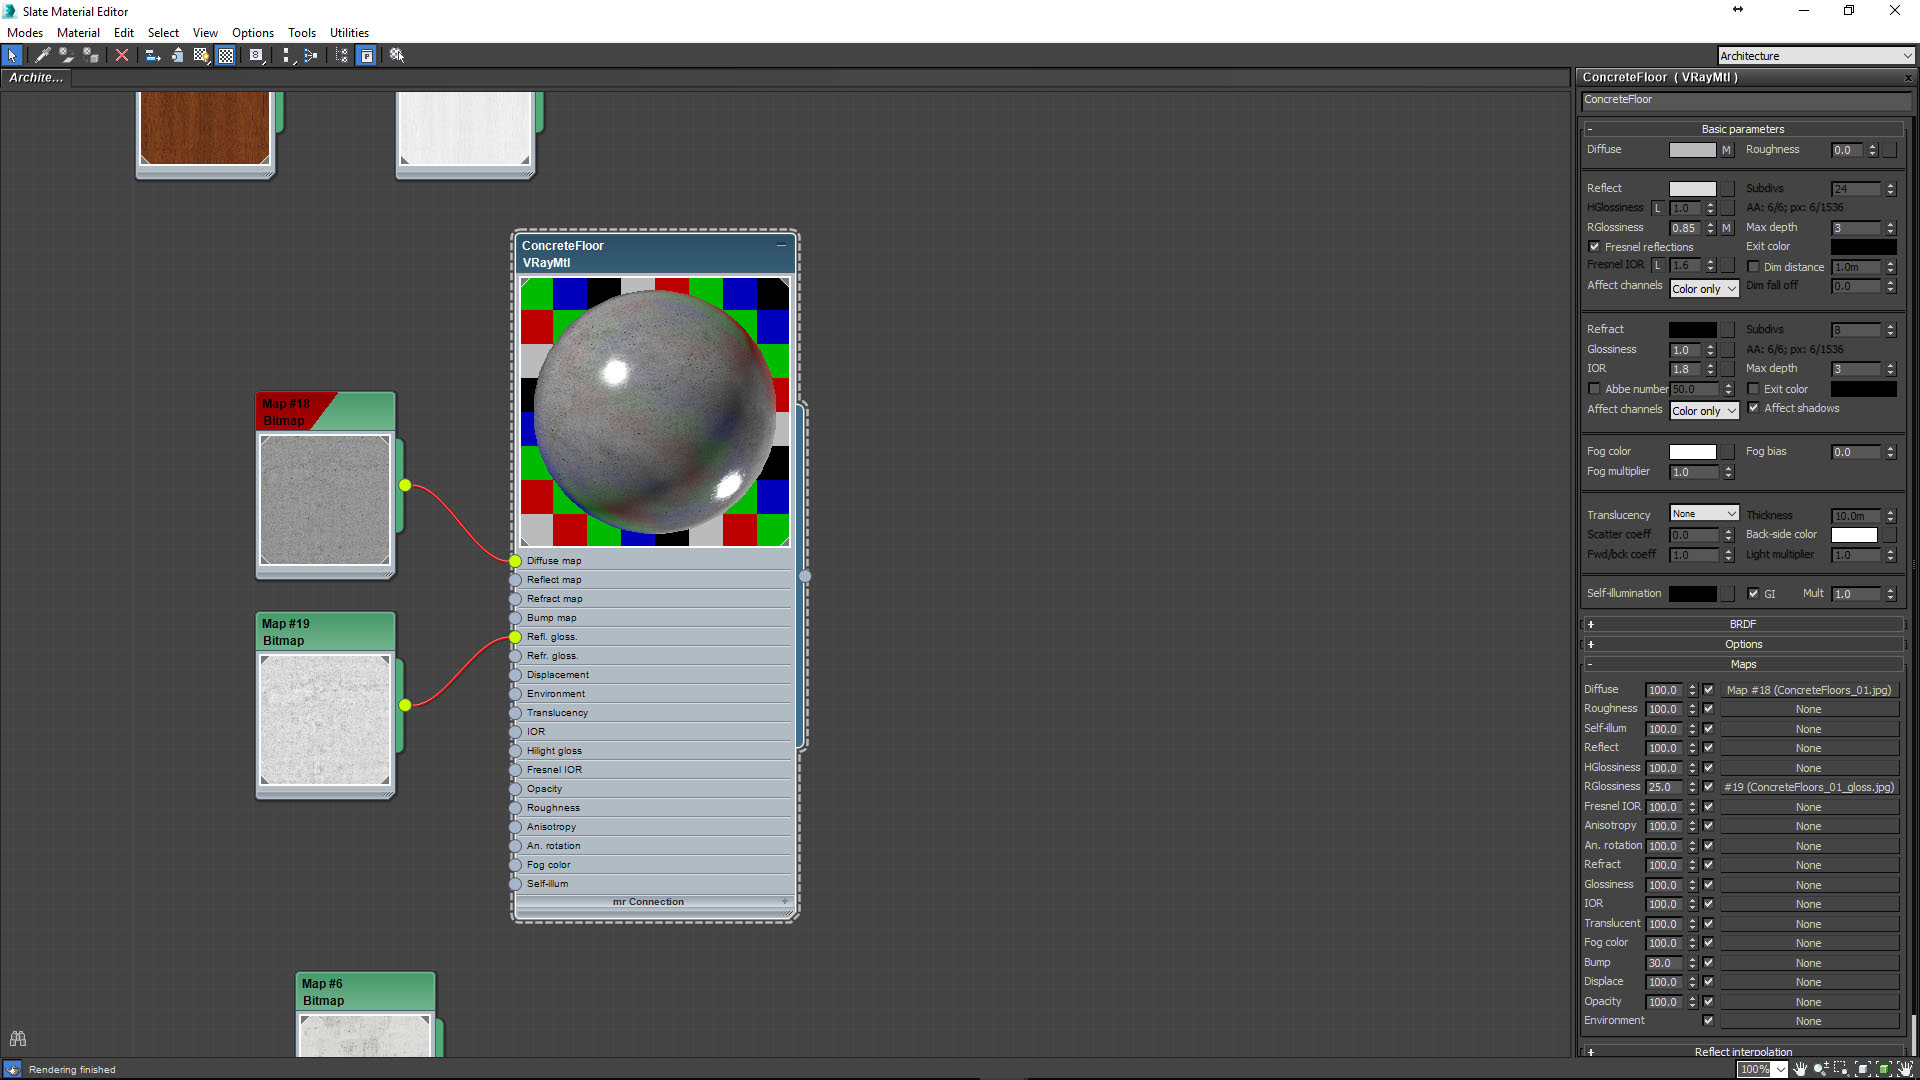
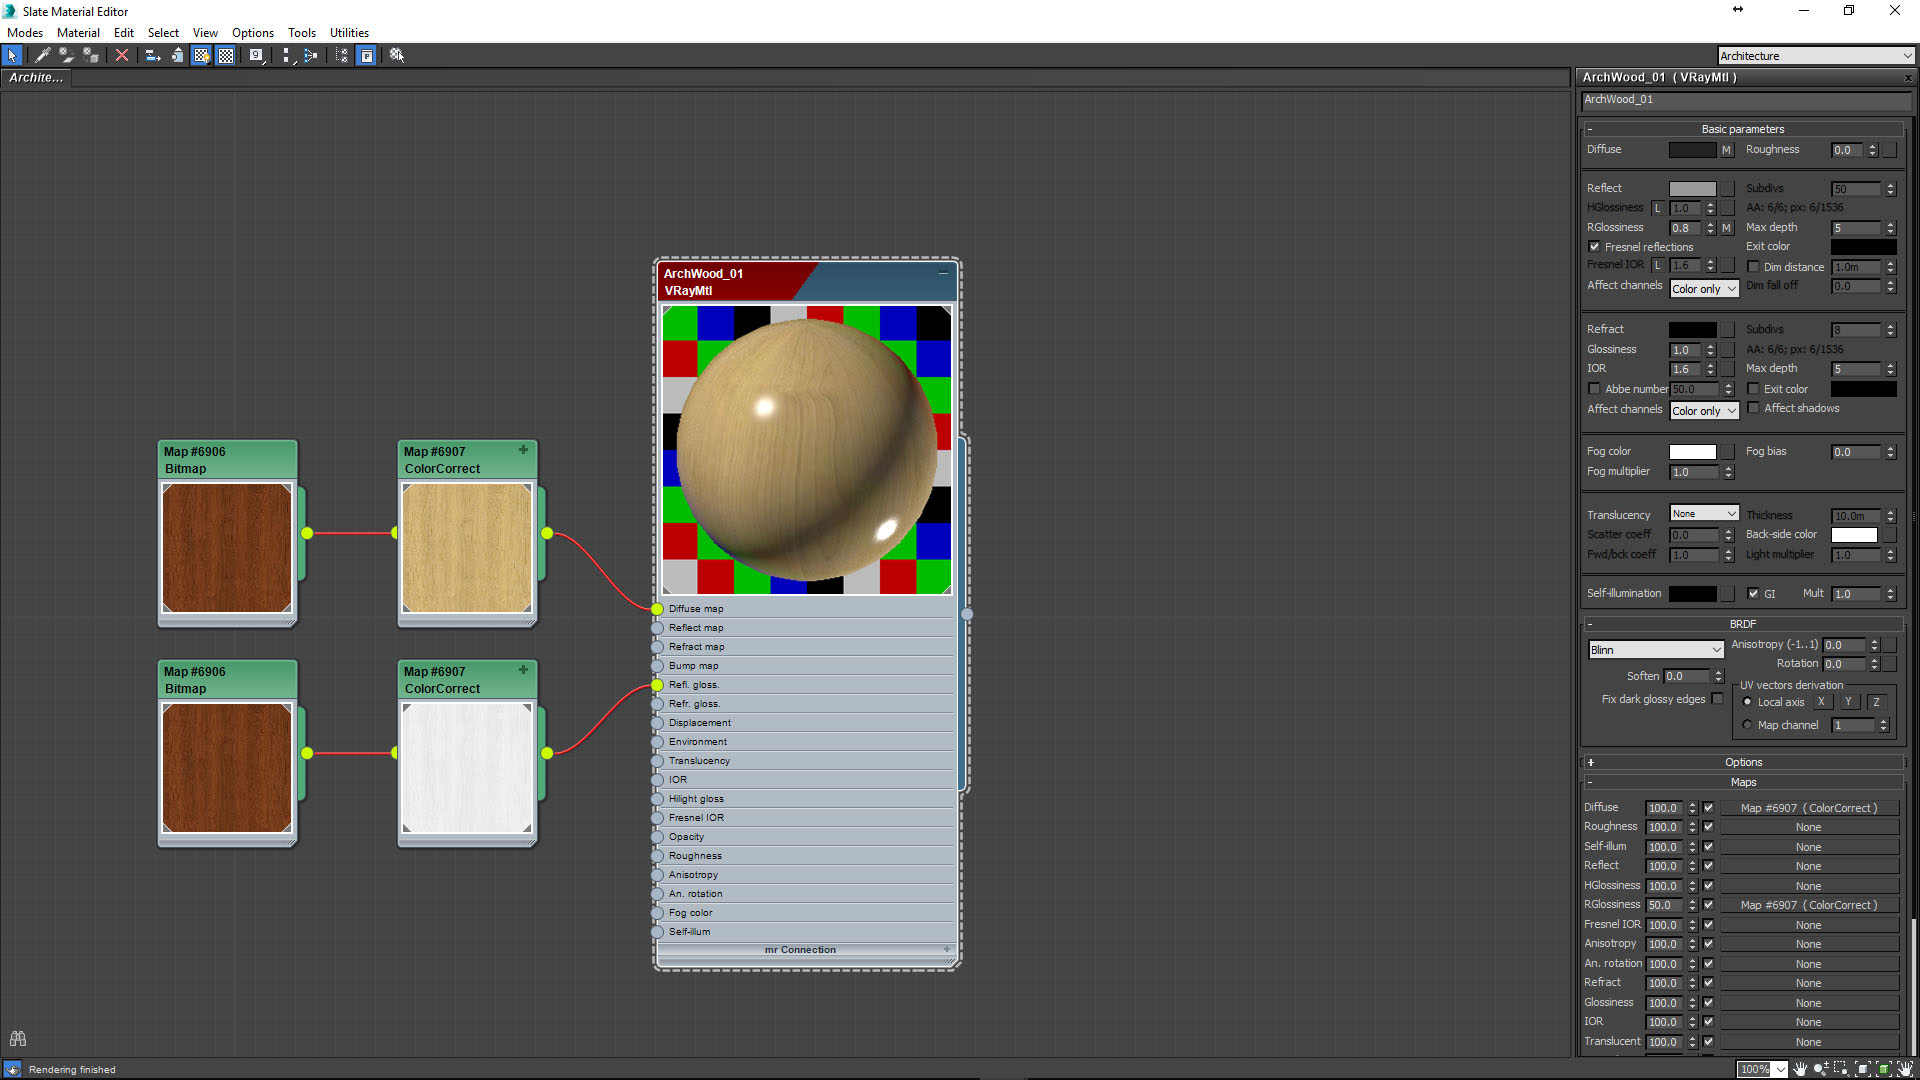
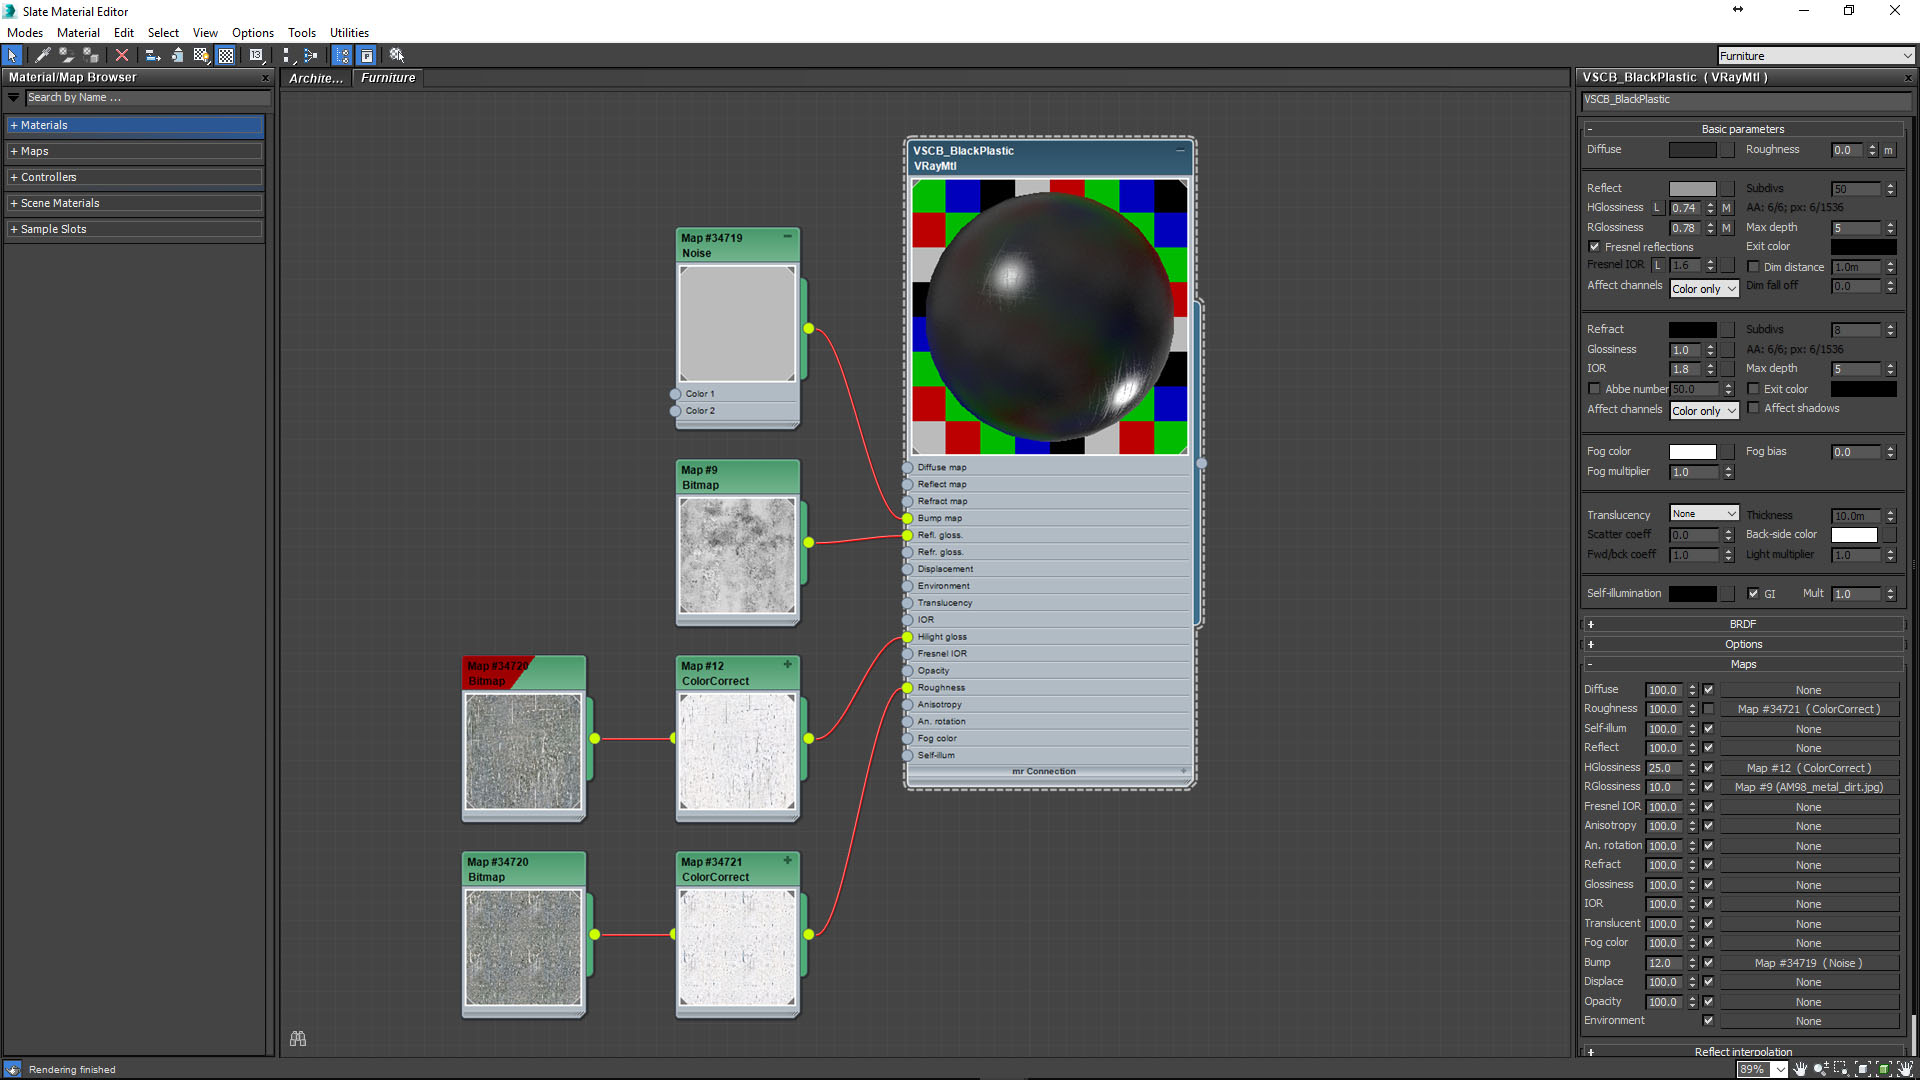
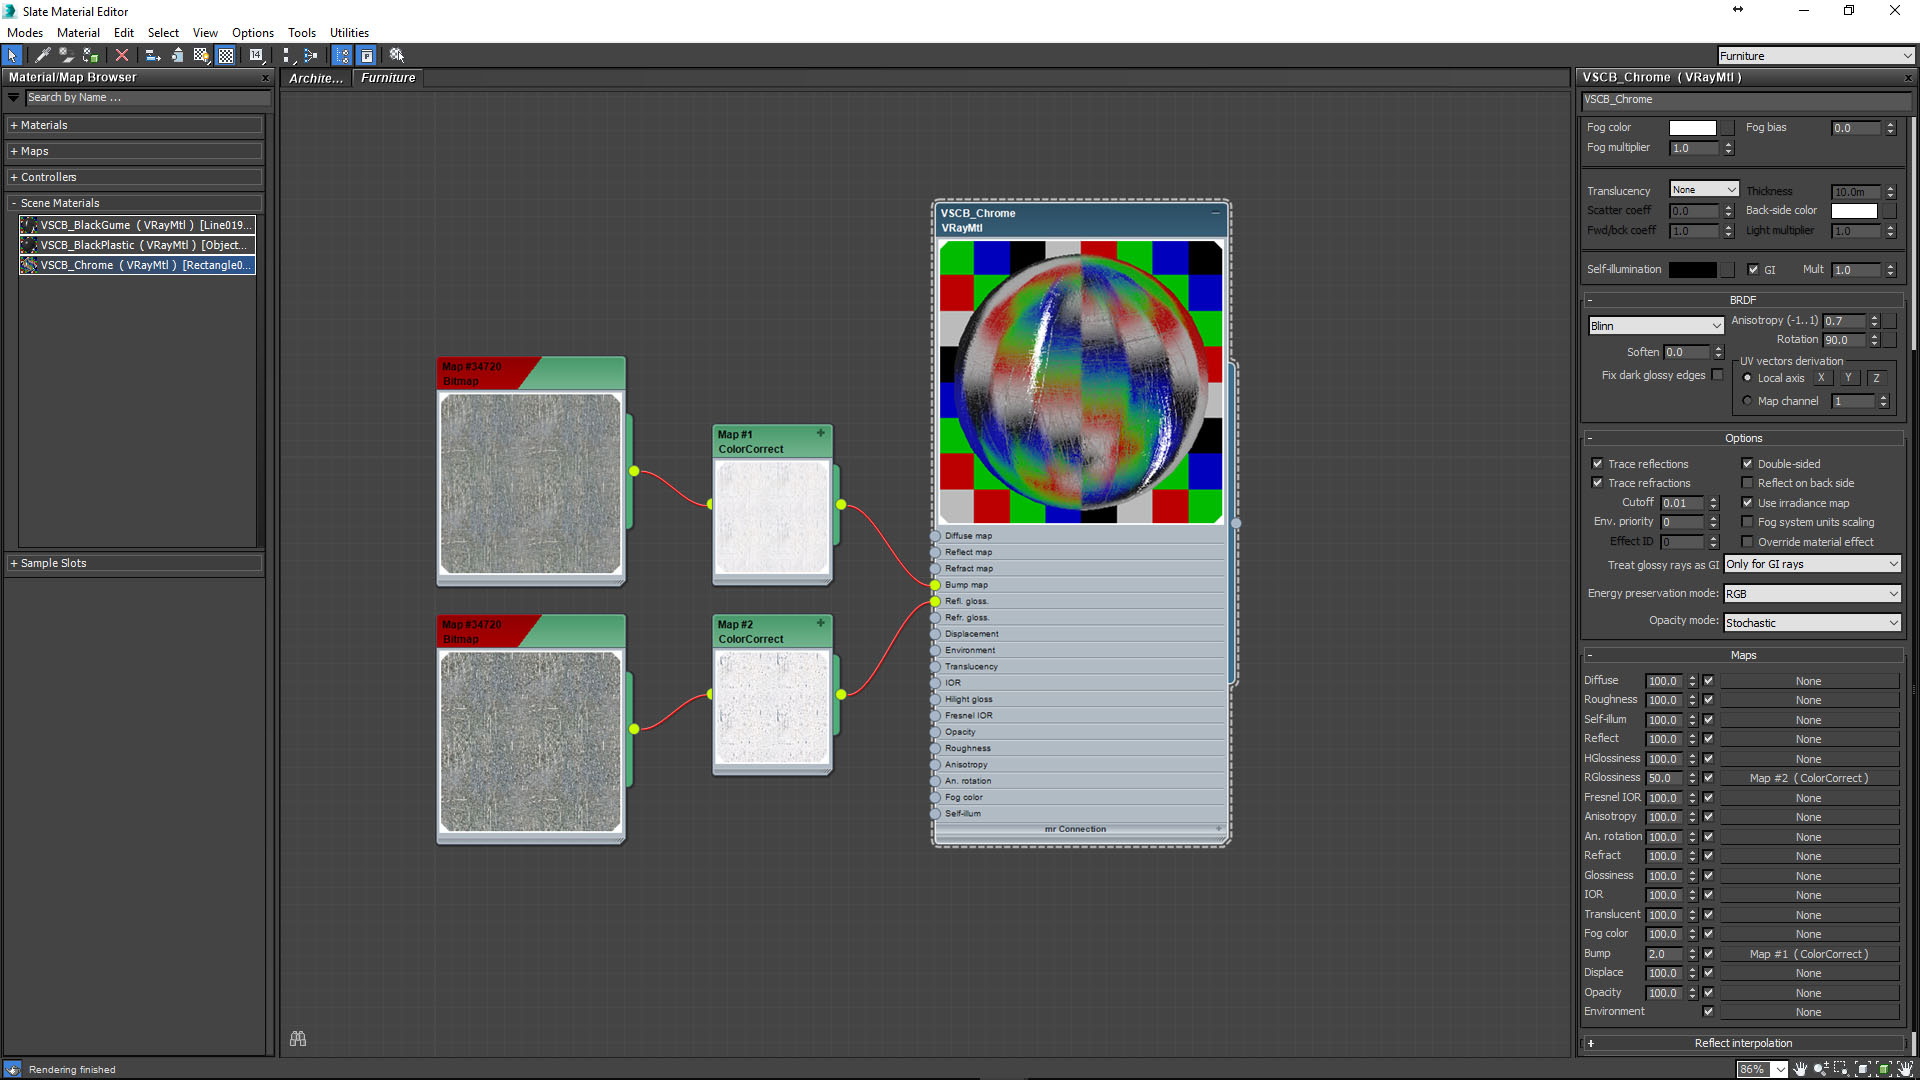
This is one of the most important processes for adding extra details to our models and renders. It was very important to me because I needed to add realistic things like scratches and detailed glossiness effects. My common workflow is working the shaders using the diffuse as the base map and sometimes with a plugin called “ColorCorrect” from Cuneyt Ozdas (in my opinion it is better than the Color Correct shader integrated into 3DS MAX) creating the glossiness and reflect maps.
White Plaster for walls.
Concrete Floor.
Wood for the door, wood boards and baseboard elements.
Ceiling Frames.
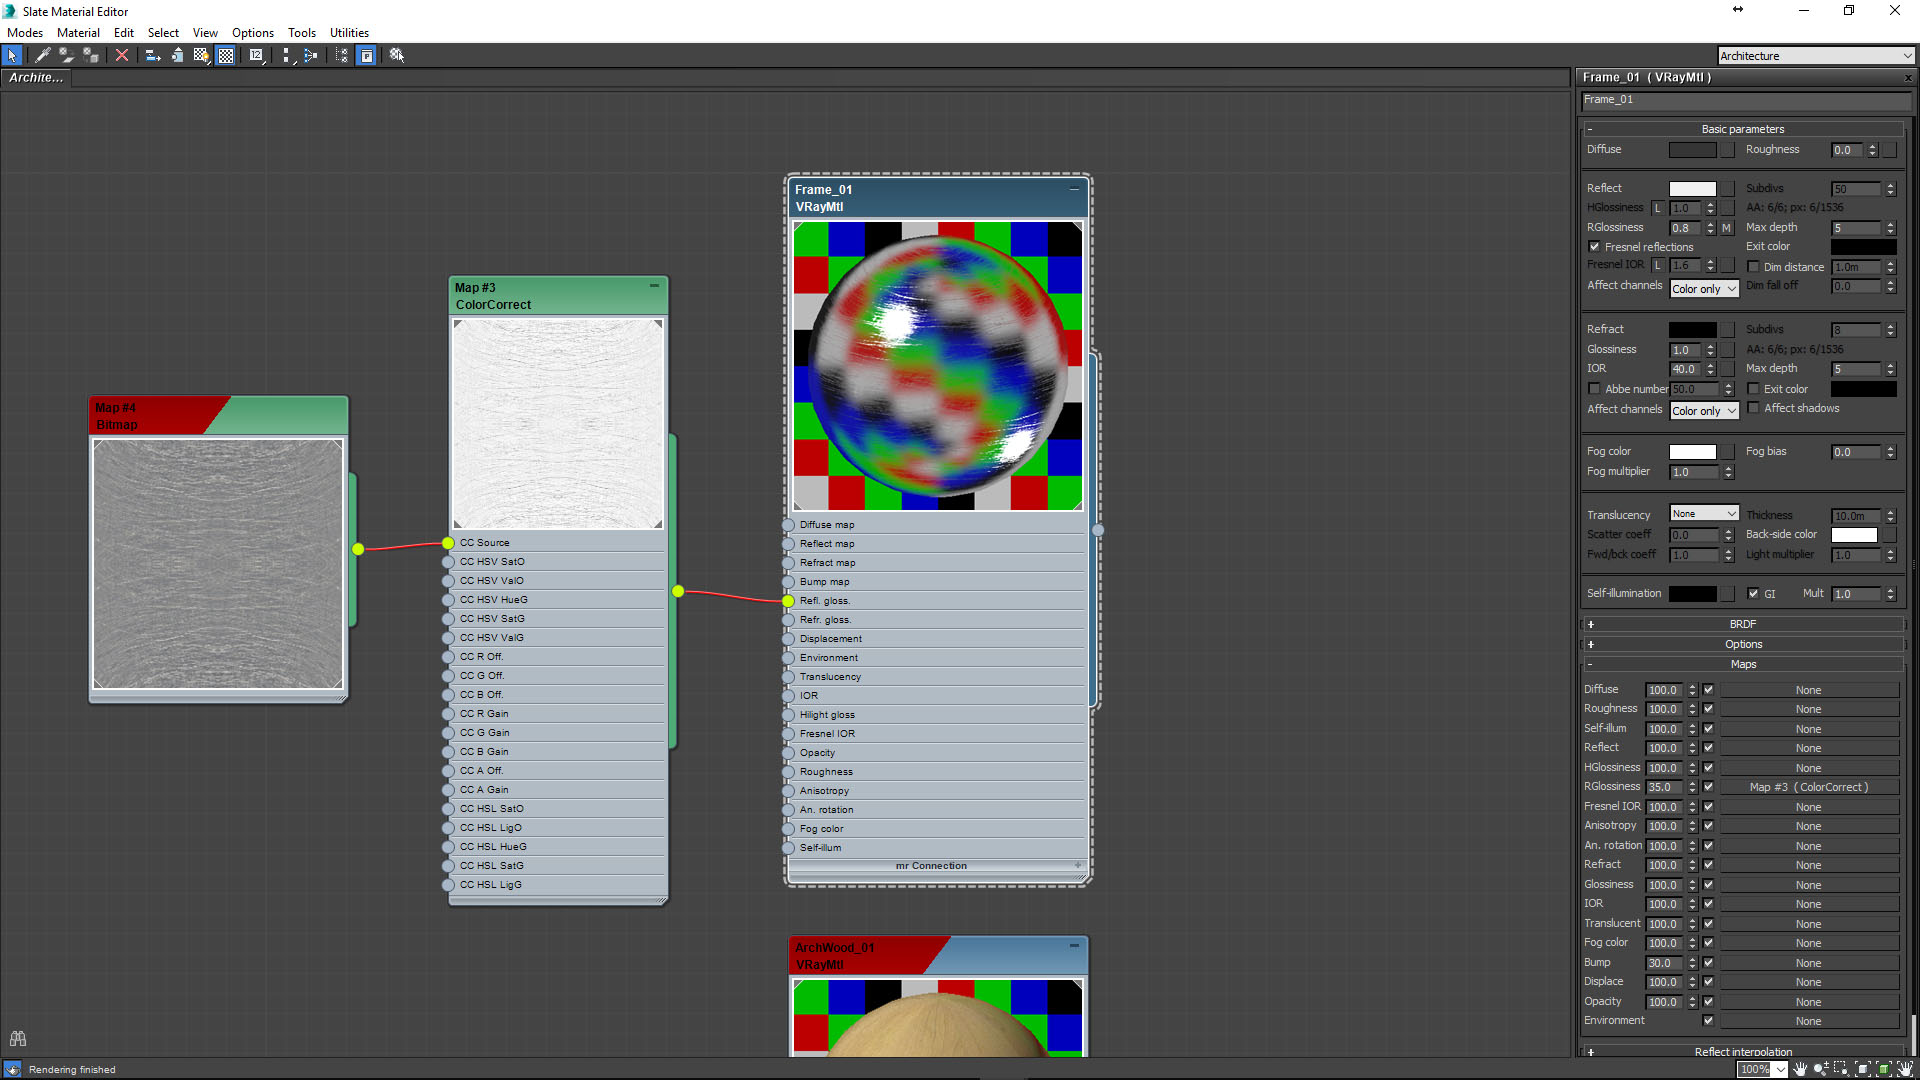
Windows Frames.

The chair and table materials are similar so here are the chair material setups.
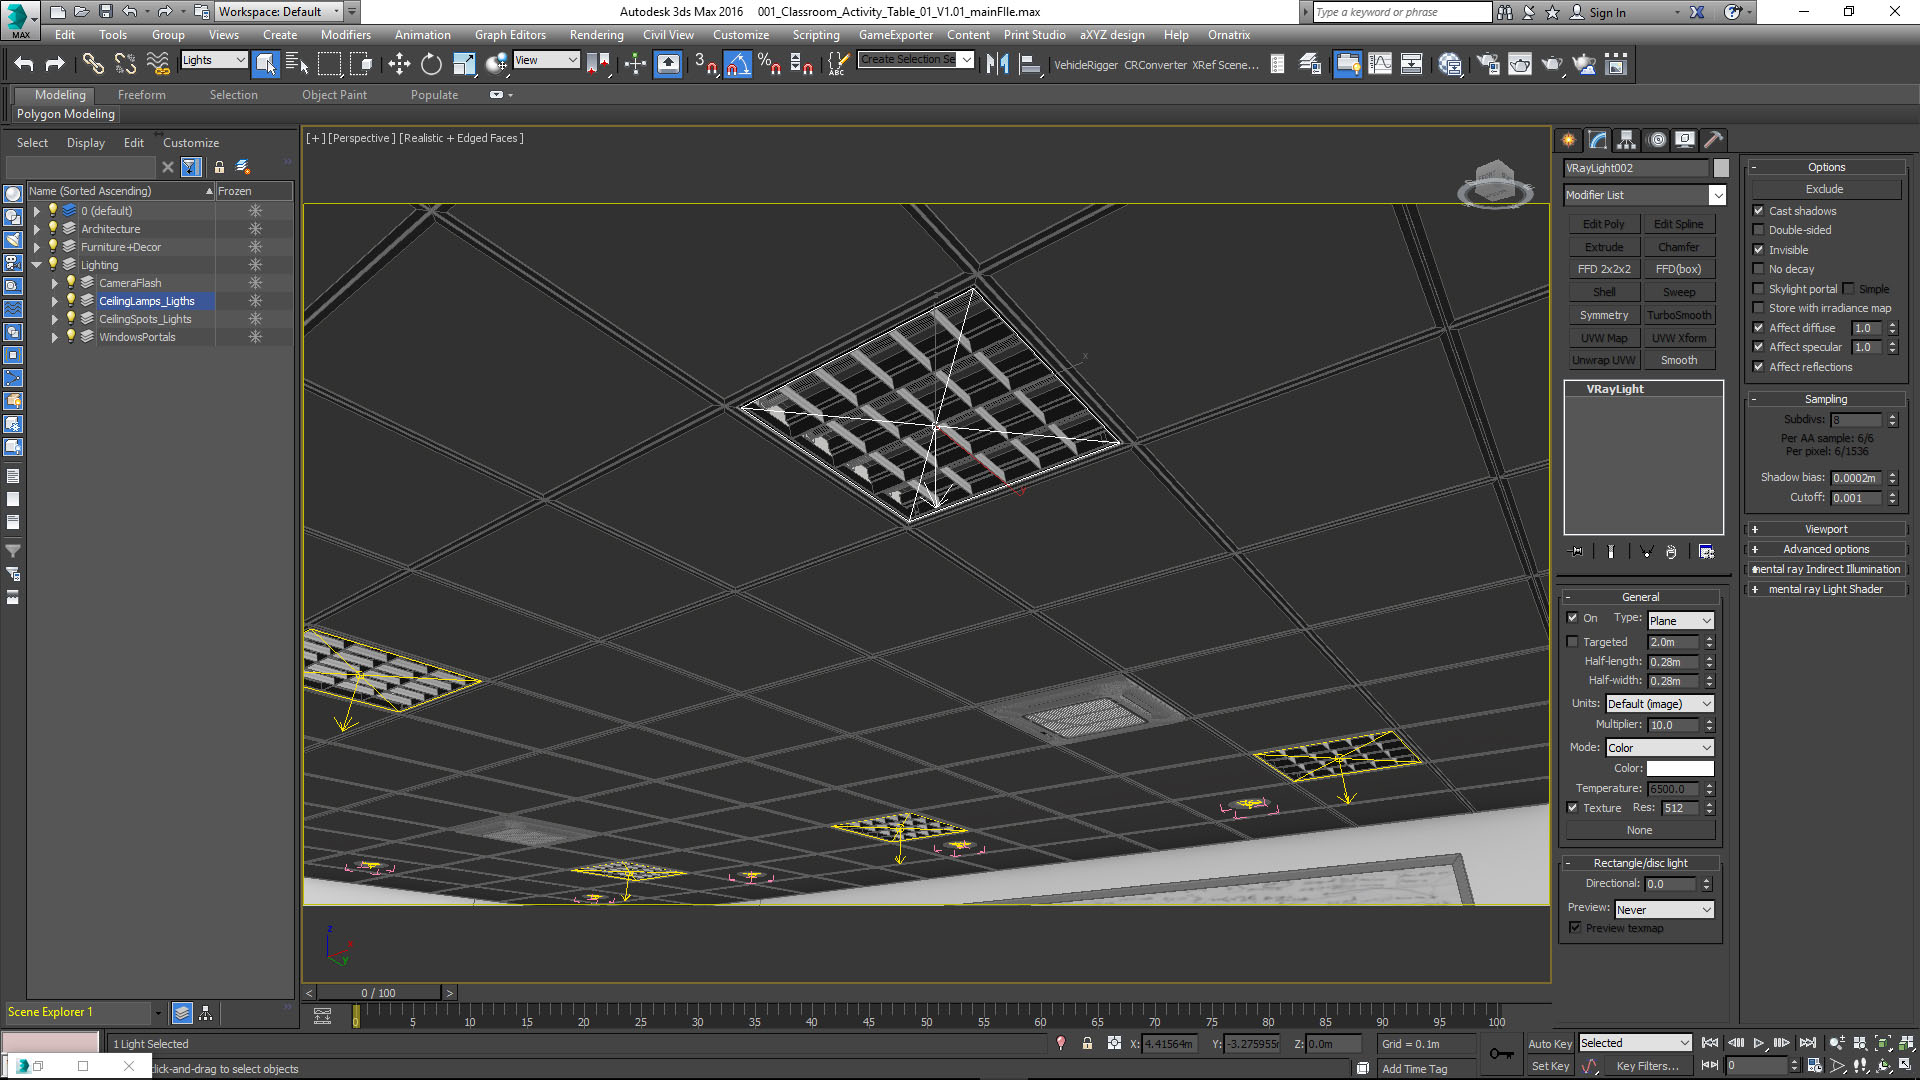
The lighting on this scene was a little different from other scenes I have worked and thinking about the render output being in EXR 32bit I was curious to play with lighting at real‐time in Post‐Production. So, every type of lighting source will be rendered as separated lighting pass, merged and intensity/color adjustments for each one. All this shows that I wasn't really careful with the light intensity in this scene… hehe… Not at this stage!... I only cared about seeing enough light so as not to have poor Antialiasing in dark areas. In the windows portals, I used V‐Ray Light to emulate the entrance light from the exterior environment. Below are some screenshots about the setup of every type of light source:
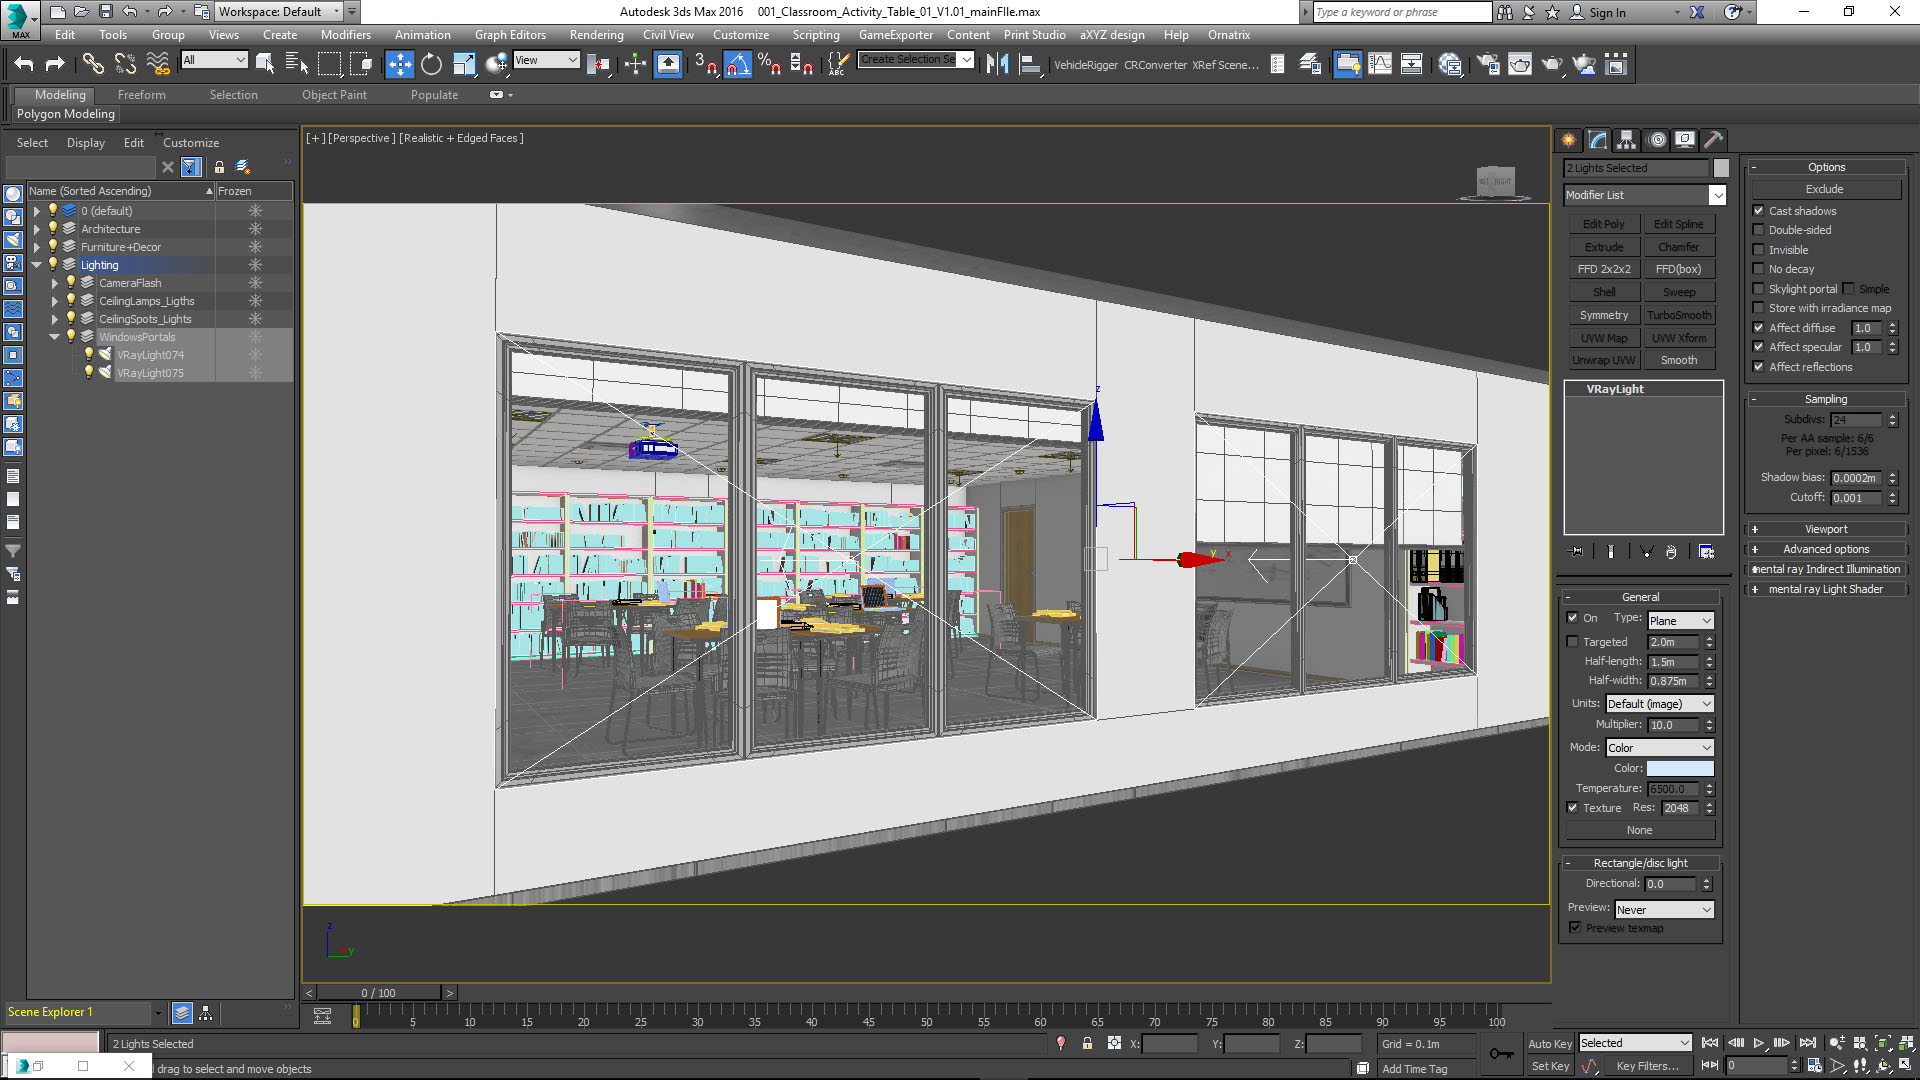
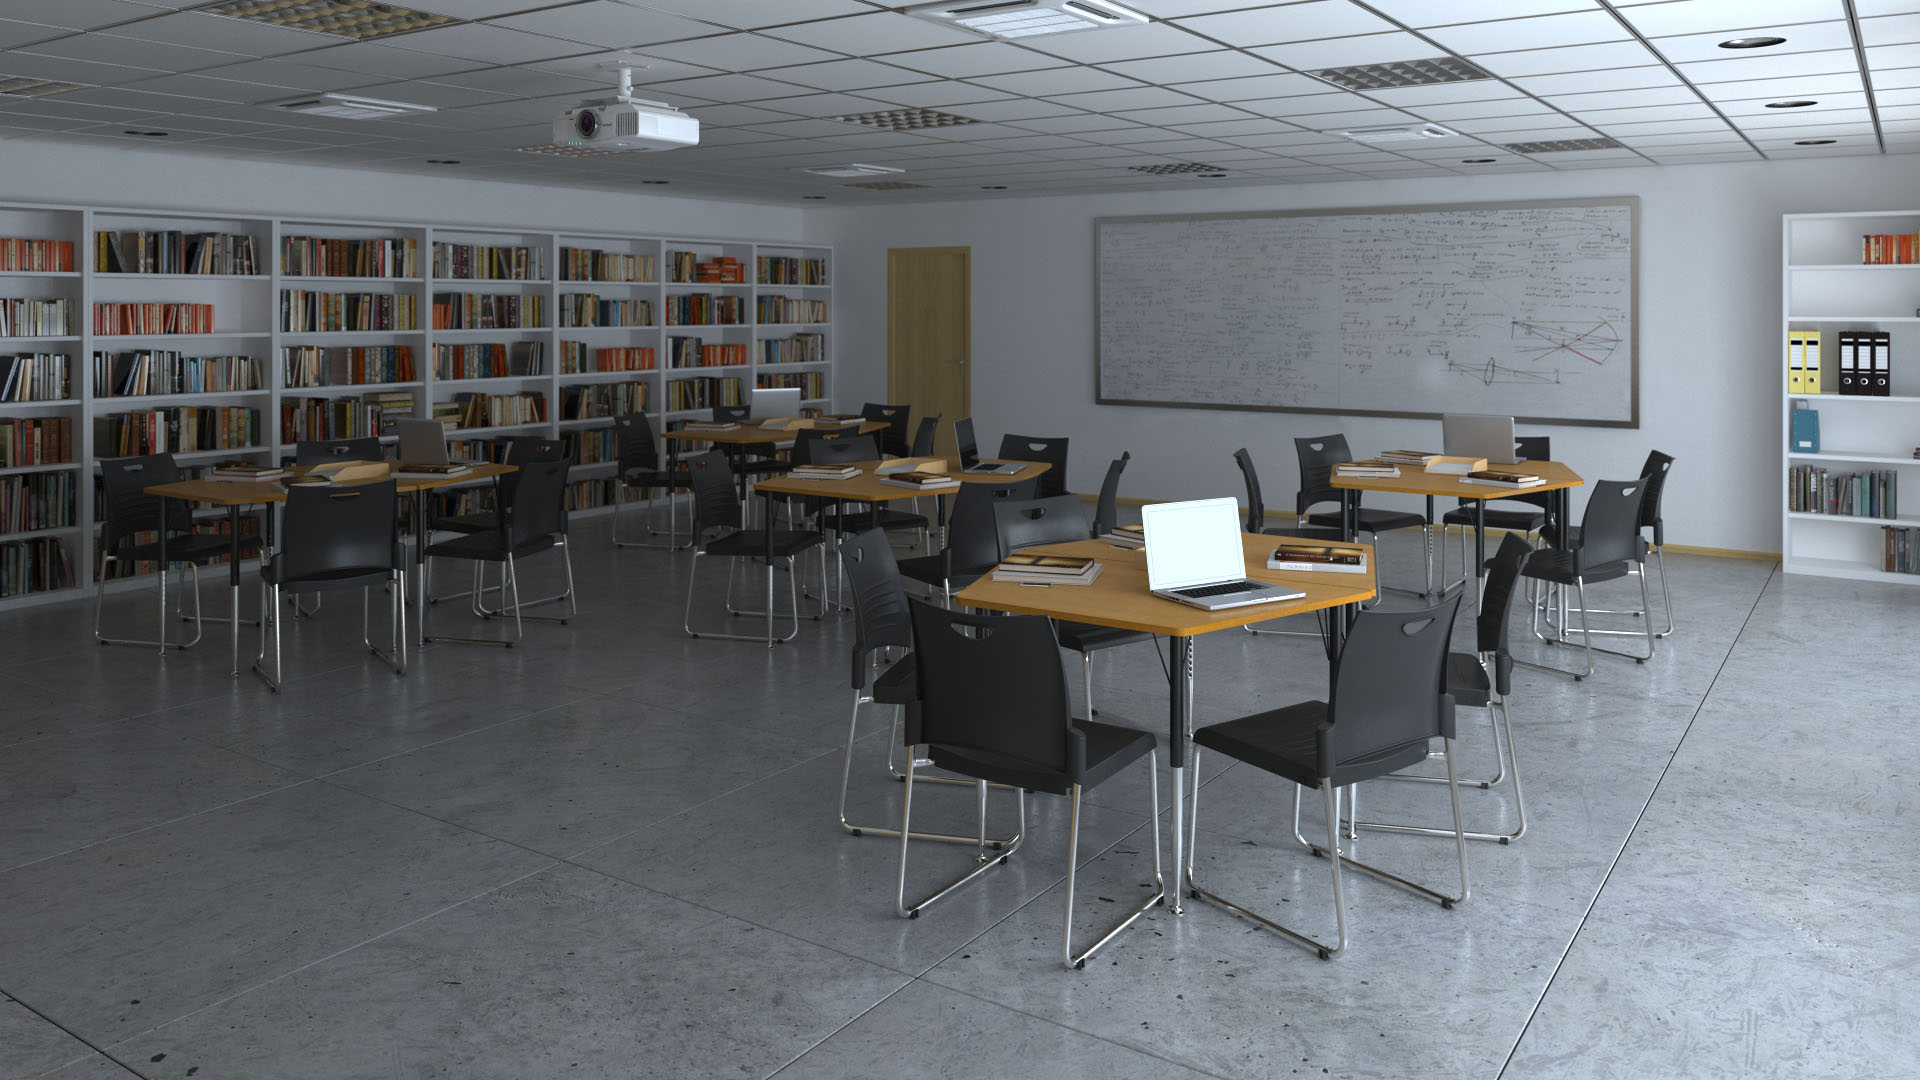
This is the raw render result of this light source.
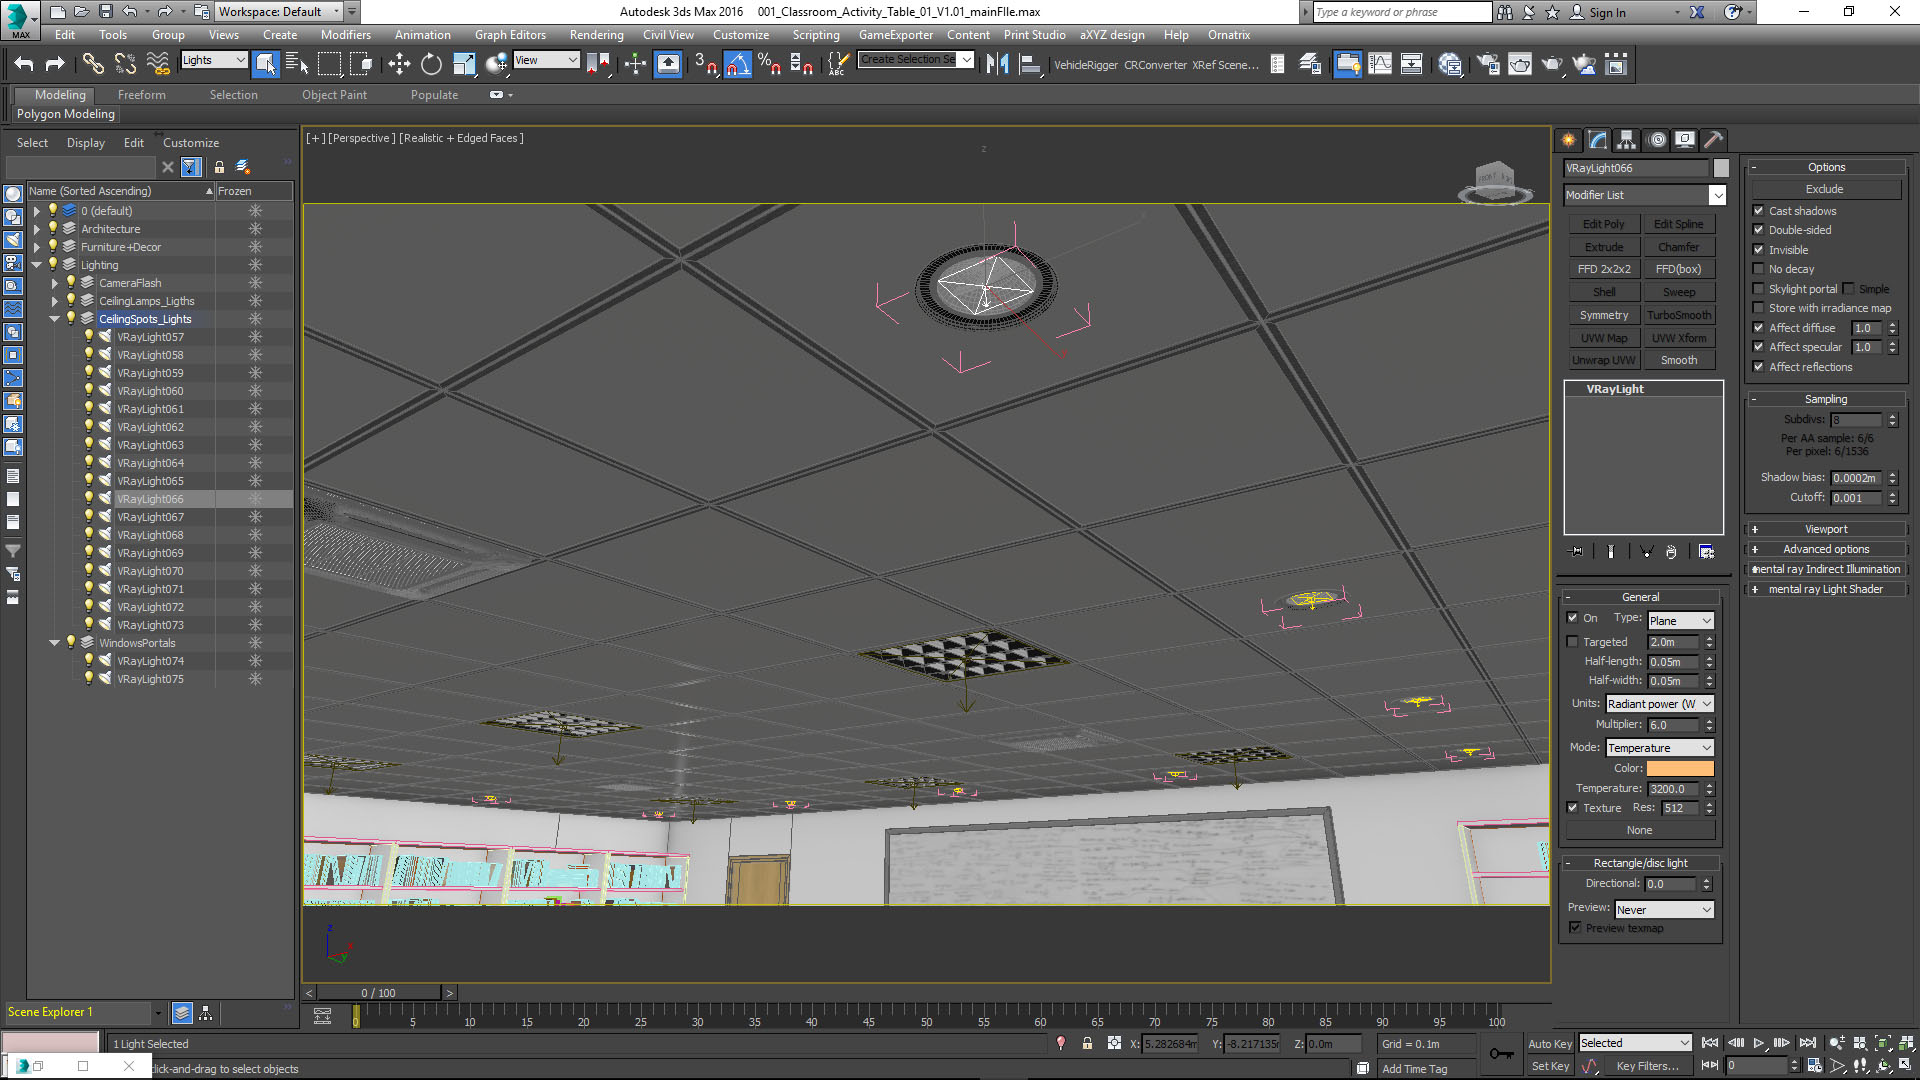
For the ceiling spots, I also used V‐Ray light.
This is the raw render of the source light.
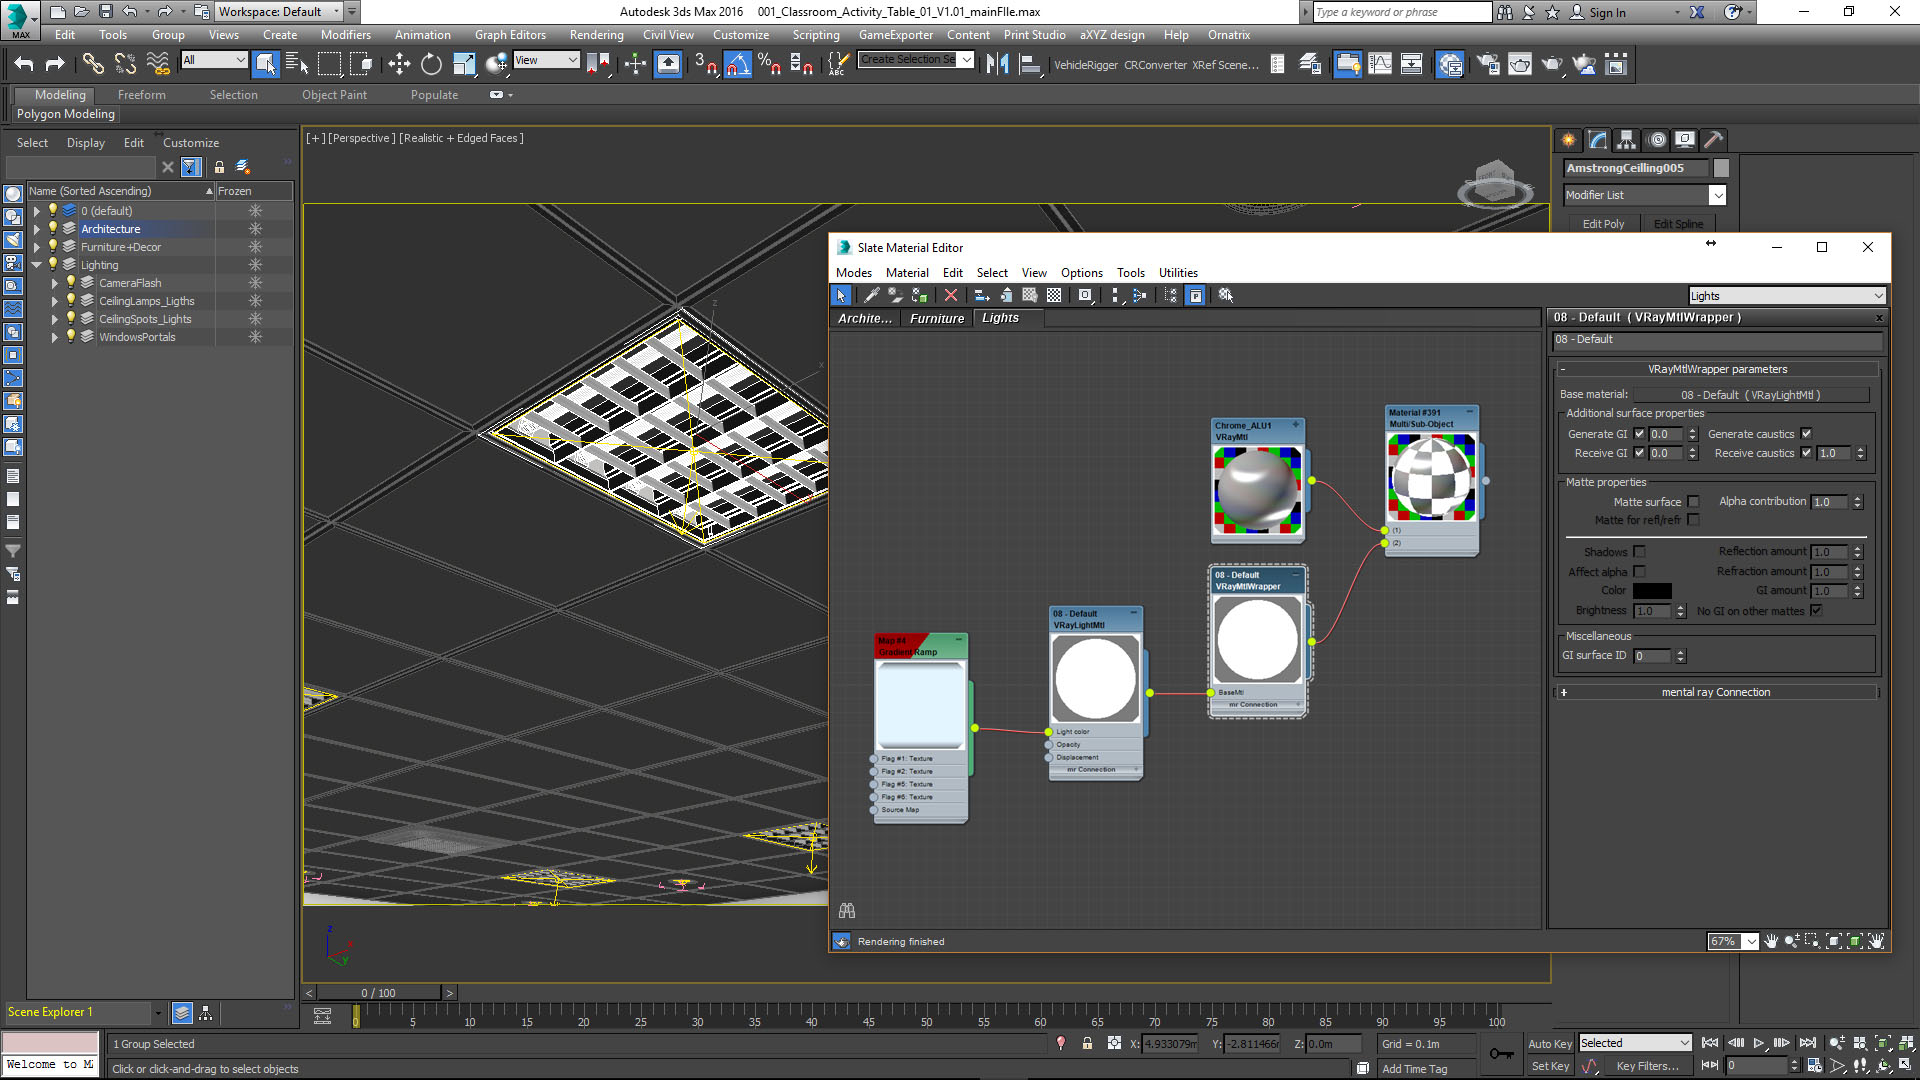
The ceiling square lamps use VRay light and I set up invisible option so as not to see the square light source in the render. I put this light out of the lamp grid to reduce the noise and for the neon light visible tubes, I used a VRayLigthMtl inside of VRayMtlWrapper to kill the GI contribution.
Ligth setup.
Neon Lamp tube material setup.
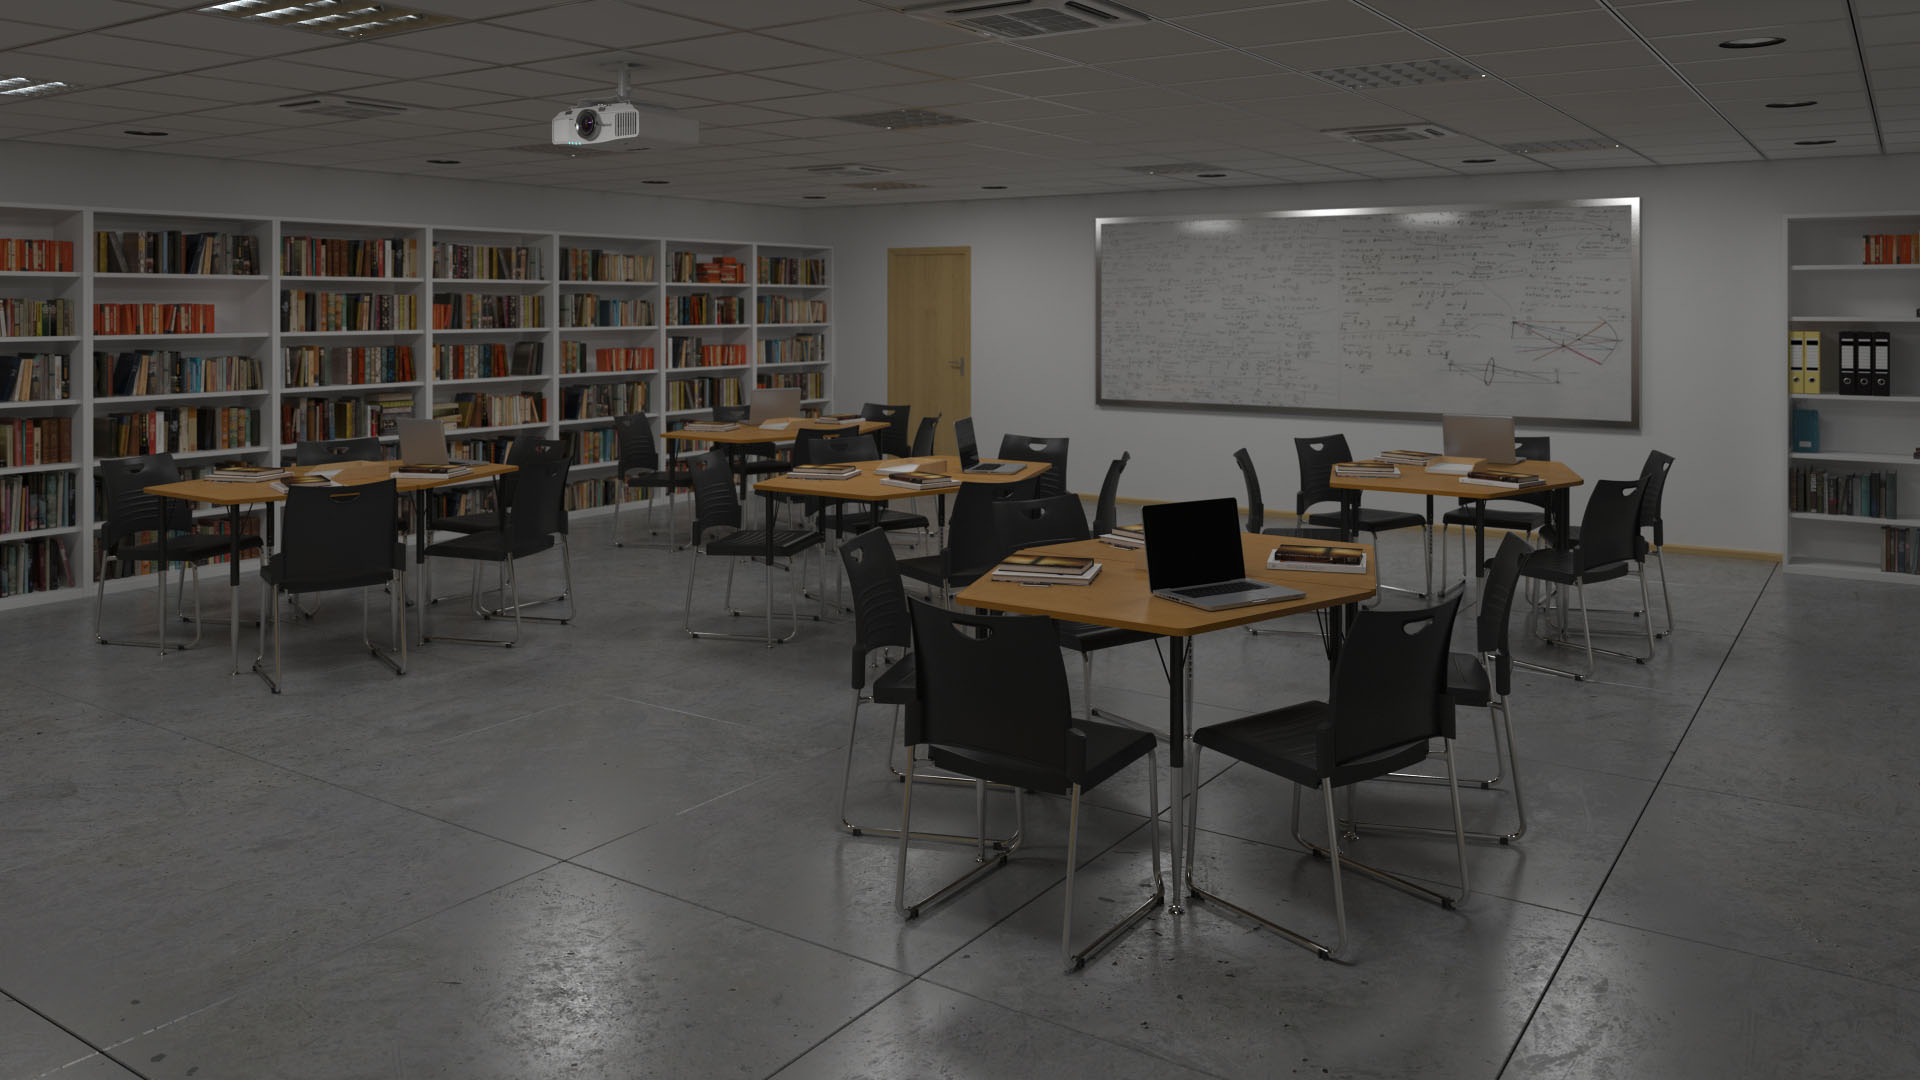
Raw render output of the ceiling square lamp.
I set up a small light source to emulate camera flash and it gave me some extra specular highlights front in camera. I attached it behind VRayCamera.

This is the raw render from this light source.
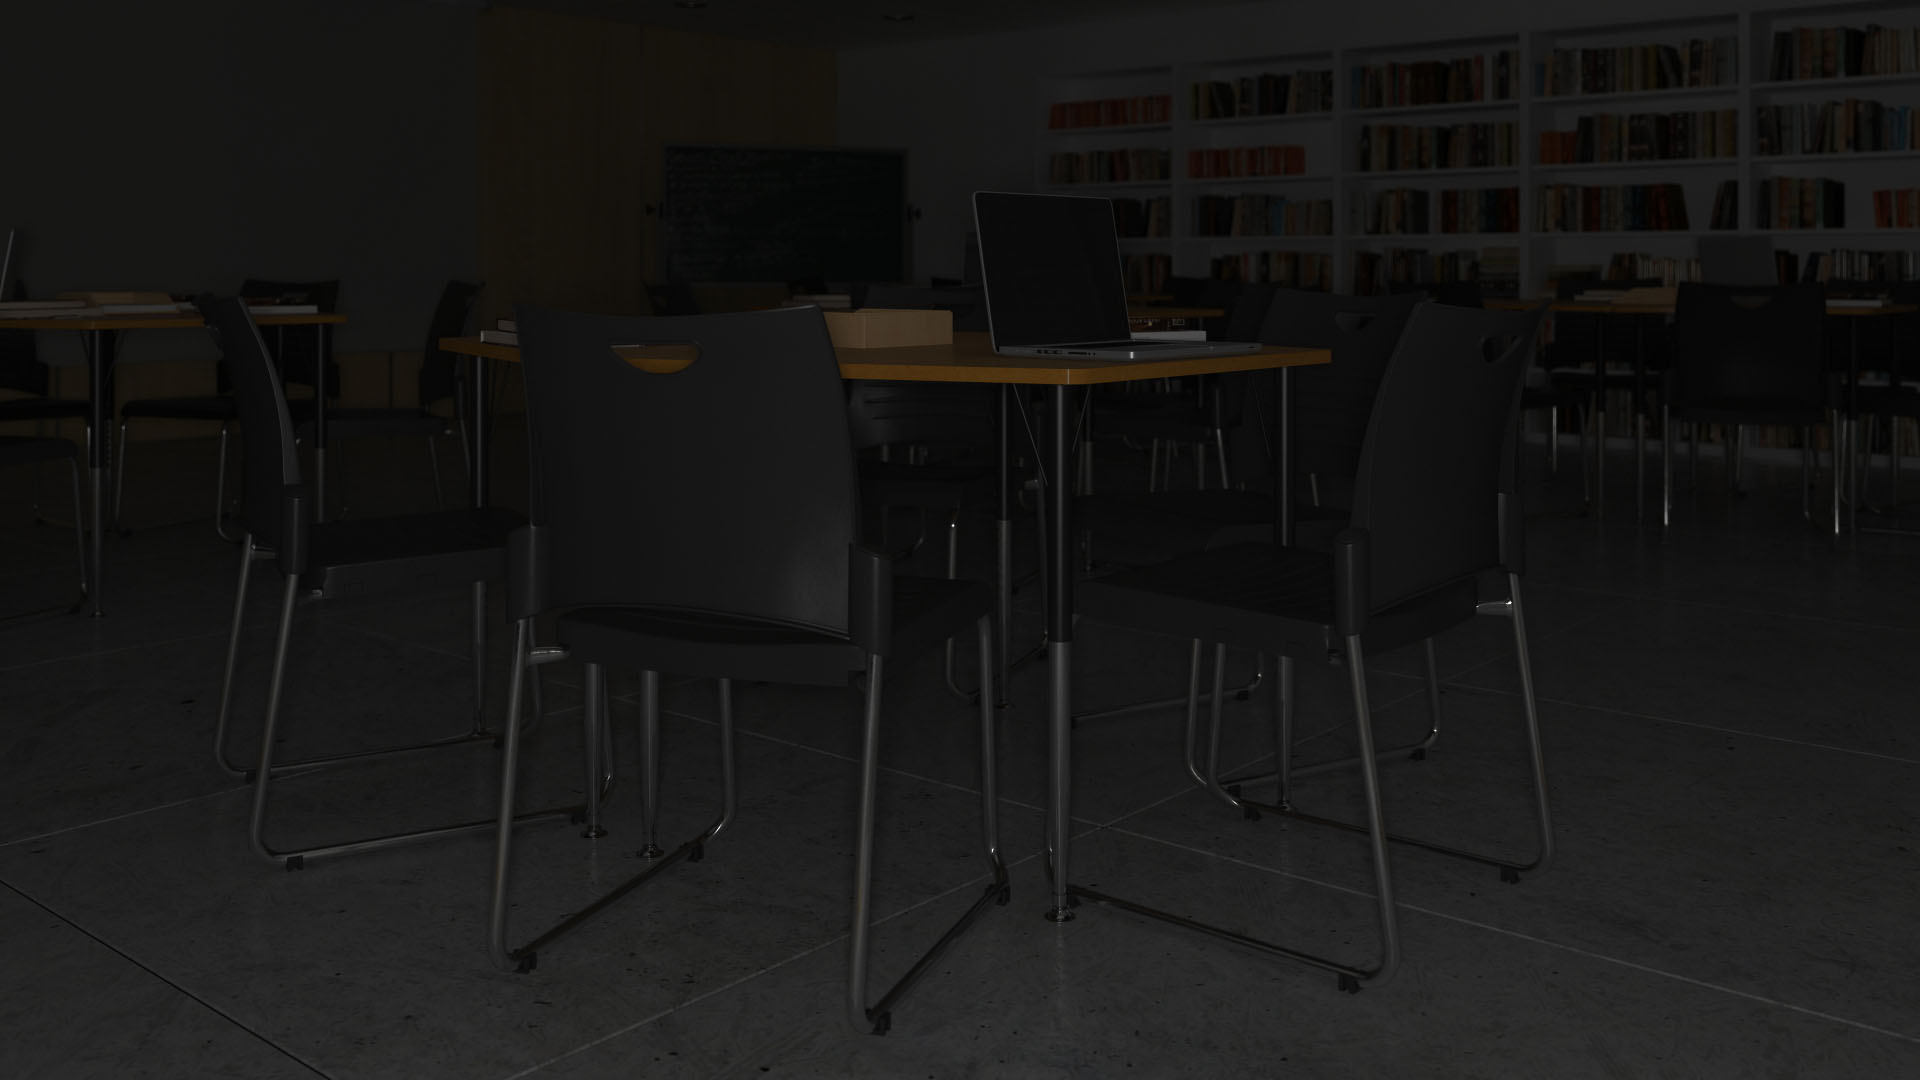
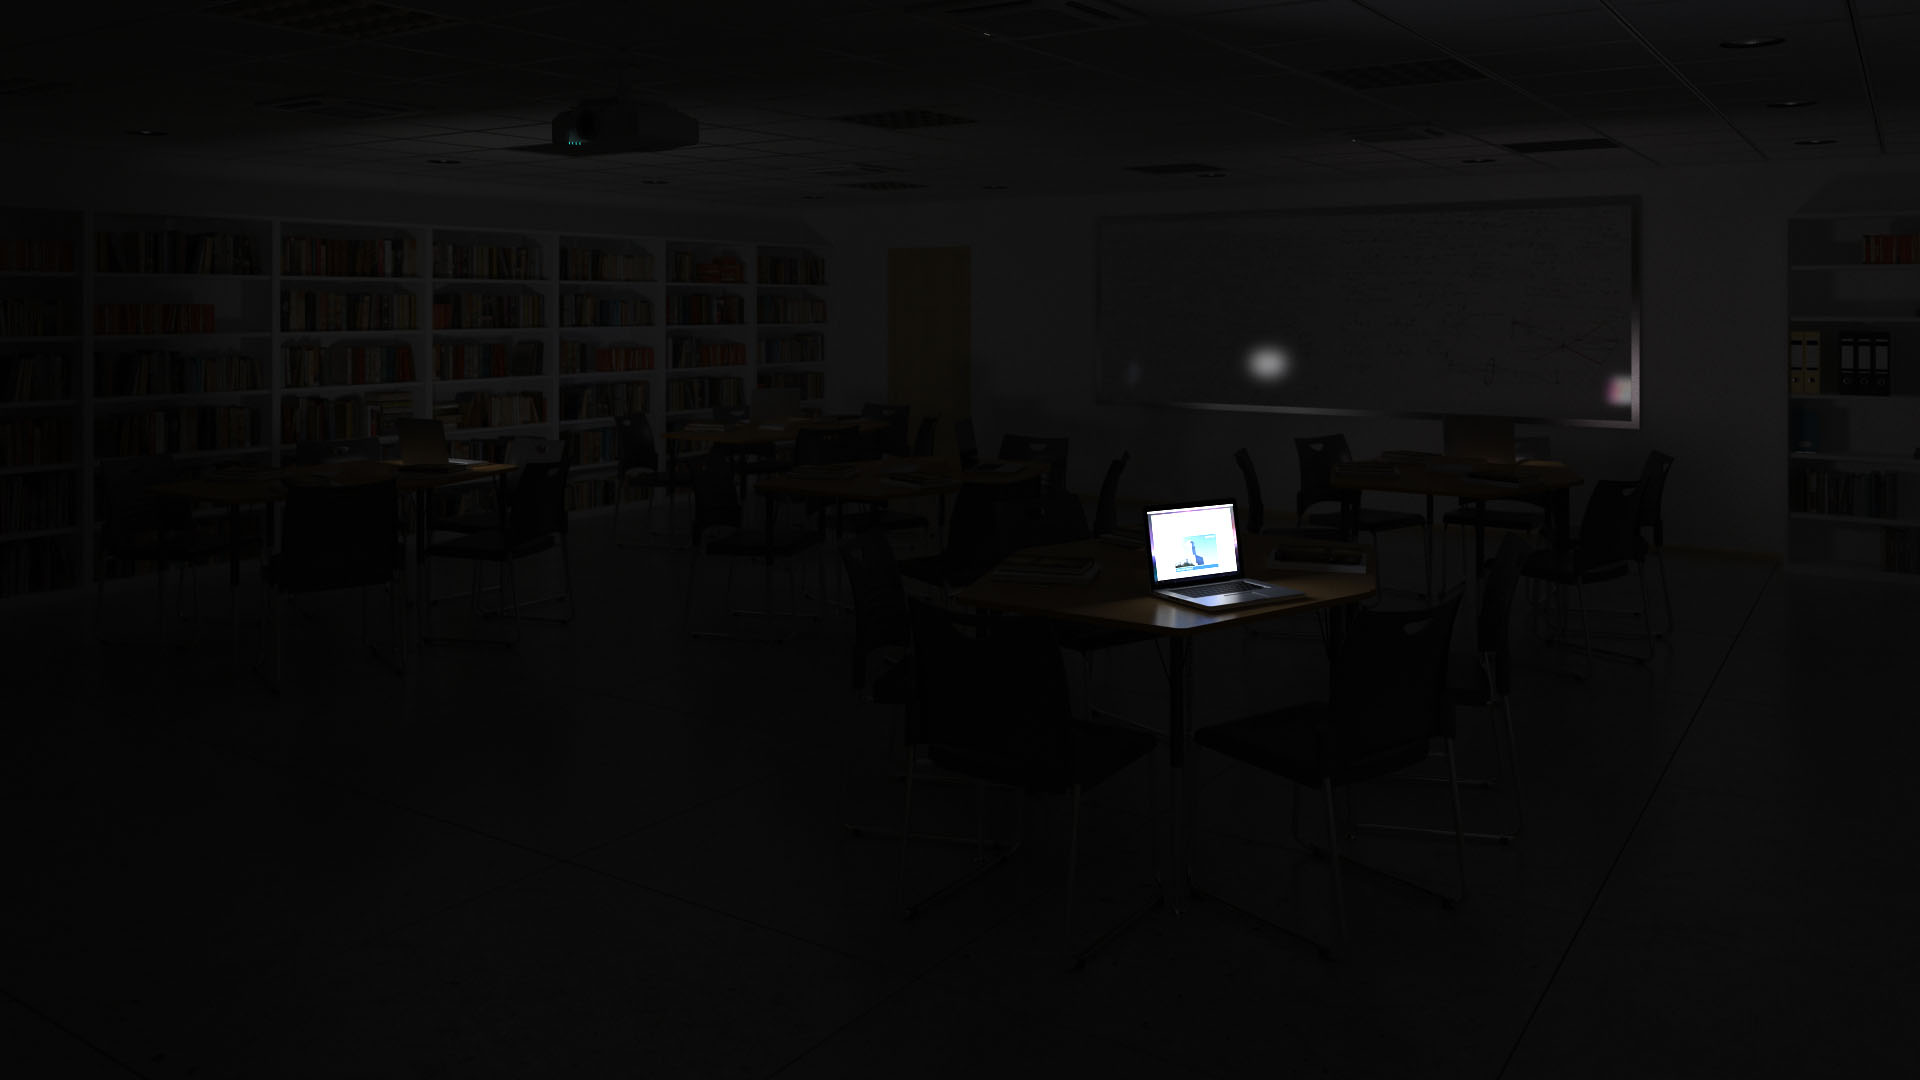
And finally, another light source is the screen from laptops in tables. For that type of light source I used VRayLigthMtl.
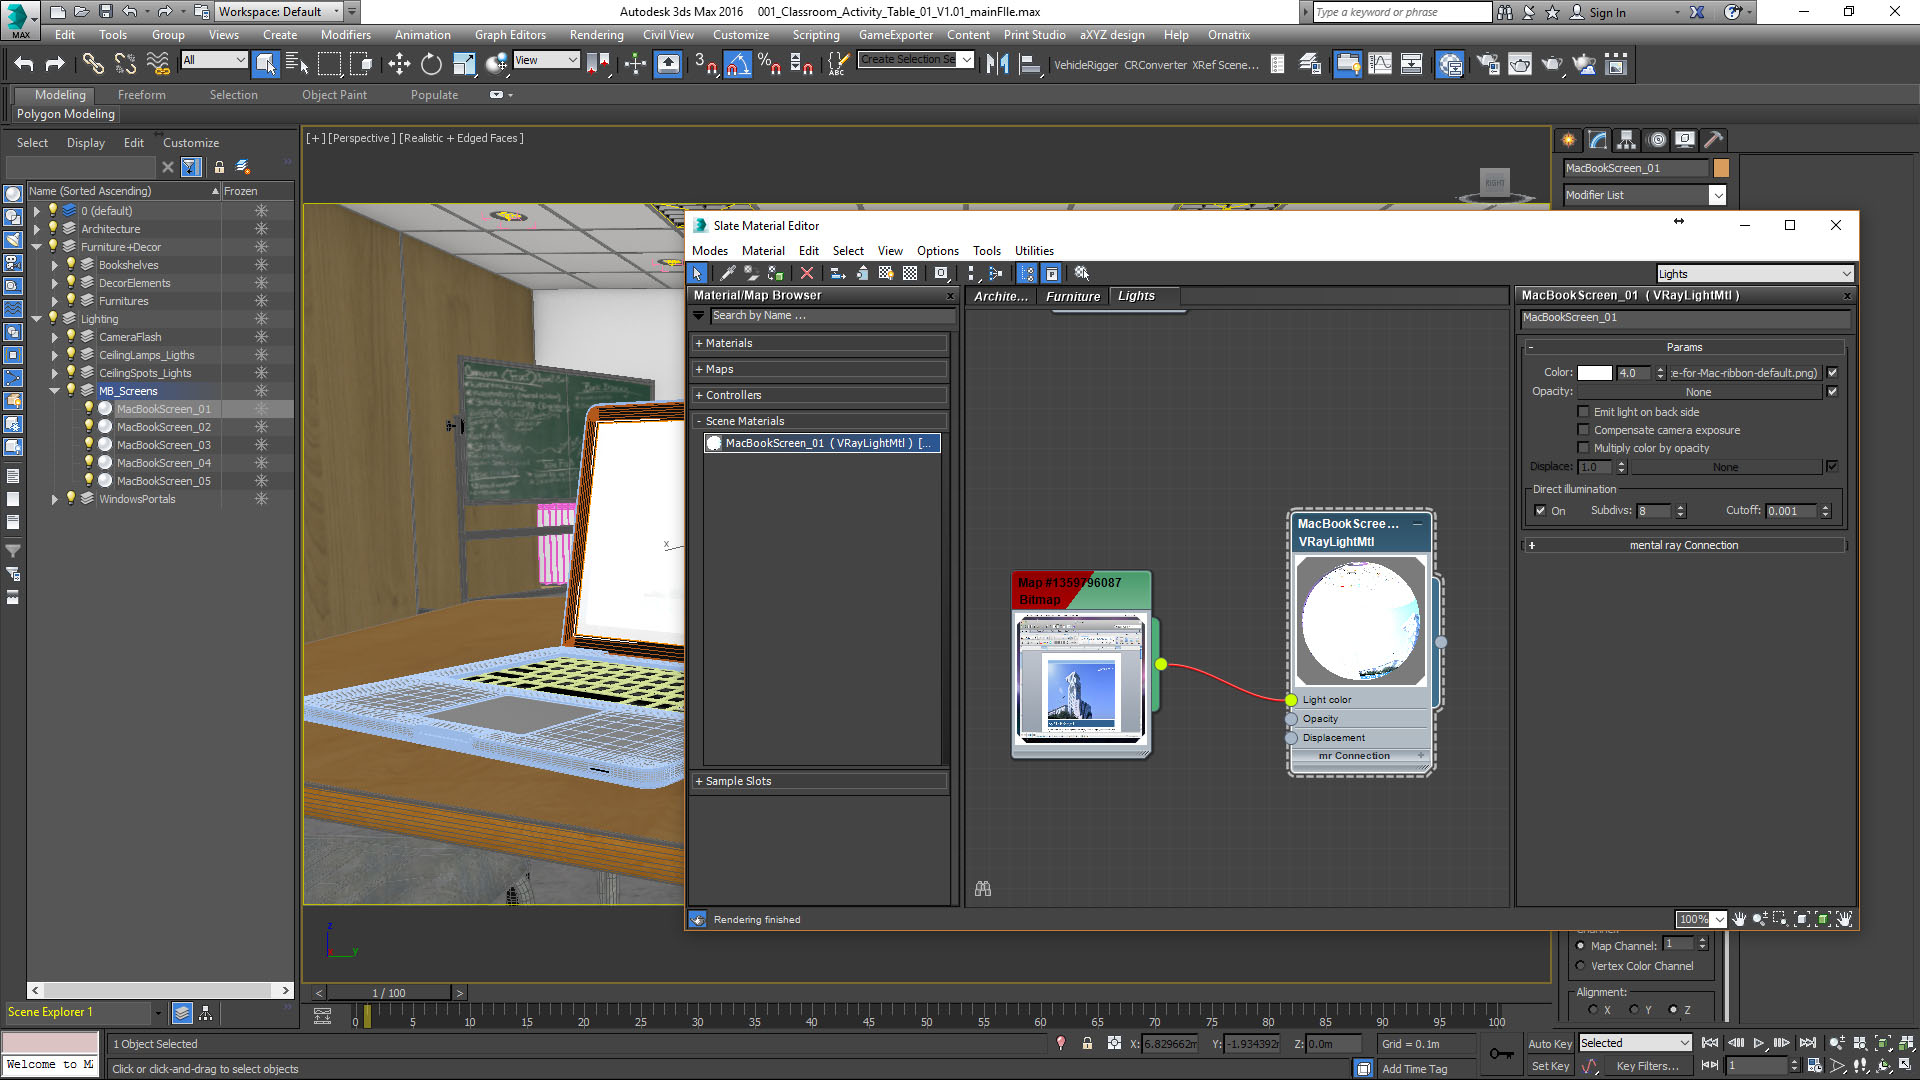
This is the raw render element for the laptop screens.
The Render Setup hasn't changed more than the default setup that comes with V‐Ray. Also, the Camera used for this interior was a Standard 3ds Max Camera. The Depth of Field effect was rendered directly from V‐Ray and was configured using the Camera rollout in Render Setup. Below are the screen captures of the scene render setup.
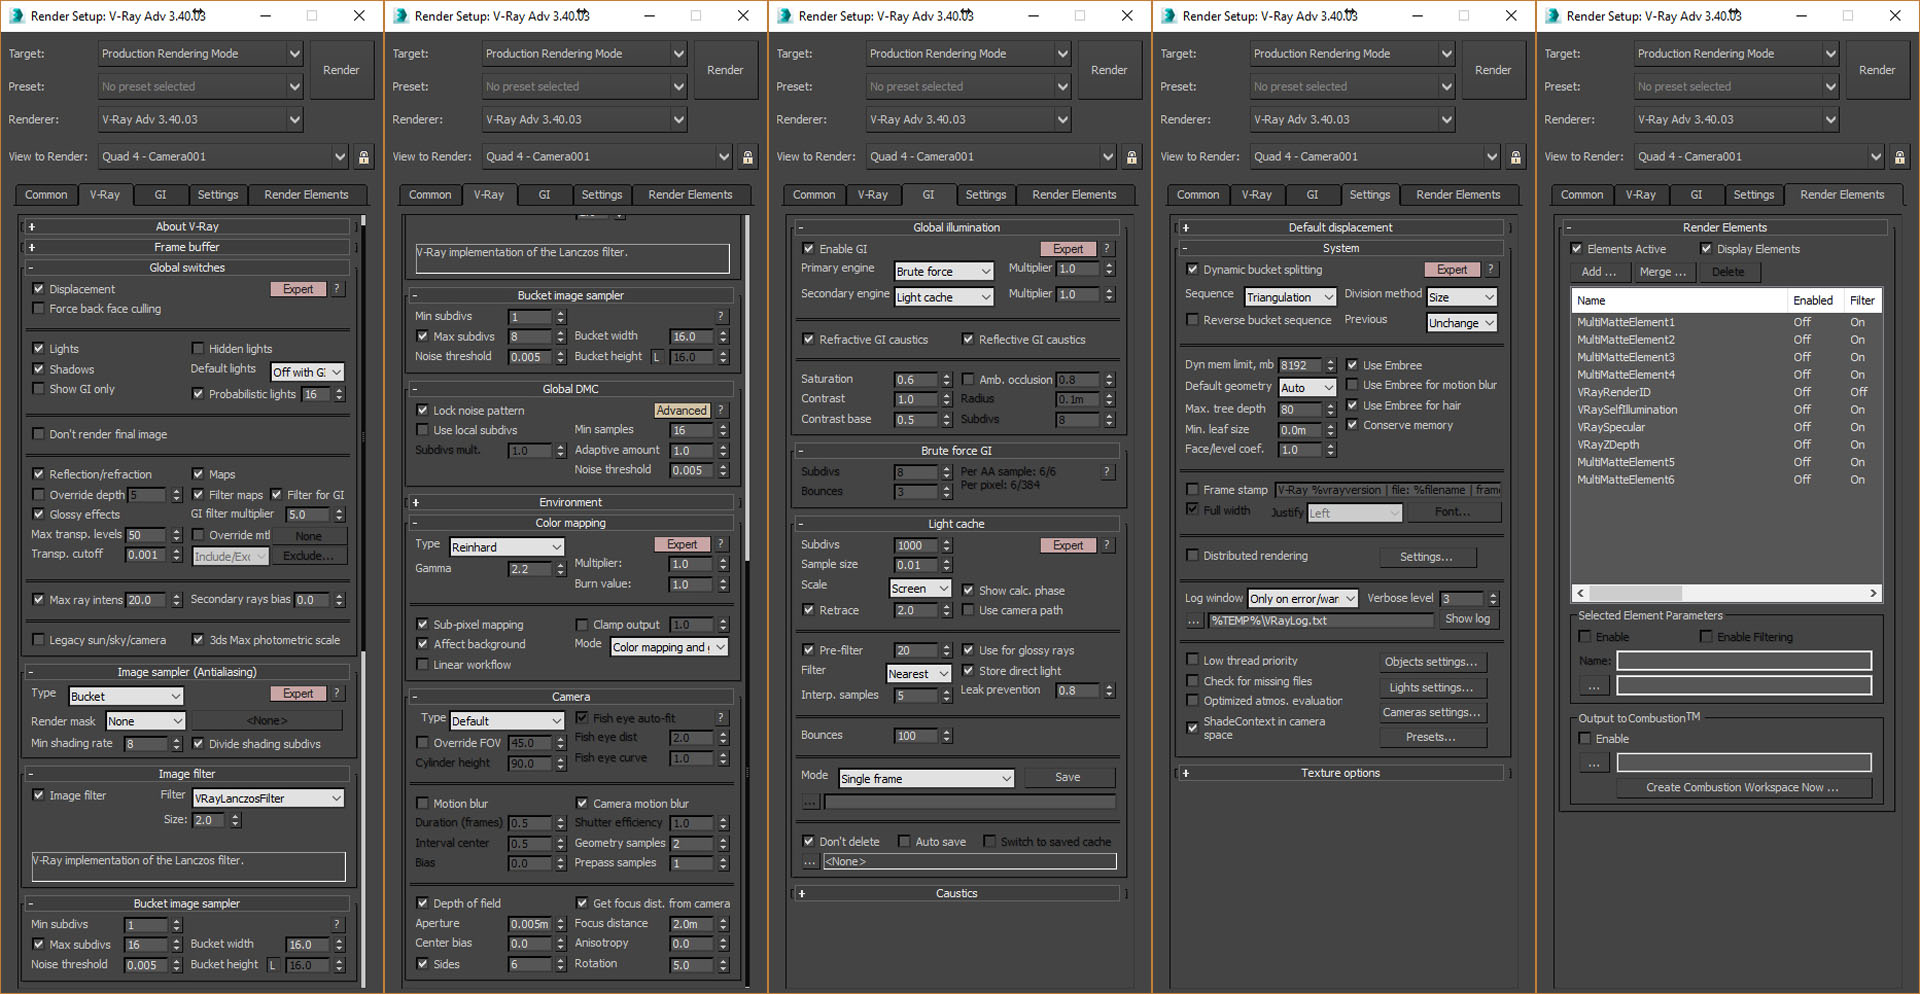
Here the render elements generated have a little more control over every part of the scene.

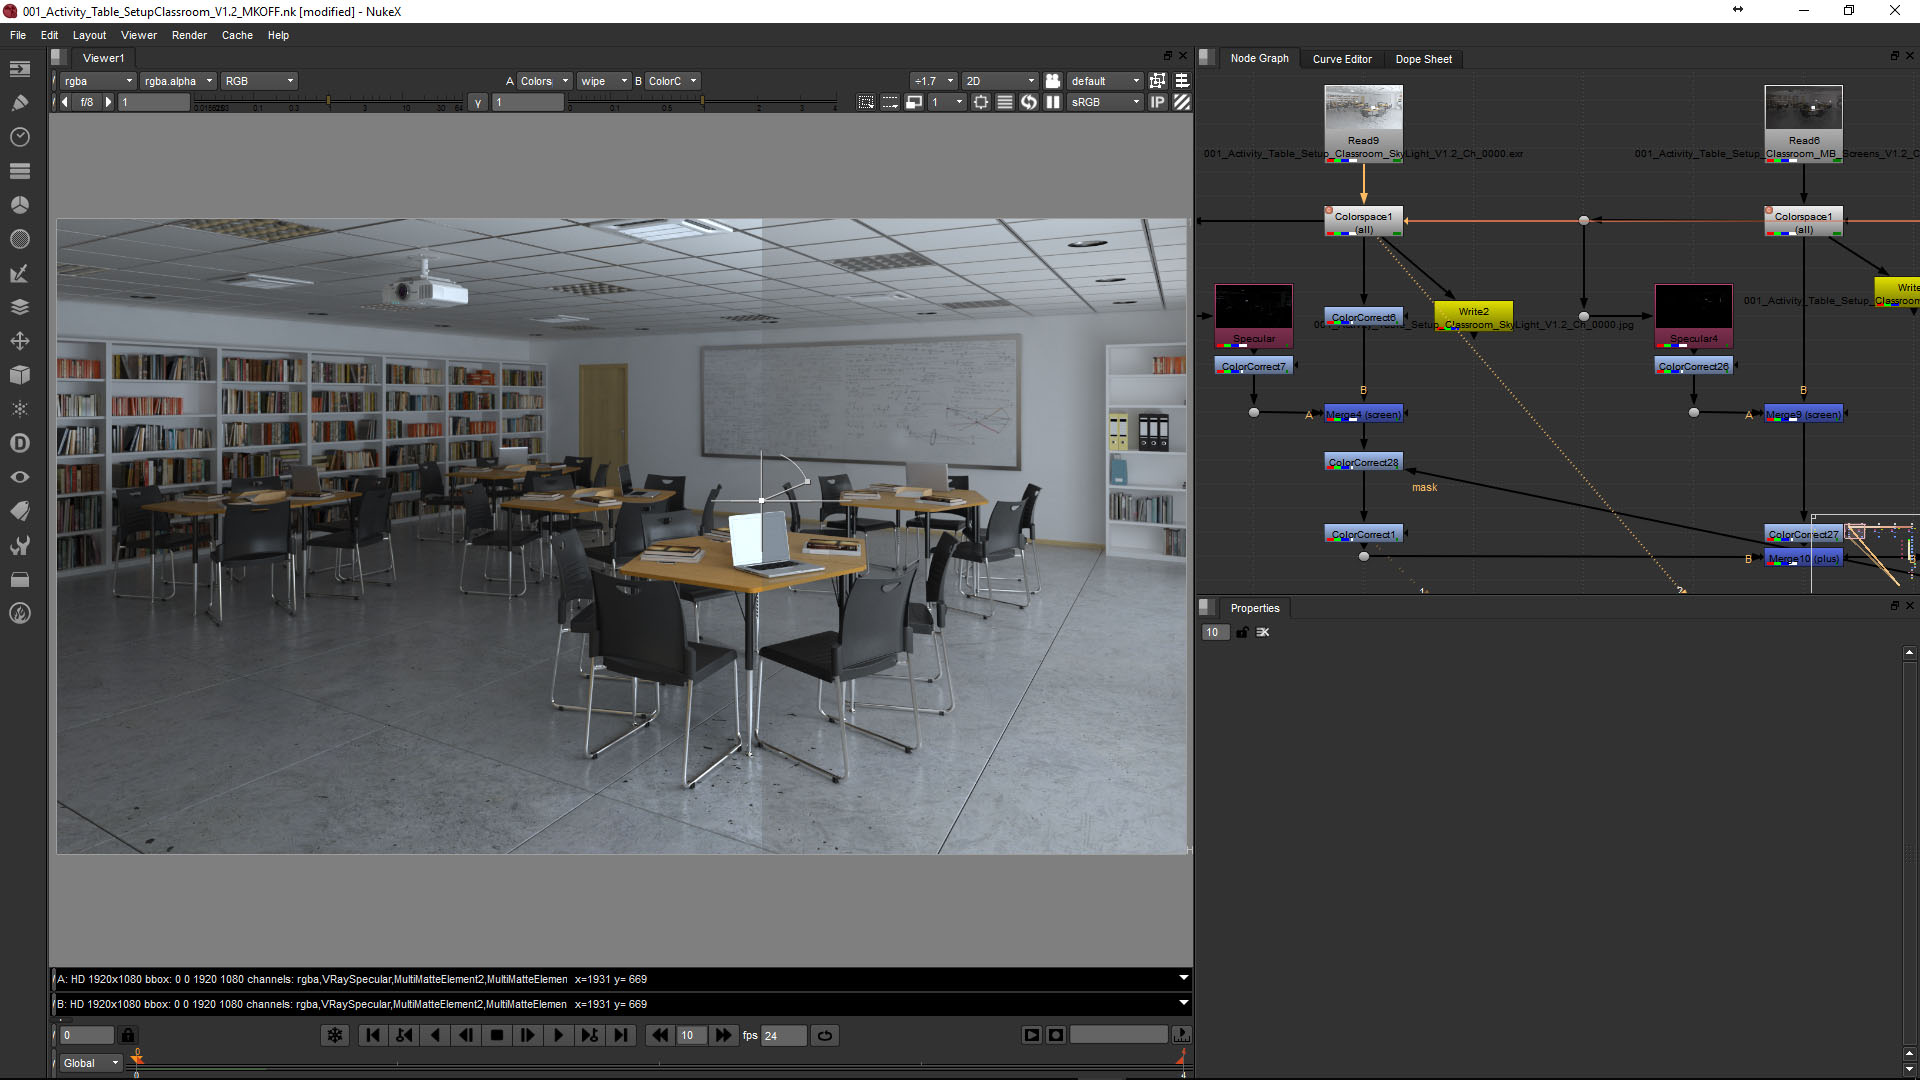
The PostProduction work was done using Nuke and I chose to do it in that program because of the easy workflow it has for images in EXR 32bit. One good feature is that it supports better the EXR multichannel file. It gives me more control over every channel with a simple Shuffle node to extract any channel embedded in the EXR and I don't have to save and load every render element I want from V‐Ray.
This is the complete script of the post‐production work done in nuke:

This time I used the Shuffle node to extract every Multichannel Render Element and get better visual feedback. It is not necessary to work this way because you can mask the things directly in the Color Correct node for example, using the mask options in the tab Ranges.
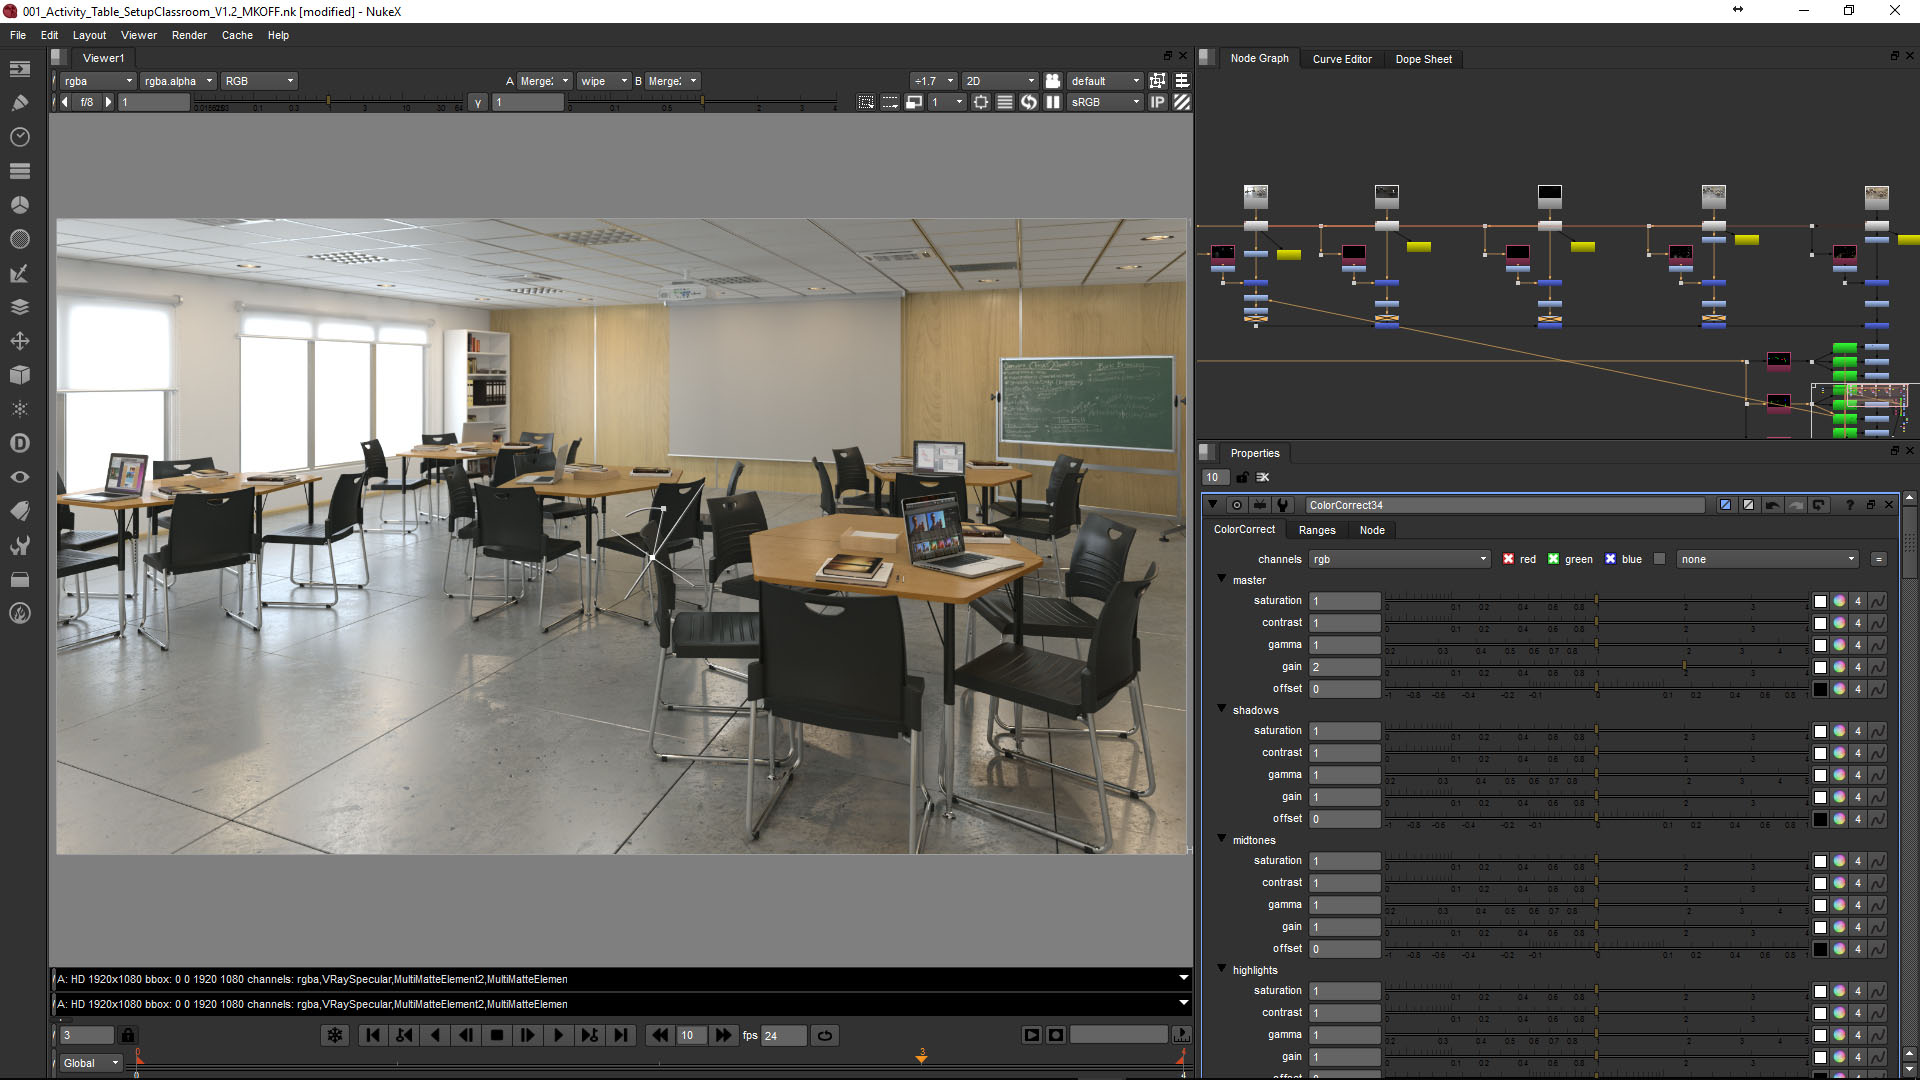
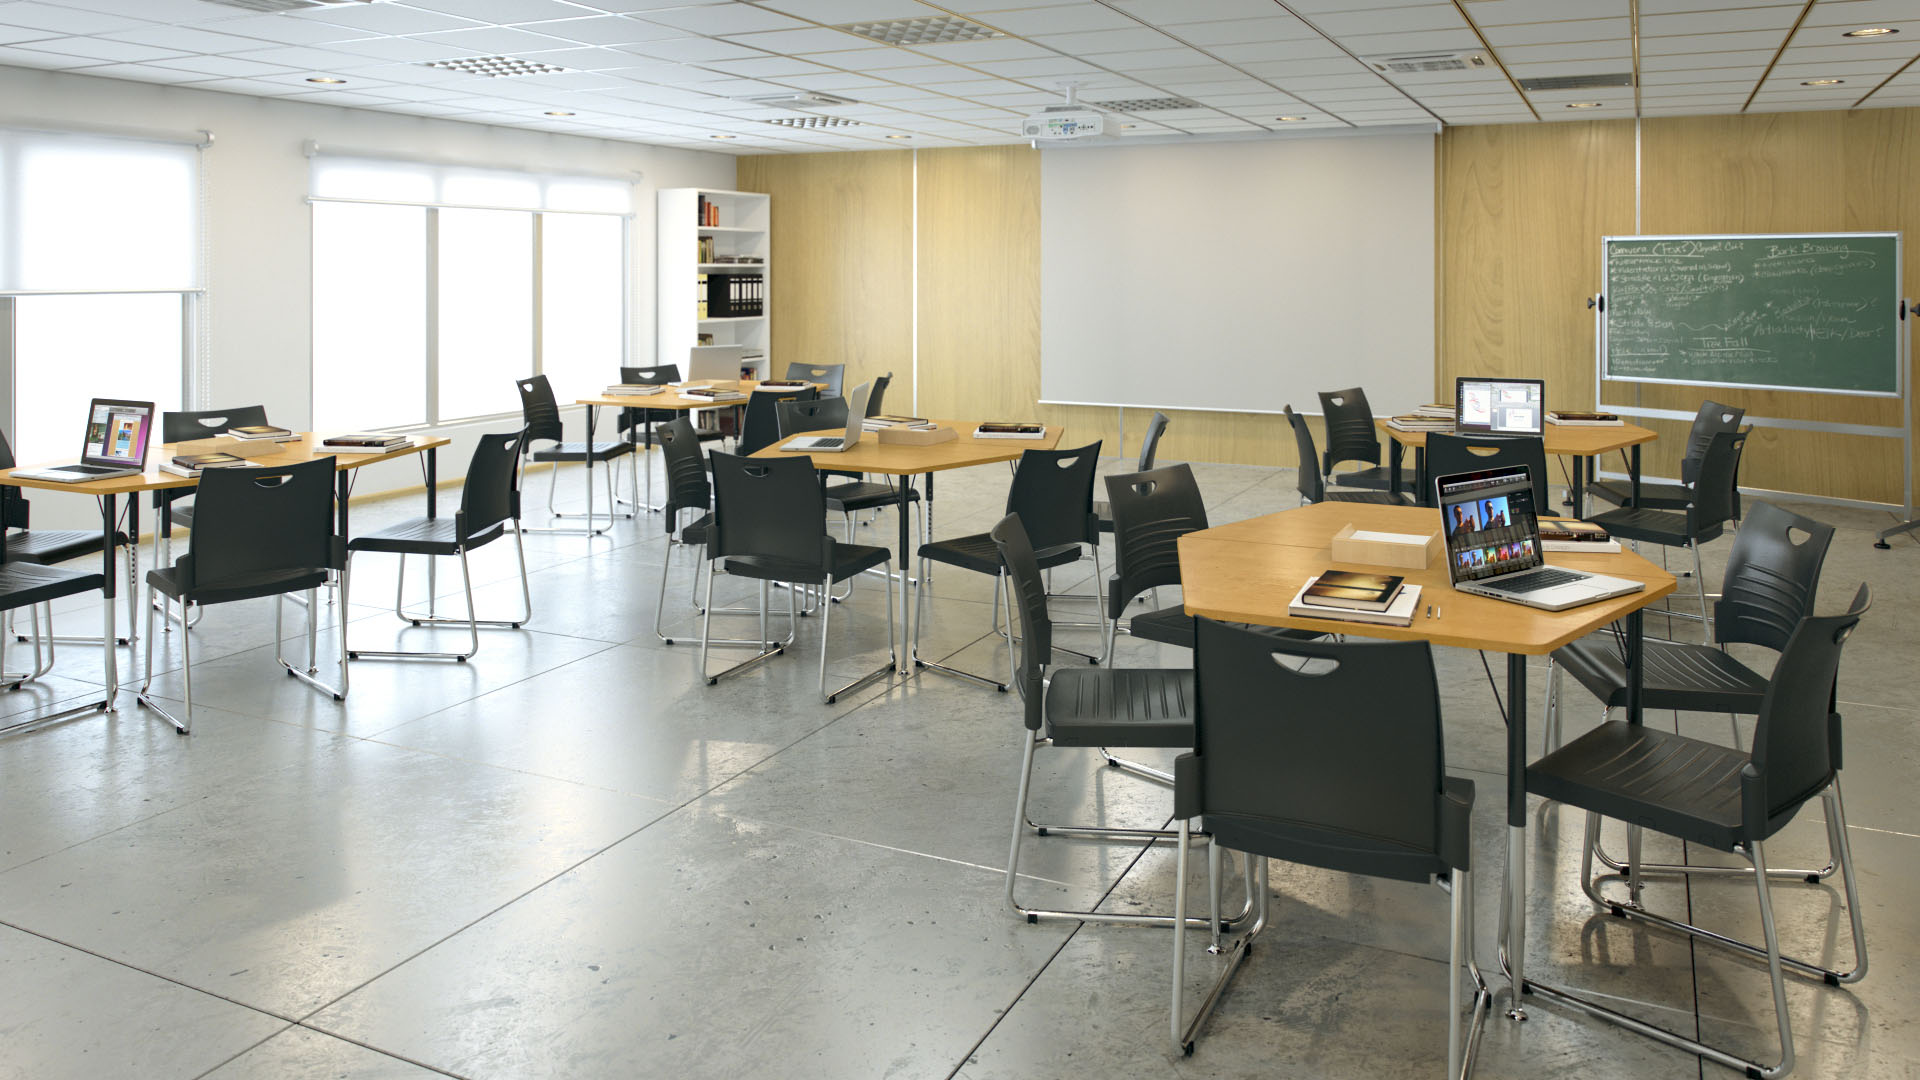
In this postproduction process, I was trying to get a more natural and realistic look than an exaggerated film grading. The key is to try and get a better result on renderer and improve it by moving small values on low, mid and high levels on the image.
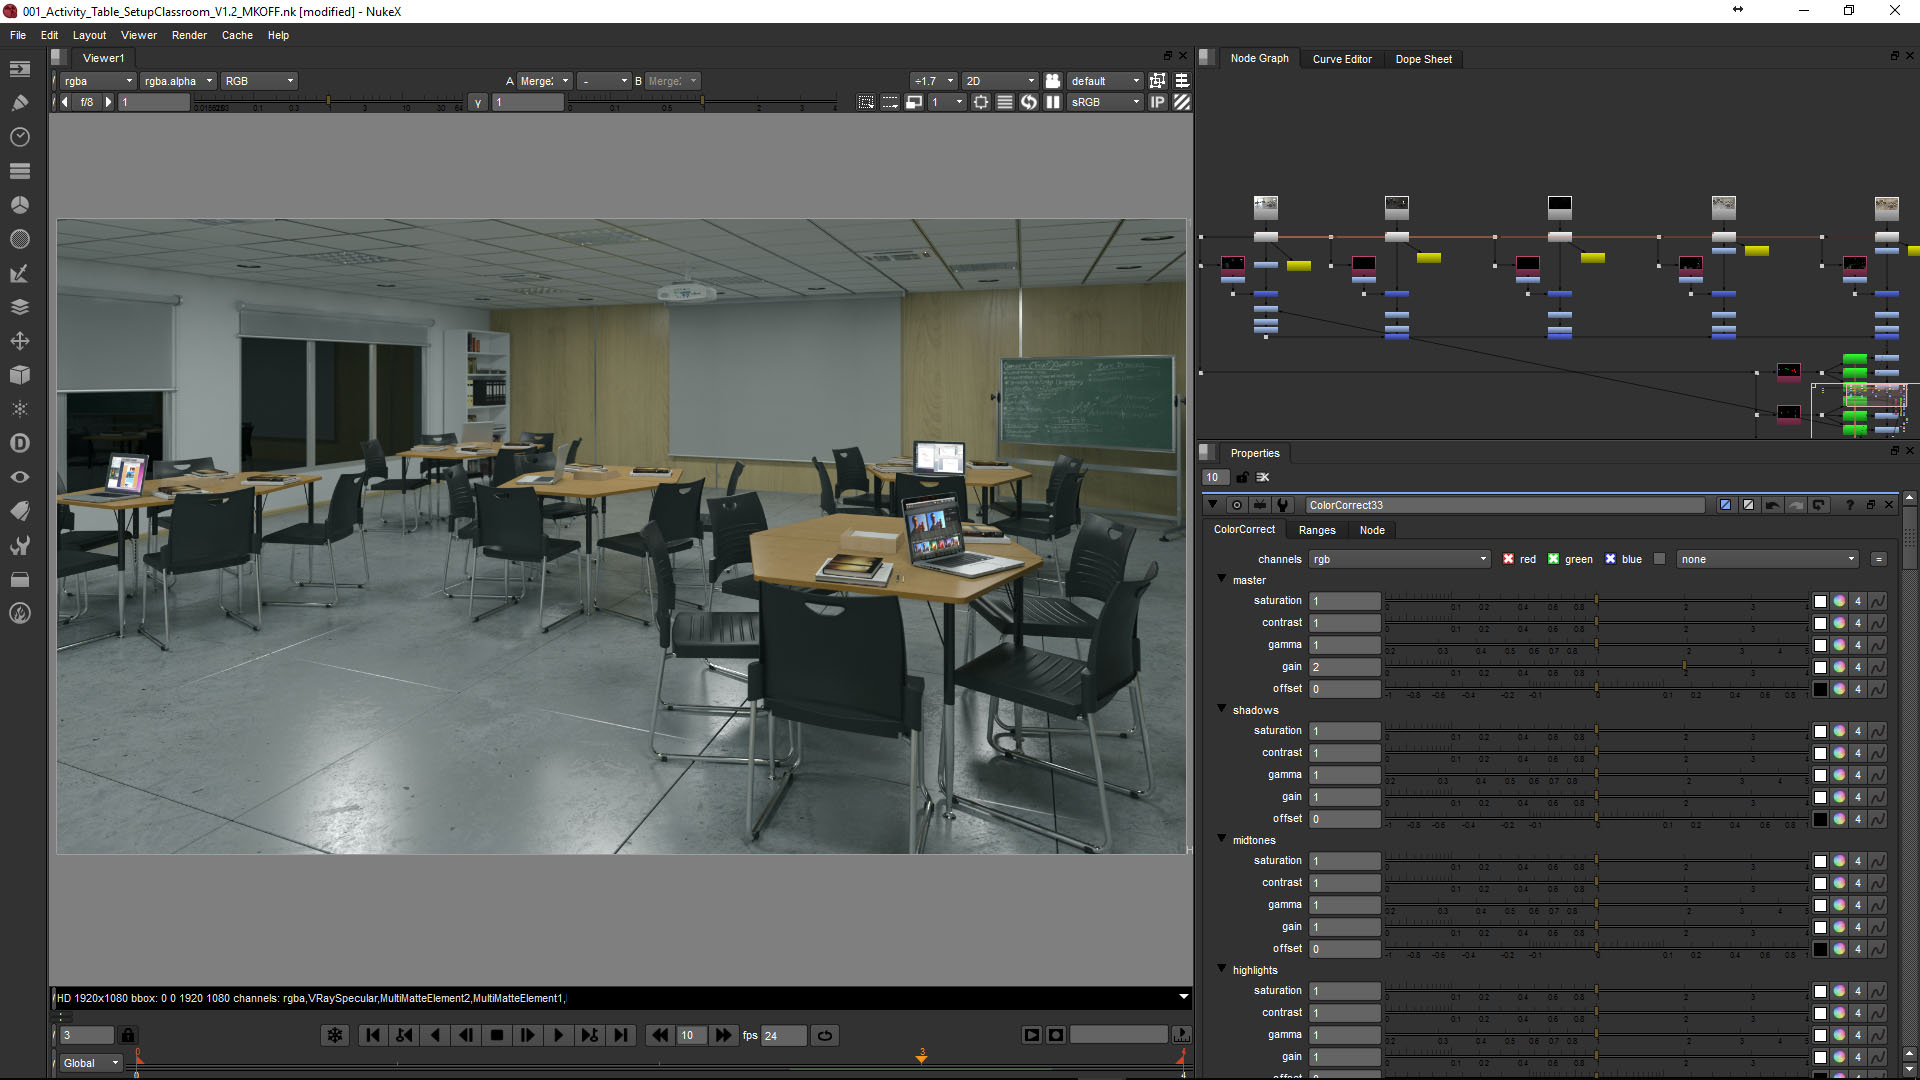
First of all, I needed to improve the intensity of every light pass so as not to have burnt areas and be able to mix it with other light passes. On this step, you can always vary a little the tint of the light pass using color correct node. Also in this step, you can increase or decrease the intensity of the specular highlights and the overall intensity of the light pass

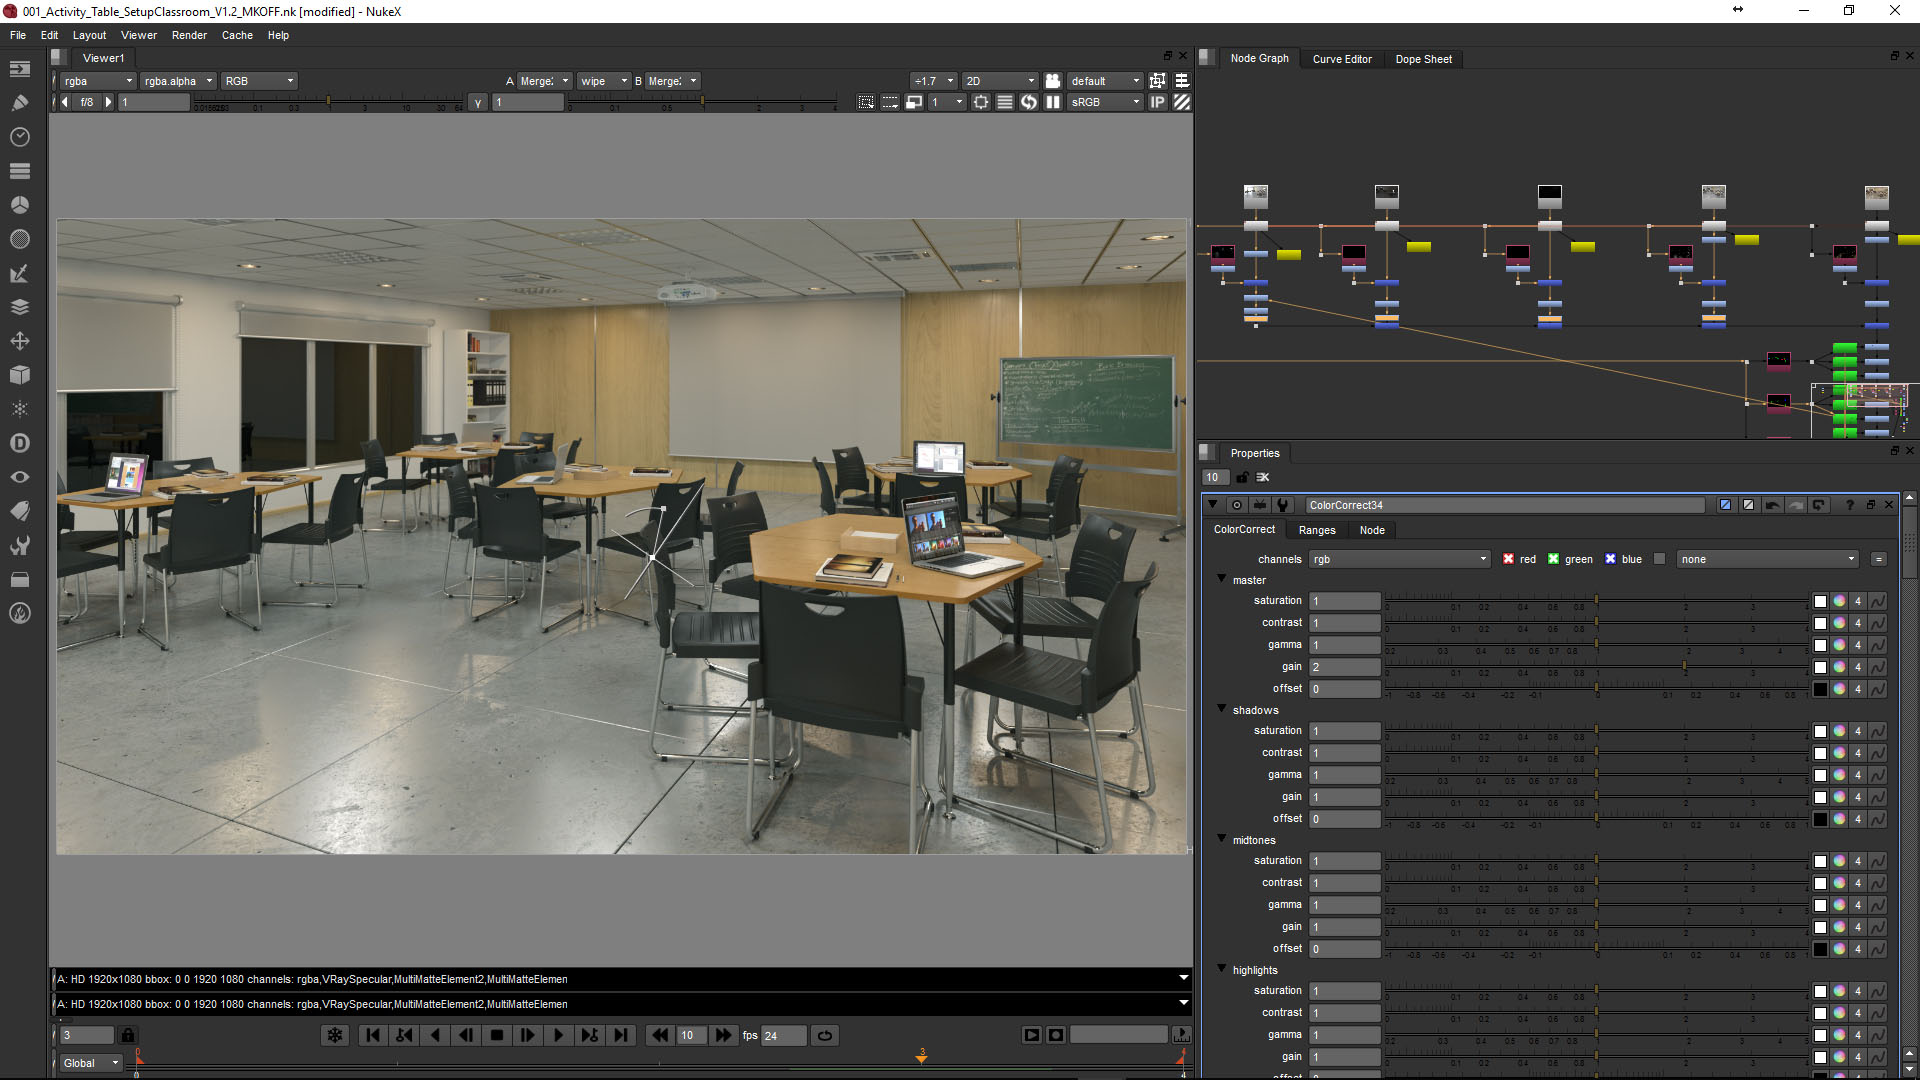
A tiny effect of warming up colours by using a colour balance adjustment layer on colour dodge mode with 3 percent opacity.
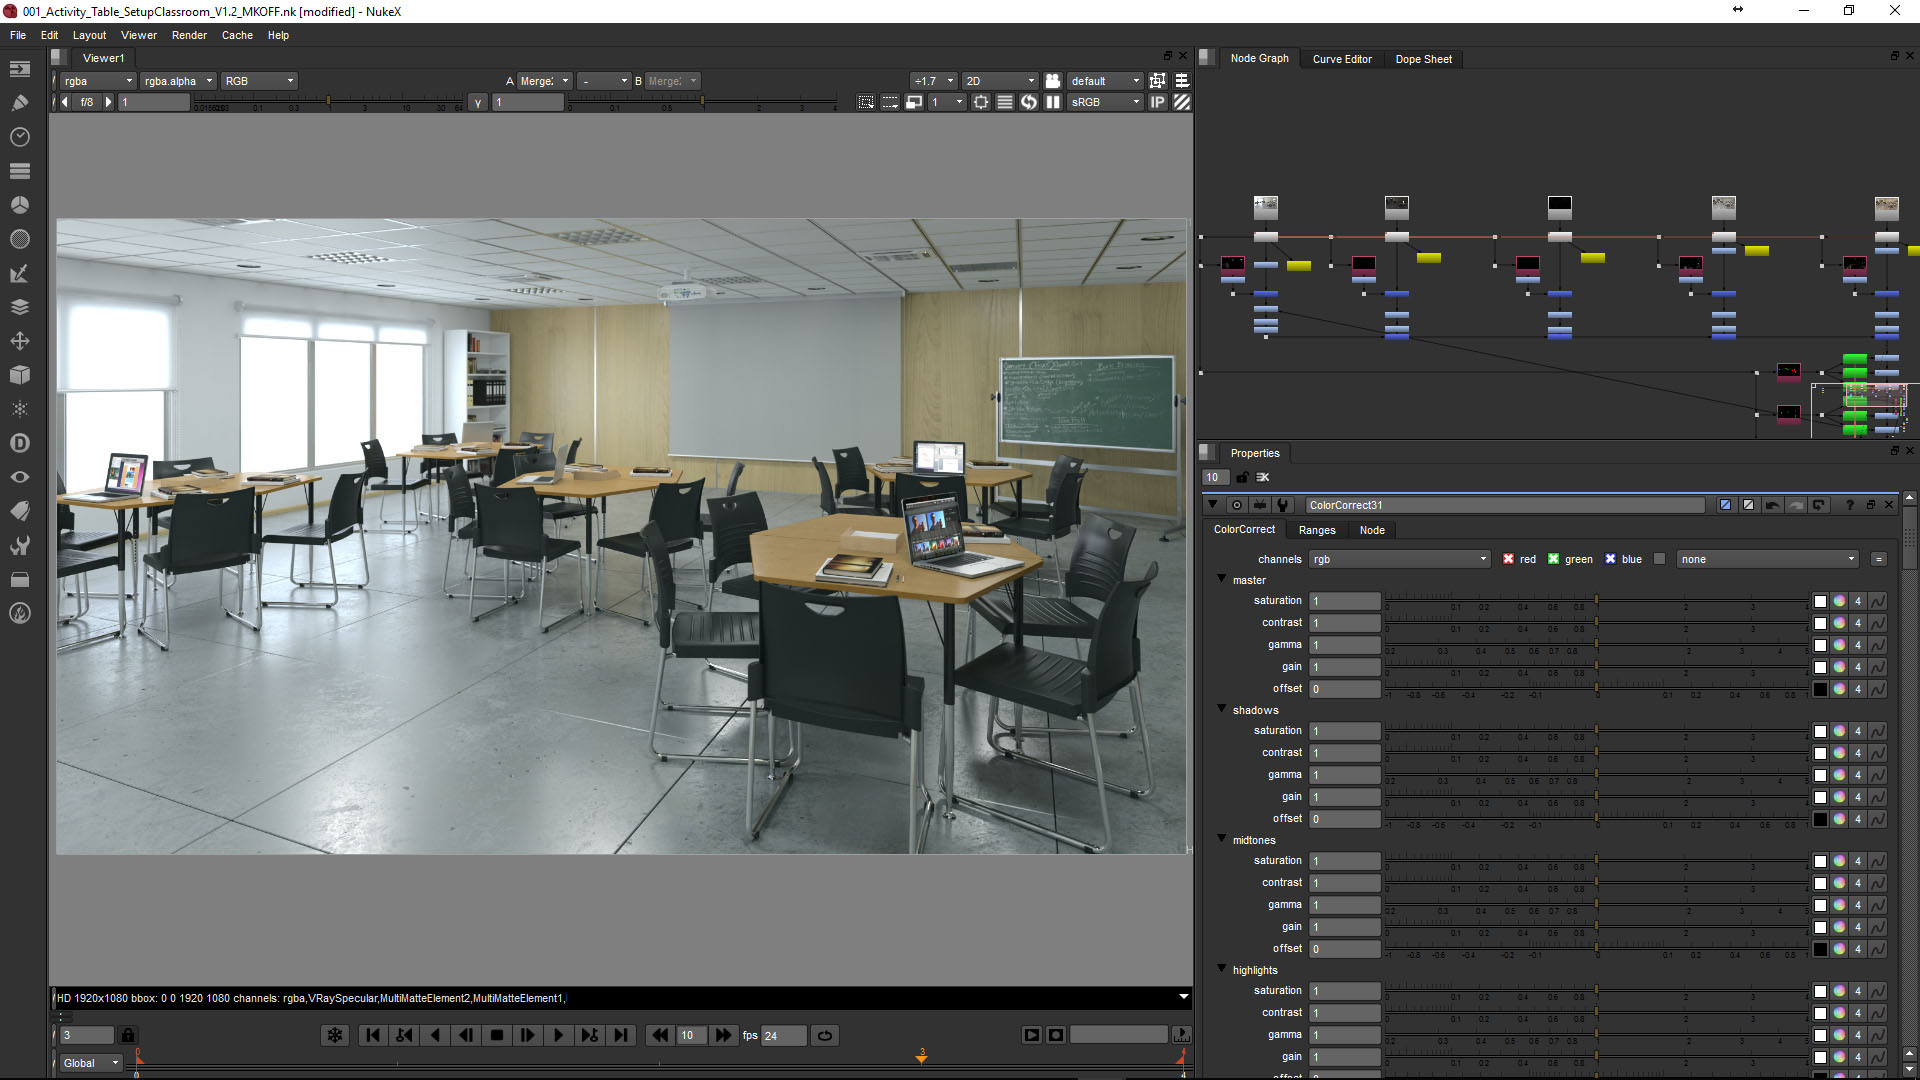
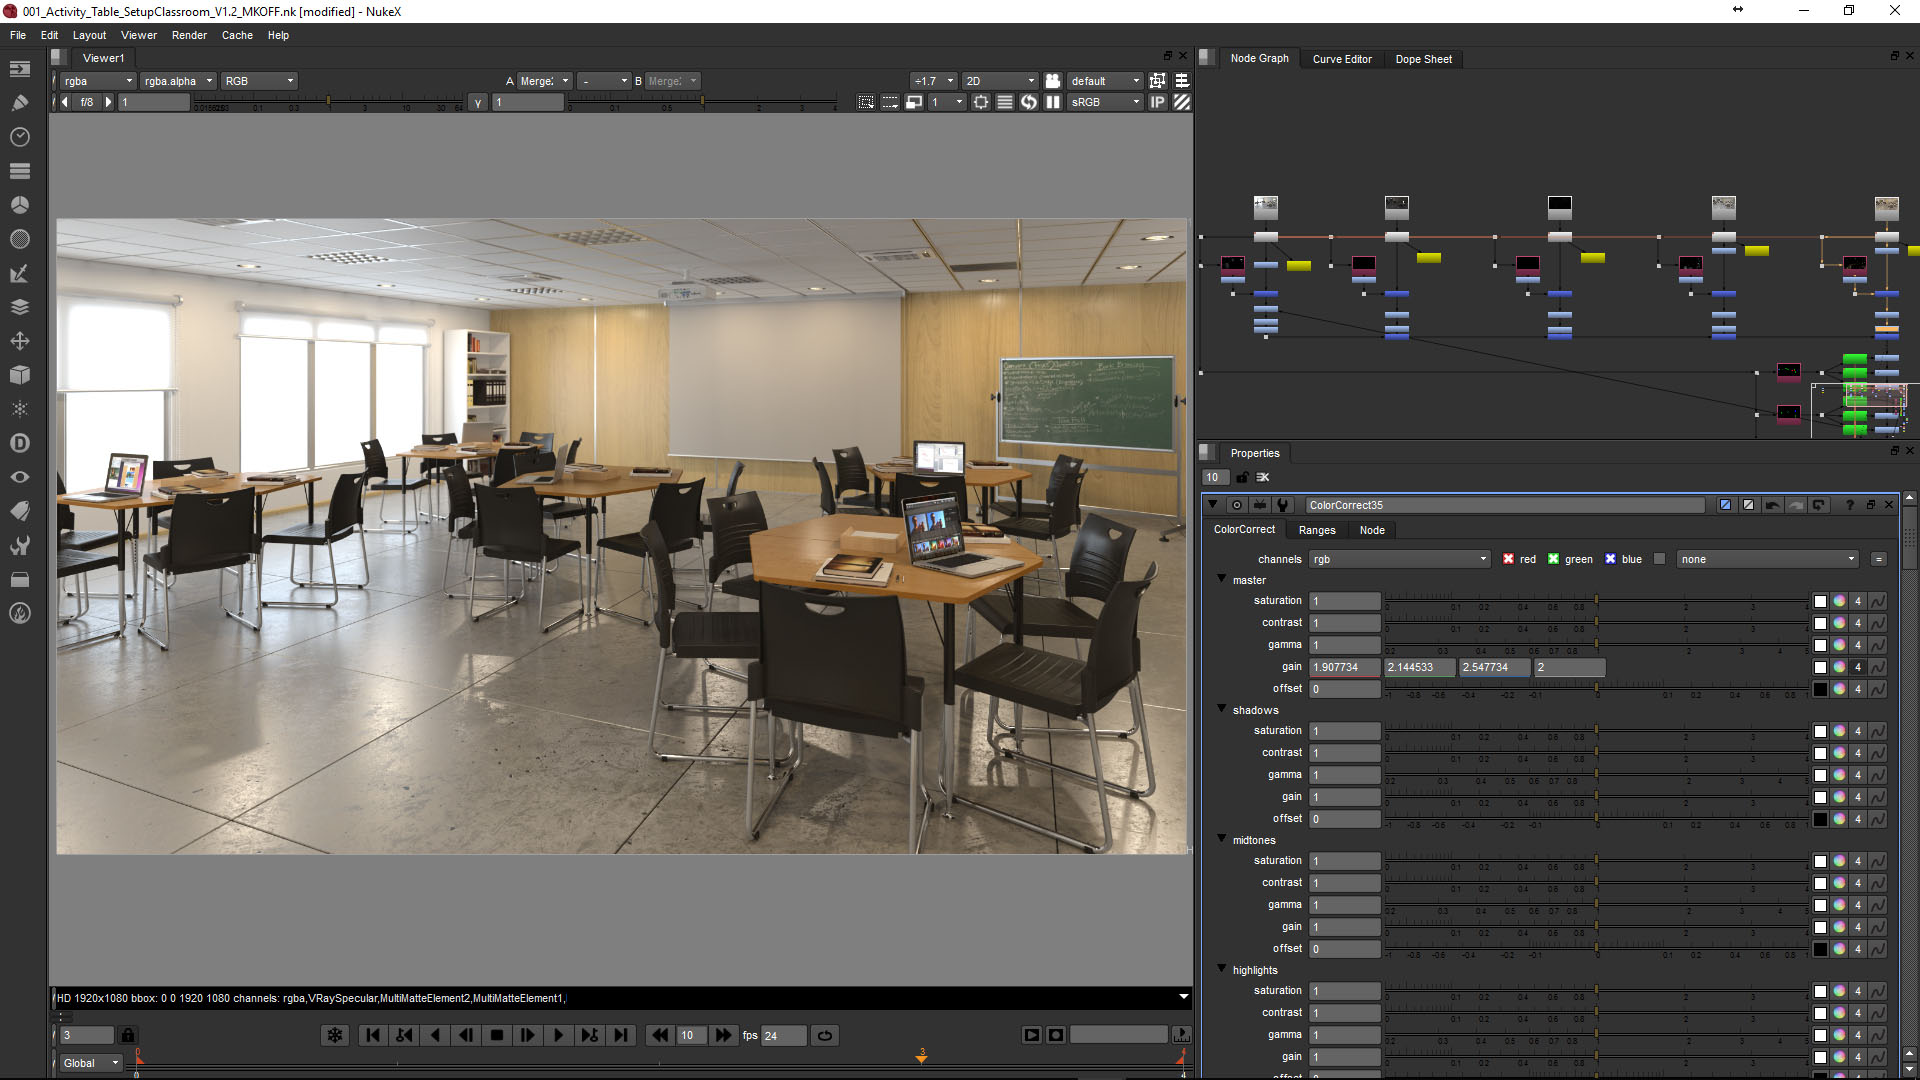
Using a merge node in plus mode you can combine the render light passes. After they have been merged, you can play with the color correct node of every light pass and you will see how the lighting, shadows and specular highlights interact in real‐time, very similar to how V‐Ray RT, Corona Renderer, Maxwell or Arion use the light mixing features.
If you want, you can create many light variations of the same render and also create animation creating keys for the intensities and tints.
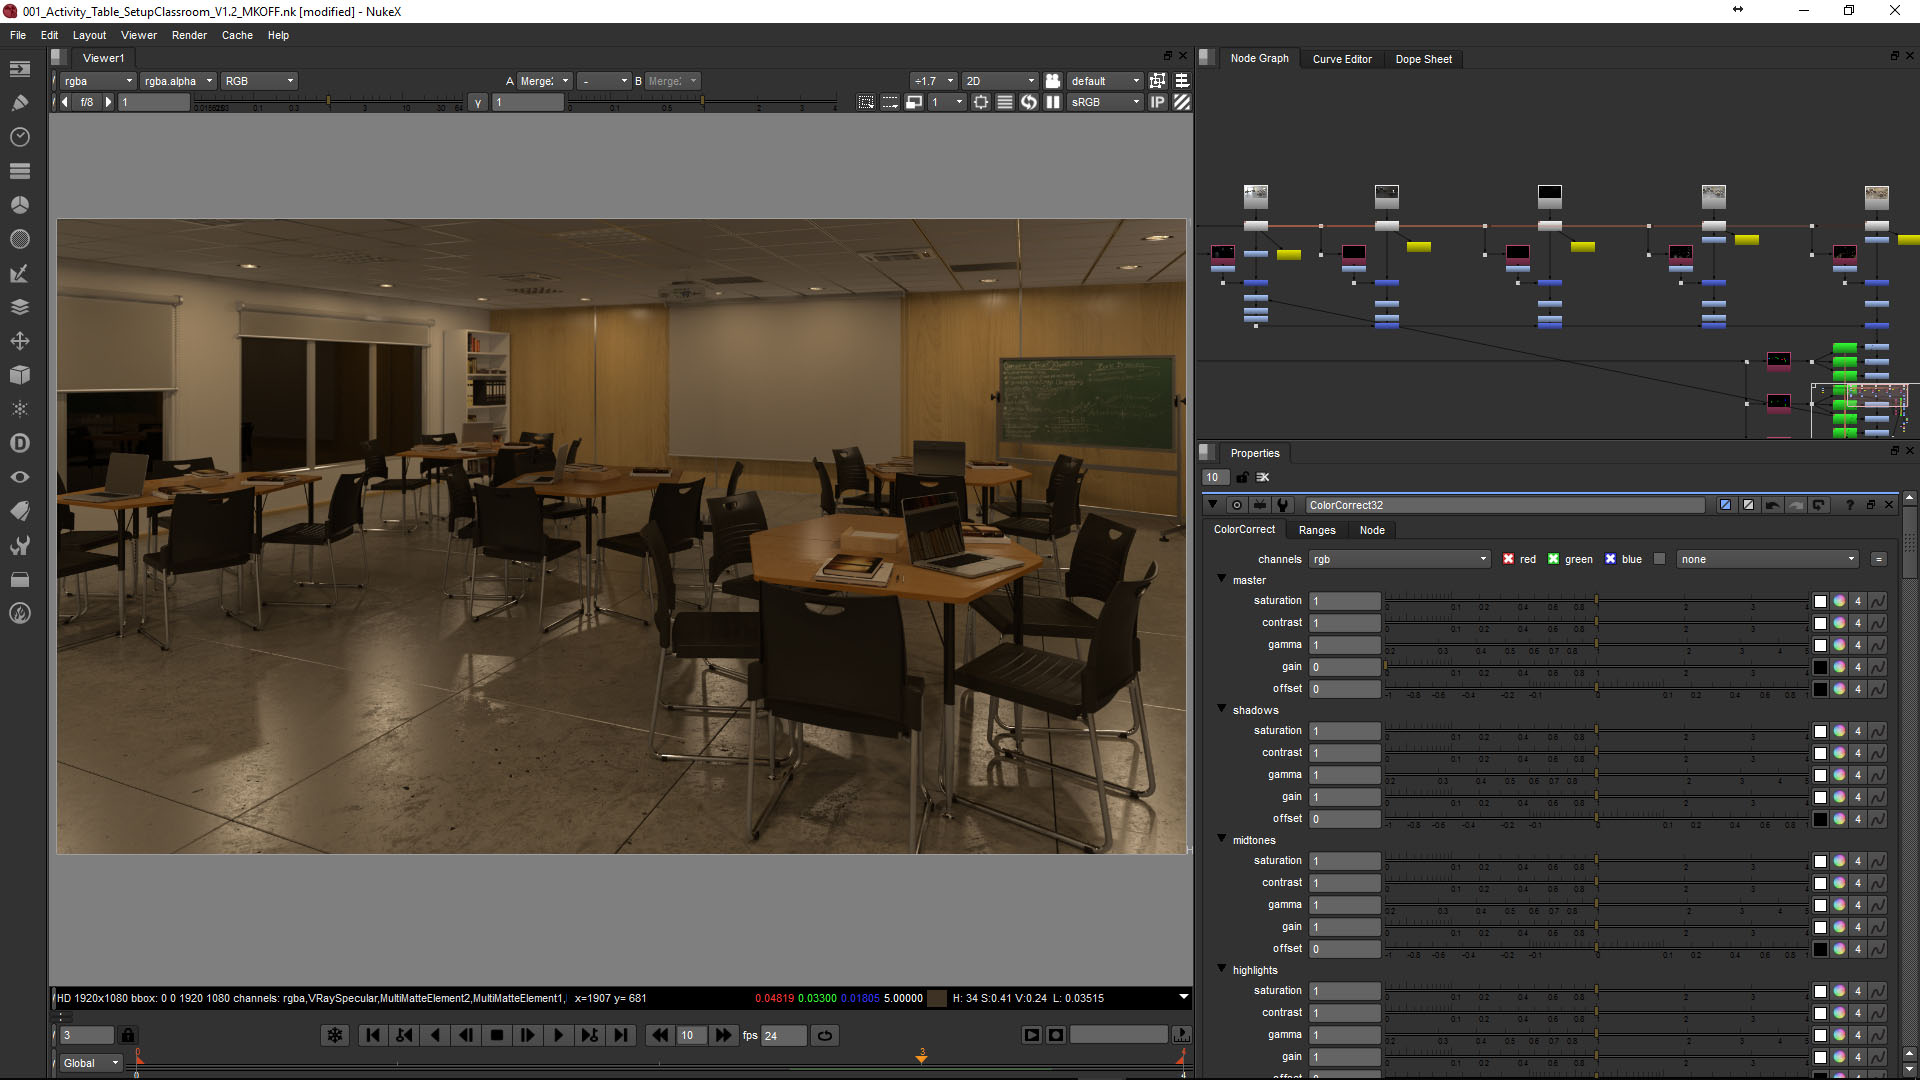
With the shuffle node I can extract a Multimatte Element previously configured in Render Elements in 3ds Max and with the Keyer node we can mask the red, green or blue channel. In ds Max I set p the ID based on Material ID. This process gave me an extracontrol to change the intensity/color of every element that has a Mask Channel.
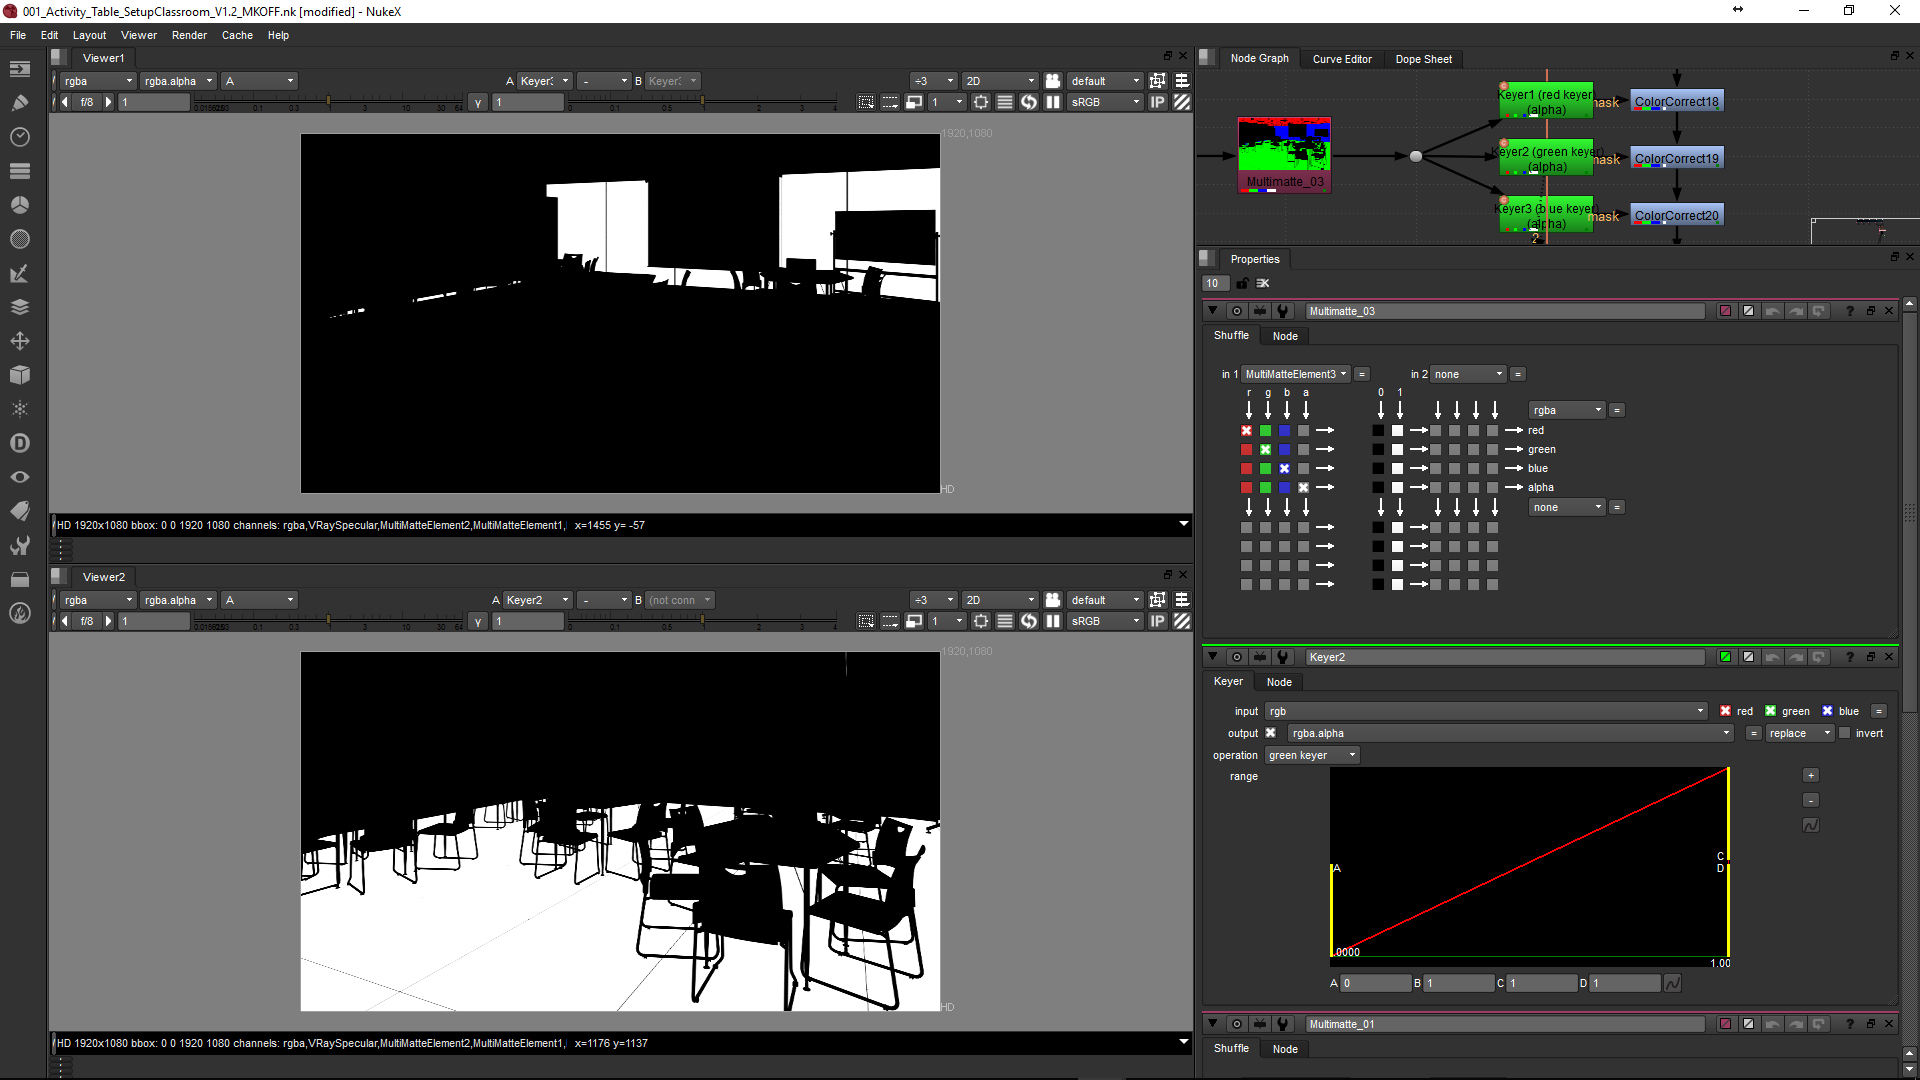
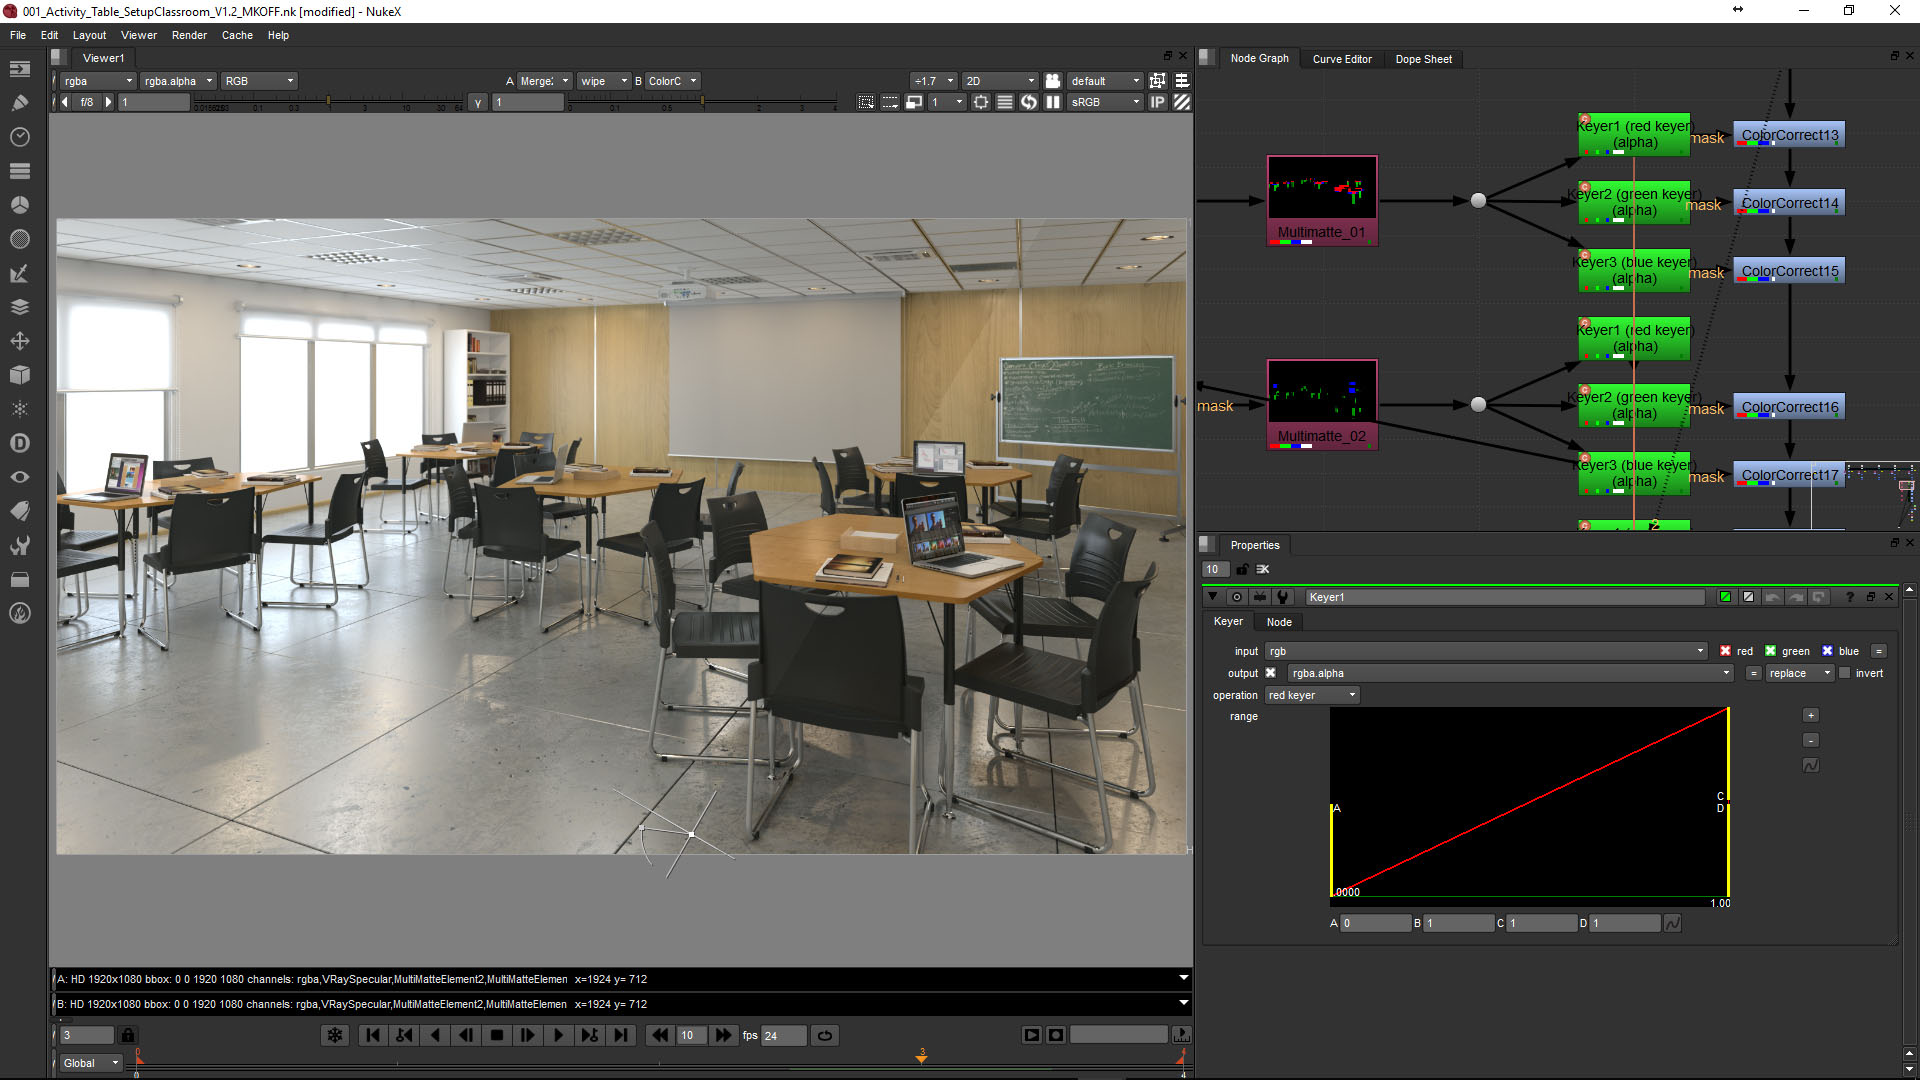
In this scene, the changes are not so obvious, so I hope this close-up can help.

Finally, I added Vignetting using Roto node, Last Color Correct node for little adjustments on intensity and tint, Chromatic Aberration, Grade to reduce the over burnt areas, the contrasted shadows, white balance and to add Film Grain for the final output.


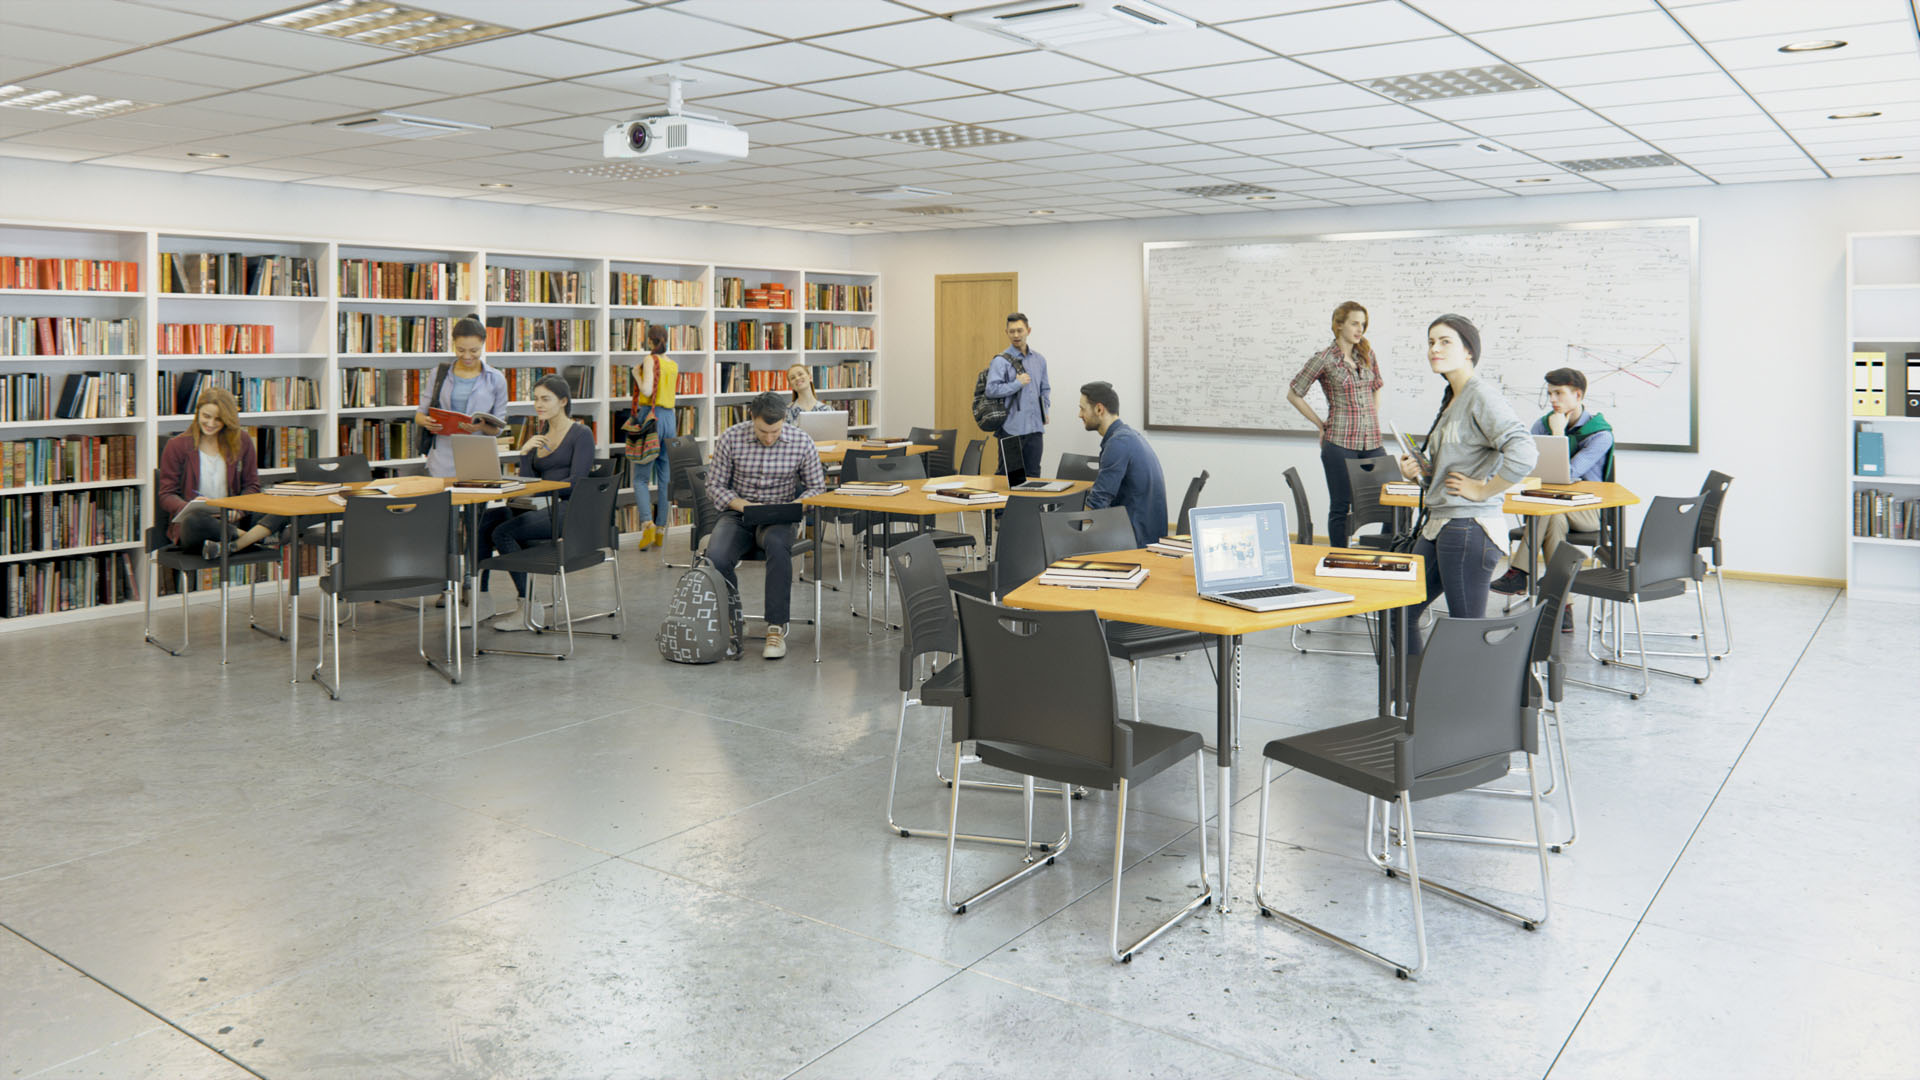

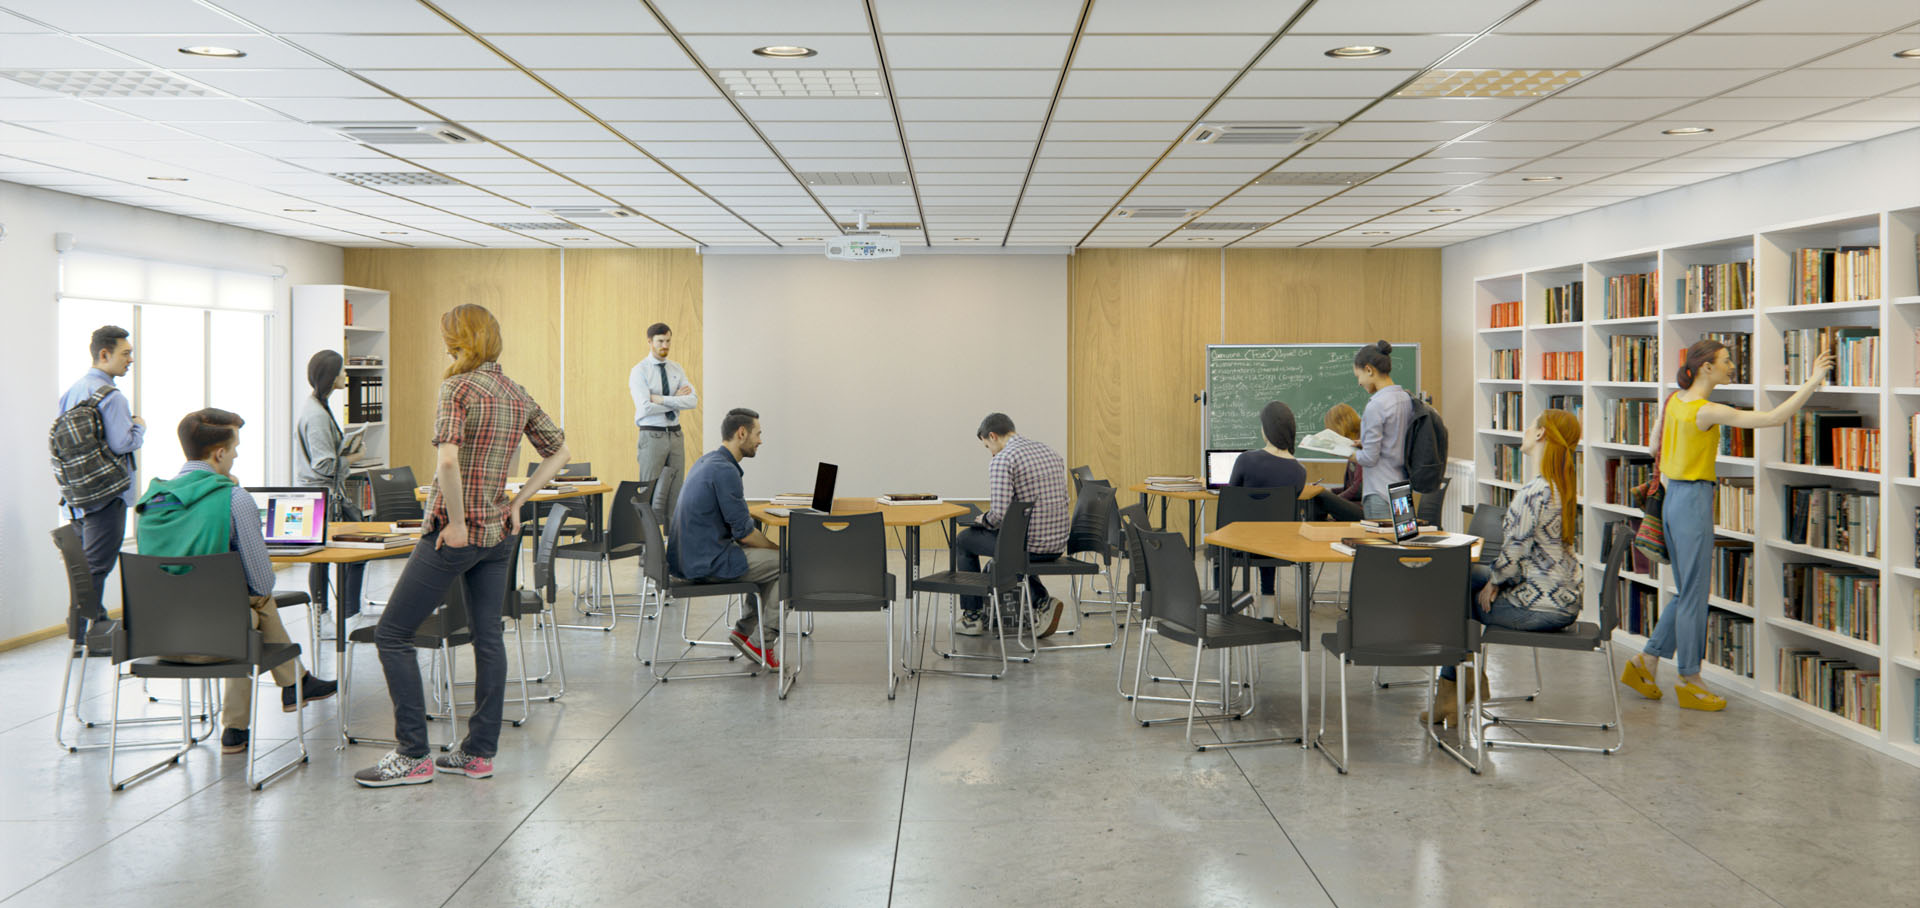

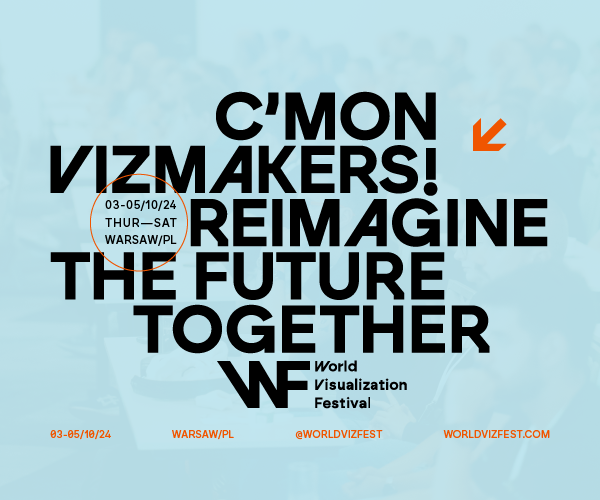
Here I’m adding an extra stage to the workflow and trying to add life to the scene with human characters from AXYZ Design that significantly improve the way we add human scale or characters on scenes using the new Anima 2.5. A lot of new features are coming on this new release.
Once again, I’d like to thank VWArtclub. I hope all of you guys found this article useful and I also hope you liked this making of Classroom Design 14.
Greetings from Guatemala,Pavel Huerta.
Pavel Huerta.