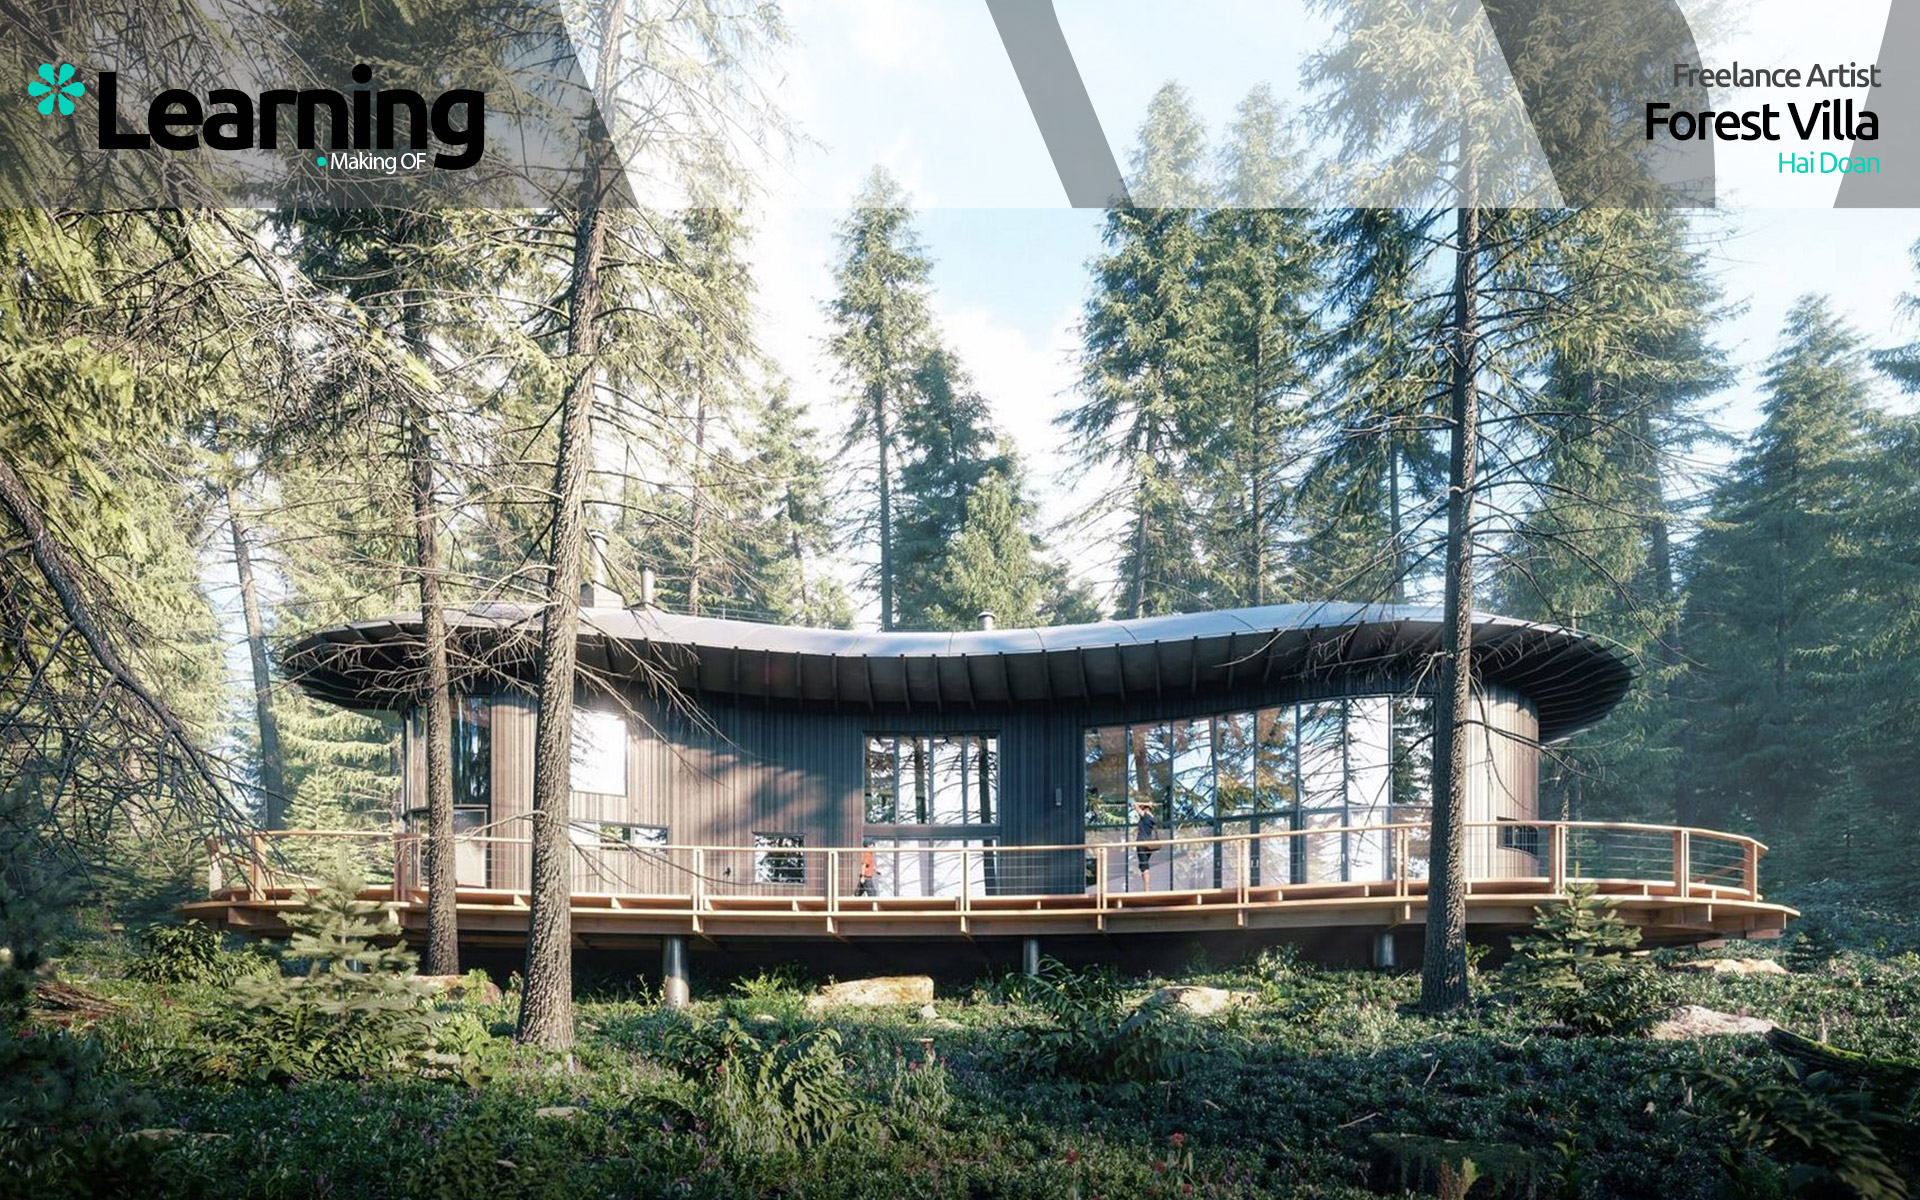
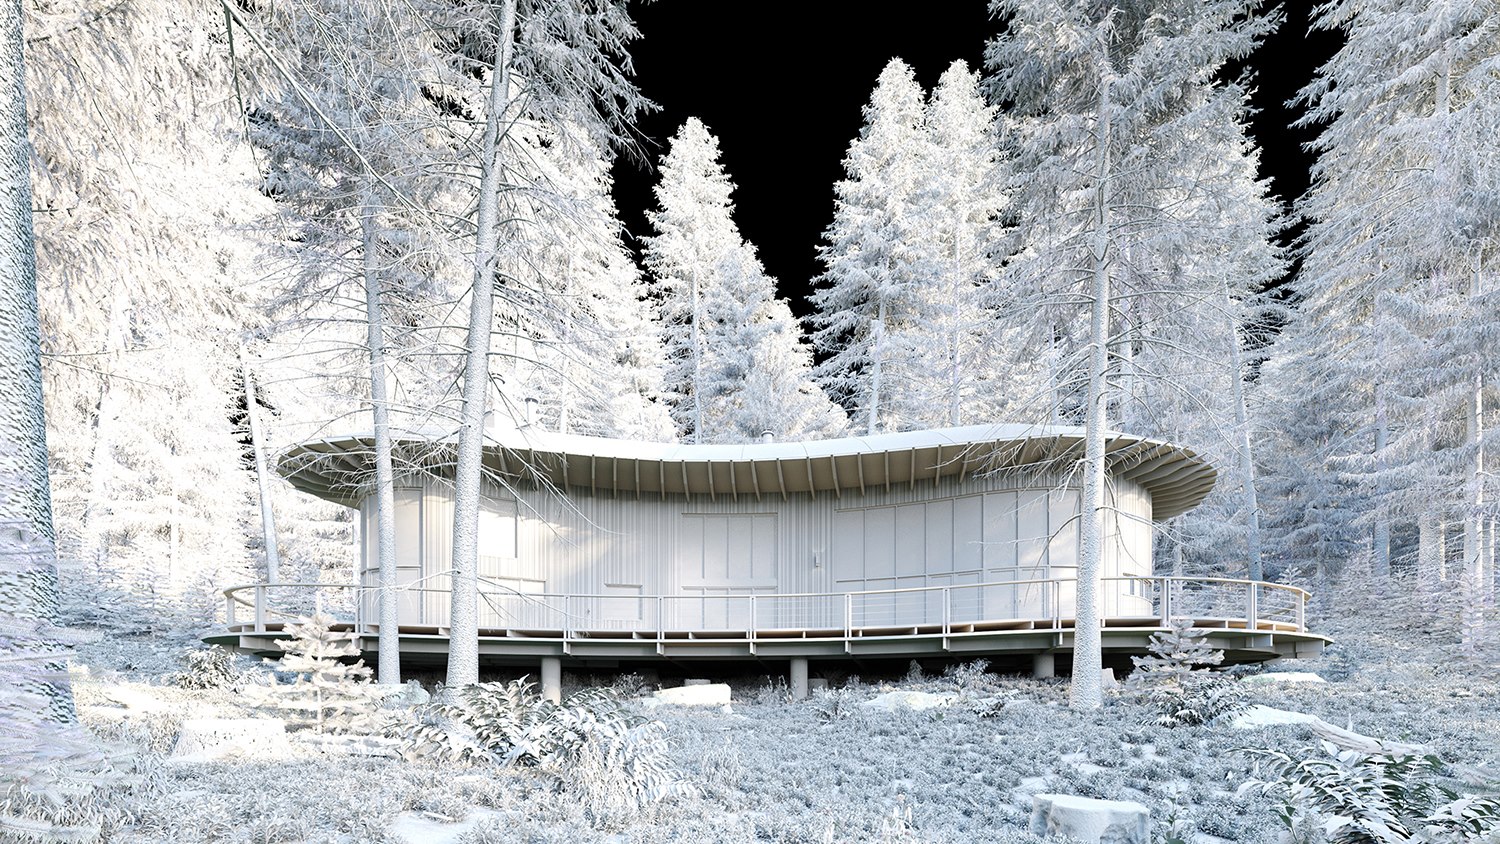
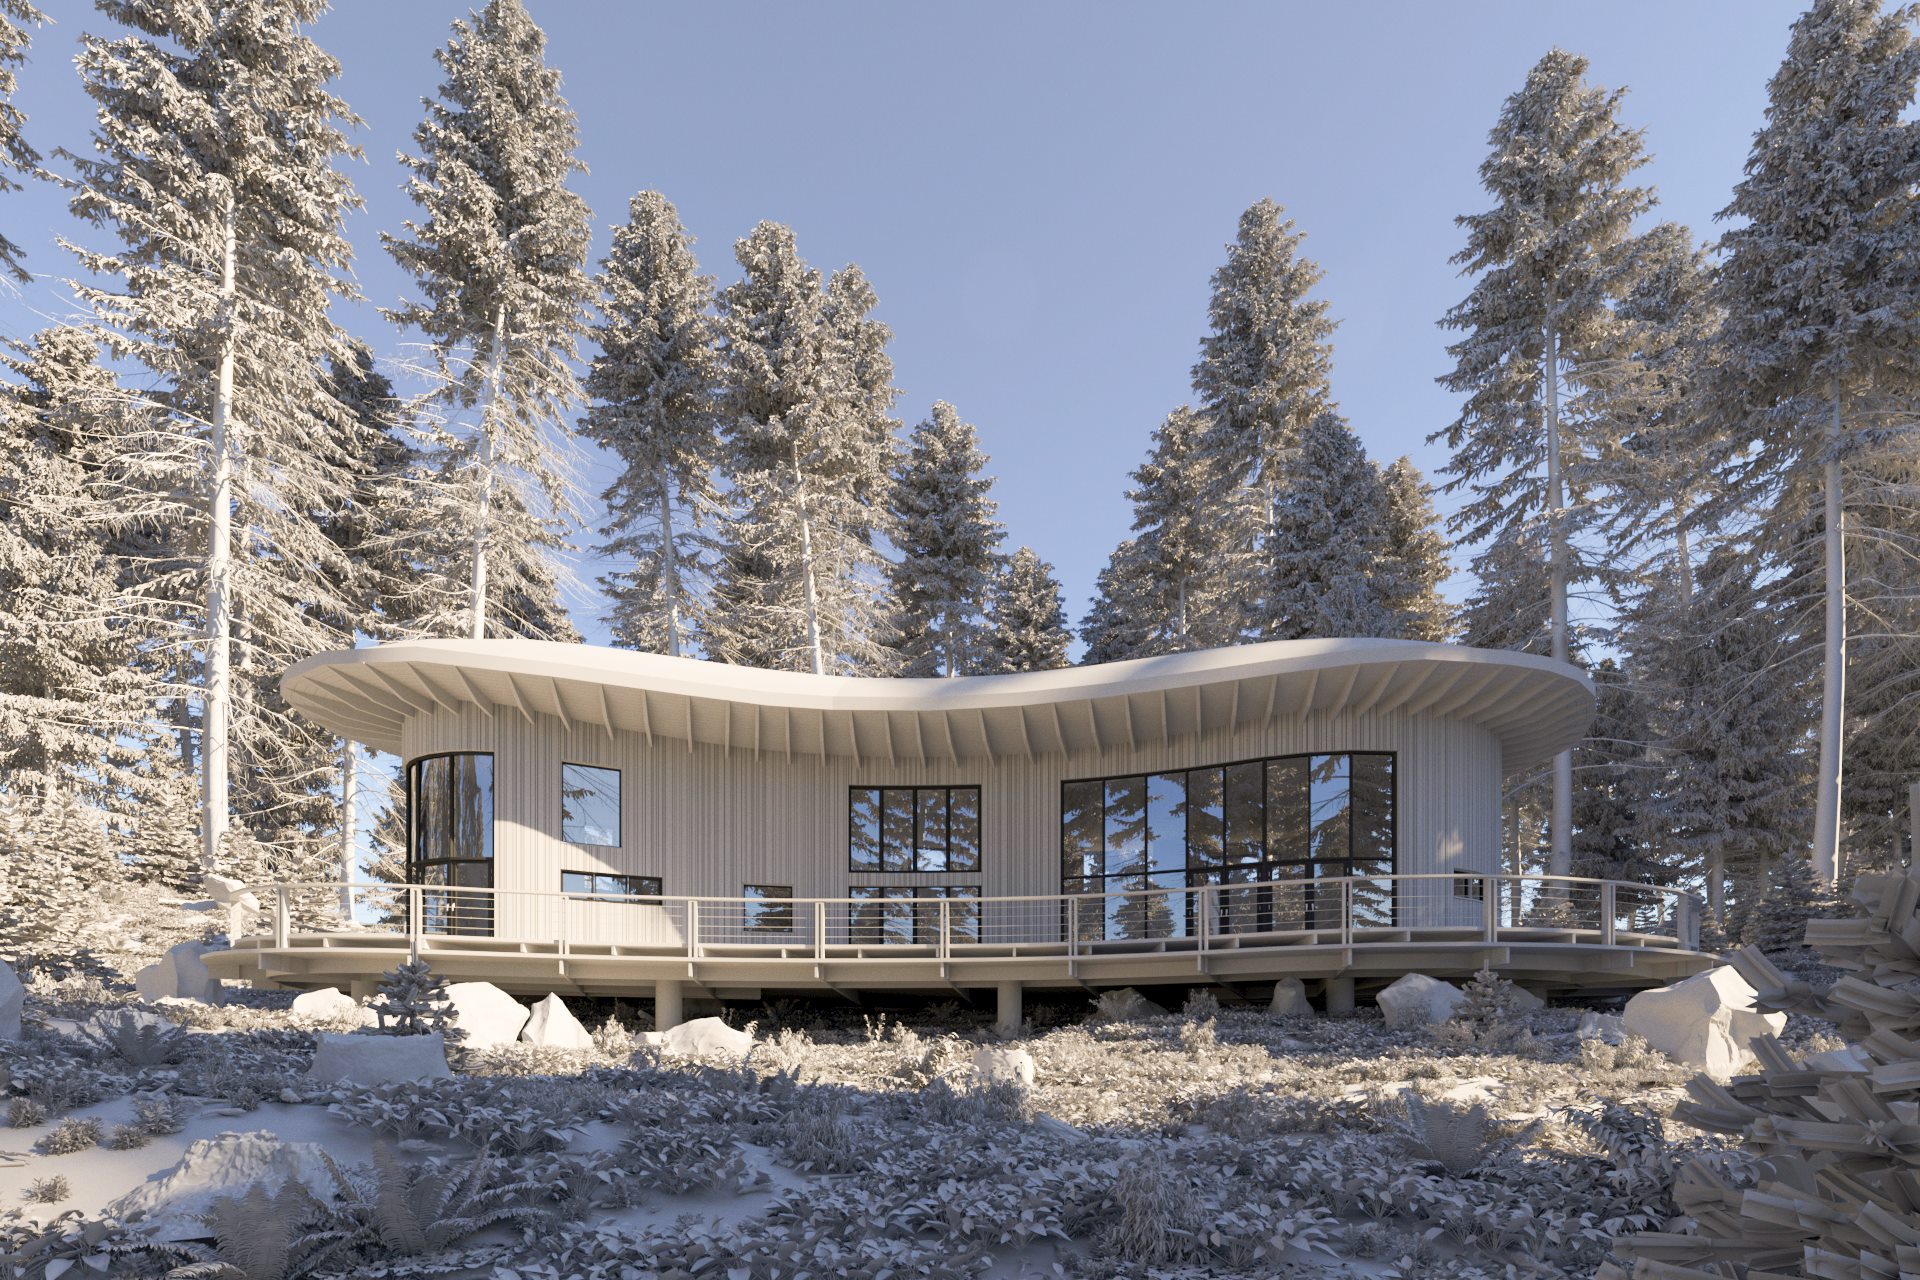
We 've seen a lot of projects with a similar theme, villa in the forest... Nevertheless, when the artist's touch is unique and obvious, it makes all the difference. It's that moment when we look at the image and say: "This is nice!"

Hello friends! My name is Doan Phu Hai and I work and live in Ha Noi, Viet Nam. I have been learning 3D since 2015 and I have worked for a few companies . Here is my project: Fr Forest Villa, I used 3dsmax, Corona renderer and Photoshop. This is the first time I’ve made a forest scene, and here are some instructions which may help you create your own.
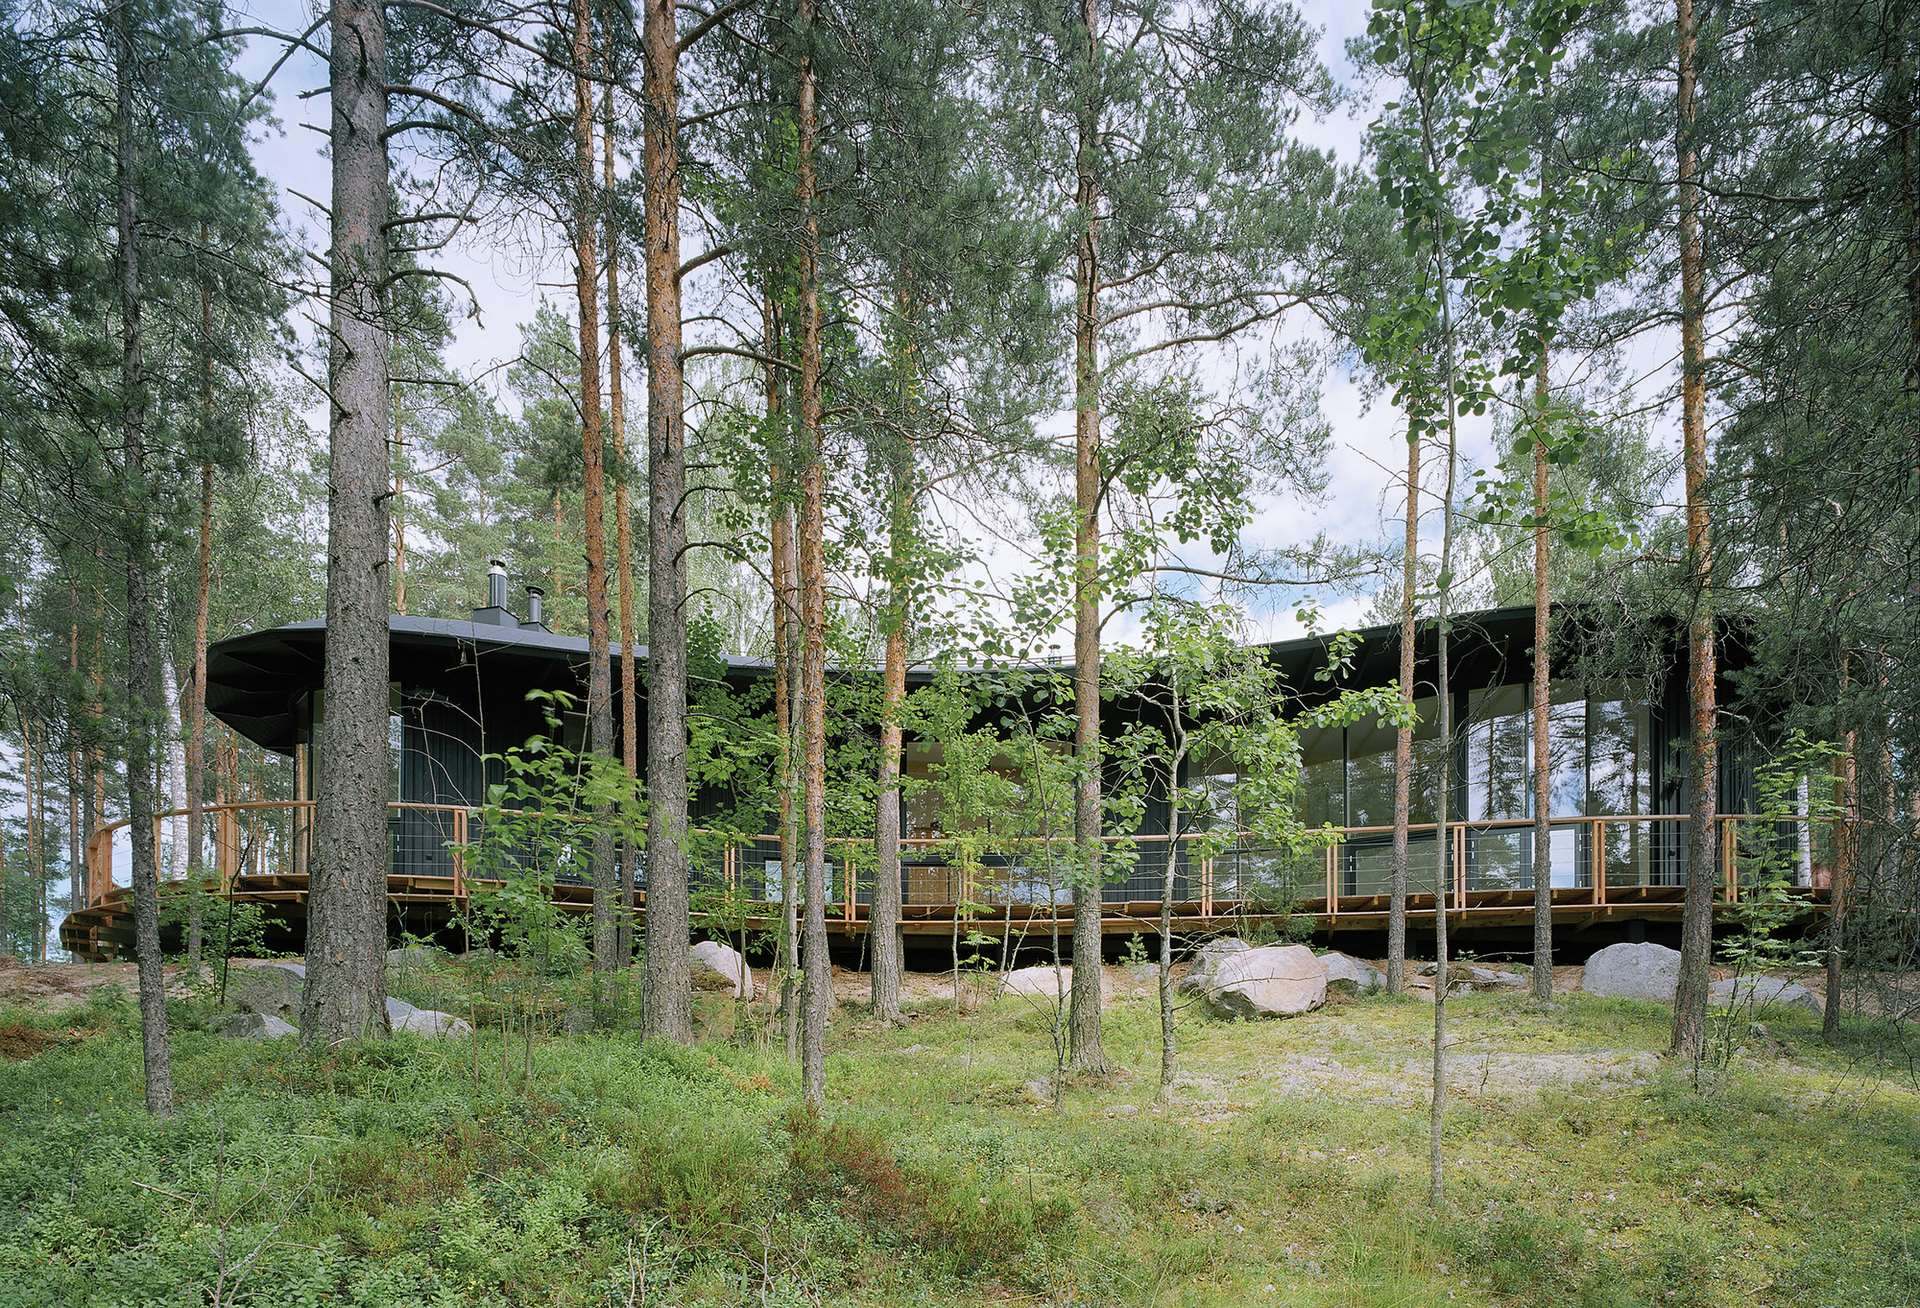
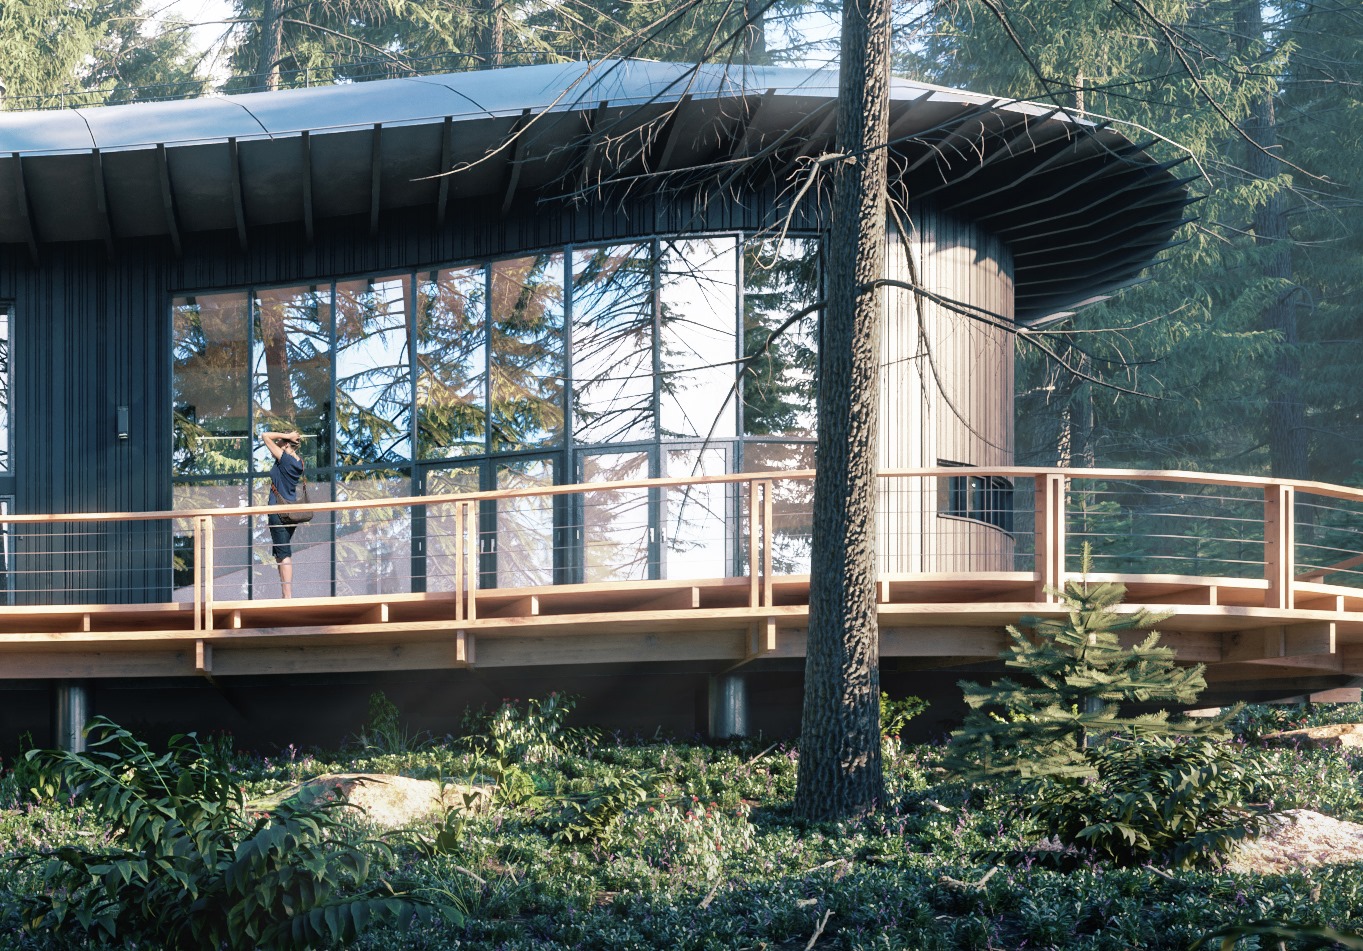
First, I was inspired by Villa Musu from Archdaily.
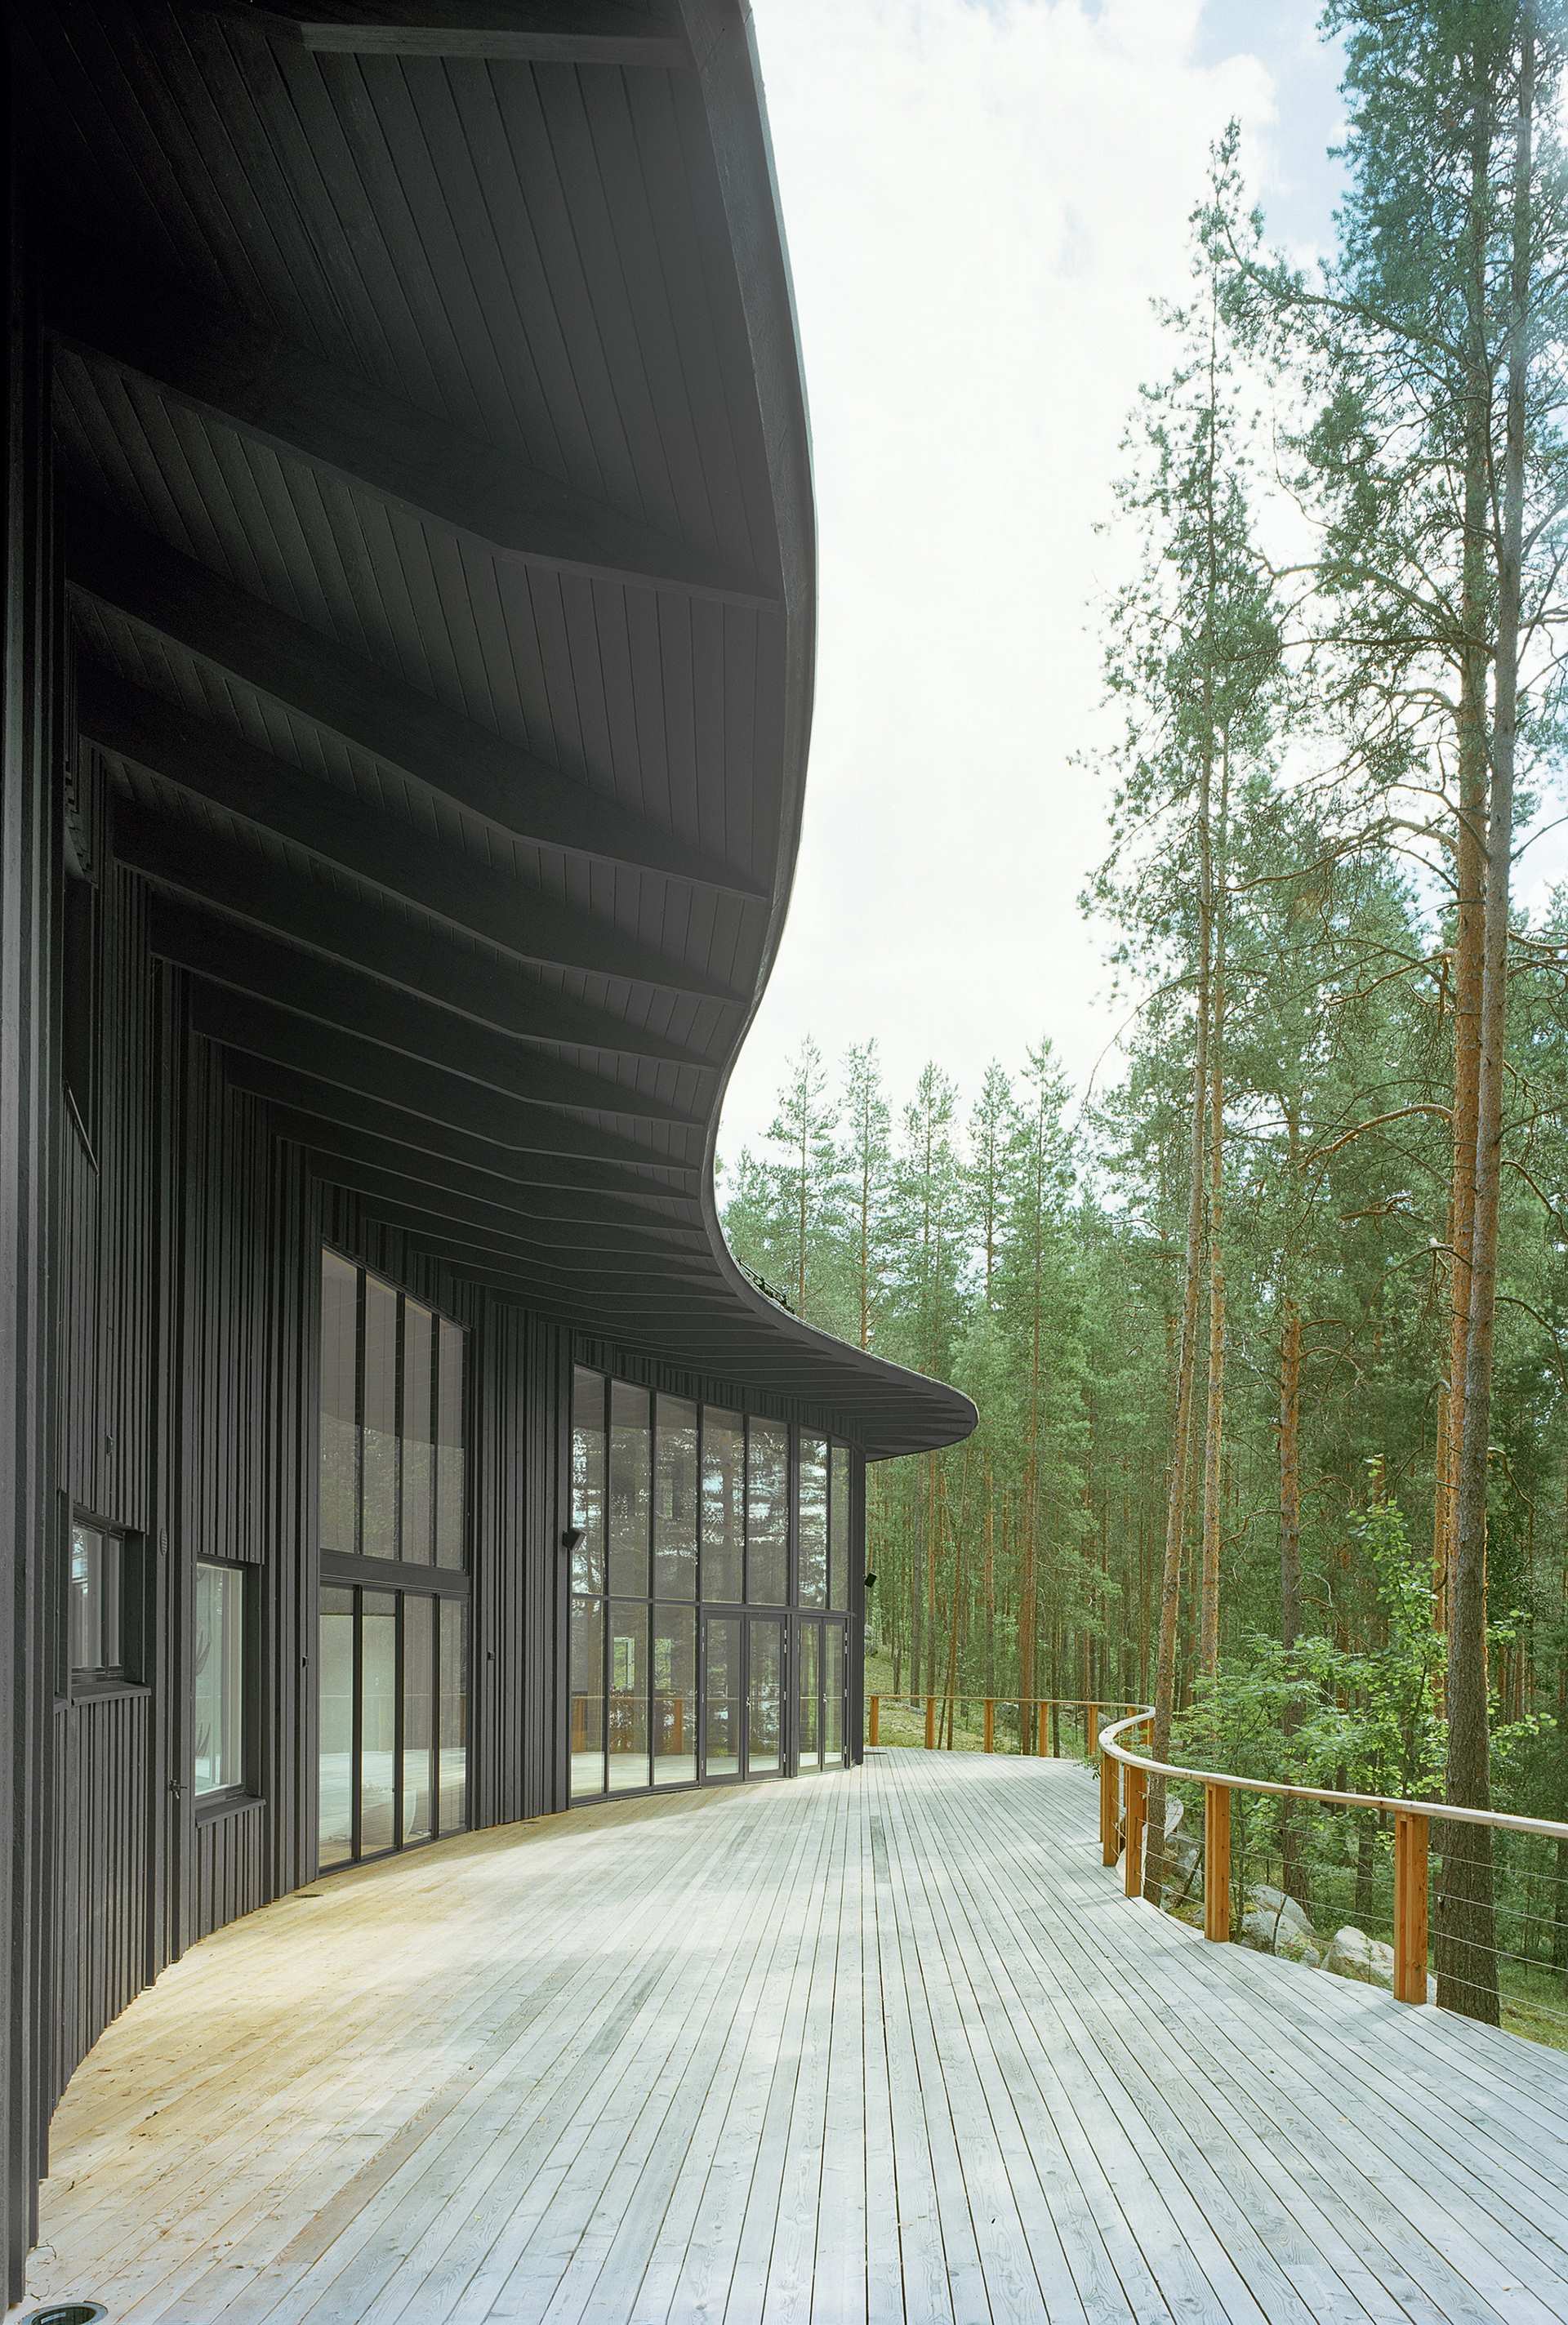
But look, I don't like the plants from this image. So I thought I could replace them with the plants I want. Then I found some reference images about trees, grass and bushes. Here they are:
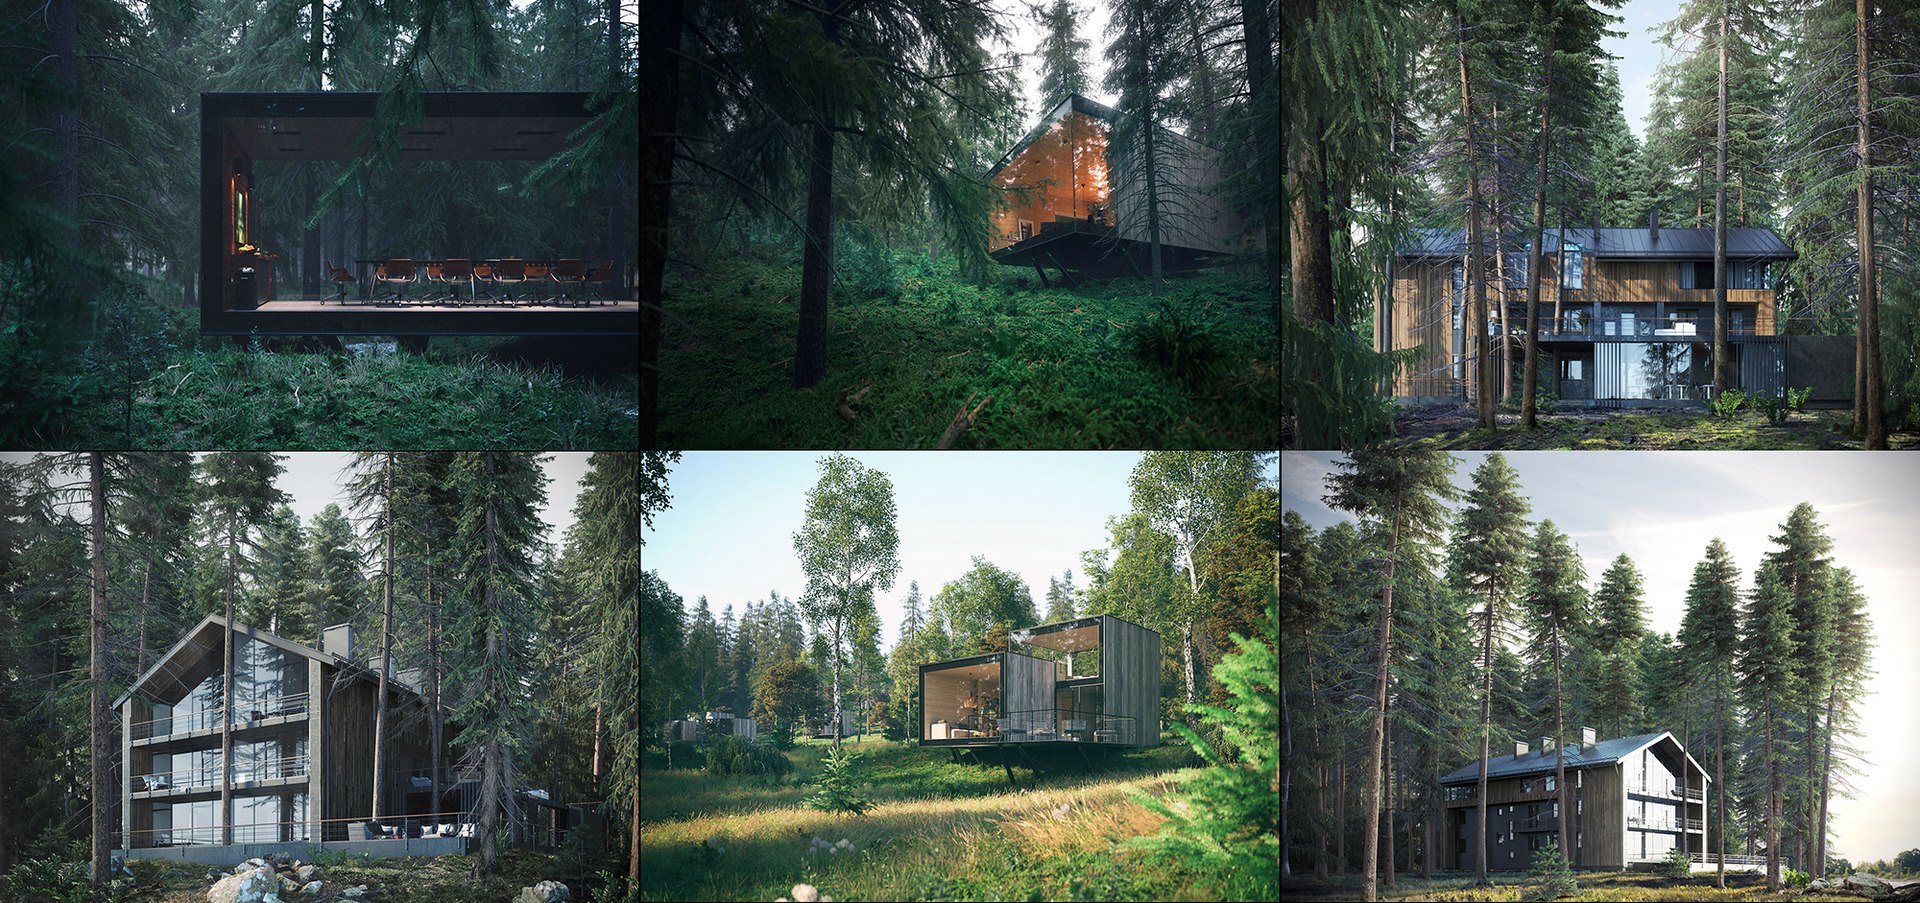
Finding reference images is a very important step when we start a new project, so I highly recommend that you not skip it. Maybe your final images will not be the same as reference images, but it's an important direction for you when you start. You can find some inspiration on Behance, Pinterest, Mir.no, Brickvisual.... website architect, eg: Archdaily, Homedsgn...
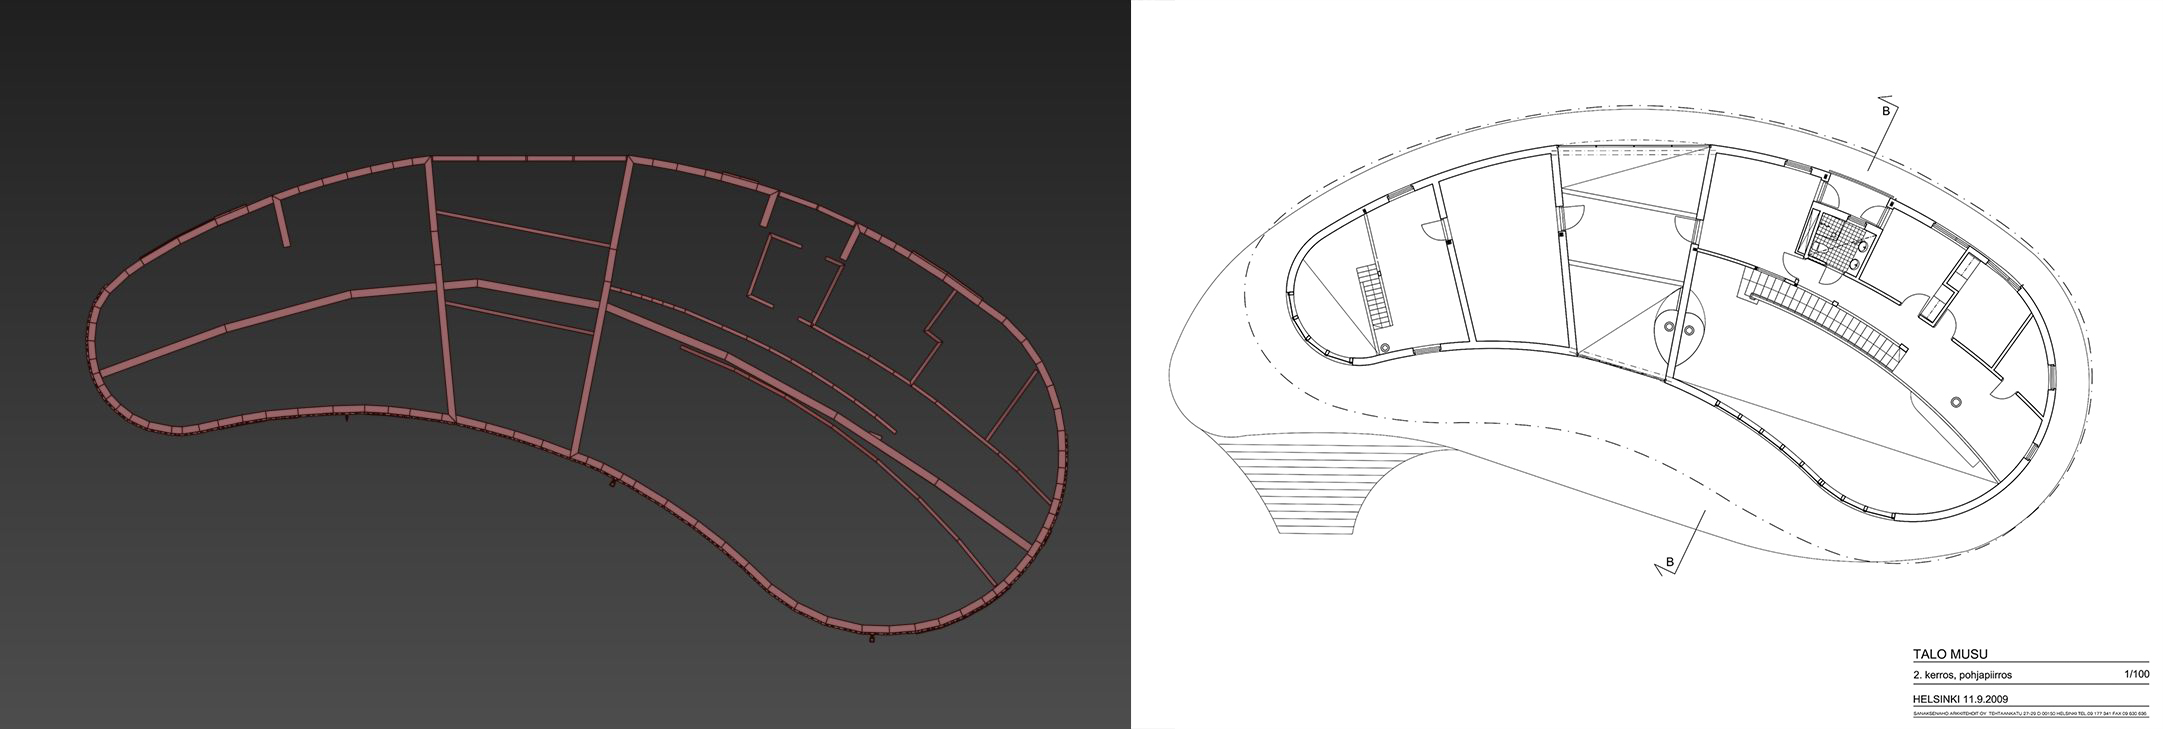
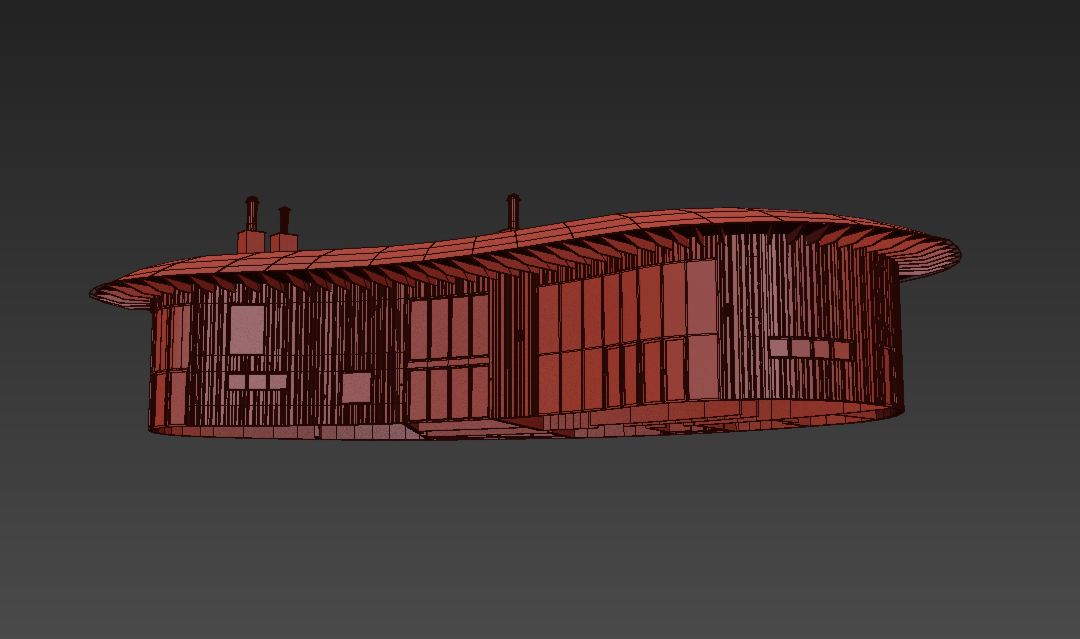

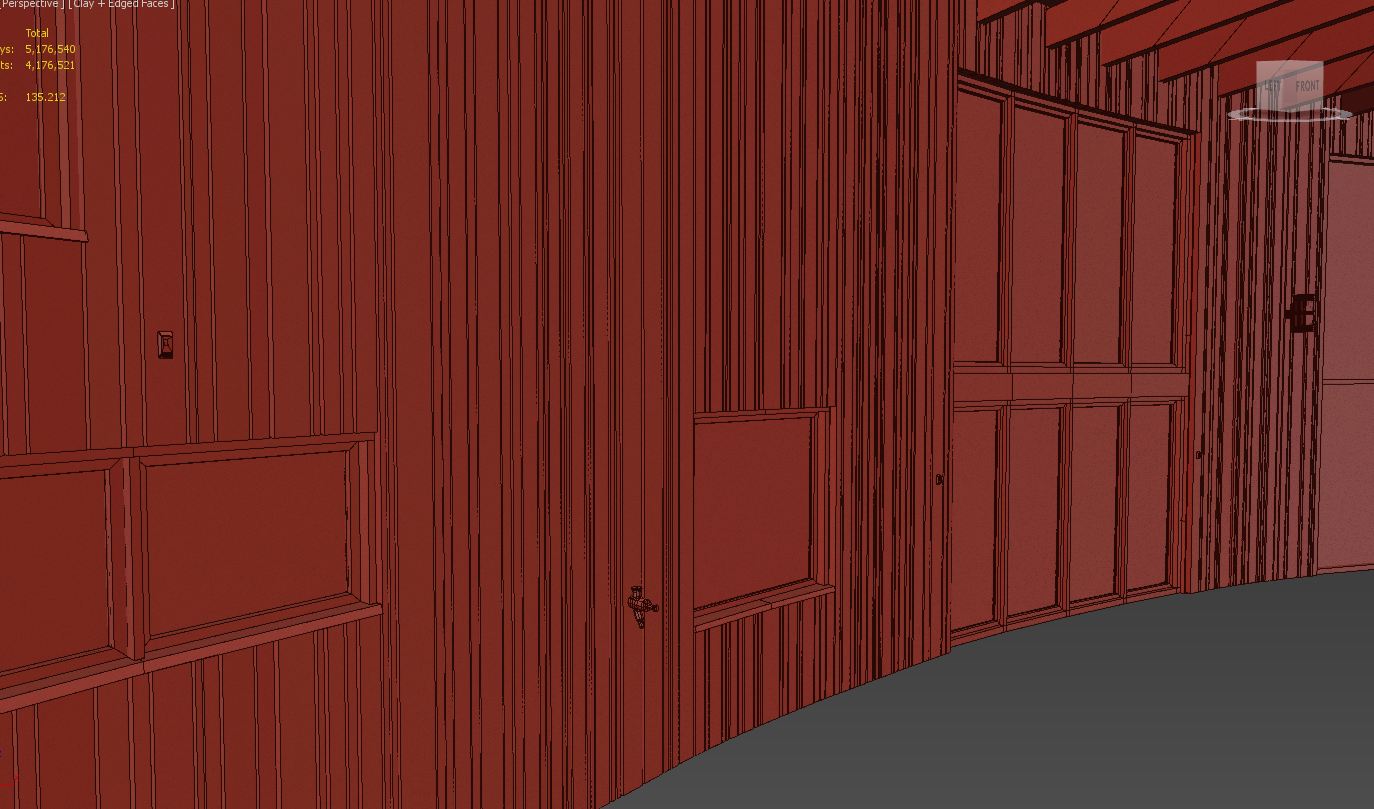
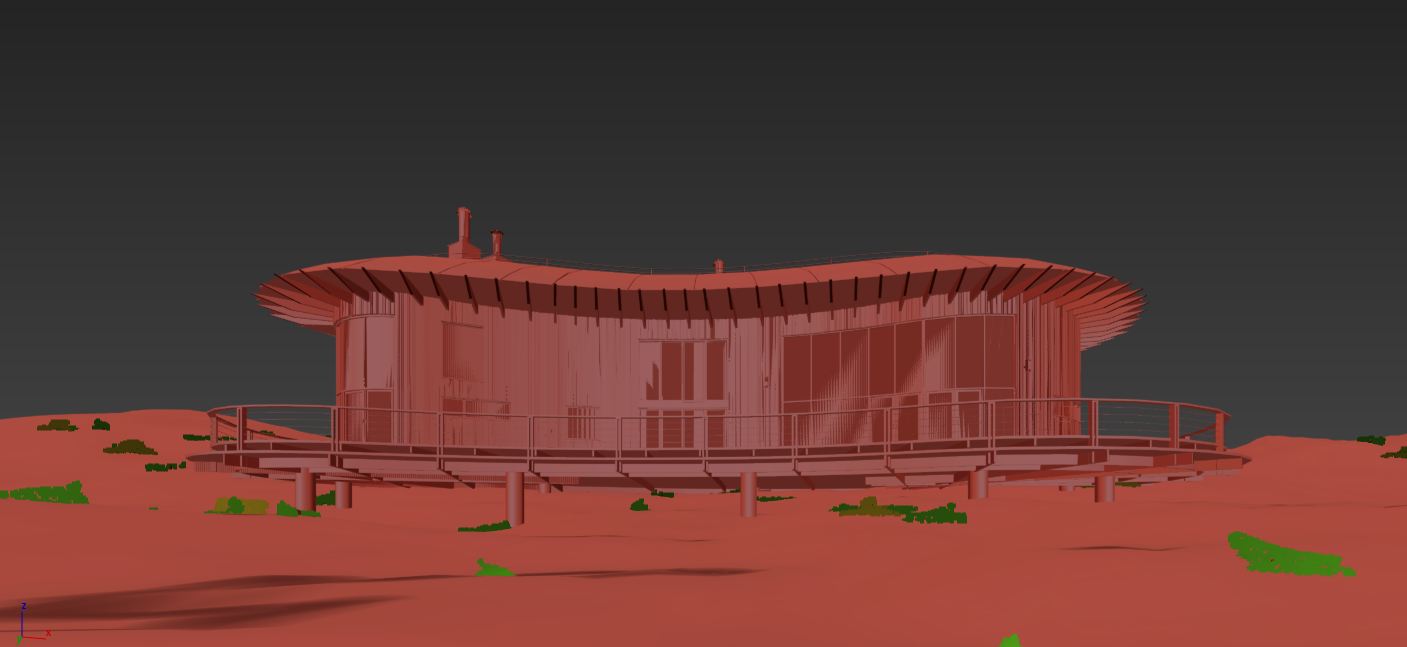
These are the floor plan images and I try to create the general plan first and then go into details. I think there’s nothing important to share about modeling this building. These are the floor plan images and I try to create the general plan first and then go into details.

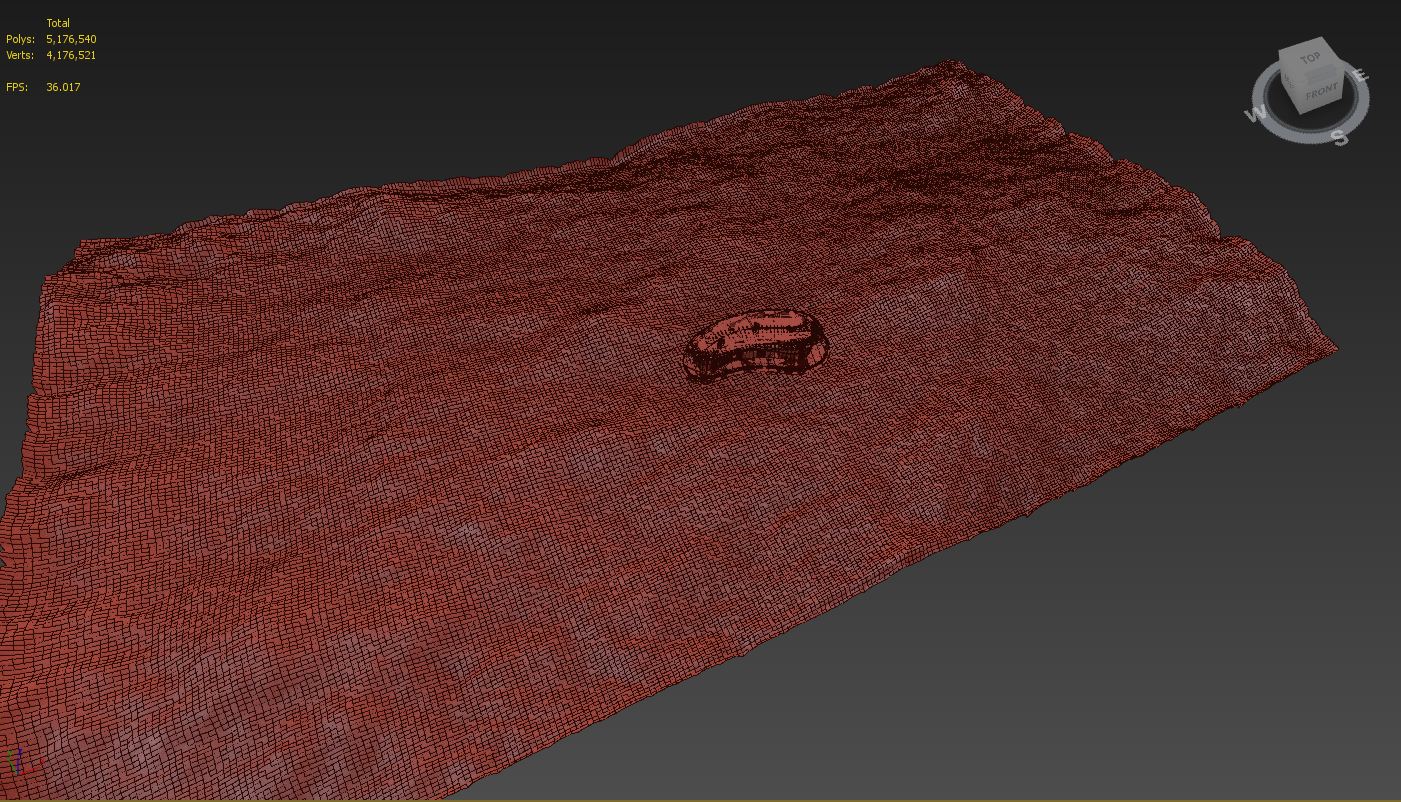
Background was created by script MaxLandscape.
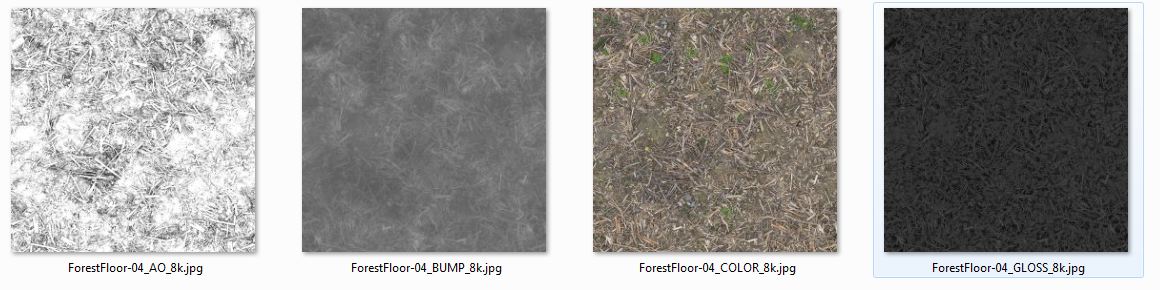
Ground's texture is important to get a good result for the ground, so I used big textures from Real Displacement Textures Vol 3.

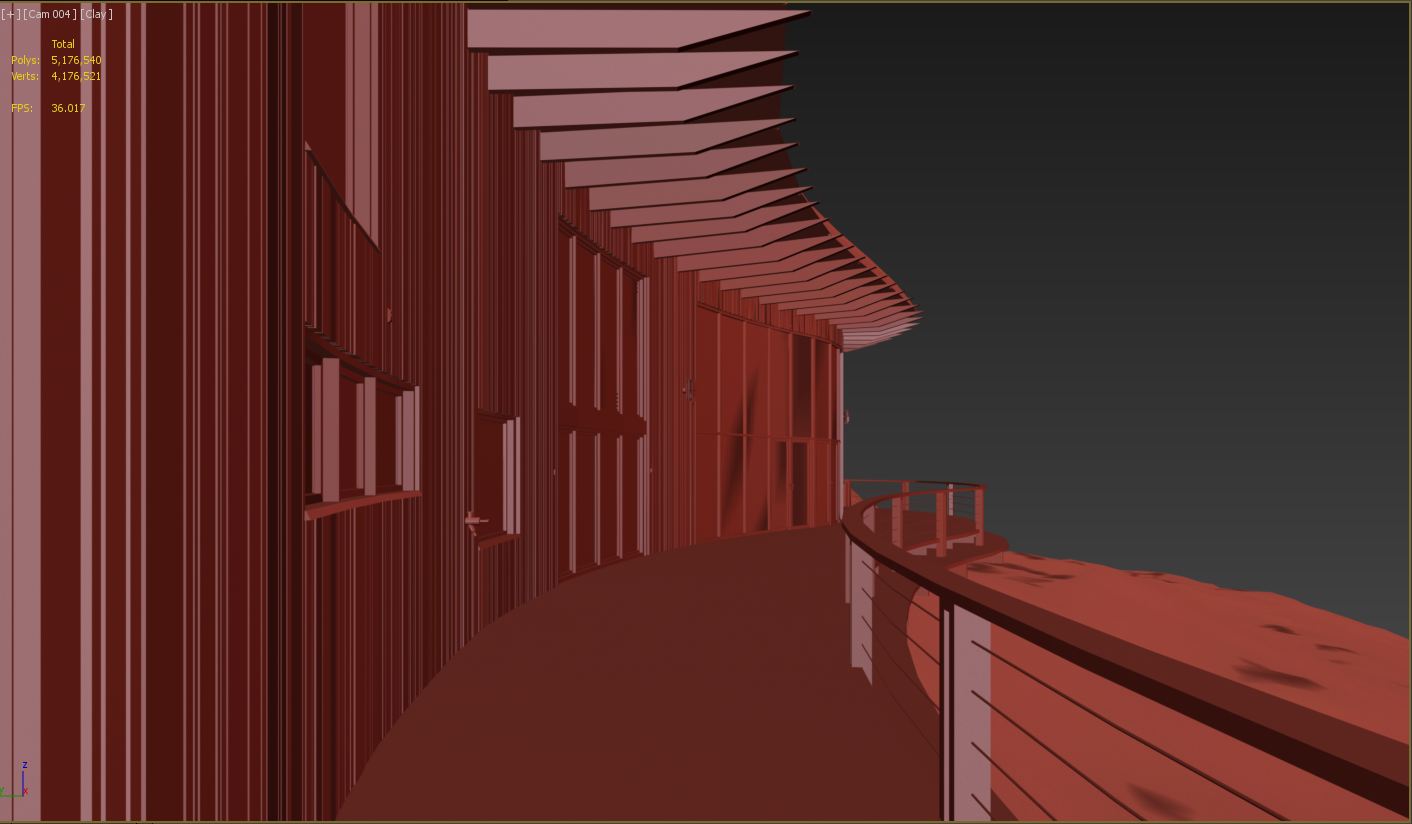
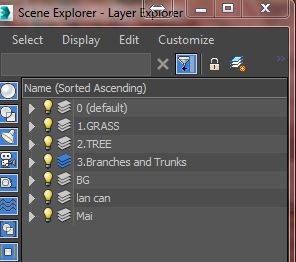
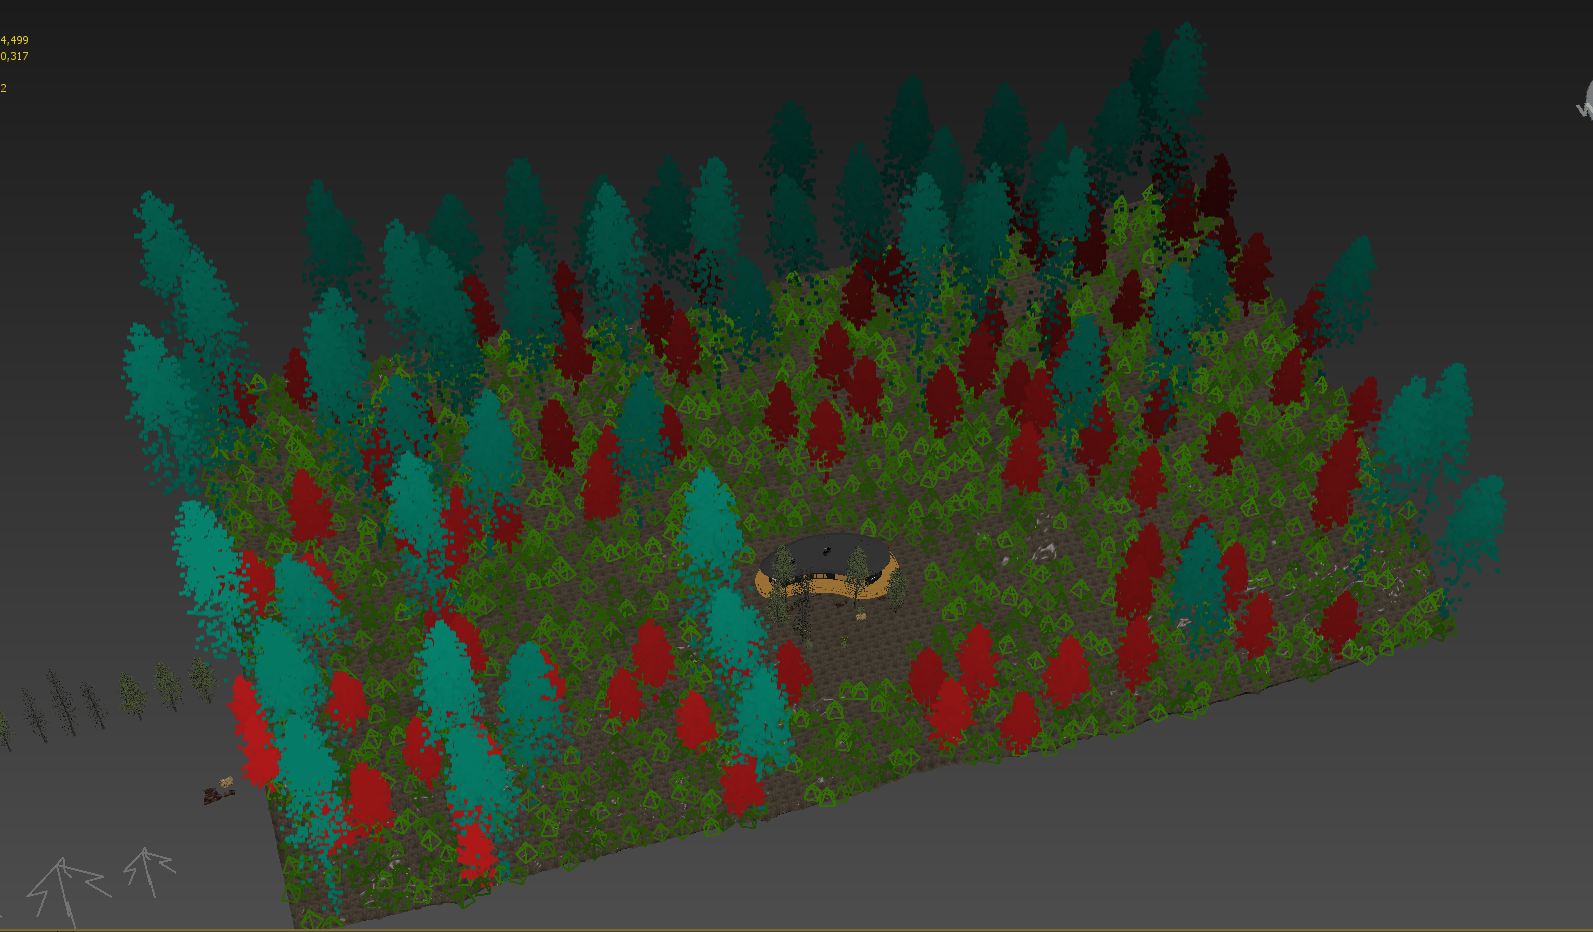
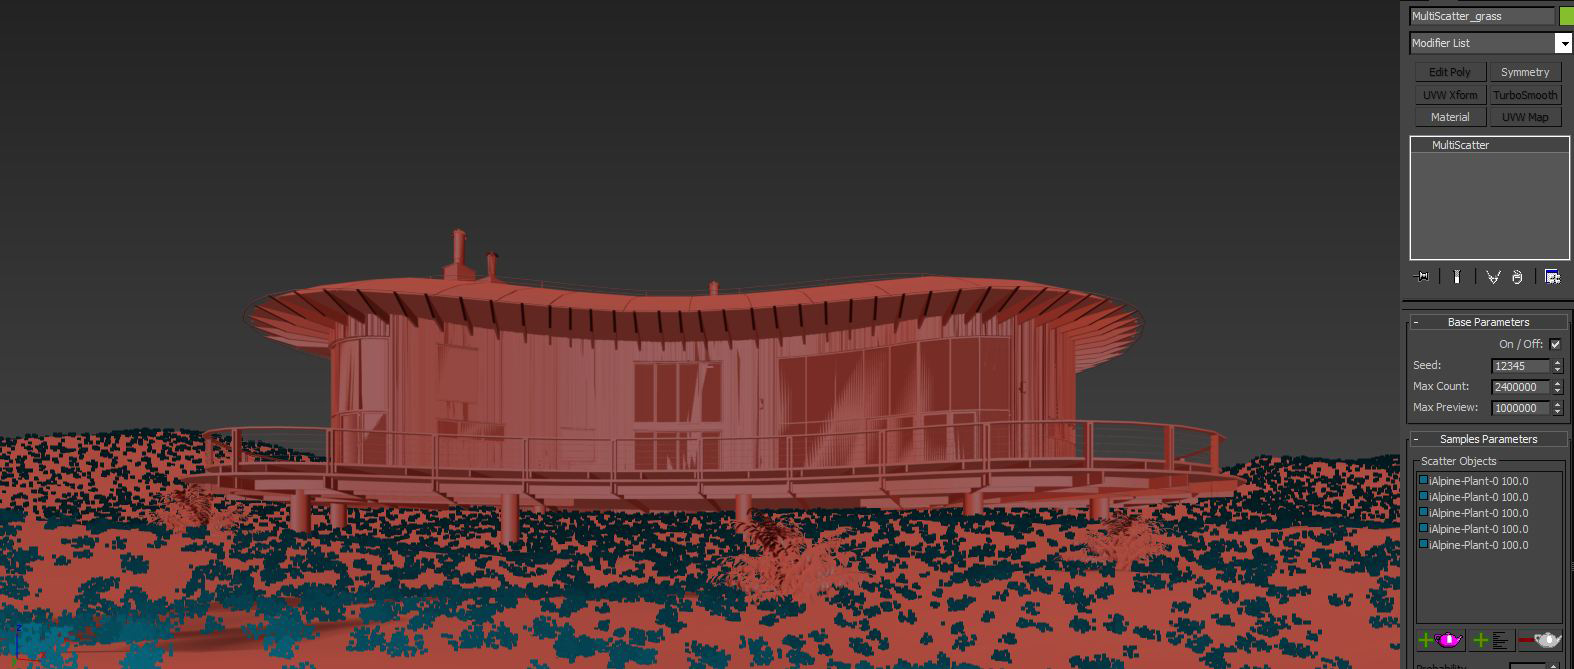
I used Layer panel 3dsmax to control the objects in scenes, which is very important with big scenes. I created 3 layers for 3 groups of objects: Trees, Grass, Branches and Trunks. I used Multi Scatter to scatter plants.
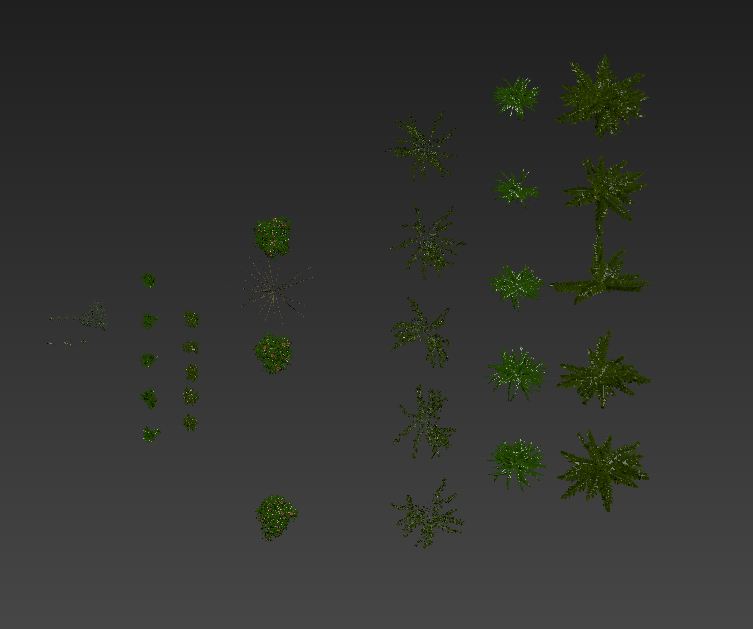
1. Trees.
I used fir trees from iTrees vol.4. I created 3 Multi Scatter objects for 3 types of trees: tall, normal and low. I used a popular shape for the same tree to create the difference on a large surface.
Tall.

Normal.
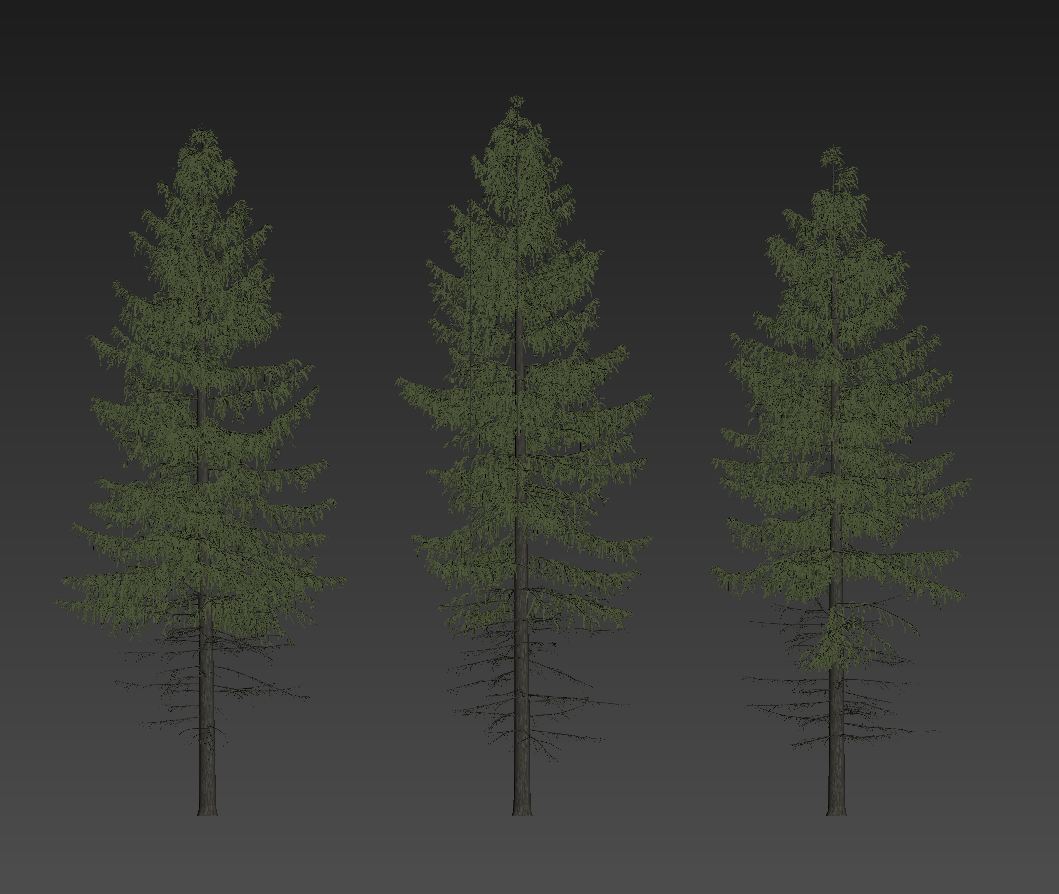
Low.
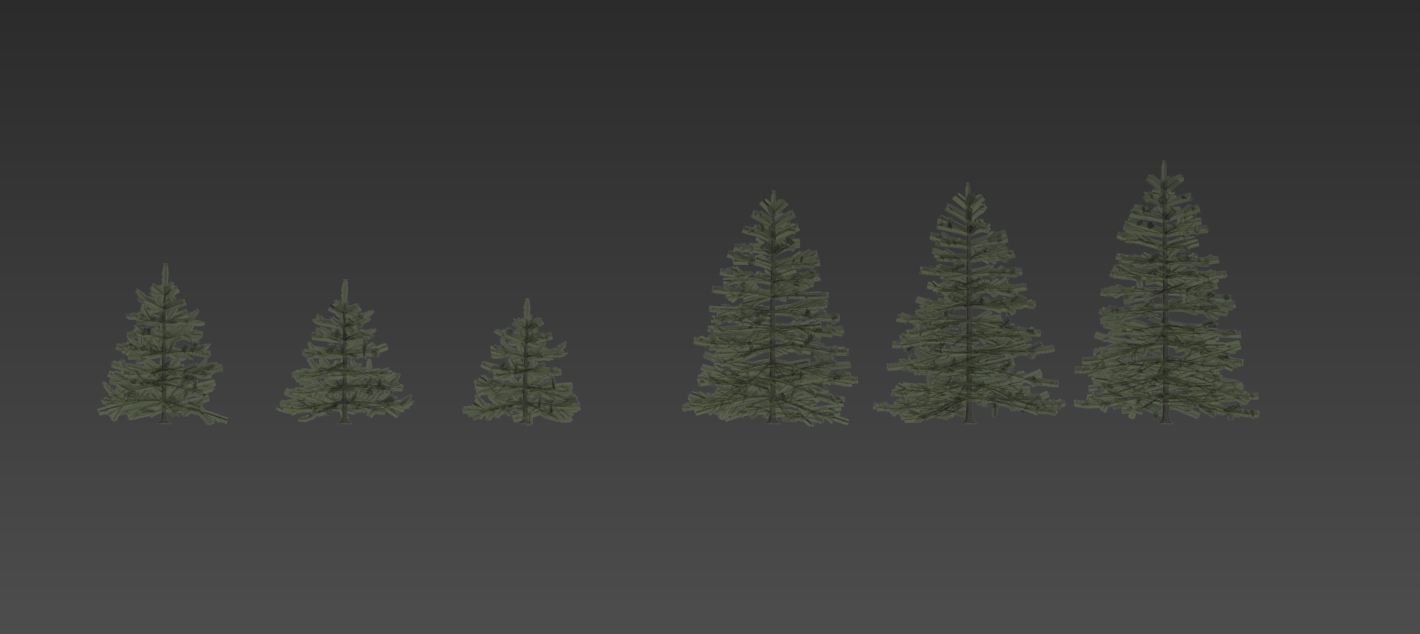
Scattered.
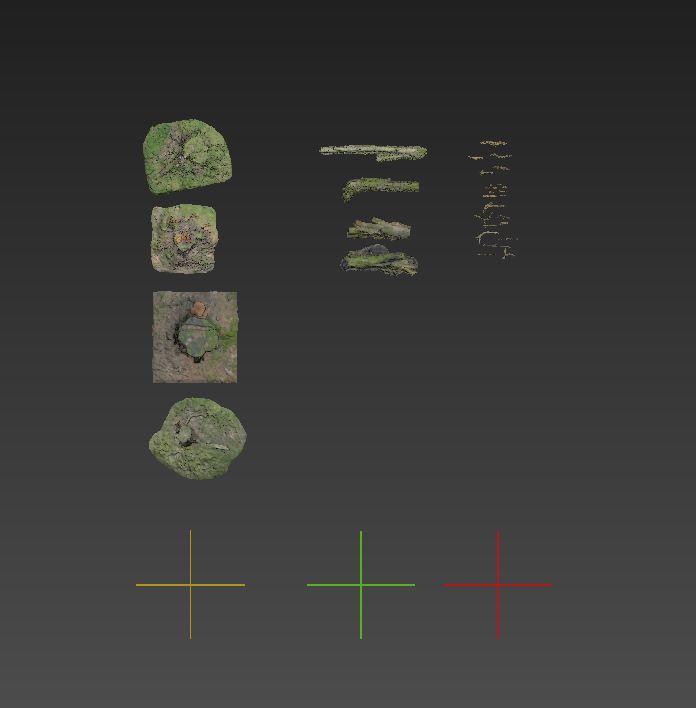
2. Grass.
I found grass images from Archmodel vol 124, 126, 154, iGrass, HQ grass, Itoo Plan, Maxtree ... I render test and I tried some new collections of grass. Finally, I chose grass and bushes from iAlpine and Maxtree.
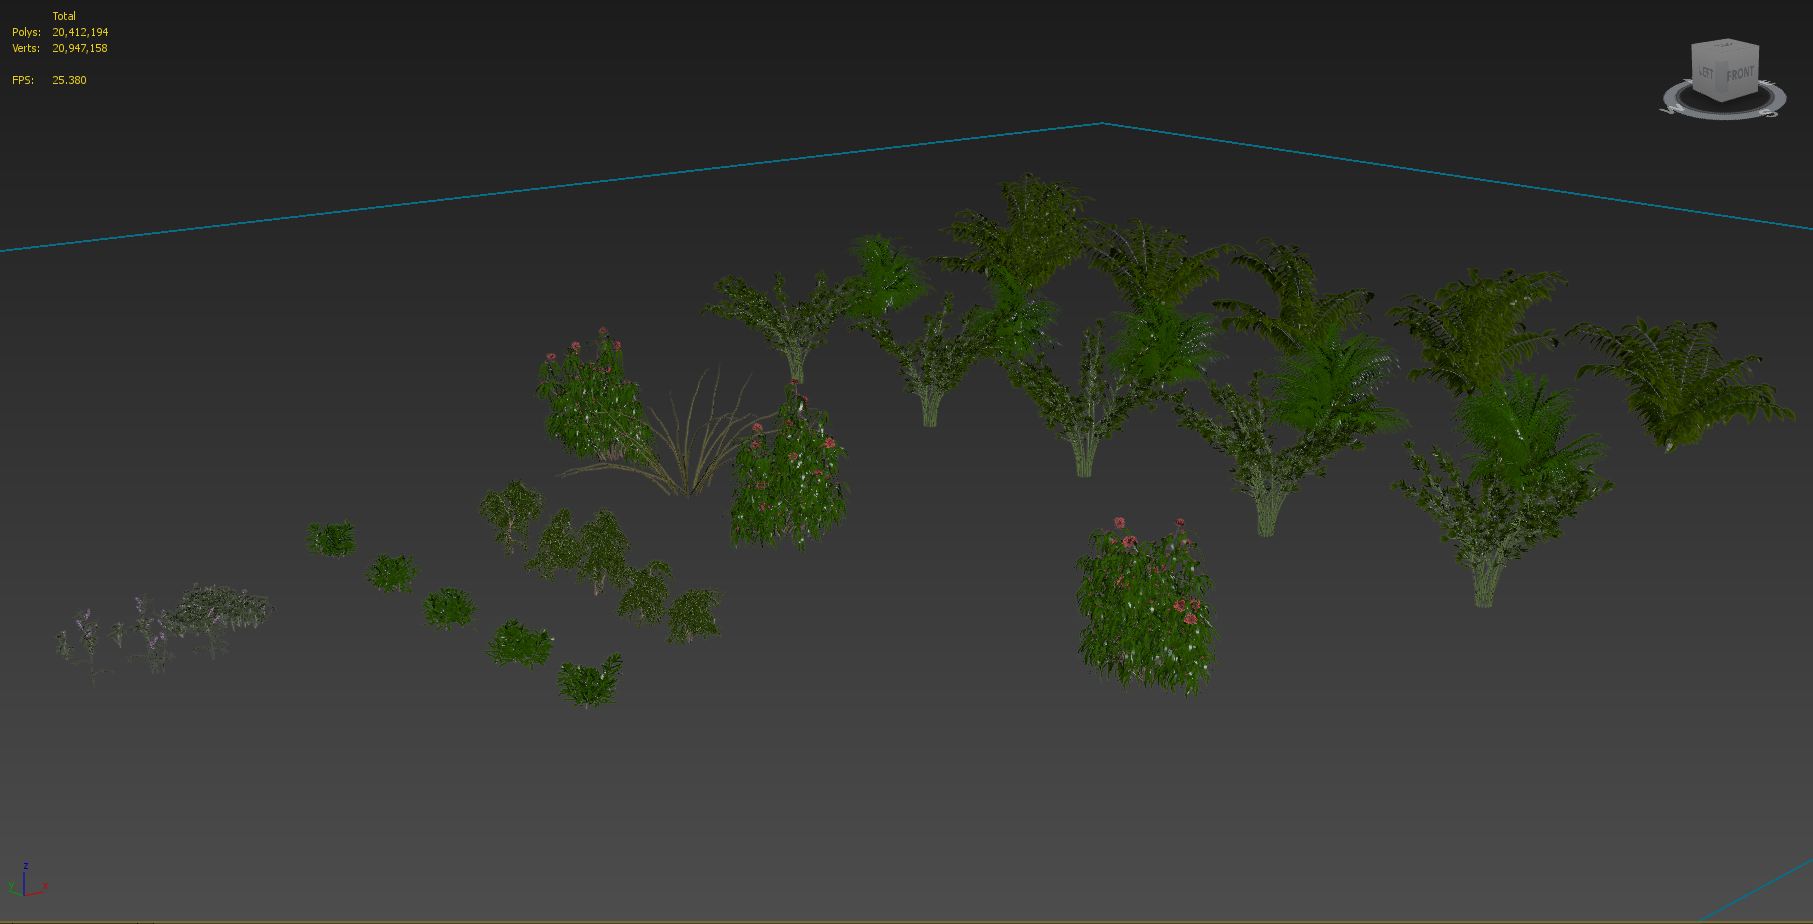
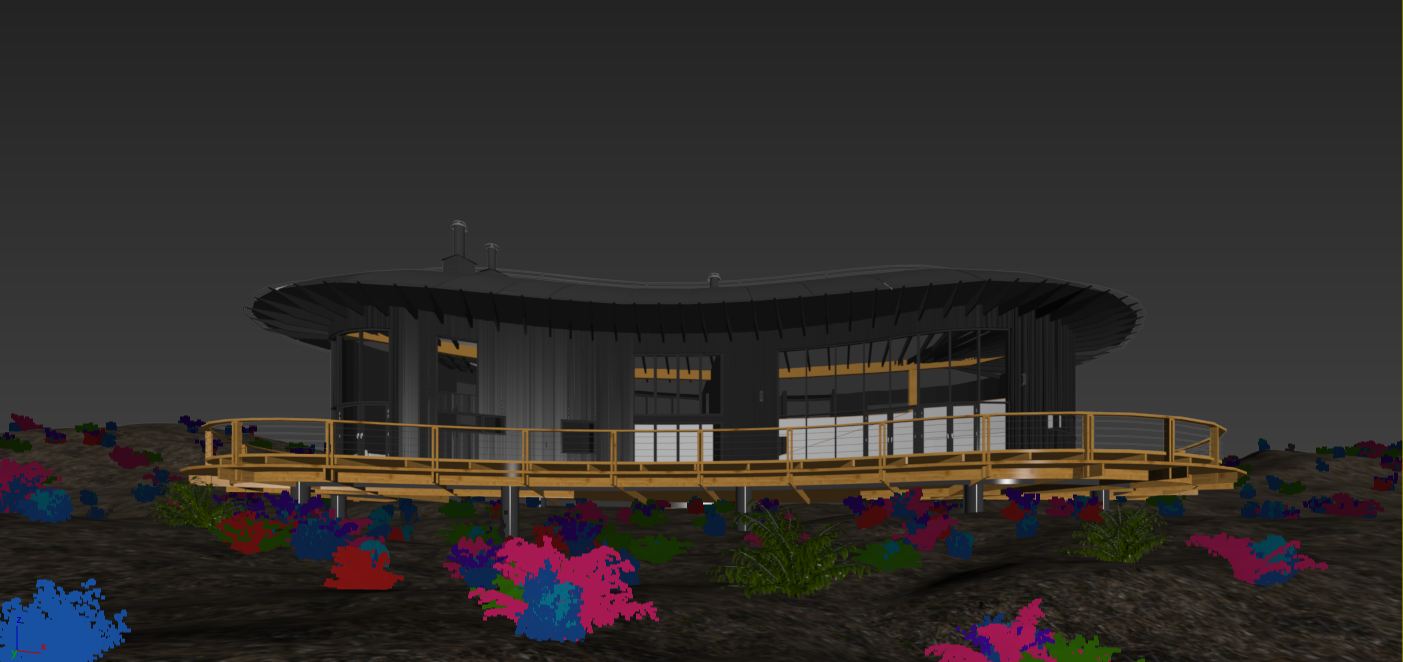
I created 6 Multi Scatter objects and I put grass to 1 MultiScatter, and 5 rows of bushes to 5 MultiScatter to create diverse distribution. With MultiScatter grass I made it very dense and with MultiScatter bushes I made it sparser.
Grass.
Bushes.
3. Branches and Trunks.
I found them from Archmodel vol. 182 and then I distributed them in the proportion I like. This step is so easy.
That's a reason why we need to use Layer 3dsmax. I could hide Layer Grass and Branches and test lighting with building and layer Trees. I found HDRI from Peter Guithir's free collection, because sun in PG's HDRI is always in a fixed position. I usually test HDRI quite a lot, with cloudy sky, clear sky, overcast, cloudy morning sun...Finally, I liked the scene with more sunshine in the afternoon, so I chose 1725 Sun Clouds. I setup 1 Corona Sun at the same direction as HDRI Sun to enhance sunshine in the scene.

Tip: I think you shouldn't be afraid to test lighting. Try until you come up with your most favourite one. That would really inspire you to do the next steps.
My image size is 4000x2250, and I saved the file with TIFF.

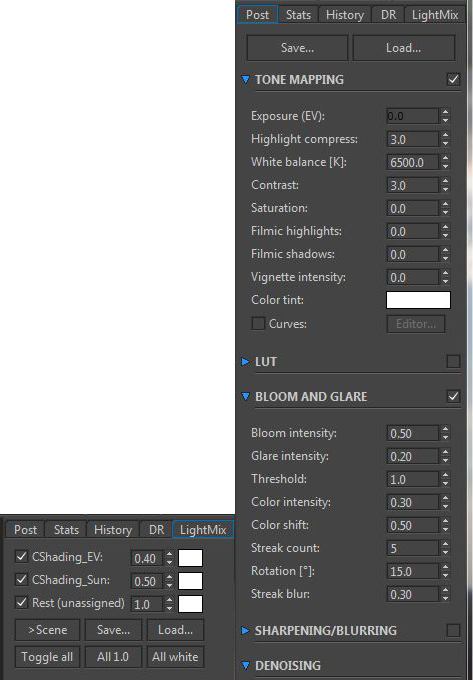
You should add channel BloomGlare for phase adjustment in Photoshop to control bloom and glare in scenes.
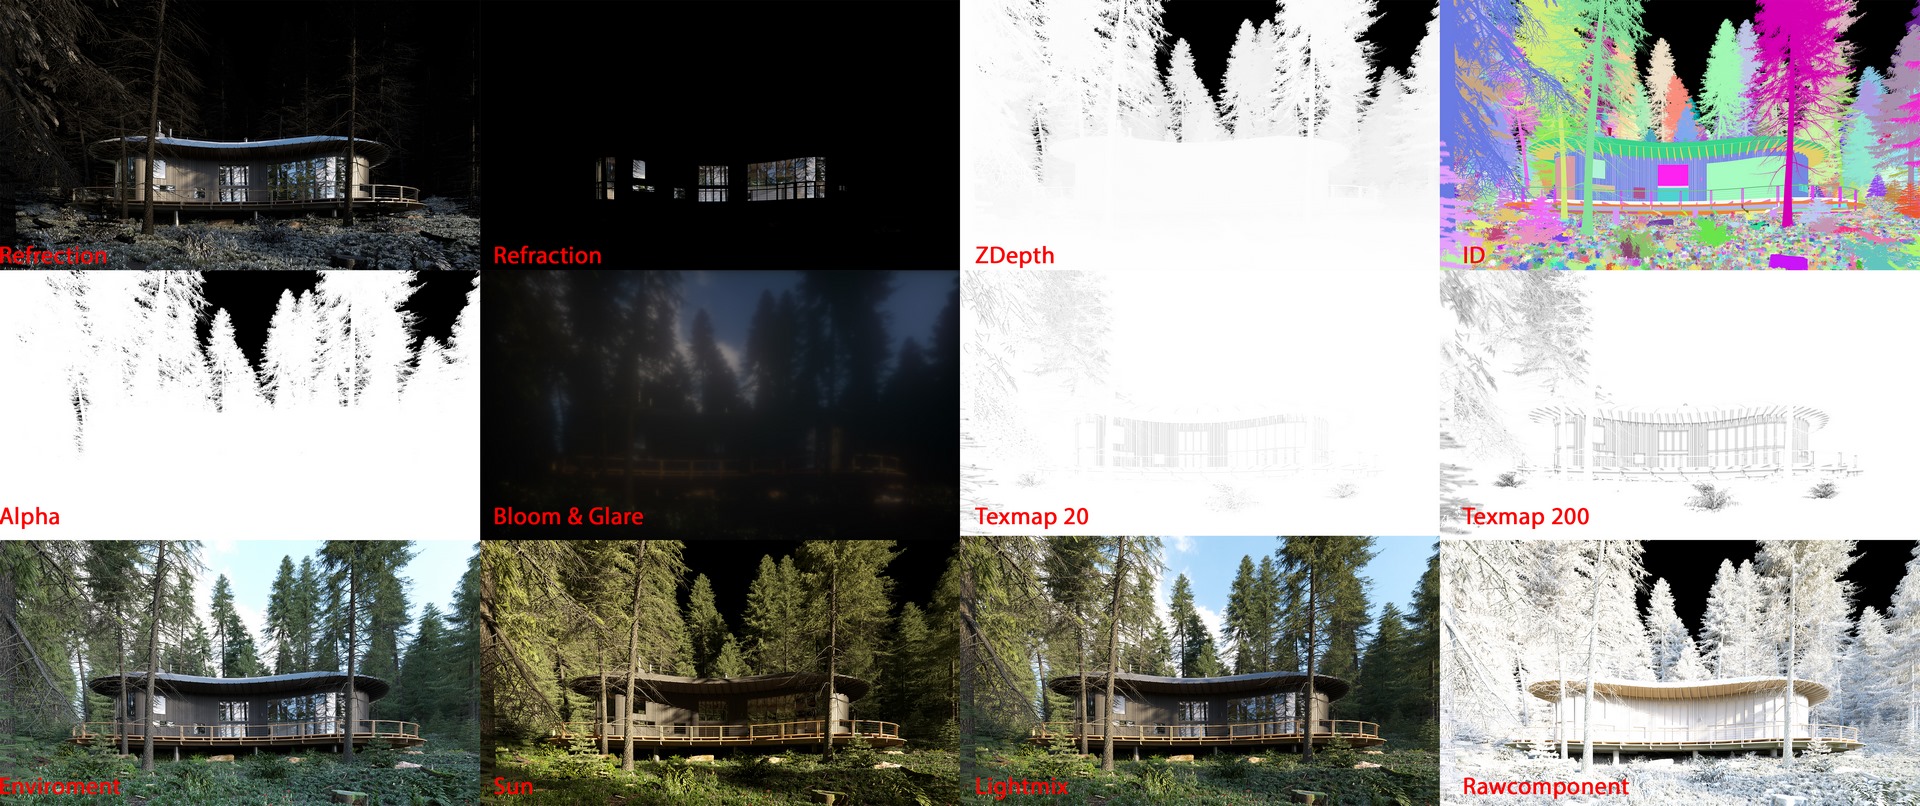
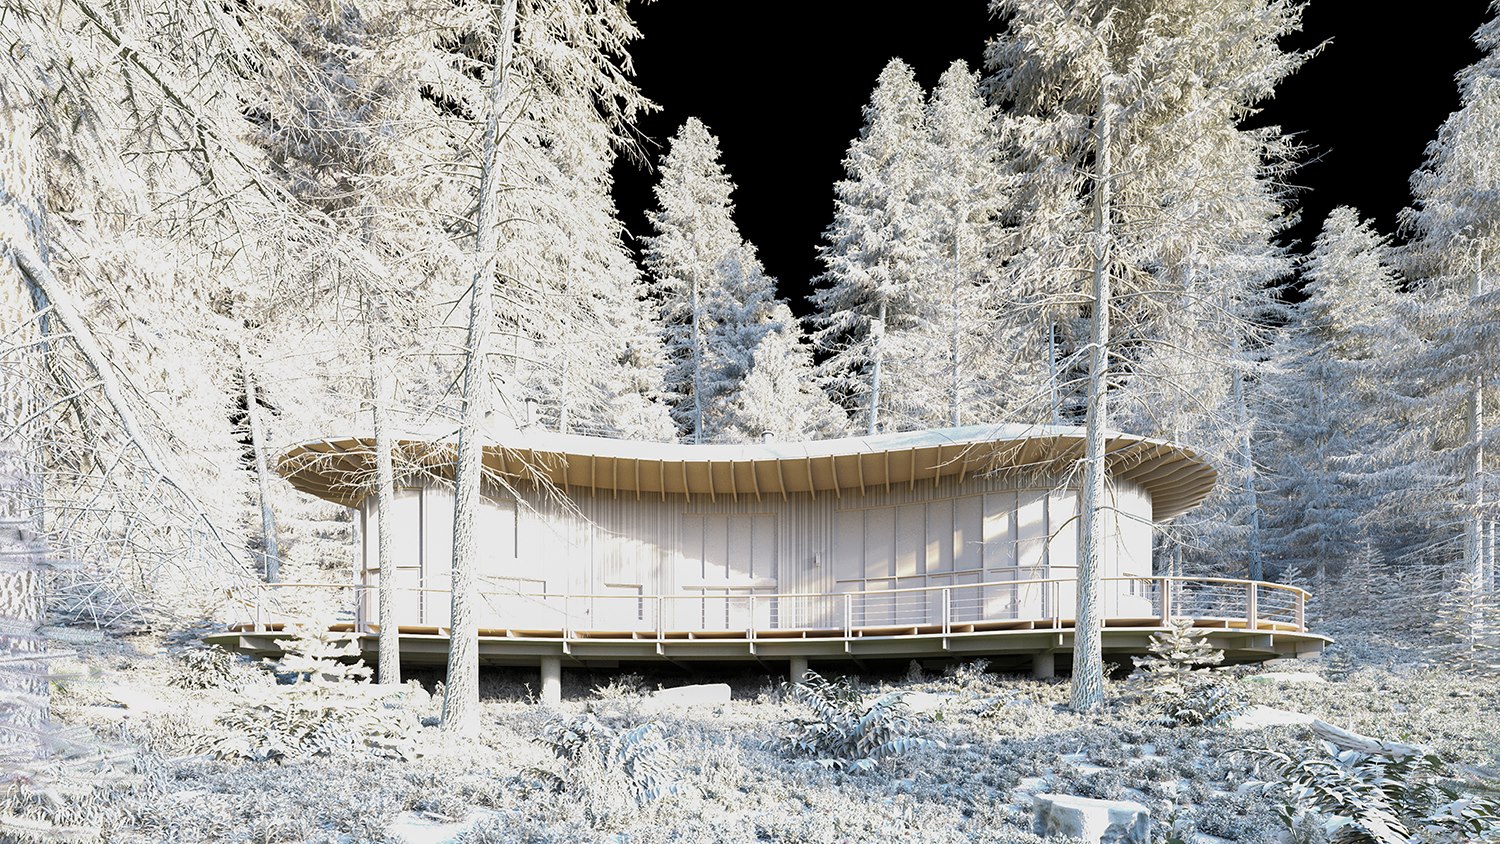
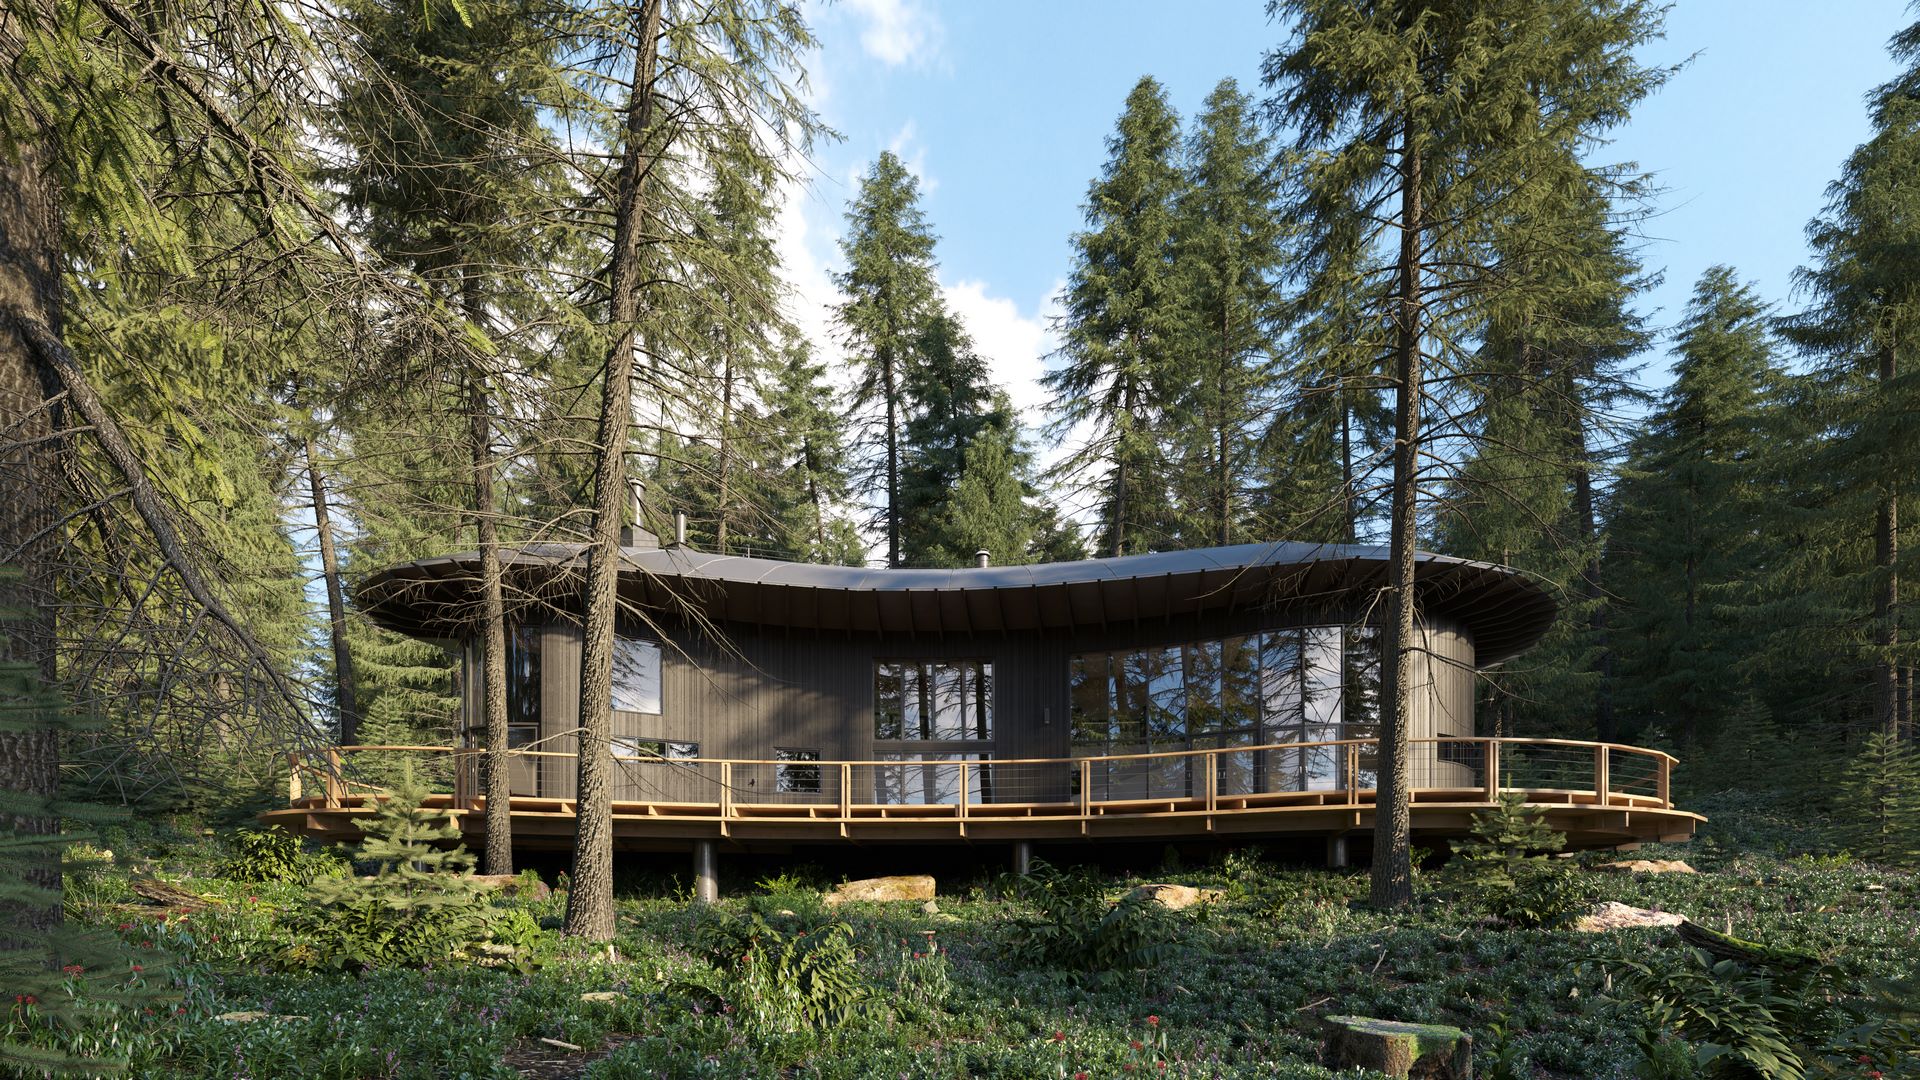
Raw Image.
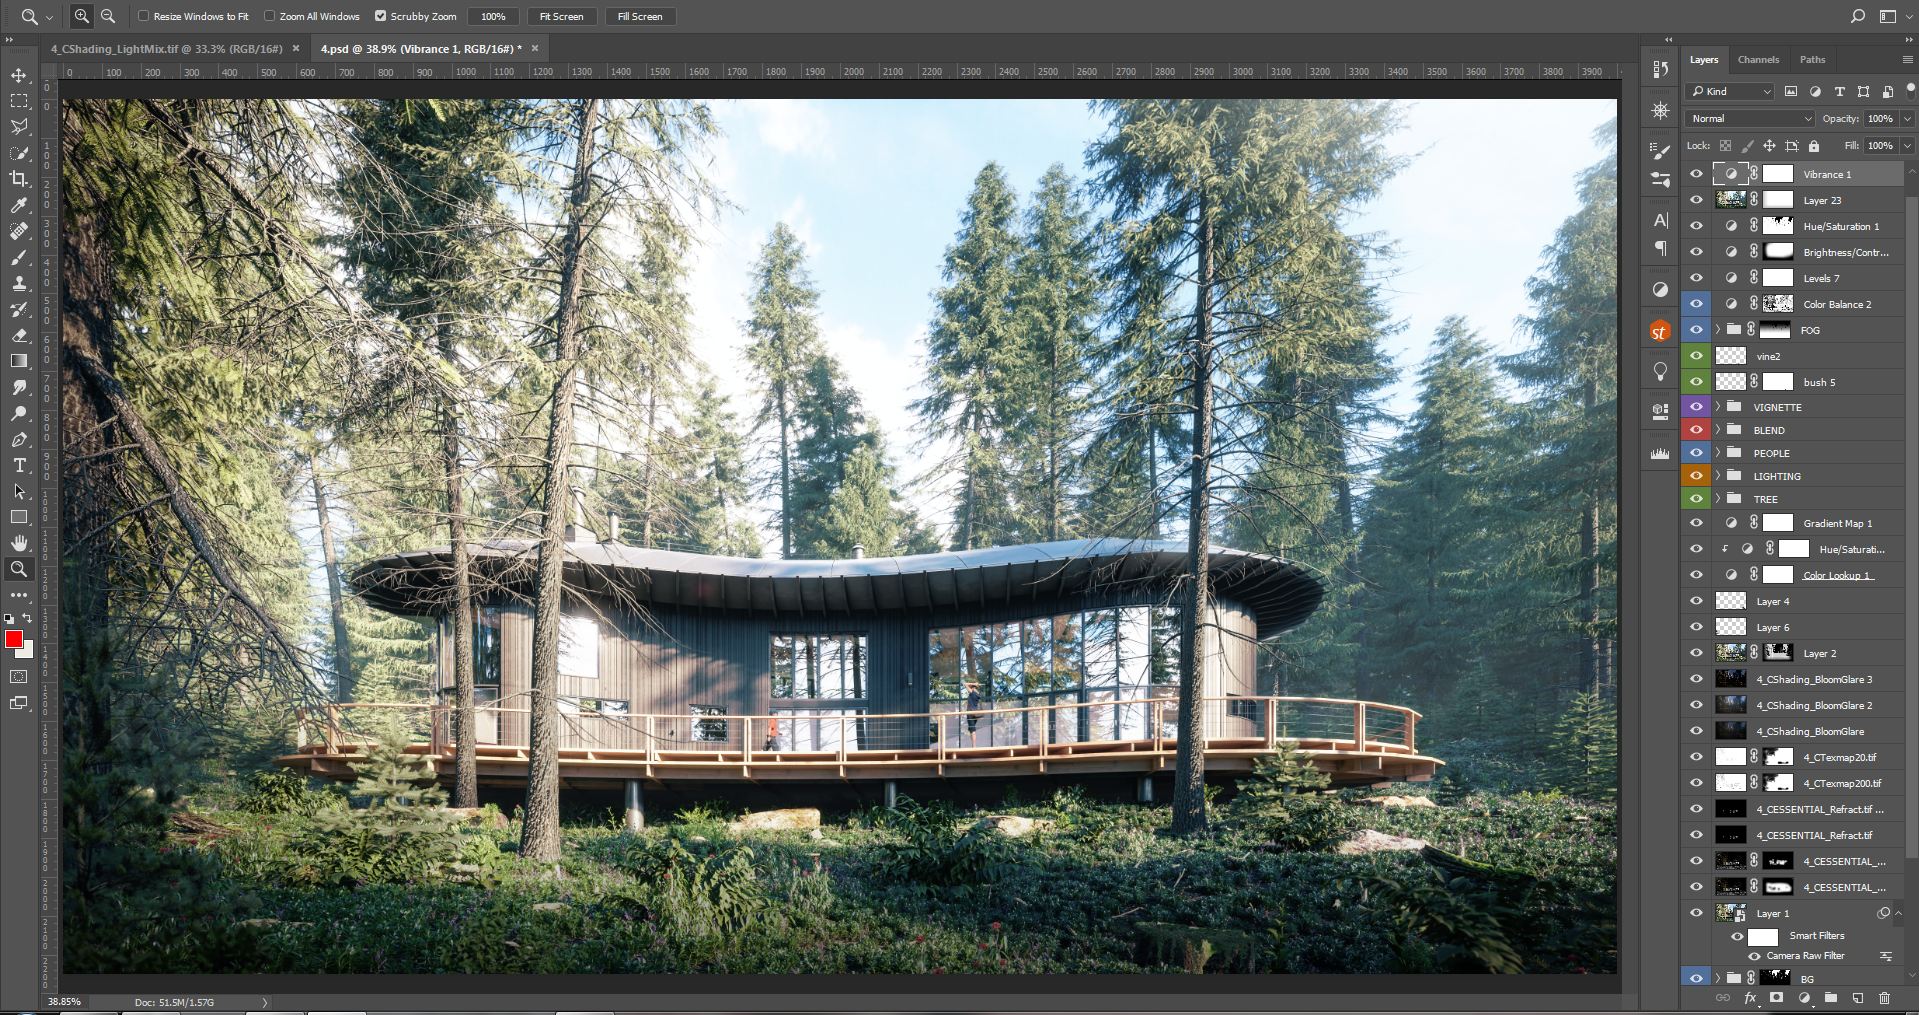
Firstly, I used Camera Raw to correct lighting and contrast, highlight and shadow from raw image. Then, I used elements, added more Trees, Dirt, Lighting, People. Next, I blended with Color Efex Pro in Nik Collection, added Vignette, Fog, adjusted a bit more in color, hue color, saturation. And done!
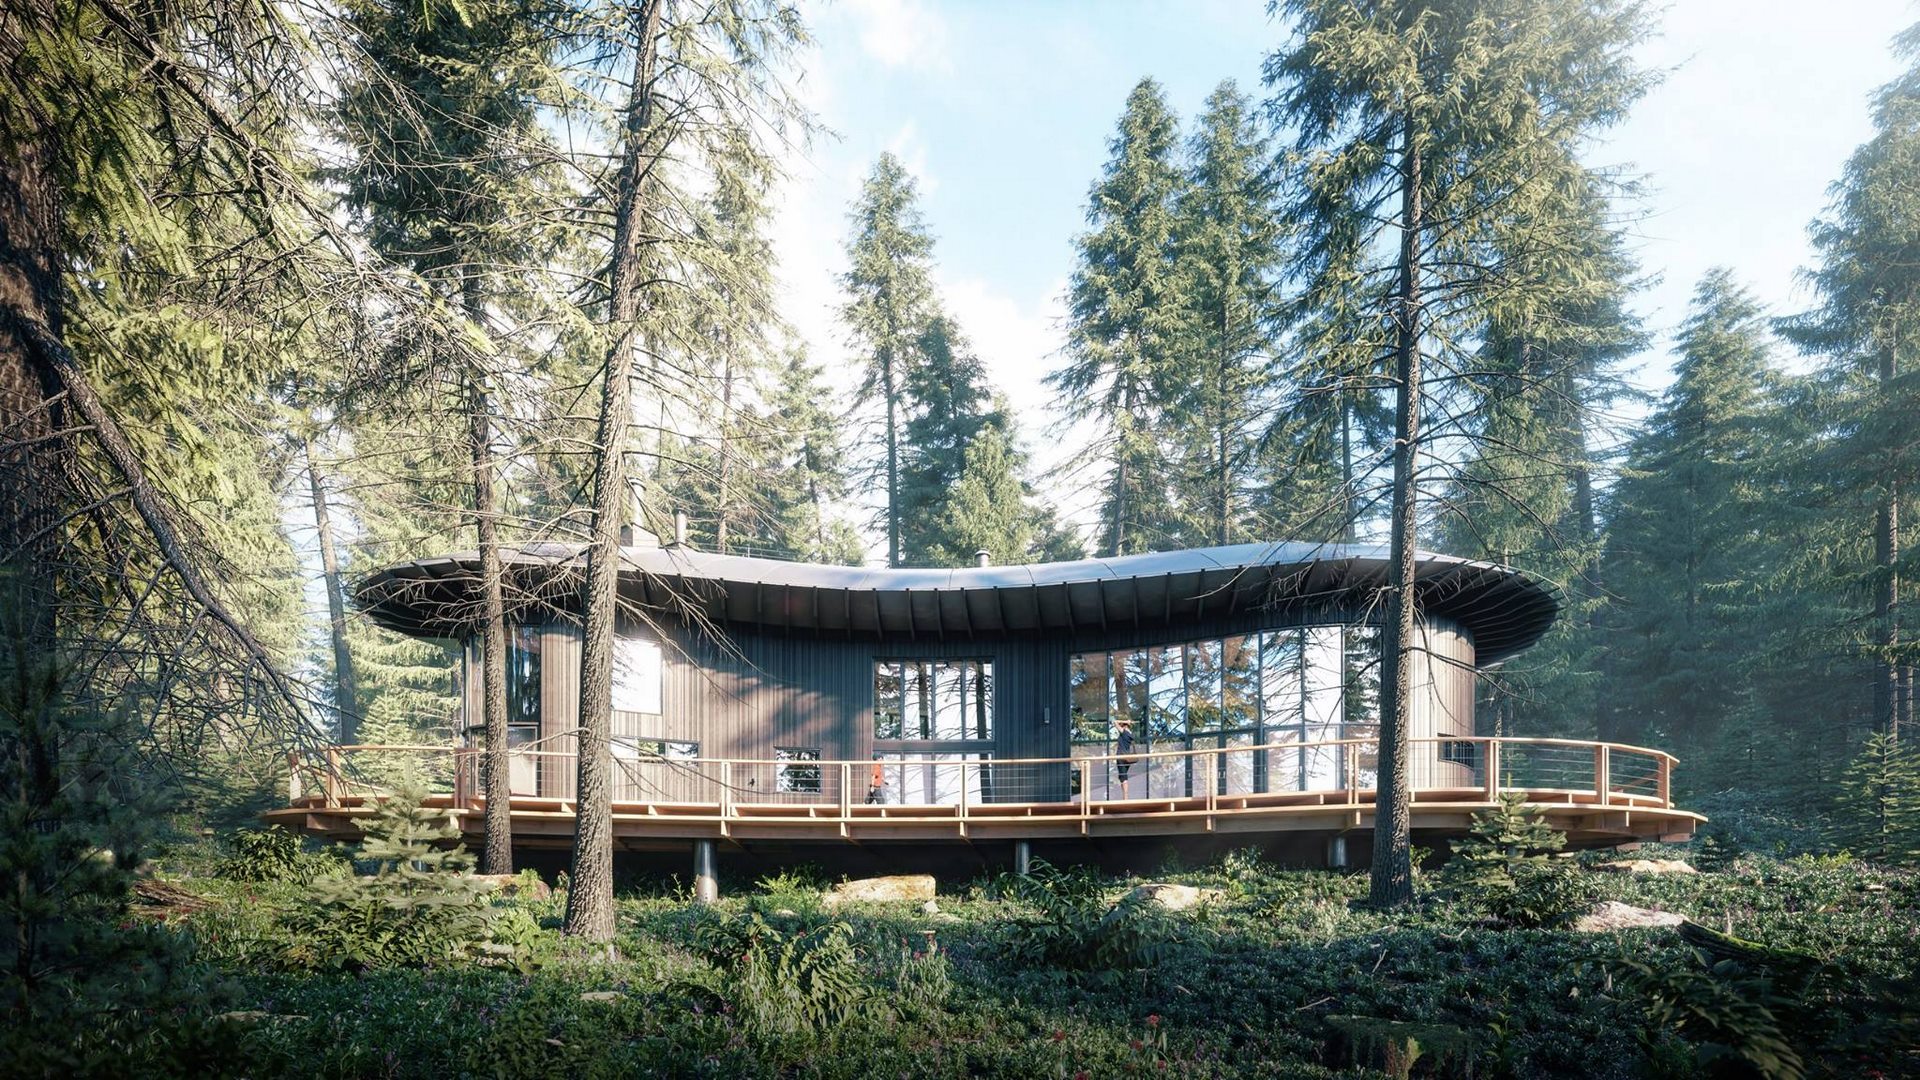
Final Image.
Ray light.
Thank you for reading!