Amir recently presented his personal project of an industrial gym space on our community. He achieved to impress us and thus we asked him to share with all of us a making of article. Enjoy it!

Hi everyone
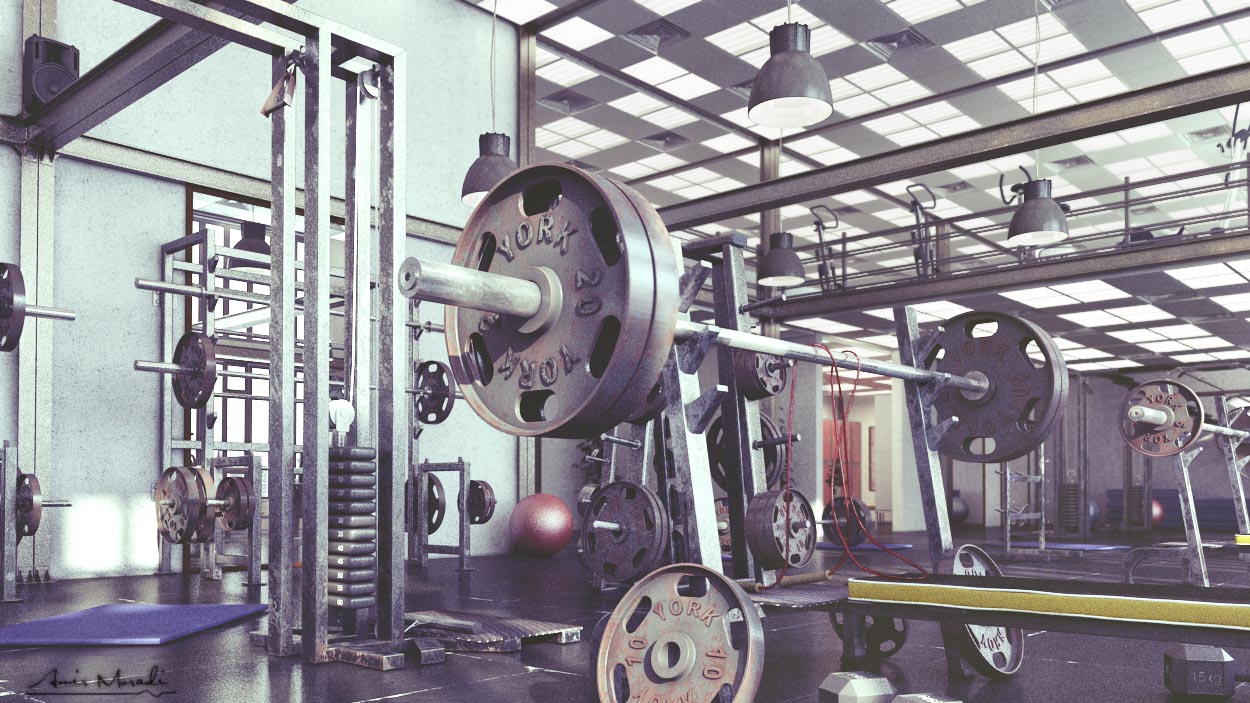
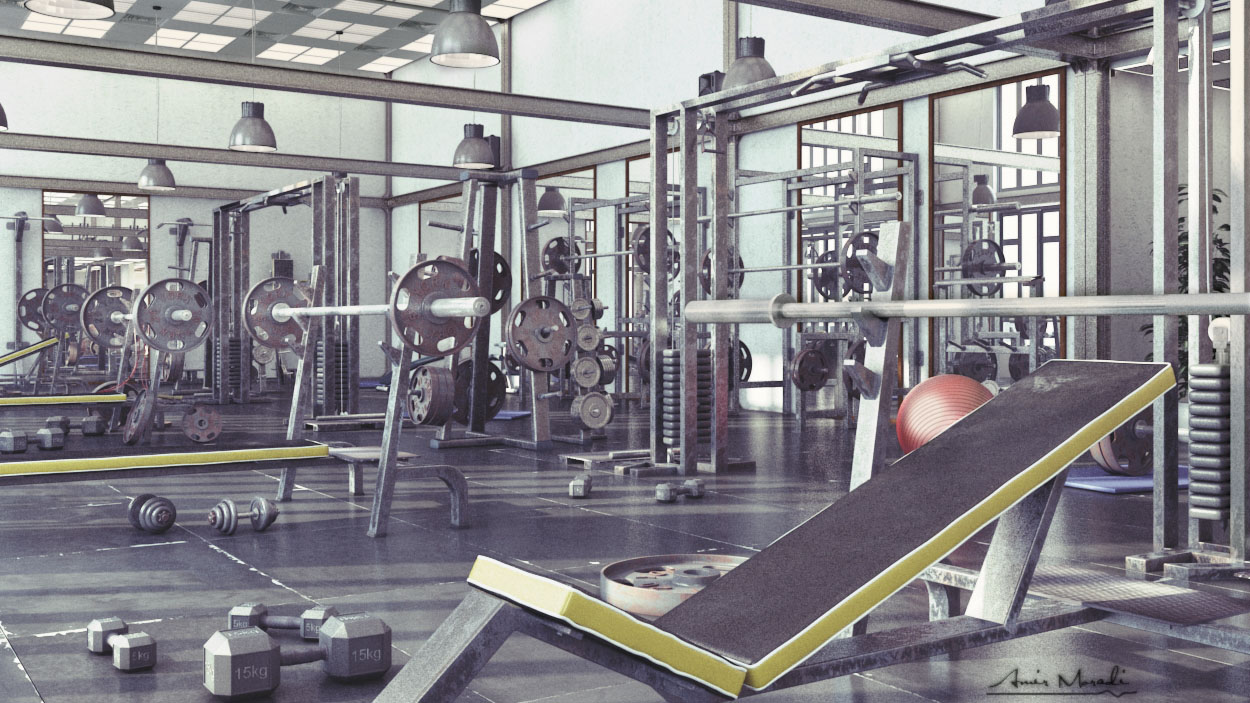
My name is Amir Moradi and I'im an architect. I would like to share with the community one of my personal project's workflow and I hope that you will find it useful enough. I would also like to thank Vray World which gave me this opportunity for sharing my Making Of article. You can see here the overall project which recently presented on Vray World.
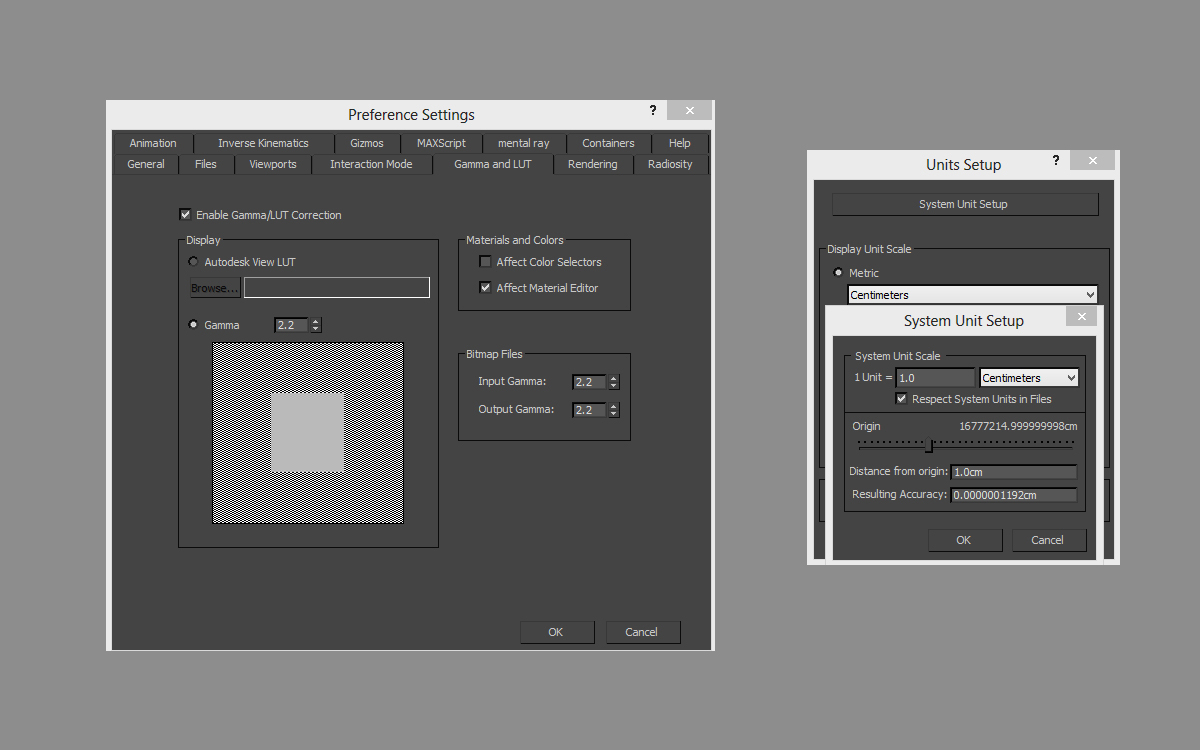
Here are both the gamma settings and units setup that I usually prefer for my projects.
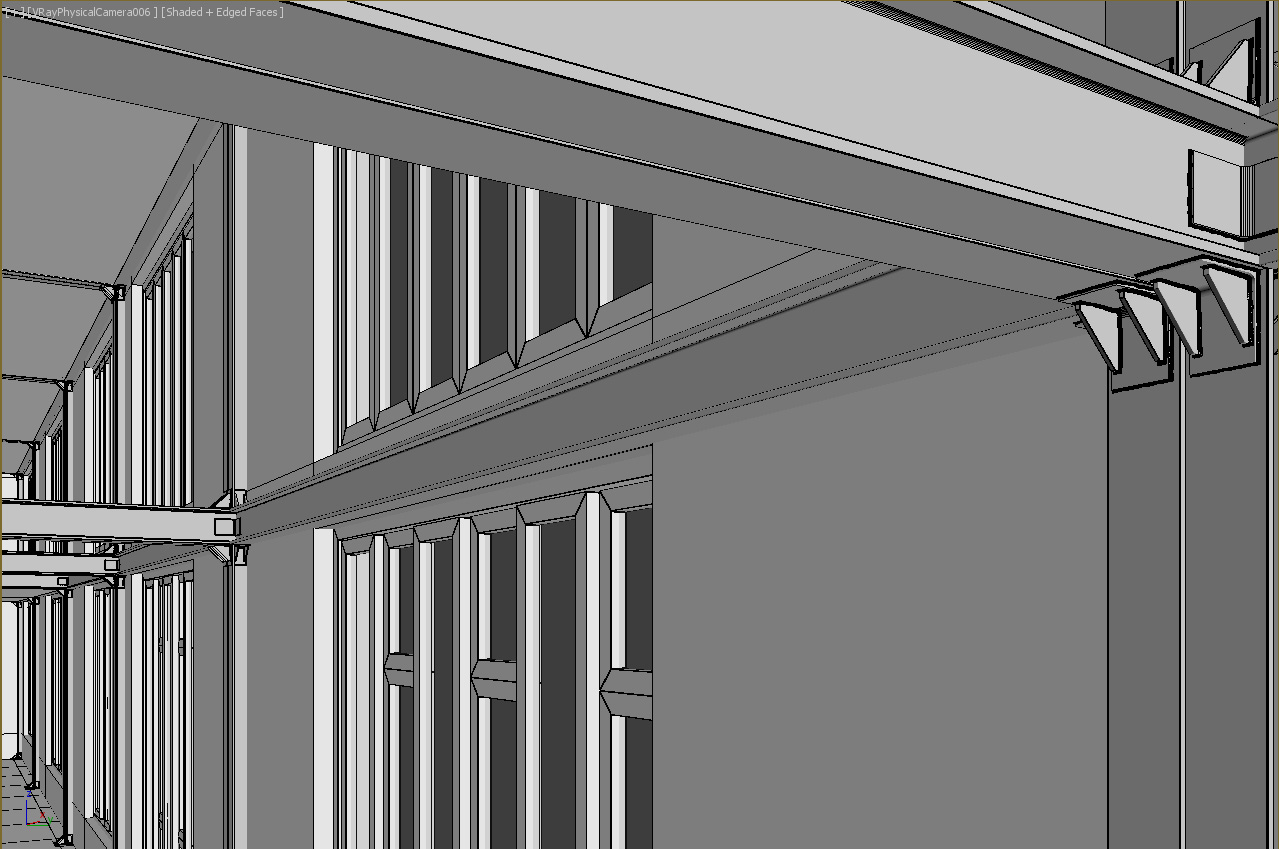
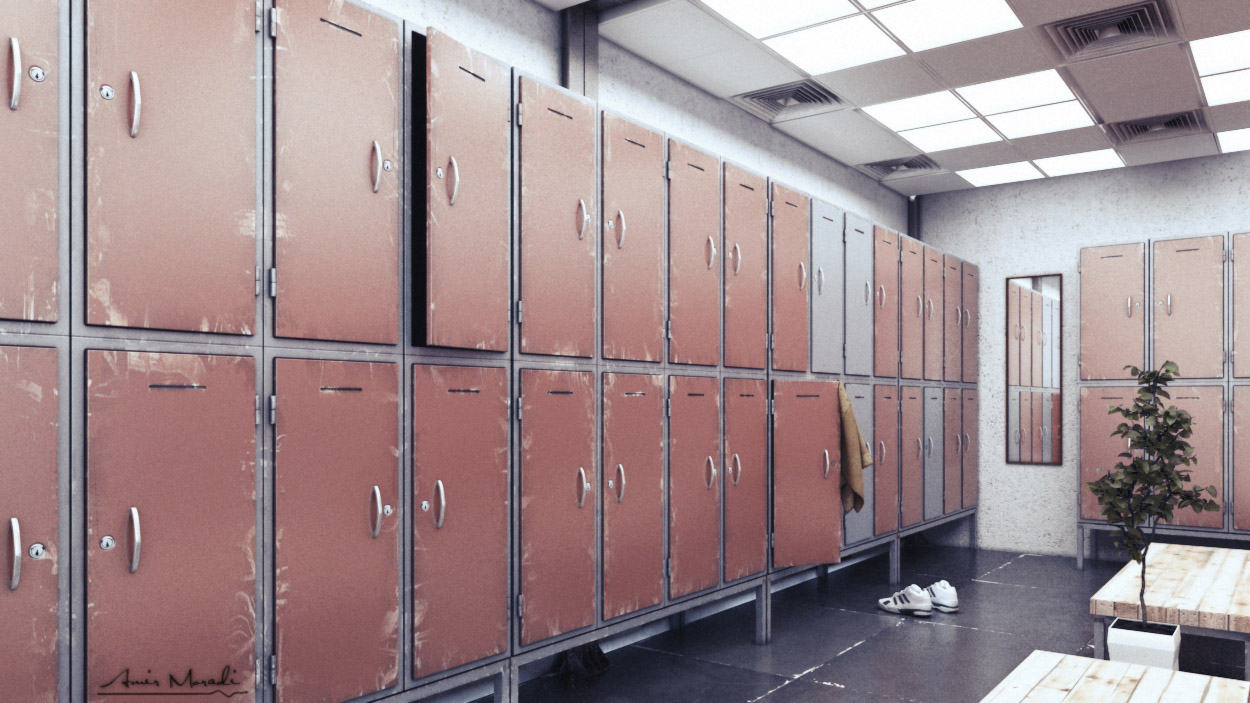
There is nothing special in the modeling process of this building as it has a very simple form. It’s just my imagination about a small gym which has a high ceiling with some large openings to get more day light.
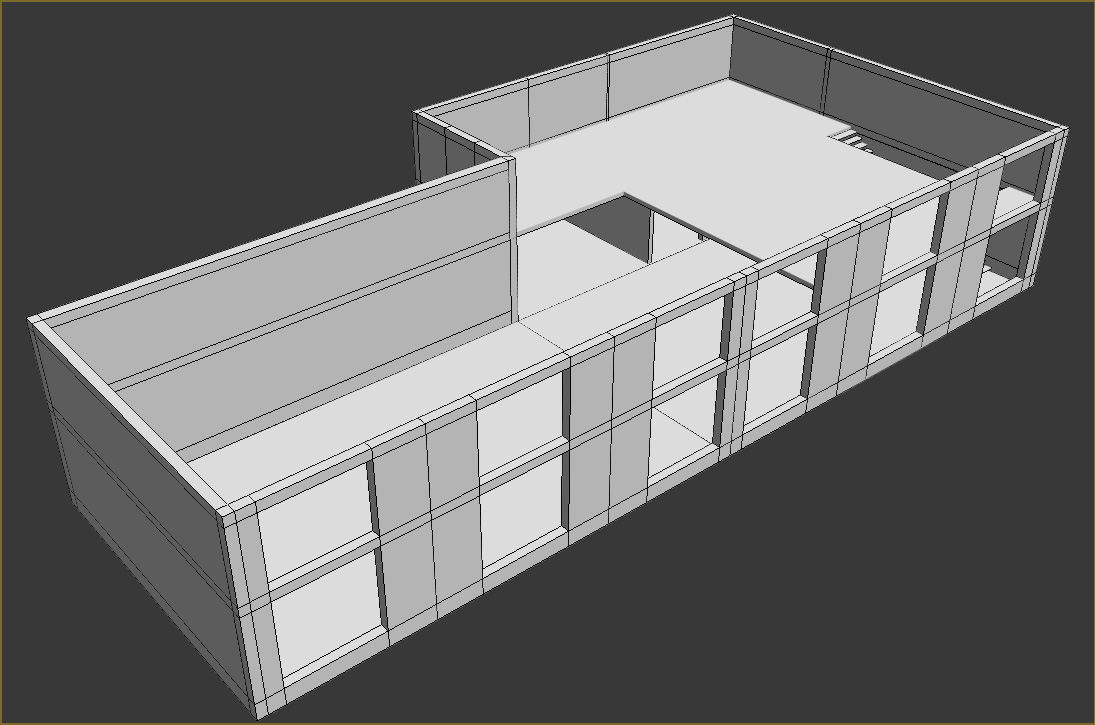
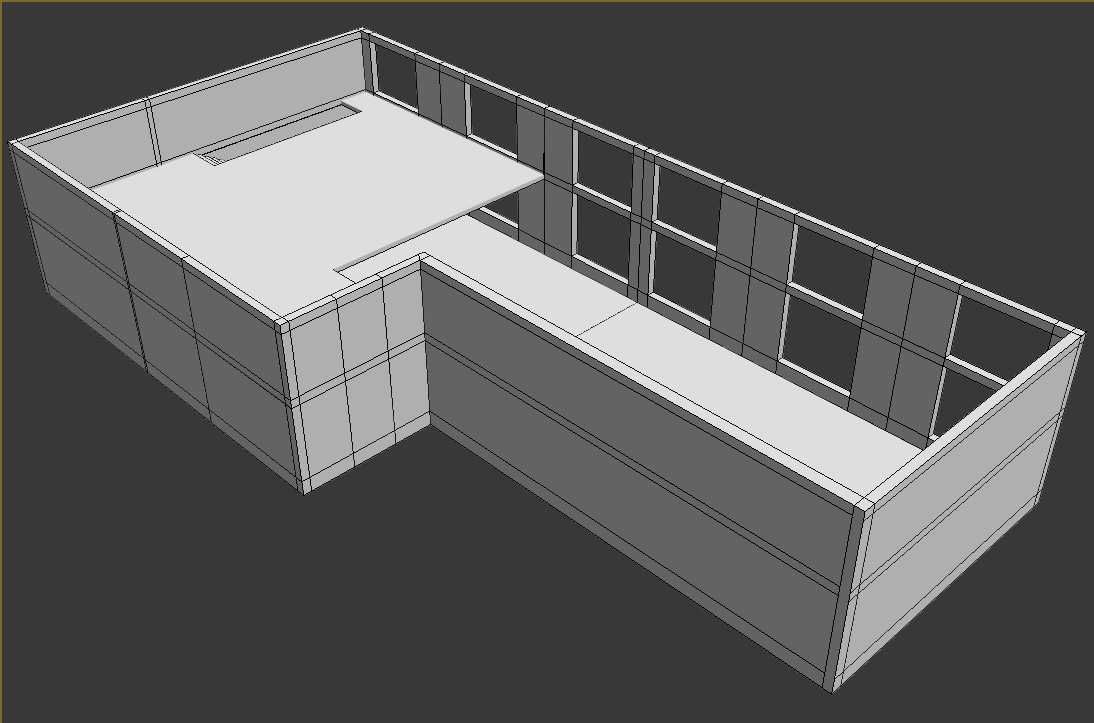
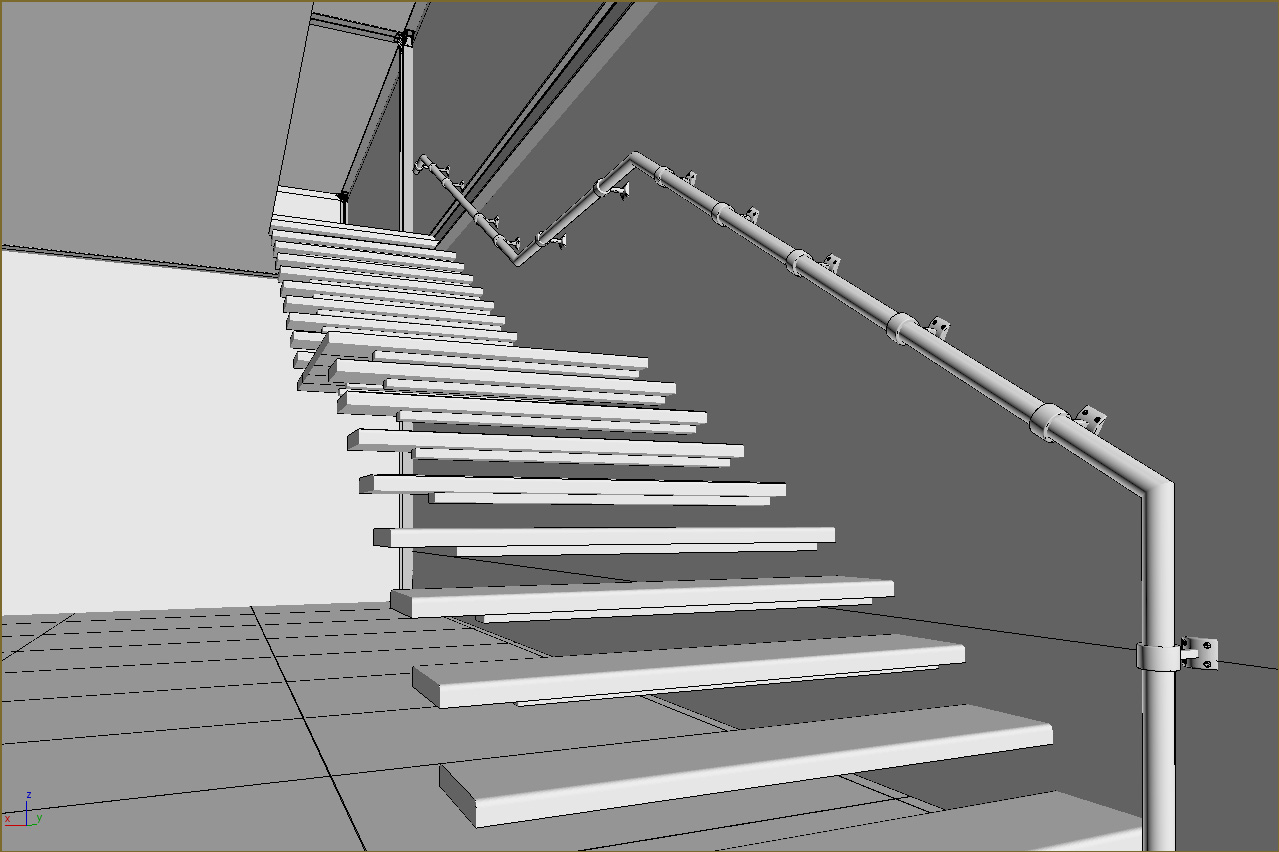
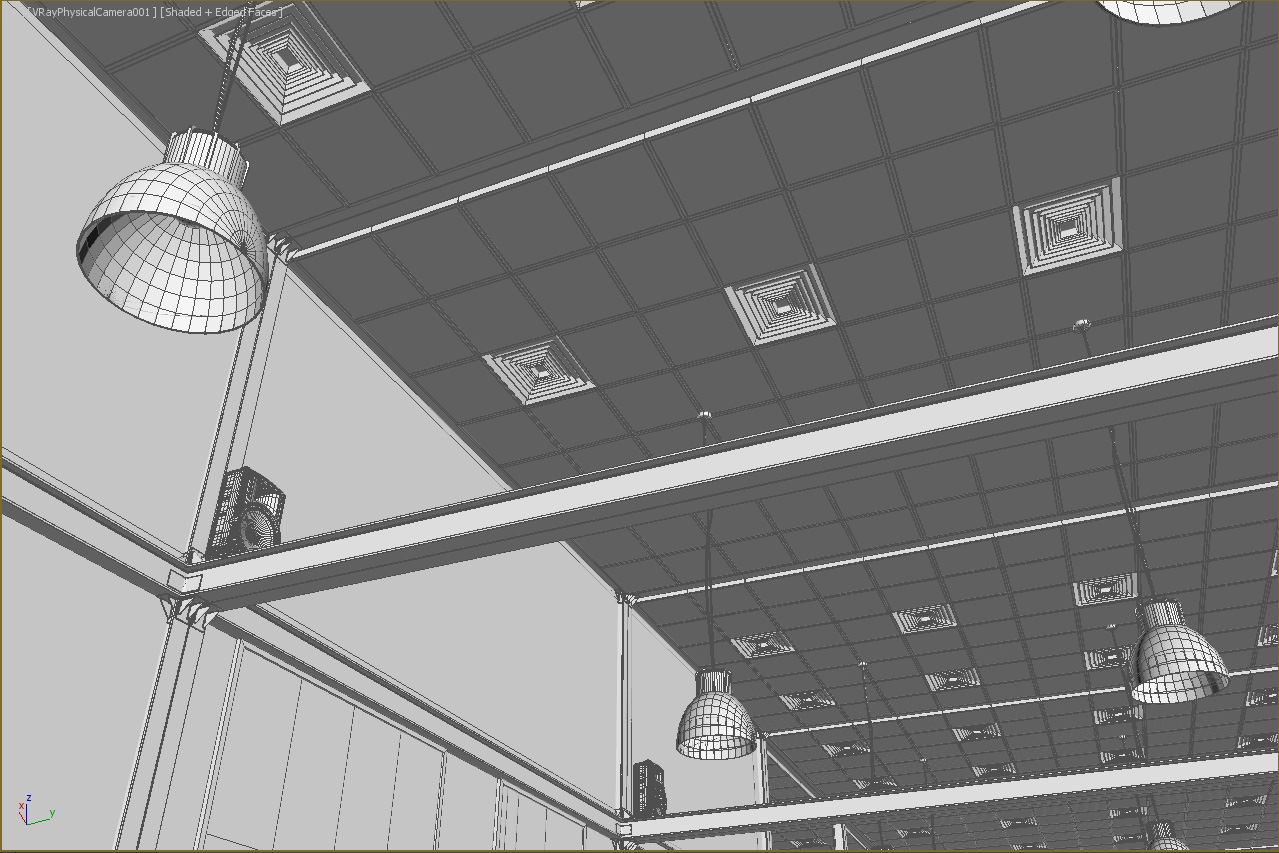
After that, I started adding some details to my scene like columns, stairs, hand rails, window frames, ceiling lights and other things. I didn’t want to show steel only on some sport machinery, so I decided to show it as a major material, that's why I put the steel columns in expose.

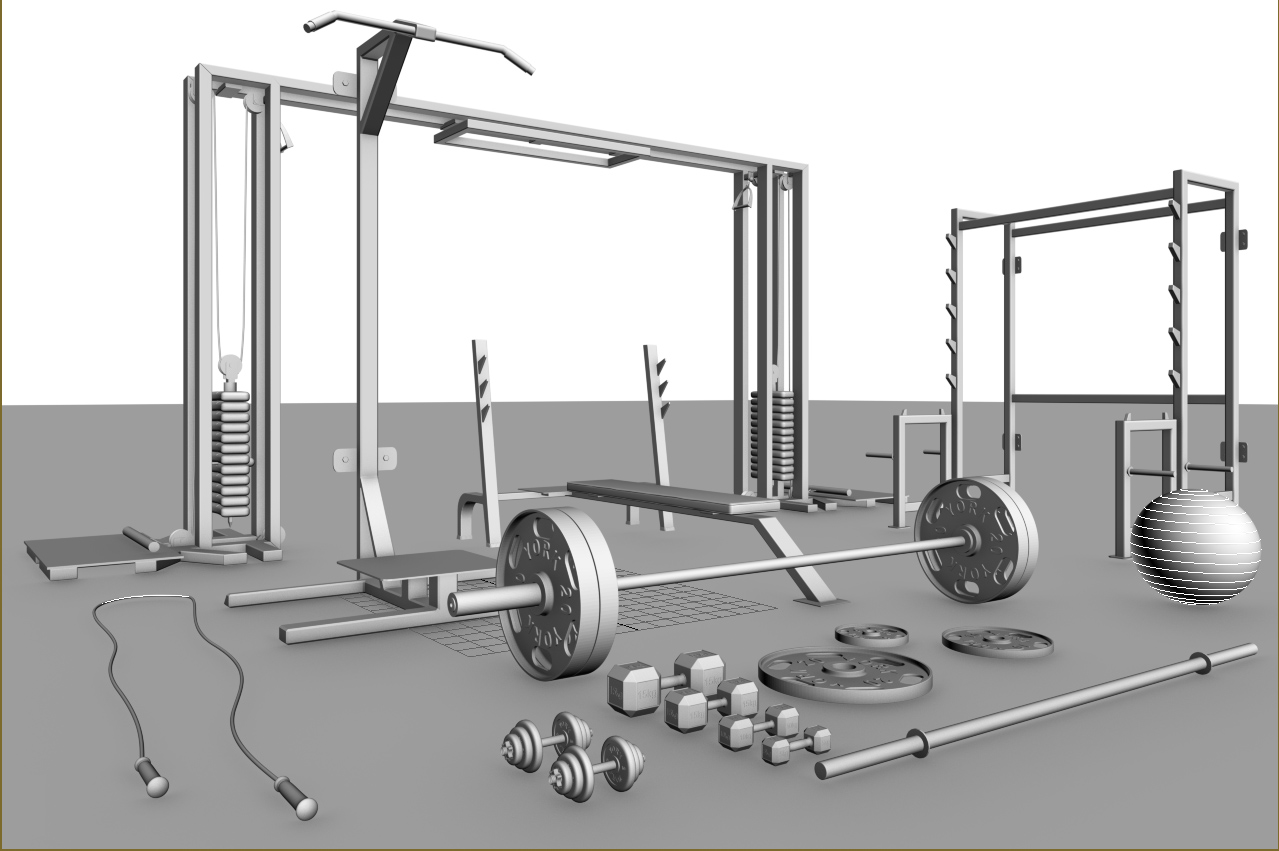
Here are some of my objects that I made them for this project. All of these objects have been modeled in 3ds Max and I think that is very delightful to make your scene's objects by yourself.
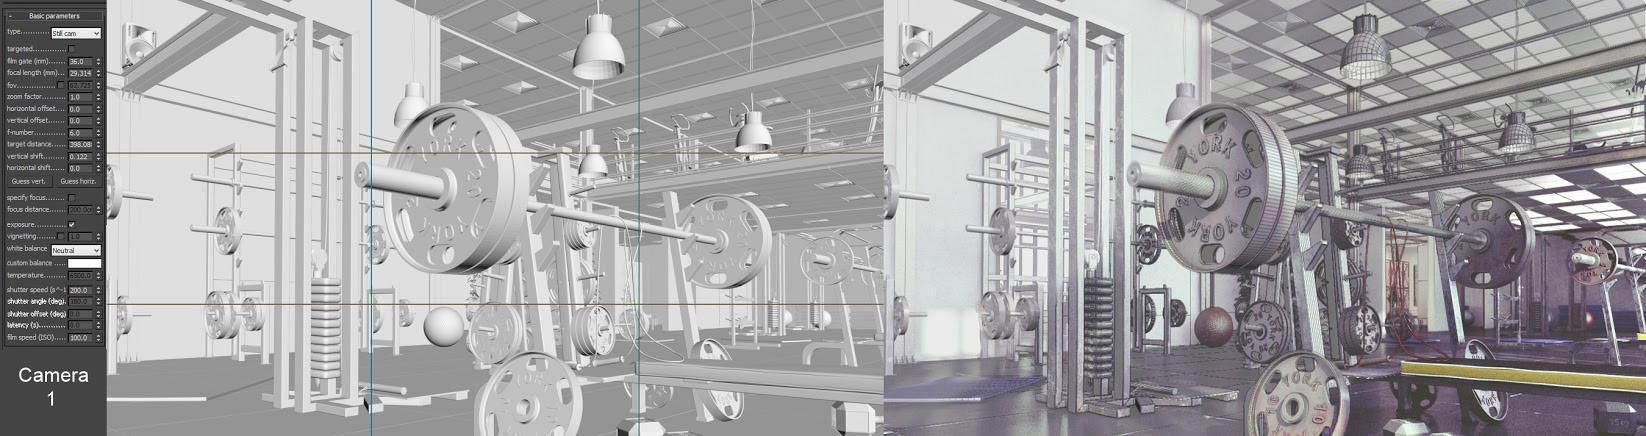
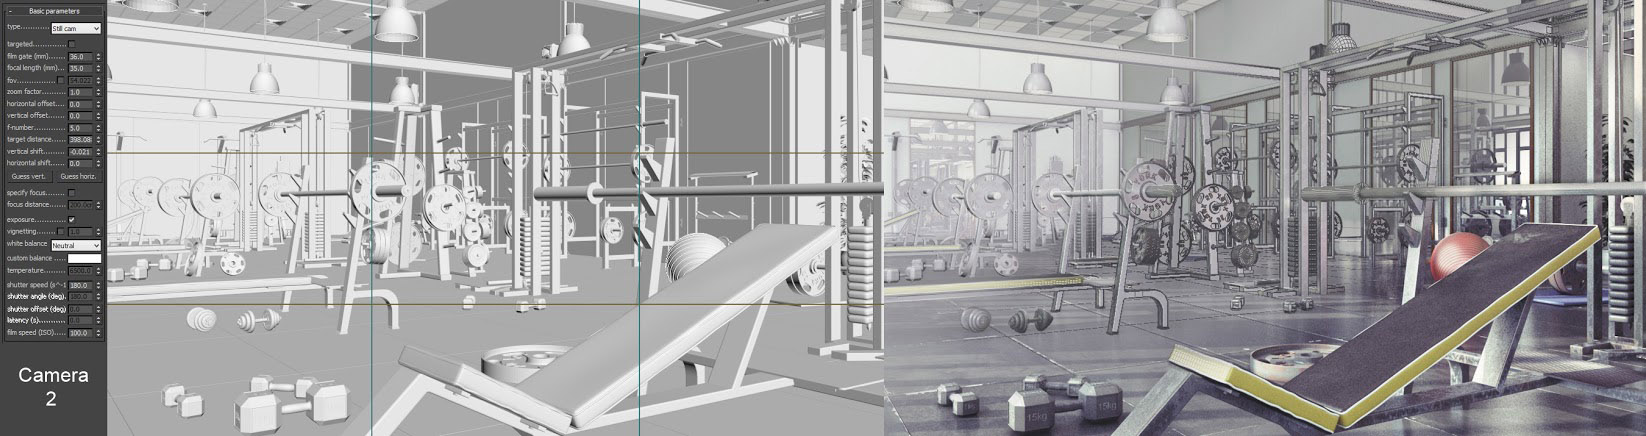
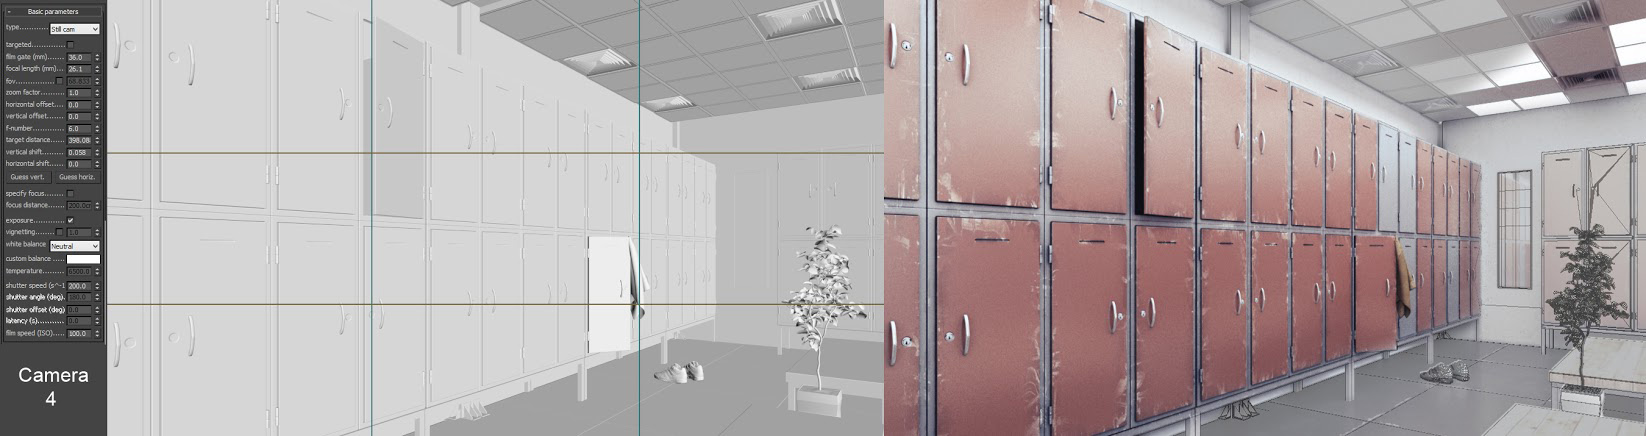
About the views I should tell you honestly that I always like one of views more than the others and in this work I like Camera 1 so much! Here are the camera settings I´ve used to each view separately.

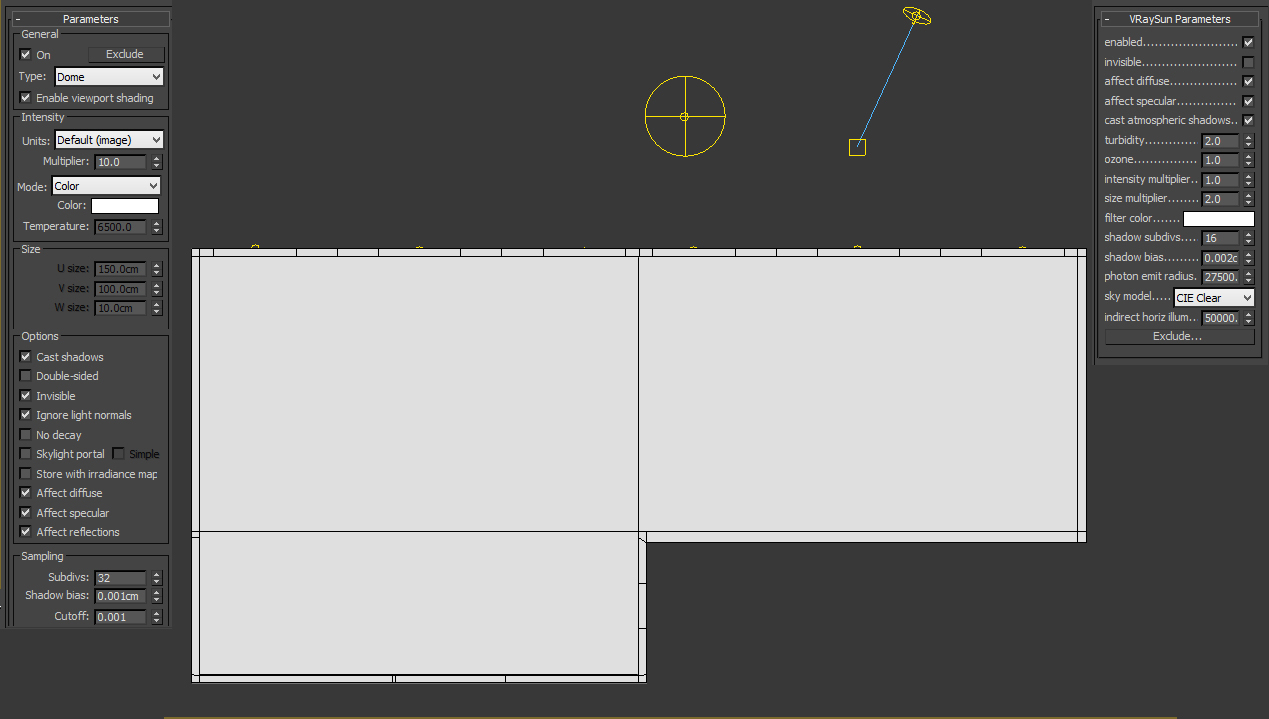
After finishing the modeling and arranging the objects in the space I started the lighting. It's better for me to do the lighting before texturing in a completely white condition. It could help you to see much better the shadows. Sometimes, after texturing you can also edit your light a bit more to get a better result. At this work I used Vray sun - Dome light + HDRI

I used Vray planes for ceiling light boxes & sky portal & Vray sphere for lamps.
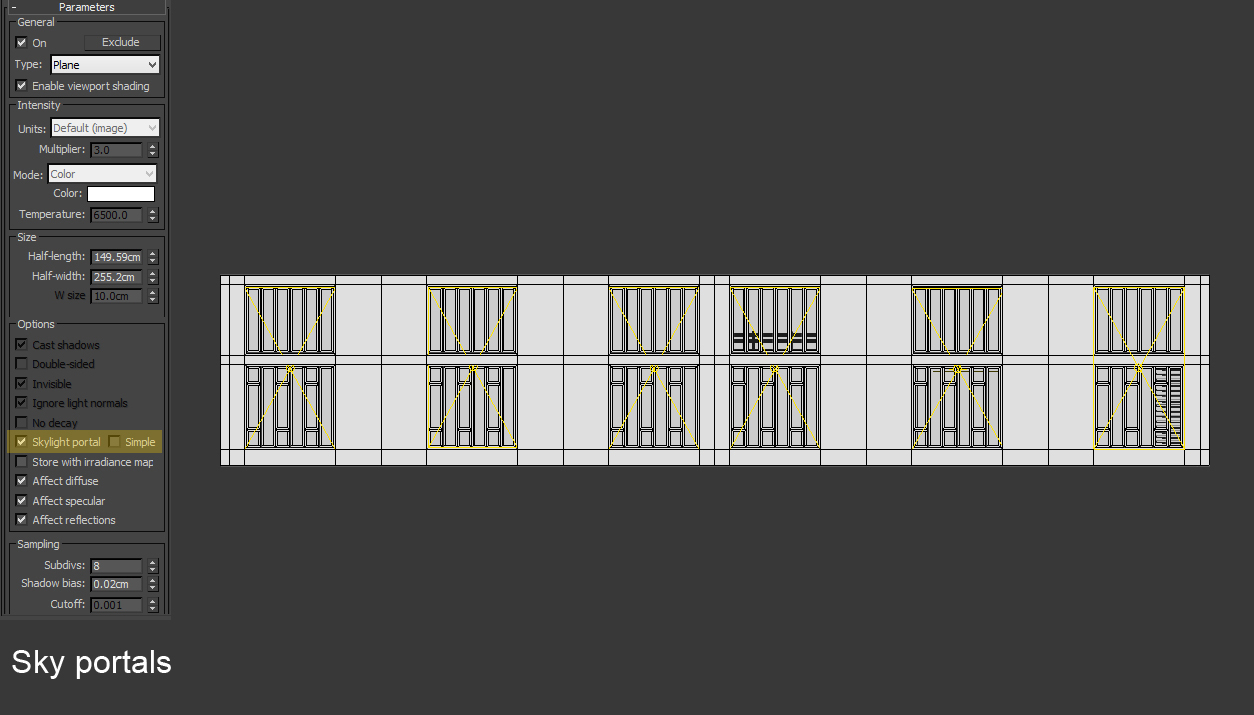

Light boxes.

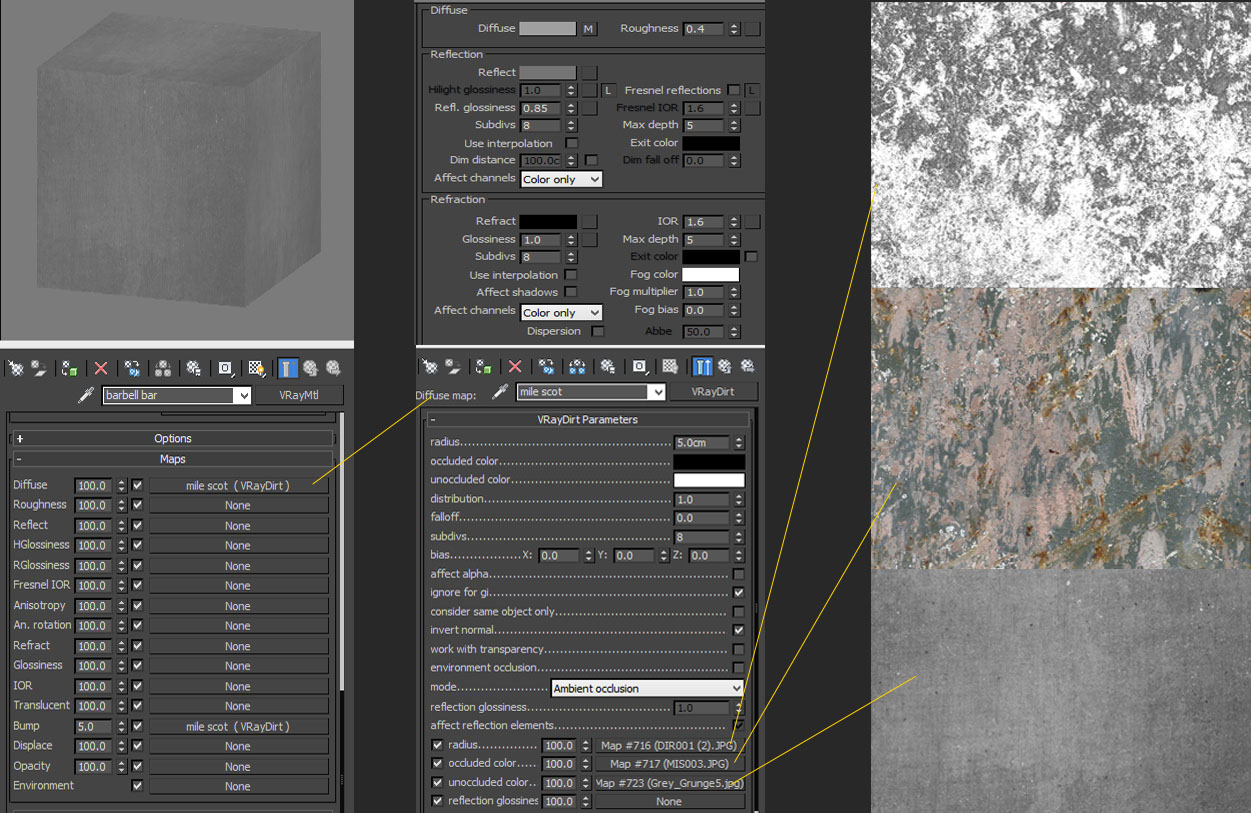
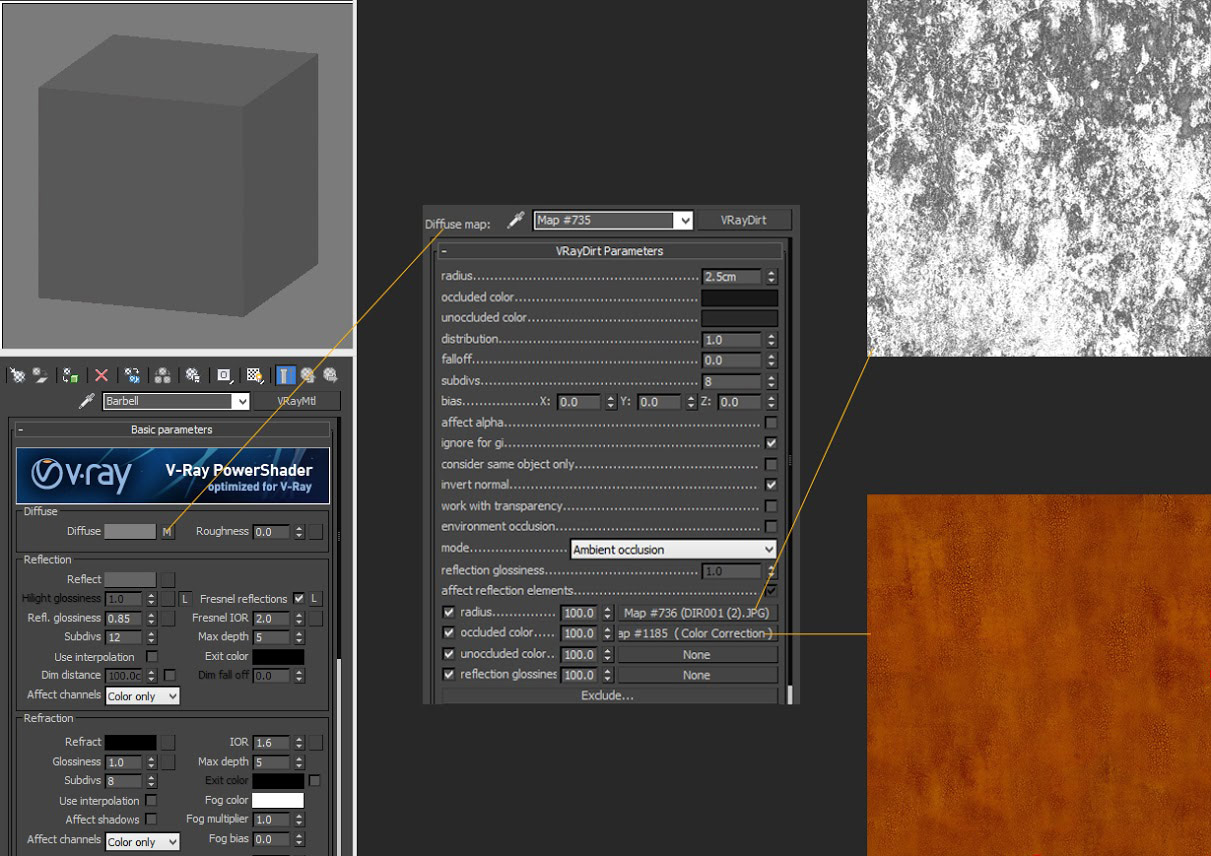
Now it's the time for making & assigning materials to the objects. In this case I have decided not to make things very clean and sleek, so I made rusty material for that.
Bar material.
Column material.

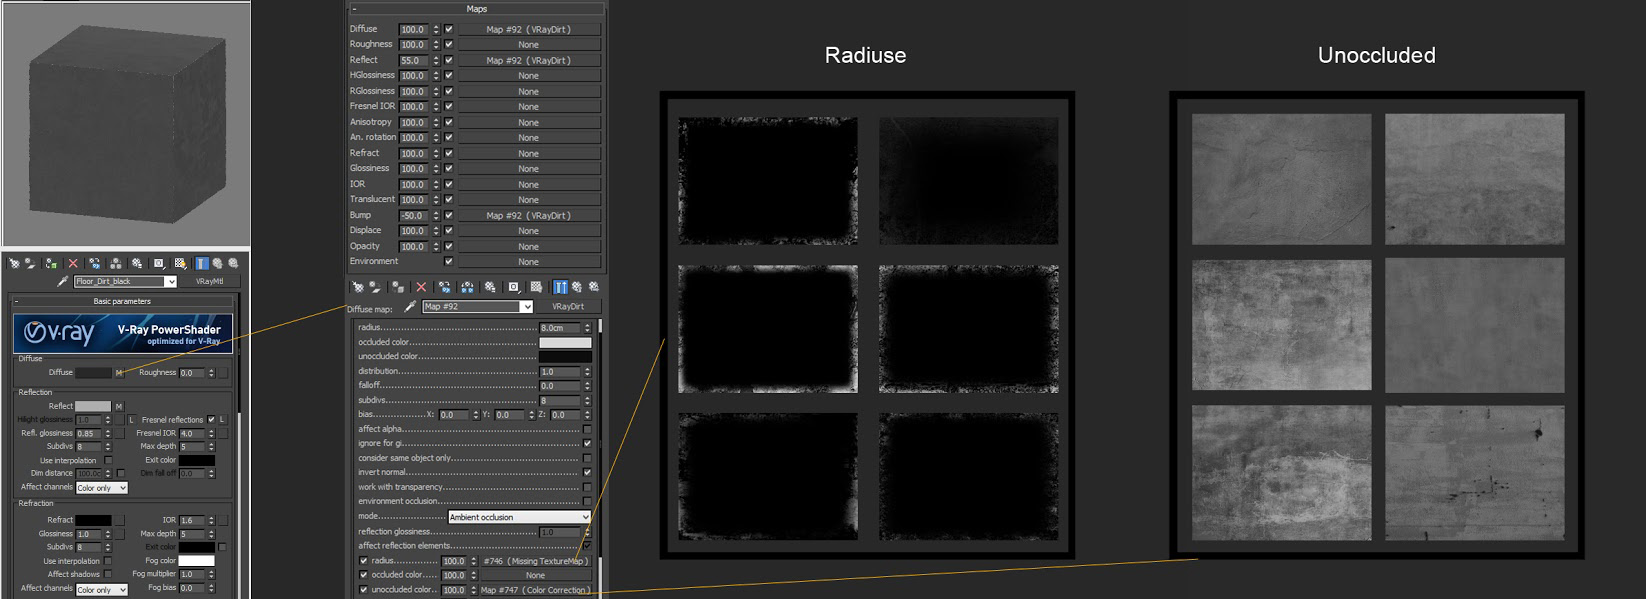
Floor.
Plastic Mattress of sport machinery.
Weight material.
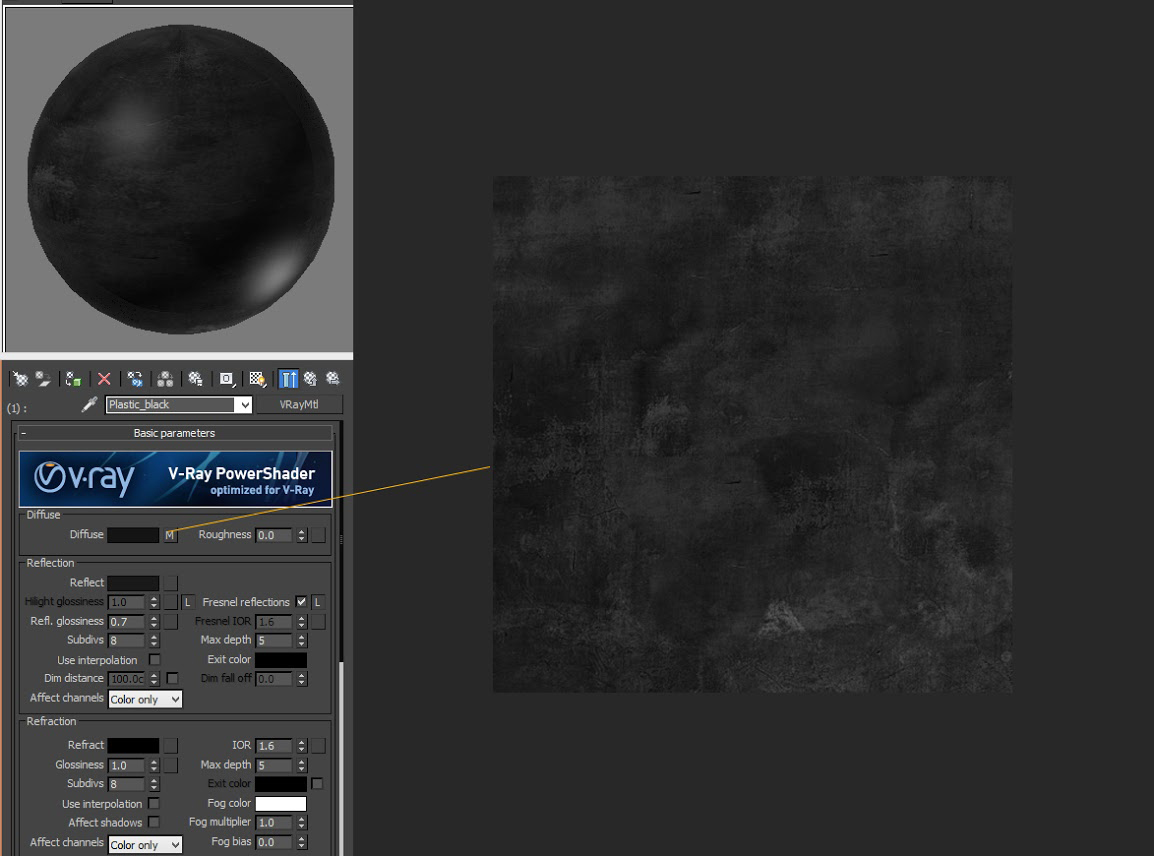
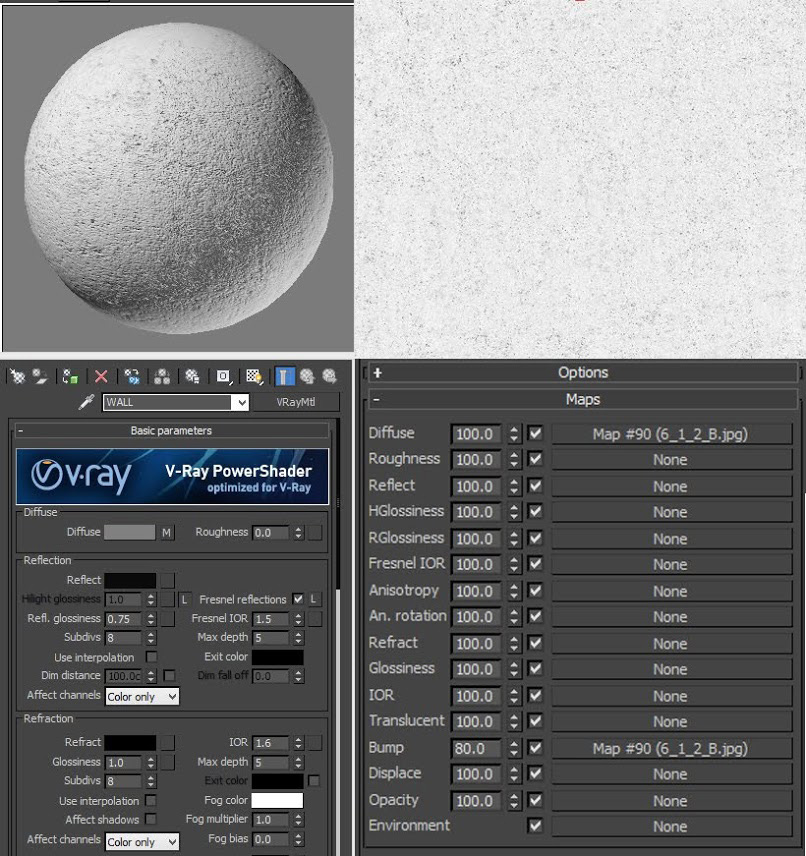
Wall material.
Window frame.

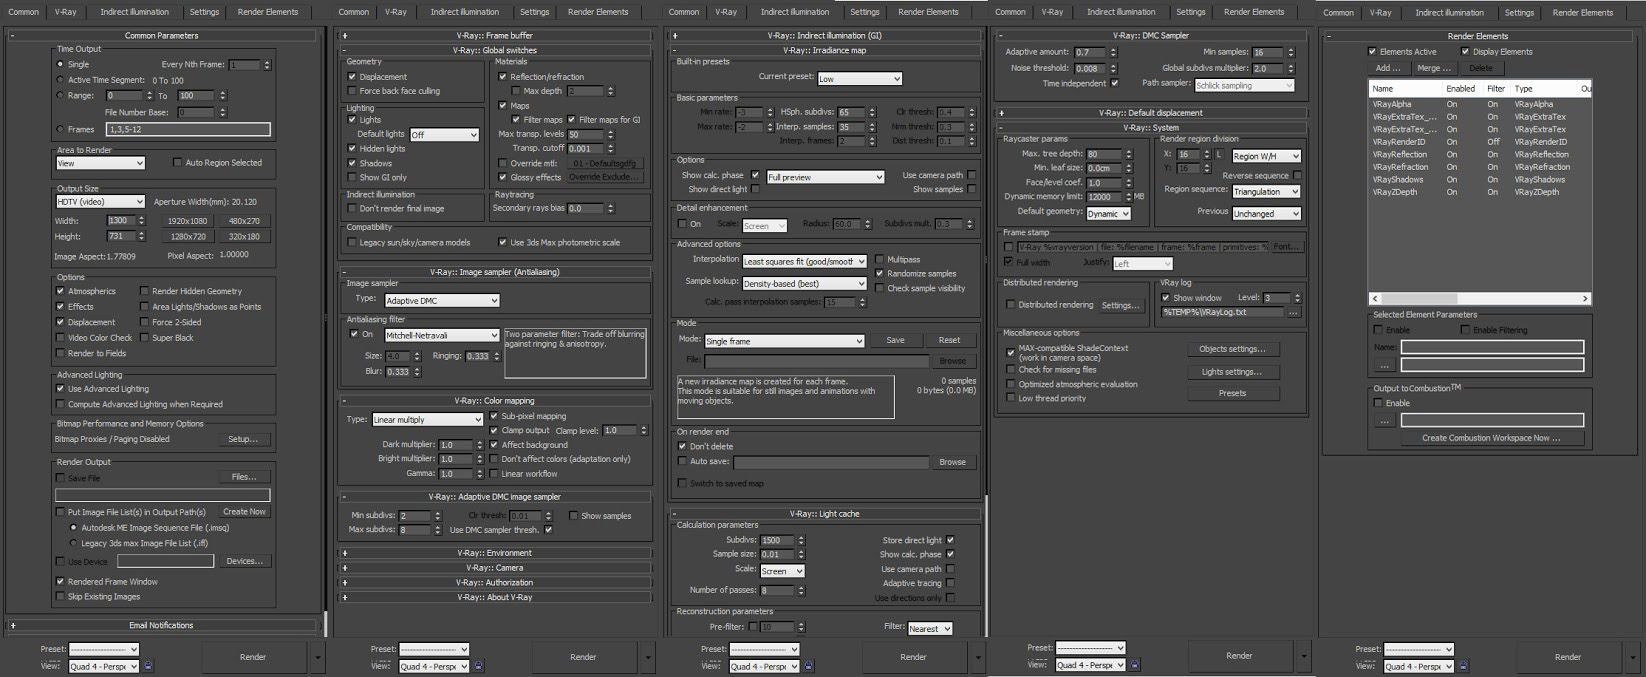
After following all steps now it's the time to set the final render setting . The important thing in this section is to reach a nice quality with some reasonable settings for a balance between render time & quality.
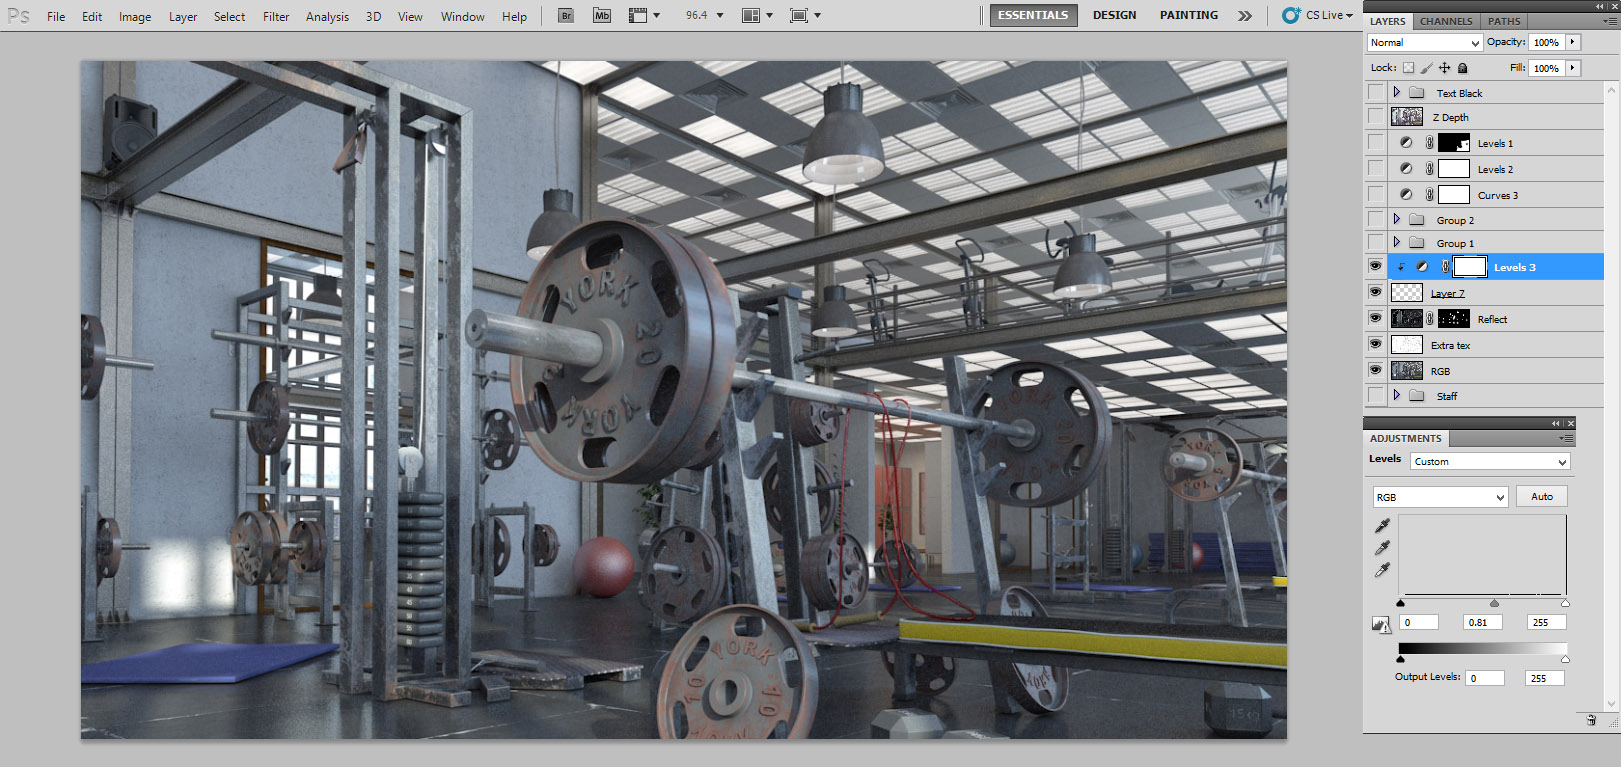
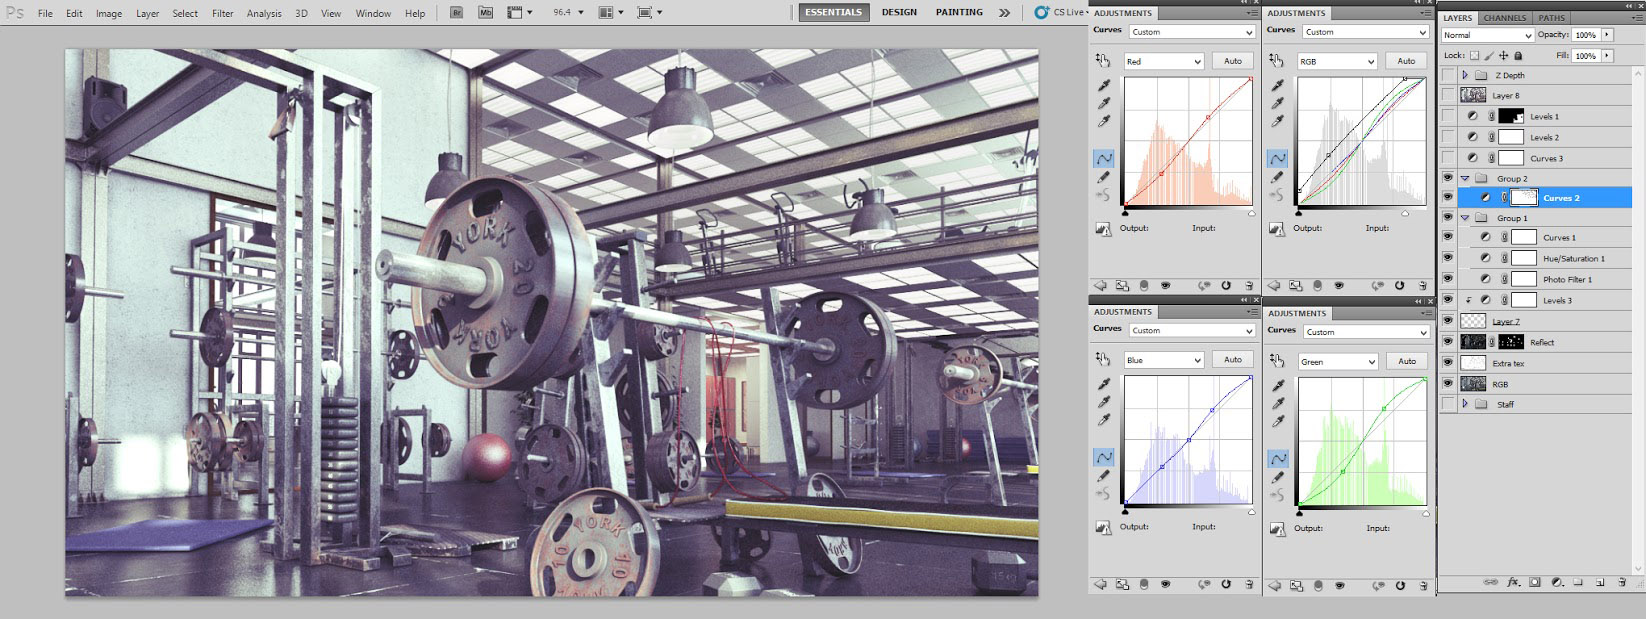
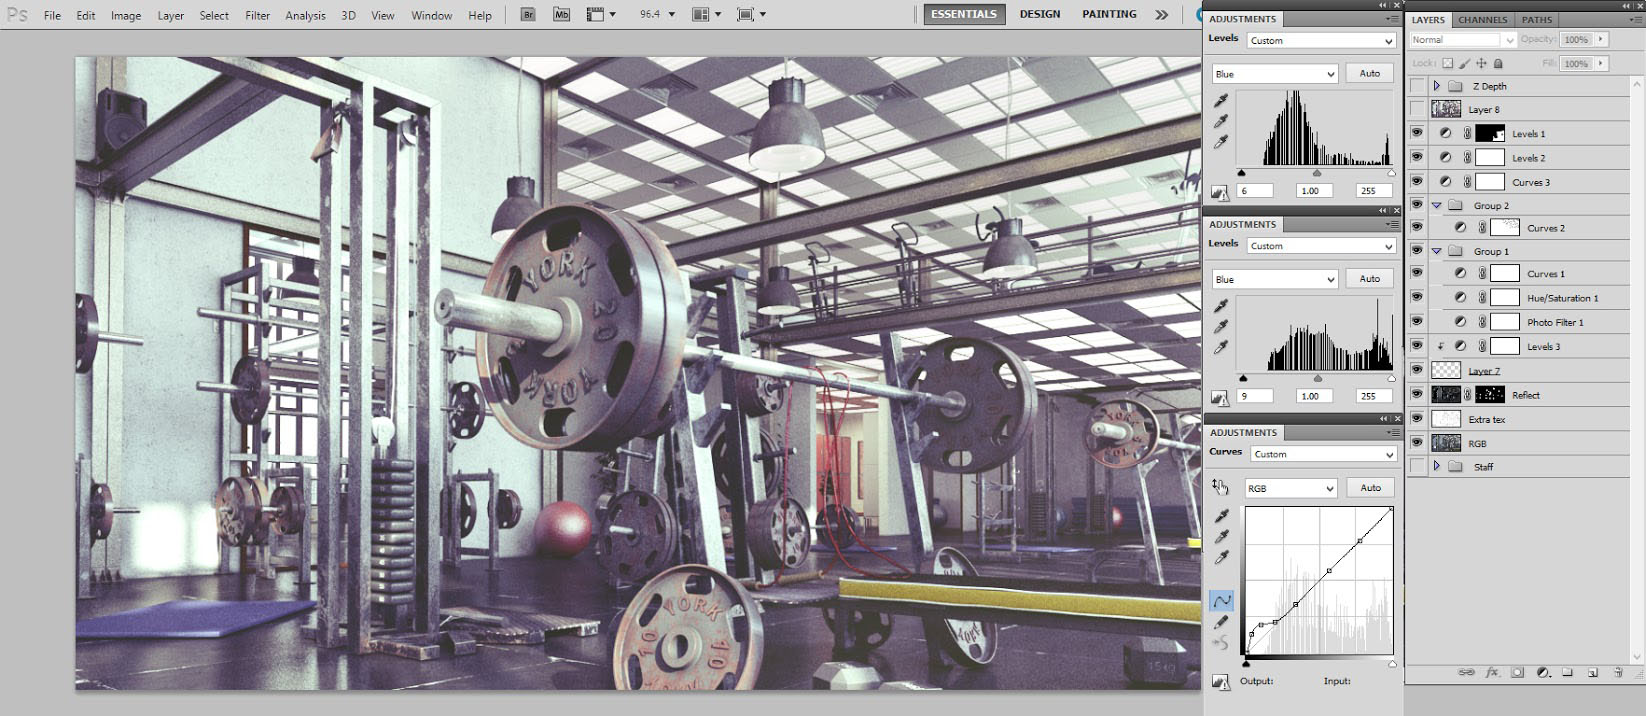
For the post production I’ve used Photoshop with some of my render elements. You can see one of render post production steps here. These are my render elements that I used for post production: Reflection – Refraction – extra tex – Z Depth

Steps of post production :


Thank you all for reading and I'm at your disposal for any further information...
Best wishes!