It was a few months ago when we first saw some stills of this project uploaded on our FB *Group. It was obvious that a passionate 3d artist was hidden behind it! Just a few weeks ago Ryan presented his personal project "Louvre Architectural Film" and then he kindly prepared a really interesting making of article for VW Community. Enjoy it!
Firstly, I would like to thank the Vray World team for inviting me to put together this making of. My name is Ryan Groves & I am a 3D artist at The Neighbourhood in Manchester, UK. In this making of I’ll be taking you through some of the processes I have used in creating my architectural film of The Louvre Museum in Paris. I started this personal project as an opportunity to learn how to create an animation from start to finish as previously I only had experience with still images. This is my first attempt at animation and there are many things that I would like to improve, but I learnt a lot along the way and hopefully I can share some of this with you.
Reference was really important for this project. Due to the lack of drawings I had to model purely from photographs so I gathered as much reference as I could to cover all of the details. Here is a small selection of what I collected below.
I also think it’s important to cover the folder structure. Due to the large nature of this project it was important to keep it under control and organized. All project specific assets were organized into folders to ensure models, project specific maps, Xref’s and more were easy to find, relink and merge when needed. All shots and scenes were also catalogued and numbered with the same scene names, camera names and file names to keep the process clear and efficient.
I started thinking about composition and storyboarding very early on, and once there was enough of the scheme modelled I could start fleshing out the film with viewport previews. There’s not really anything new here but capturing a viewport preview animation was great for editing my storyboard with some music to quickly give the film structure and narrative, without the long wait for frames to render. Exploring compositions this early on also kept the modelling process efficient, it allowed me to identify which elements would need to be modelled with higher levels of detail.
With this being a personal project it gave me complete artistic freedom to create compositions exactly how I would like them! I wanted this film to generate a sense of place, be visually pleasing and generate an emotive response. Even when exploring a large, encompassing building such as the Louvre, I personally felt it was important to express this space intimately on a human scale as well as portraying its grandeur & context. With this in mind I tried to keep a healthy balance between wide hero shots and intricate details.
When producing compositions I feel there has to be a clear meaning & focal point. There may be various elements within the image working together to enhance its story, but to me it’s important to preserve a meaningful message and not over complicate with too many elements fighting for attention. Clear perspective lines, framing and light can all help to draw the viewer’s eye to its intended target. Depth of field gives further emphasis, as can environment fog and haze. I also tend to use the well known rule of thirds when tweaking my camera angles (settings shown below), which really helps to ensure the composition feels balanced.
All of these techniques I used only to enhance the purpose of my image when necessary, the narrative and focus is what I found most valuable to the aesthetic and meaning of my work. For example, I would never drive a composition dictated purely by rule of thirds, without thinking of what I am trying to achieve with the image.
Bar the sculptures, a couple of windowsill accessories and vegetation, this project has been completely modeled myself using photography as reference. I take great pleasure in modeling and texturing to high levels of detail as I feel it’s an important area not just for photorealism but to get that element of ‘craft’ in my work. You can find below some of the details and processes I used when modeling and texturing the Louvre. Using a variety of poly modeling and turbosmooth techniques, splines, lathe & sweep modifiers, noise, displacement, normal mapping, floor generator and more…
I also sometimes use Bertrand’s free studio set up when testing materials as you can see from the material tests below; it’s a good studio setup & shader ball I use when adding materials from my scenes into my material library.
The film’s narrative is designed to take you through a variety of moods and weather conditions. Some of my favorite shots are the aftermath of the rainfall - where the wet materials introduce reflections to add another layer to the compositions. I kept the wet shaders quite simple, controlling the reflection & glossiness with a couple of black and white dirt maps to create the puddle like effect. To take this a step further if you have the time you could use bercon noise as a mask to achieve a procedural effect with more detail - or better yet unwrap the landscape and hand paint the masks to give you ultimate control on puddle location for added realism.
When experimenting with mood and lighting in the pre-viz process, I quite enjoy taking it a step further than the white card render and put together quick digital paints in photoshop. I think it’s a great tool at the start of the shot creation as it allows you to break it down into the core principles and work much more loosely with mood, colour, depth, shadow and light using a few default brushes and a wacom. In my opinion it helps the image to feel more natural by doing something like this early on. It then serves as a reference of your intentions when working into details and masks in a final image.
Granted, the model was quite developed with materials by the time I put together mood paints for this project. However, even at an earlier stage than this I think it gives a more effective and provoking vision of how you intend the final image to look compared to a white card render. Each one of these paints only took 10-20 minutes so these things can be done quickly, but increase the impact of a concept image.
In terms of the lighting of my scenes there isn’t a huge amount to report, I don’t tend to do anything out of the ordinary. I generally used HDRI dome light setups for all of my scenes, with additional Vray plane and sphere lights where needed in the dusk and night set ups. For quite a while now I’ve been using the ‘sunny 16’ rule as a starting point when exposing my cameras, you can find a good description of how this rule works here. The table below shows the general guidelines to follow depending on the lighting conditions to help in achieving a balanced and well exposed image.
Coming from a fine arts background before architecture, this tends to inform my approach to lighting as a compositional tool. I think the way a subject is lit can have a massive influence on the emotional response it generates, particularly in film. When lighting a piece of arch viz I always try to emphasise the building’s form with clear light direction and depth, as well as attempting to bring out a building’s more intricate with subtle highlights. Architectural photographers such as Hufton and Crow use lighting particularly well and I’m a massive fan of their work.
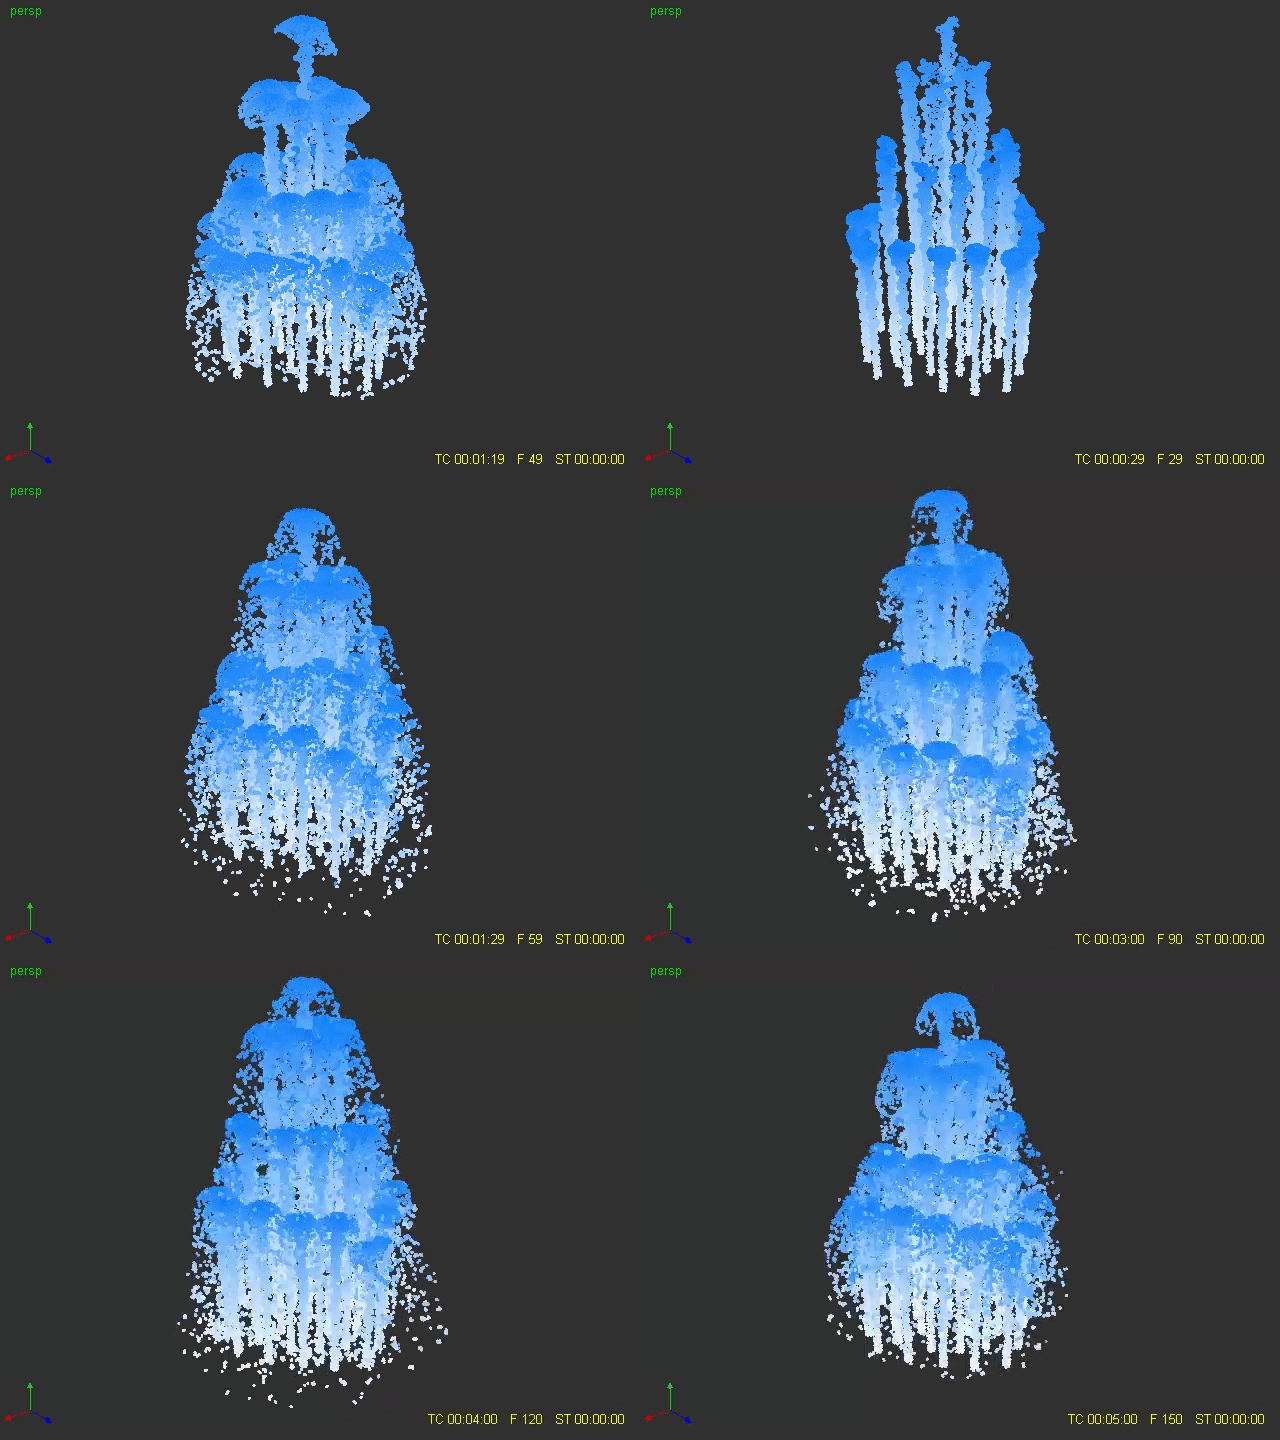
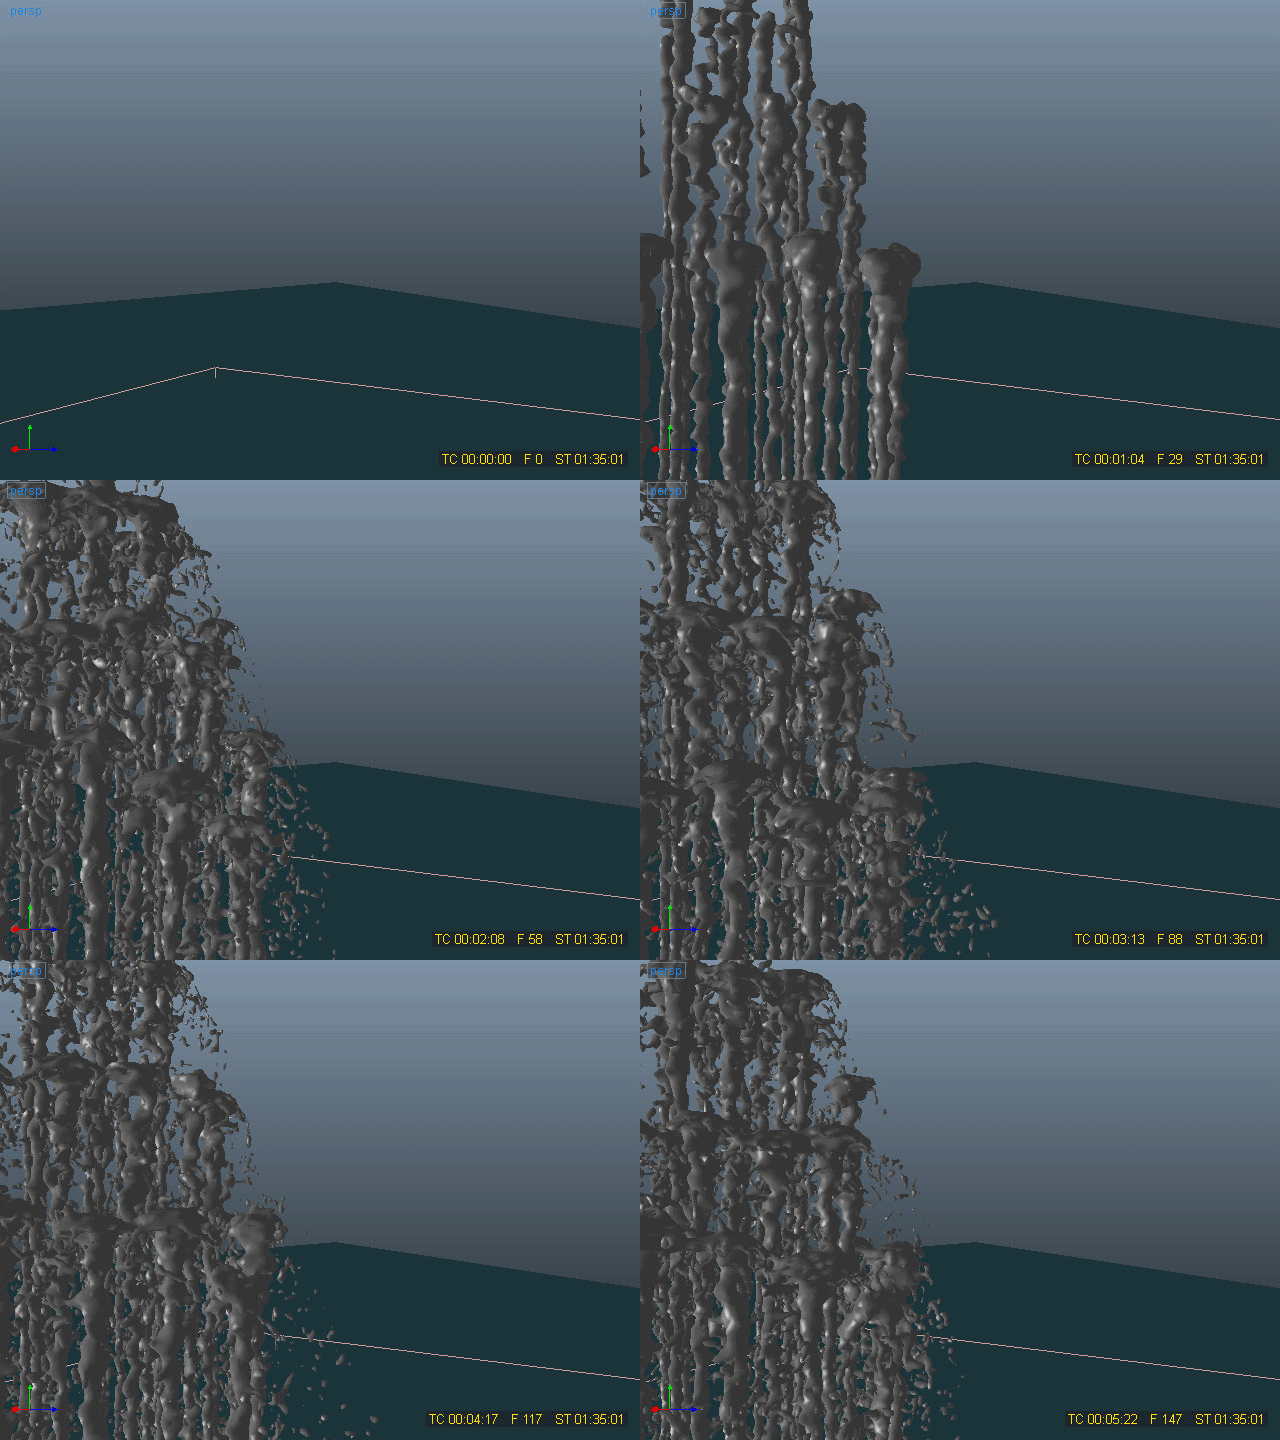
For the moving parts of the film I used various free plugins and scripts such as Houdini Ocean and the chain tread script as well as realflow for the water fountains. Going through Realflow is essentially a tutorial in itself so to keep this making of simple for now I’ll just show a couple of previews of this aspect. Realflow was a really enjoyable program to use, with great online learning material.
Keyframing noise modifiers were also used to emulate vegetation blowing in the wind, as well as general keyframing on rotating doors, candle lights and more for other animated parts in the film.


The animation was rendered using Vray 3. Thanks to The Neighbourhood I could stick the animation on our render farm so the majority of the shots in the film are rendered using brute force and light cache. There are some great links out there for render optimization, and also flicker free optimization so rather than regurgitate what has been said before I will just point you in the direction of links I find useful when it comes to rendering.
Render optimization:
Flicker Free animation:
Although I used Brute force GI methods this is still a really important technique to know.
The film was composited and edited using Nuke Studio. This personal project was the perfect opportunity to give Node based compositing a go. I much preferred it to the layer based approach of After Effects. The studio aspect enabled me to edit and composite the shots of the film in the same project. So I could apply grades etc in my comps and then click a tab and view my changes in the film to check the shots tie together instantly. This was really convenient when compared to opening separate programs and made it much more intuitive. Although for me, it’s not quite yet a replacement for Premiere Pro it’s definitely a step in the right direction and I will certainly use Nuke for comps in the future!
Aswell as general grading and effects I also used Viz People Timelapsed skies for sky replacements which are extremely good considering you can purchase them individually very cheaply. I also applied overlays and sound effects all purchased from Pond 5 to make the film feel more cinematic and dynamic where possible. You can find a breakdown of some of my favourite shots from the film below.
Thank you guys for reading my article and I hope that you found it useful somehow!
All Best,
Ryan.