Saeed is working in the architectural visualization field for more than seven years. He has worked with famous and talented architects in several projects as he is experienced on several software & tools. Enjoy his making of article!
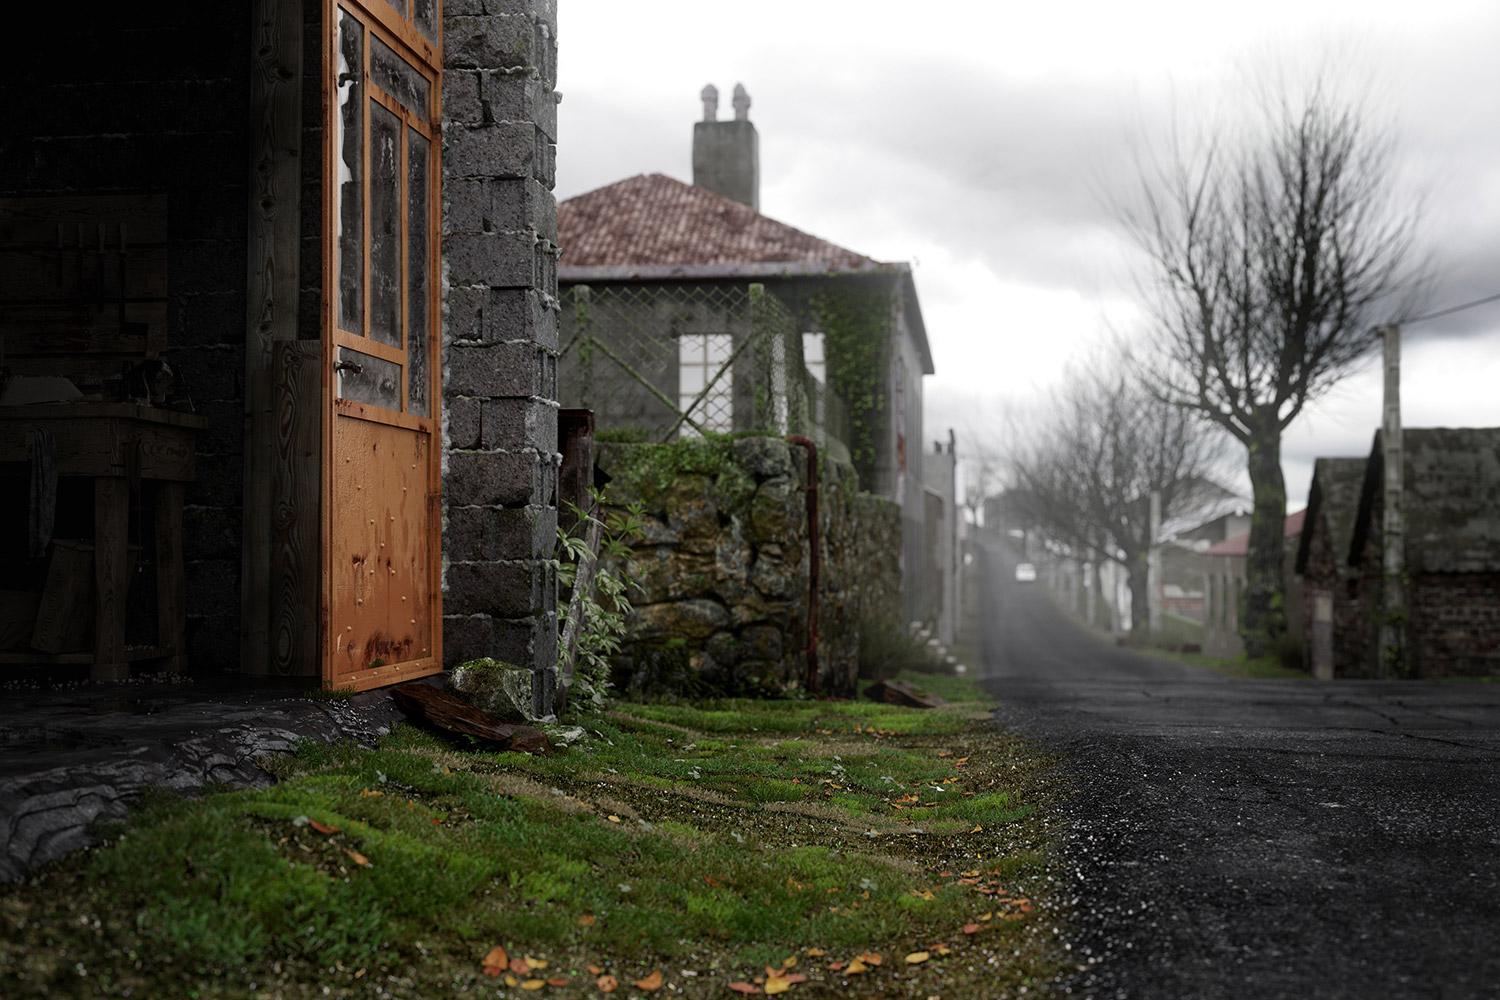
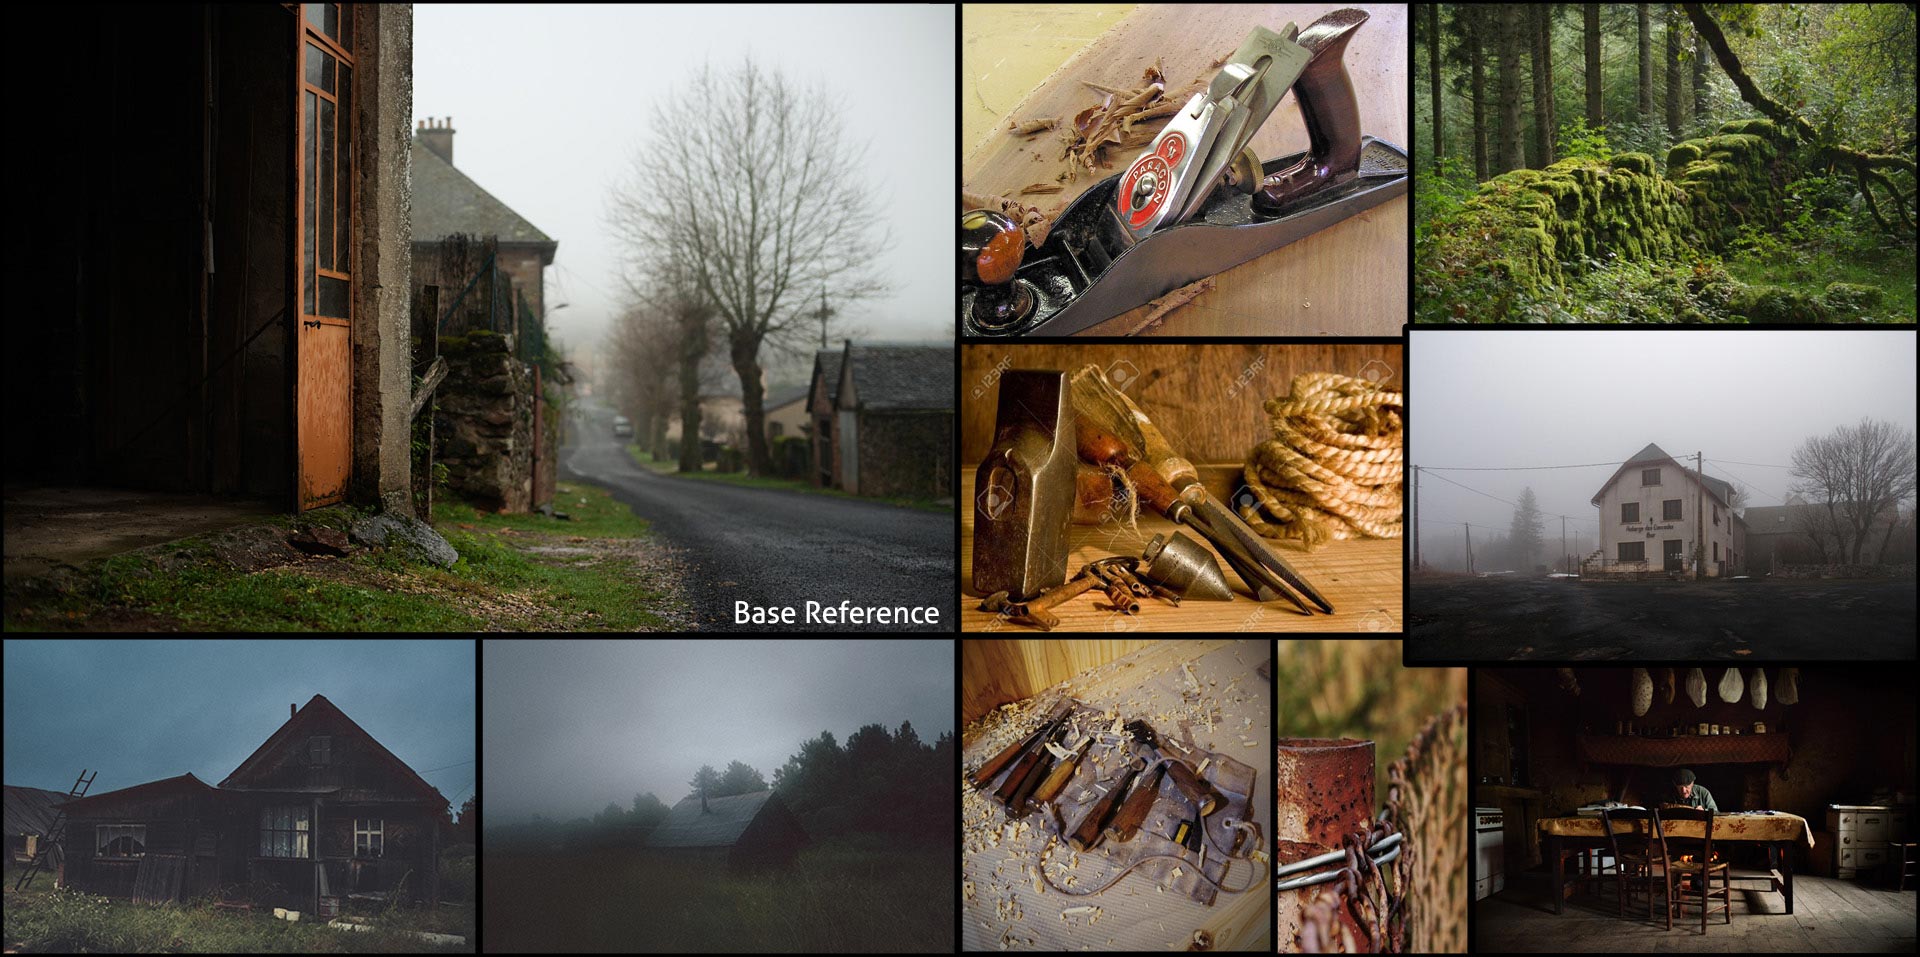
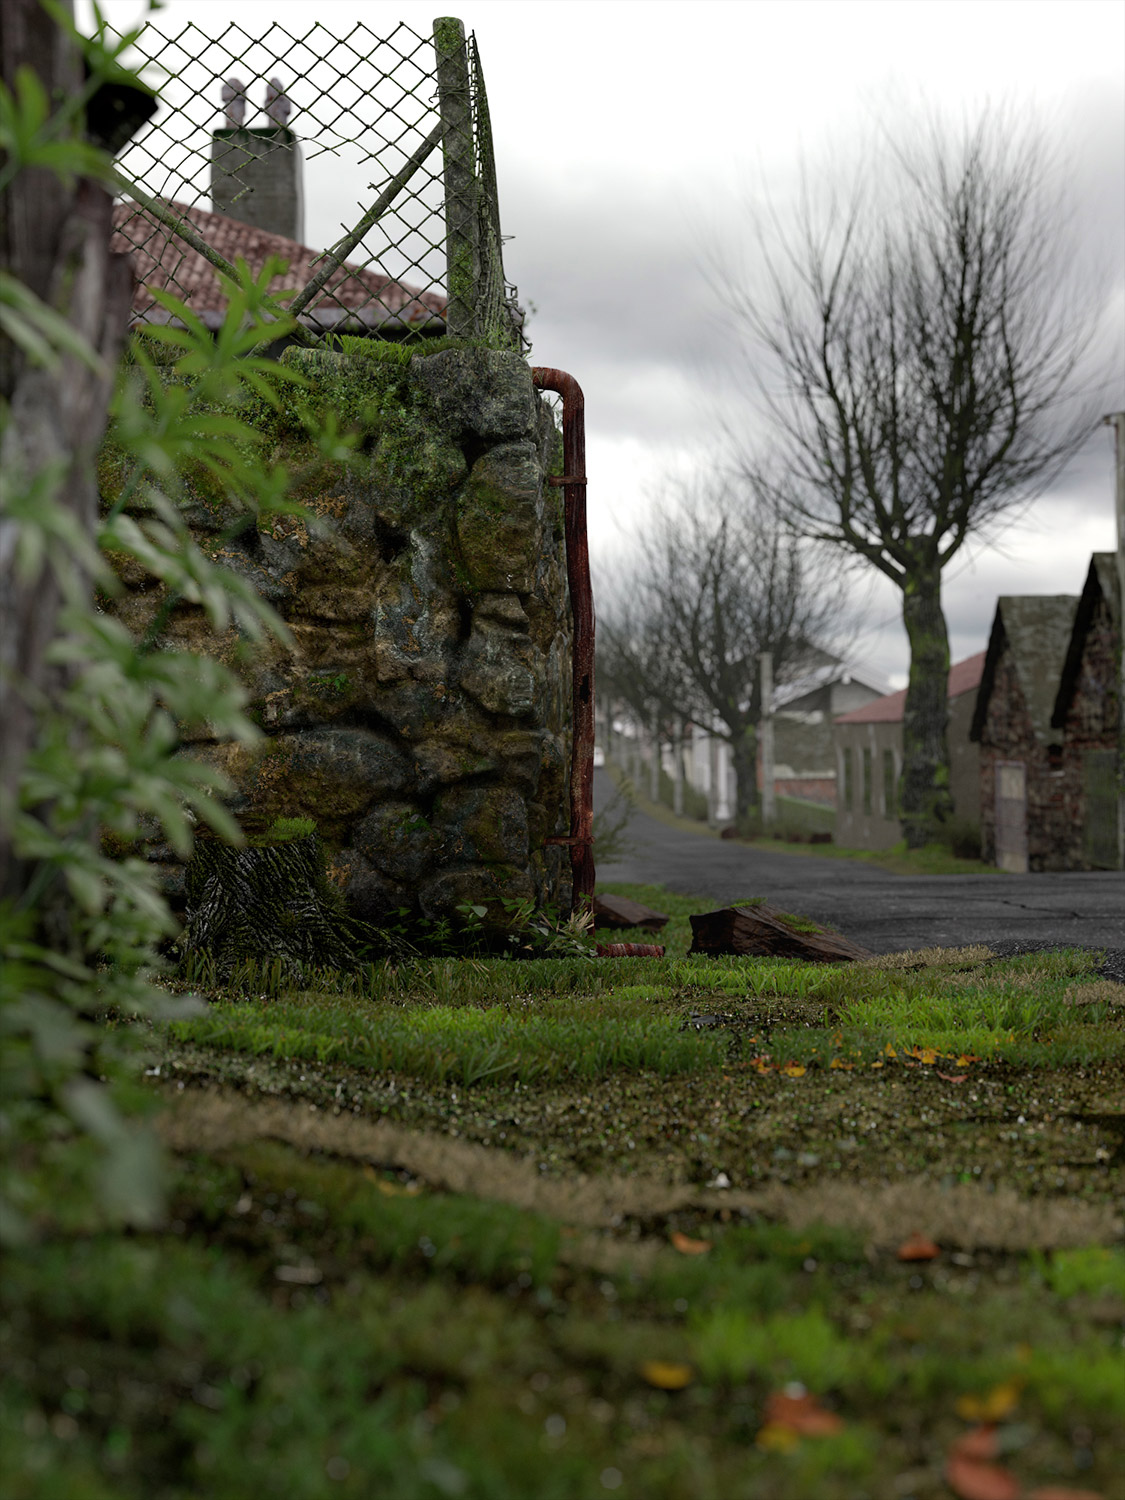
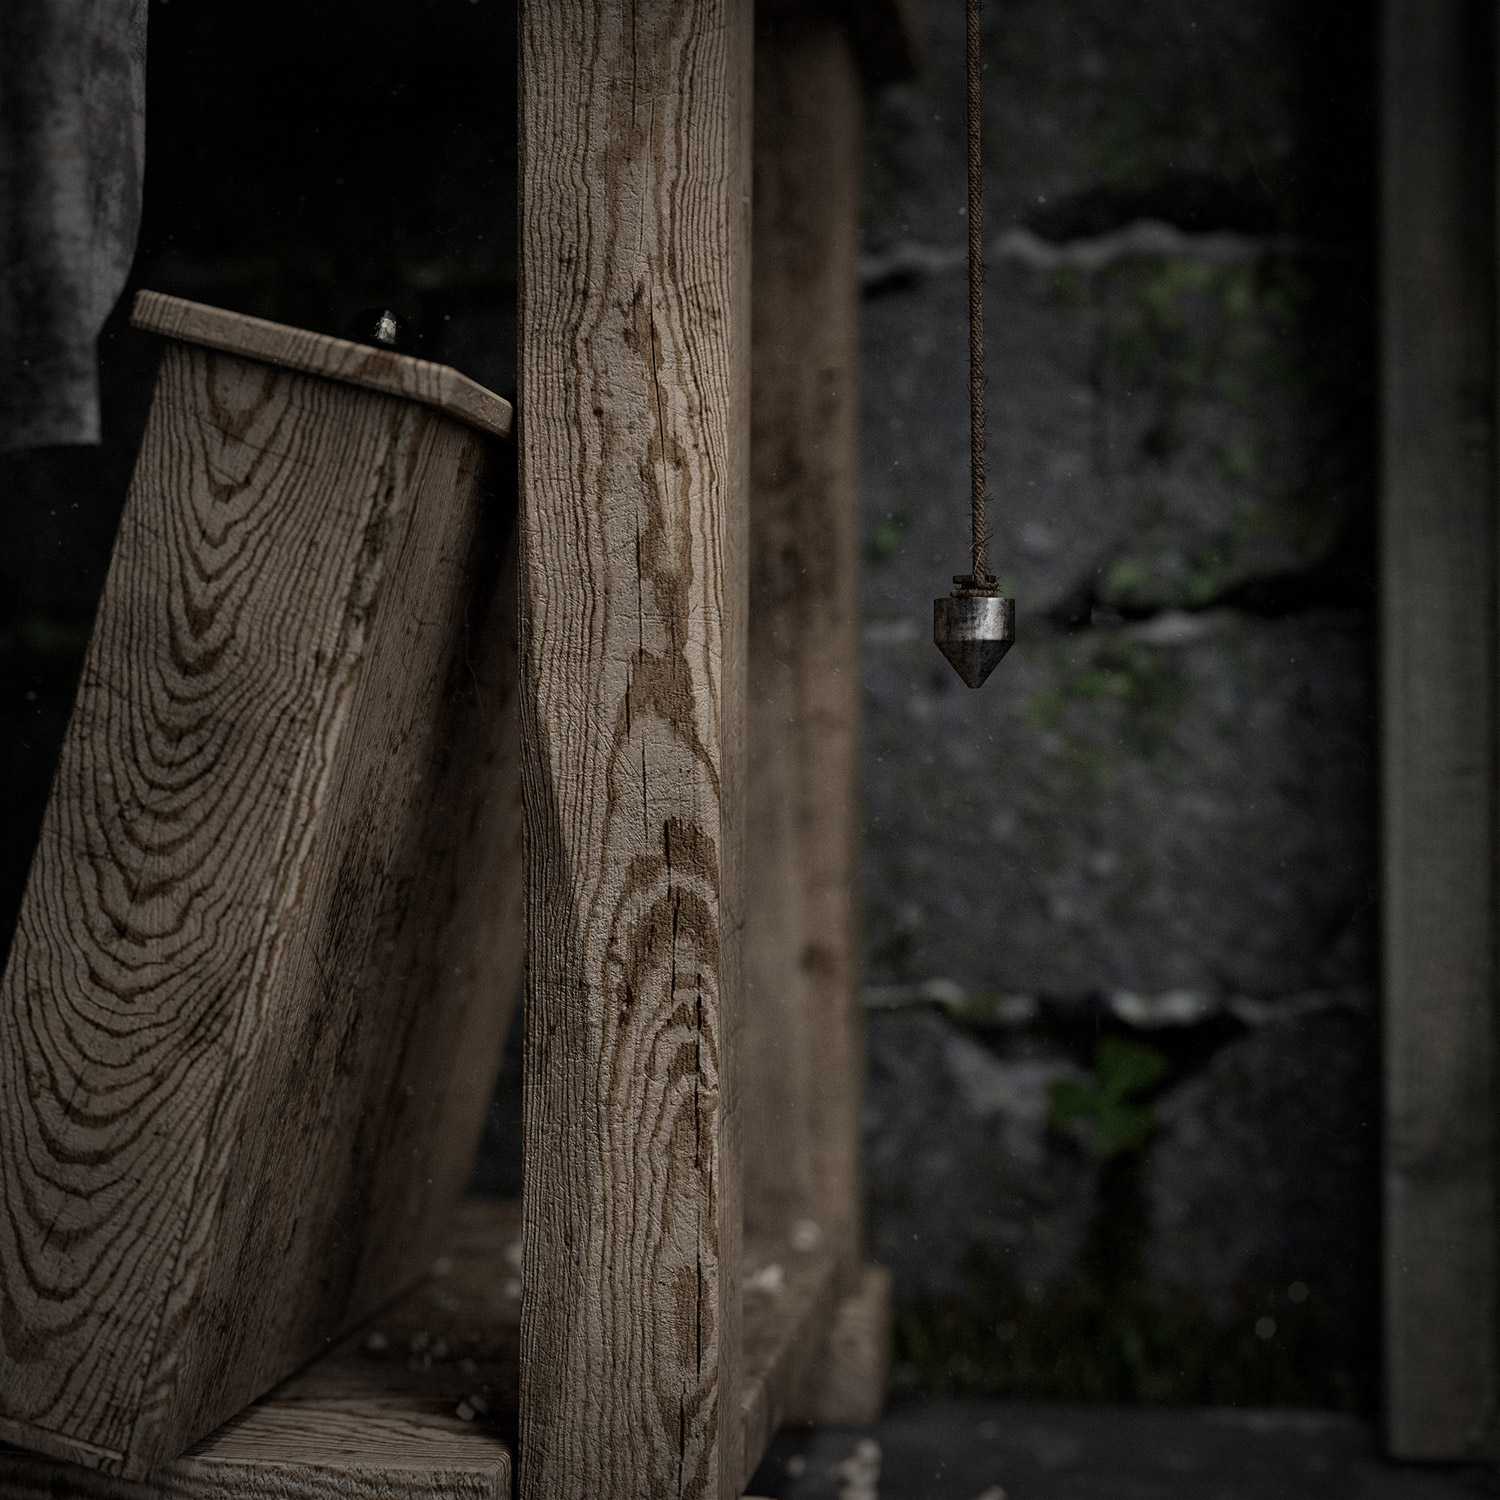
My main inspiration was Julien Coquentin's photos and I’ve also used some other photos as inspiration.
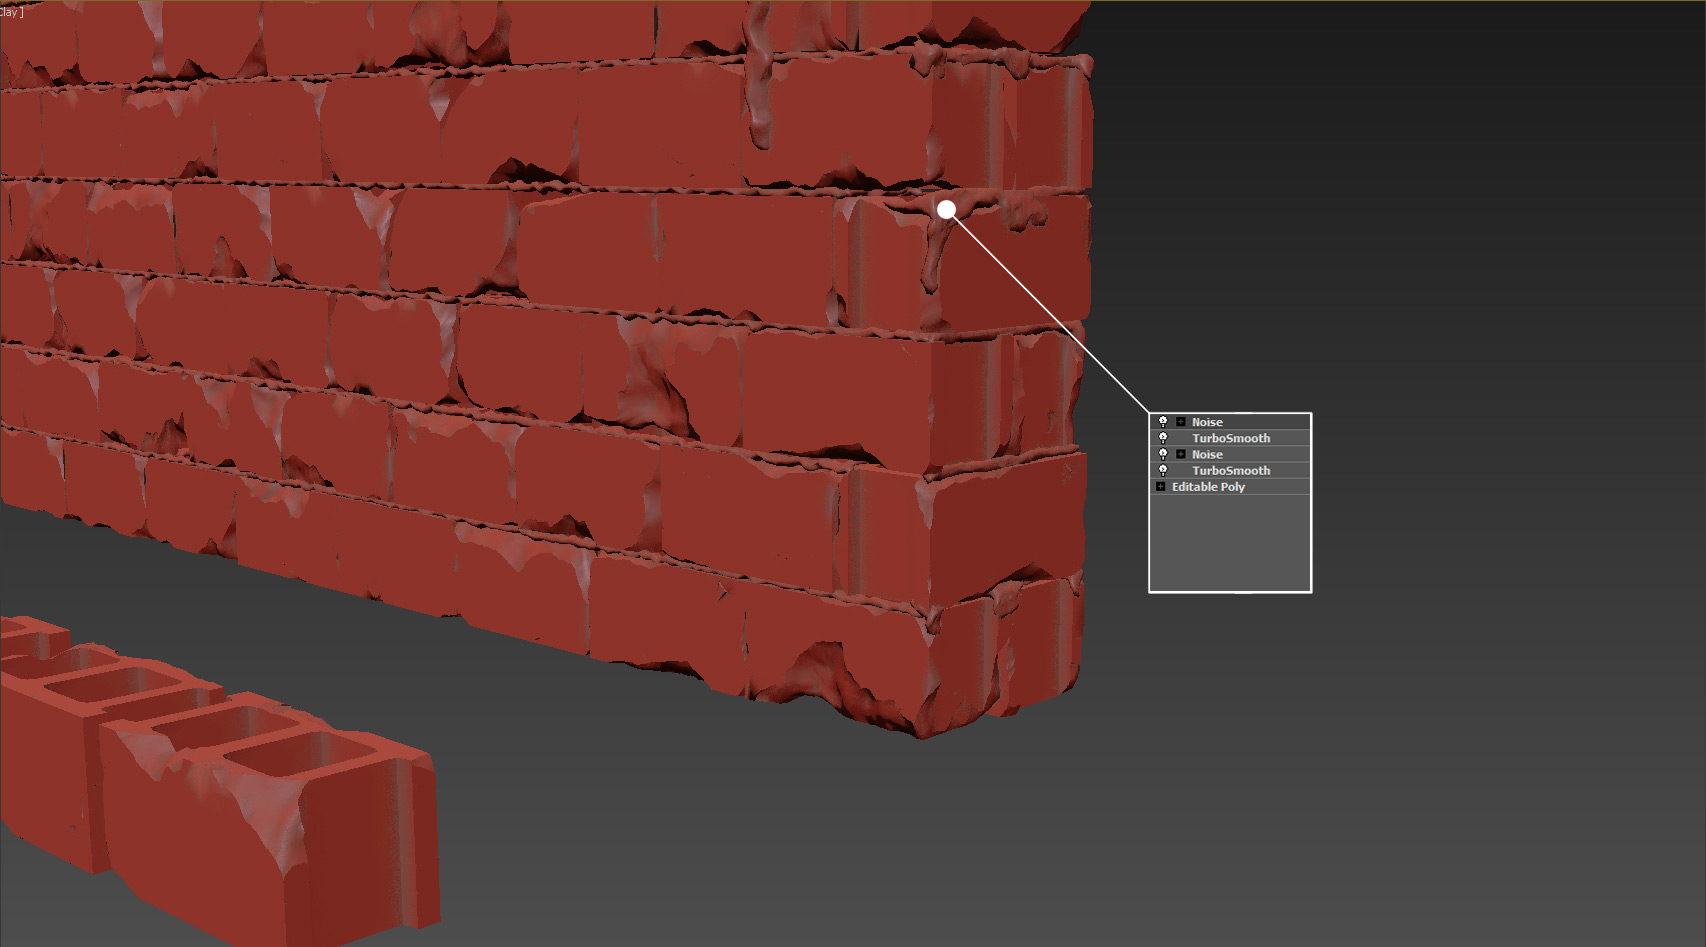
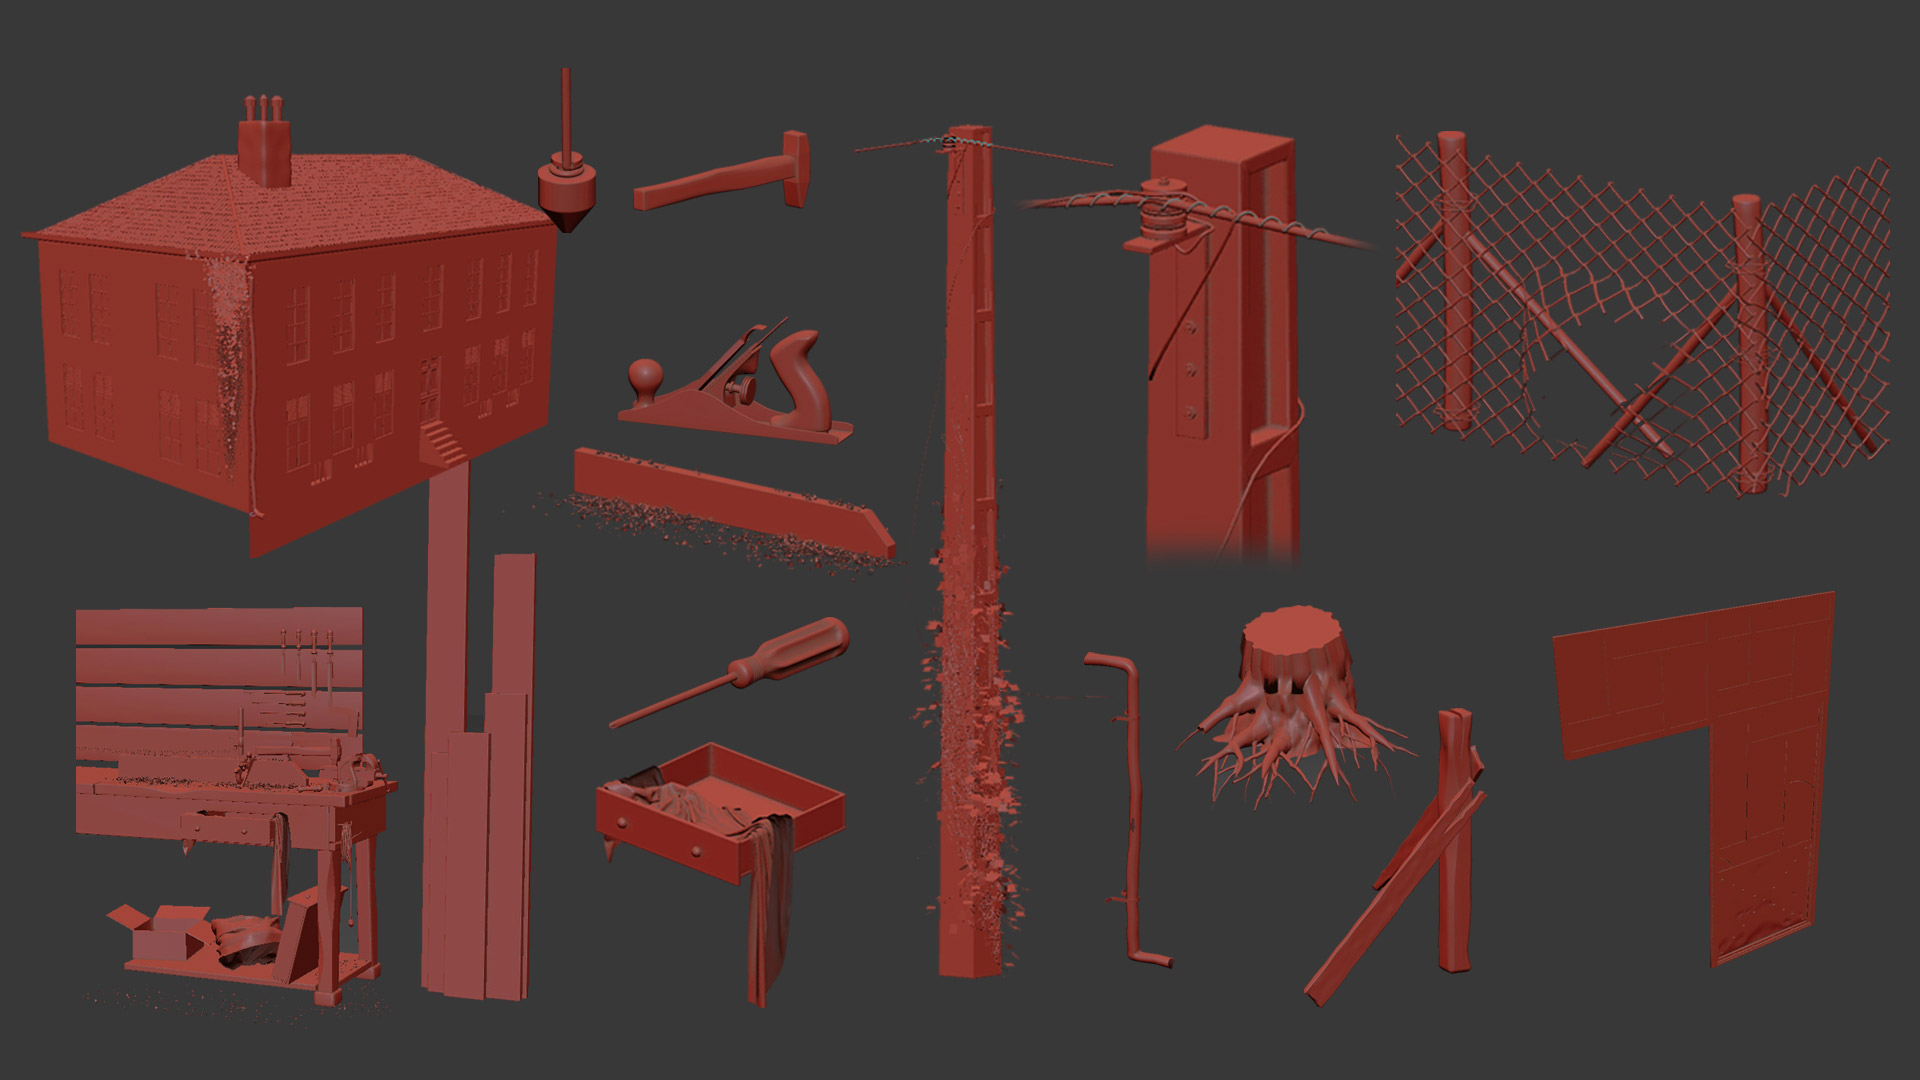
For blocks I’ve used Debris Maker. Cement mortar was modeled with simple polymodeling which is decimated and unwrapped in Z-brush with Decimation Master and UV Master.
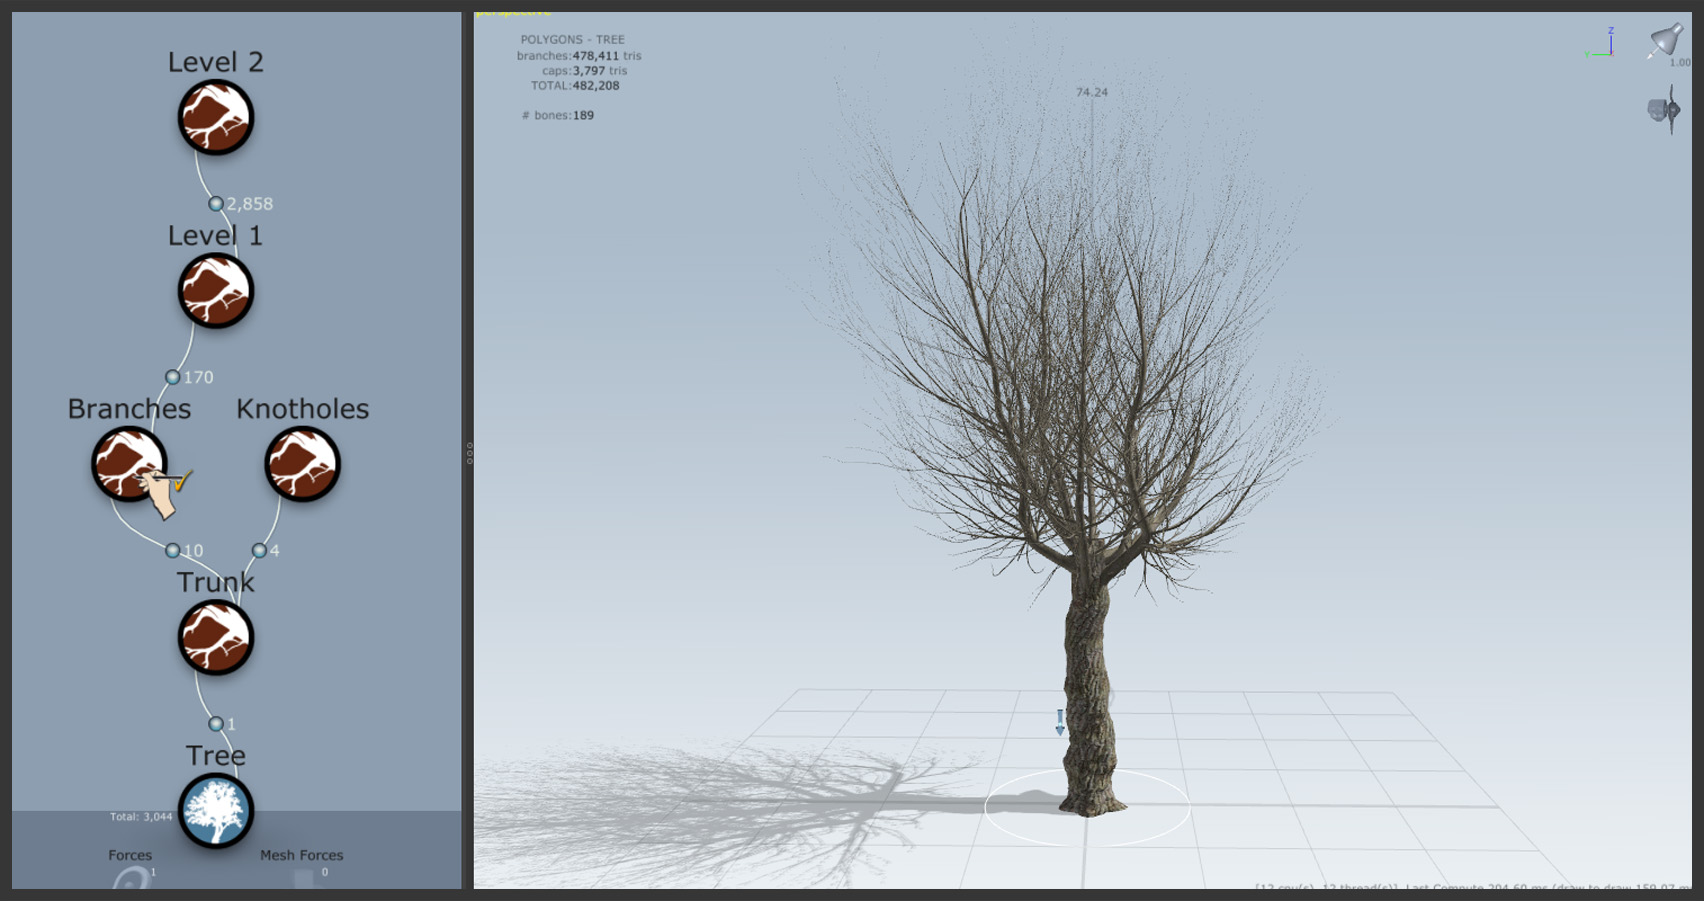
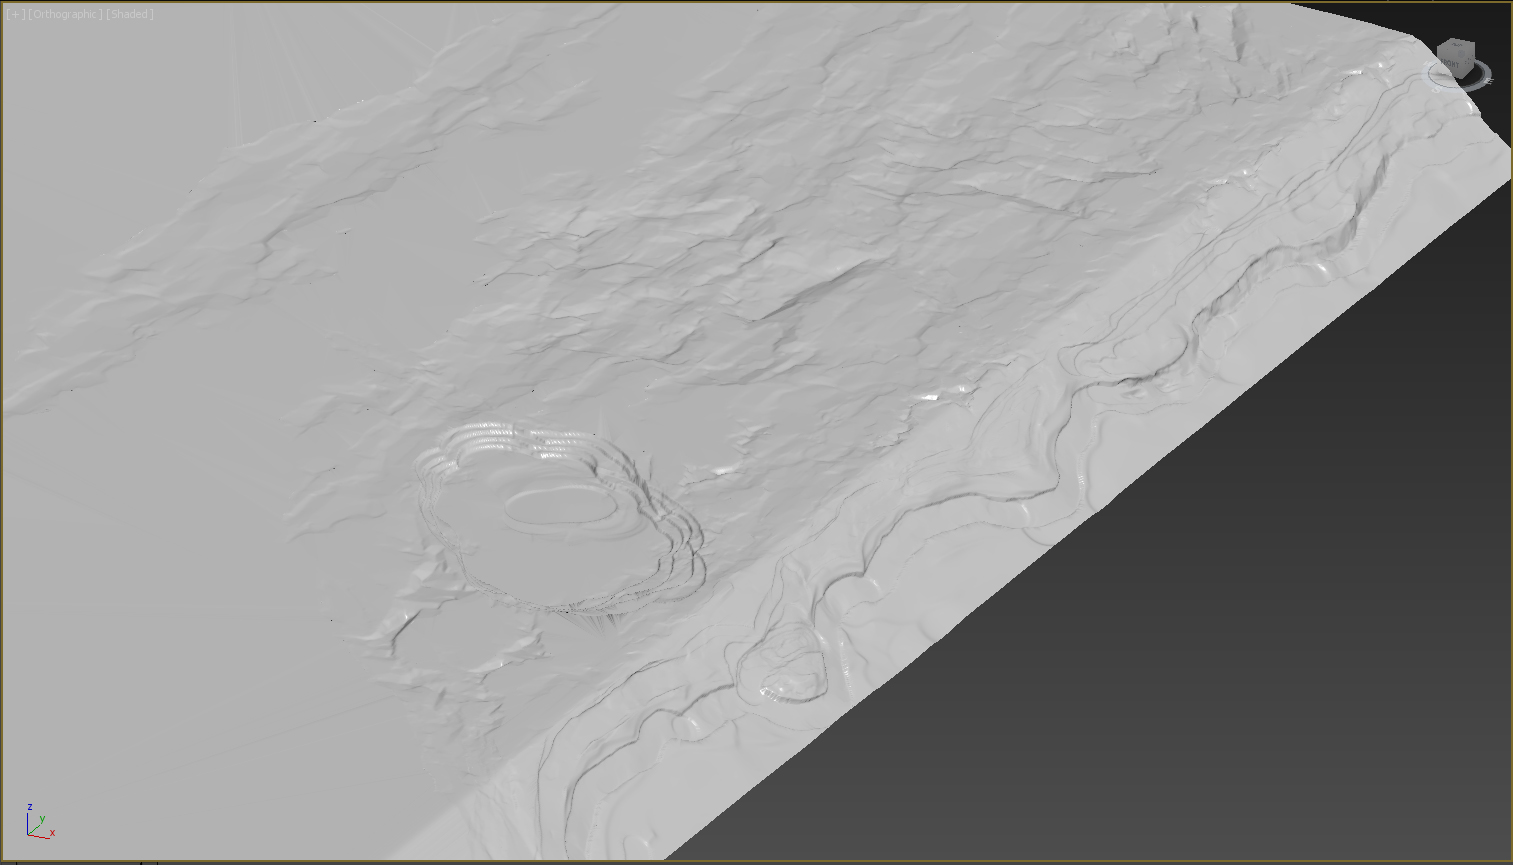
For fence I’ve used Wire Fence Script. The Road is a long plane which has 10x10x2 FFD box modifier to controll it’s tilt and bend. For the trees I’ve used SpeedTree and I only modeled one tree then used Export Variations for making 5 diffrent trees with the same style.

For stone wall I’ve used Z-brush deformation tools. Below I explain about the process.
1. You need to have a lowpoly and unwrapped geometry of your wall like this.

2. Export your model as .obj file and now it’s ready for Z-brush, before importing into Z-brush you need an alpha texture of stone wall which you will use as a mask in Z-brush, here is the process that I have done to creat the texture.


3. Import .obj file into Z-brush and subdivide mesh more than once, load your texture as alpha then go to masking section use Mask by Alpha, Then use deformation tools to give displacement to your mesh(I used Inflate & Inflate Balloon), After that you can sculpt small details on your wall, At the end use Decimation Master plugin and decrease your mesh poly count. Here is my result.
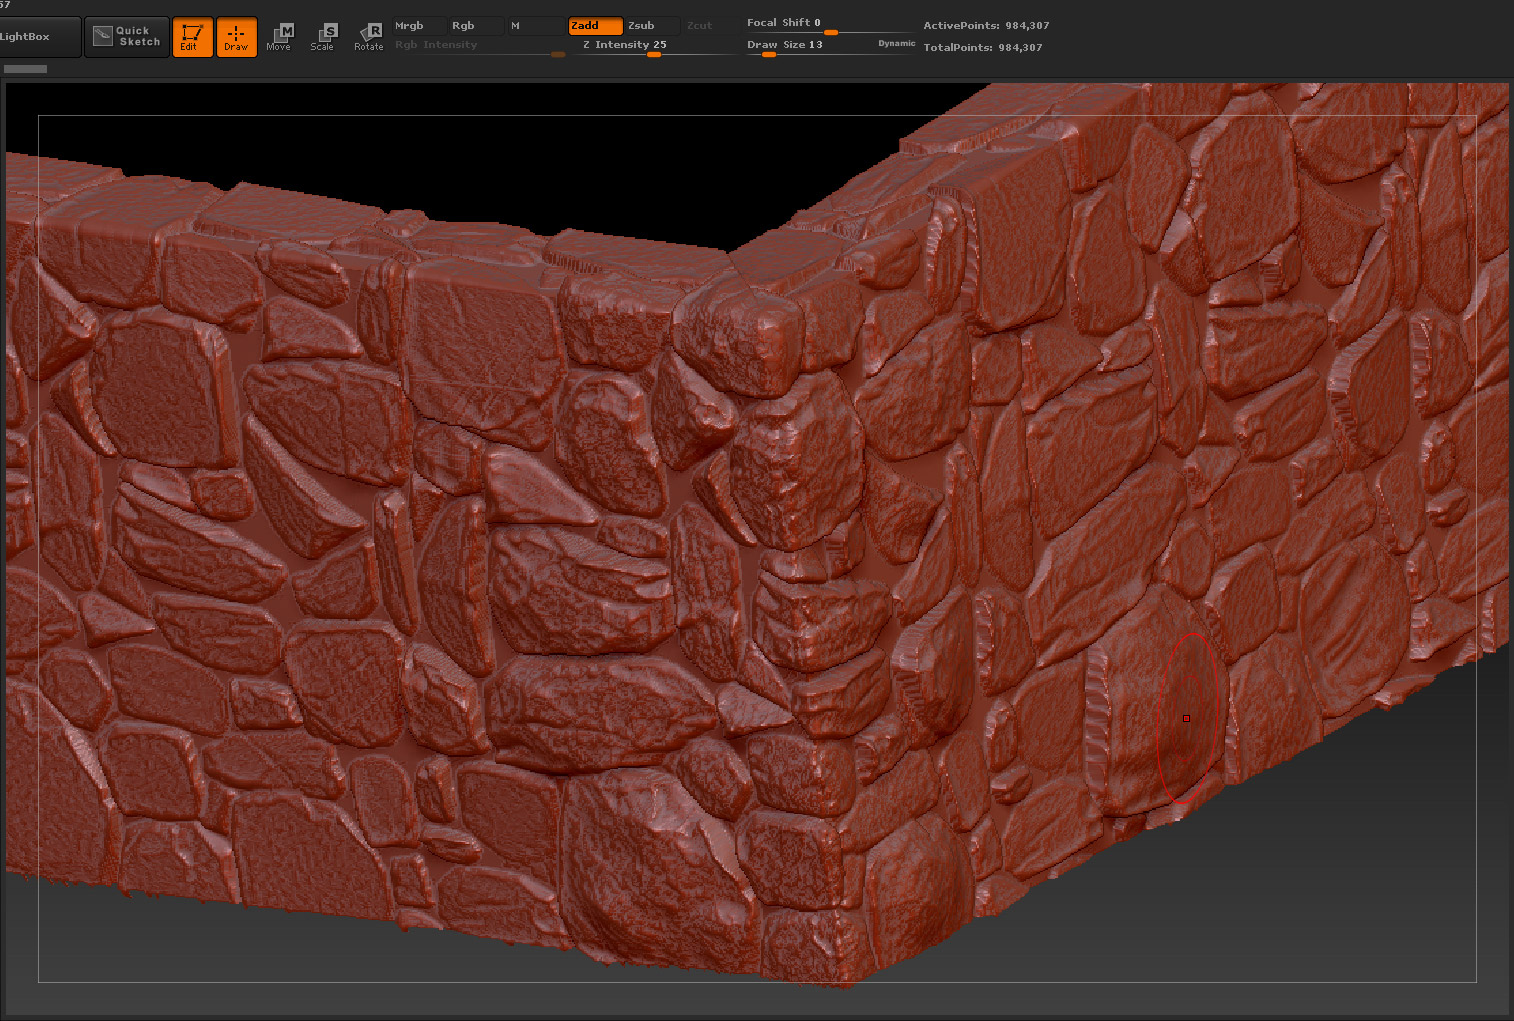
I have also used Z-brush’s Clay brush for adding the details.
Other models.
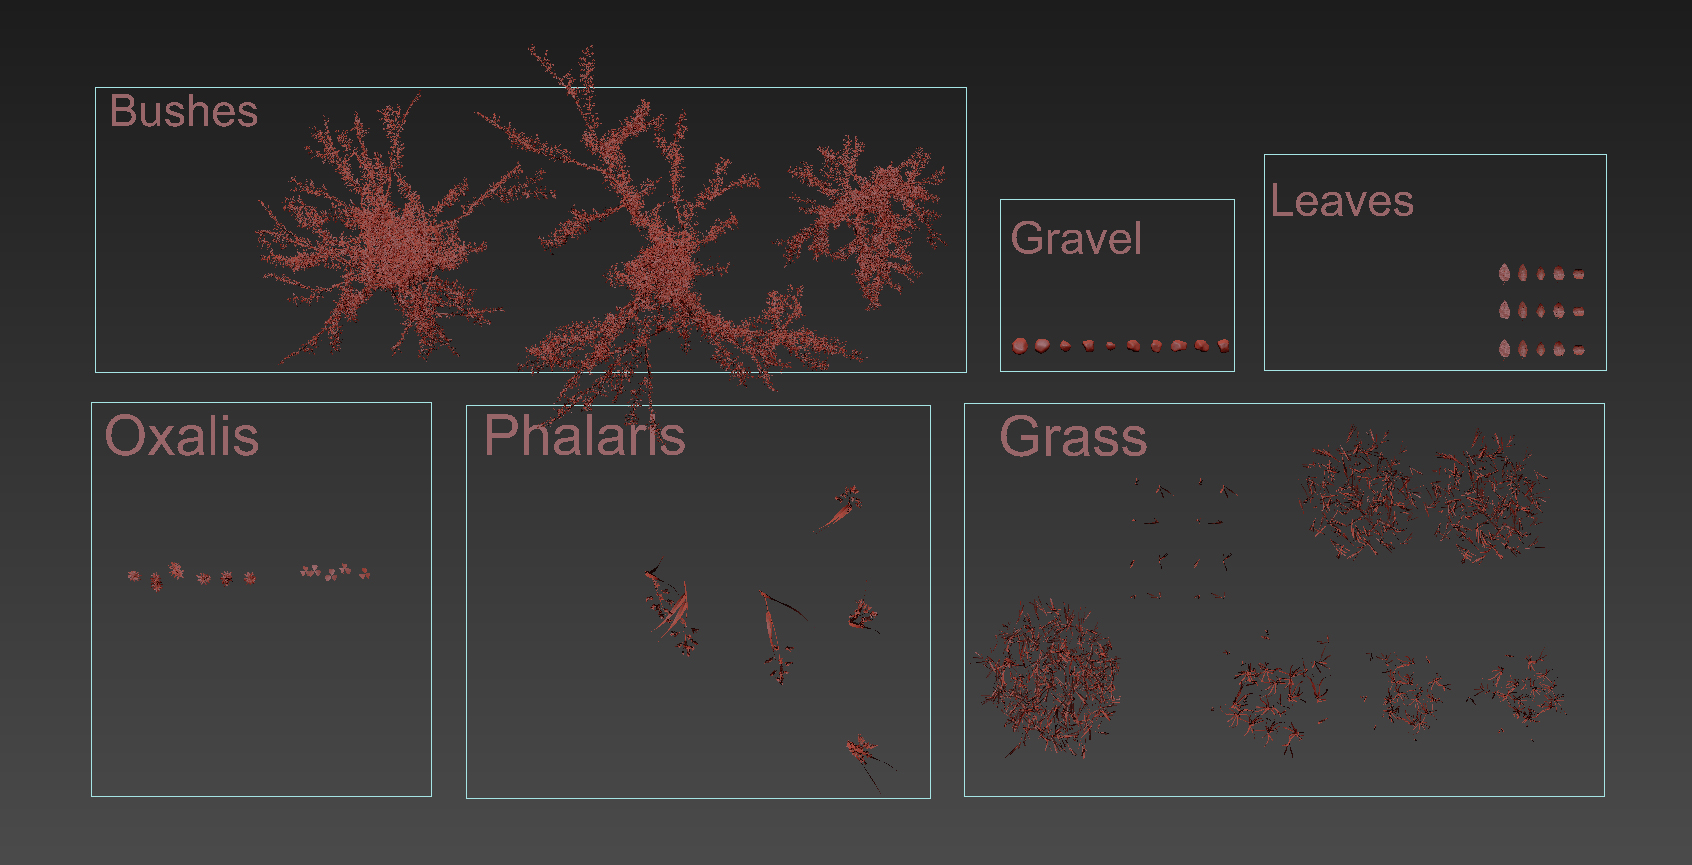
Objects which were distributed with Advanced Painter.
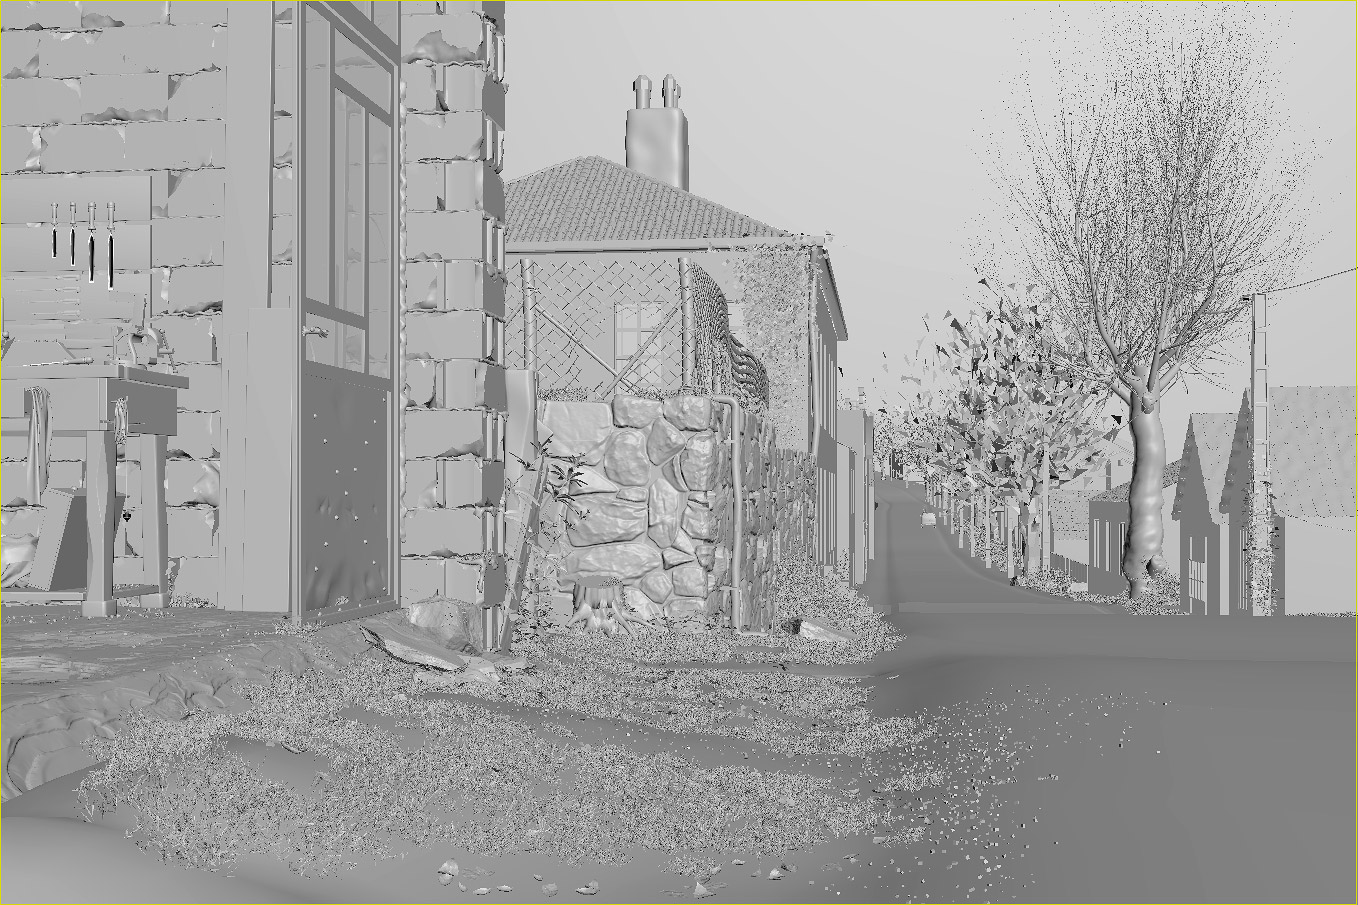
Enough for the modeling now we can move on lighting setup but before that I would like to show you my viewport when all the modeling process was done.
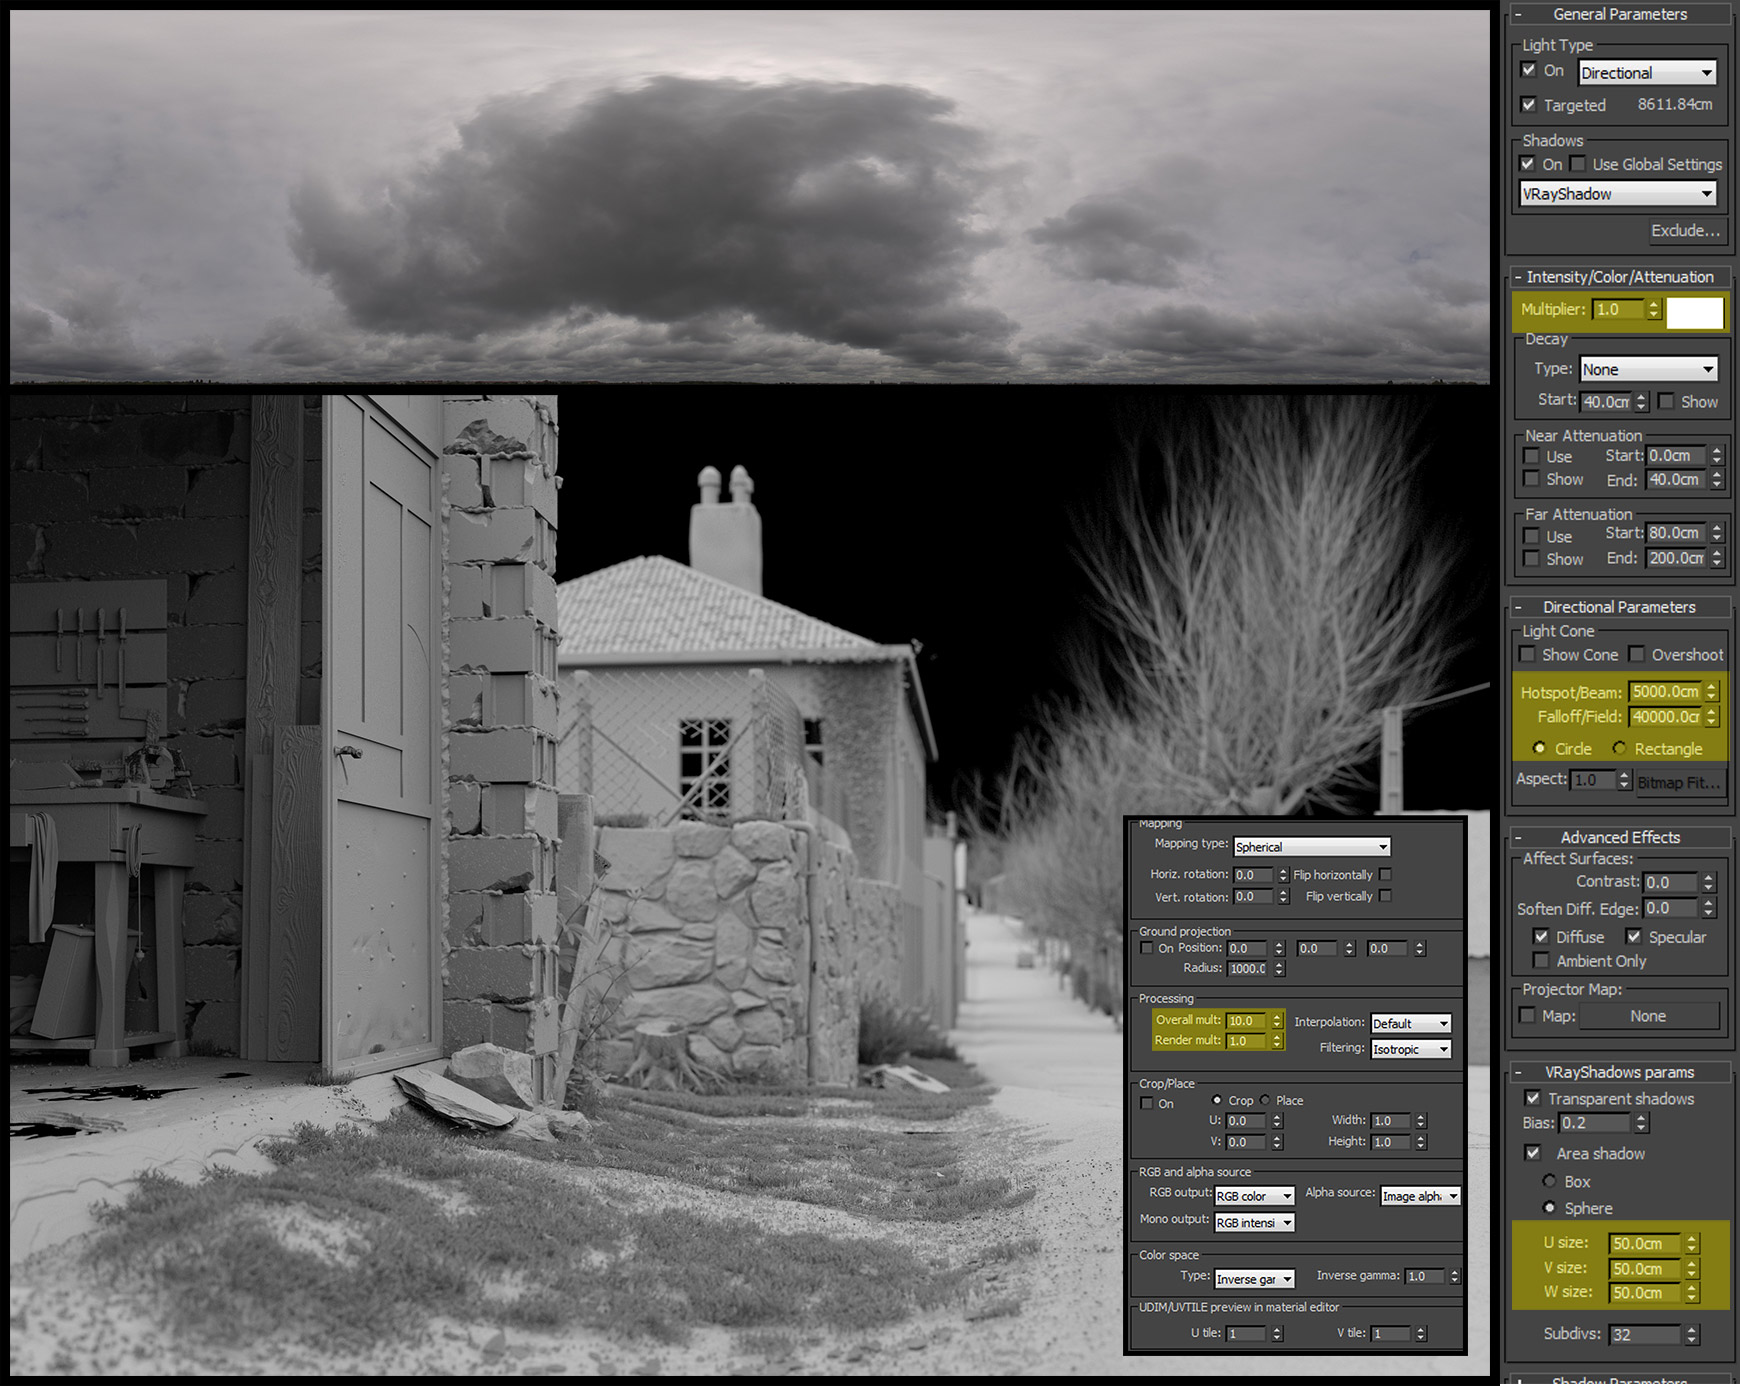
For the lighting I’ve used Dome Light with an HDRI from VIZPARK which has been desaturated before and standard direct light for simulating sky light with poor sun light.
For the interior I have used standard target light.

For materials I’ve used composite and other blend tools. Most of the textures were downloaded from texturepilot.com and textures.com, for clean UVW I’ve unwrapped geometries. Here is some materials tips.
ROAD.
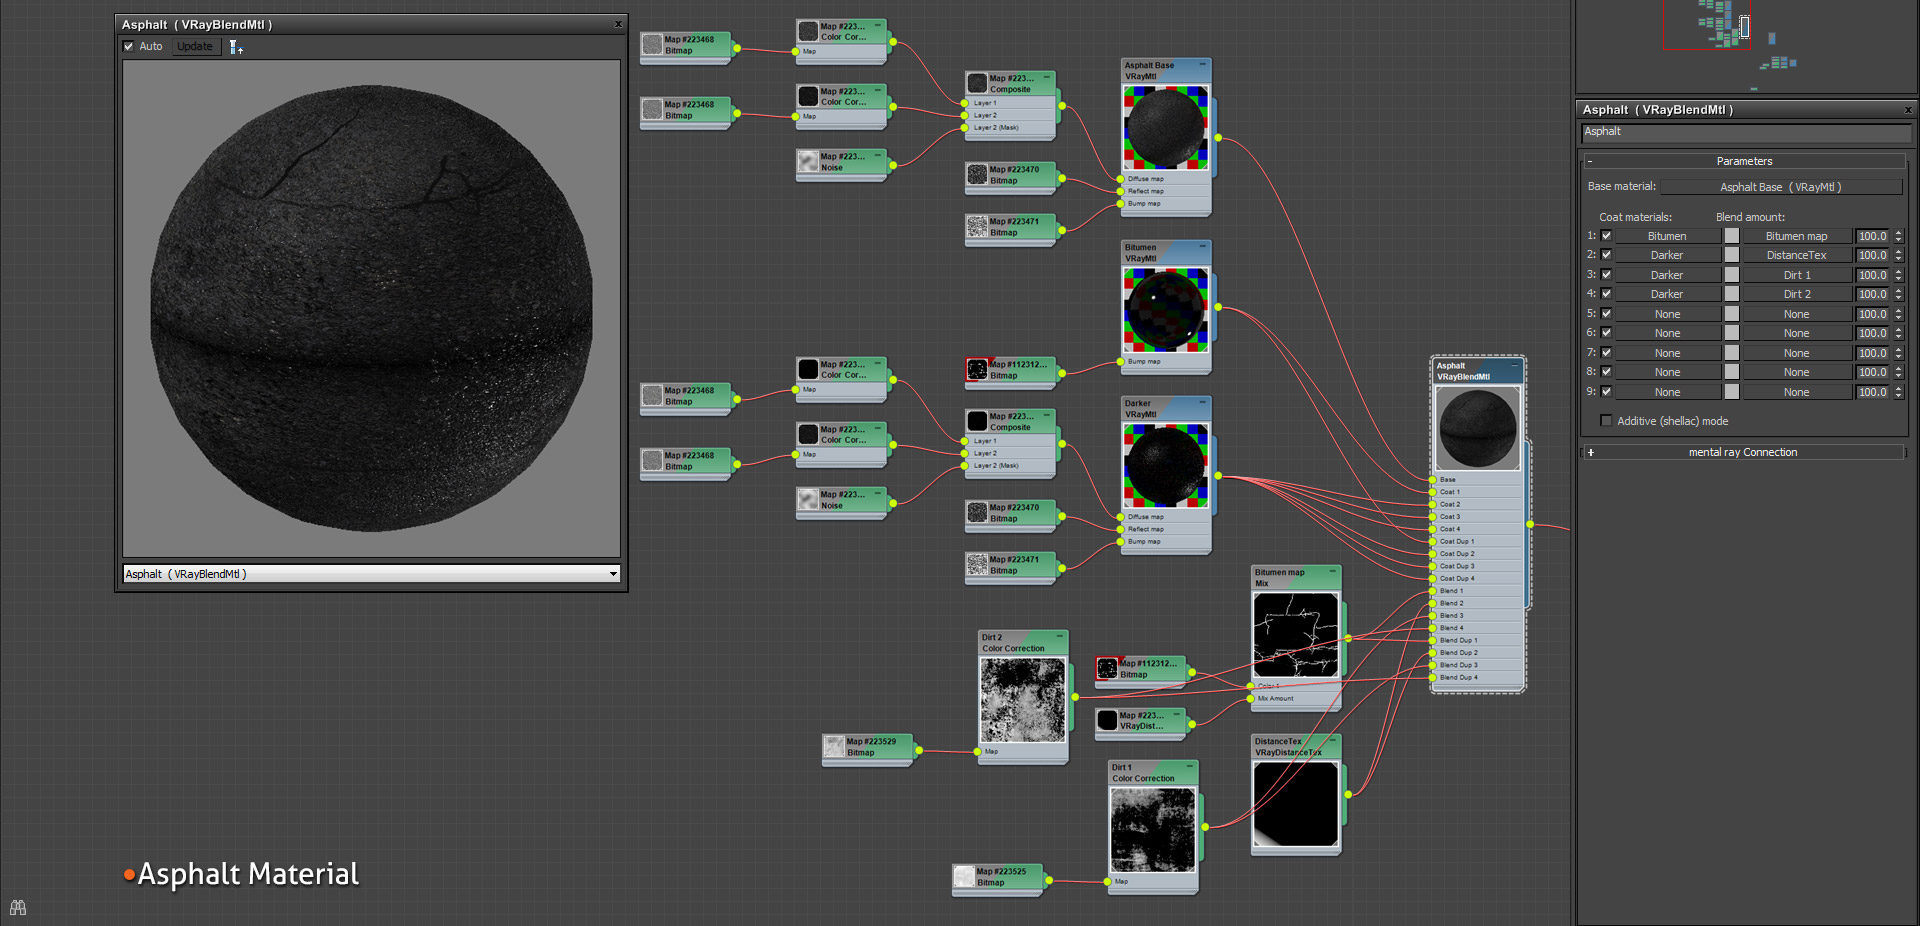
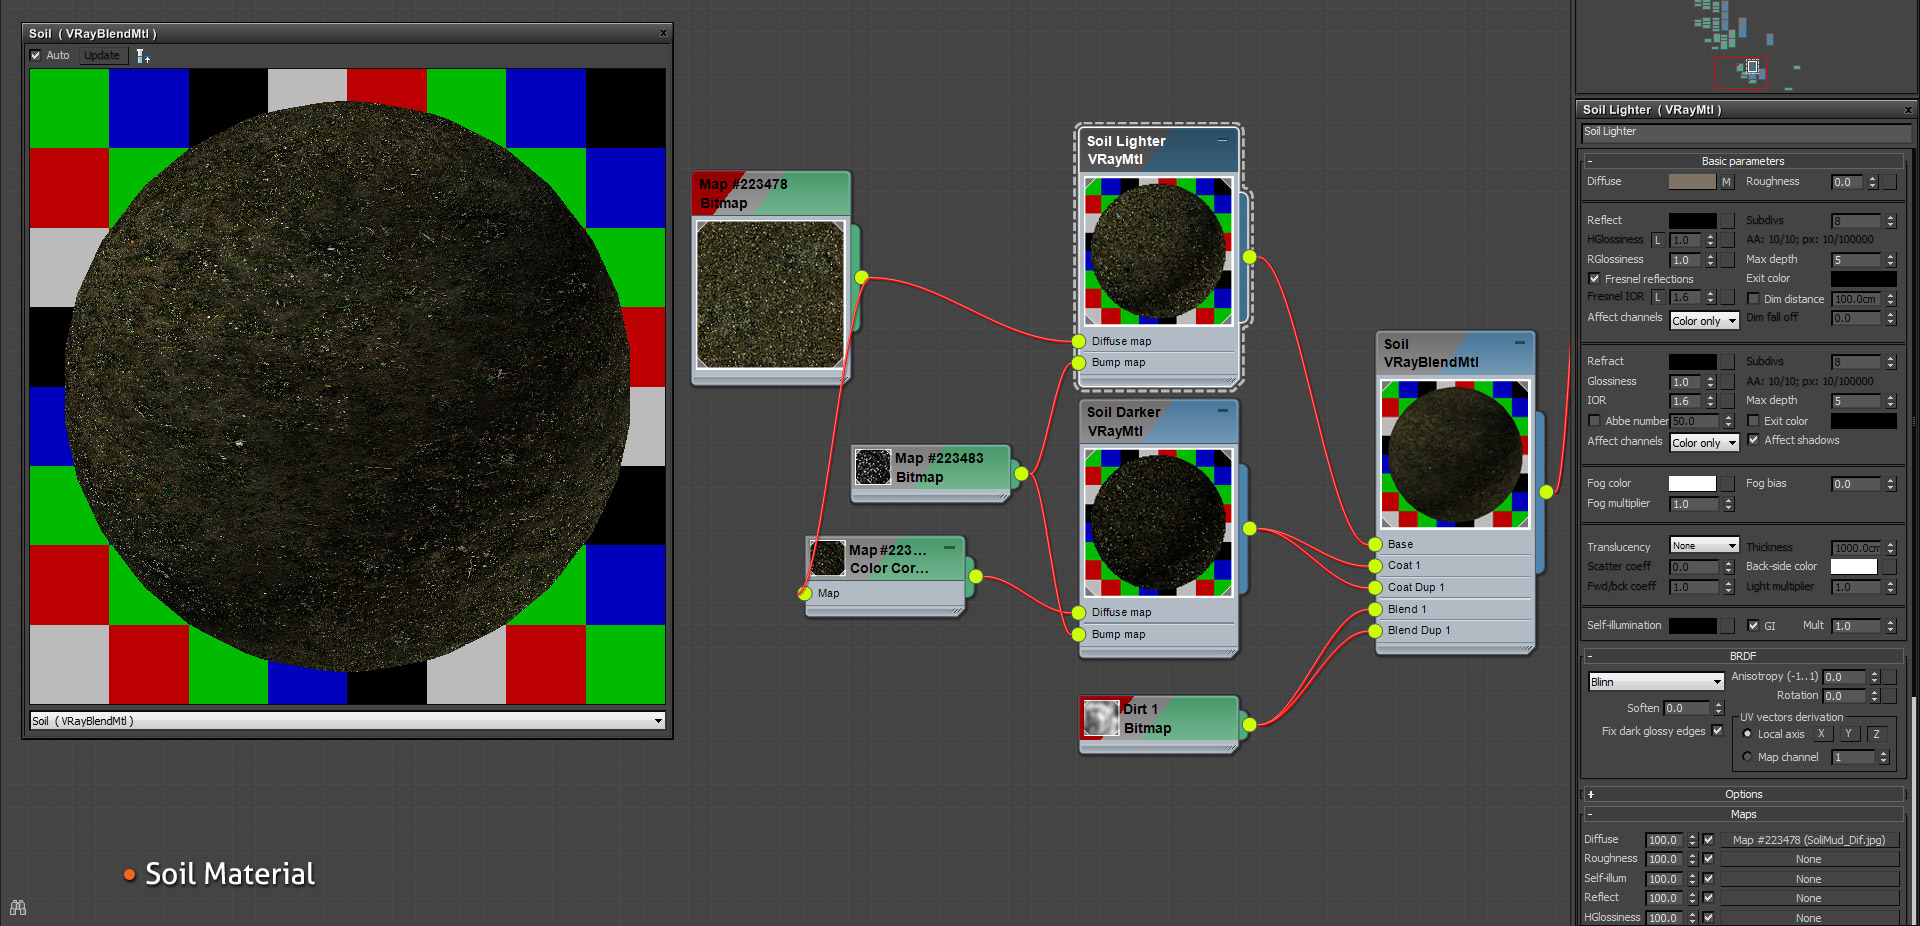
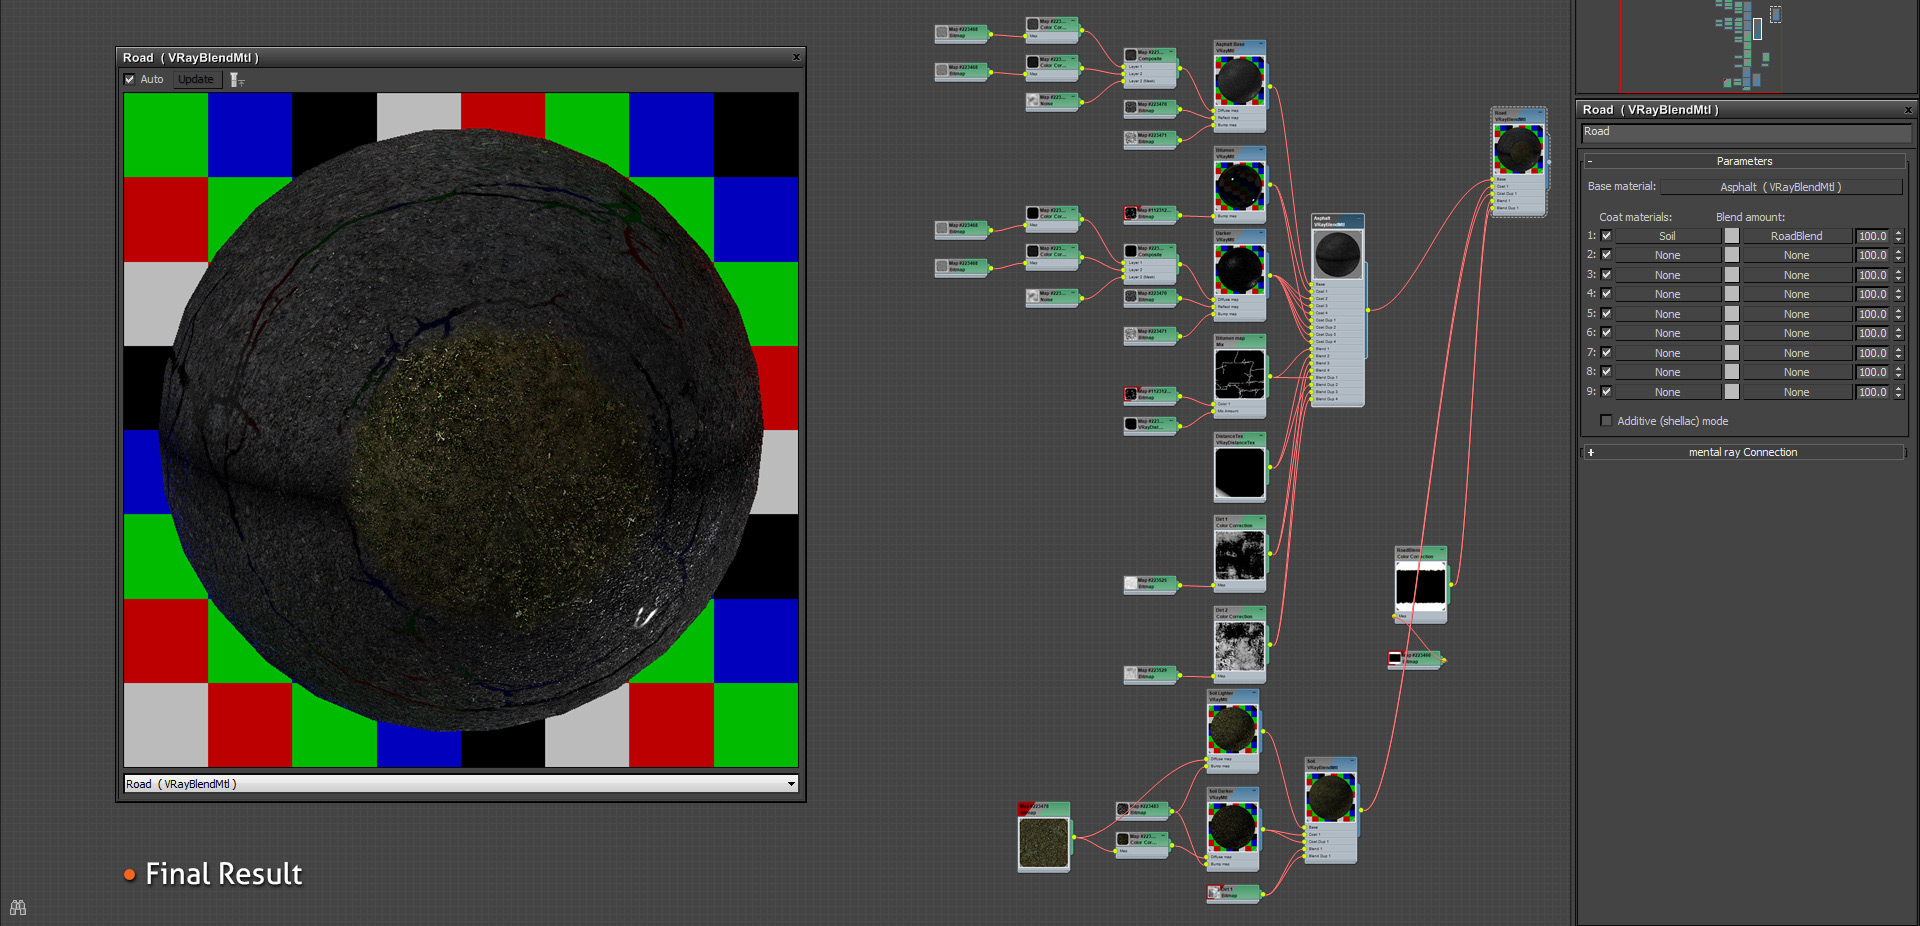
For road material I’ve used Vray Blend as the main material for mixing soil and asphalt material together.
Asphalt material.
Soil Material.
They were blended with this texture which I had created in Photoshop.

And this is the final result
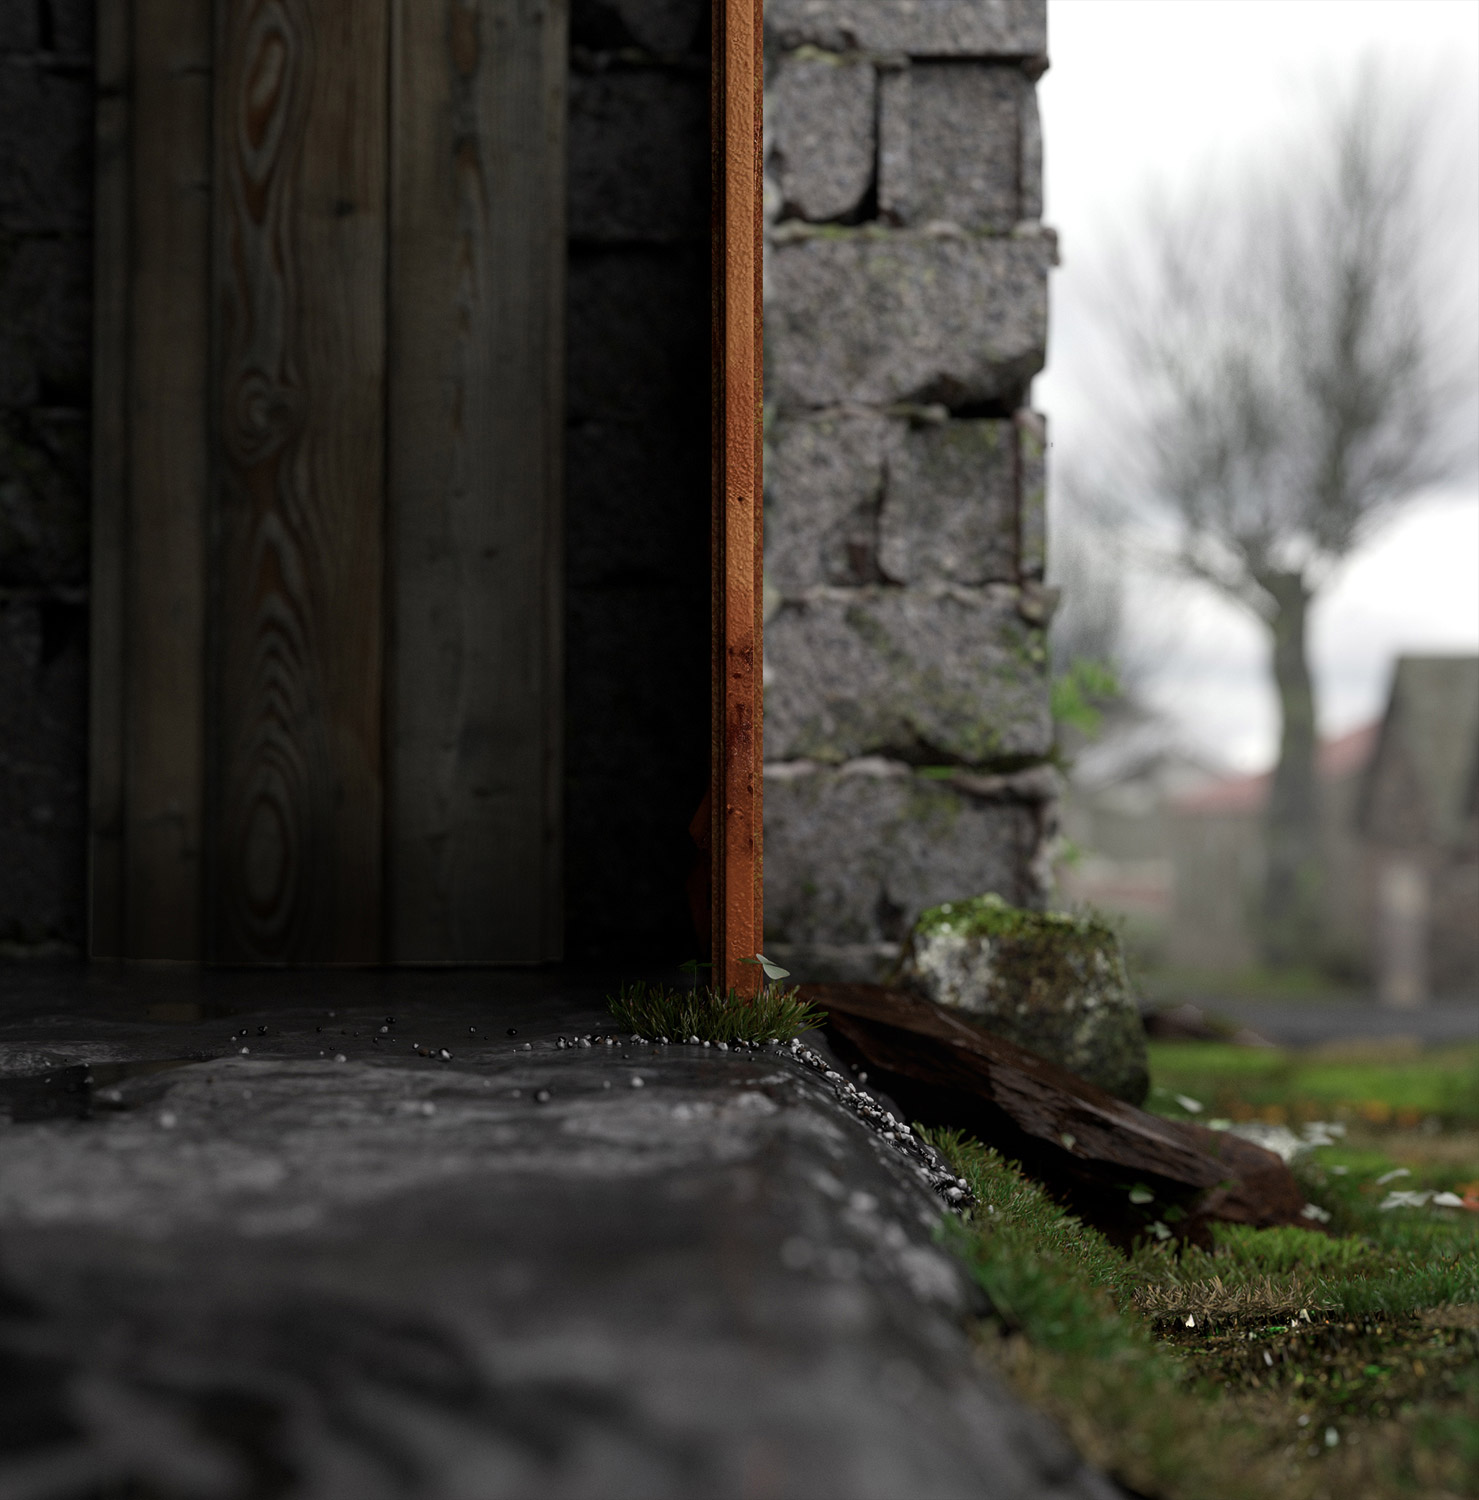
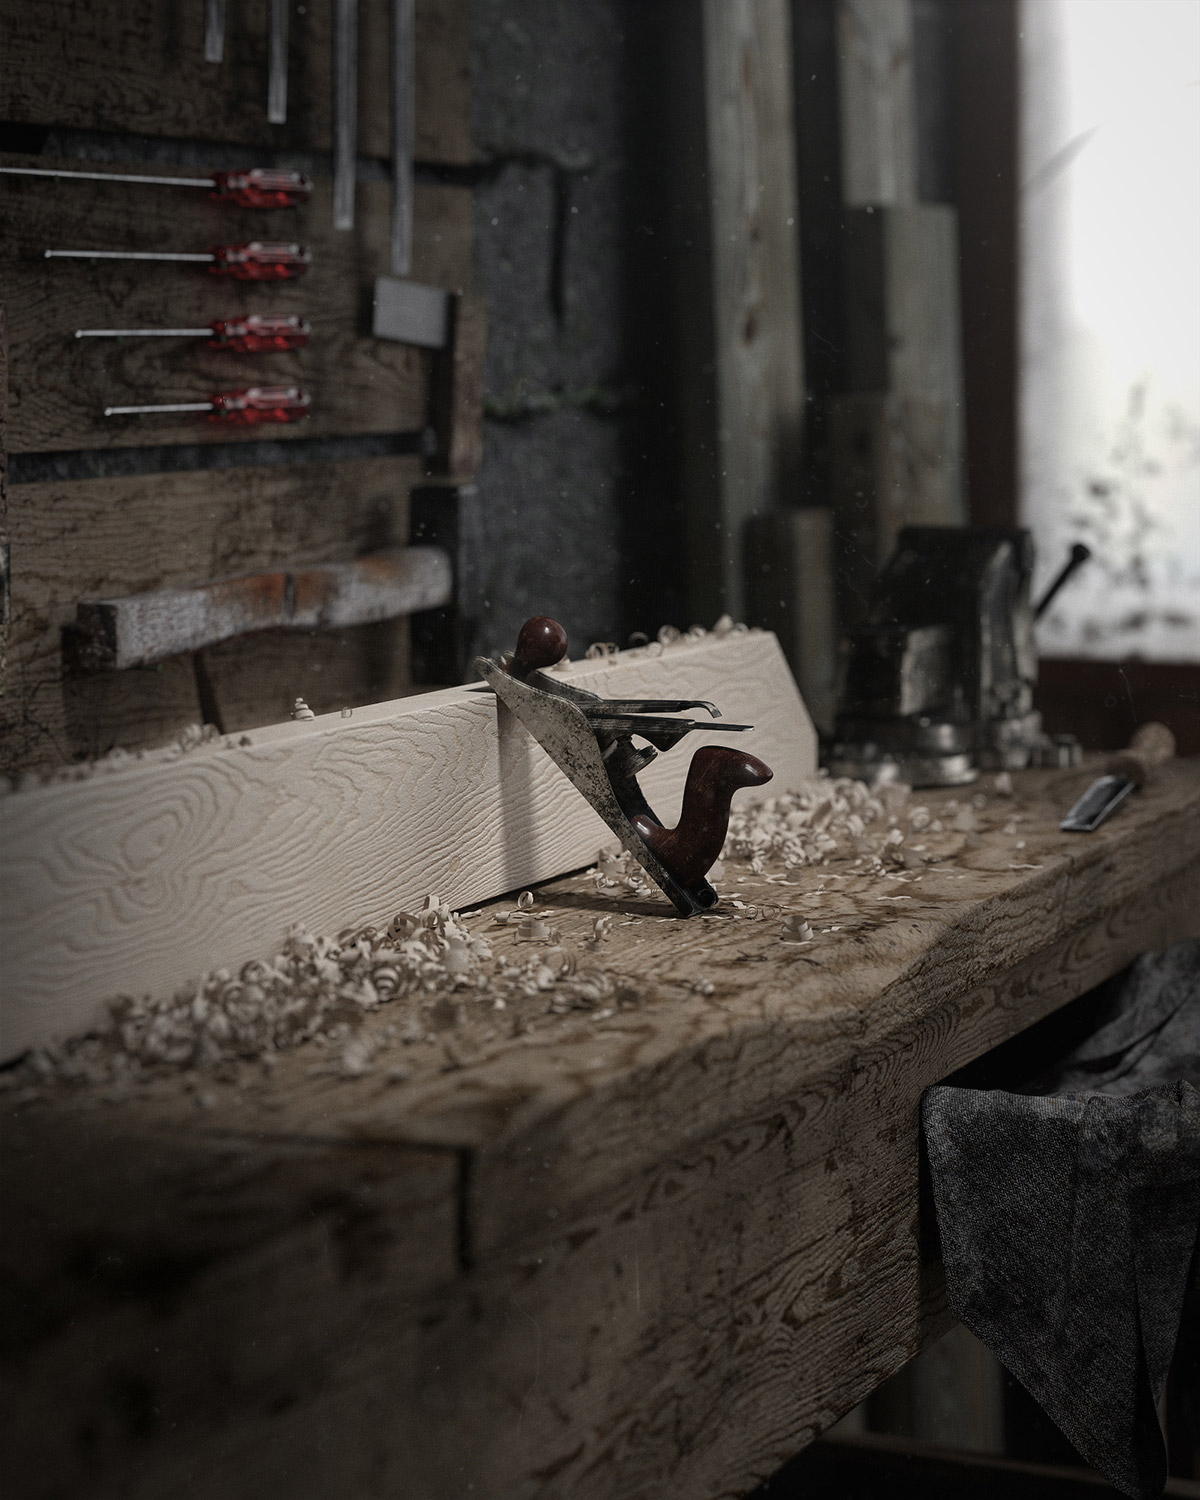
Wood Material.

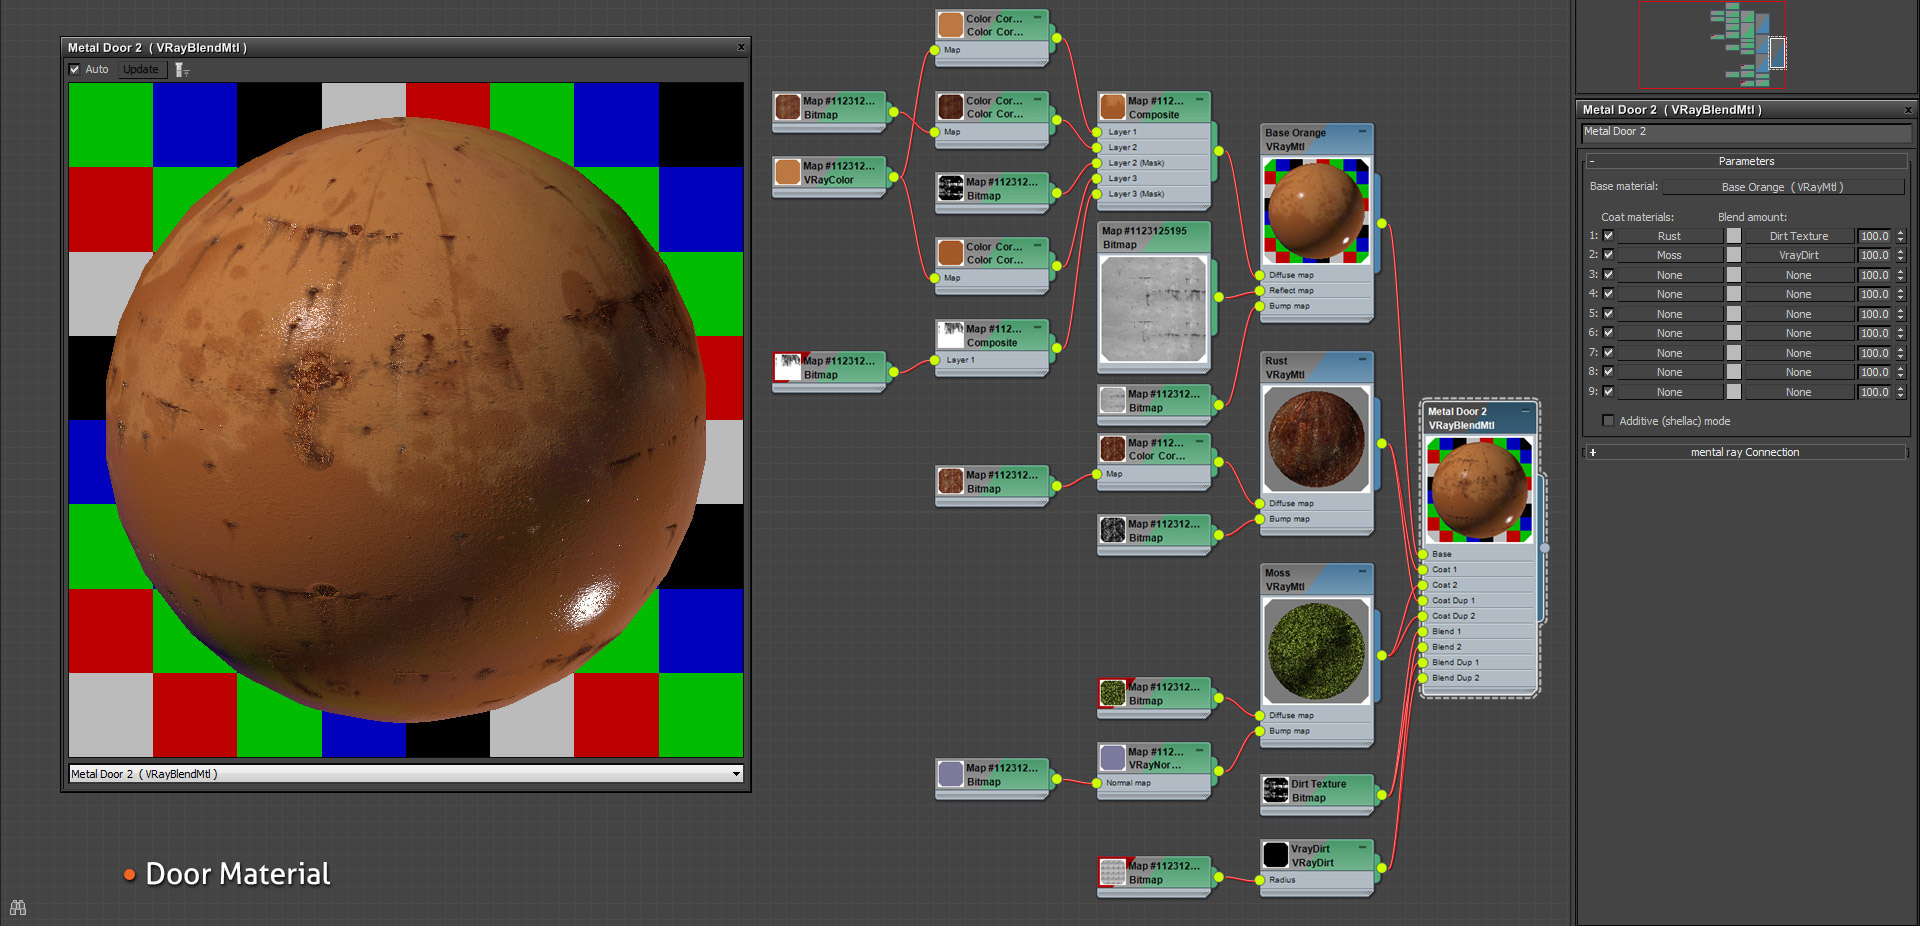
Door Metal
Here are the render settings used in order to render this project.
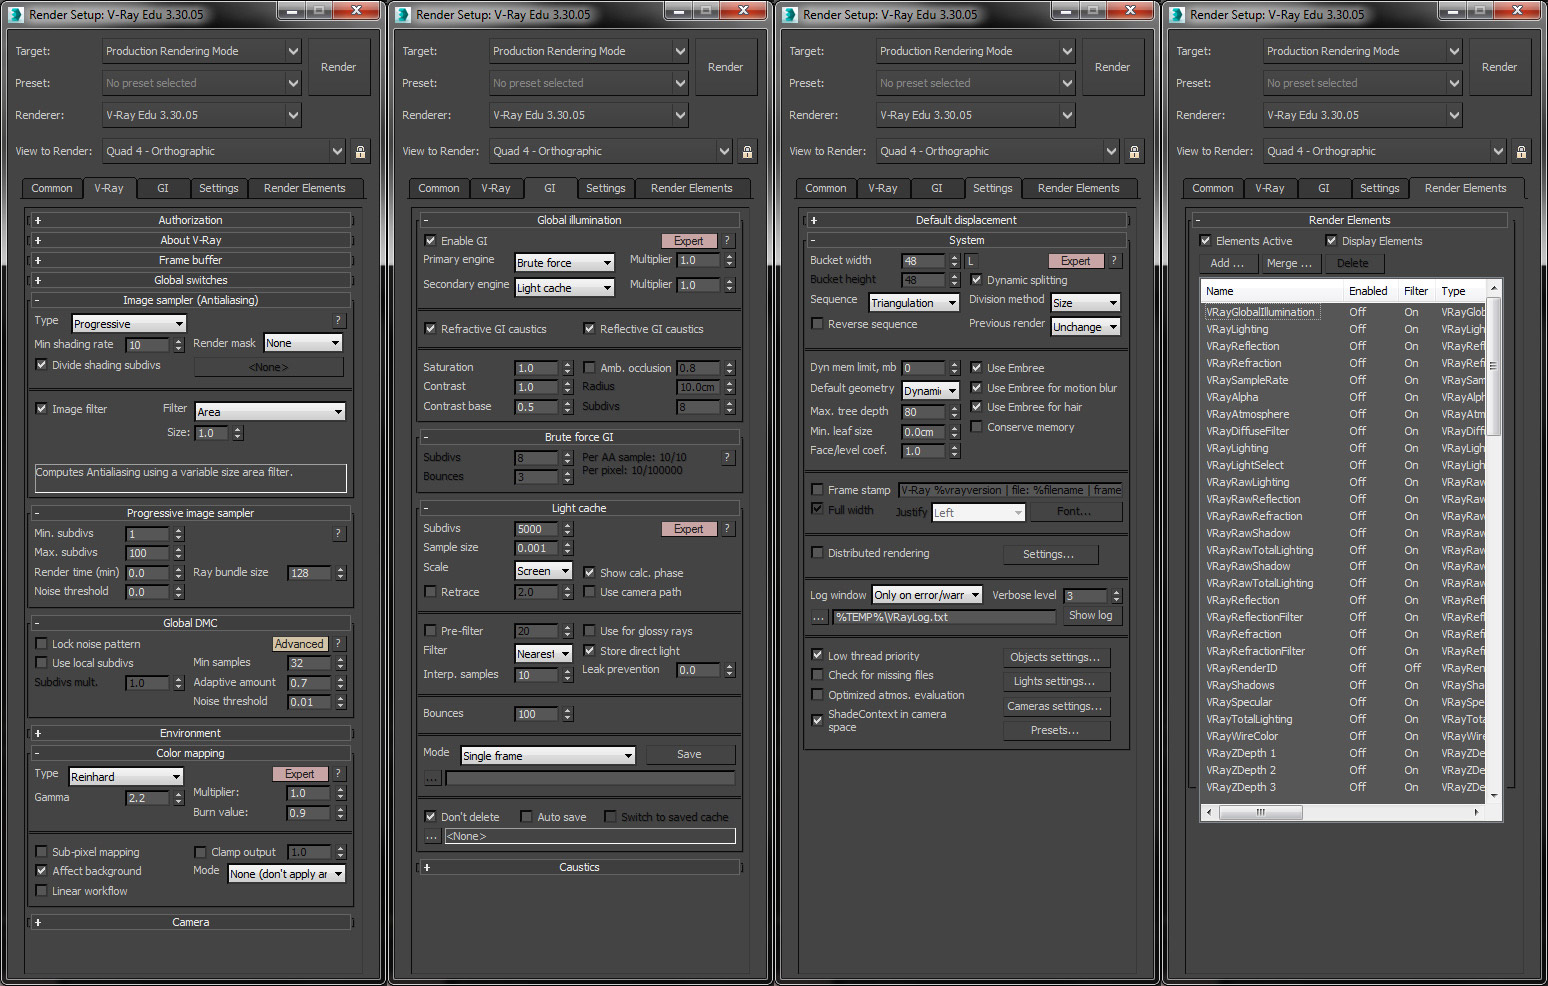
I’ve used Progressive Image Sampler with zero noise and render time, usually I stop the rendering by myself
when everything is looking good but in some cases with tight deadline I set a render time.
Please see the video at the end of the article.
Thank you all for reading and I hope that you found this article useful!
Saeed Amiri.