The world of 3d allows you to create everything you want, there are no limits to the imagination and that is why it is a fabulous world. Roberto's project achieved to enter the Top 10 of #keeprendering *Contest 2017. Enjoy his making of article!
Meanwhile, I want to thank WVArtclub for this great opportunity.
The world of 3d allows you to create everything you want, there are no limits to the imagination and that is why it is a fabulous world. My path was reborn about 3 years ago, starting with the course 5SRW Ciro Sannino, which I take this opportunity to thank.
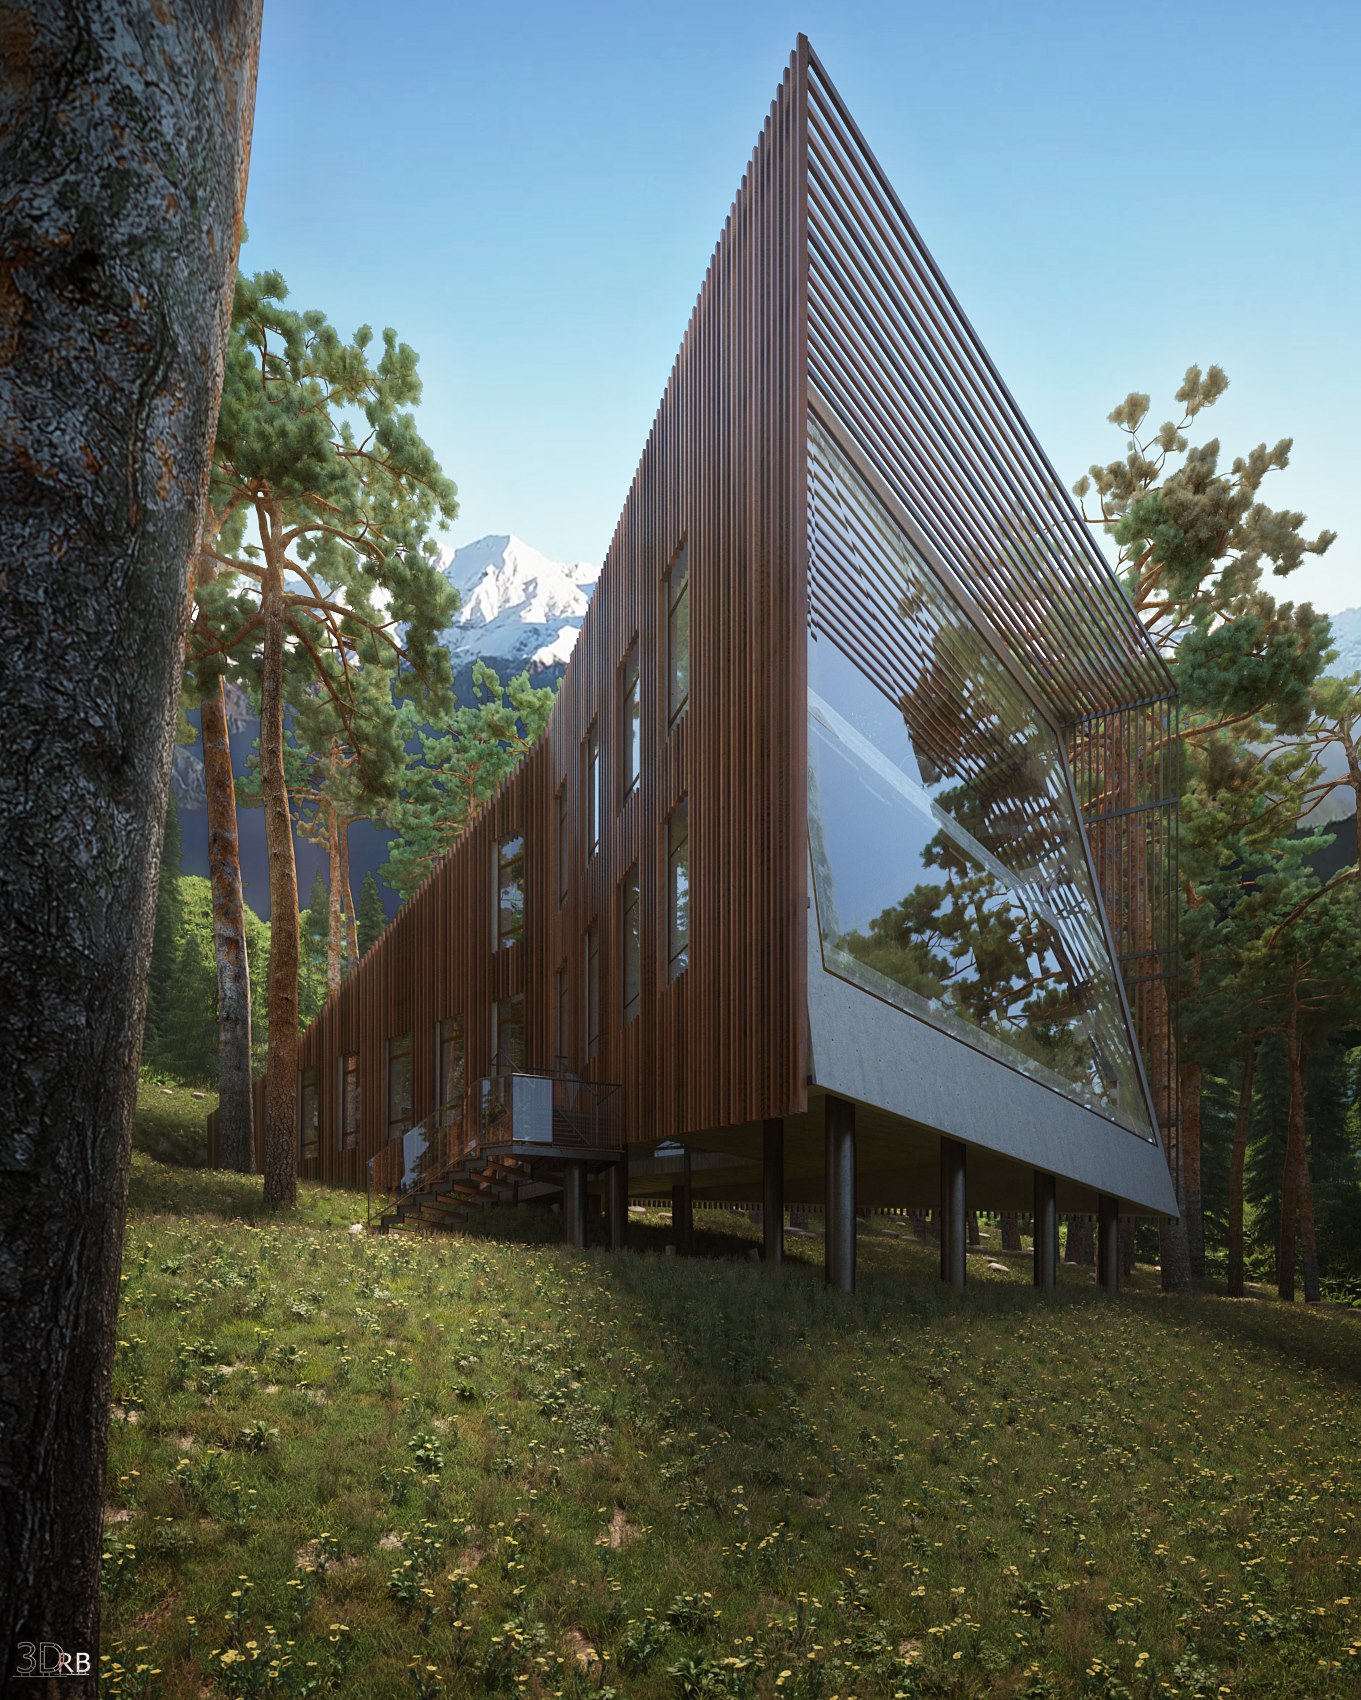
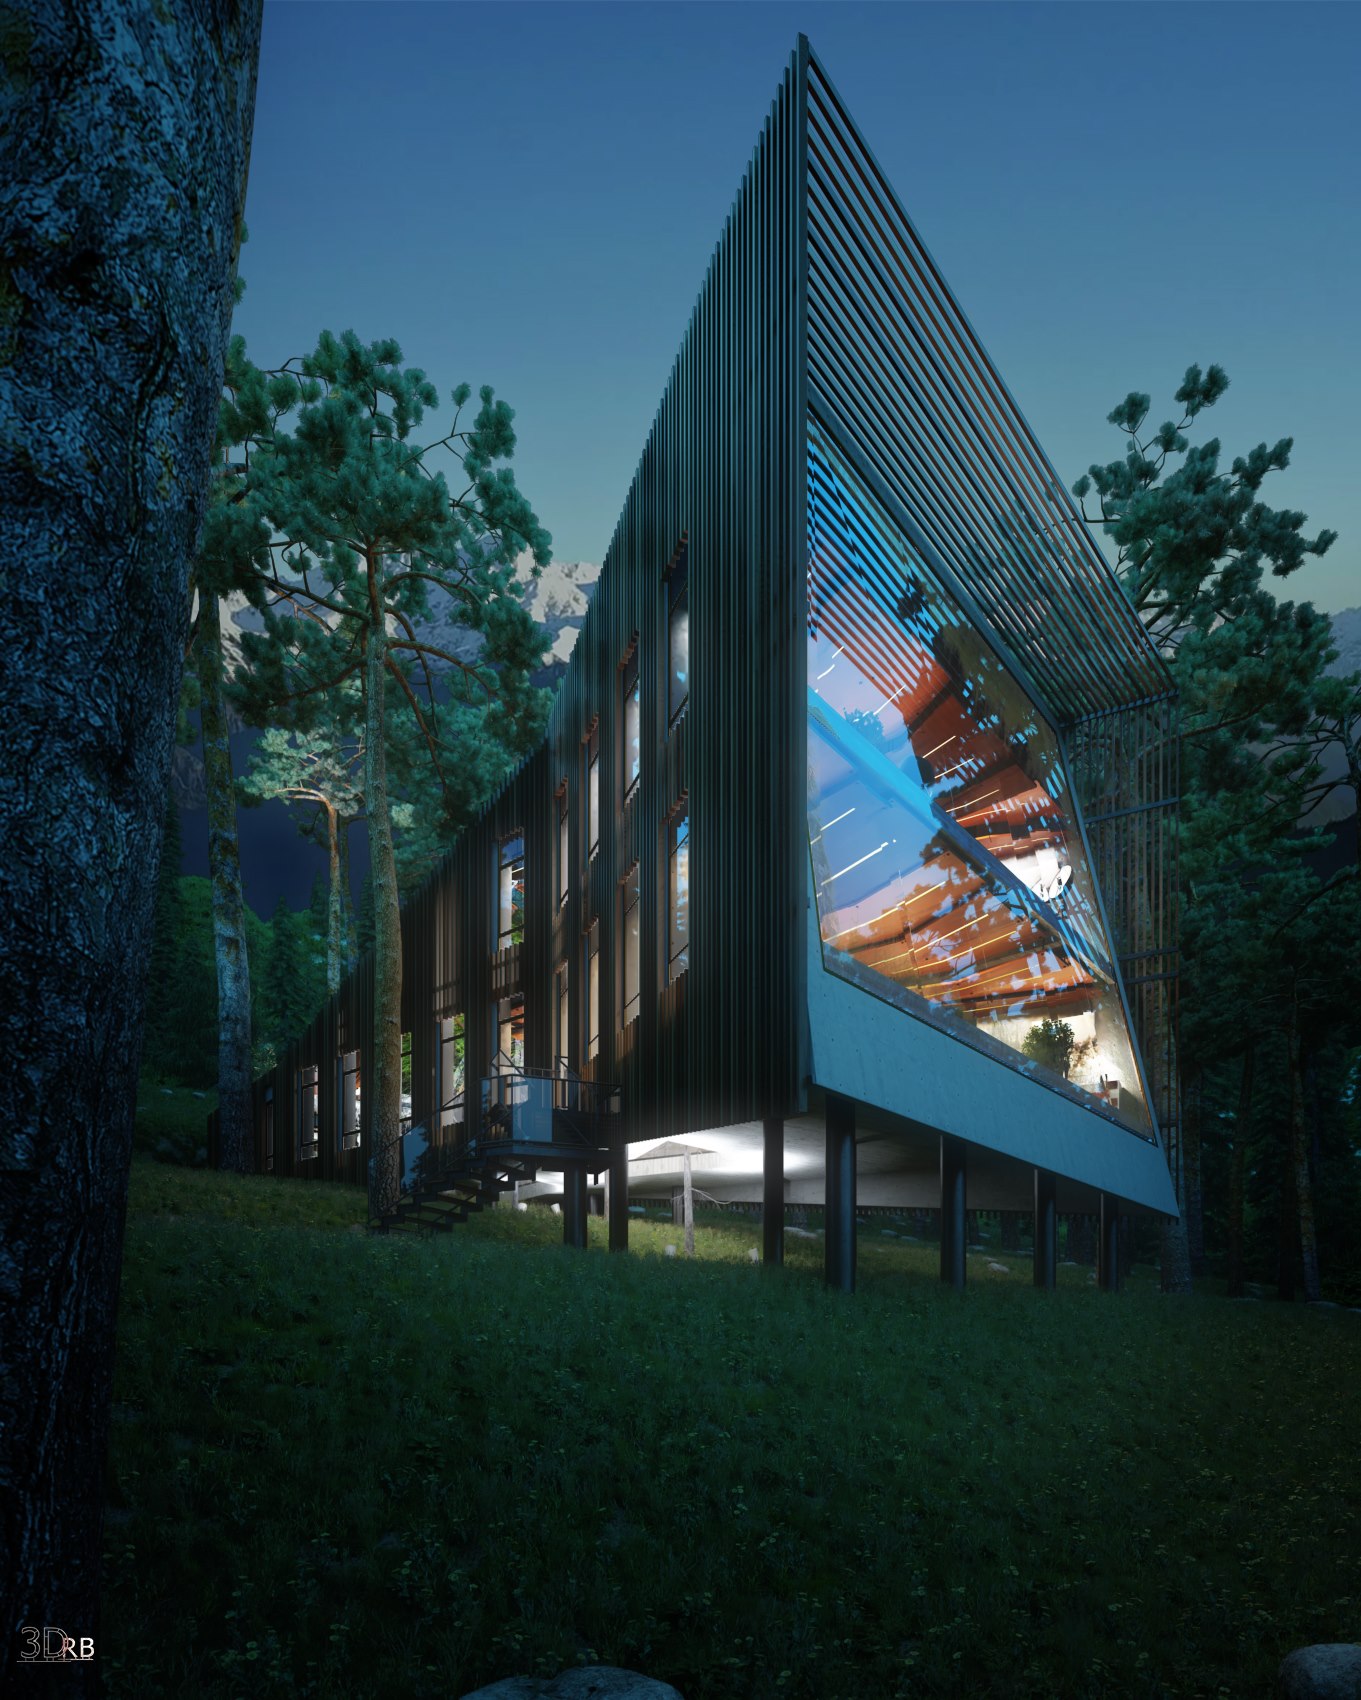
My project was born as a concept design, trying to represent a sort of chrysalis.

I tried to shape it and make it a bit 'lively and organic, with the use of materials ranging from hot to cold.
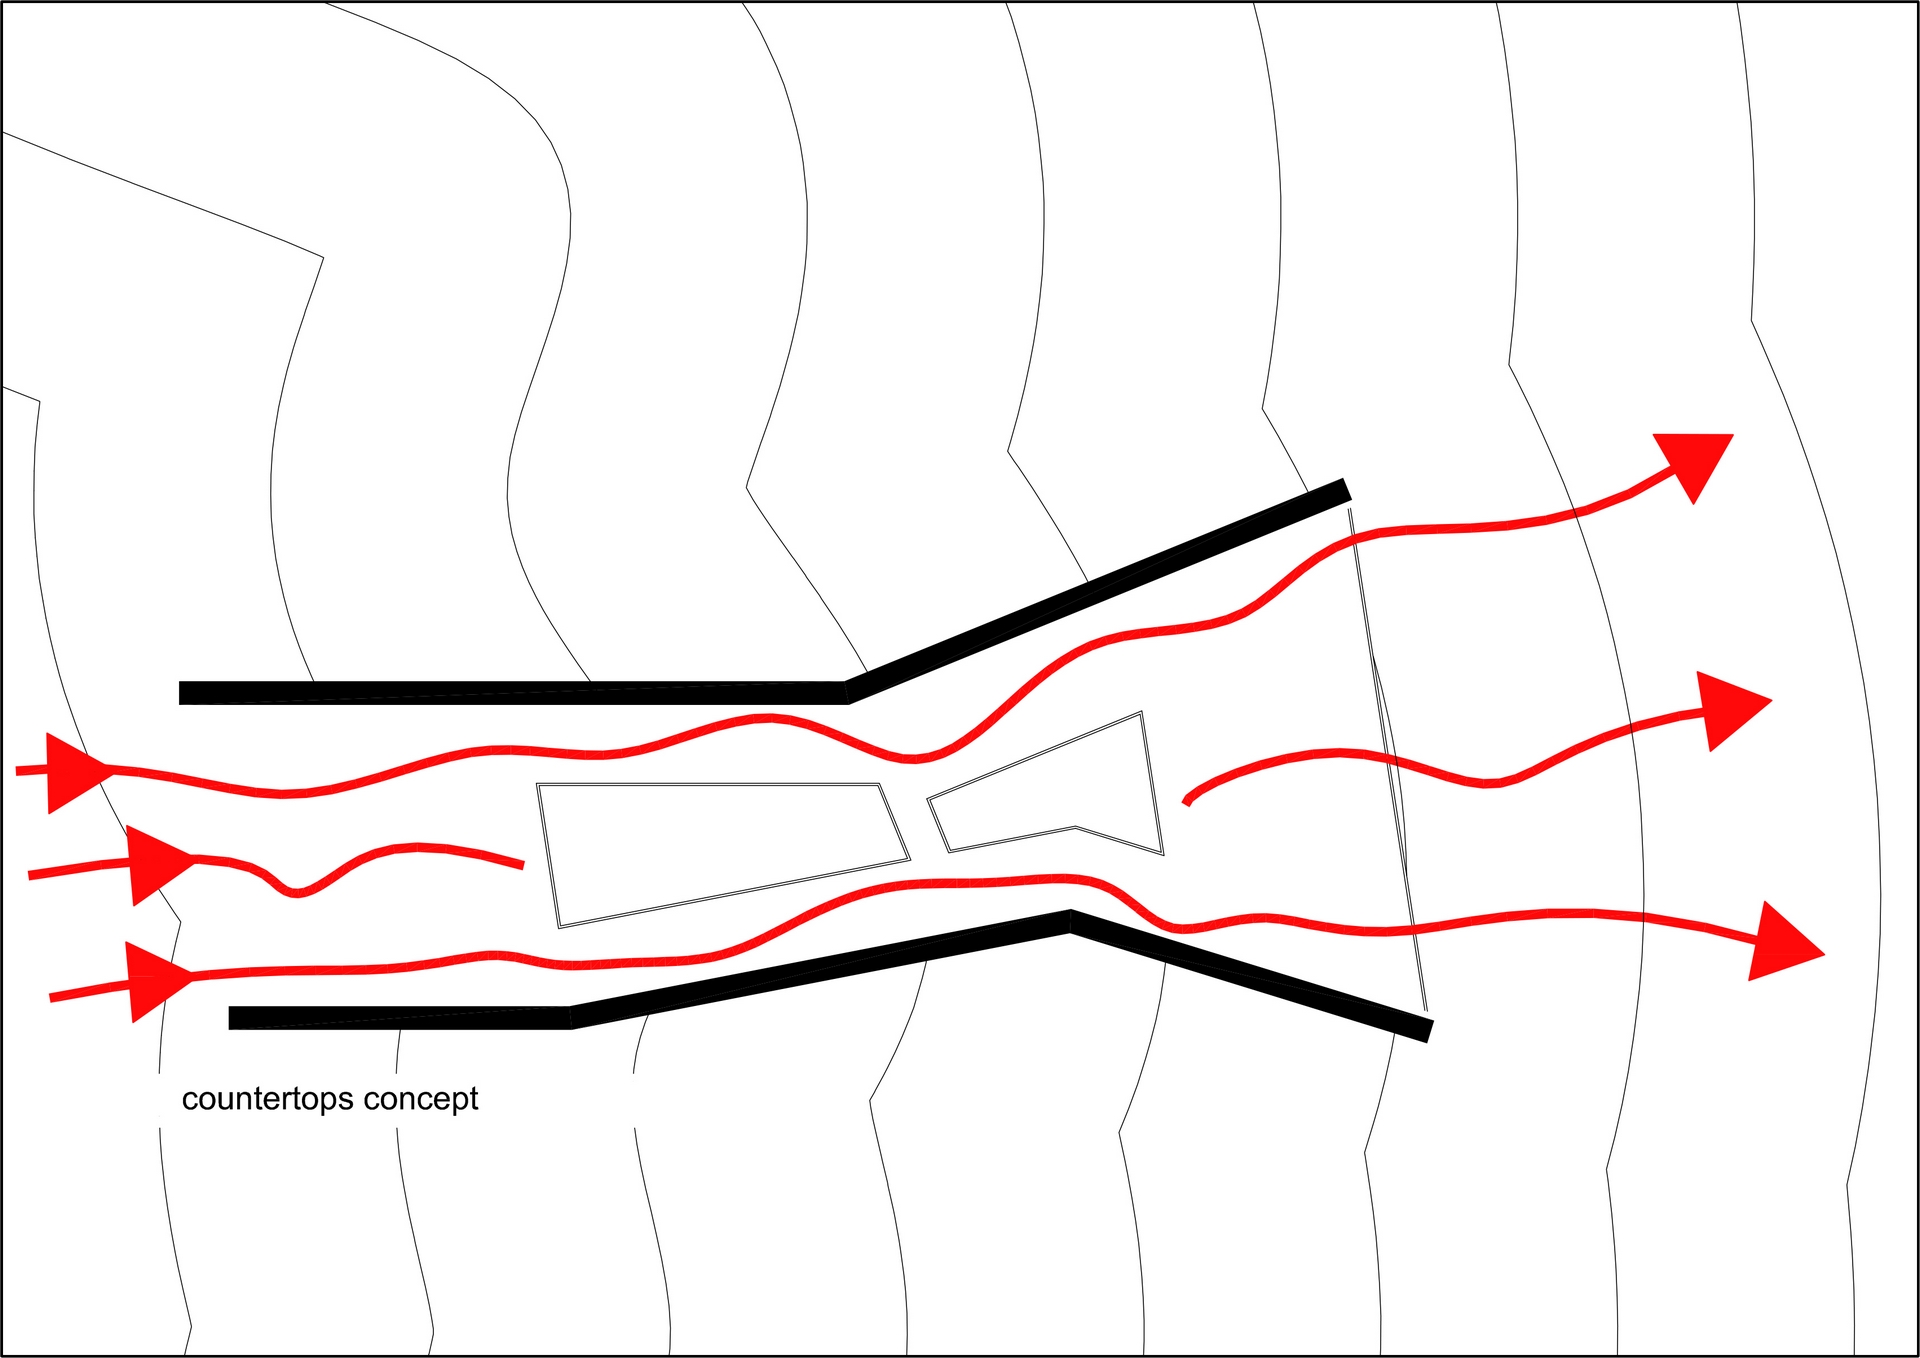
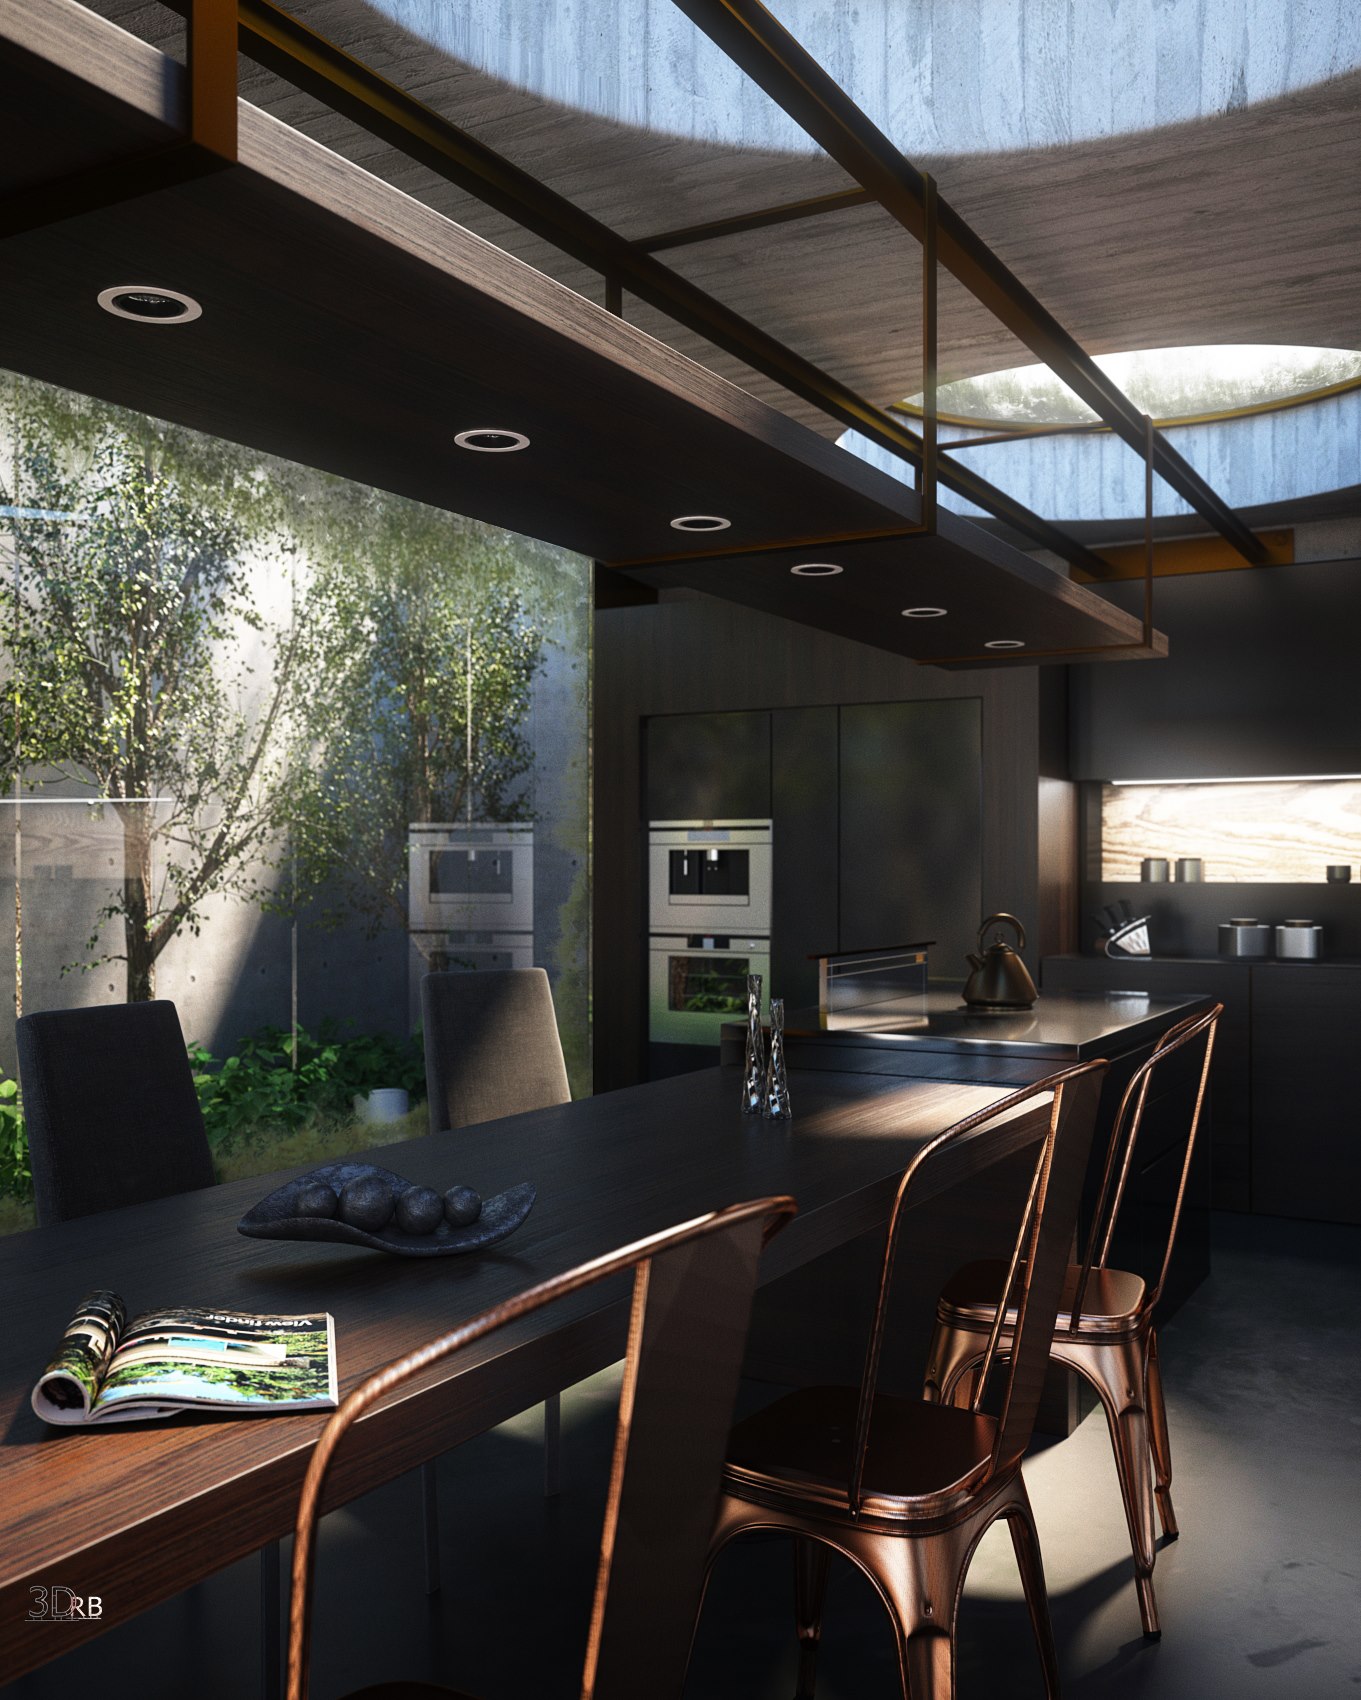
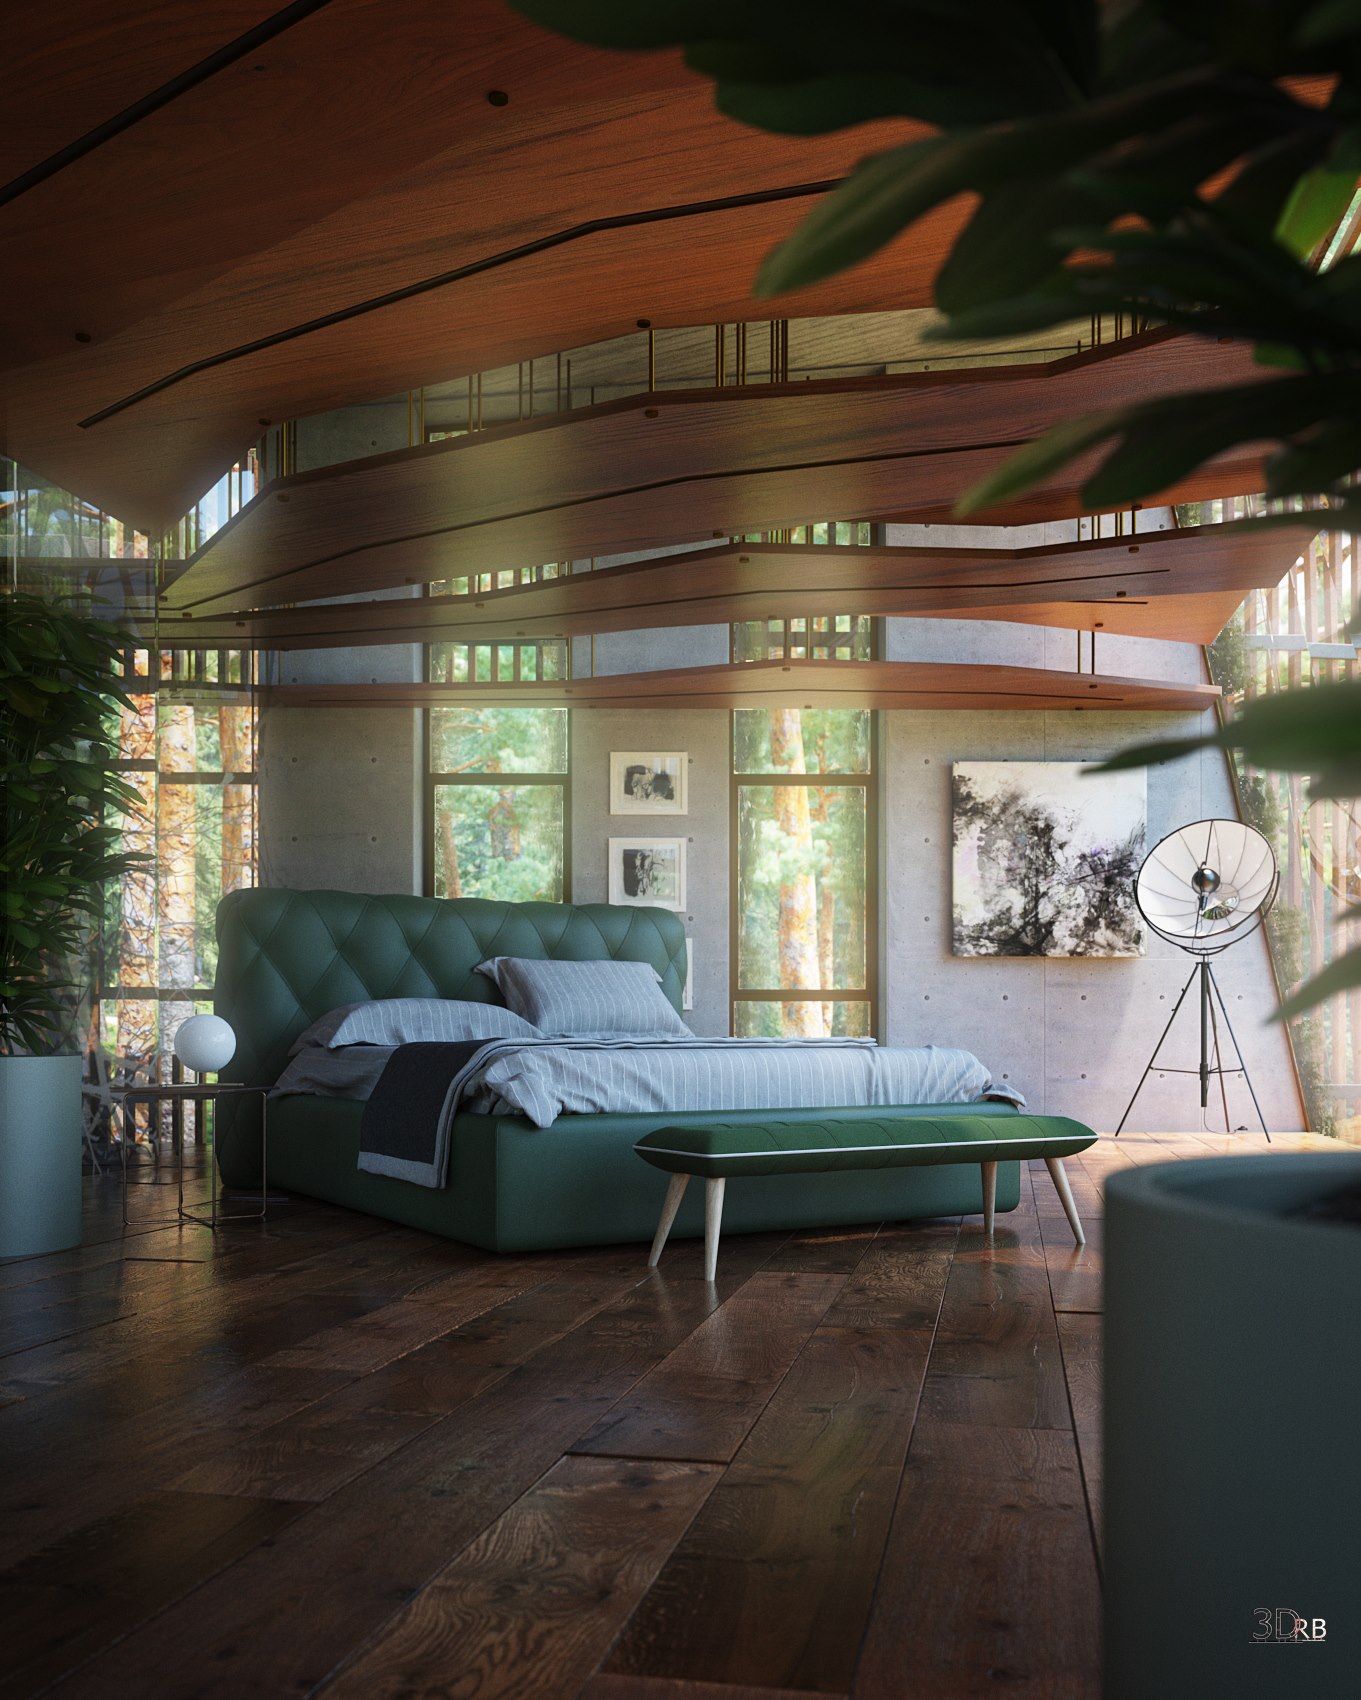
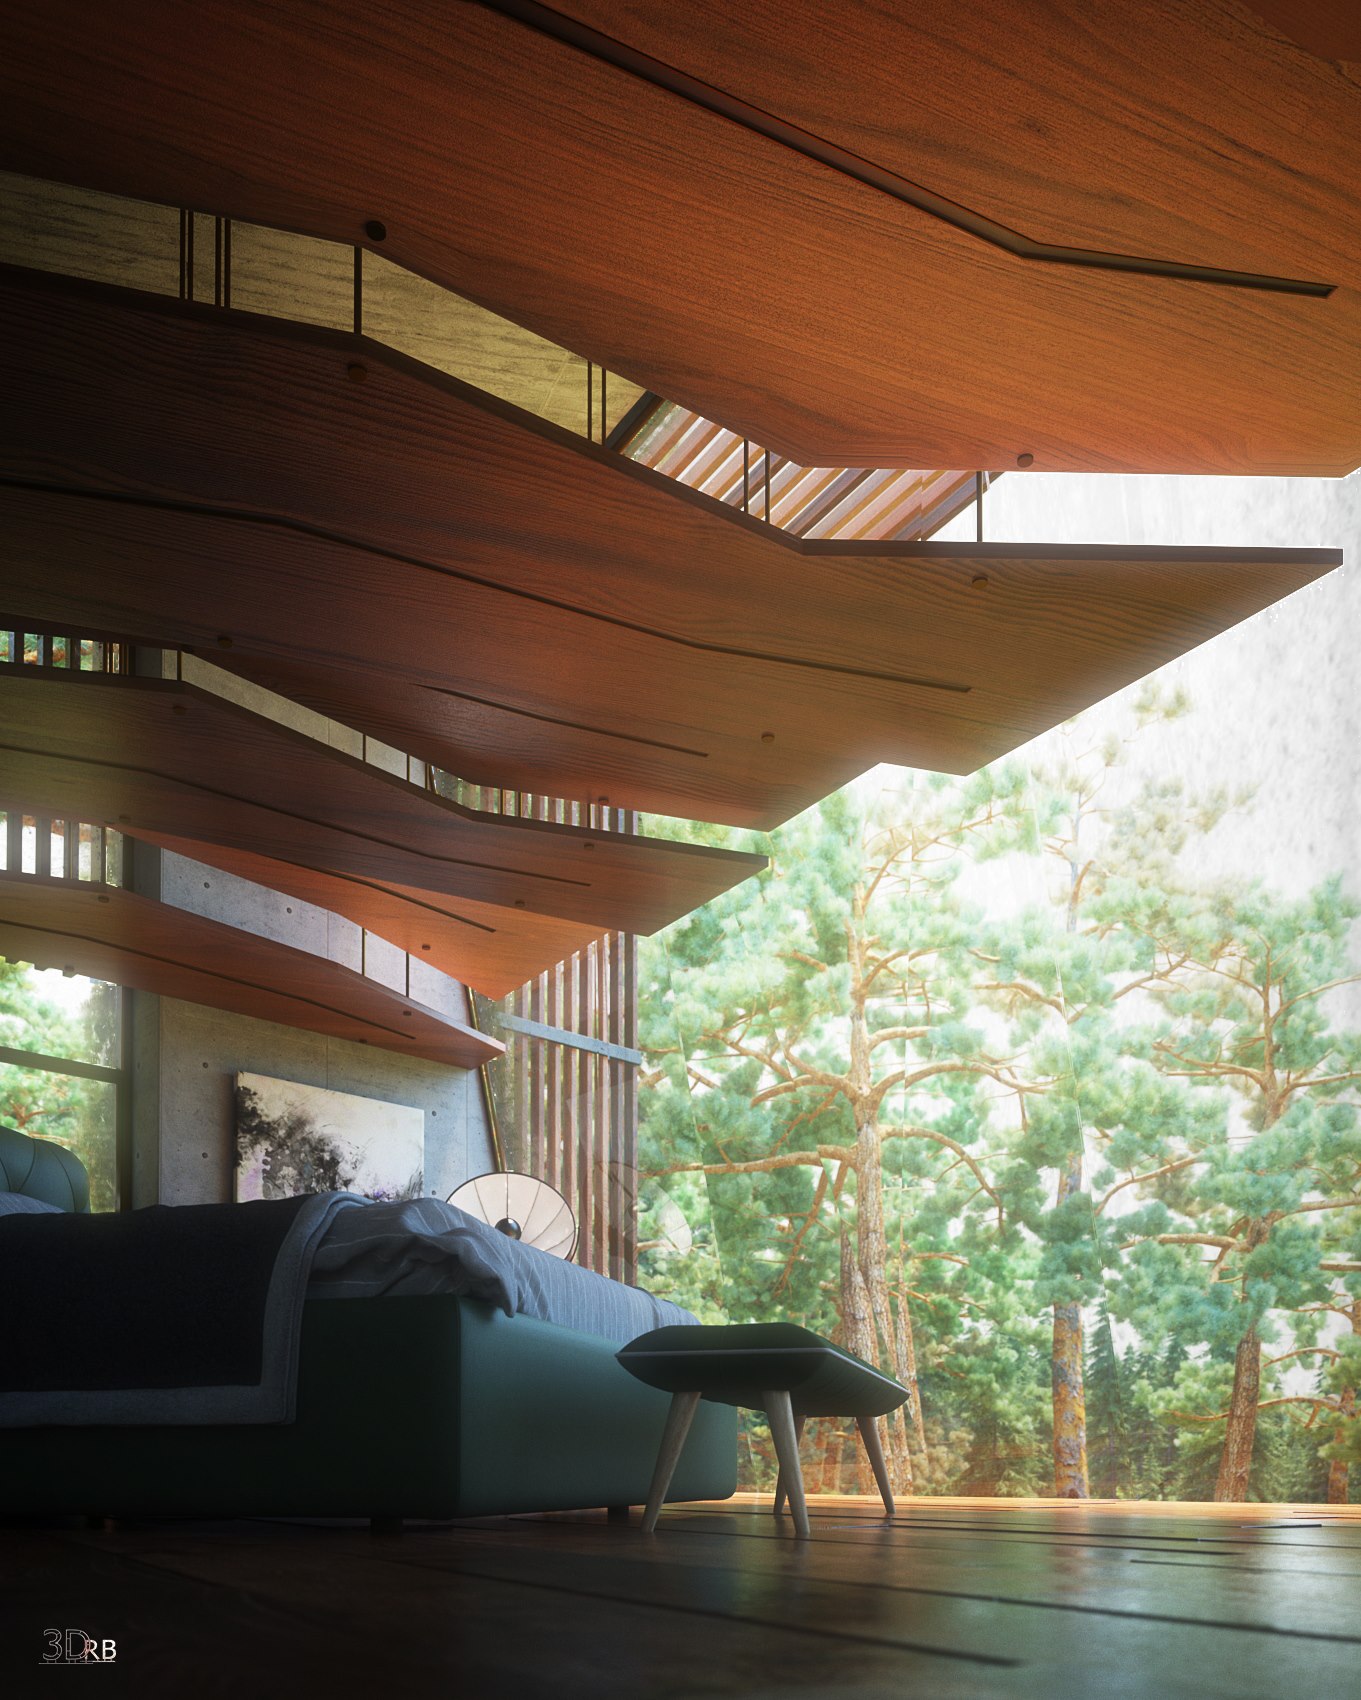
The heat is made up of the false ceilings positioned on both floors and on the floor of the room on the first floor that resembles the trees on the outside, and the false ceilings remind us a little of the movement of water streams during the periods of rain, which flow along the slope of the mountain in a random and not straight line.
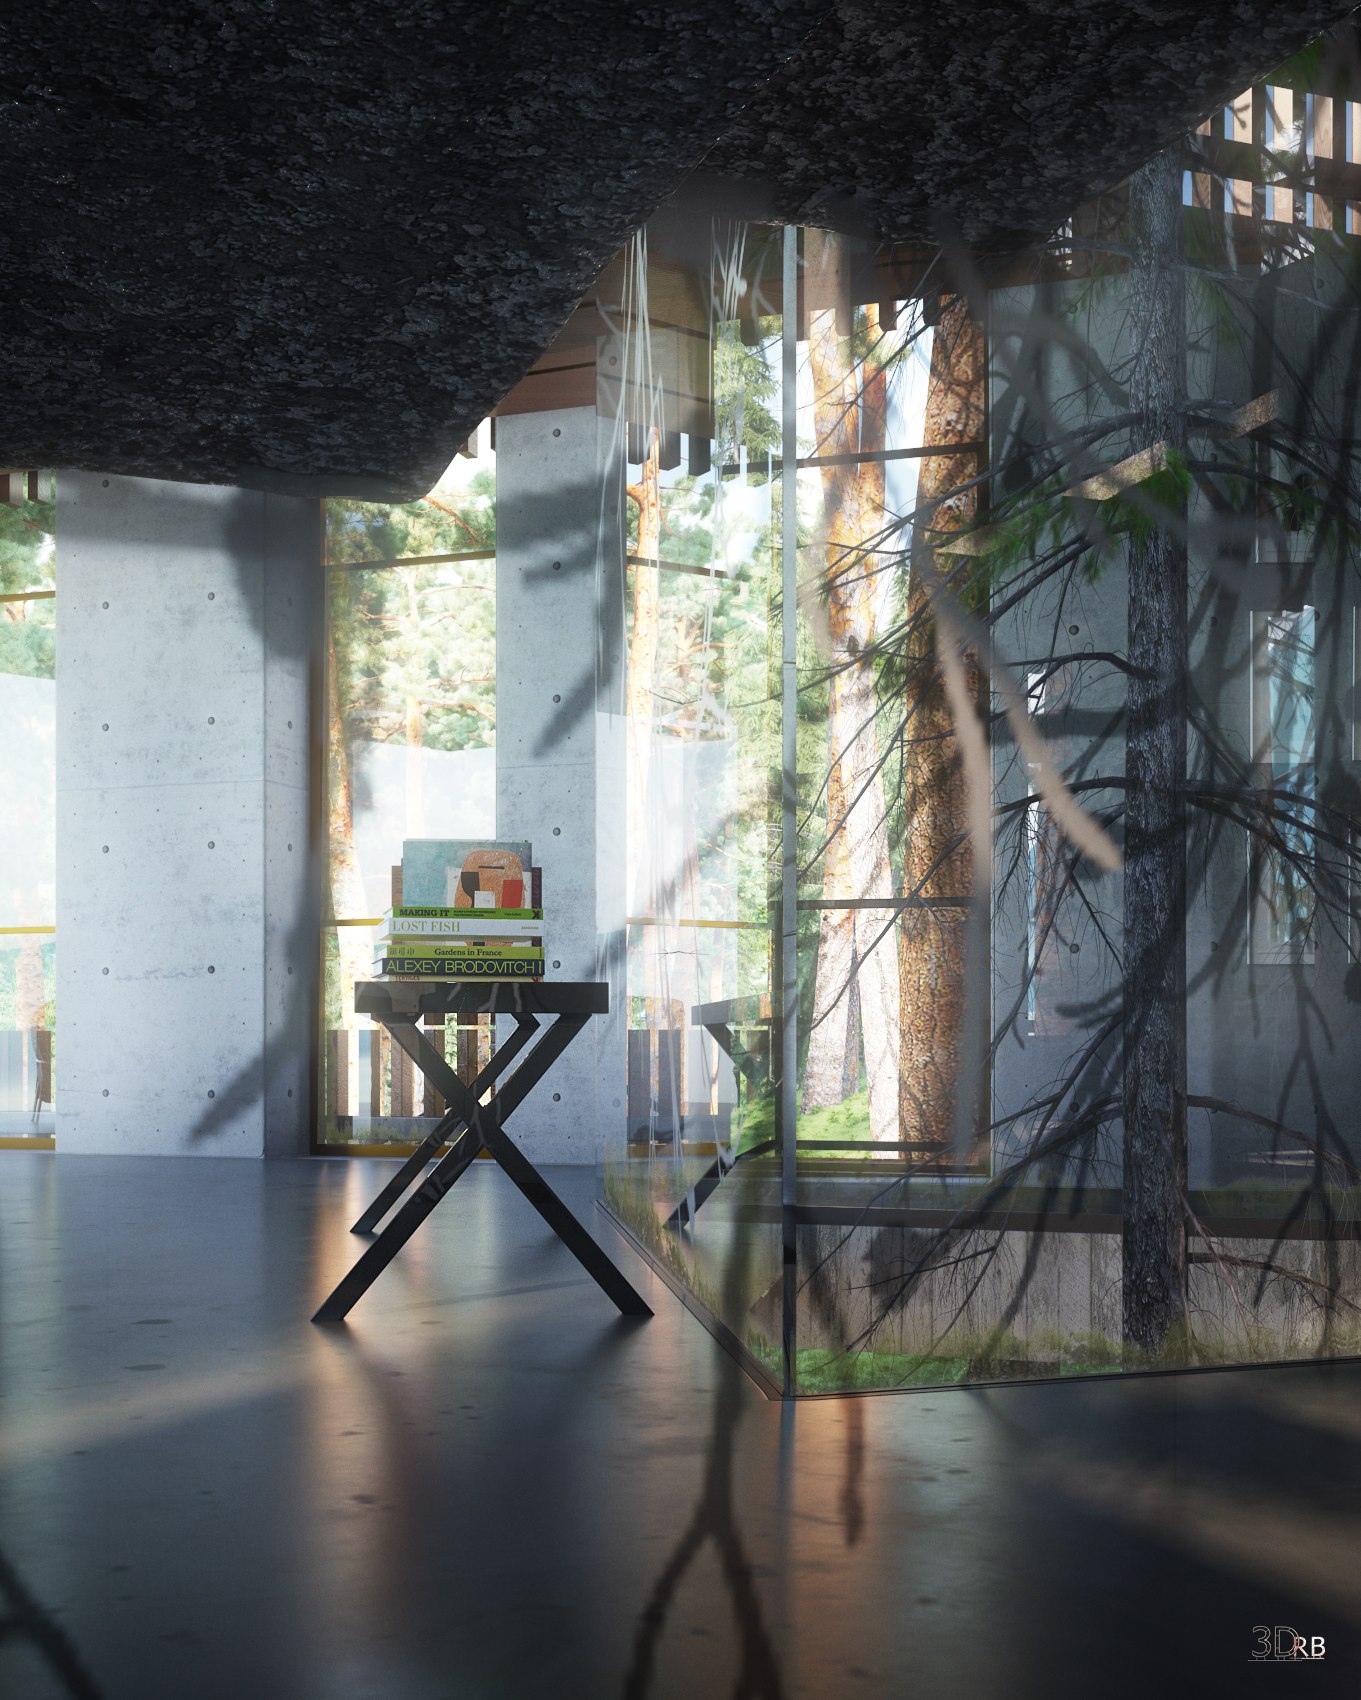
For the cold part the cement of the walls reminds us a little of the rocks placed here and there on the outside, therefore less organic matter.
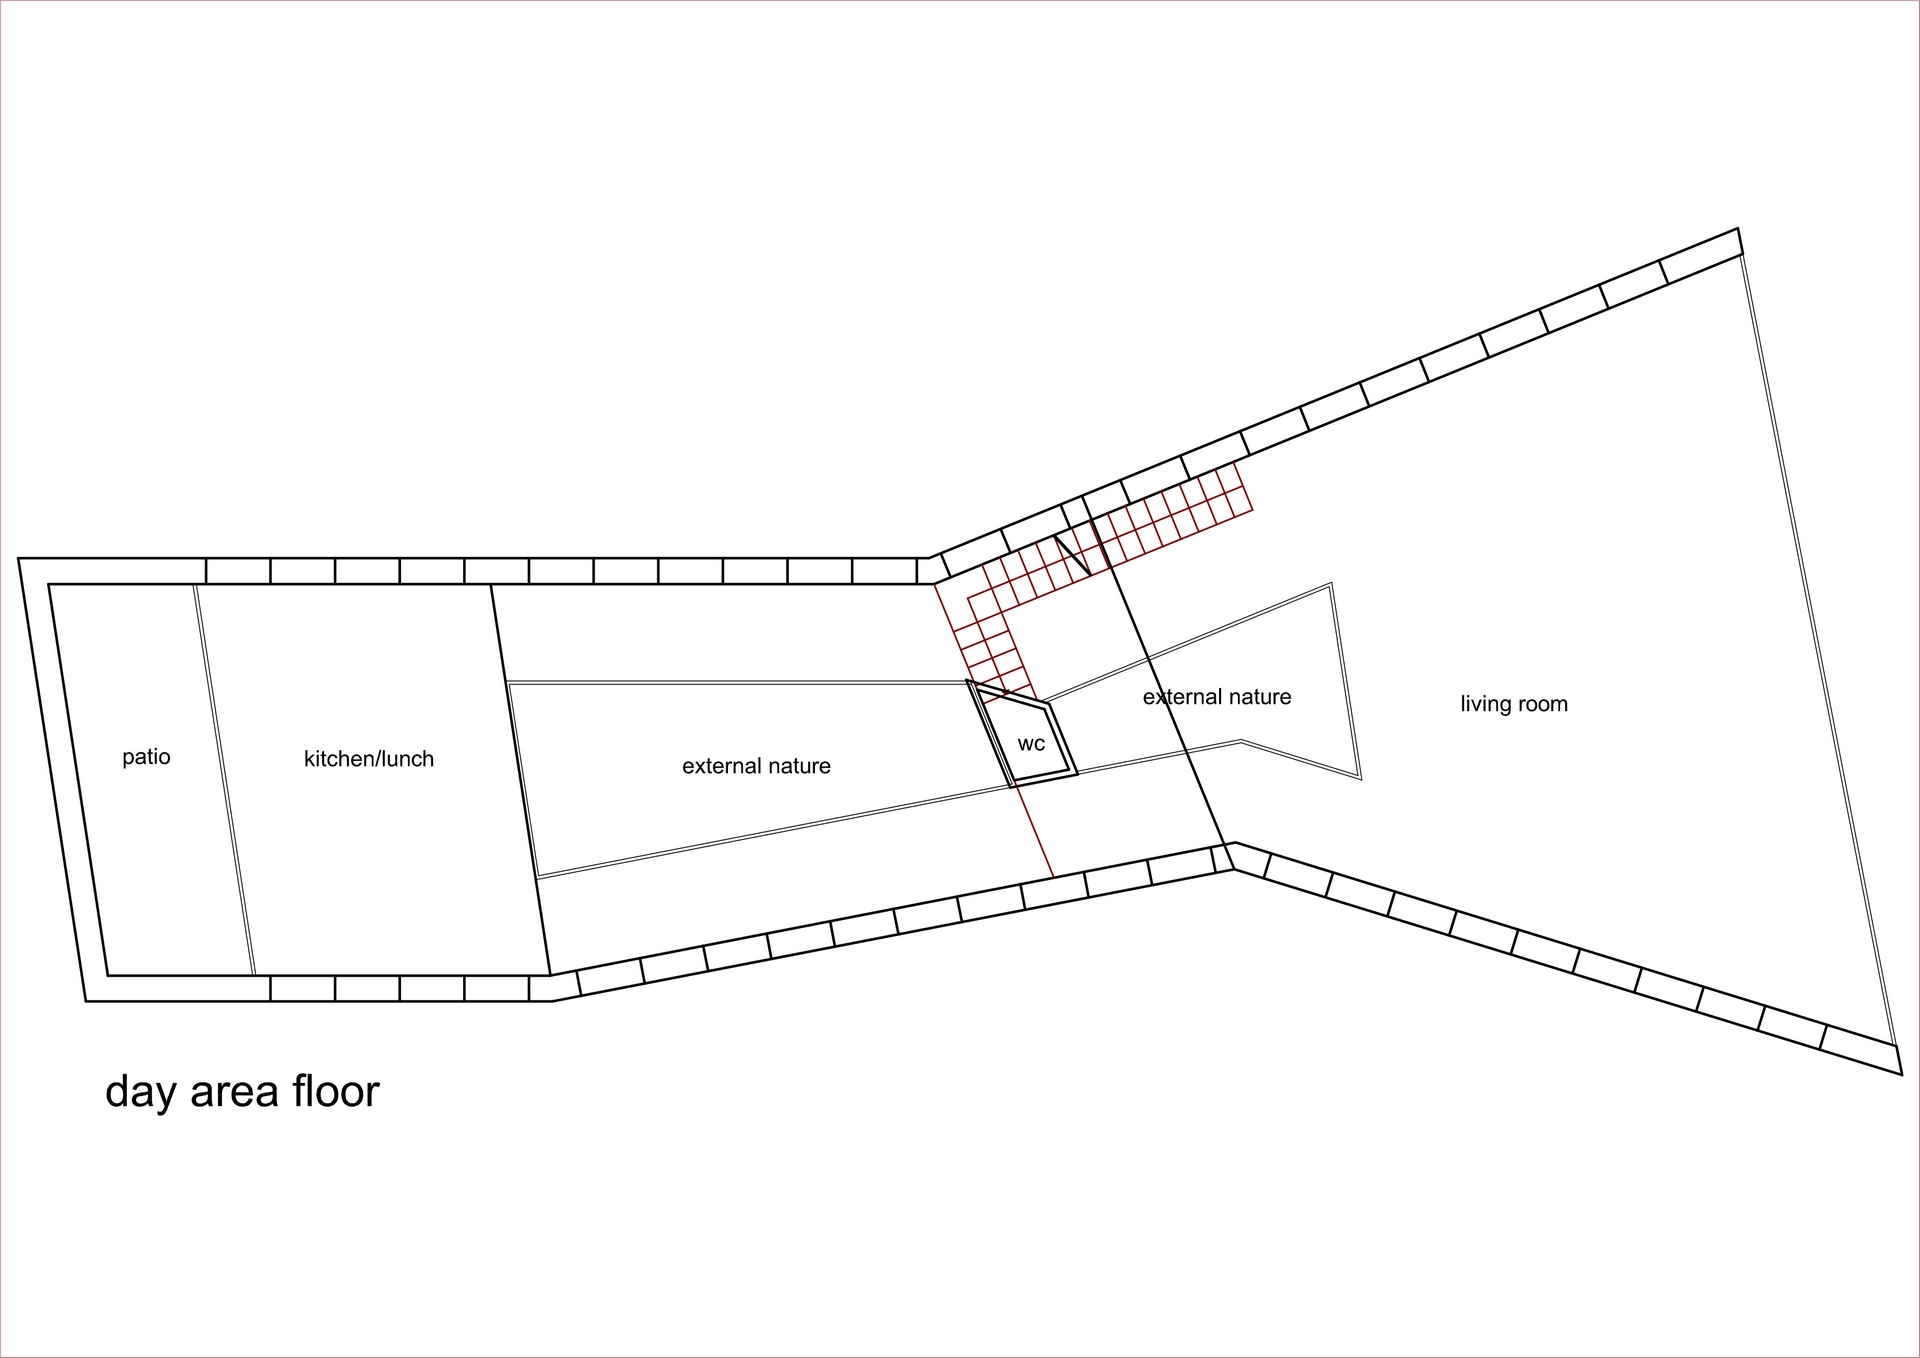
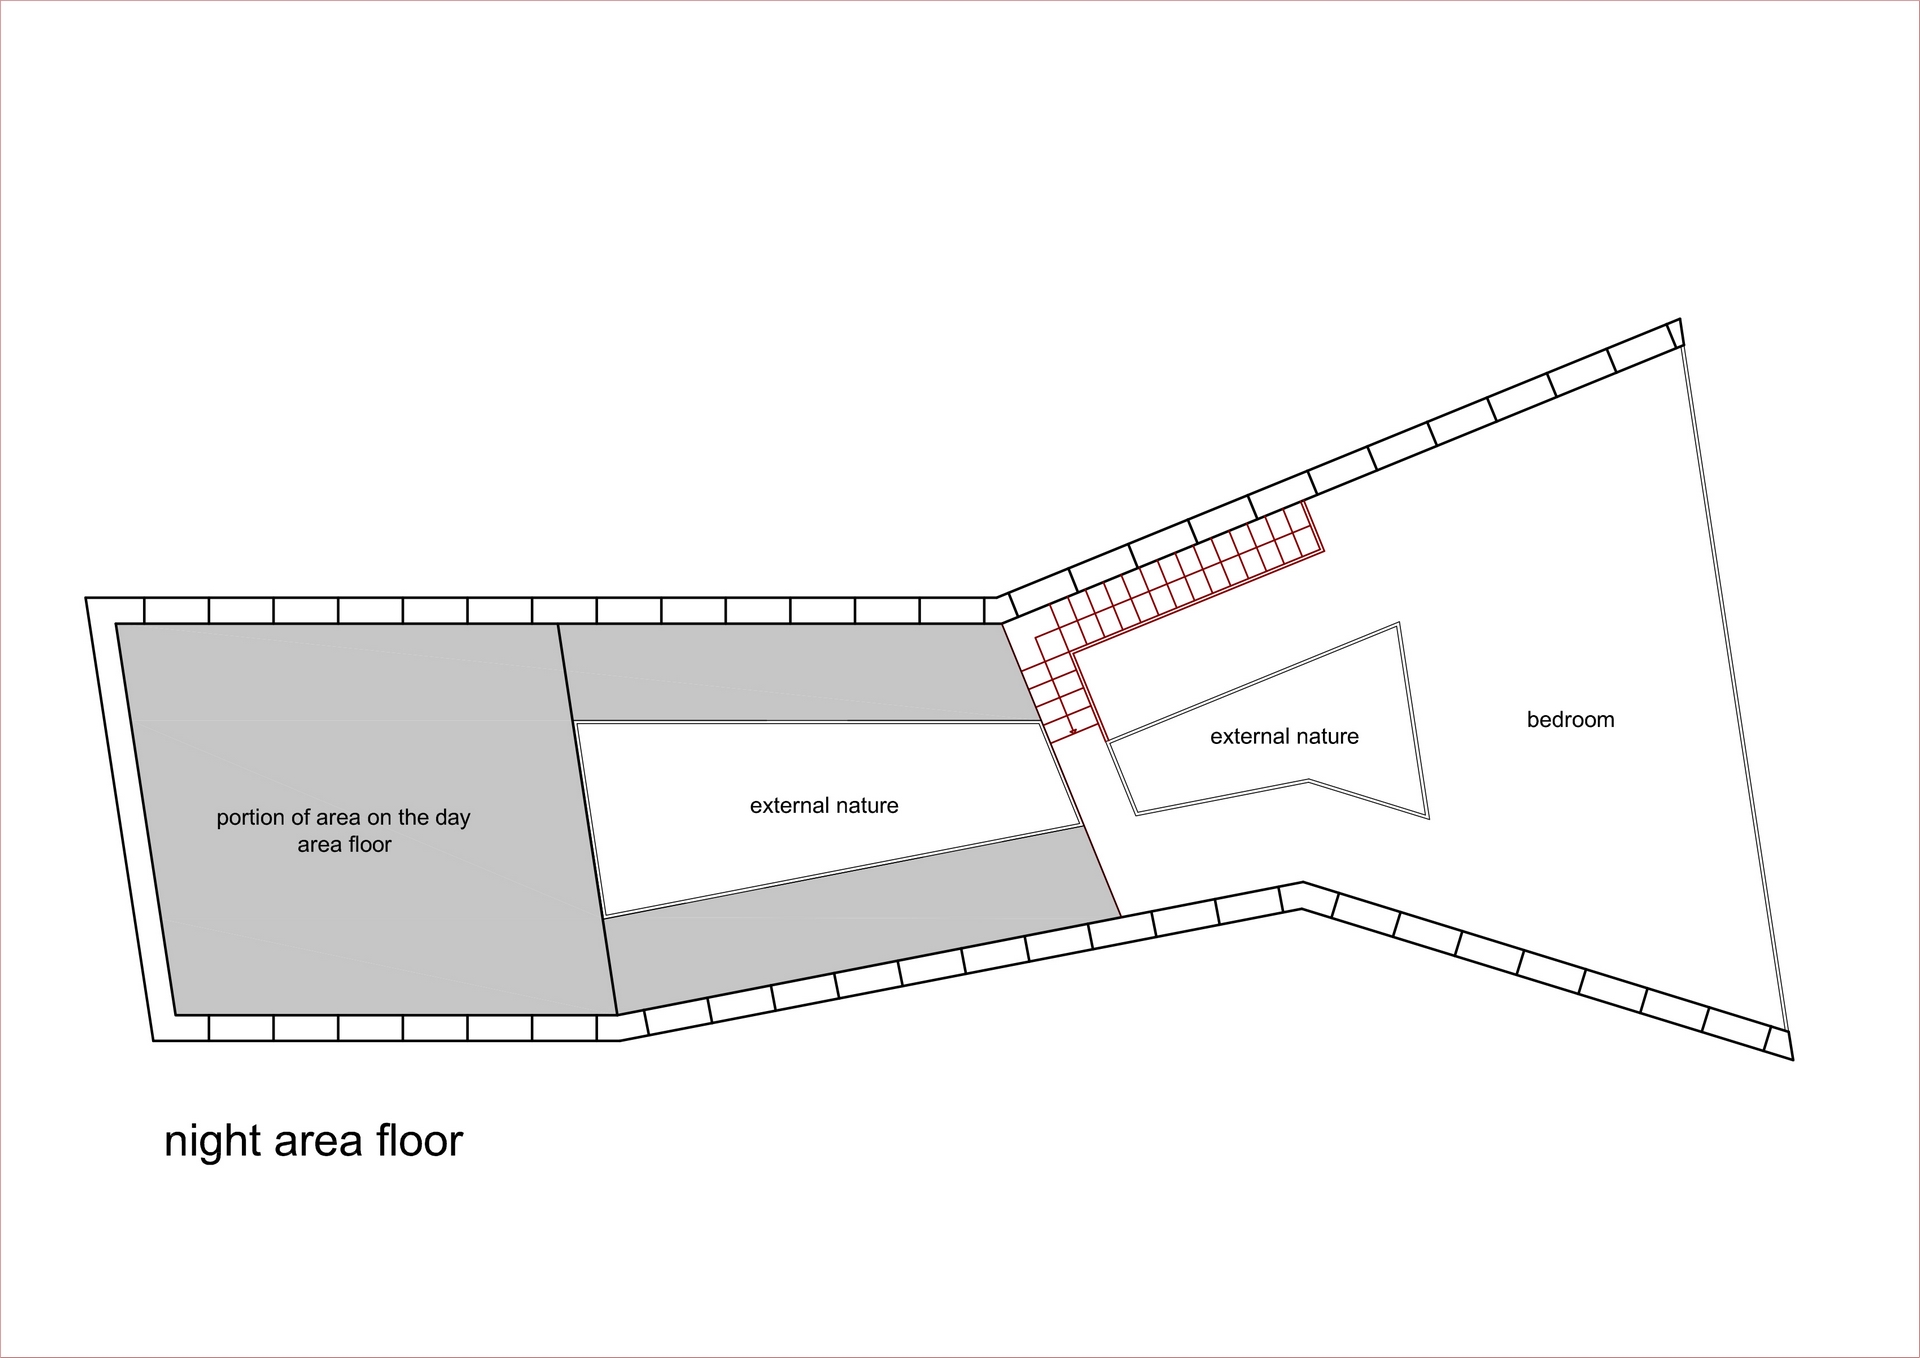
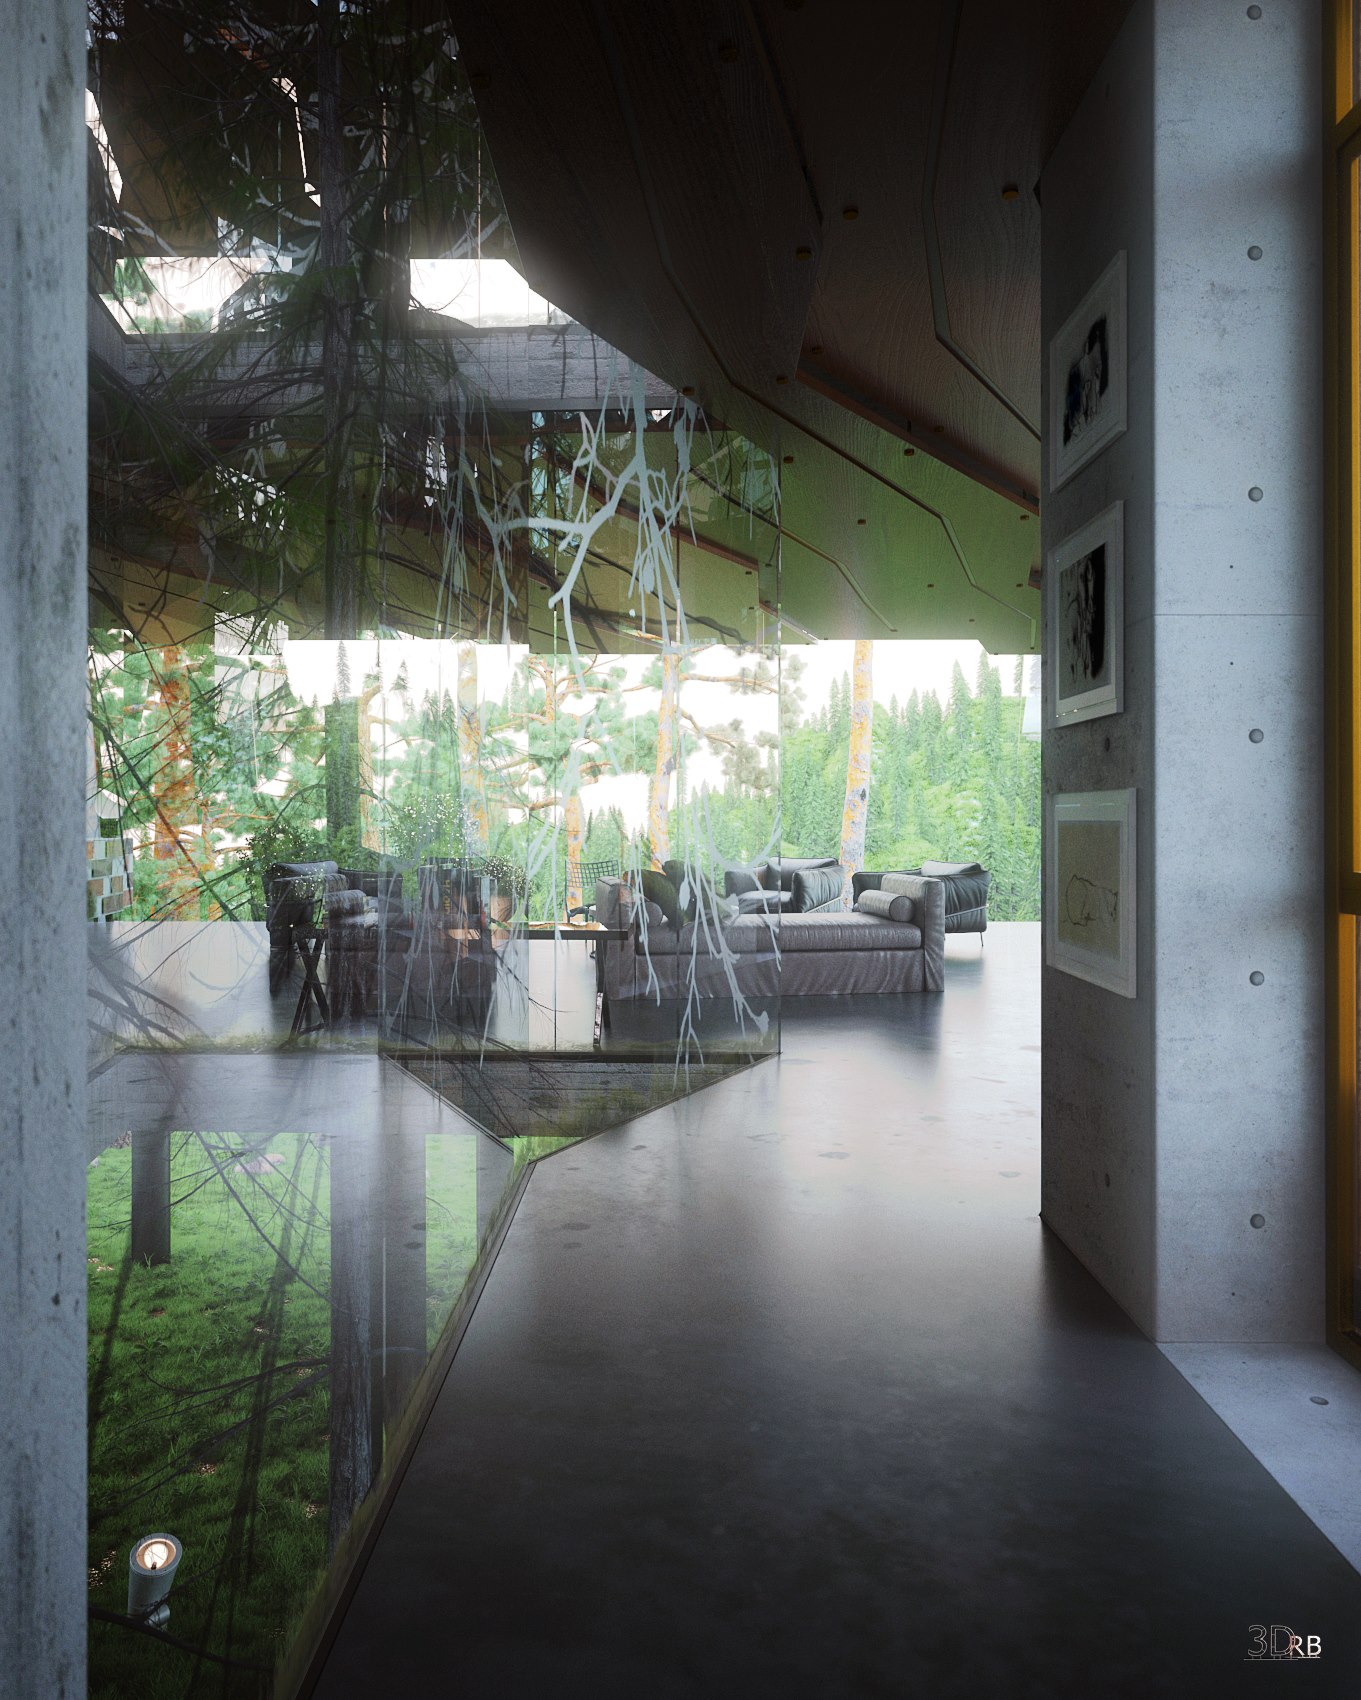
The building is represented focusing on the concept of freedom within the spaces experienced day and night with a minimalist furniture distributed in only three main environments:
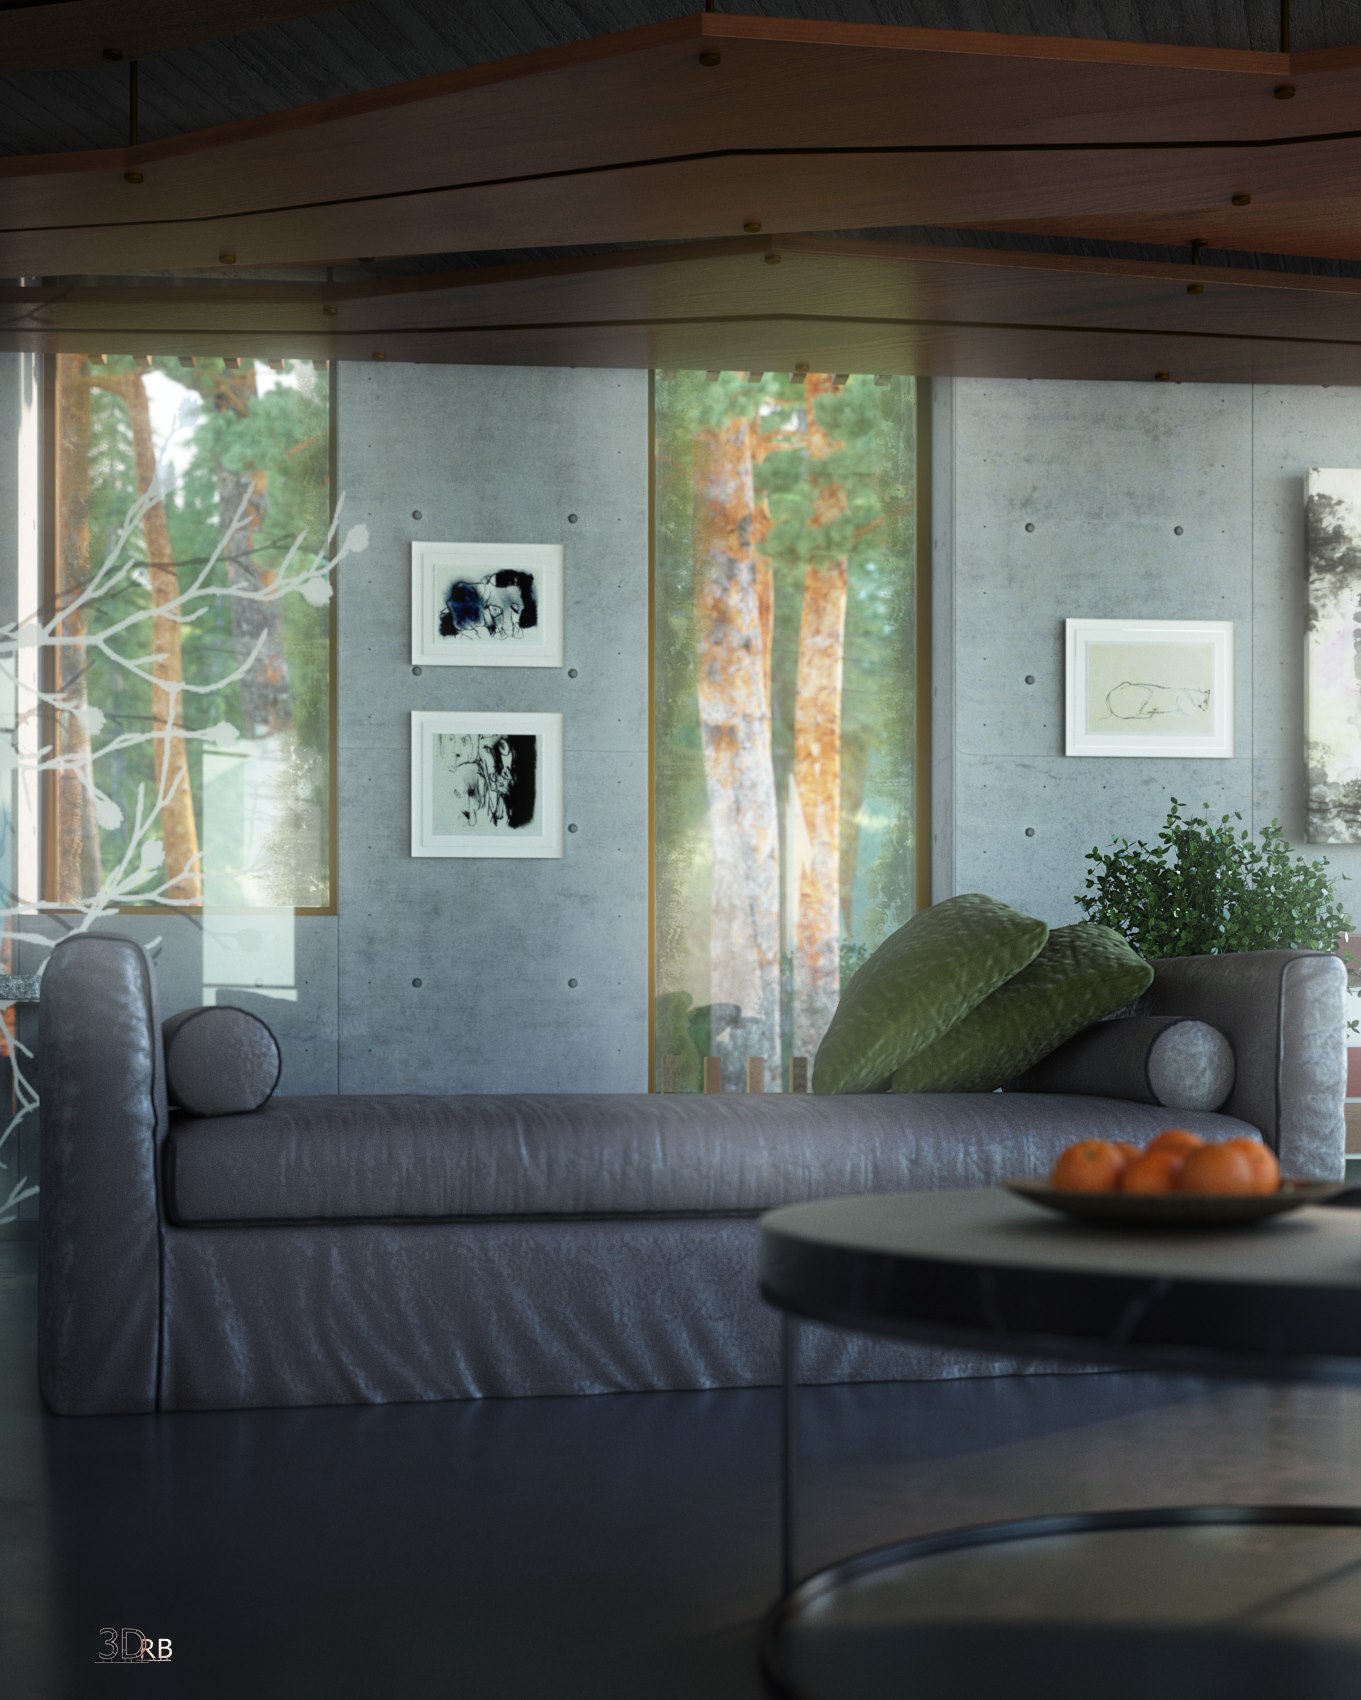
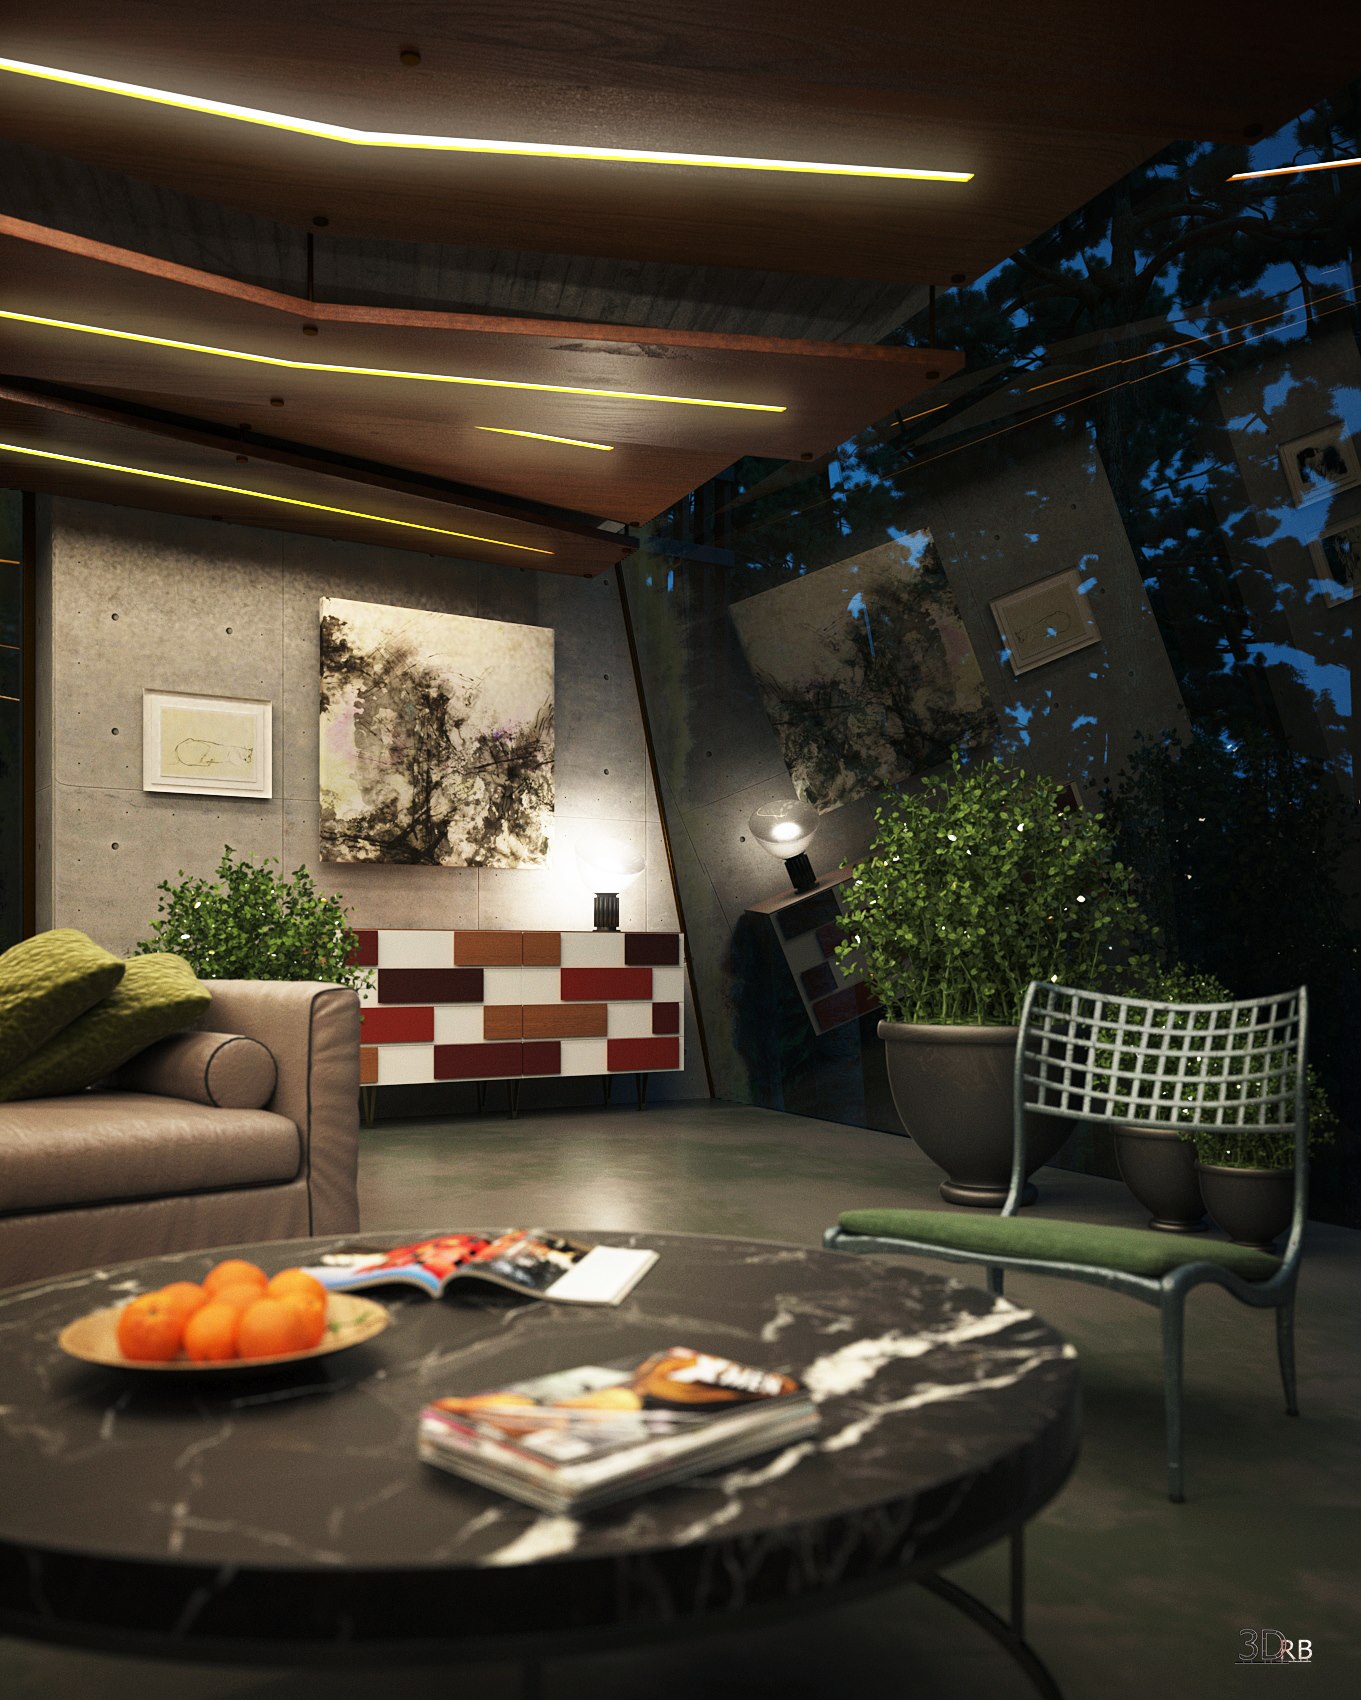
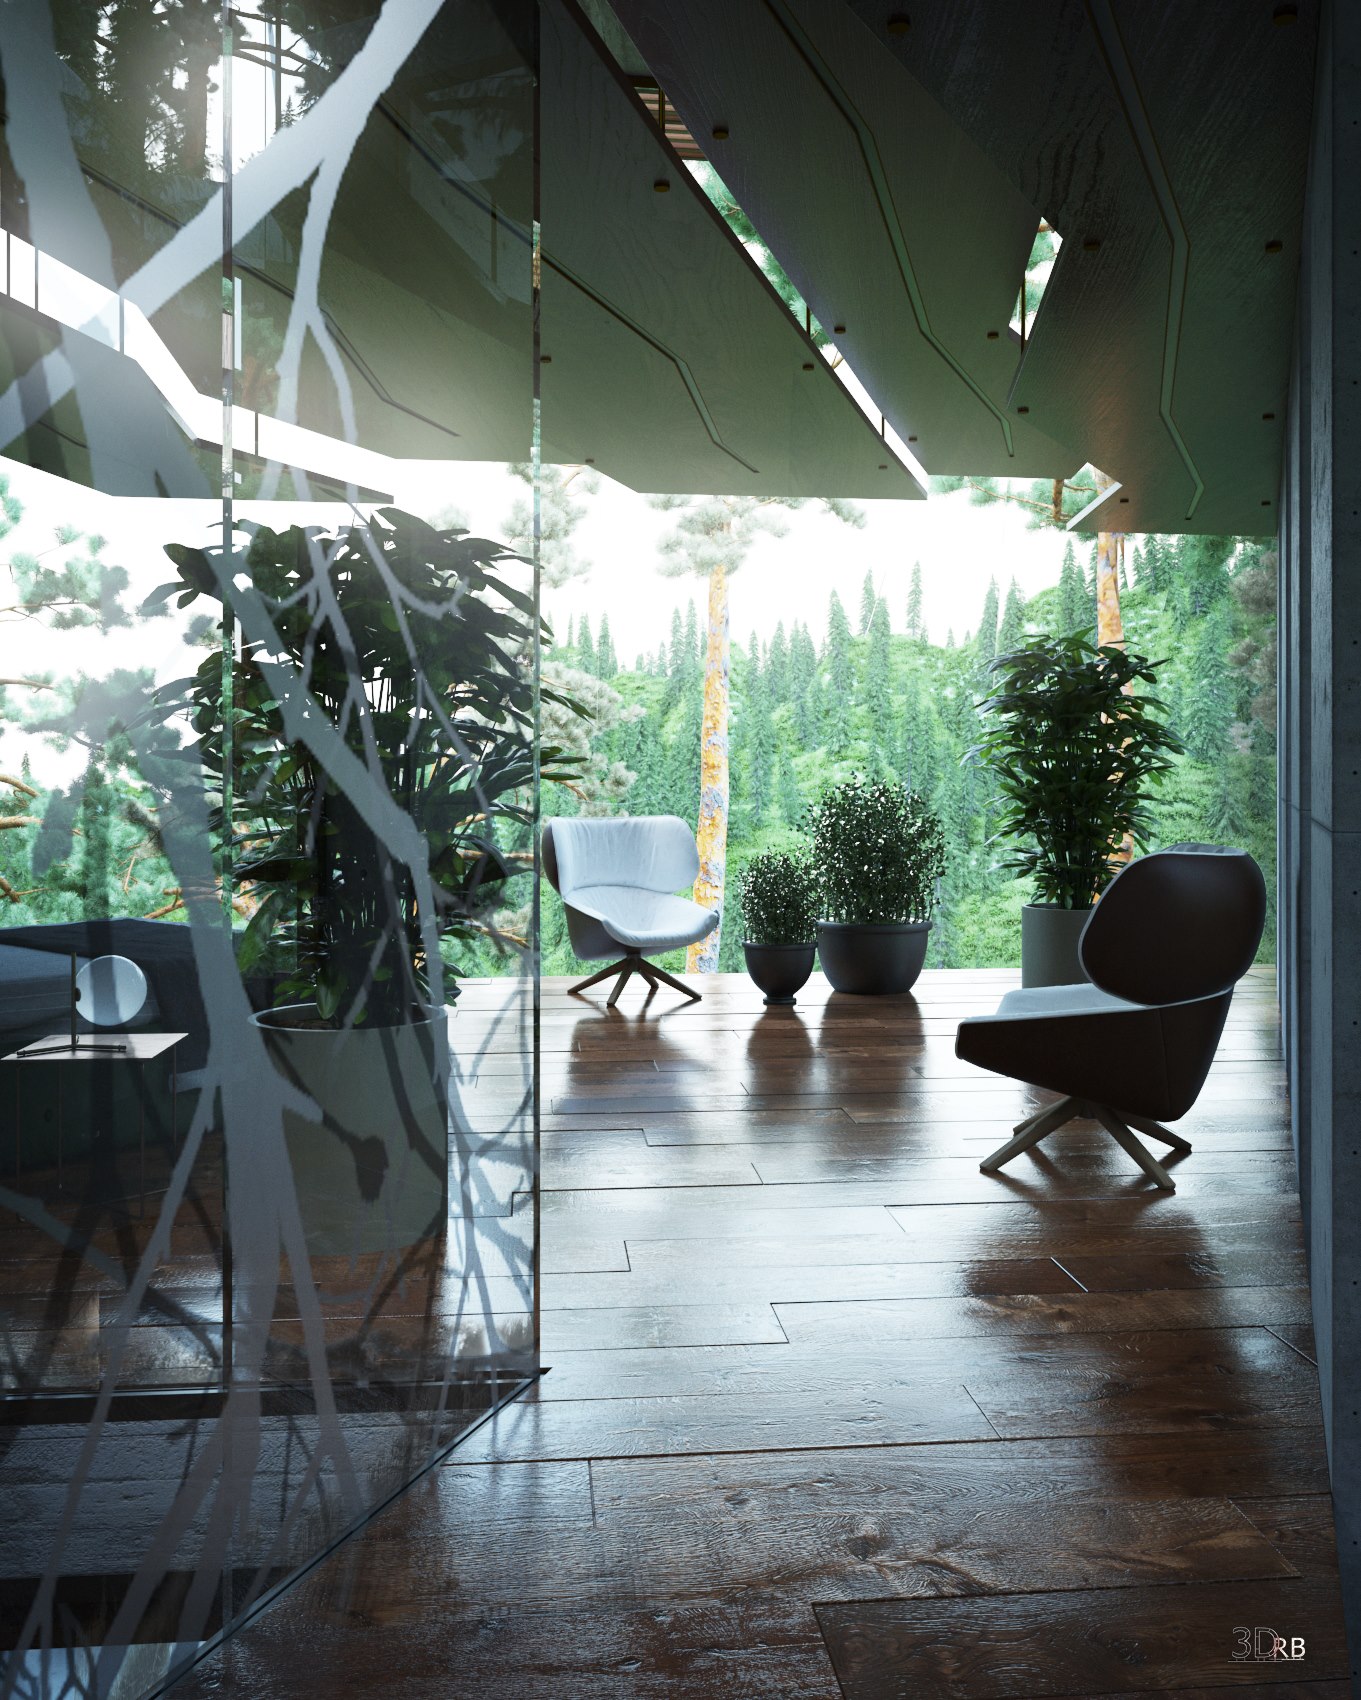
The living room and bedroom positioned in front of a large window dedicated to both the ground floor and the first floor, to observe the nature outside.
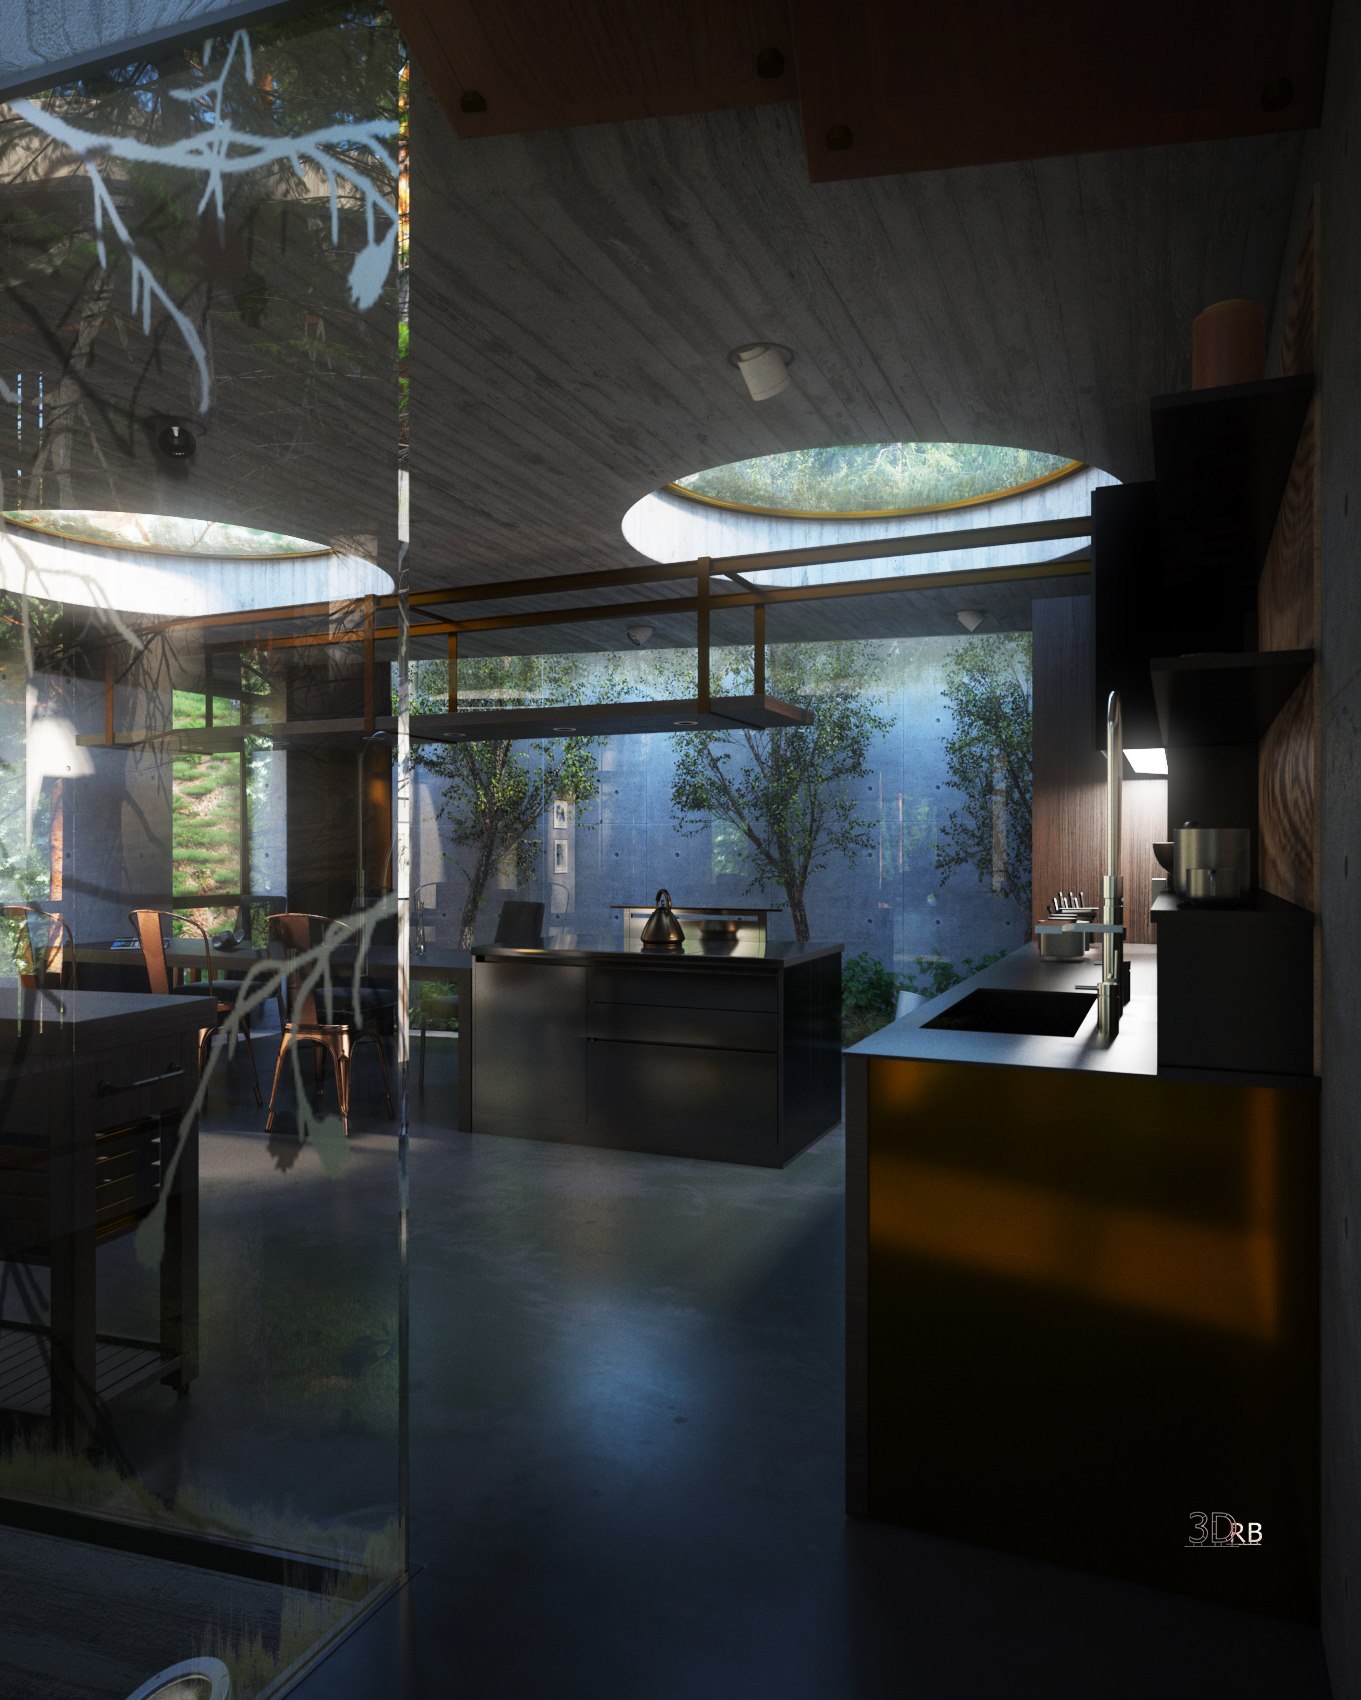
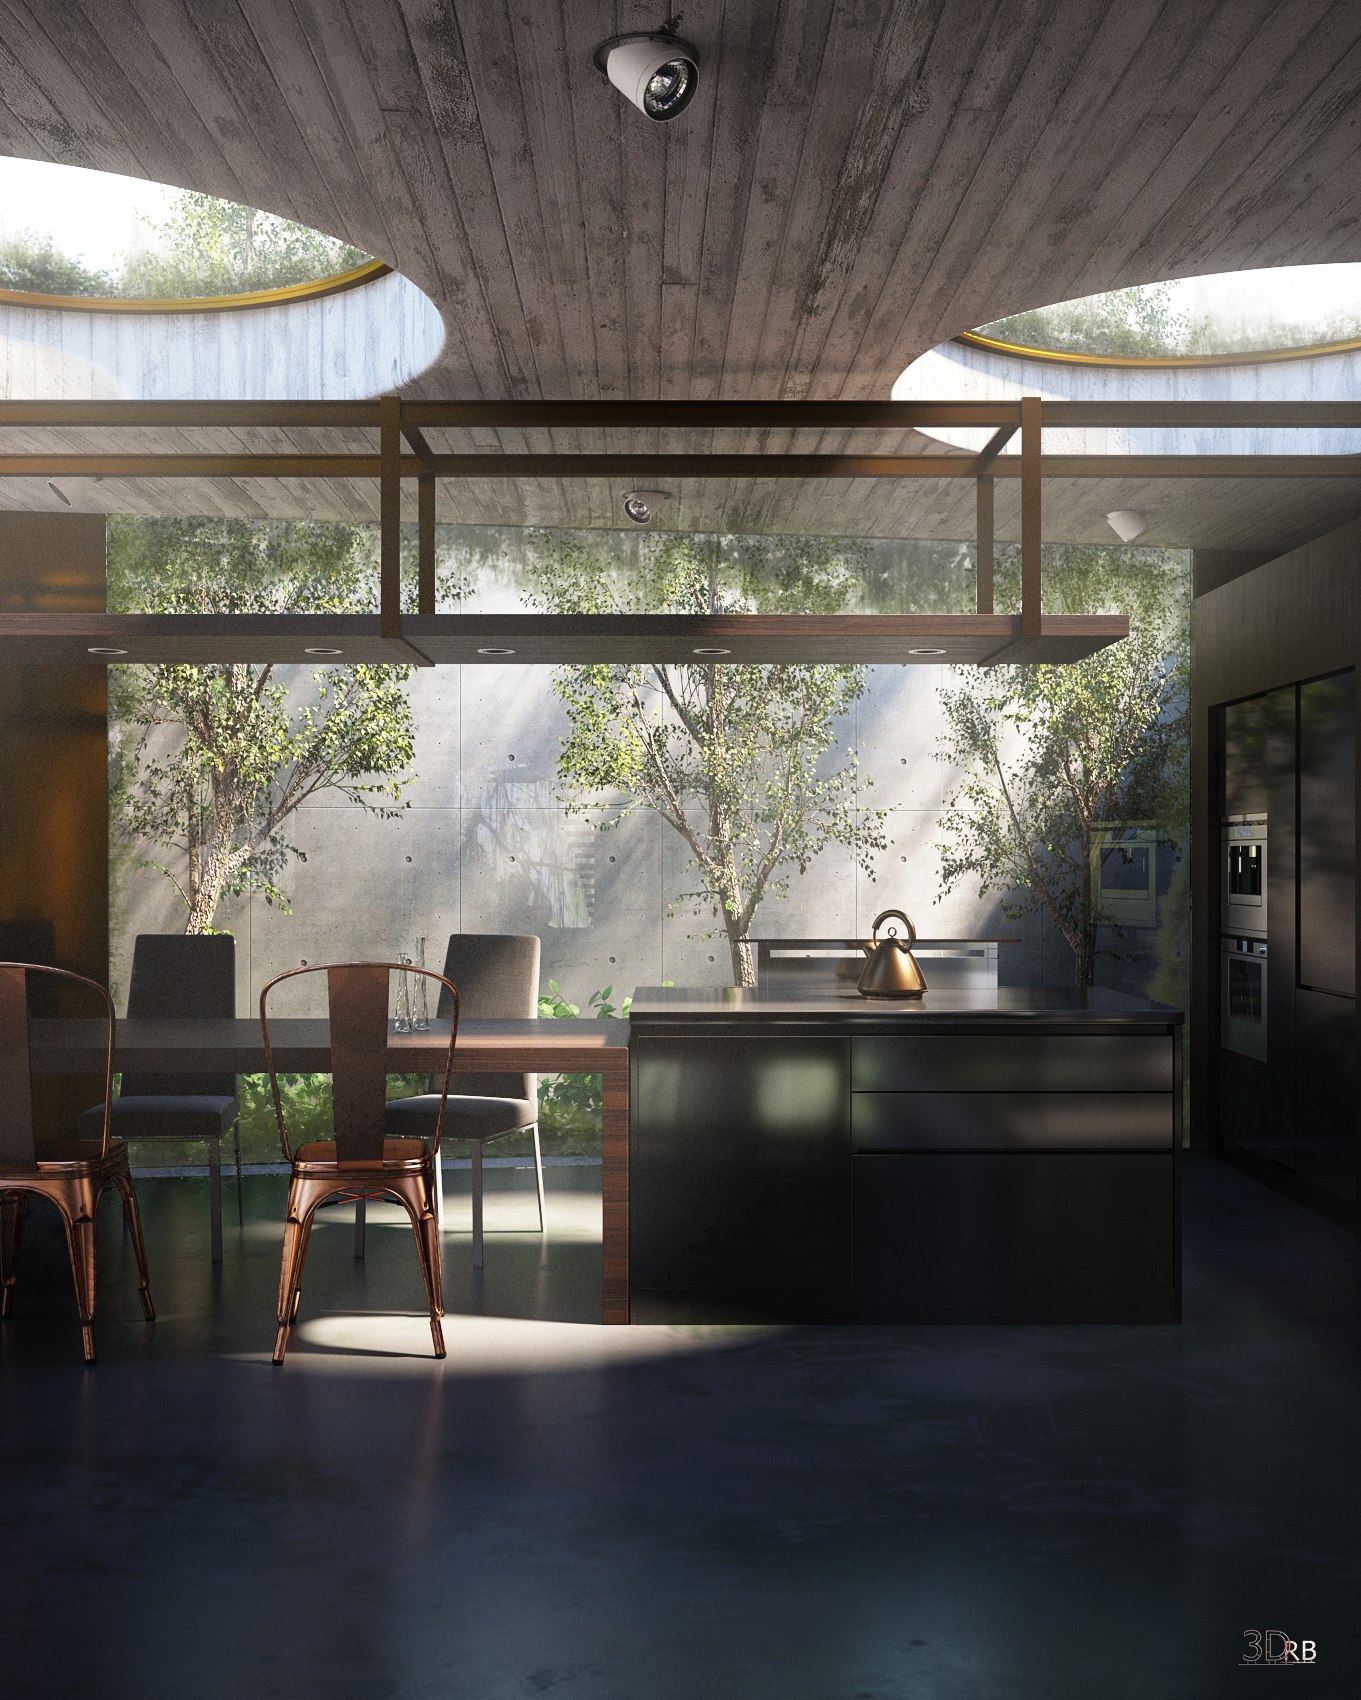
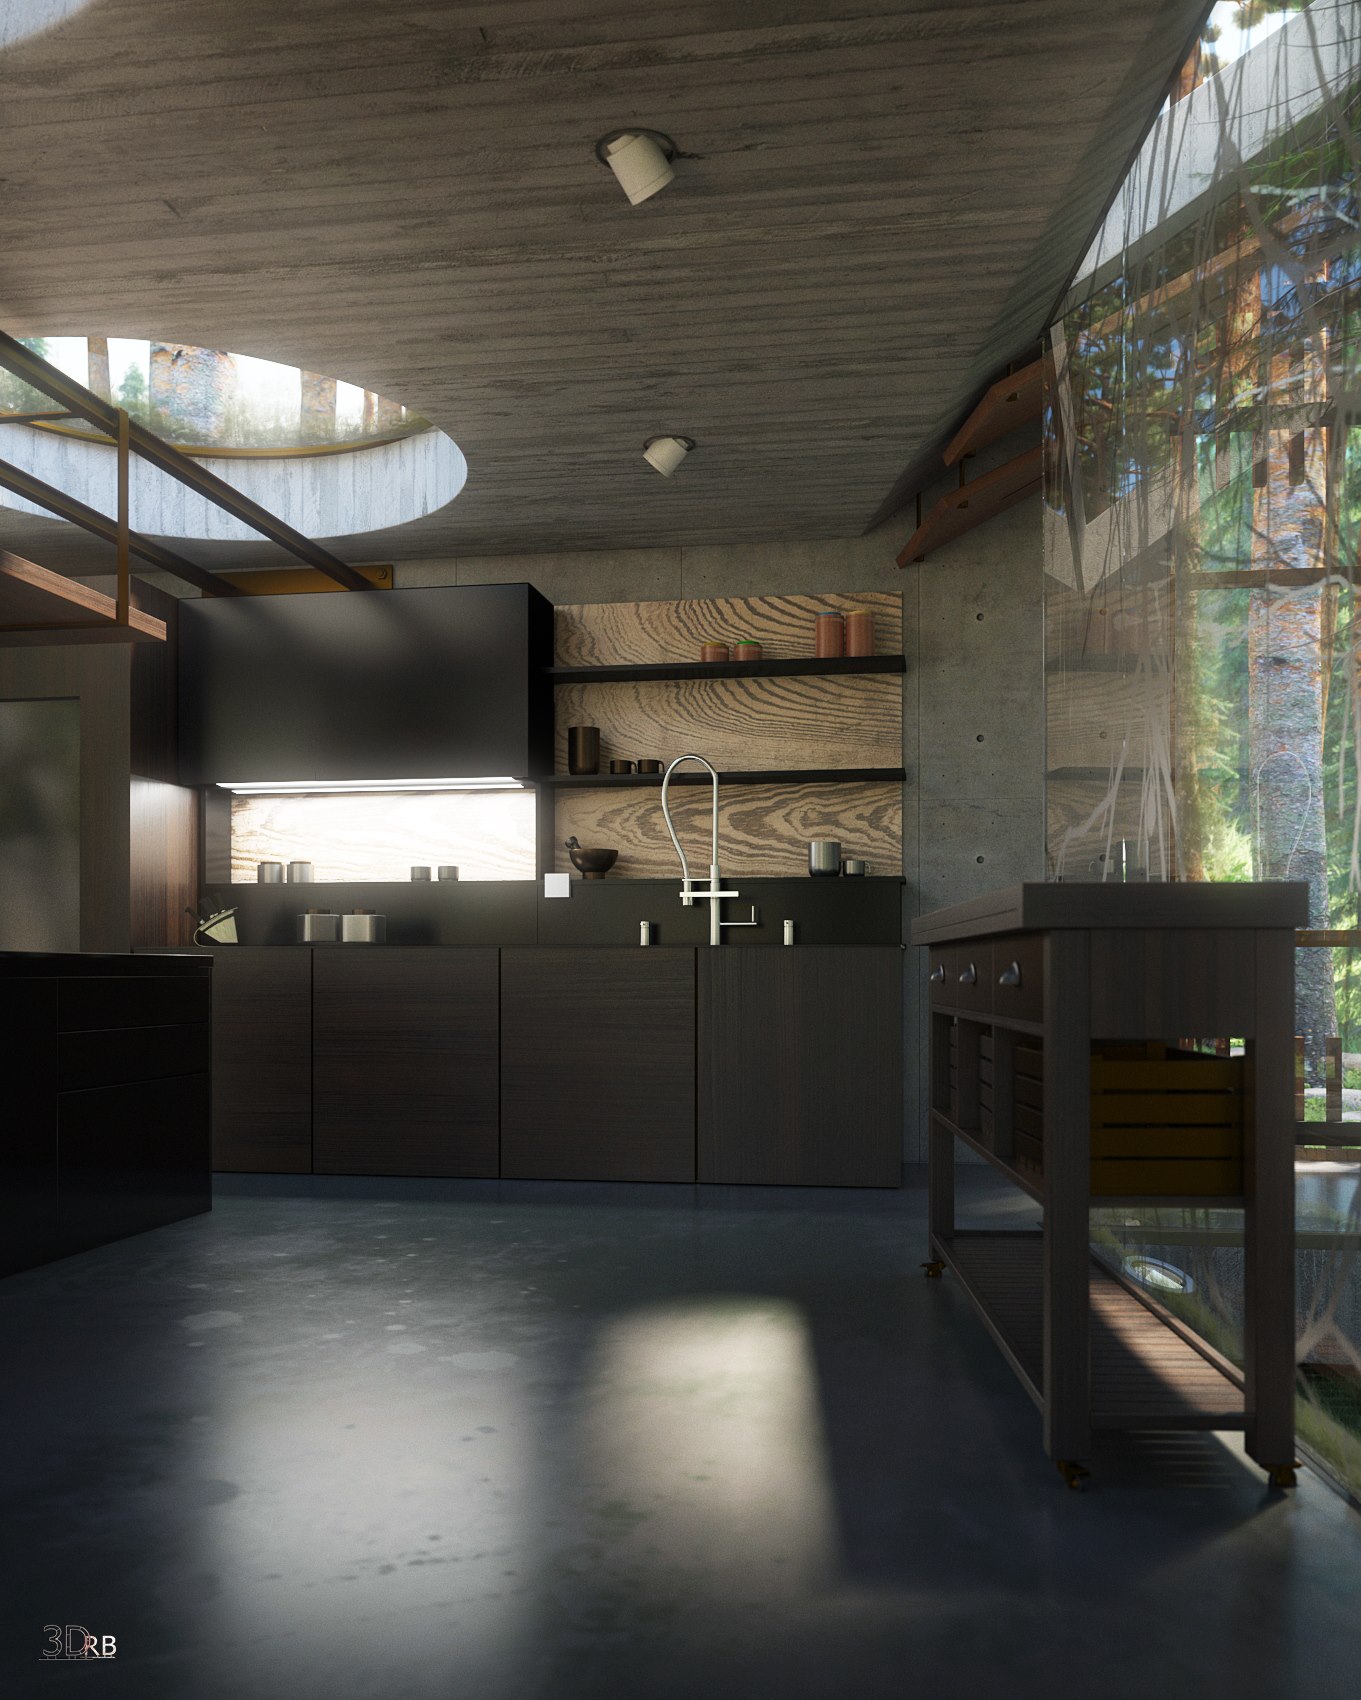
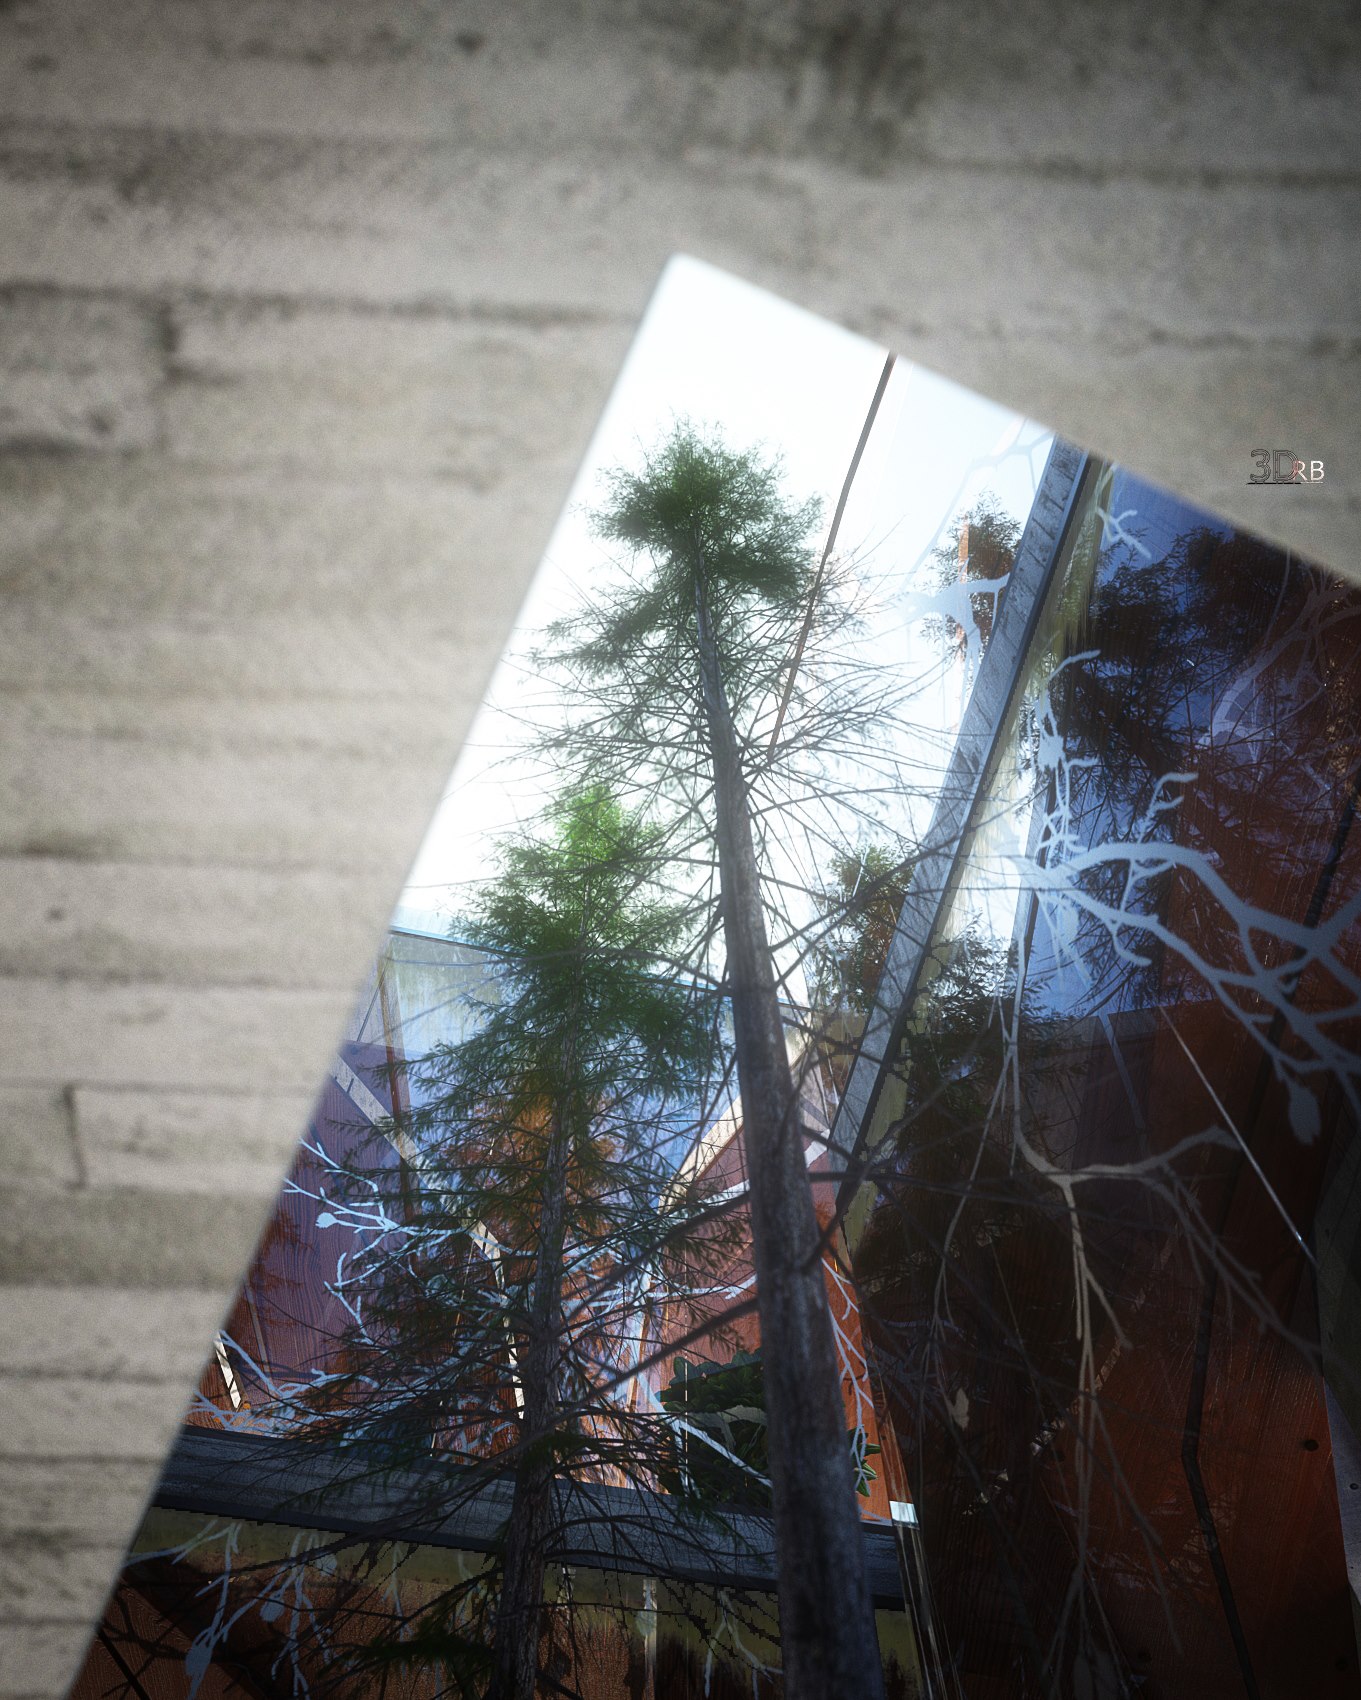
The kitchen, on the other hand, is positioned in the most "underground" part, where we tried to obtain a sort of "naturalistic" path that starts from the kitchen's patio opening and ends towards the frontal glass of the valley. In addition to this, a very large double ceiling skylight has been obtained to give more light to the interior that would otherwise remain too dark, and a "window" with some trees that come out of the floor.
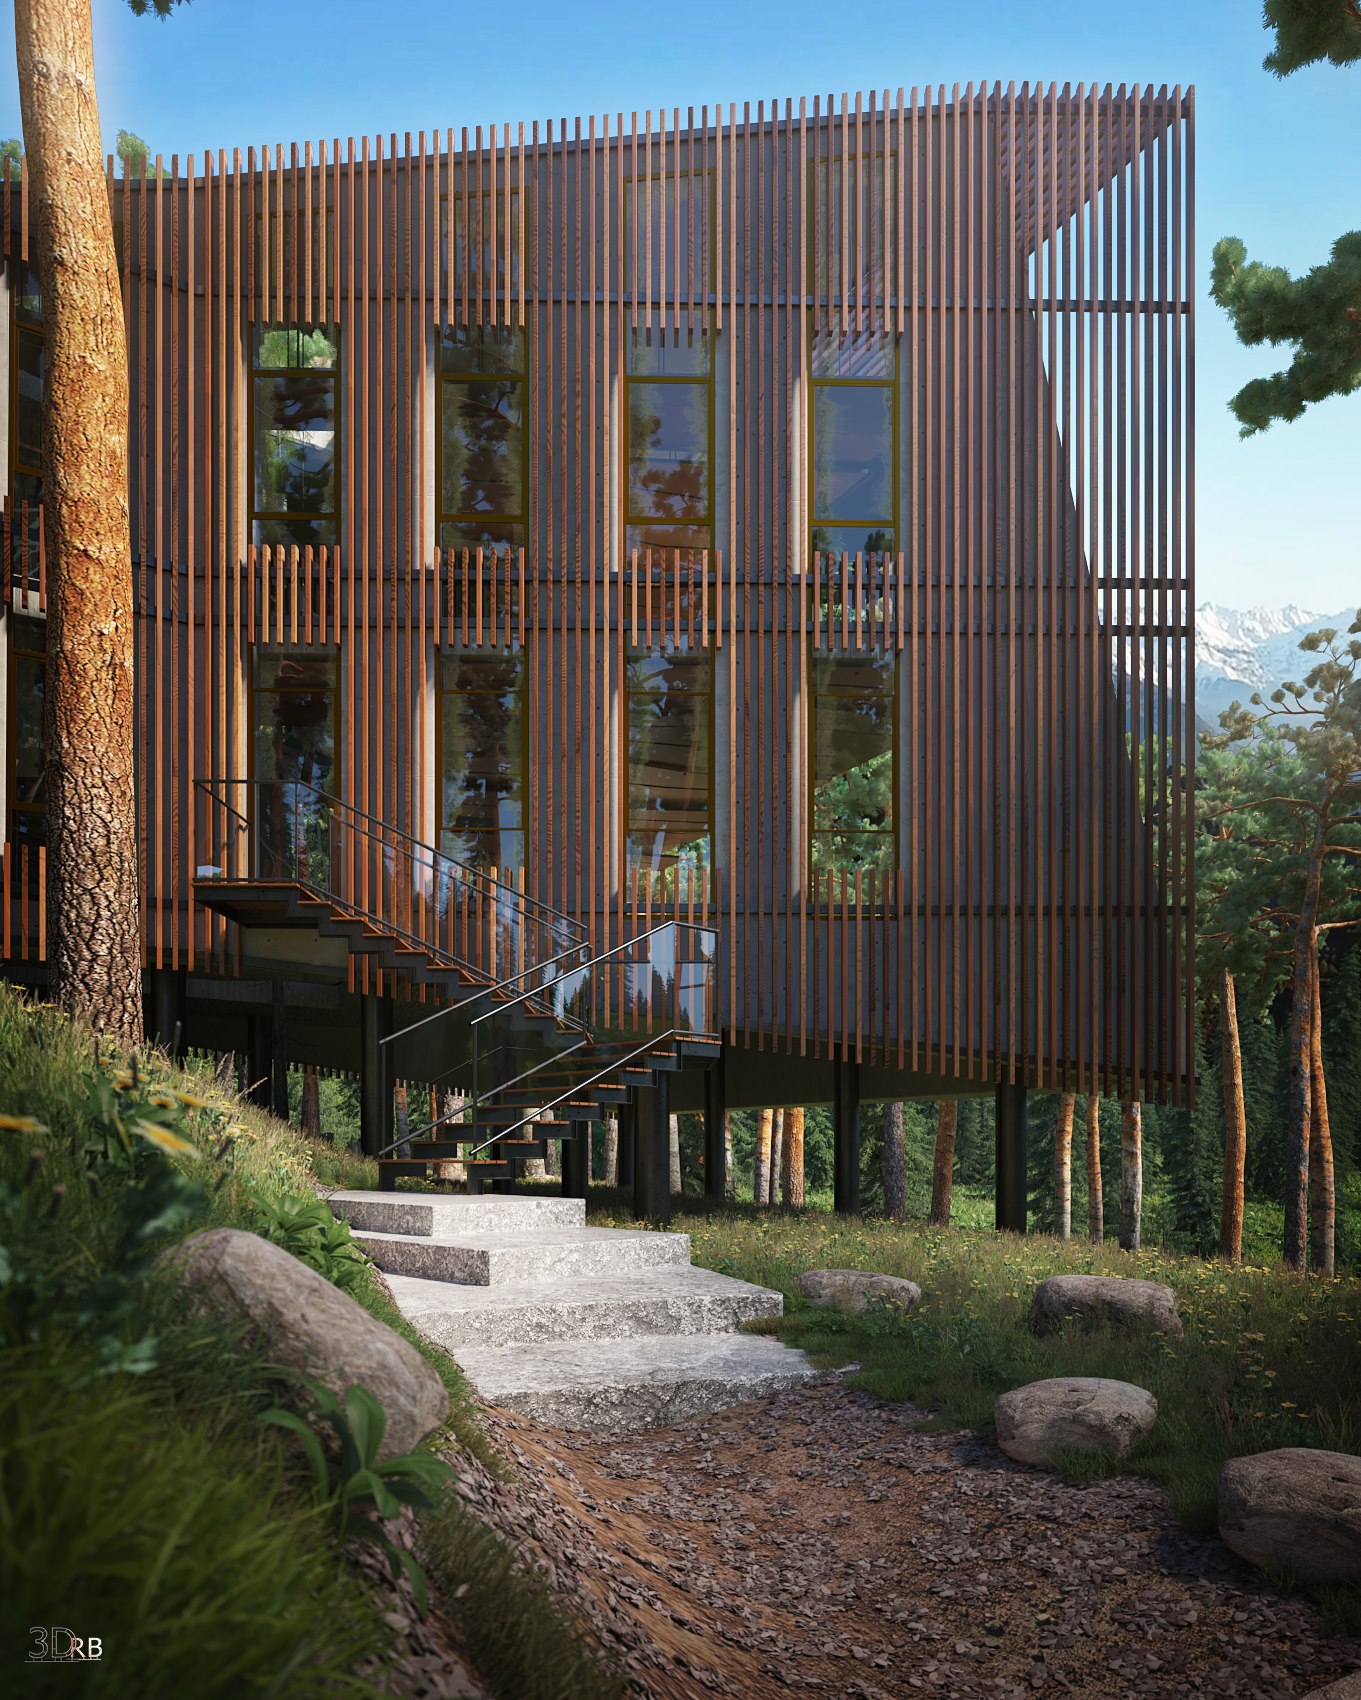
We tried to hide the cement as much as possible outside, using wooden strips that stop near the windows so as to allow, in any case, the visibility for those looking towards the outside of the building.
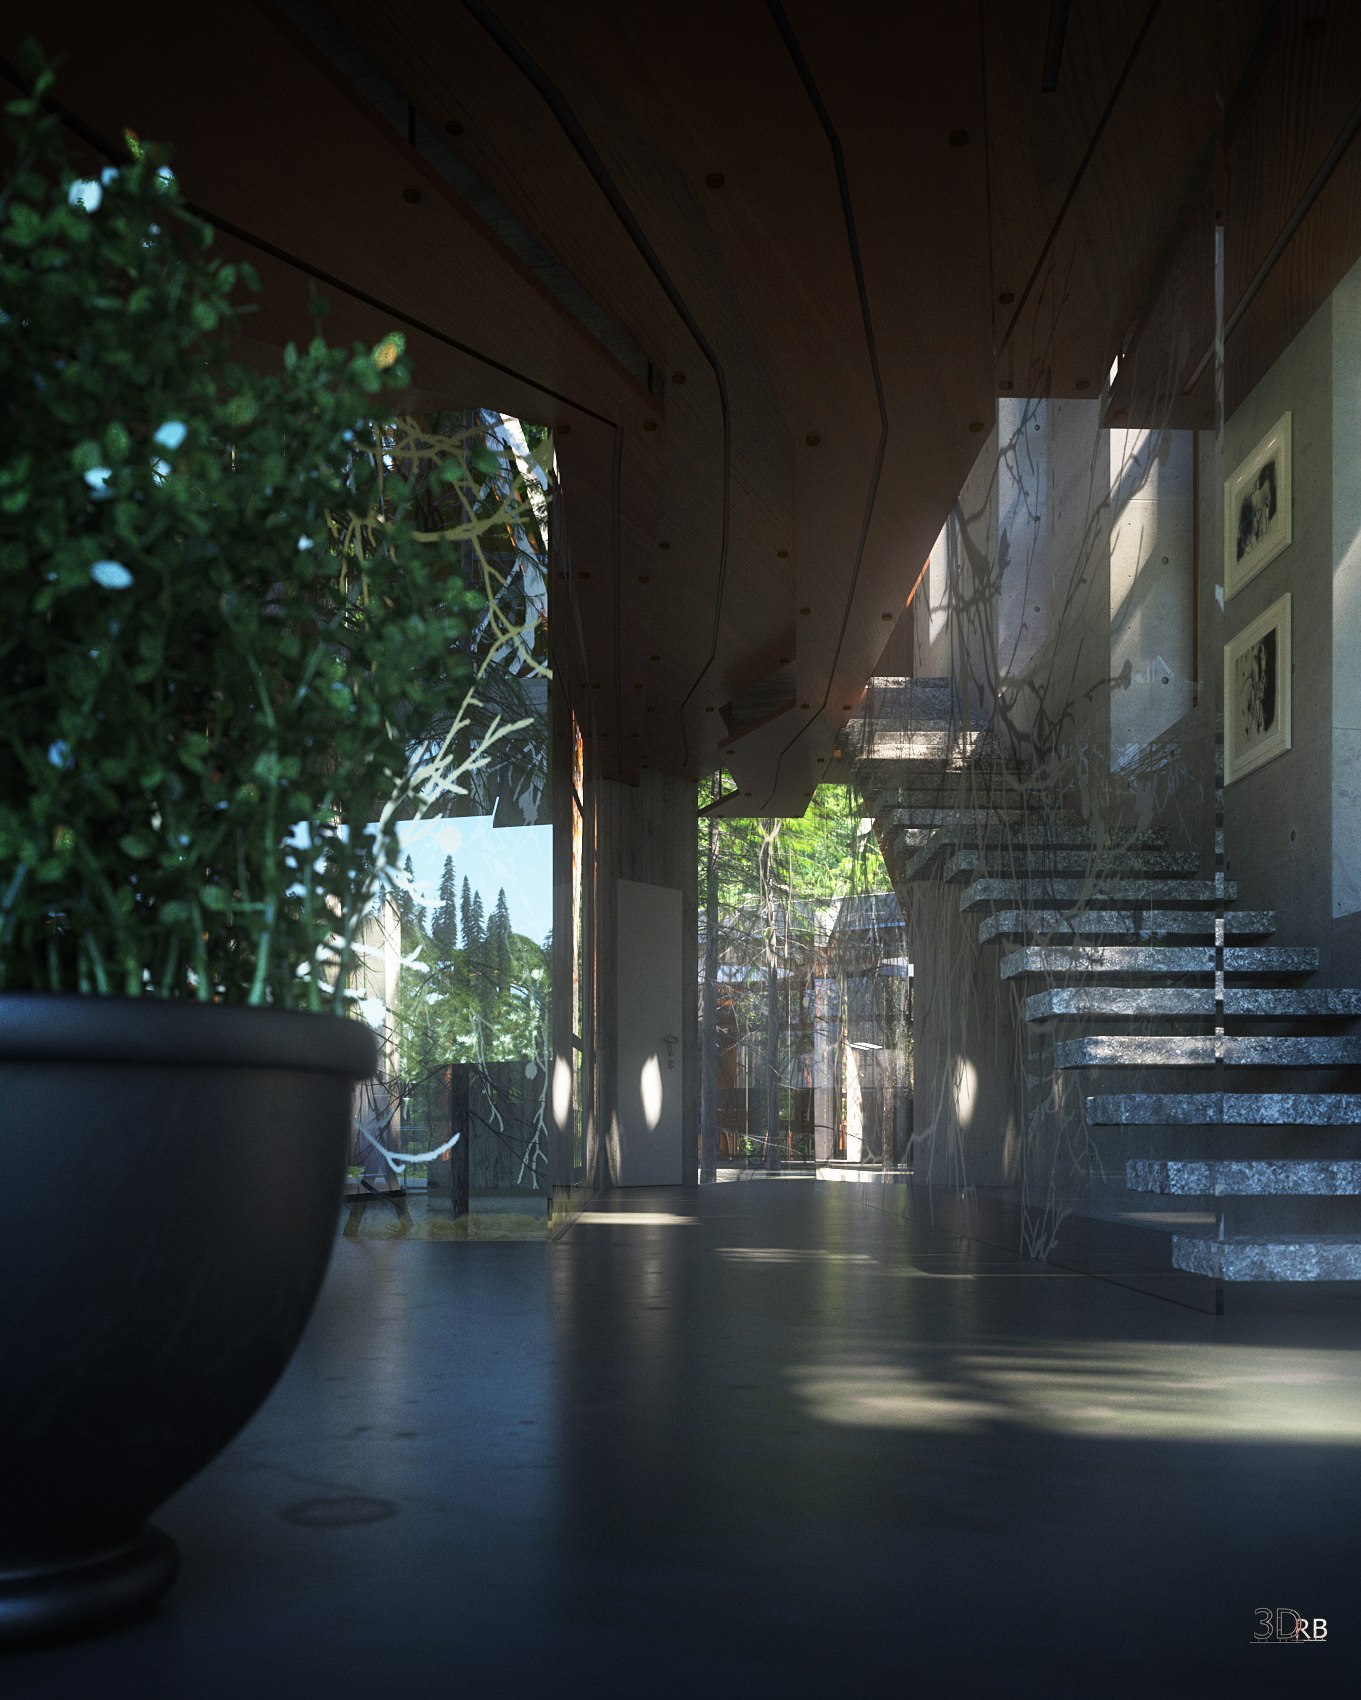
Inside the building, located in the center, runs a screen-printed glass to full height that approximates the idea of the tree. It represents the "heart" of the building and gives back the opportunity to look out towards nature, both in elevation (looking at the trees) and in contact with the ground (looking at the ground).
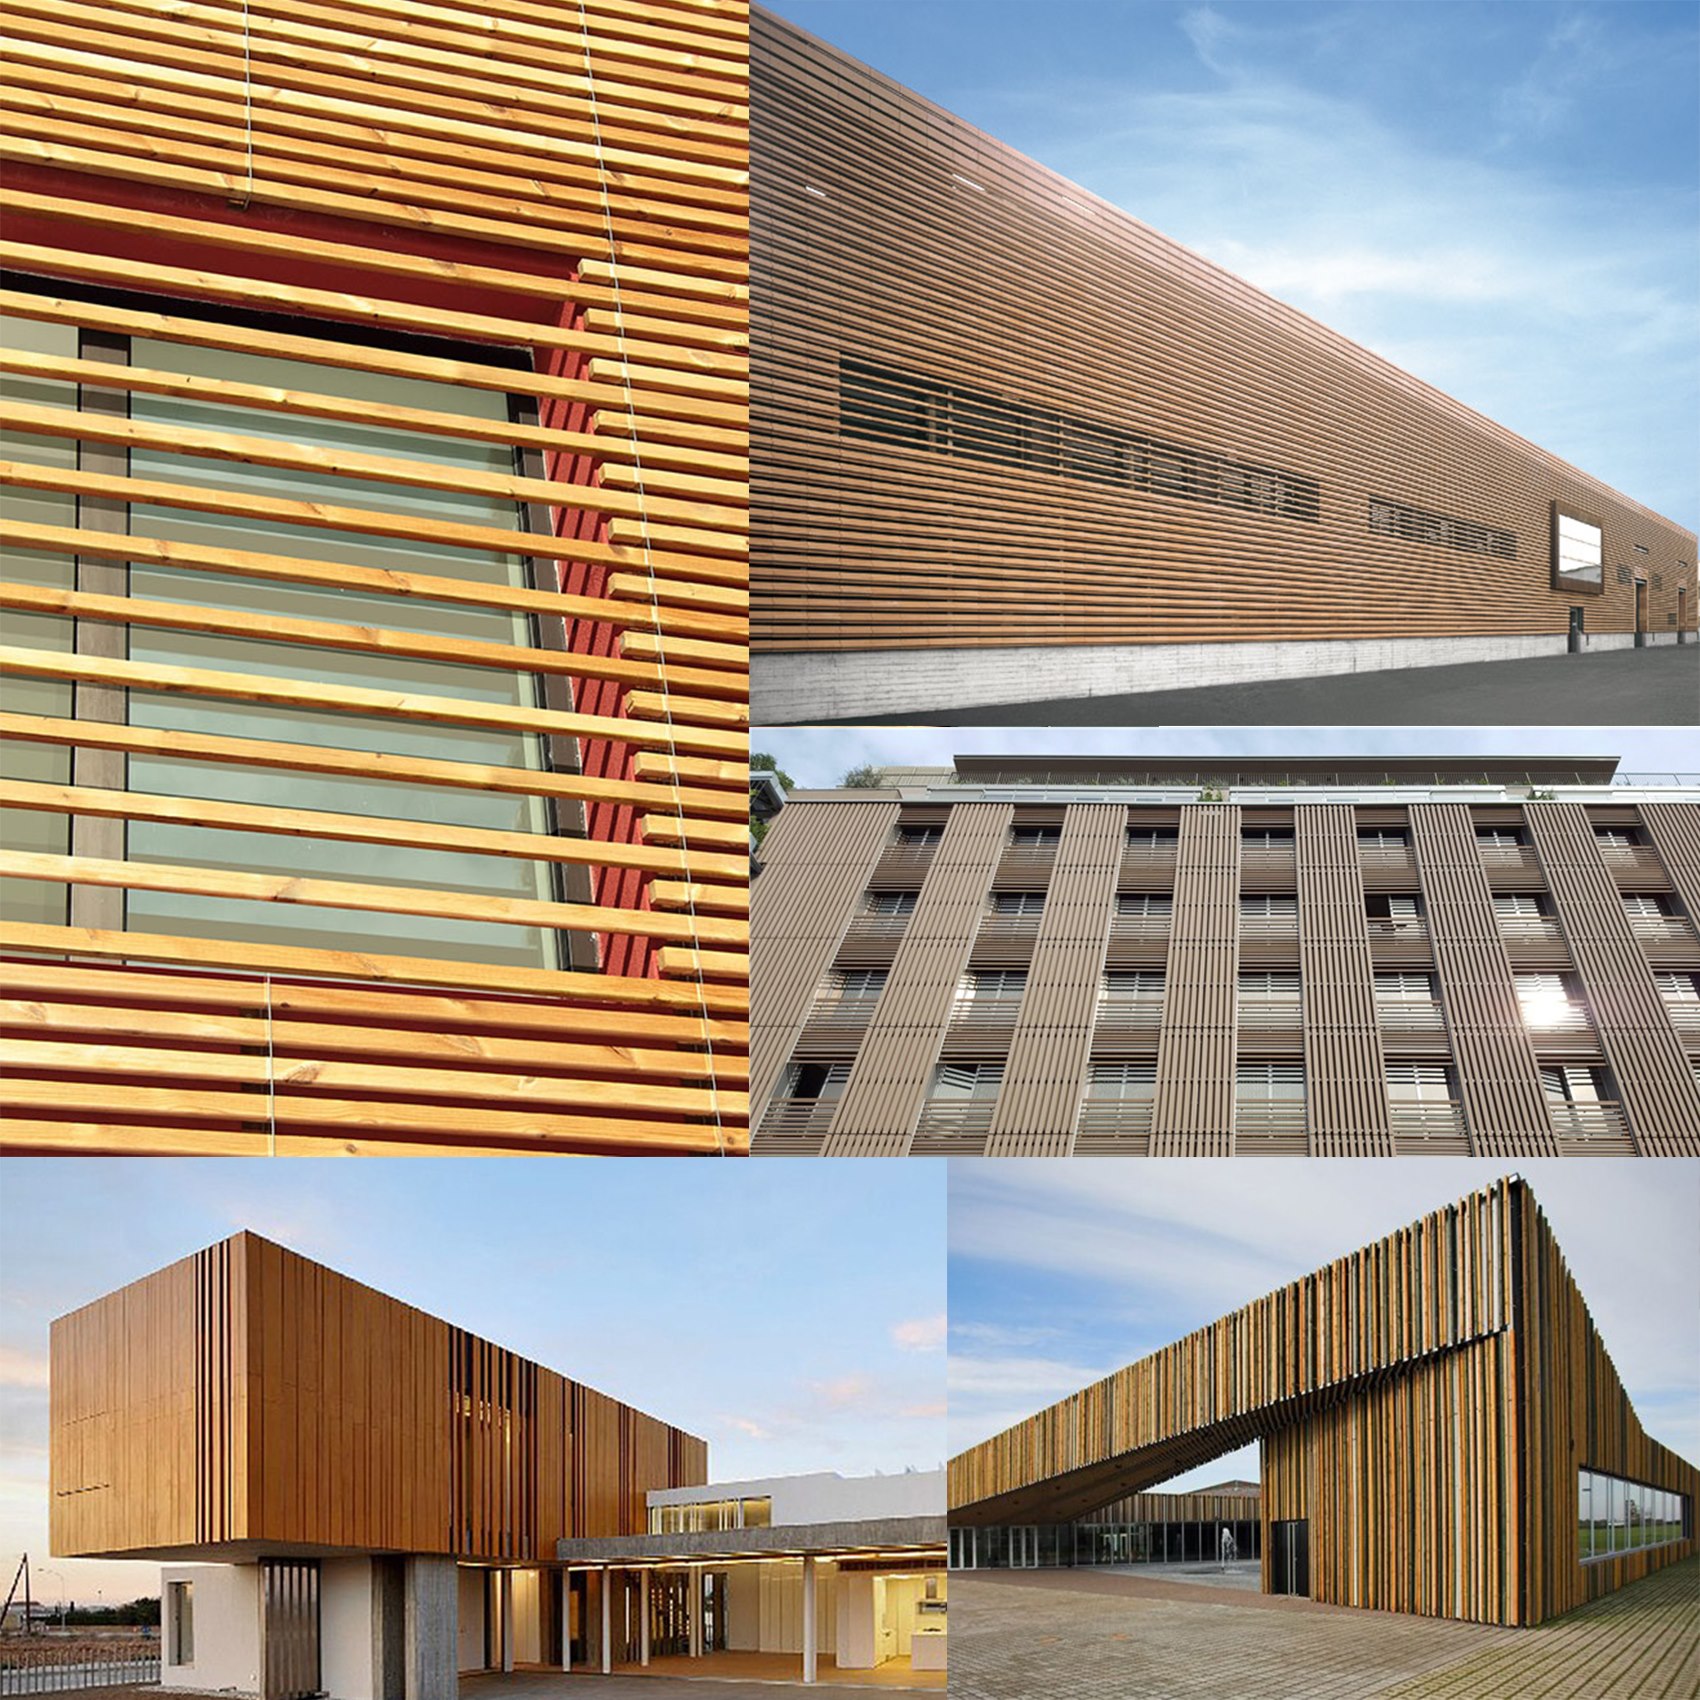
Here are some references to the most representative buildings for this kind of concept.
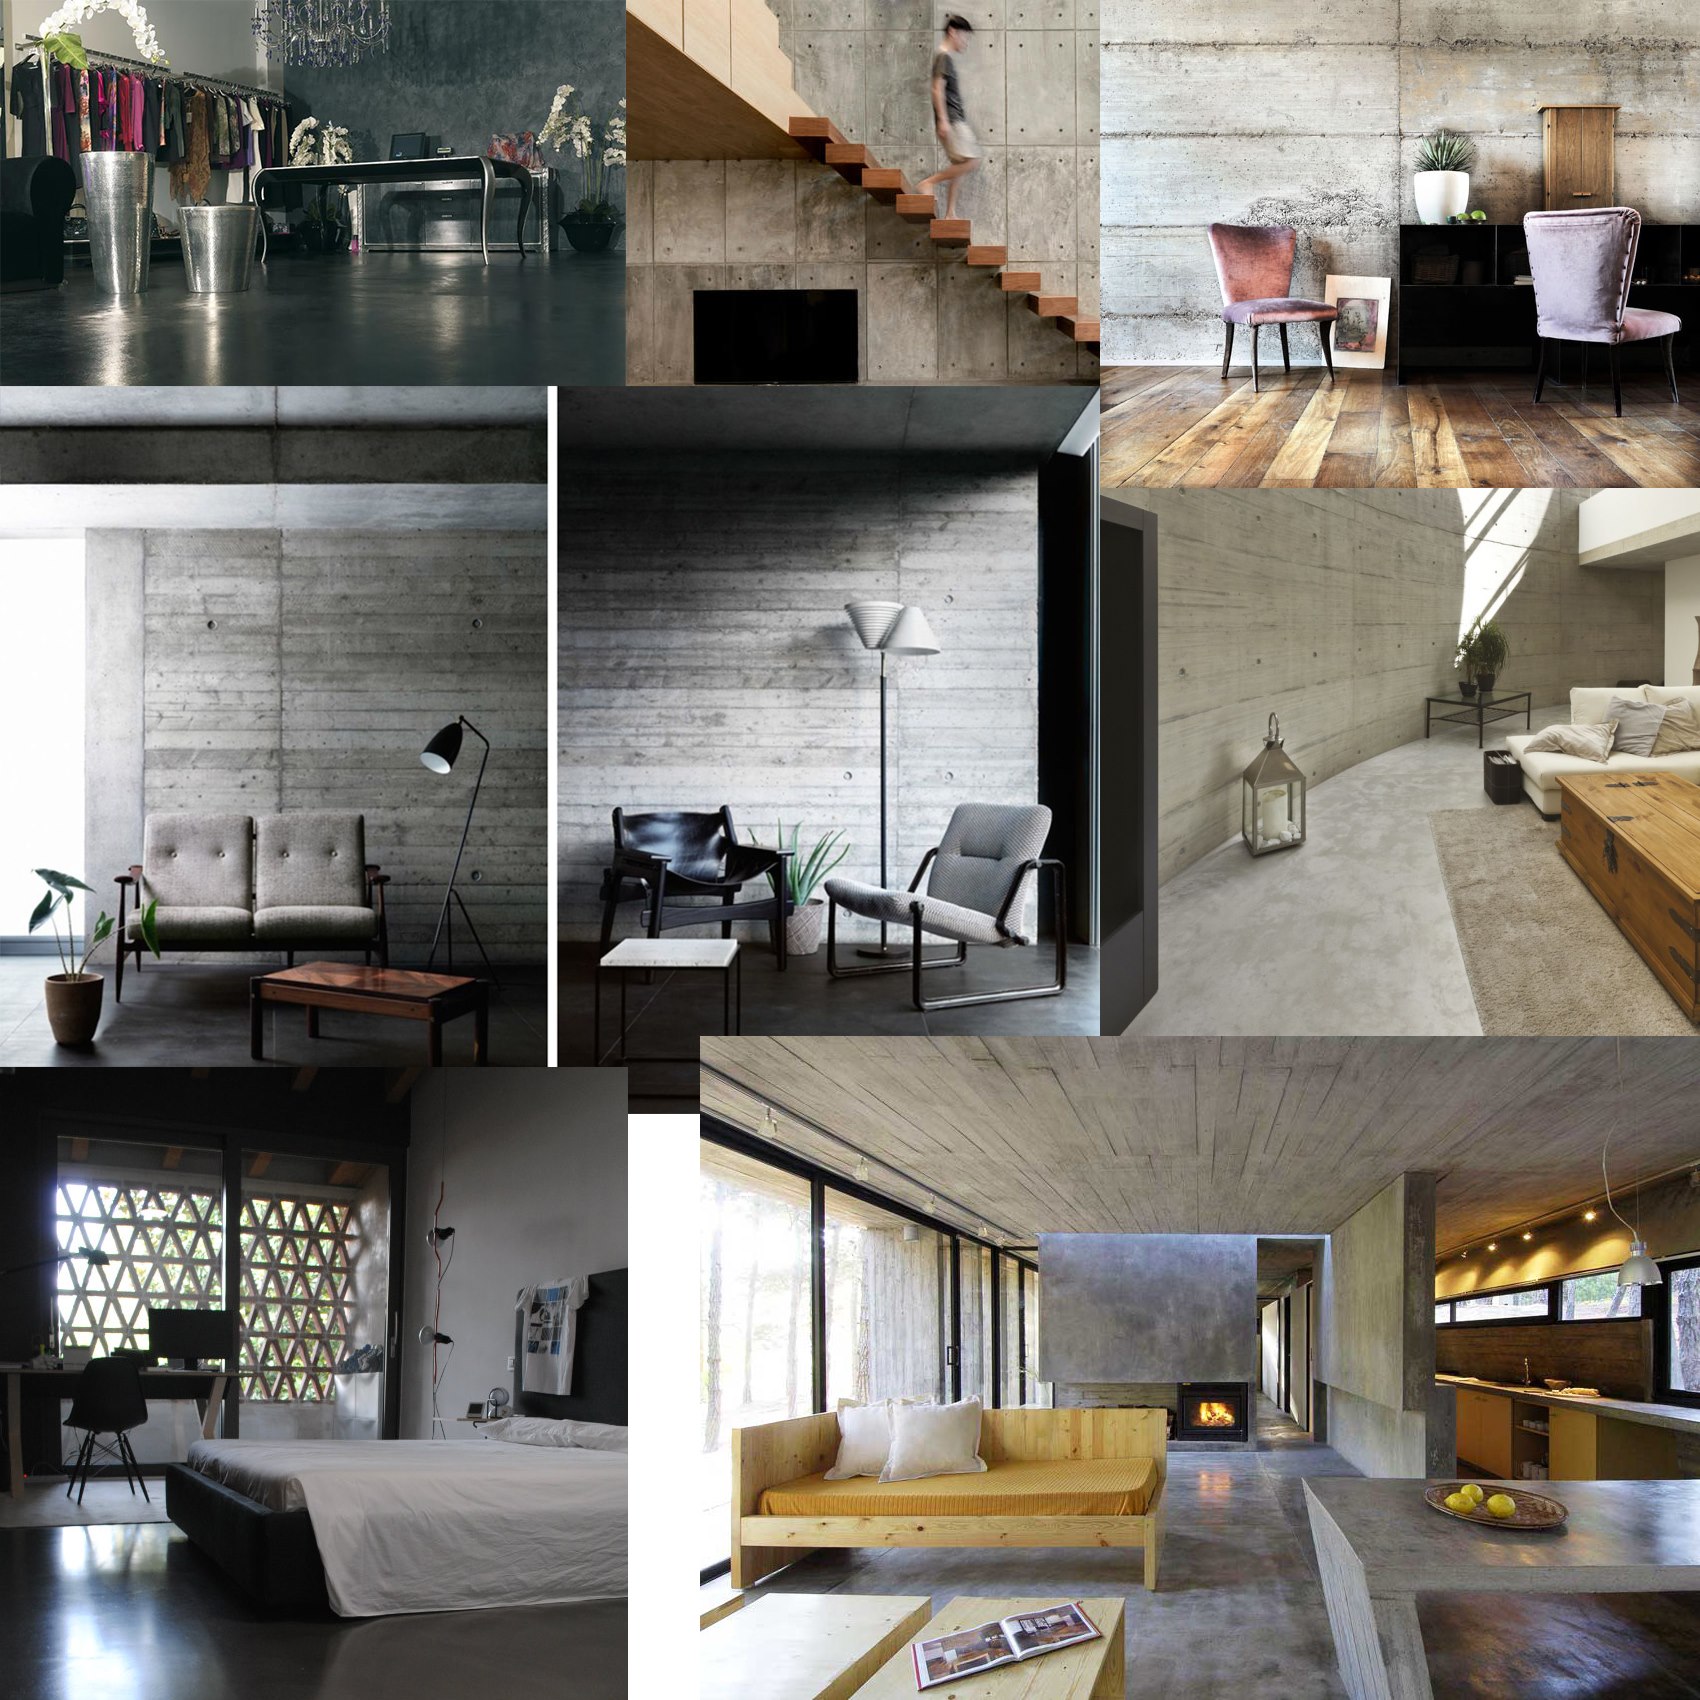
Here are some of the most representative interior references for this kind of concept.
Here are some screen-shots of the original project with Autocad.

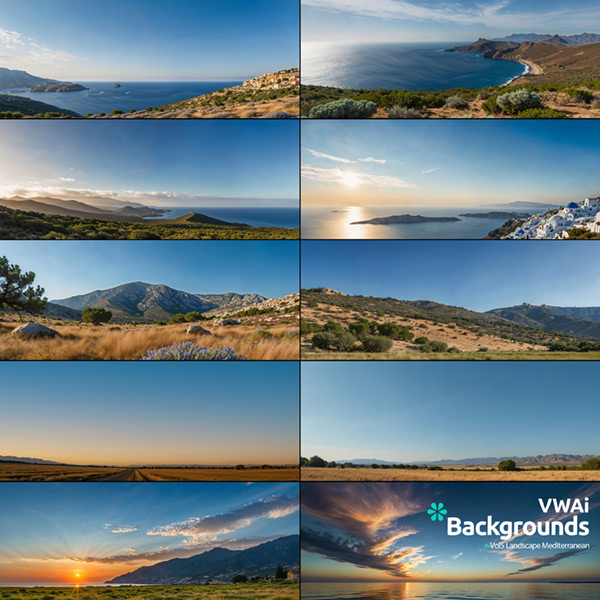
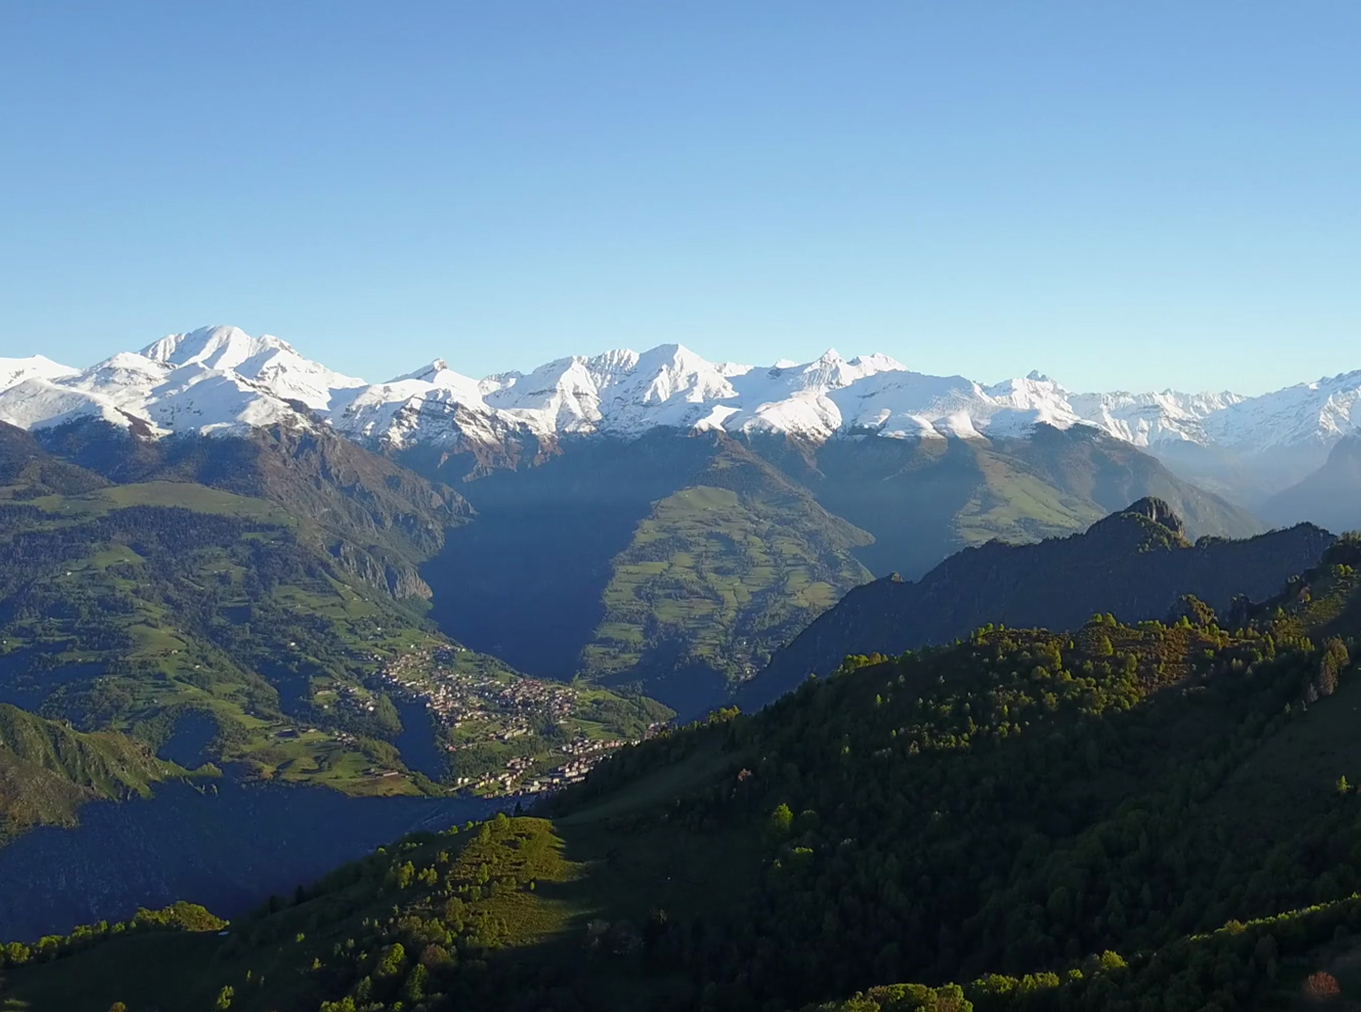
Natural Context.
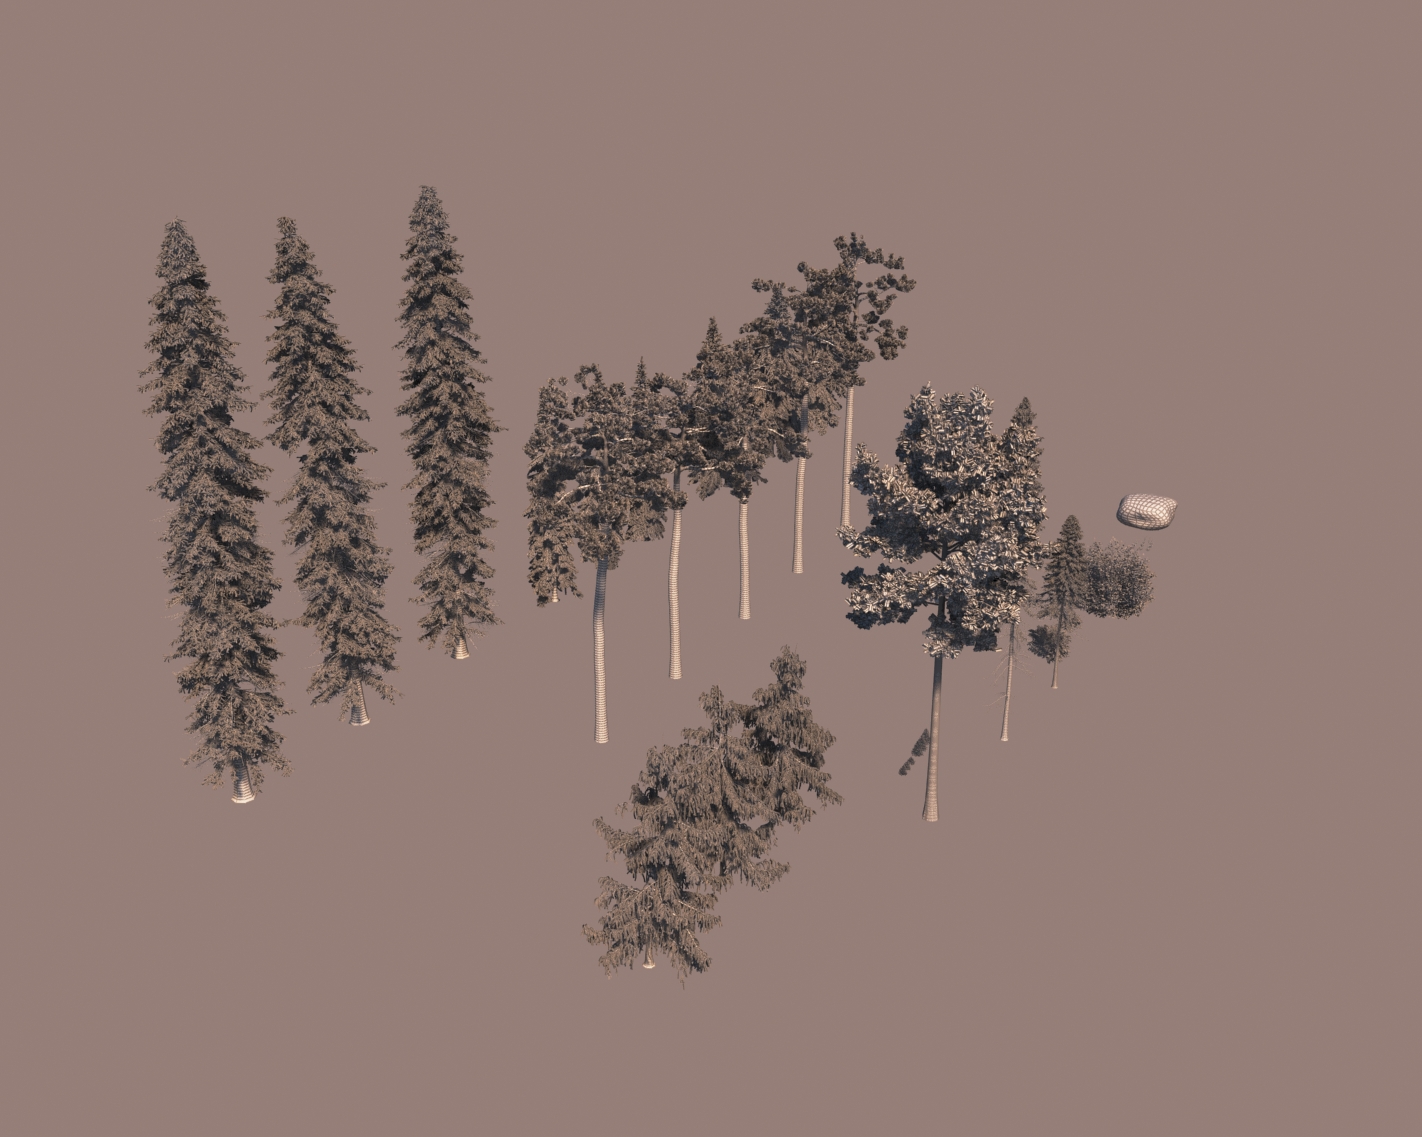
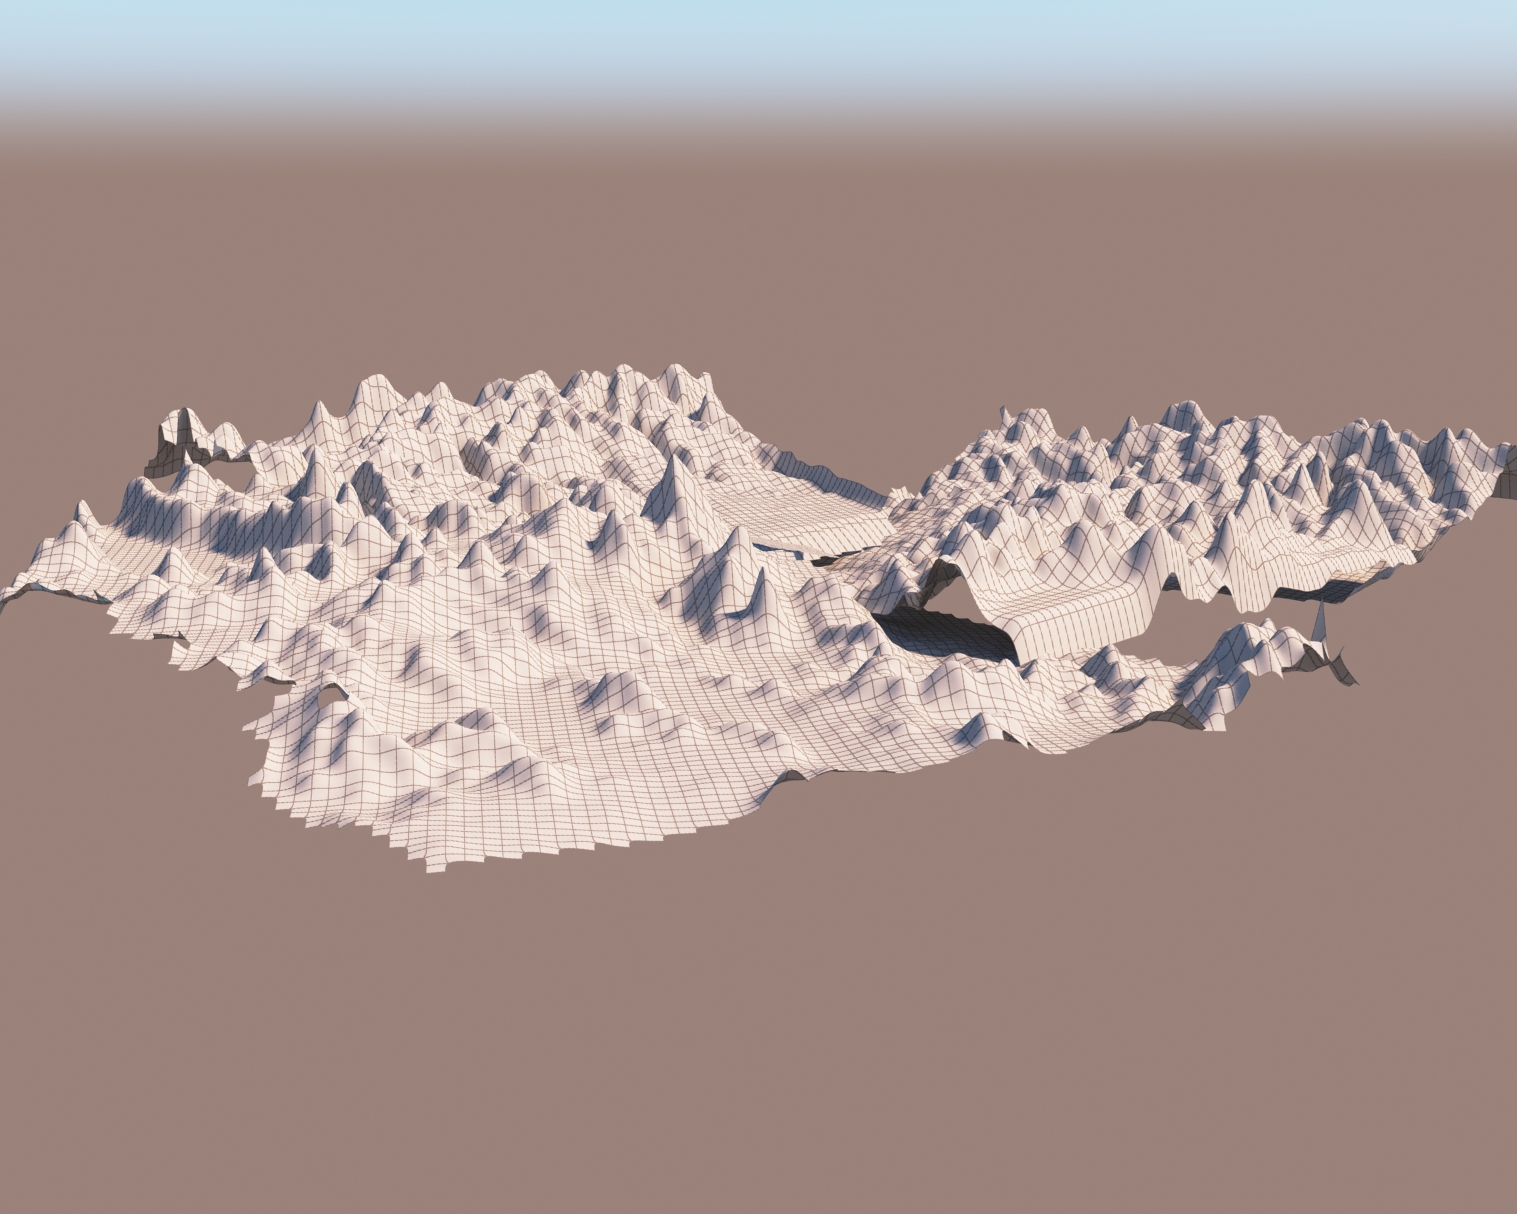
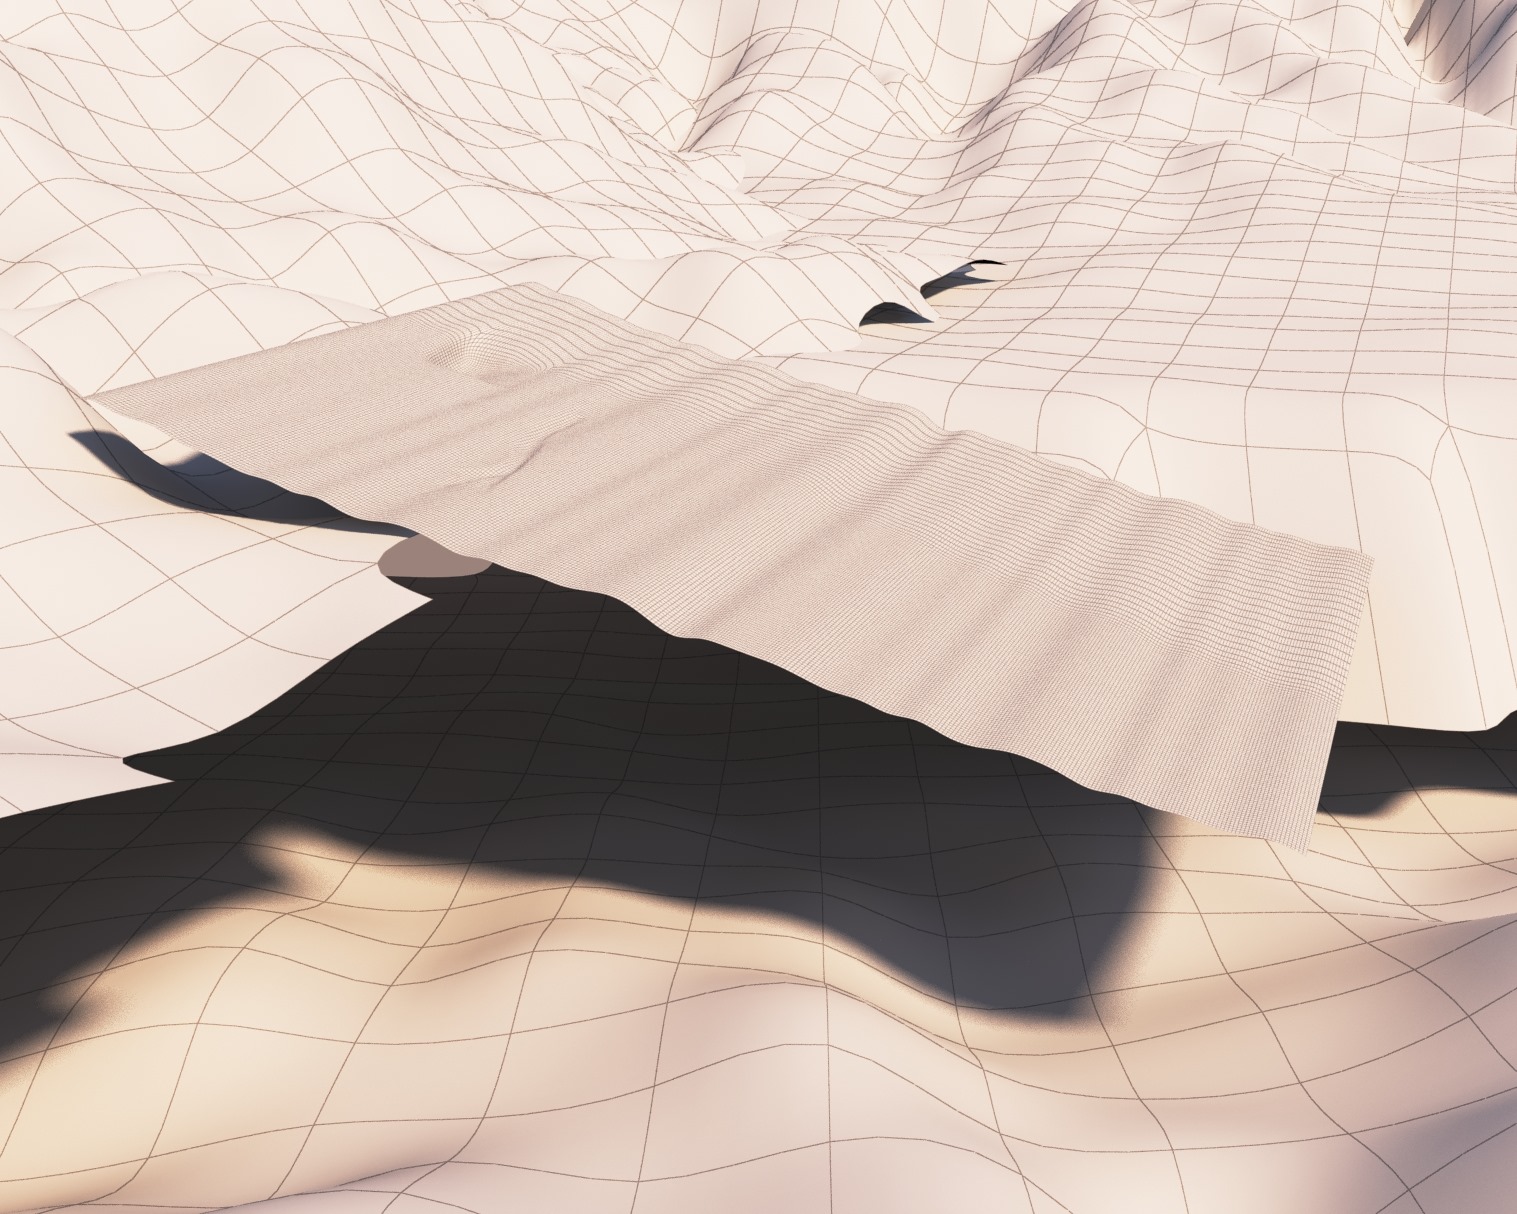
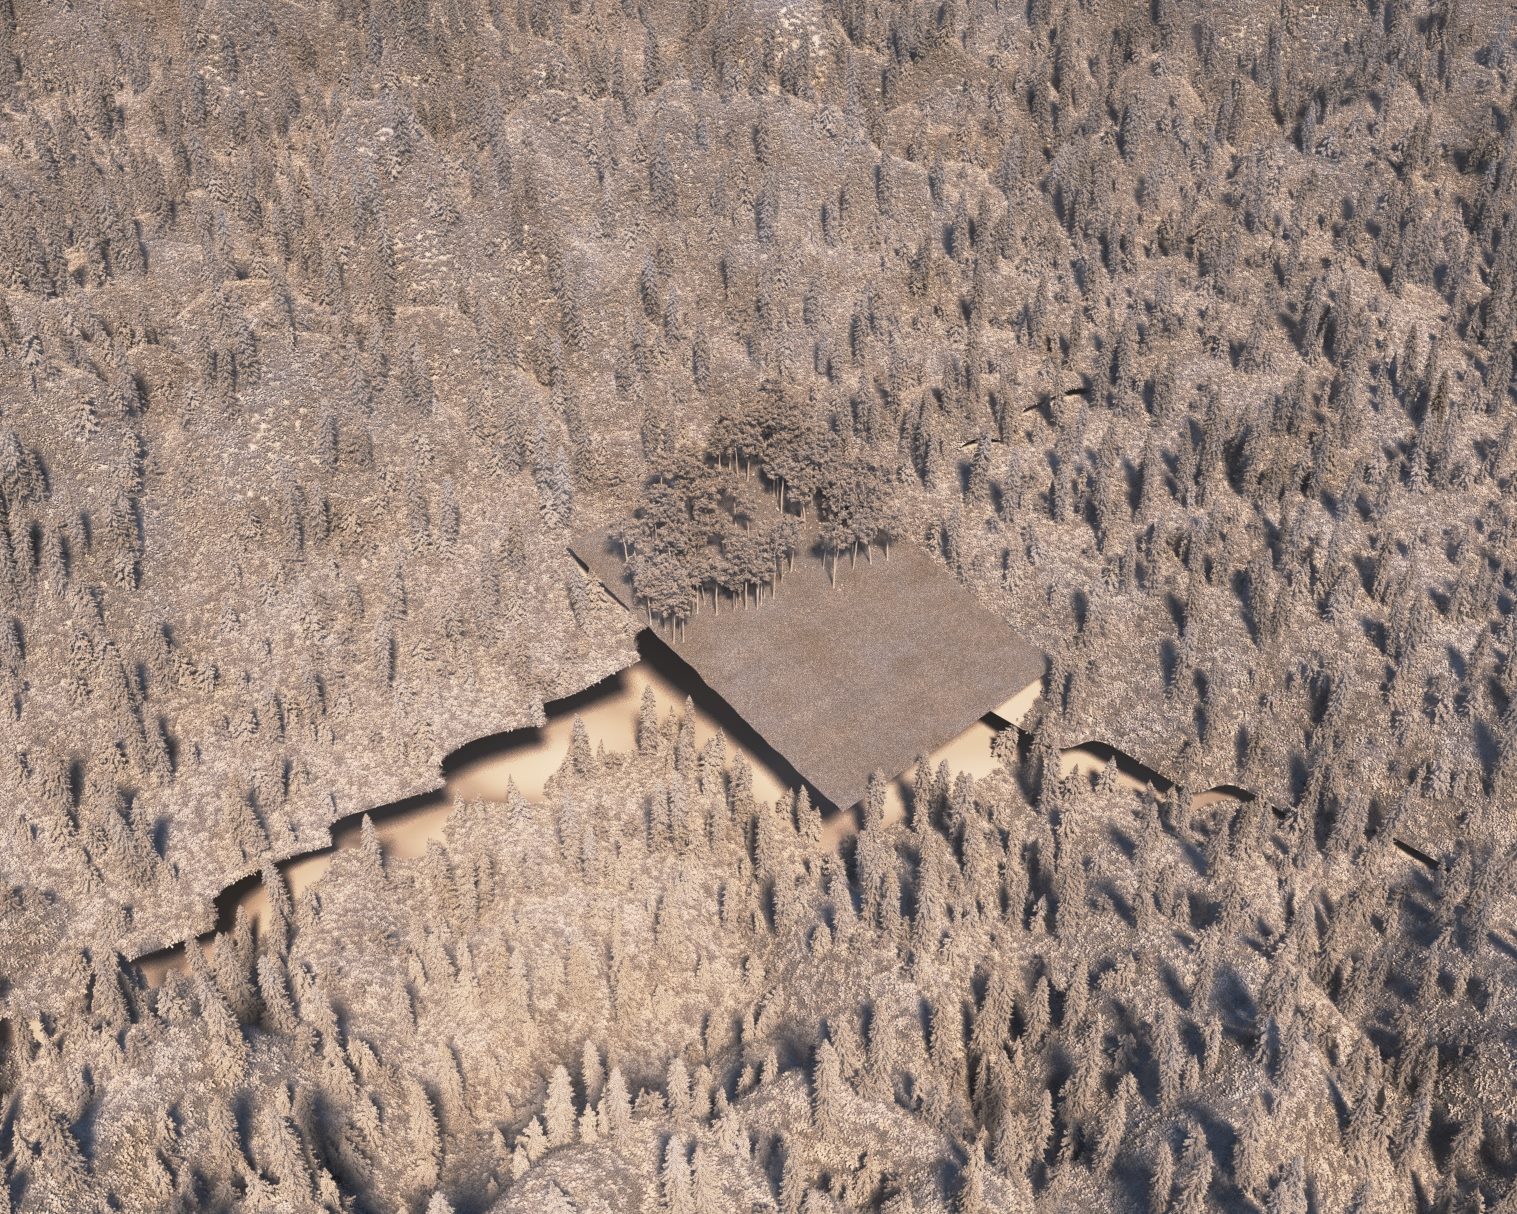
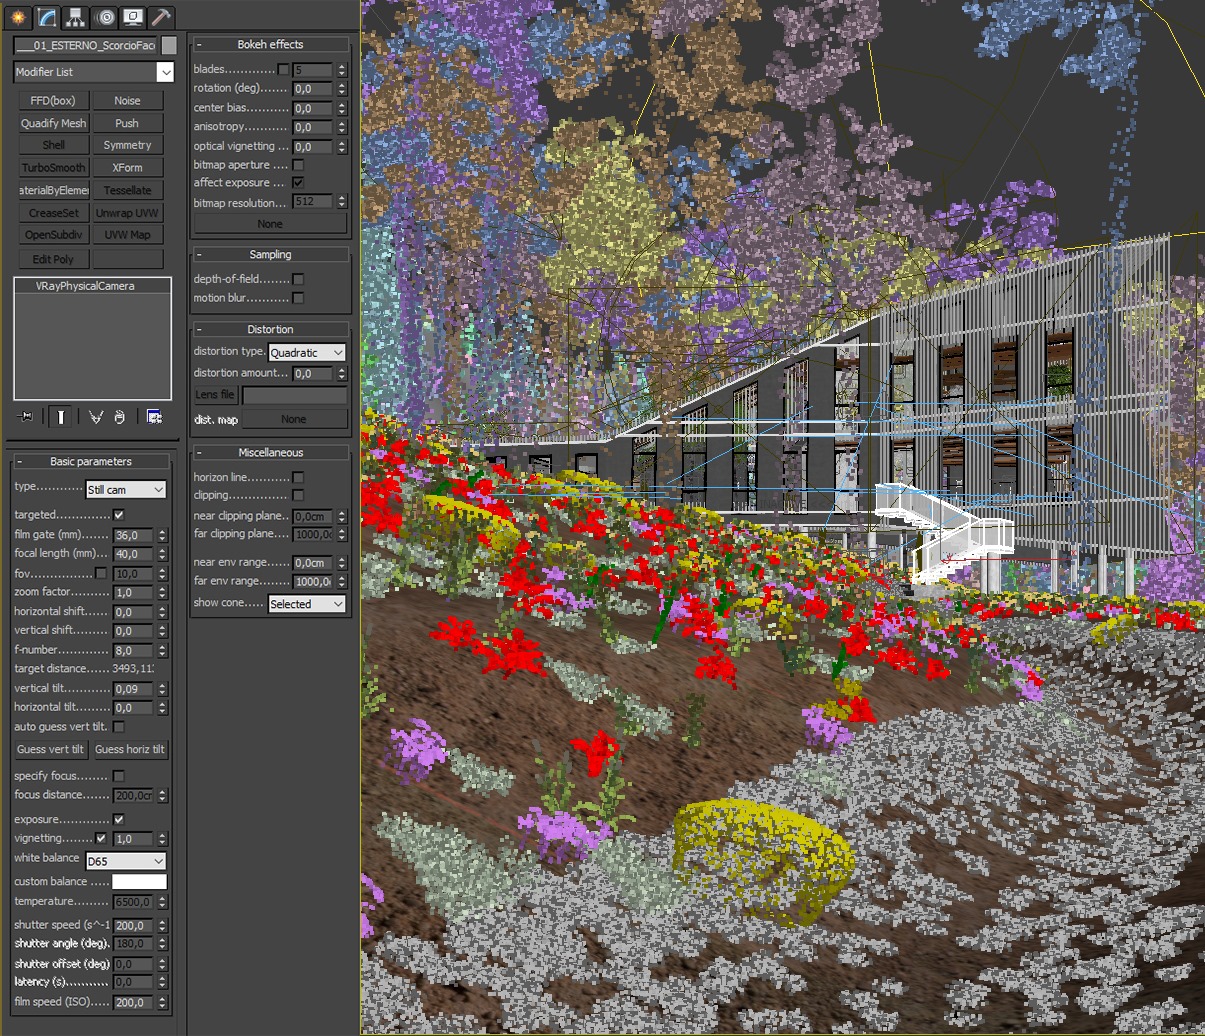
Here are represented some screen-shots of the surroundings, the around is done using forest pack, and here are represented the models used for creating the green. We tried to achieve as much as possible using 3D modeling and existing 3D objects (partly represented directly with the original forest pack library), in order to try to return the right degree of exposure that derives from the software in the internal images and not with the post production of images retrieved from the network.
The models used.
The mountains.
The surface located on the building
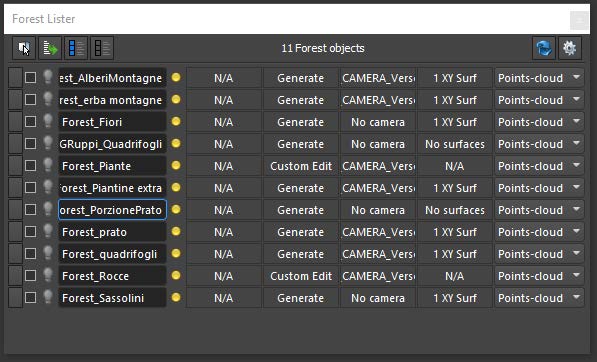
Forest pack - list of models used on scene.
Forest pack - the around.
Forest pack - plants and terrain.
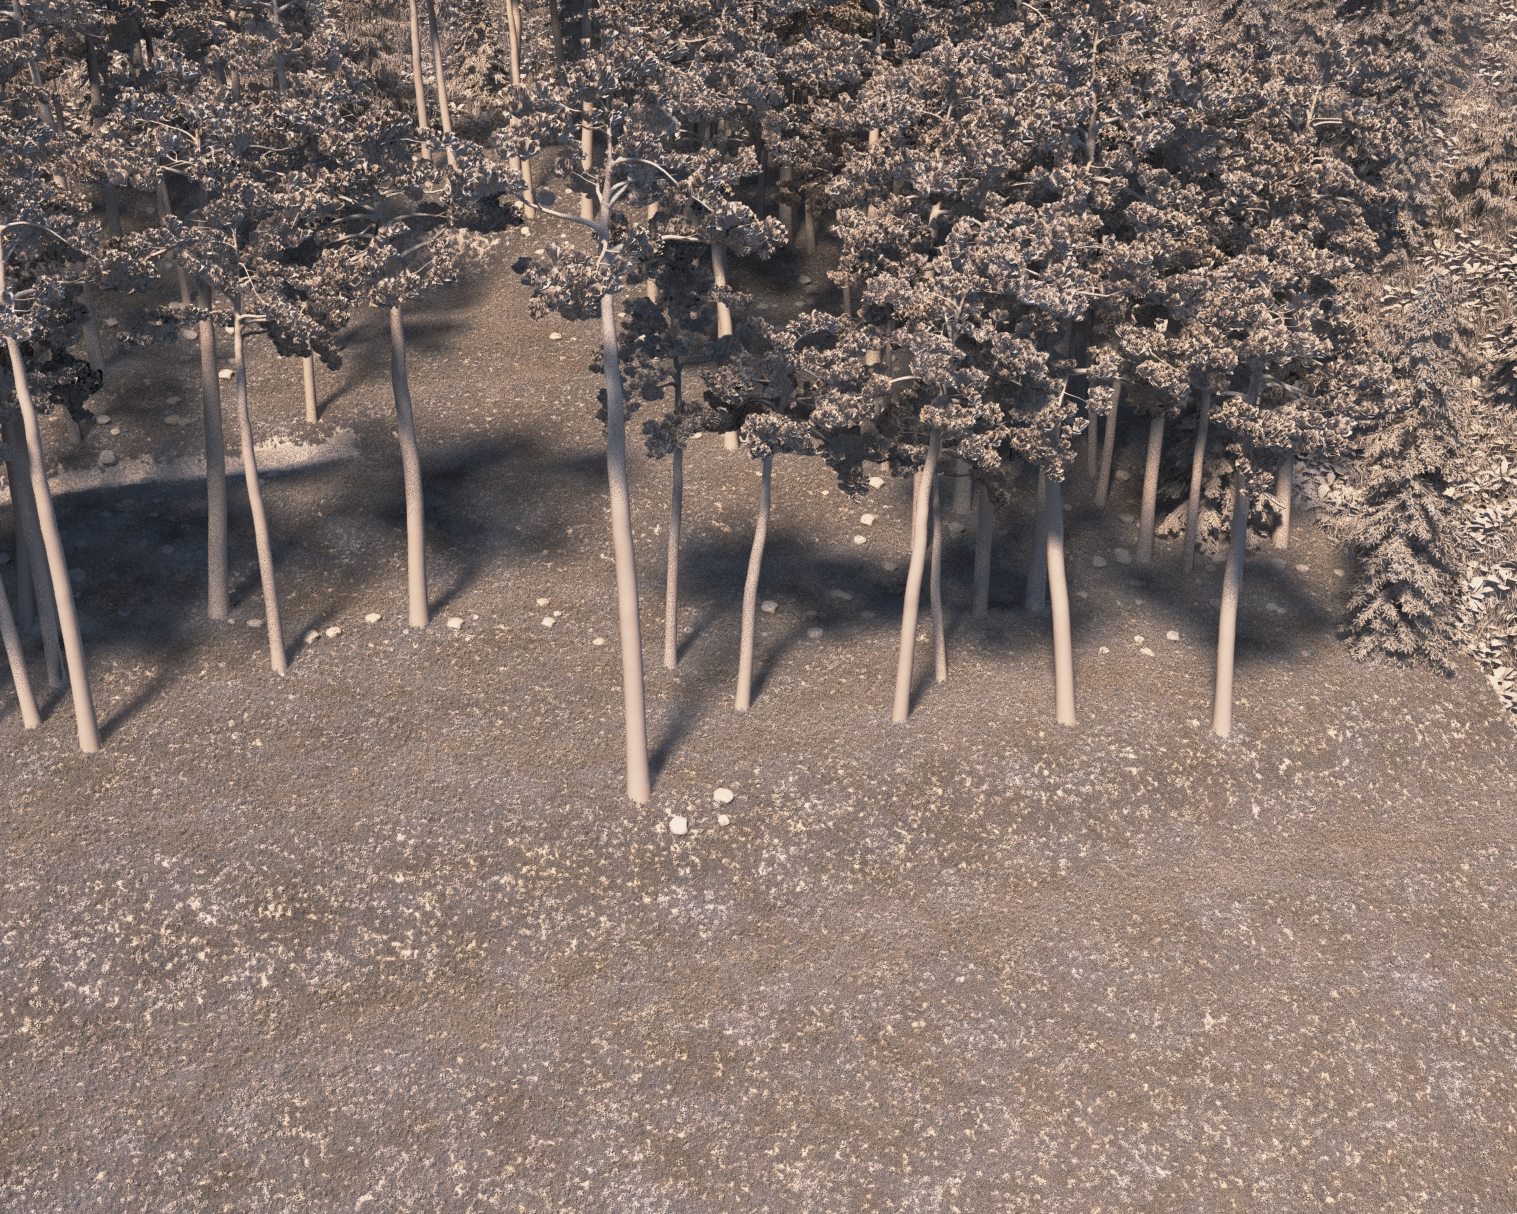
Forest pack - plants and terrain.

Modeling the building.
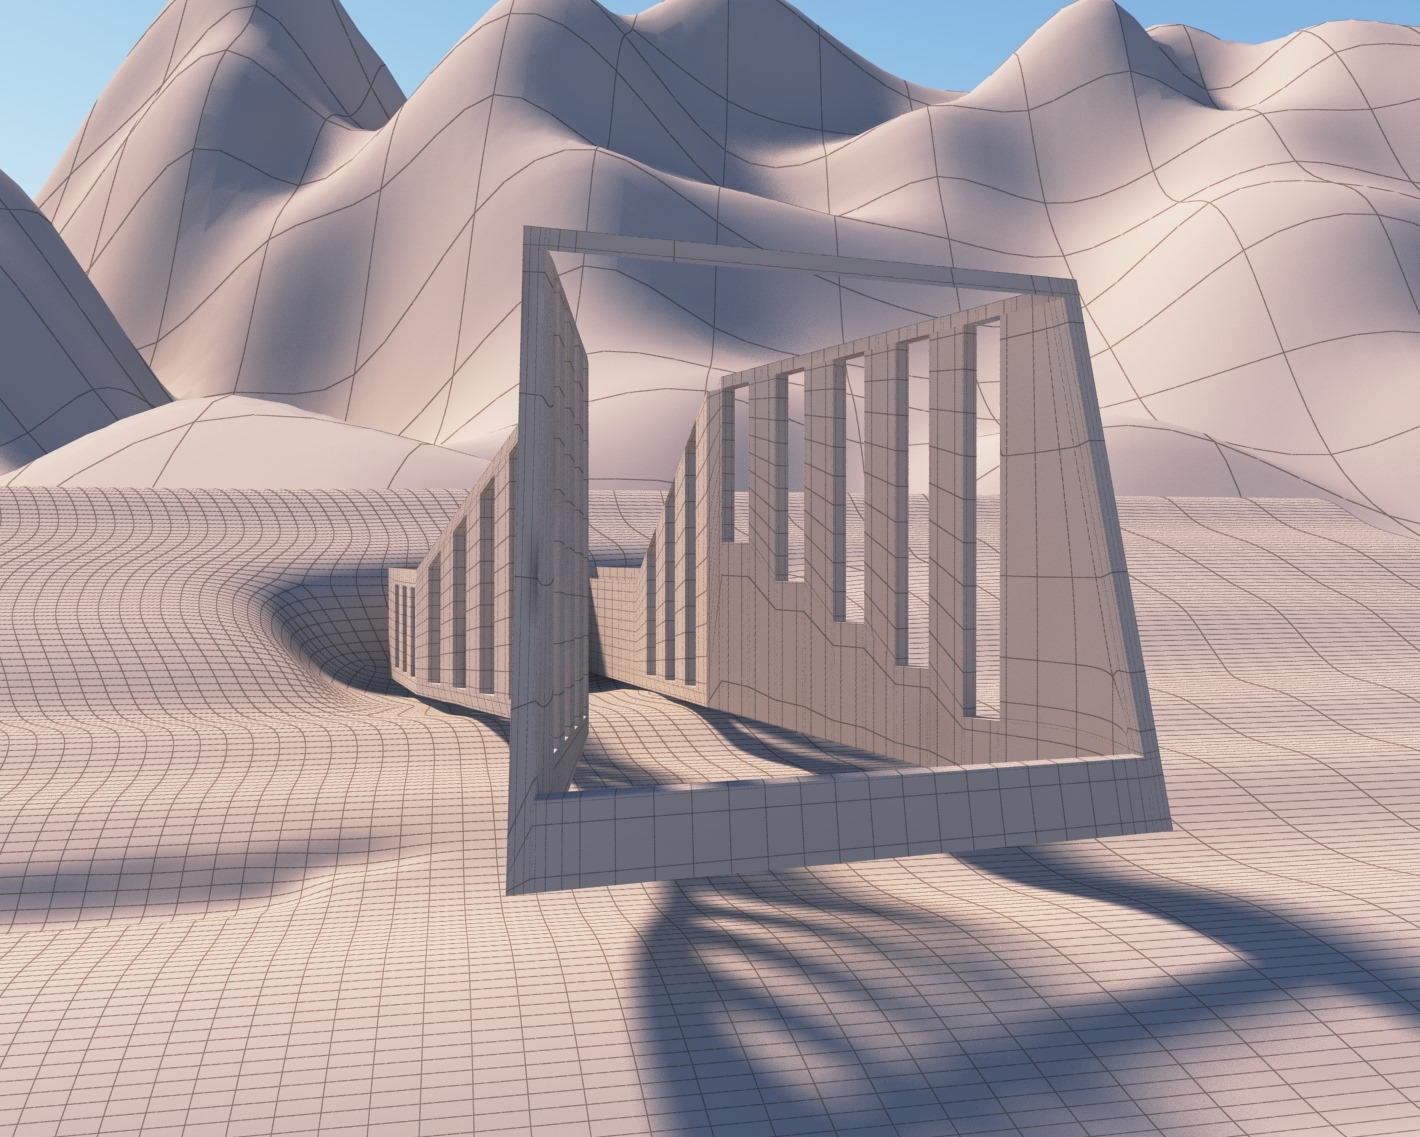
Here are some screen-shots of the model and the parts that compose it.

The model of building - the skin inner in cement.
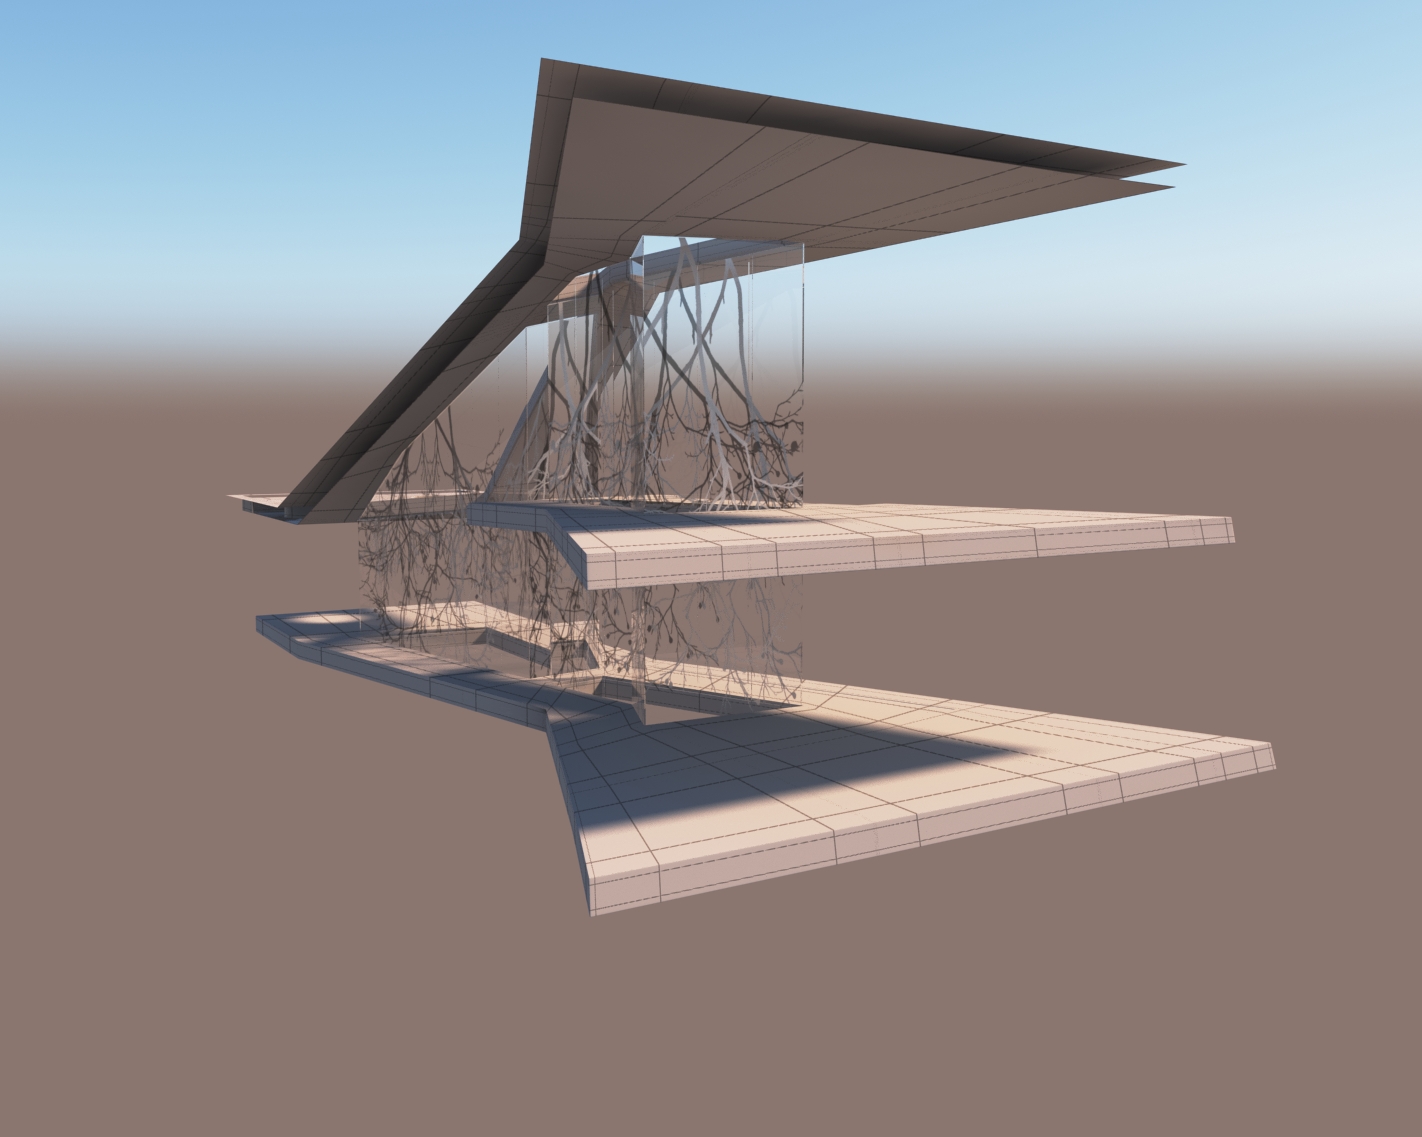
The building model - the heart inside the building.
Building model - complete building front view.

Building model - complete building view of retro.
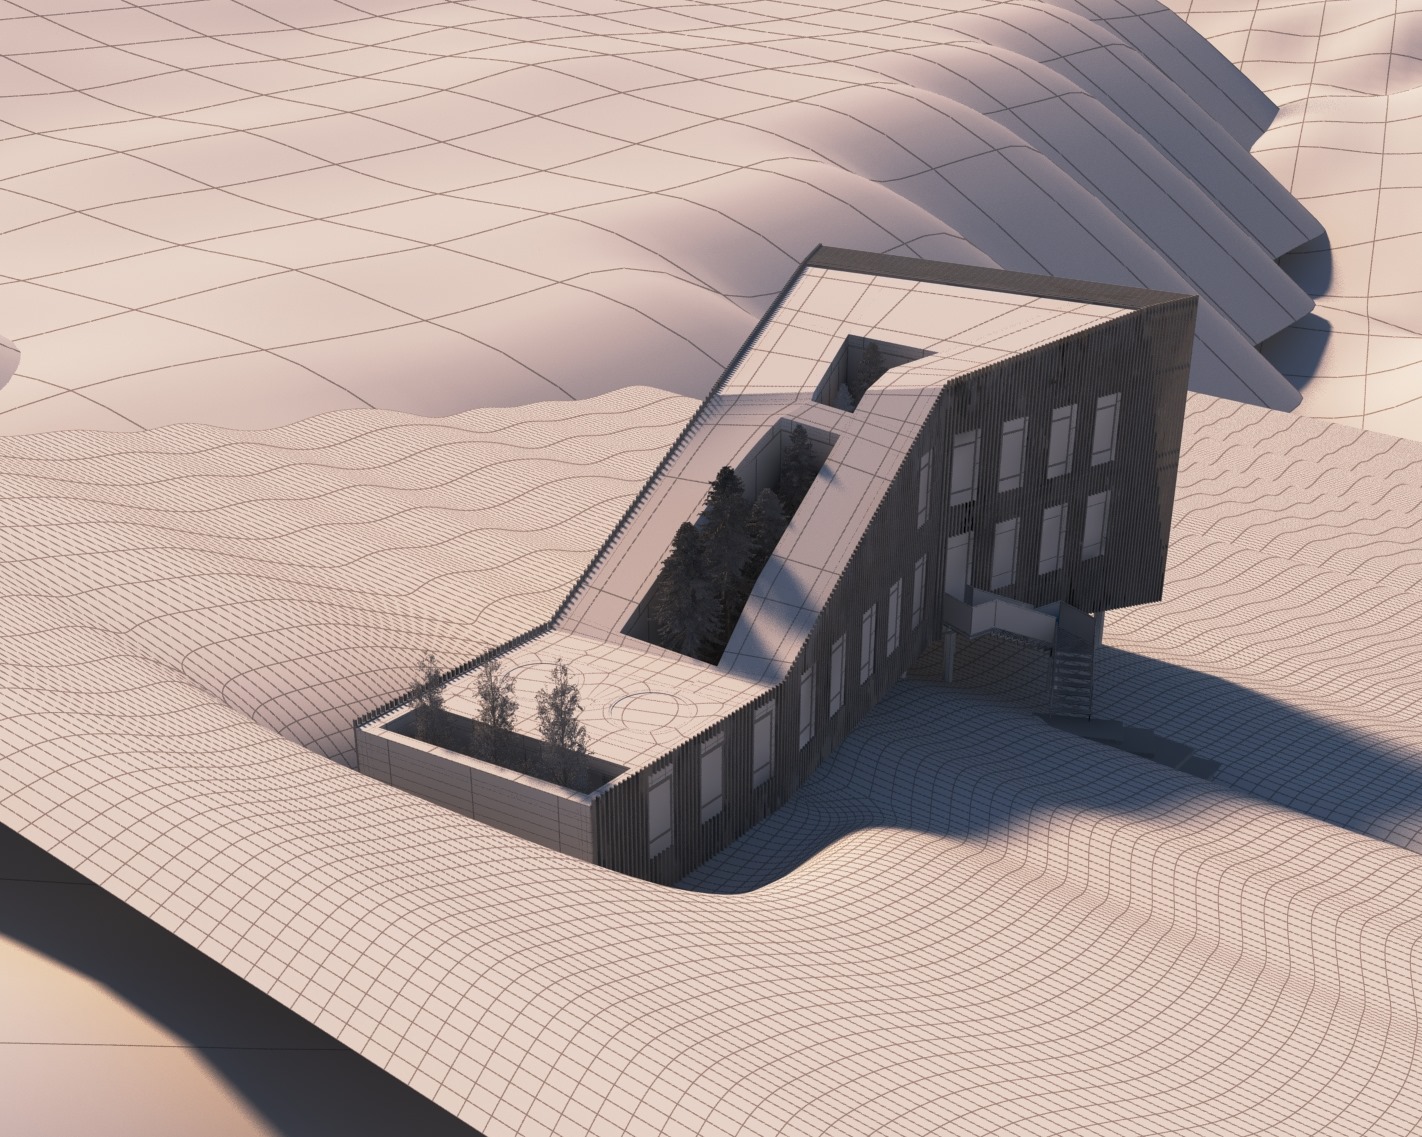
The model of building - the mouth overview.

The choice of rooms was made trying to represent an average of 3-4 images per room. Below are some views with their room setting.
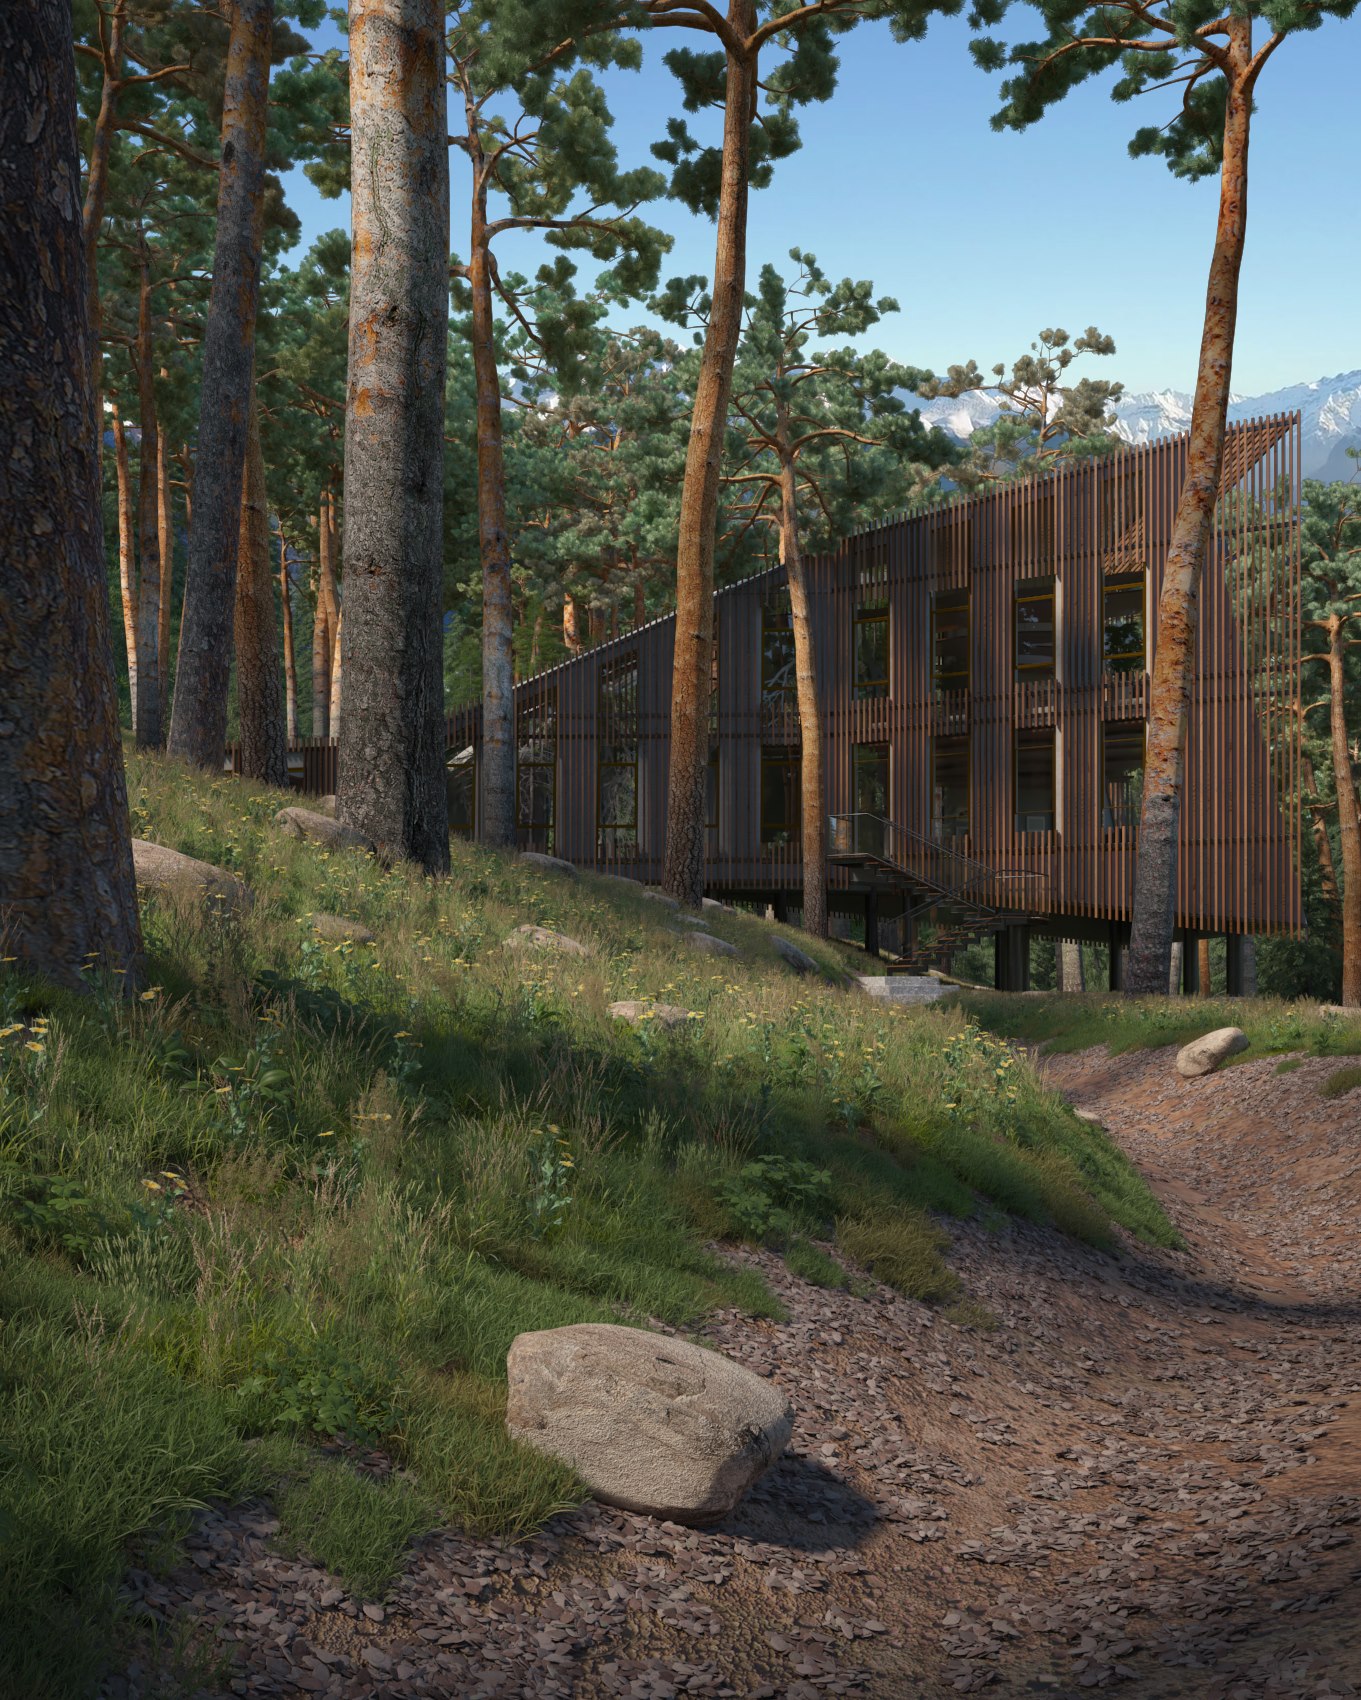
External view.
Internal view 1.
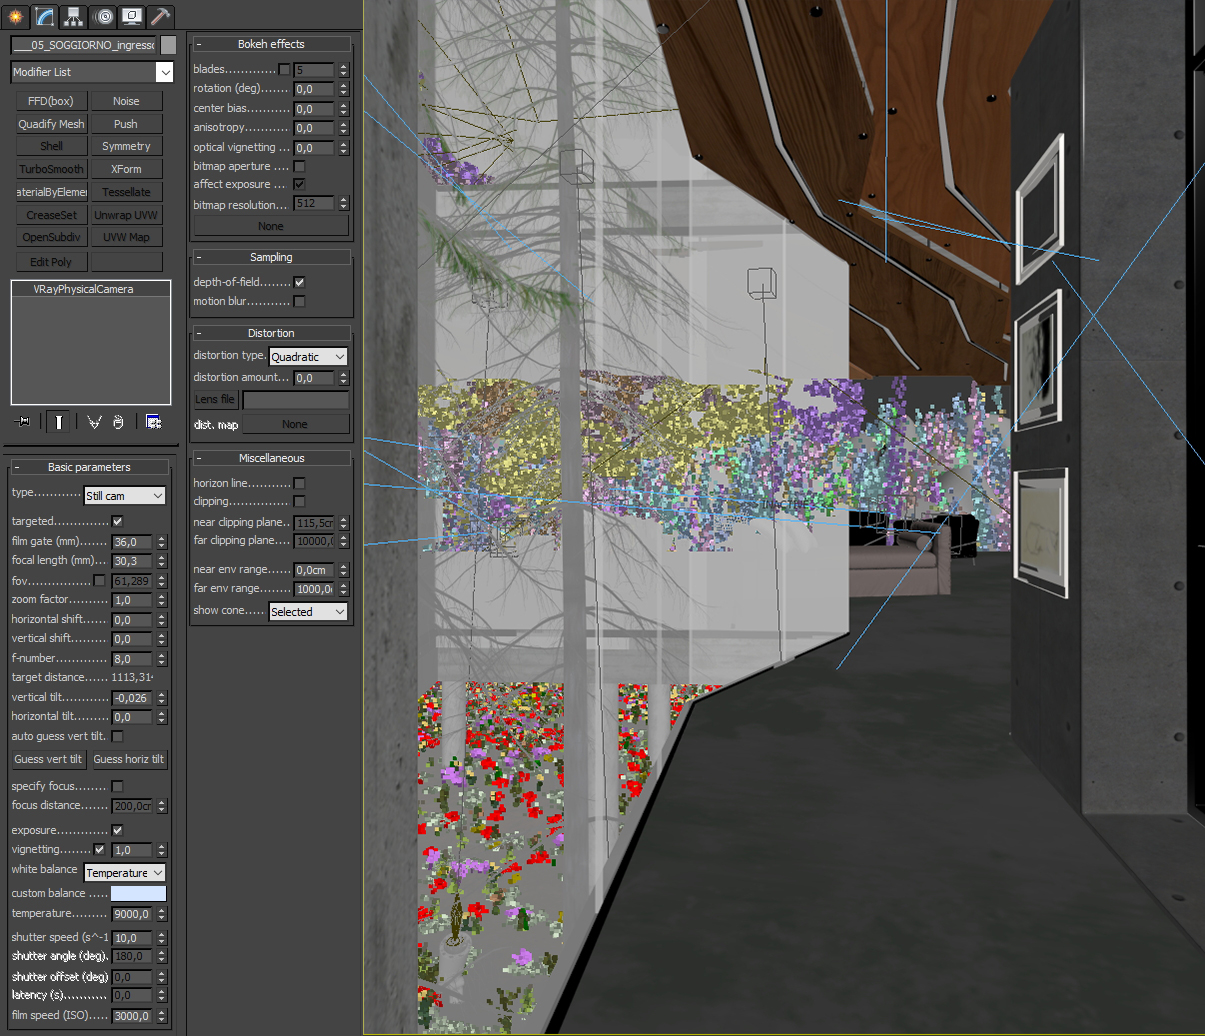
Internal view 2.

Internal view 3.
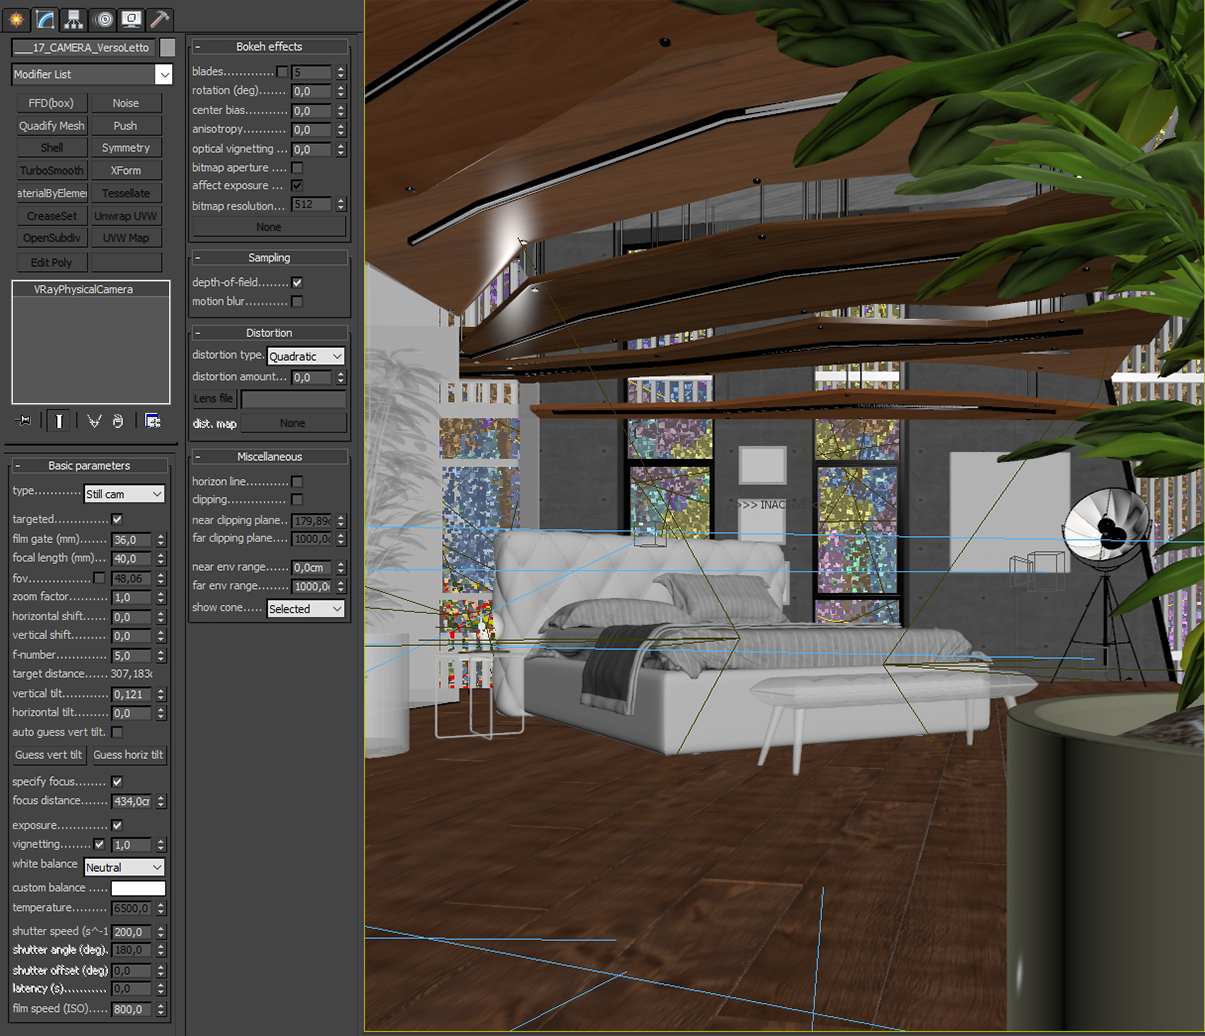
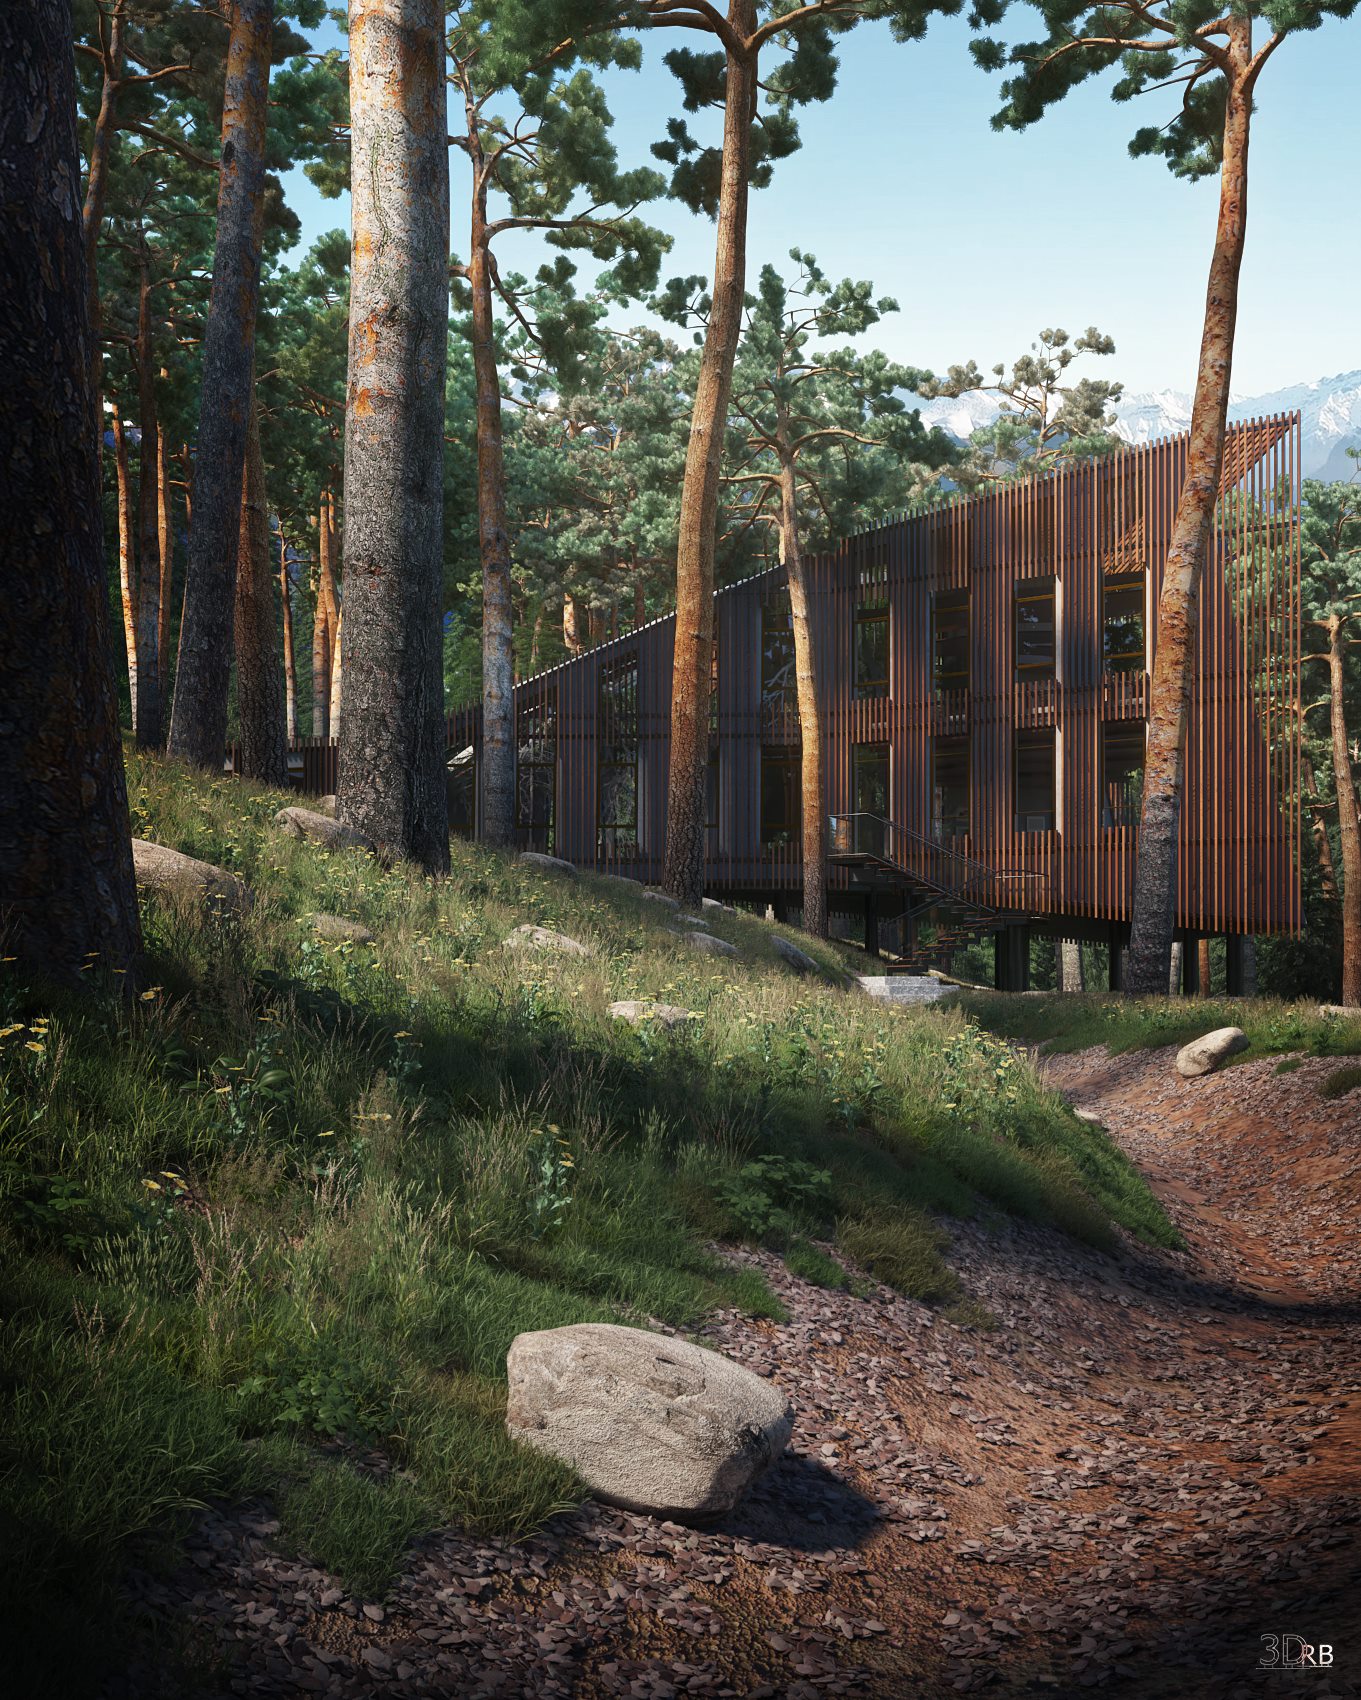
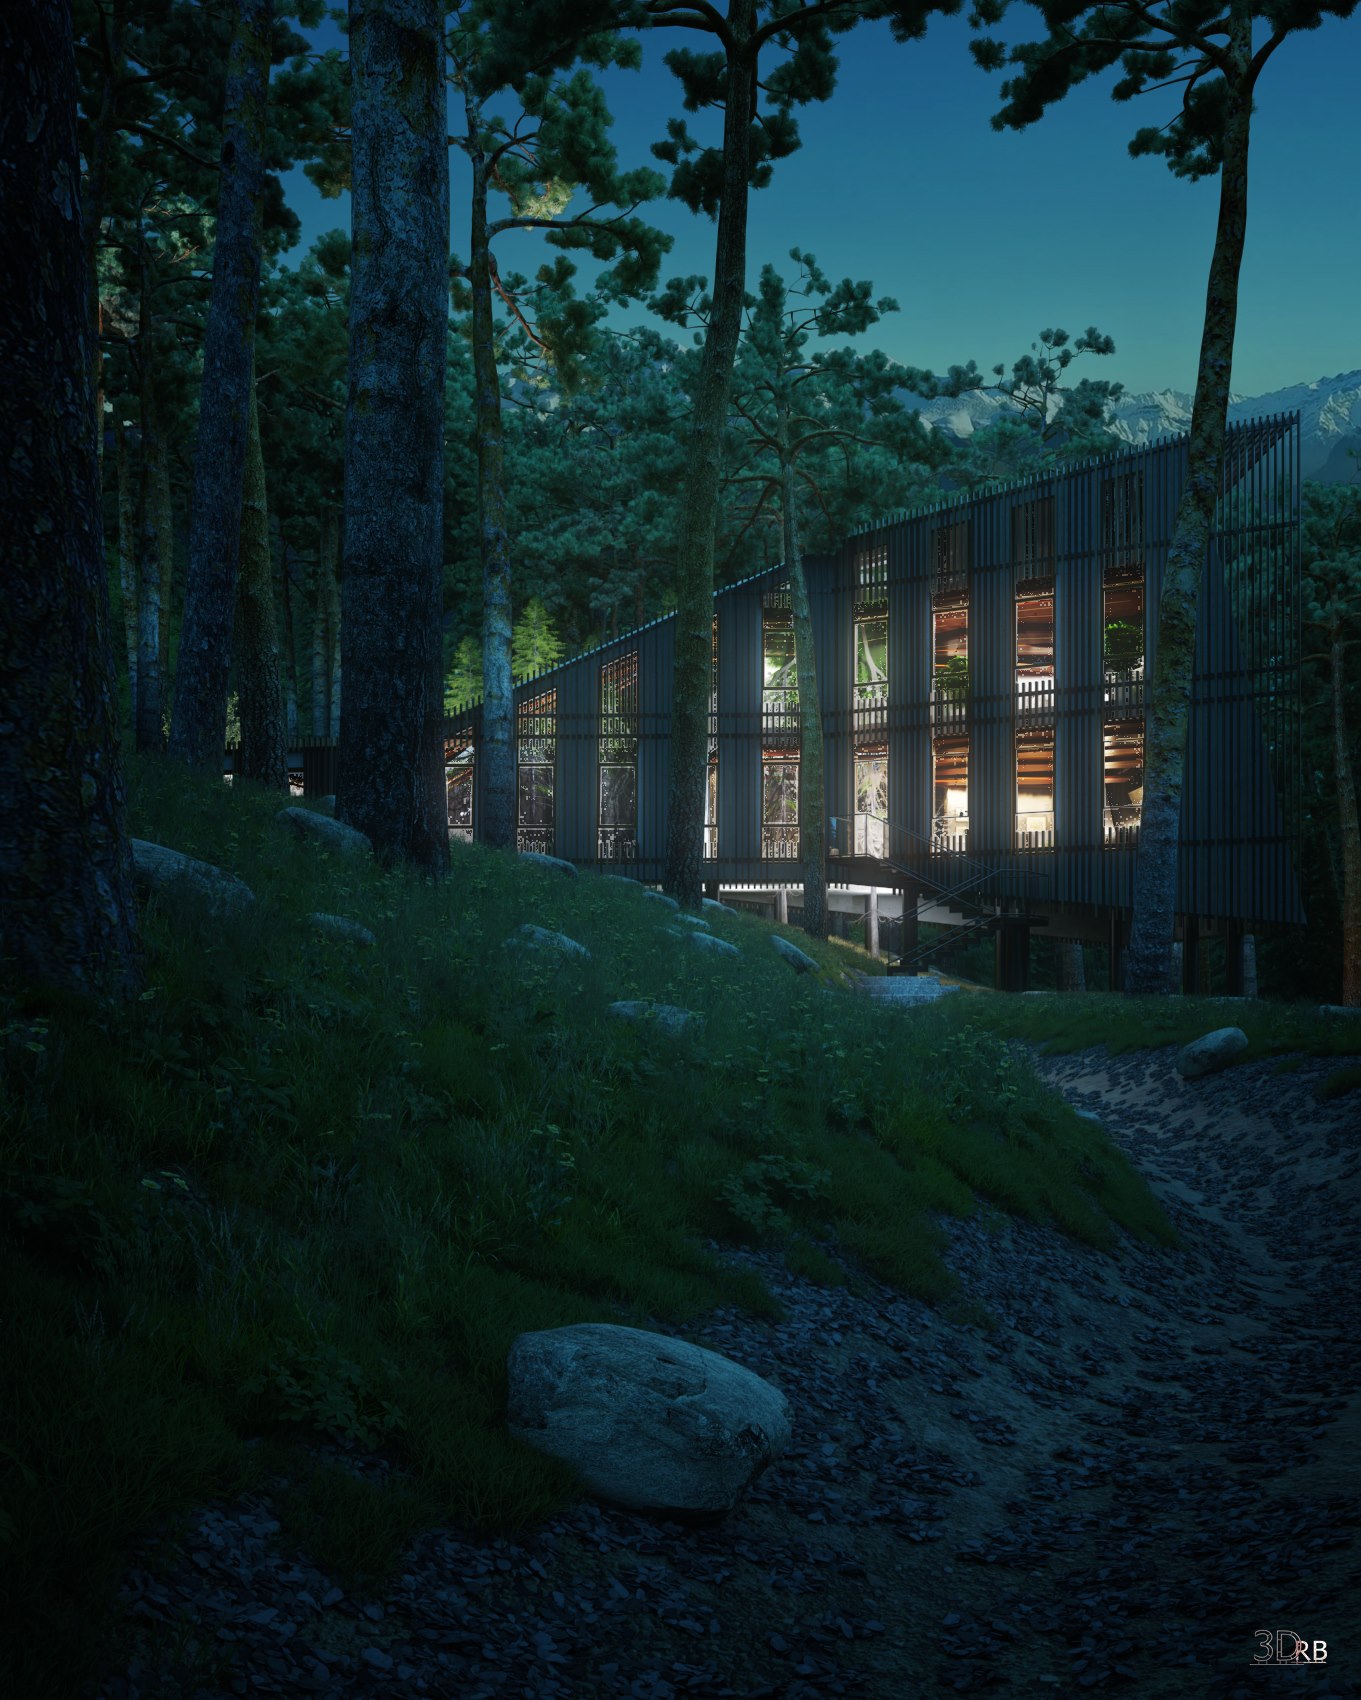
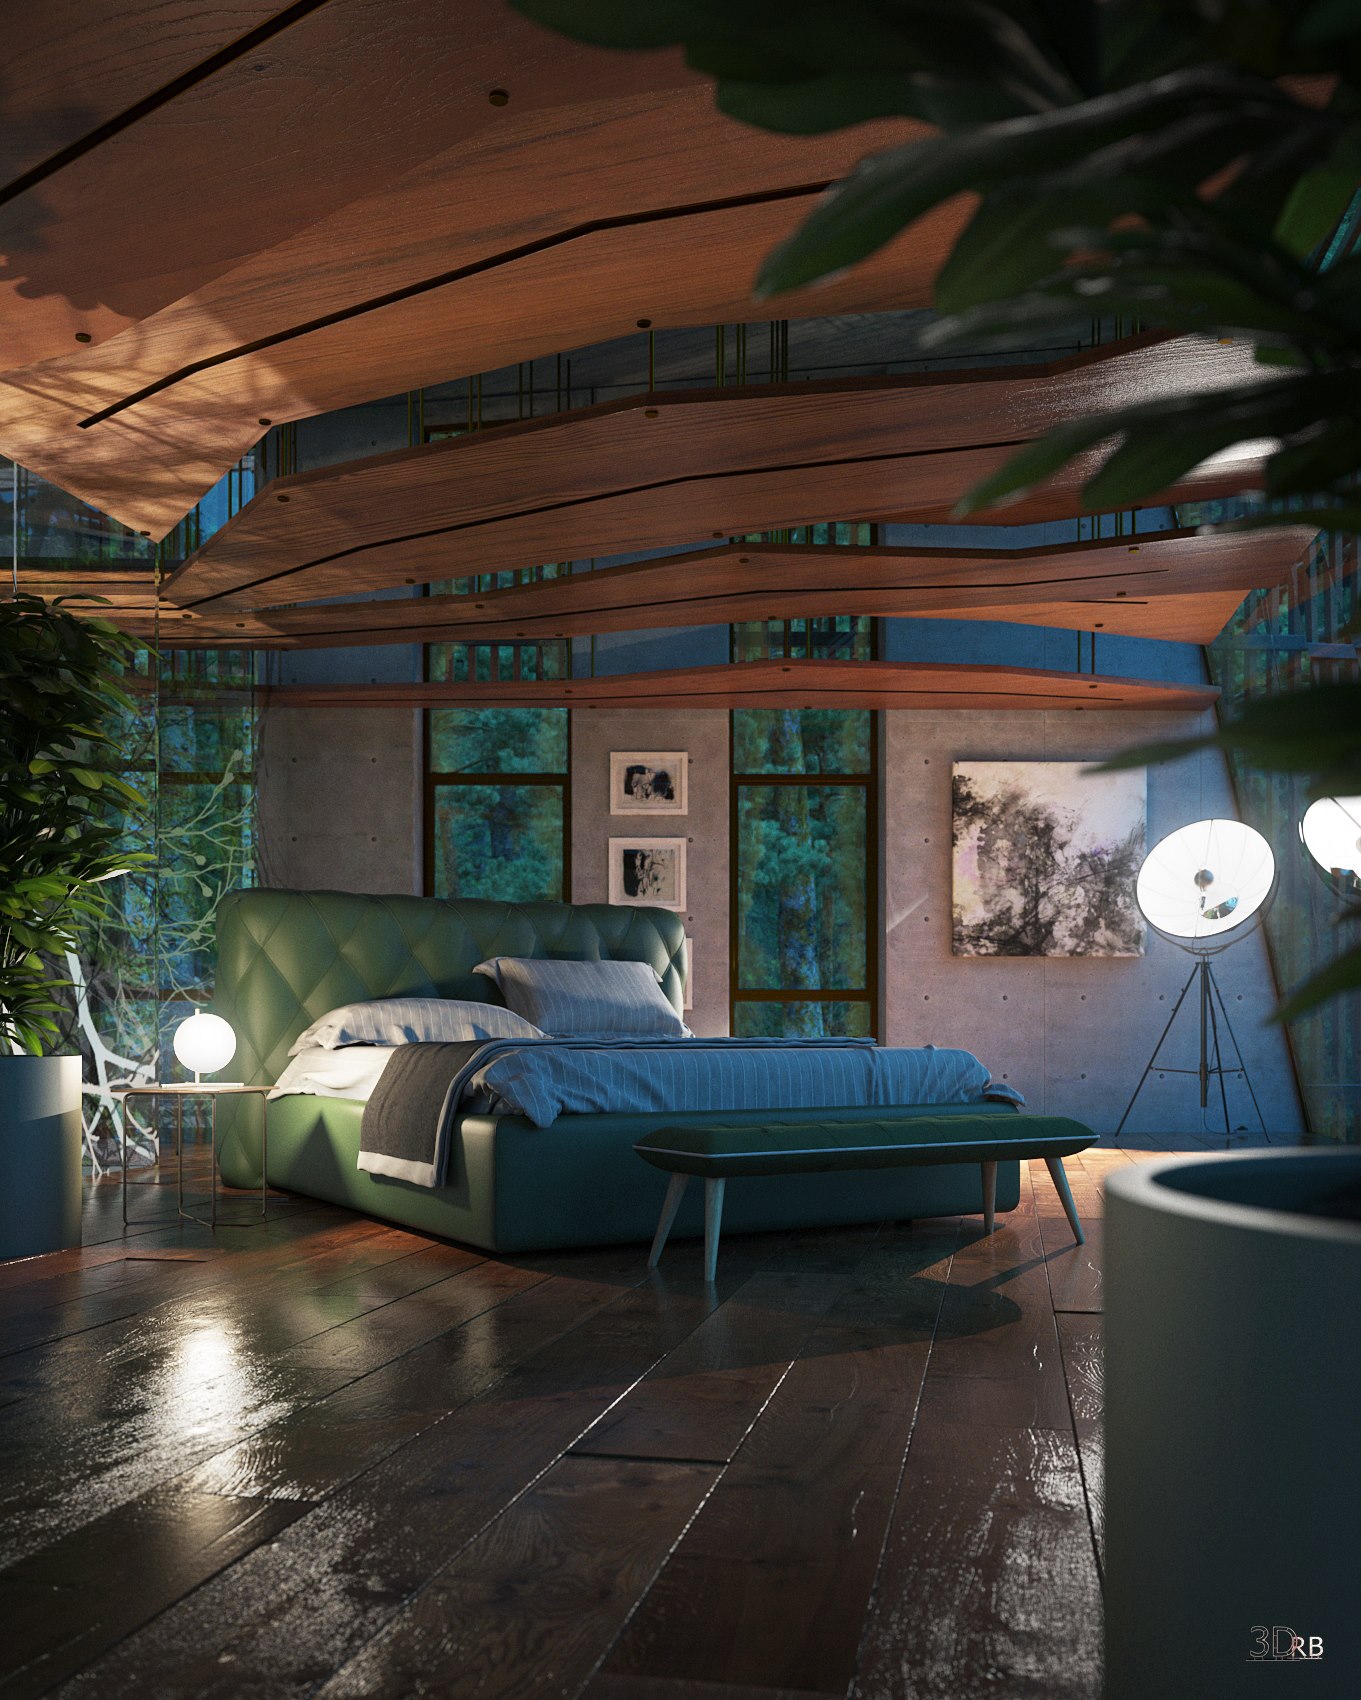
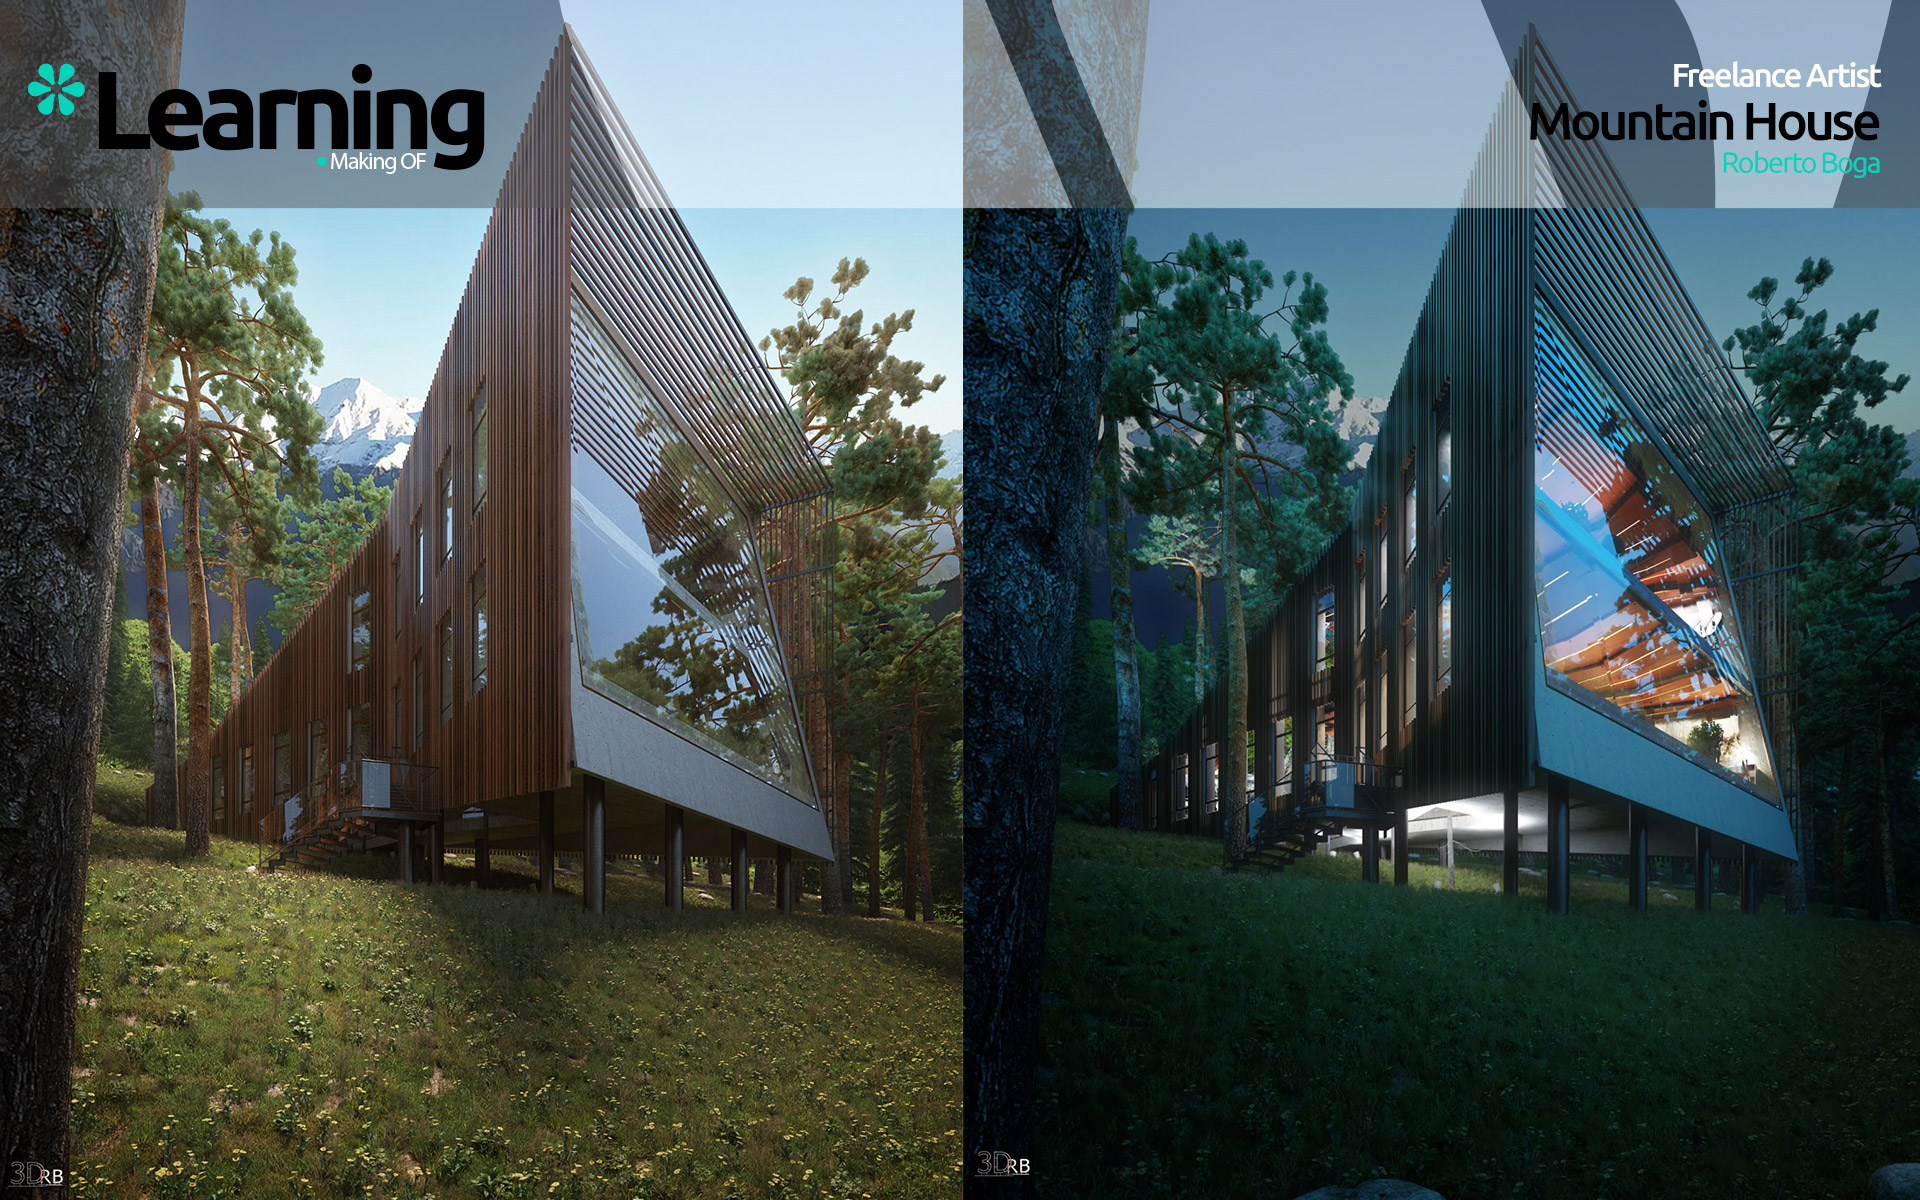
We have opted for light views with the sole presence of the sky, mostly those at the front of the windows in the valleys, and other views with sunlight, designed to highlight the change in color of the materials in correspondence with the sun and give more three-dimensionality to the scenes.
I learned the lighting management with the 5srw course, adopting the portal light in simple mode in correspondence with all the openings in the building, a vray sky for the sphere of the sky and the vray sun that gives the sense of three-dimensional to the interior scenes, possibly a light for sight to create maximum drama.
List of lights on stage - day.

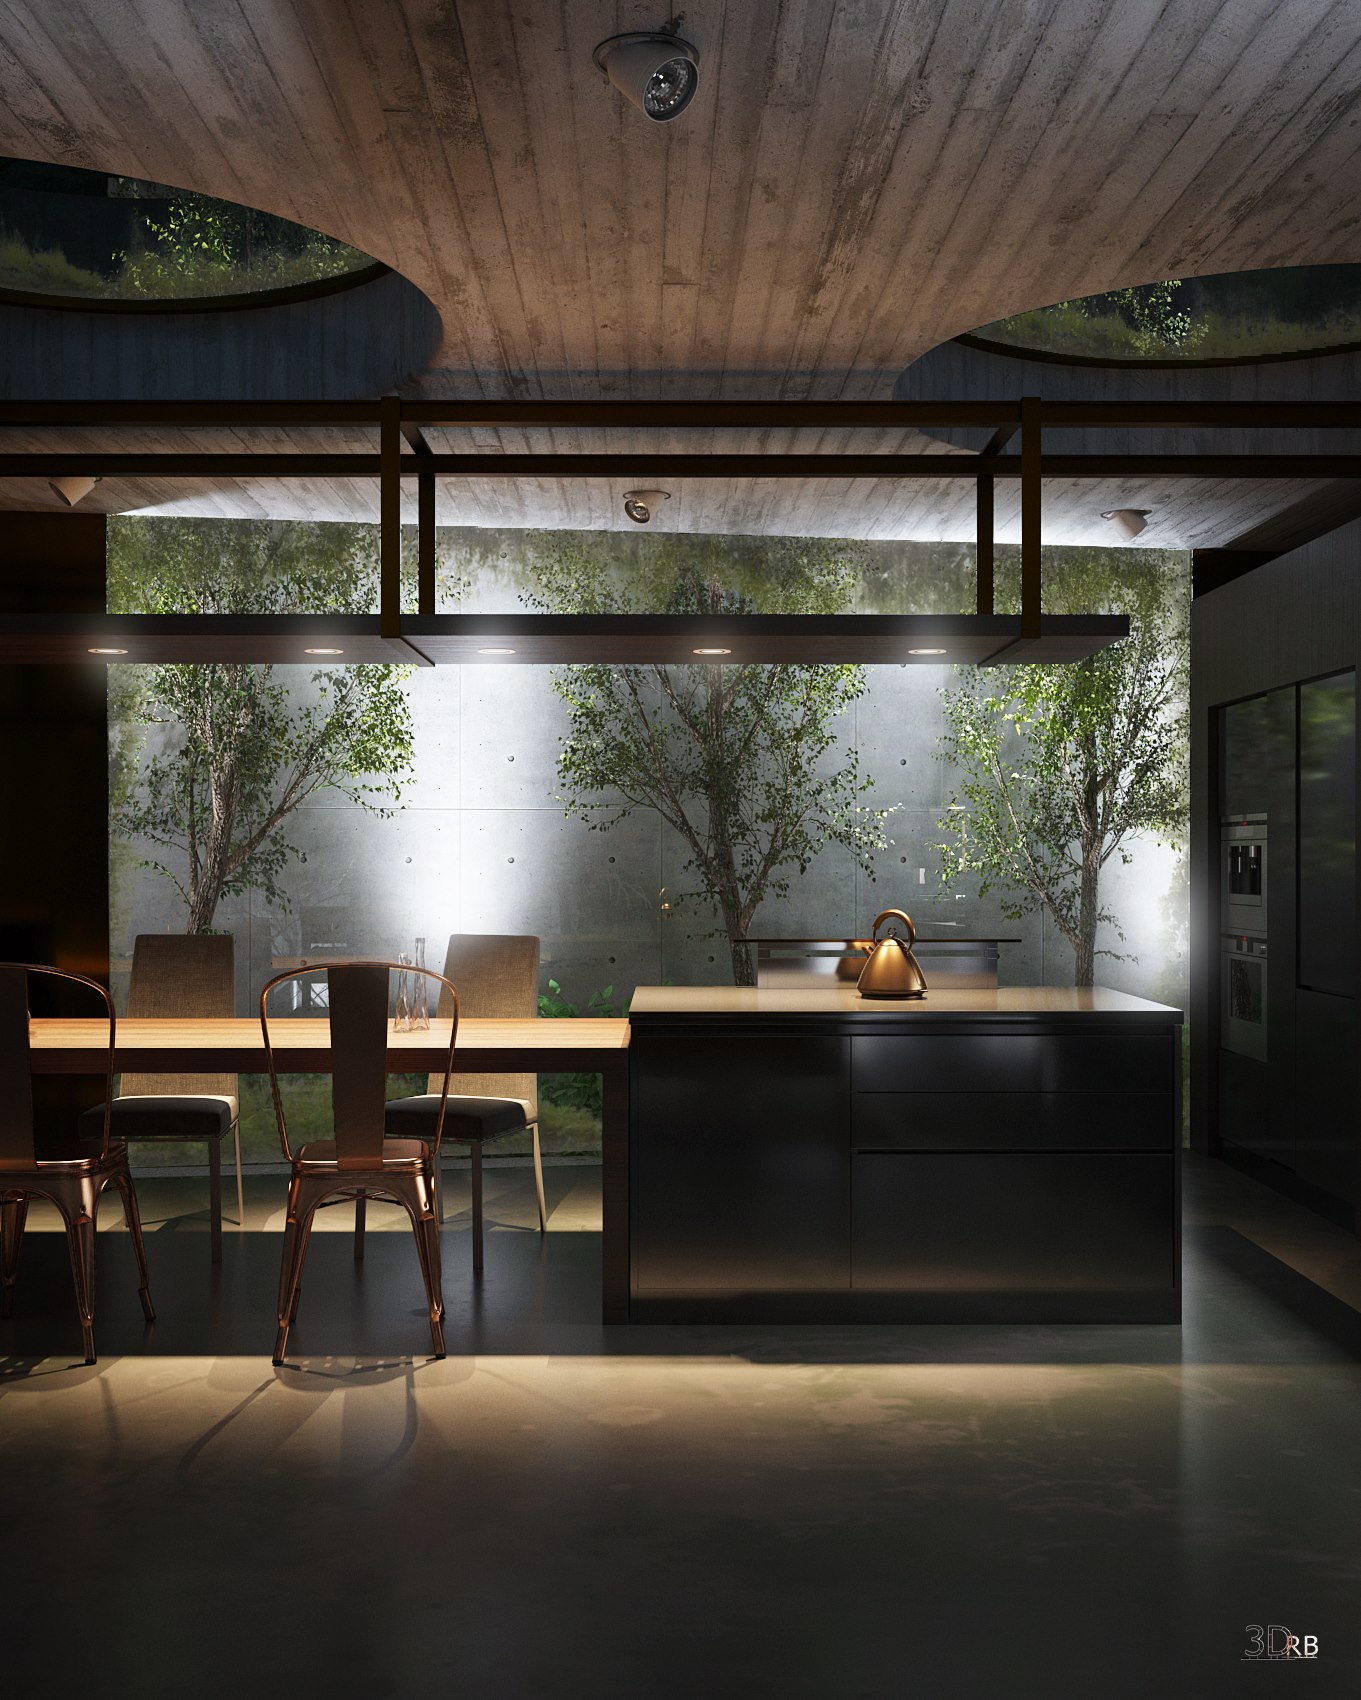
As for the night, I adopted a vray dome for the celestial sphere, some vray spotlight, vray mesh light for the LEDs of the false ceilings, some vray plane in correspondence with the lighting of the kitchen and to finish some vray sphere light.
List of lights on stage - night.

Light Balance.
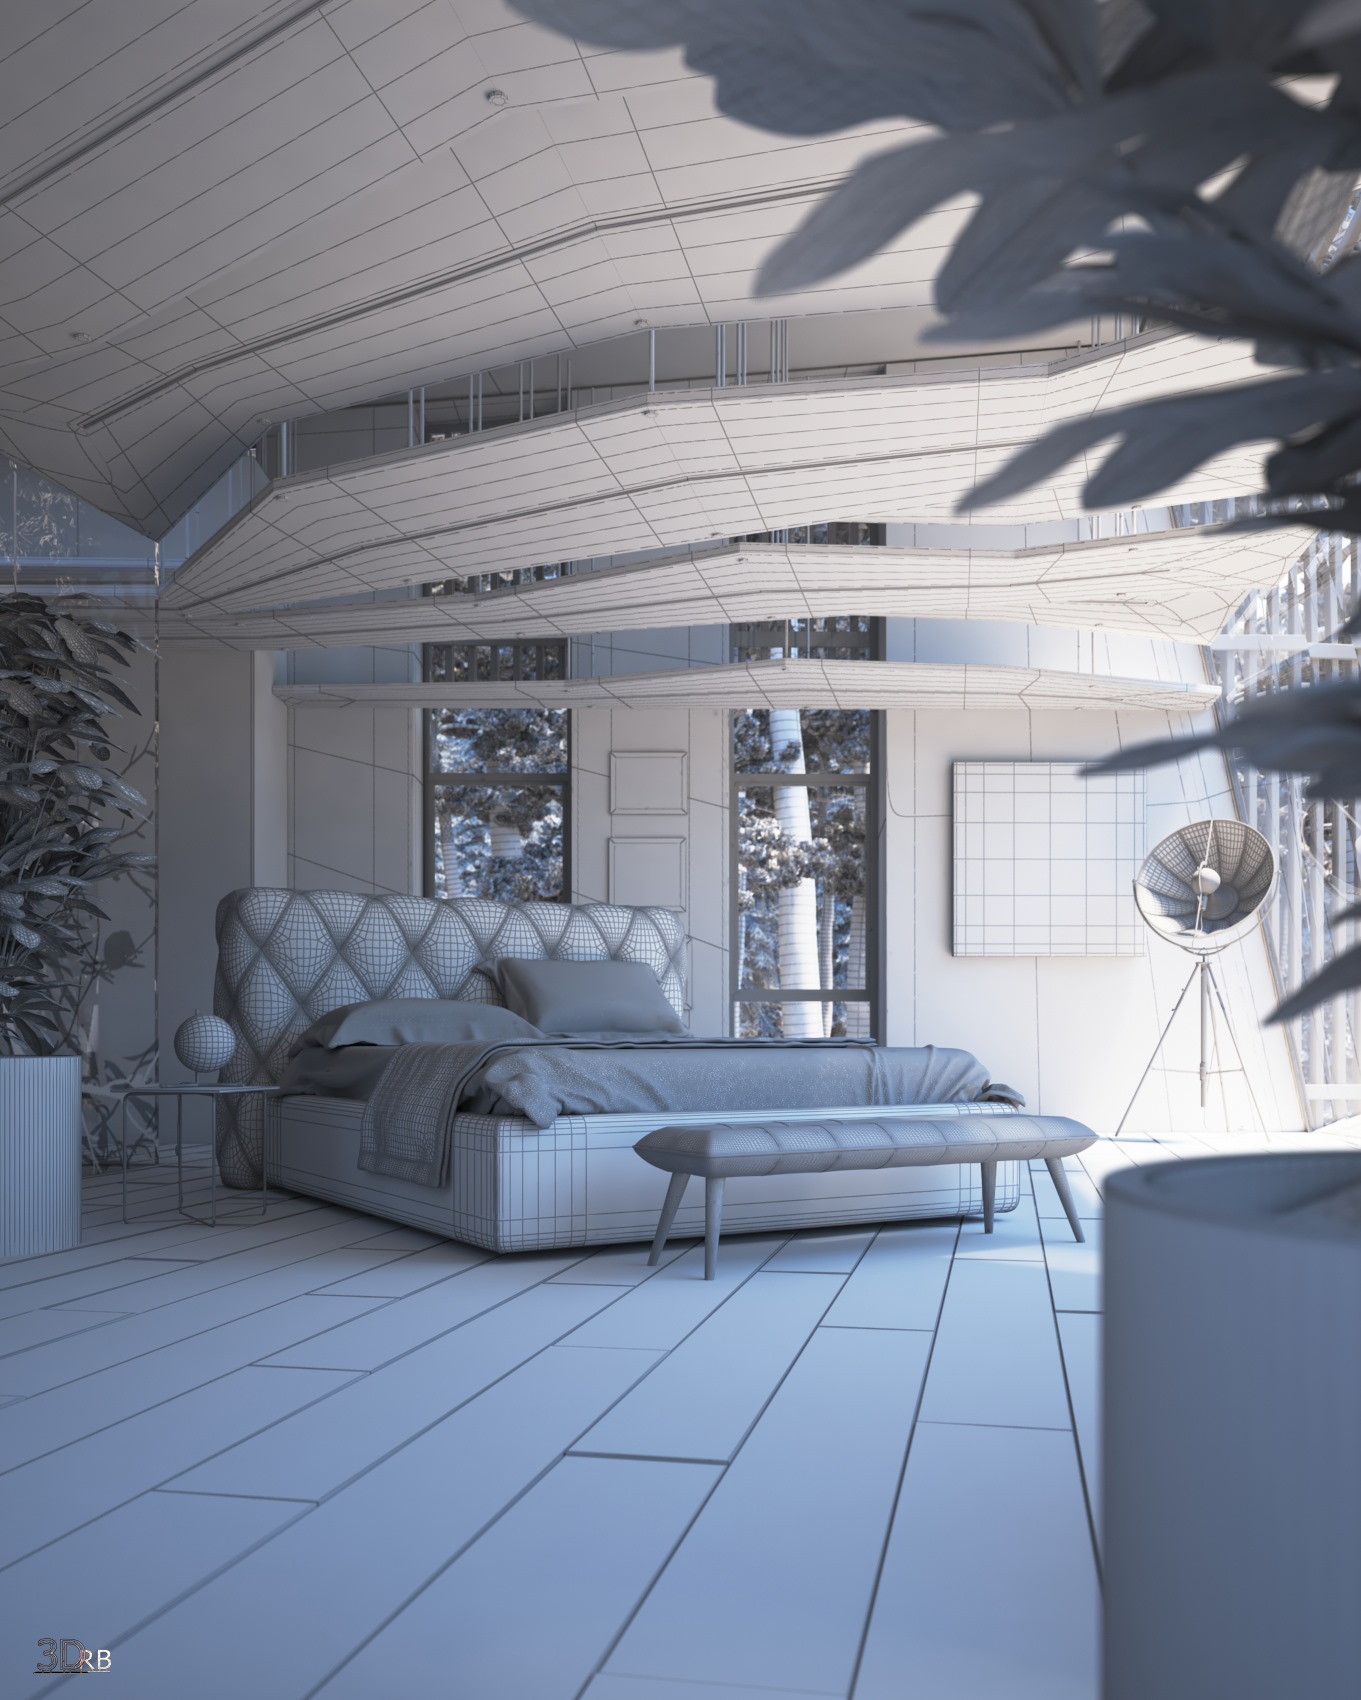
Below are a couple of views with which the lights have been balanced and the three-dimensional view of the scene.
External view - daytime.

Interior view - daytime.
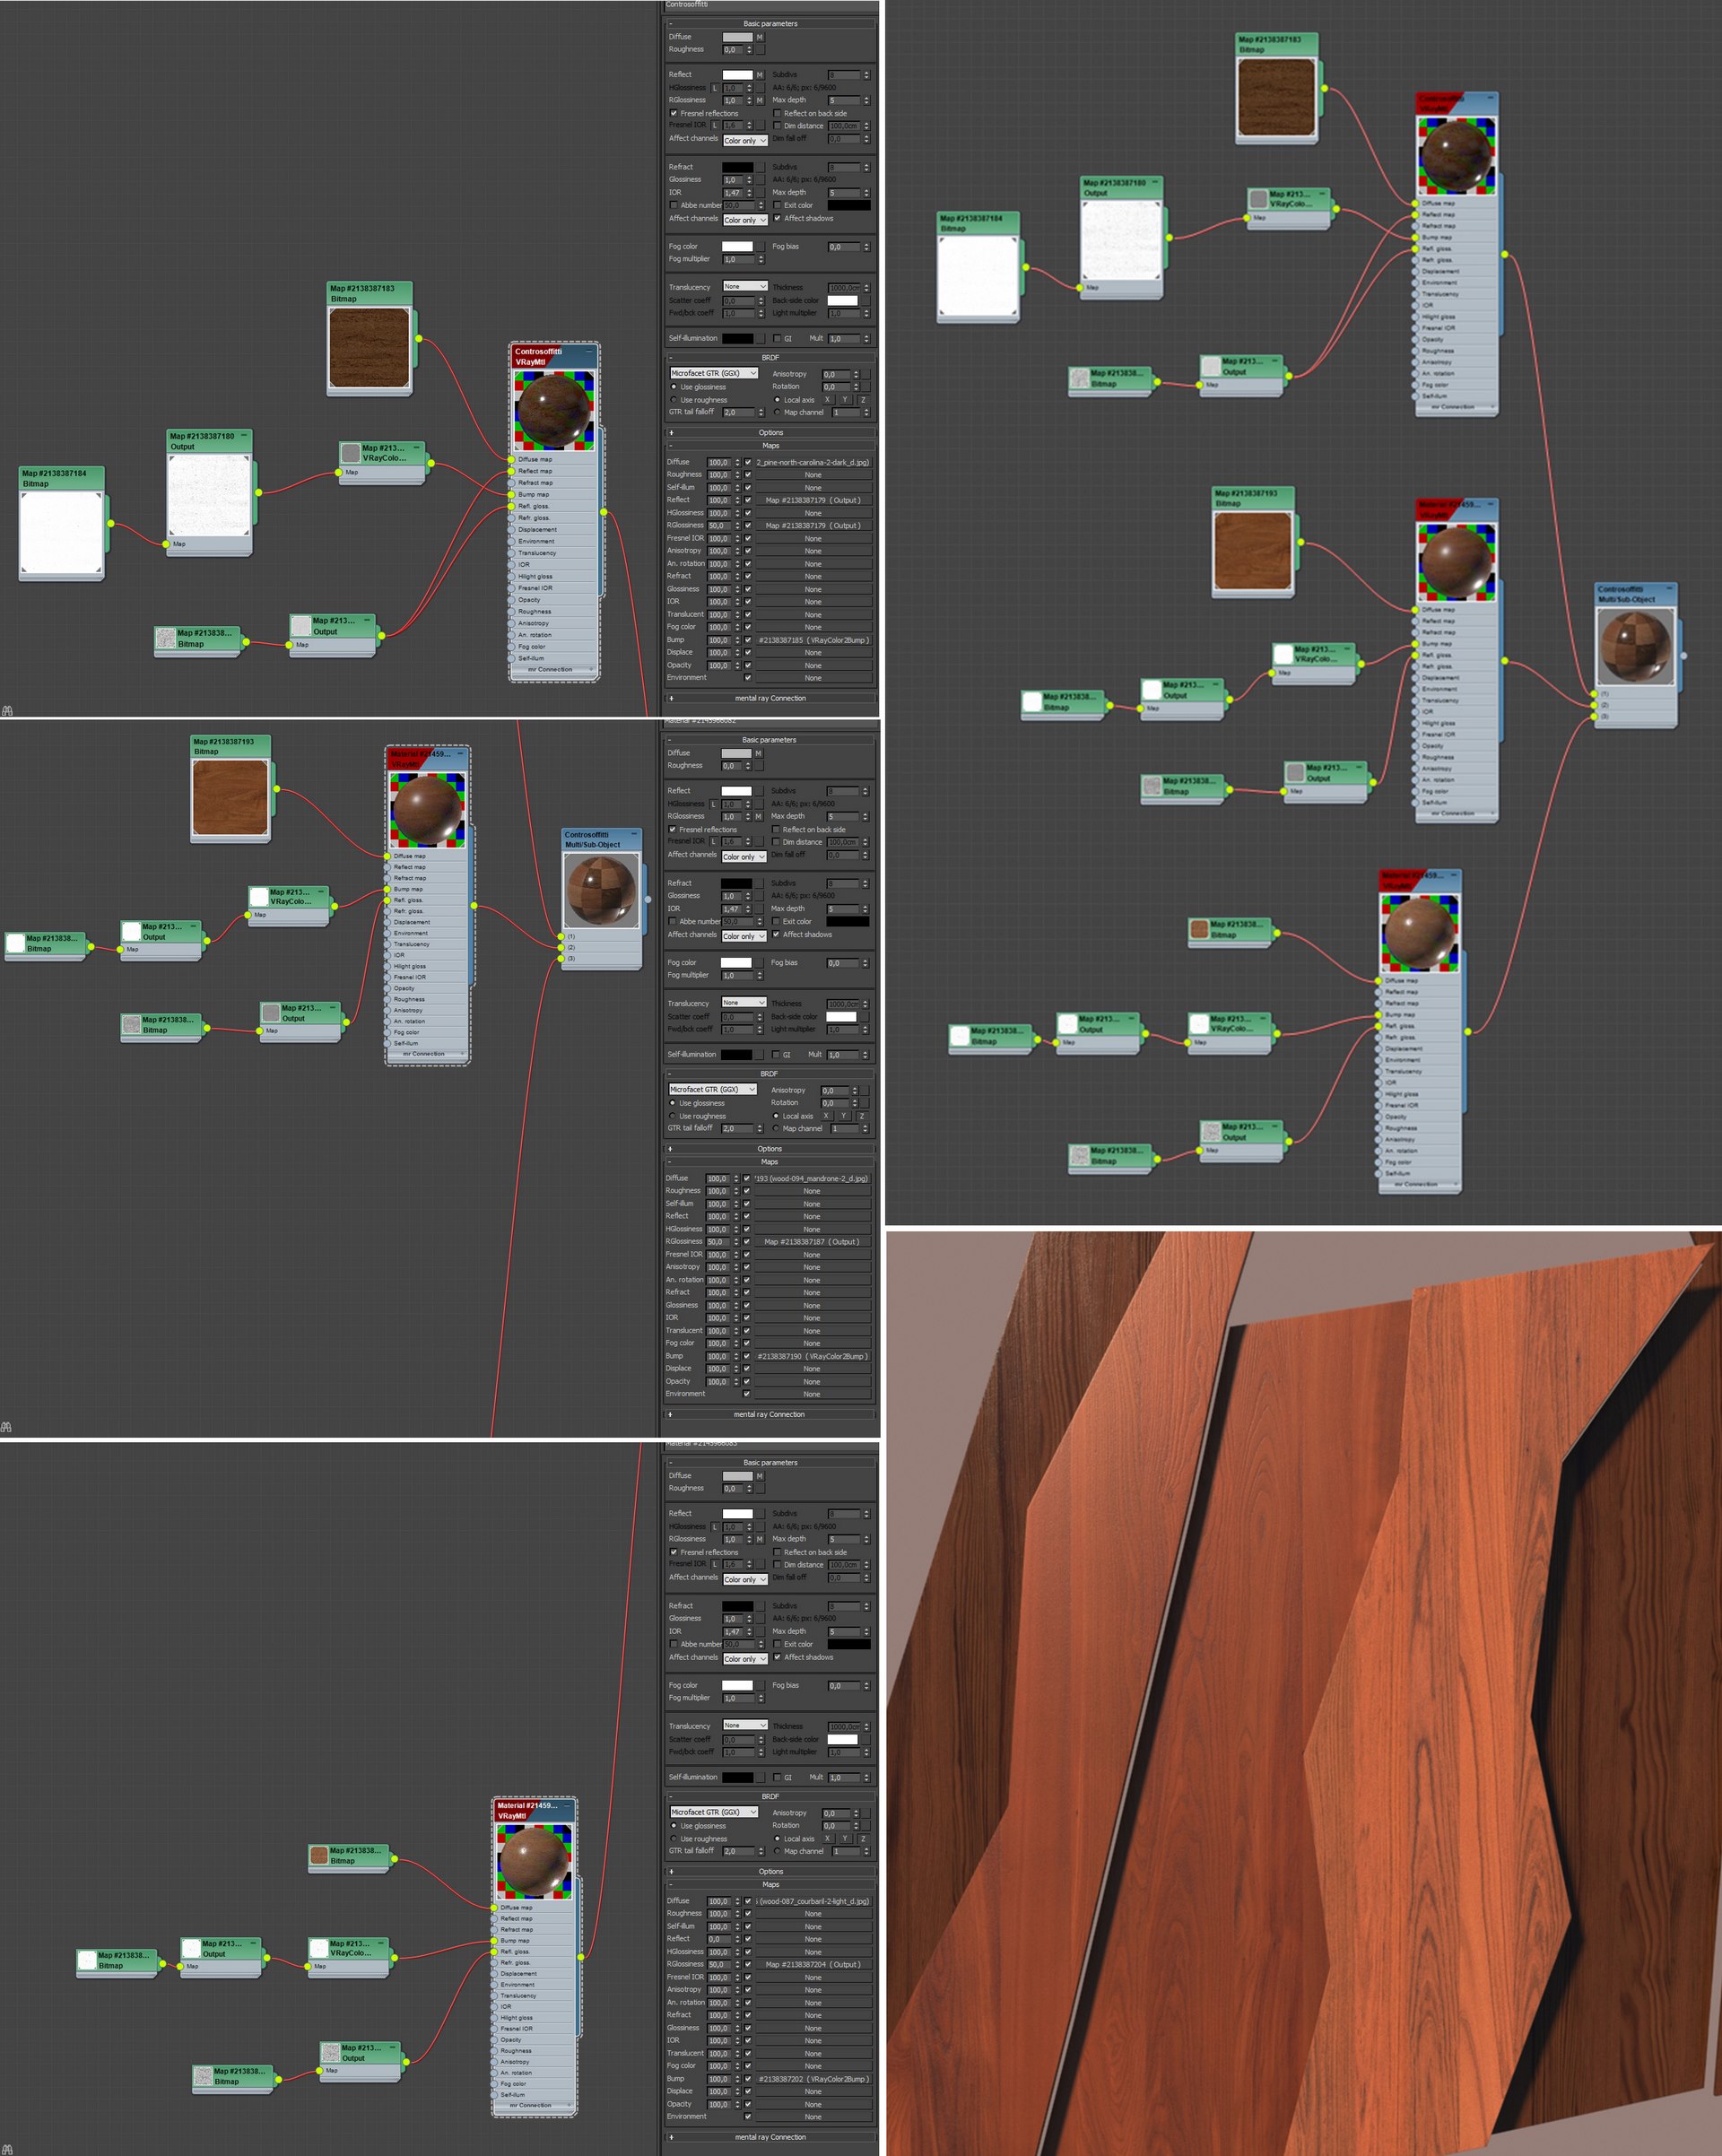
Here are the most representative materials of the work.
Resin pt floor.
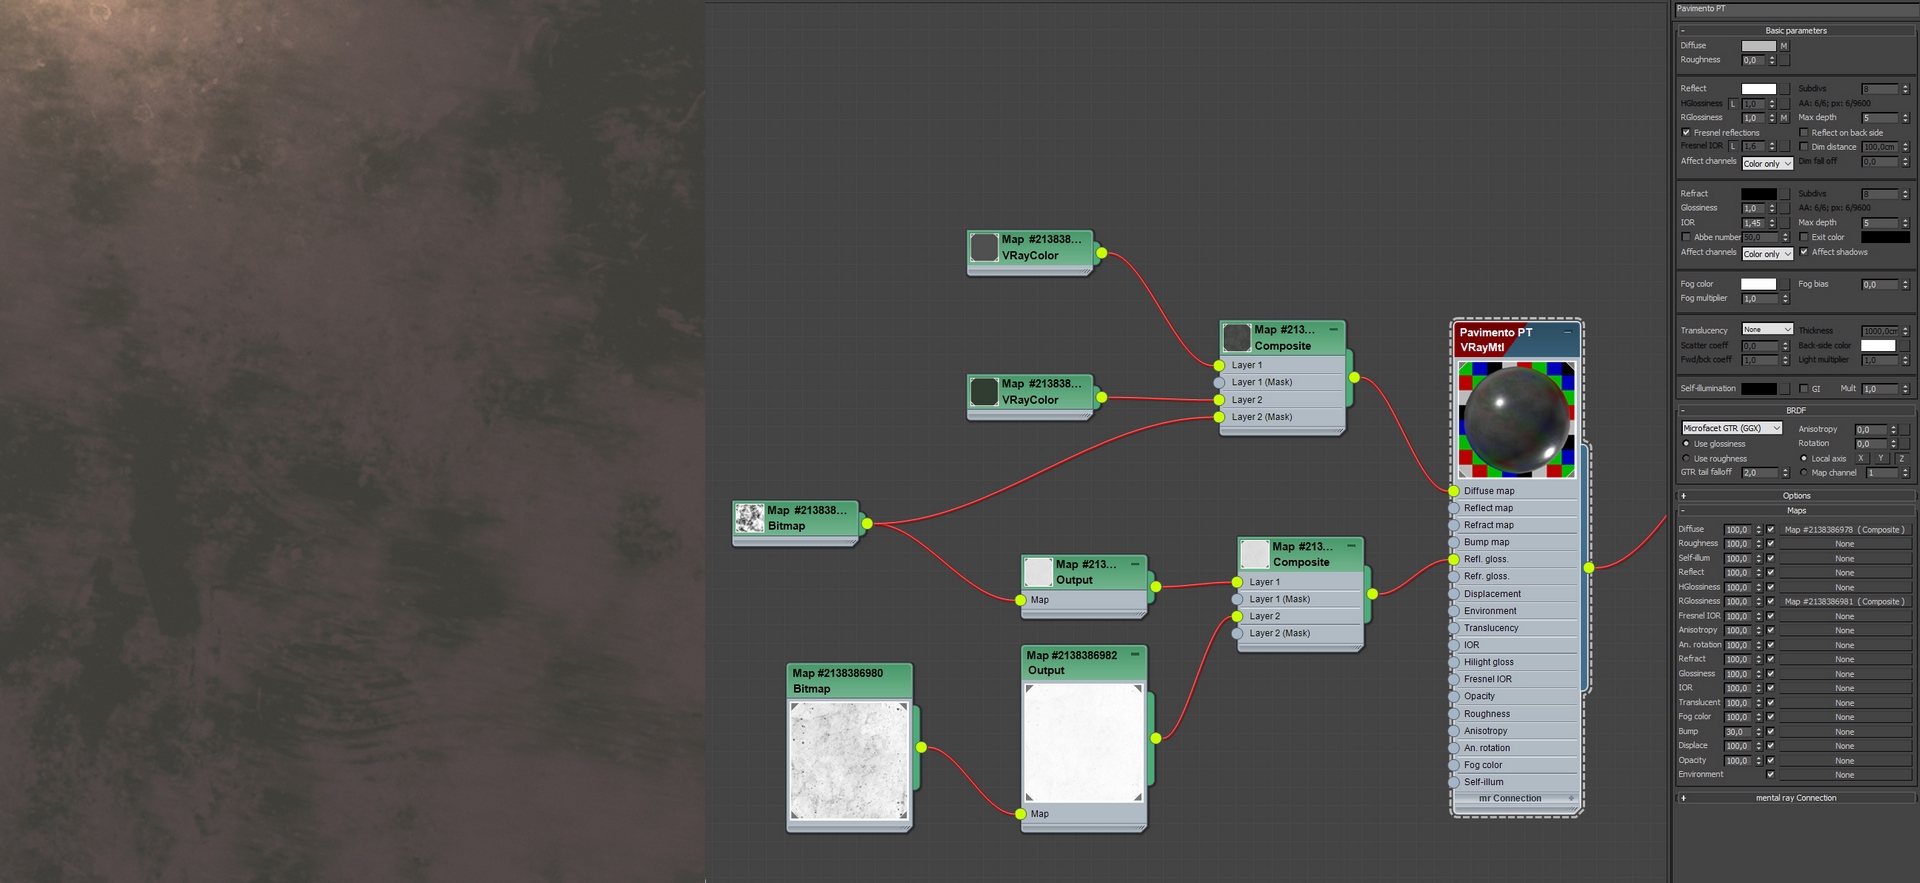
P1 floor - antique wood.
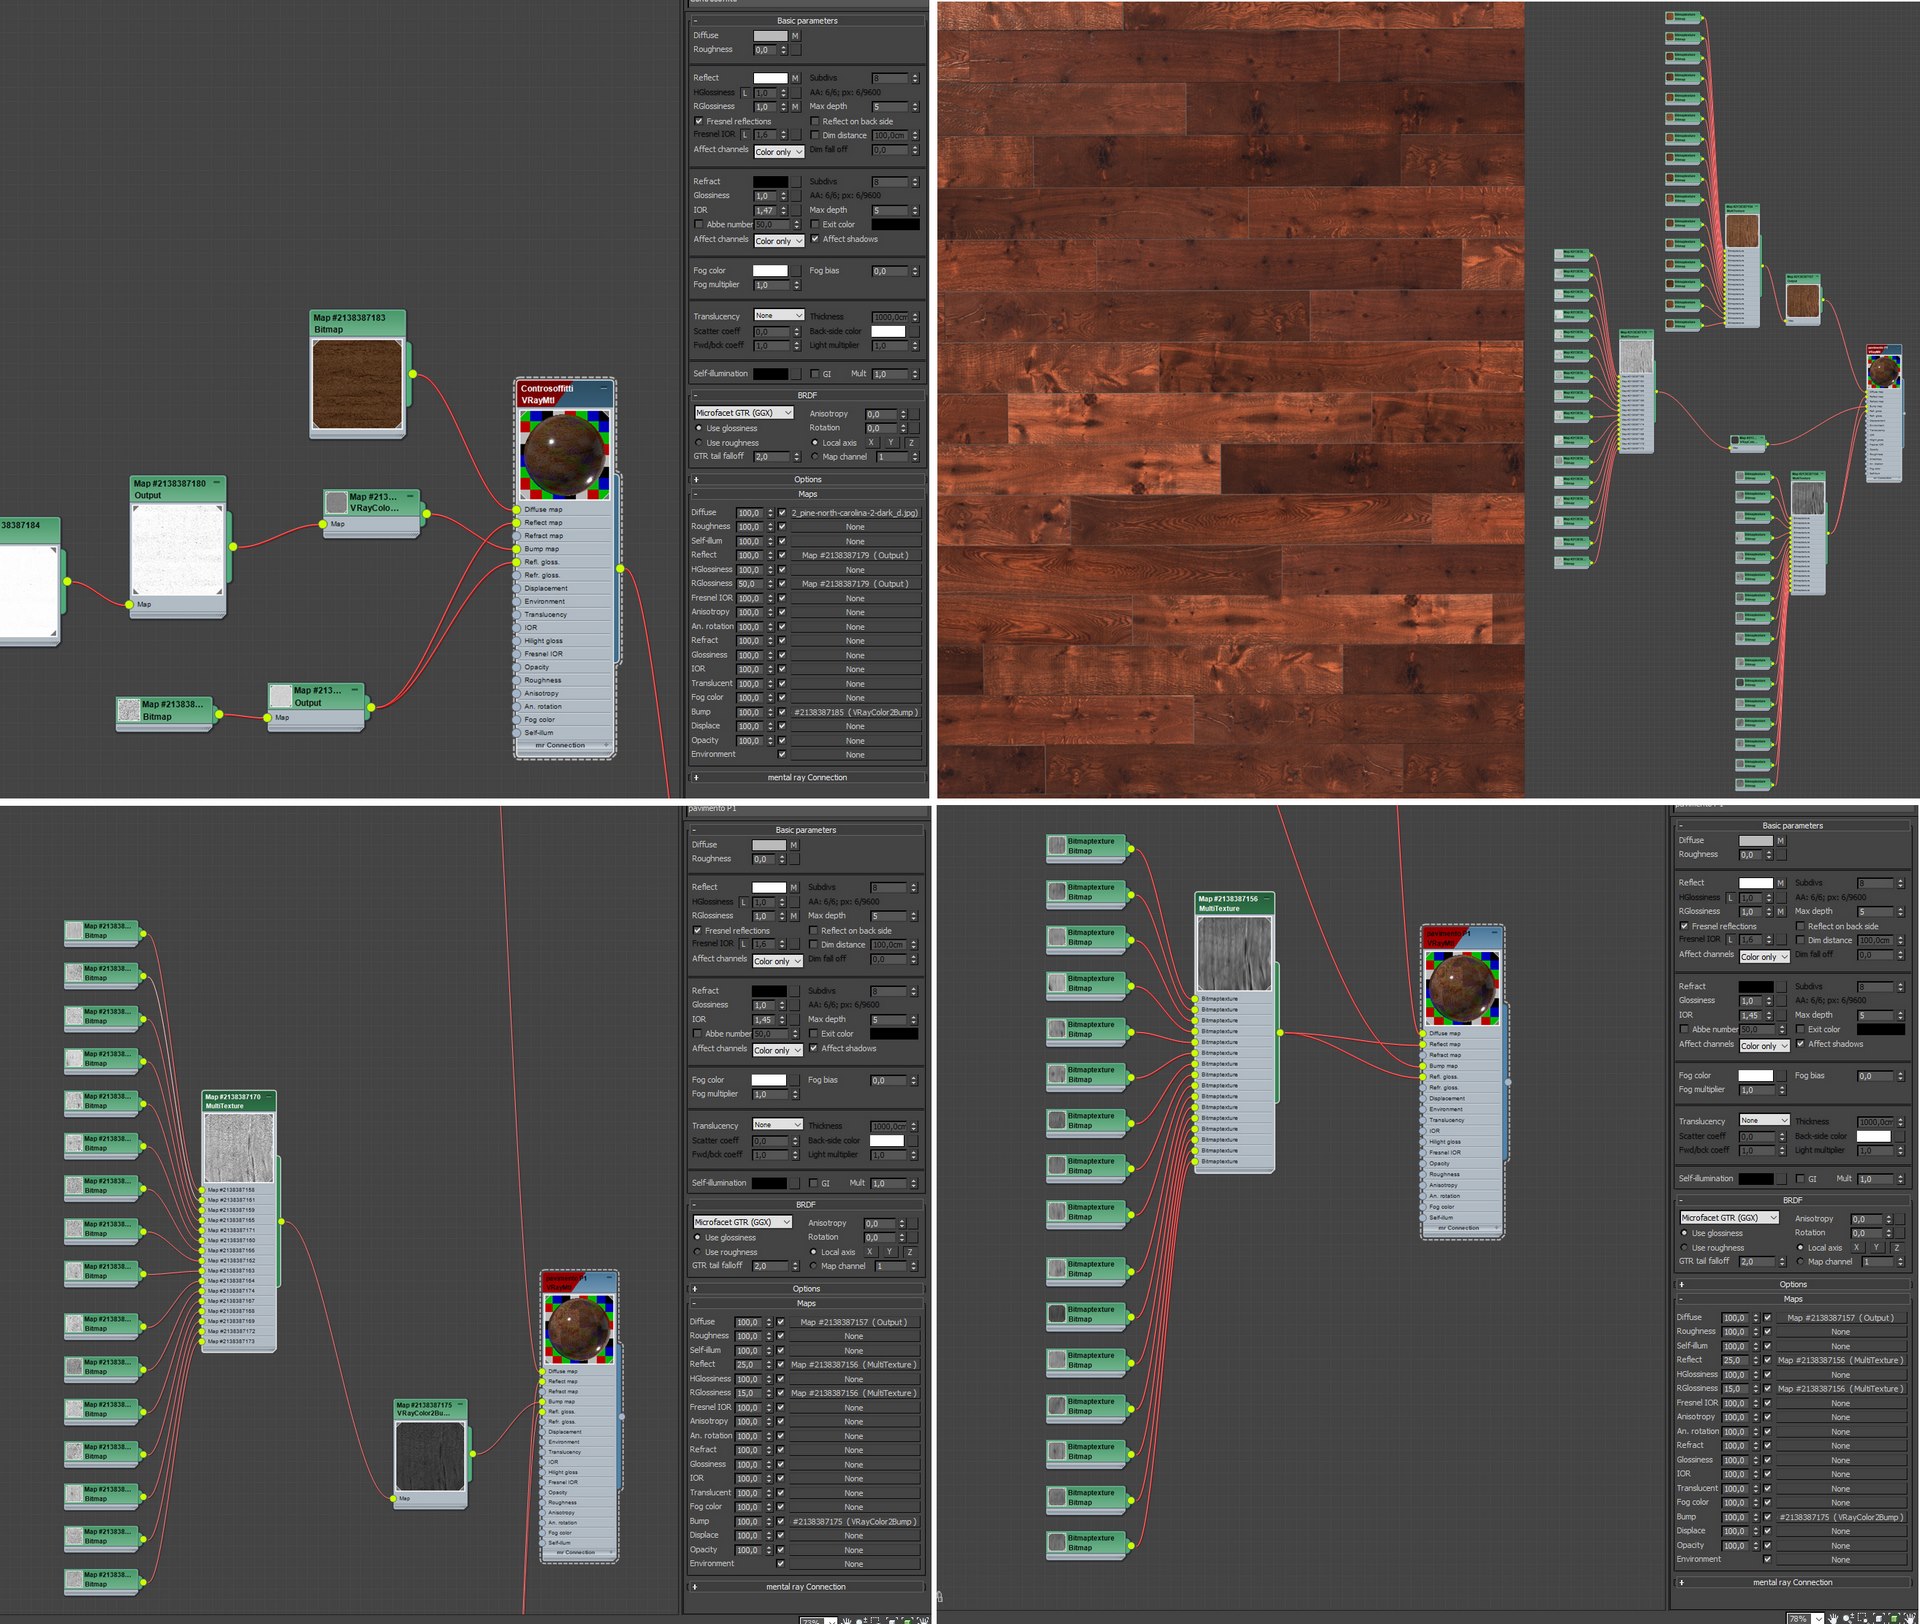
Wooden false ceilings, 3 essences Countertops 3 different ids on objects.
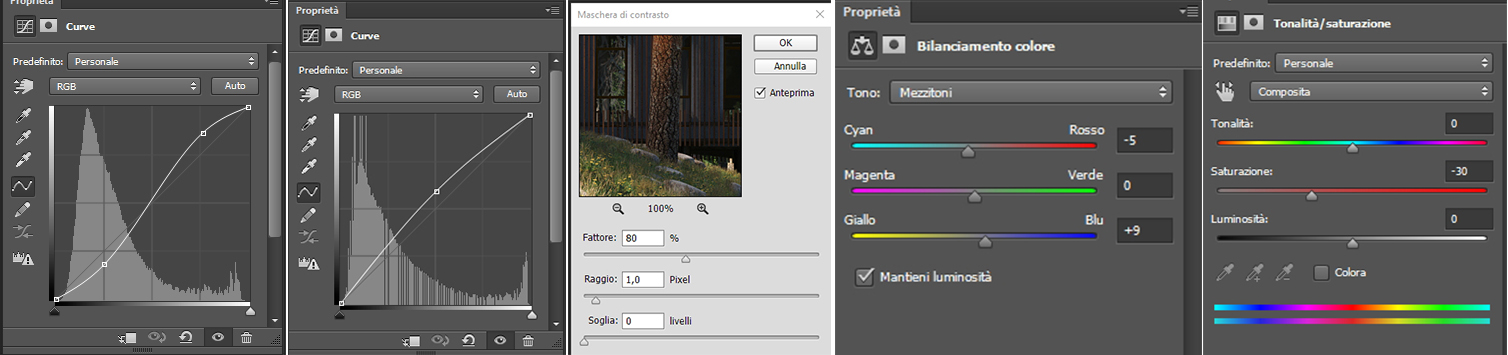
From a linear render, I have obtained some render elements, normally I use only a 1 px definition mask, the curves for the balance of contrasts between lights and shadows, some images in the background in case it should be used, white balance.
Vista 1 - The image starting after rendering.
Changes with PS.

The background.
Contrast - Exposure - Unsharp Mask - Color balance - Hue Saturation.
Final Image.

Here all the images created for the representation of the scene.


Thanks again to VWArtclub for this great opportunity. Good render to everyone!