Luan Nunes created a very detailed making of article on his project the Nilo House, made with SketchUp & V-Ray. He would like to share it with all VW *Members around the world. Enjoy!

The main goal which this project was conceived for was to participate in a challenge created in a study group. We had to follow two basic rules though; we should develop an image of an existing project that was not our authorship and there should be a pool area. With that in mind, we left on our pilgrimage, seeking some reference that caught our eye.
The chosen project that would be used as a reference was made through the site archdaily.com.br, where we did our research and we chose the incredible work of the architects Alberto Burckhard and Carolina Echeverri, called Nilo Houses.
The original project covering an area of 2761.0 m² located in the city of Girardot-Colombia, considered the second most important city of the Cundinamarca which is located in a place with tropical climate that causes the city to be home to a series of leisure and holiday spots.
After choosing the reference project, we started the selection of the image to be represented, which proved to be a difficult job, after seeing the beautiful photographs of Juan Antonio Monsalve that you can check below.
From the site used to select the reference, we had access to the necessary blueprints for the modeling of the Nilo house. The design of the architects cited earlier, counted with several houses, thus the name in plural, Nilo Houses. However, we reproduced only one of the houses with SketchUp and we used only one of the photos as a reference to the final image. The rest of the images served as inspiration andalso contributed to a greater notion of the flora on the region.
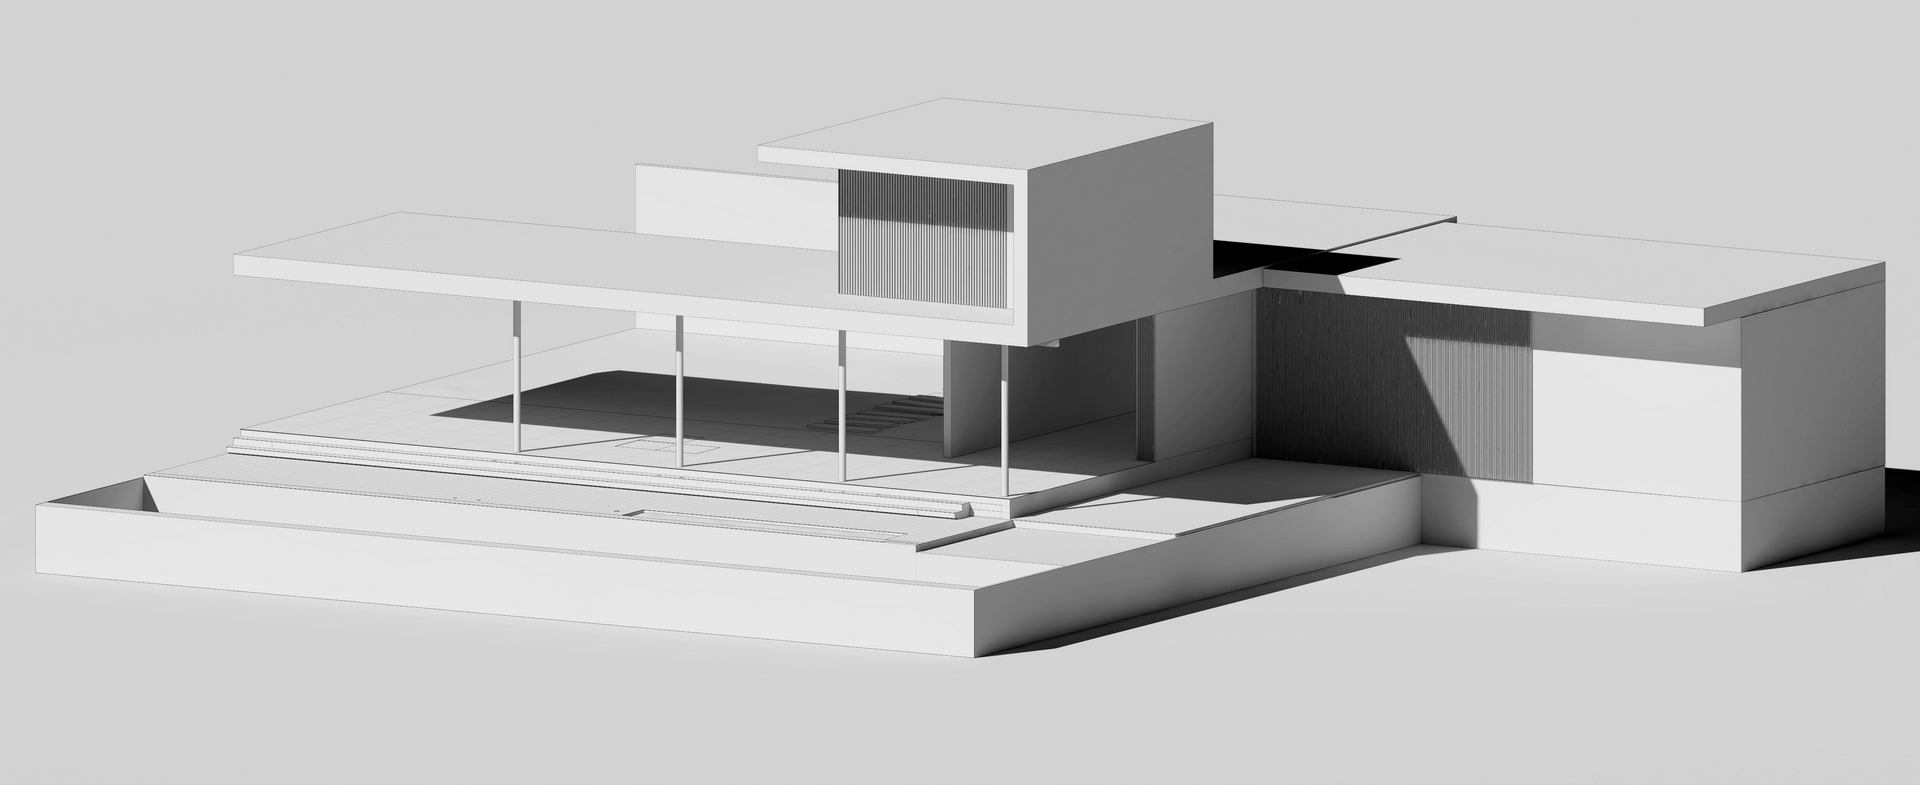
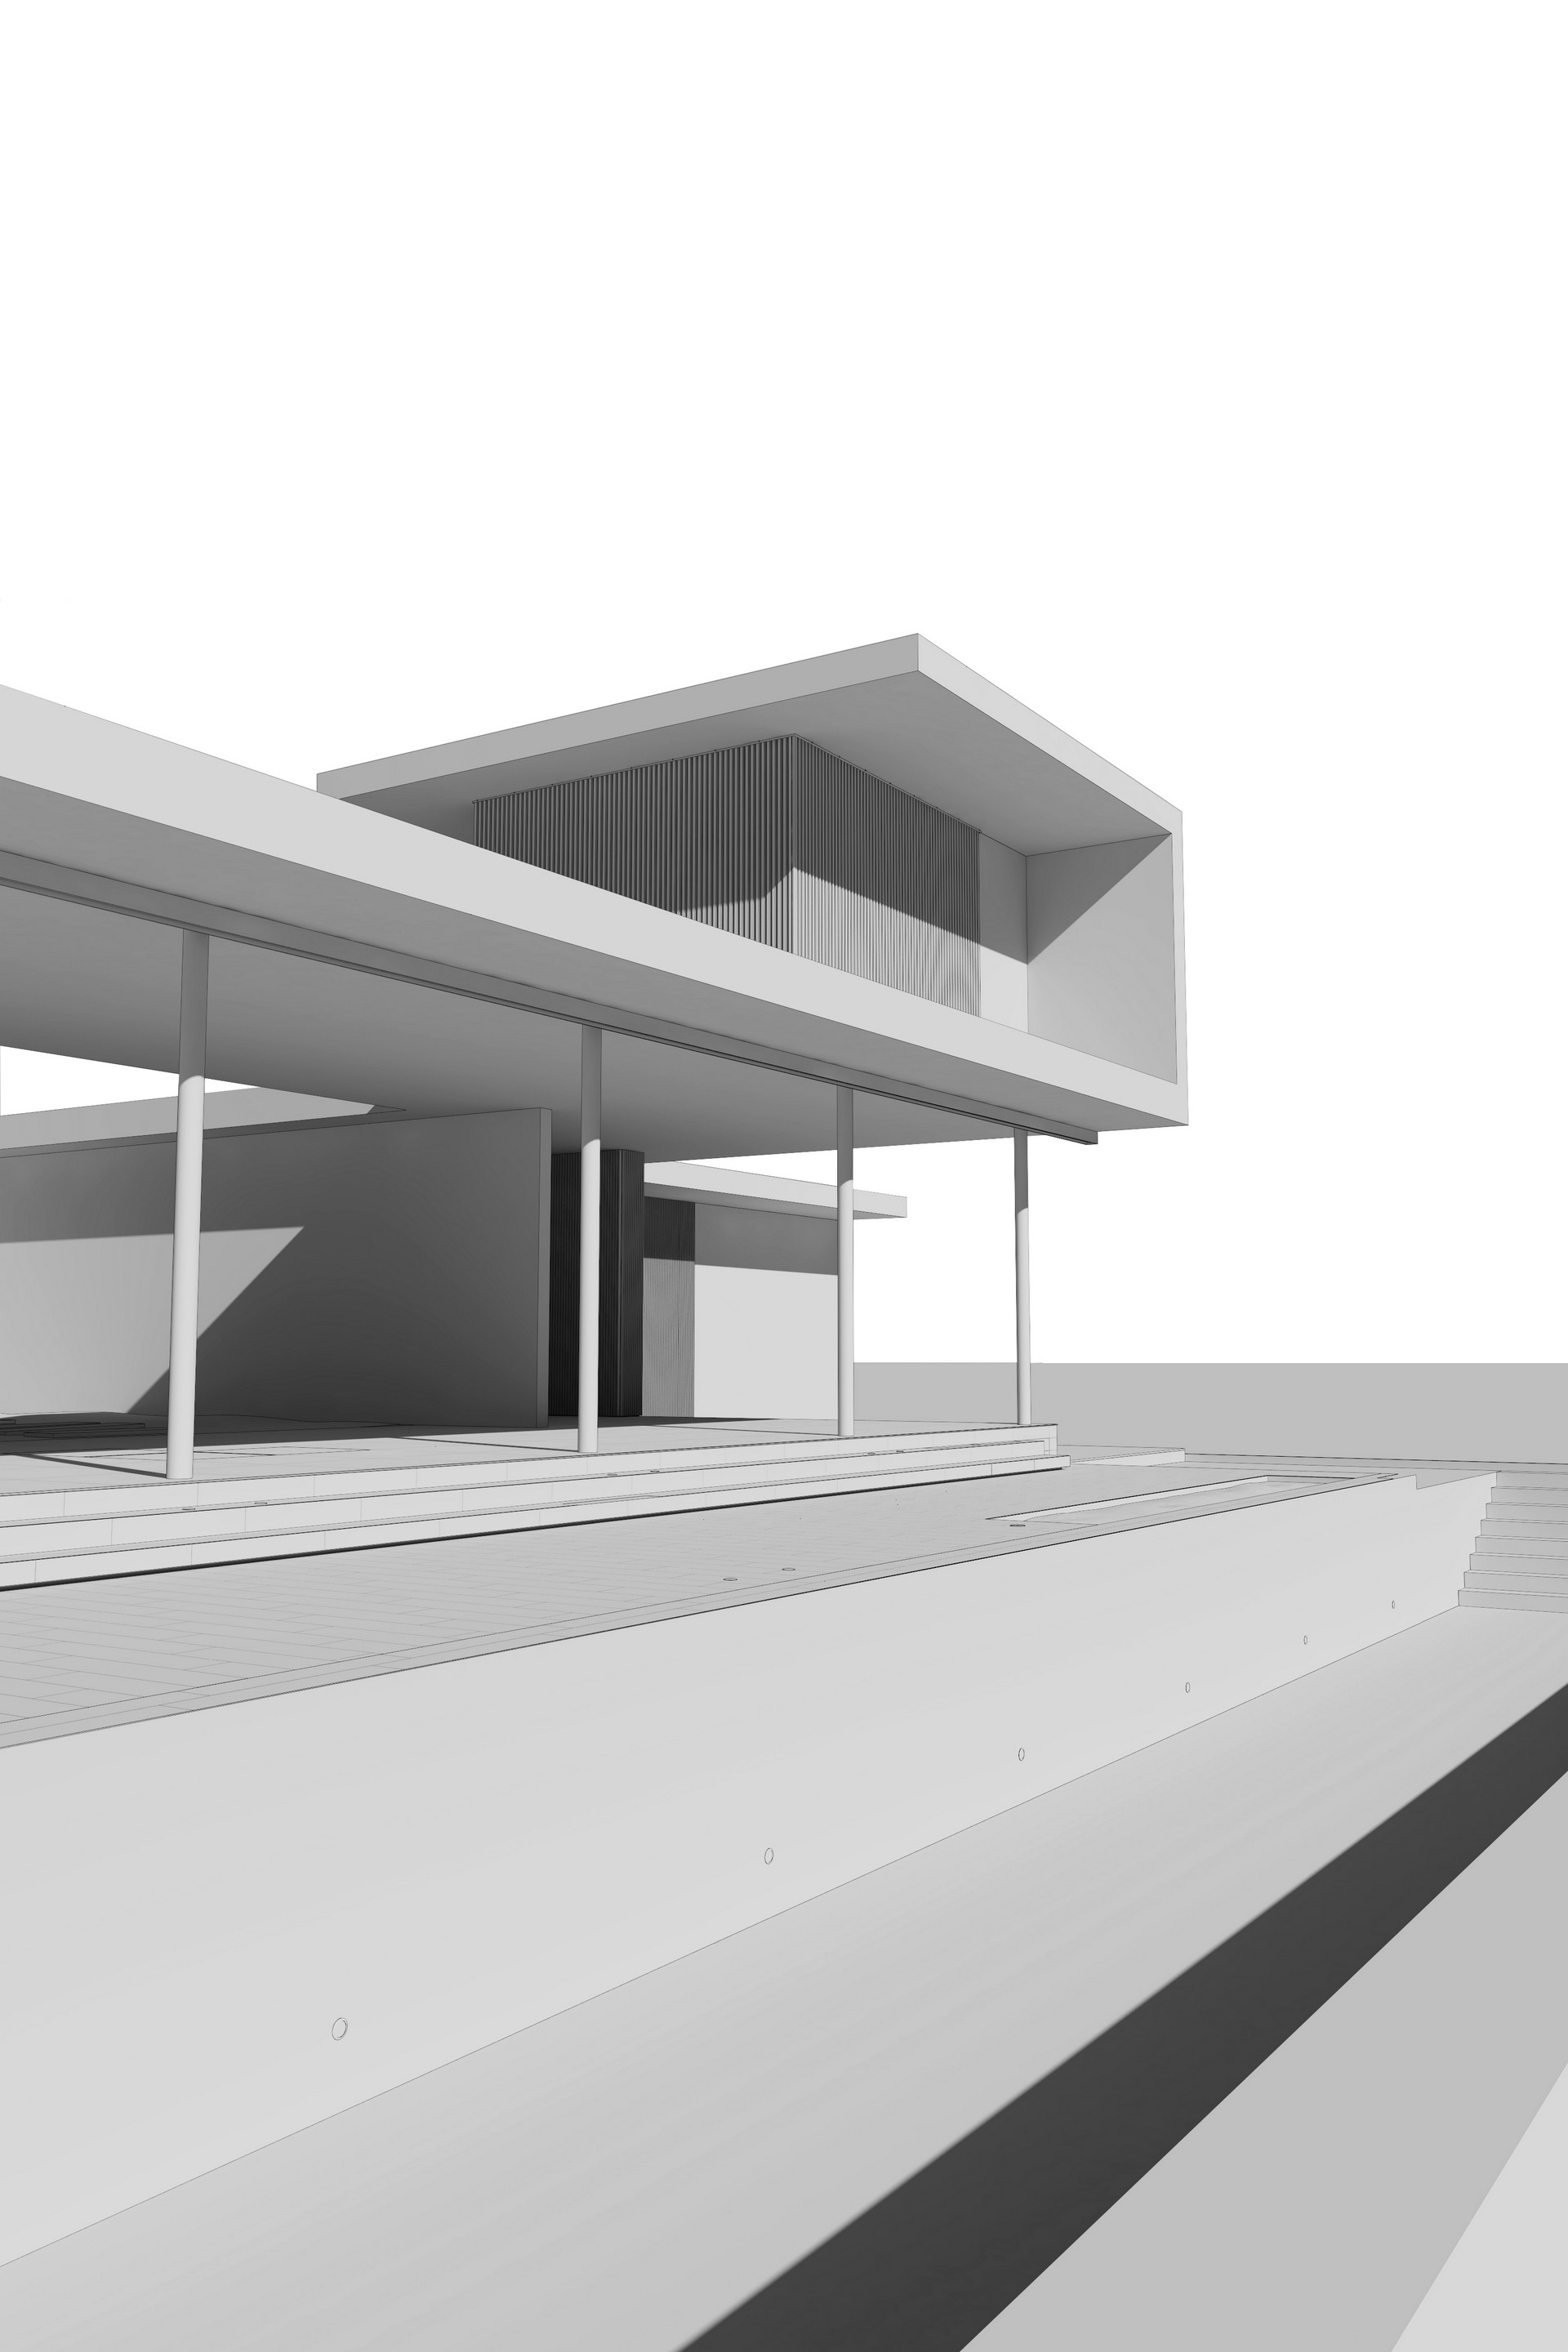
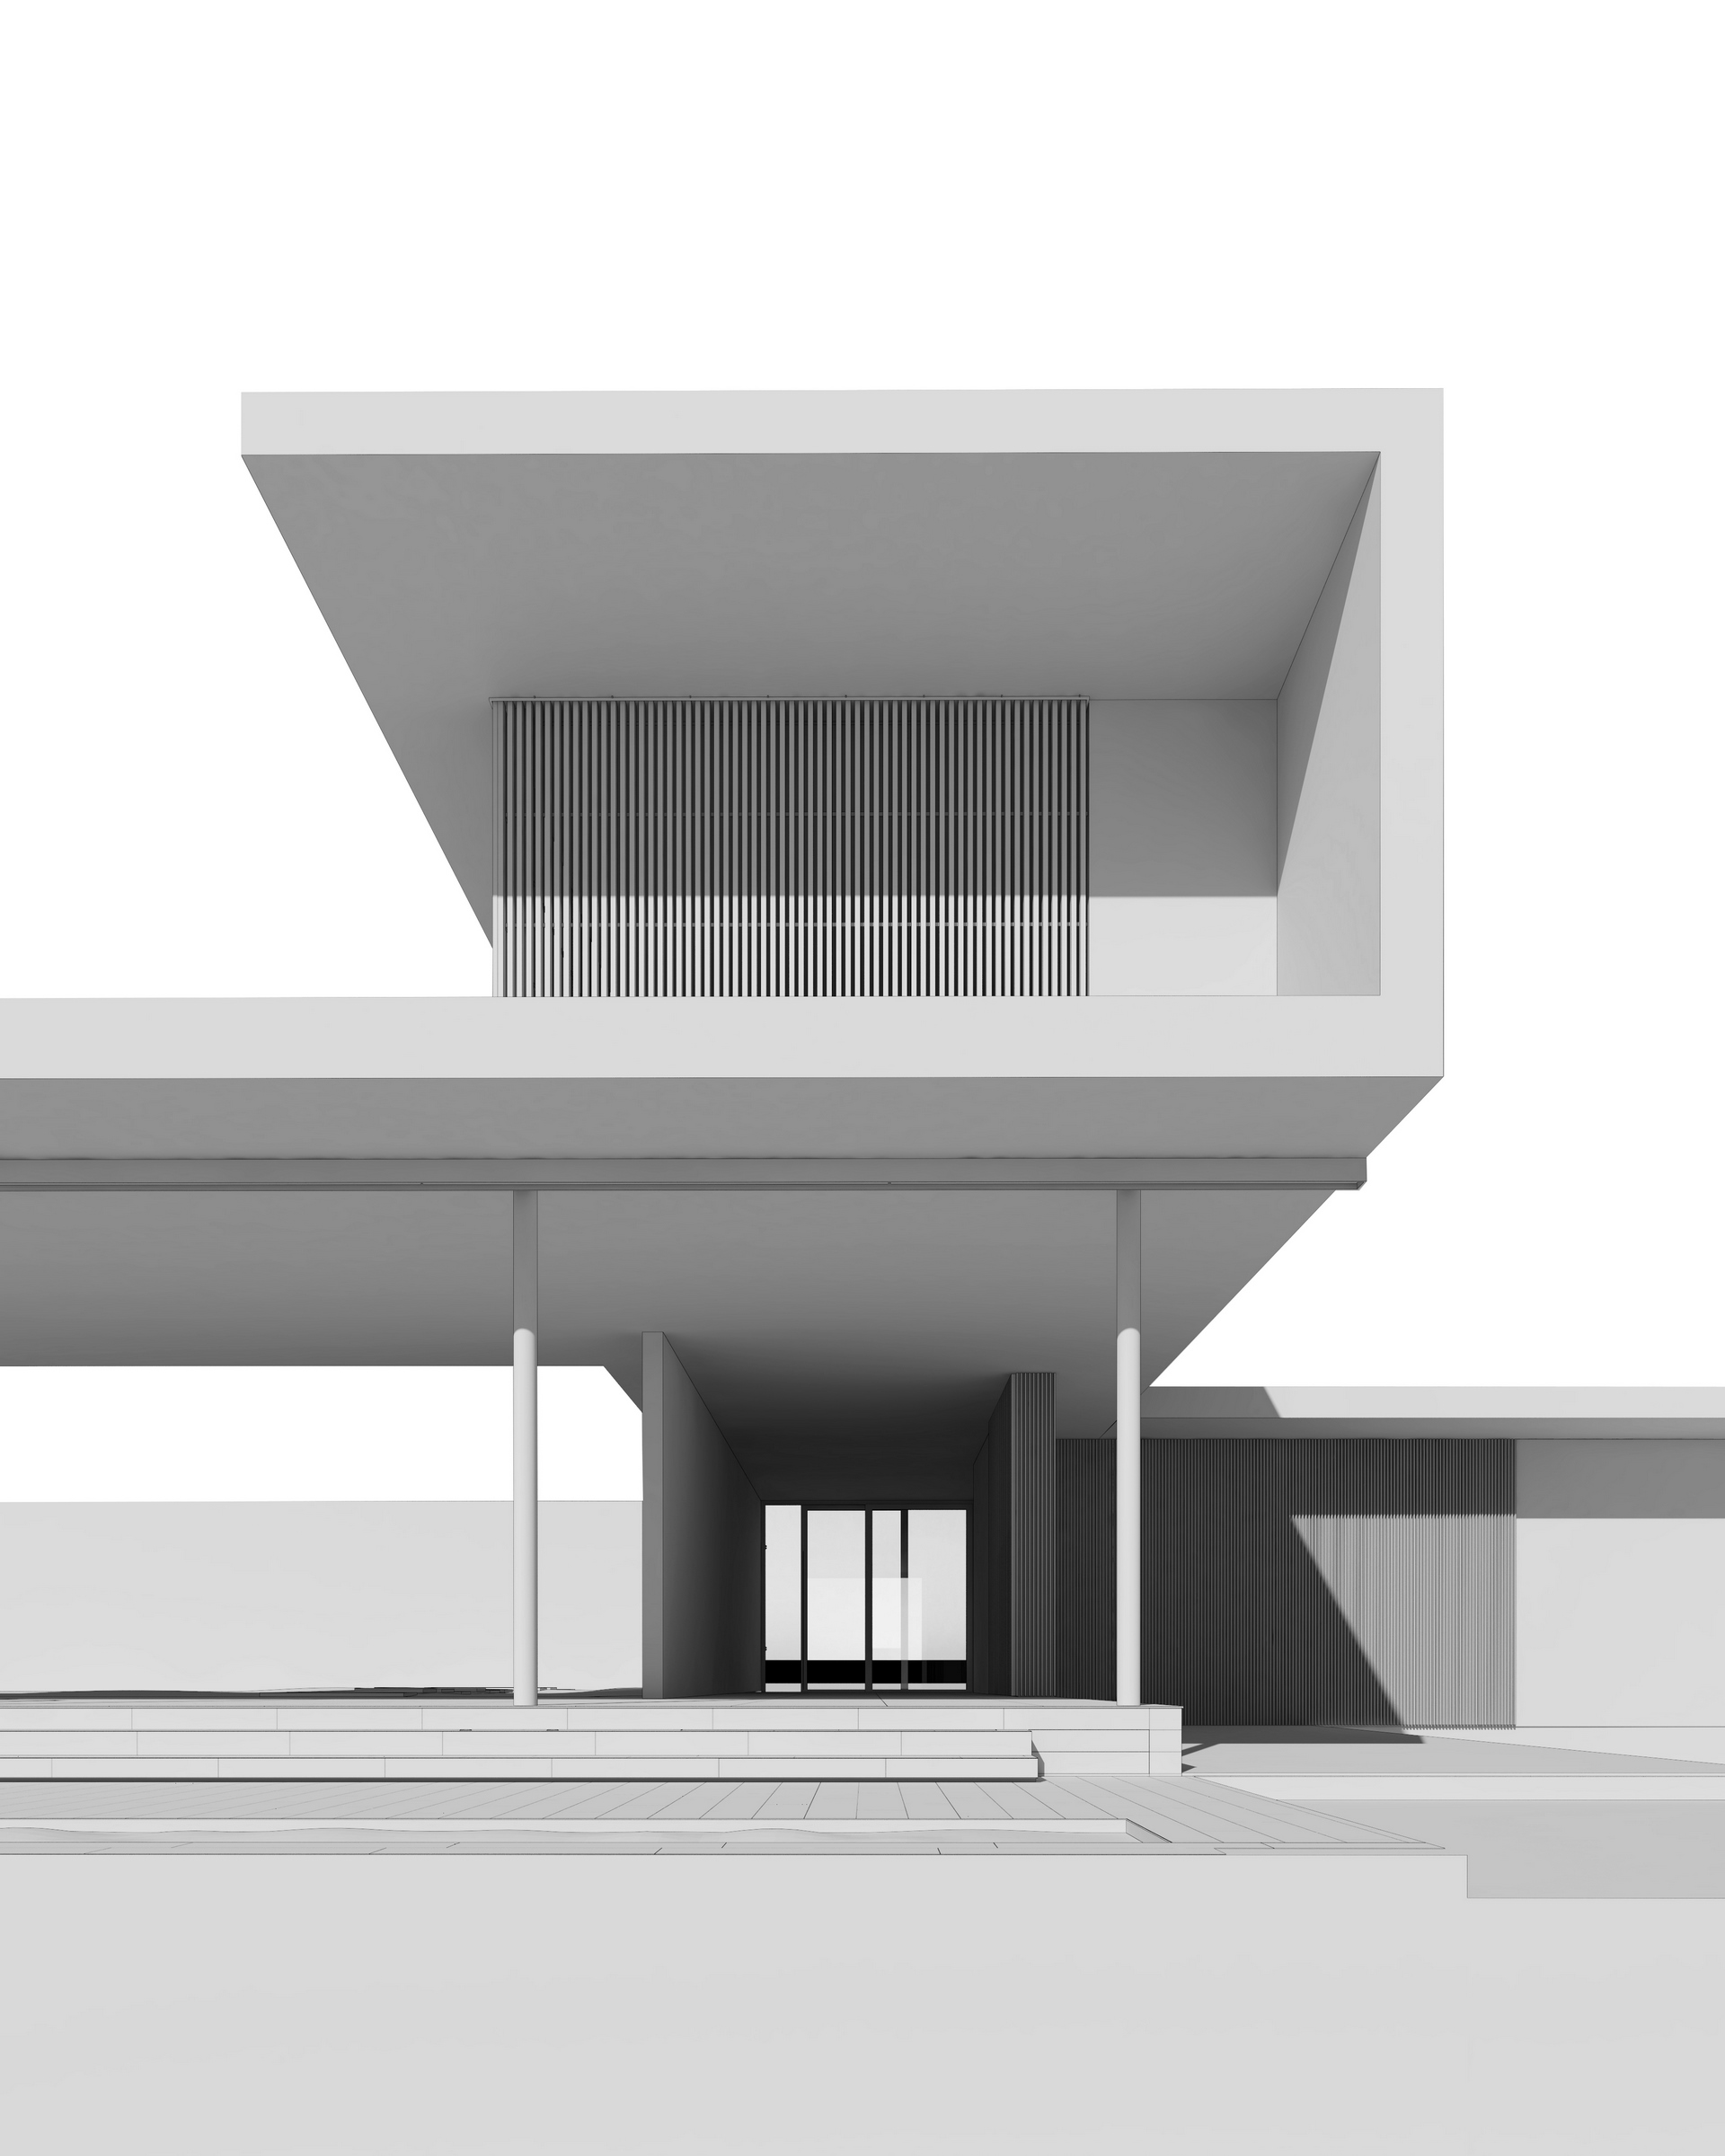
For the 3D model we sought to do something that was simple, but it had to meet our needs and be satisfactory and represent the reference well. As you can see, there is no terrain properly worked, focusing only on what would be necessary for the reproduction of what we wanted to present.

As you can see, there is no terrain properly worked, focusing only on what would be necessary for the reproduction of what we wanted to present.

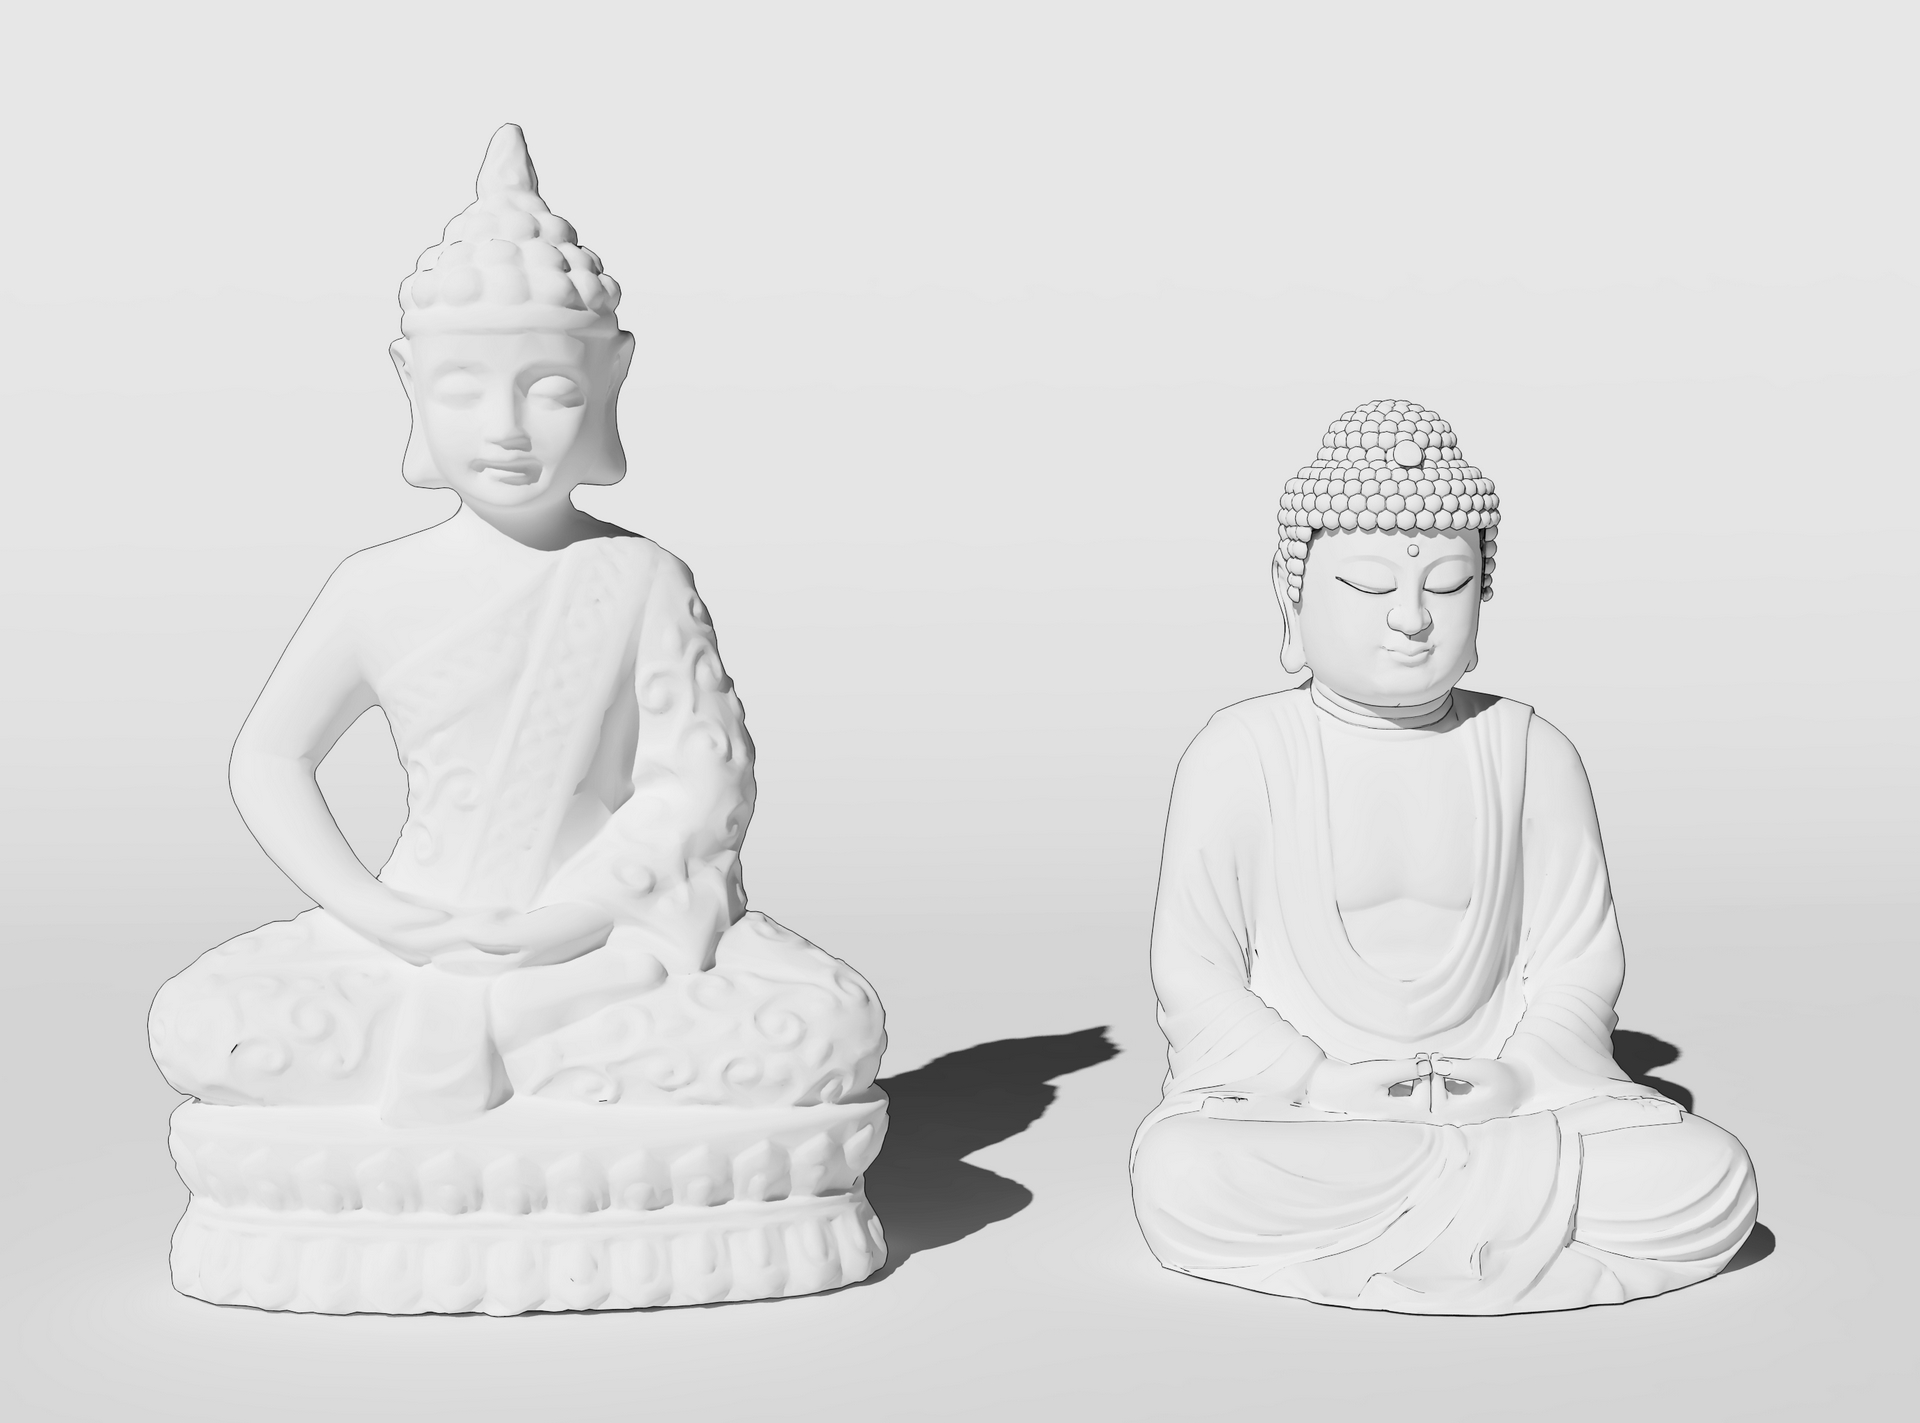
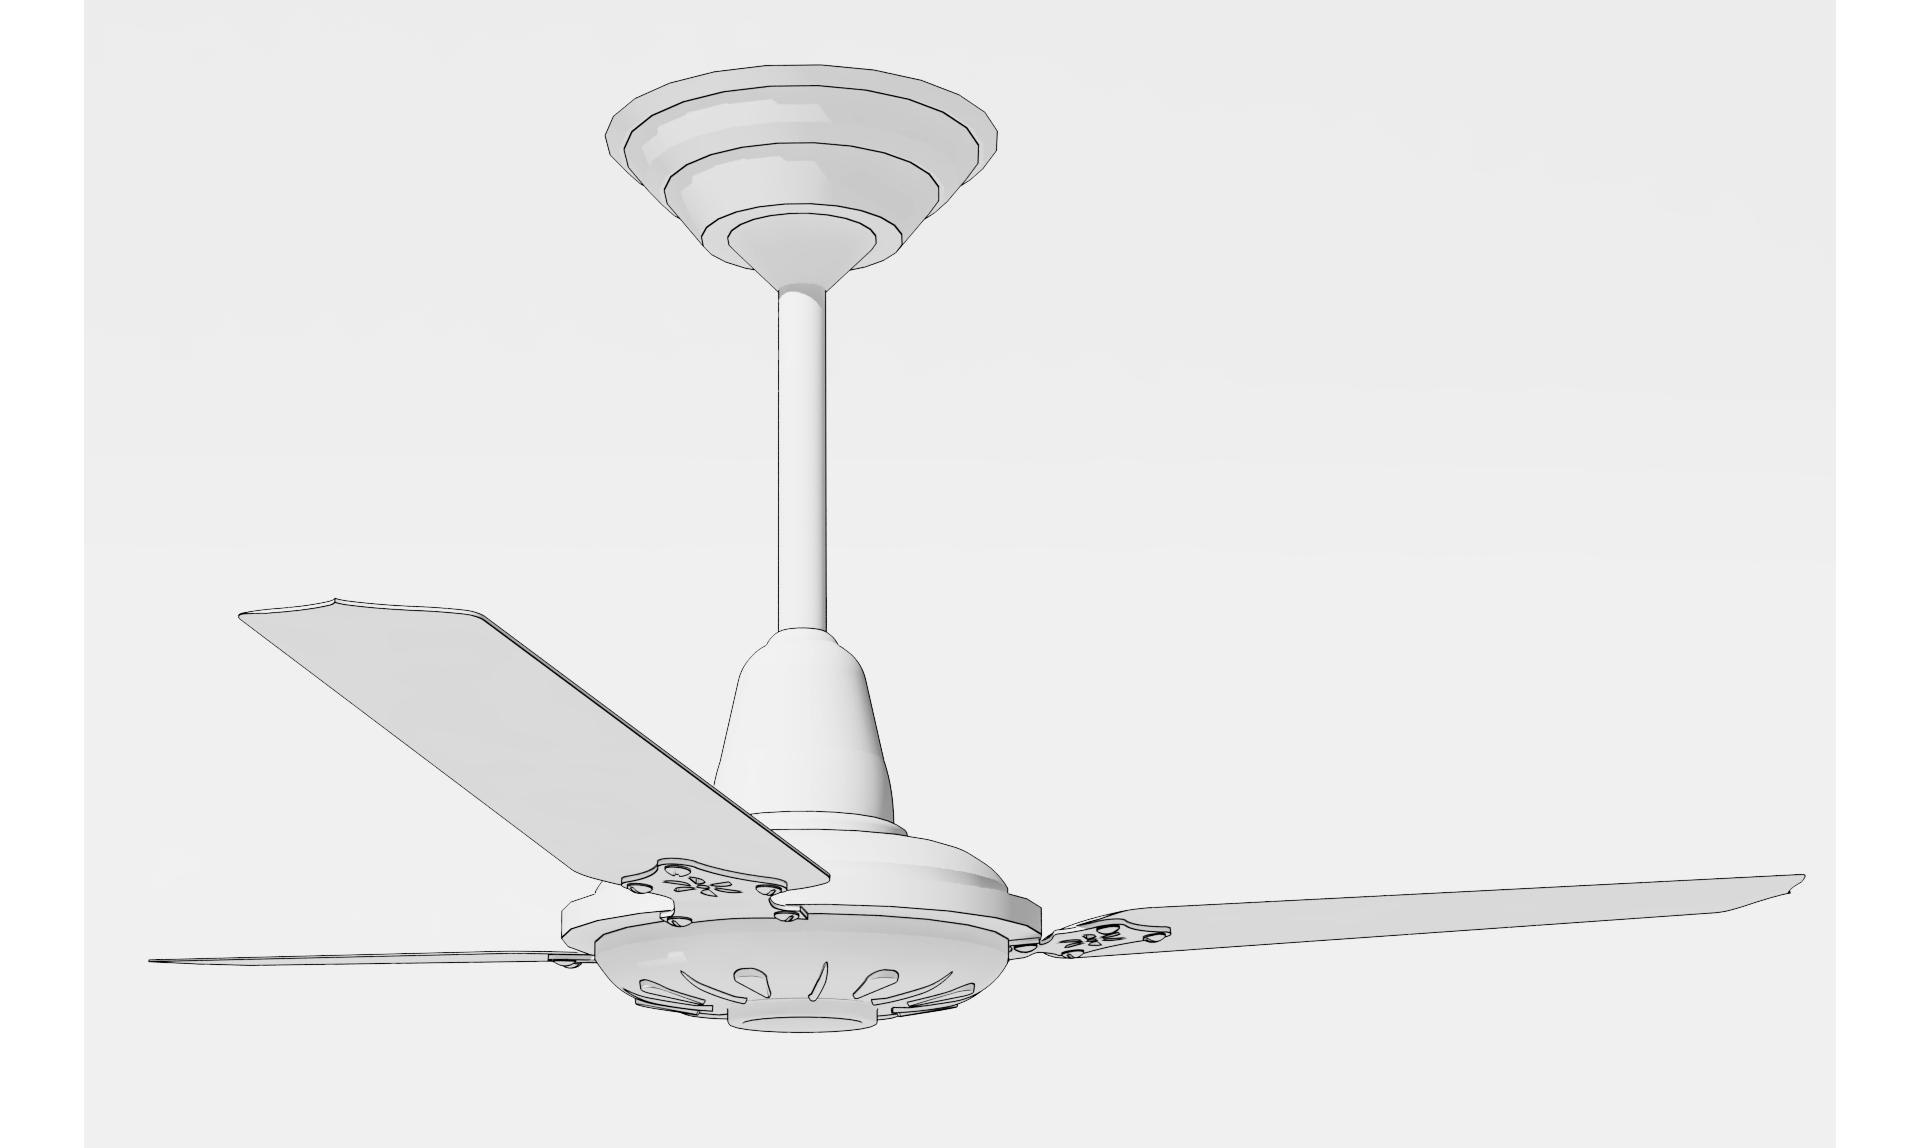
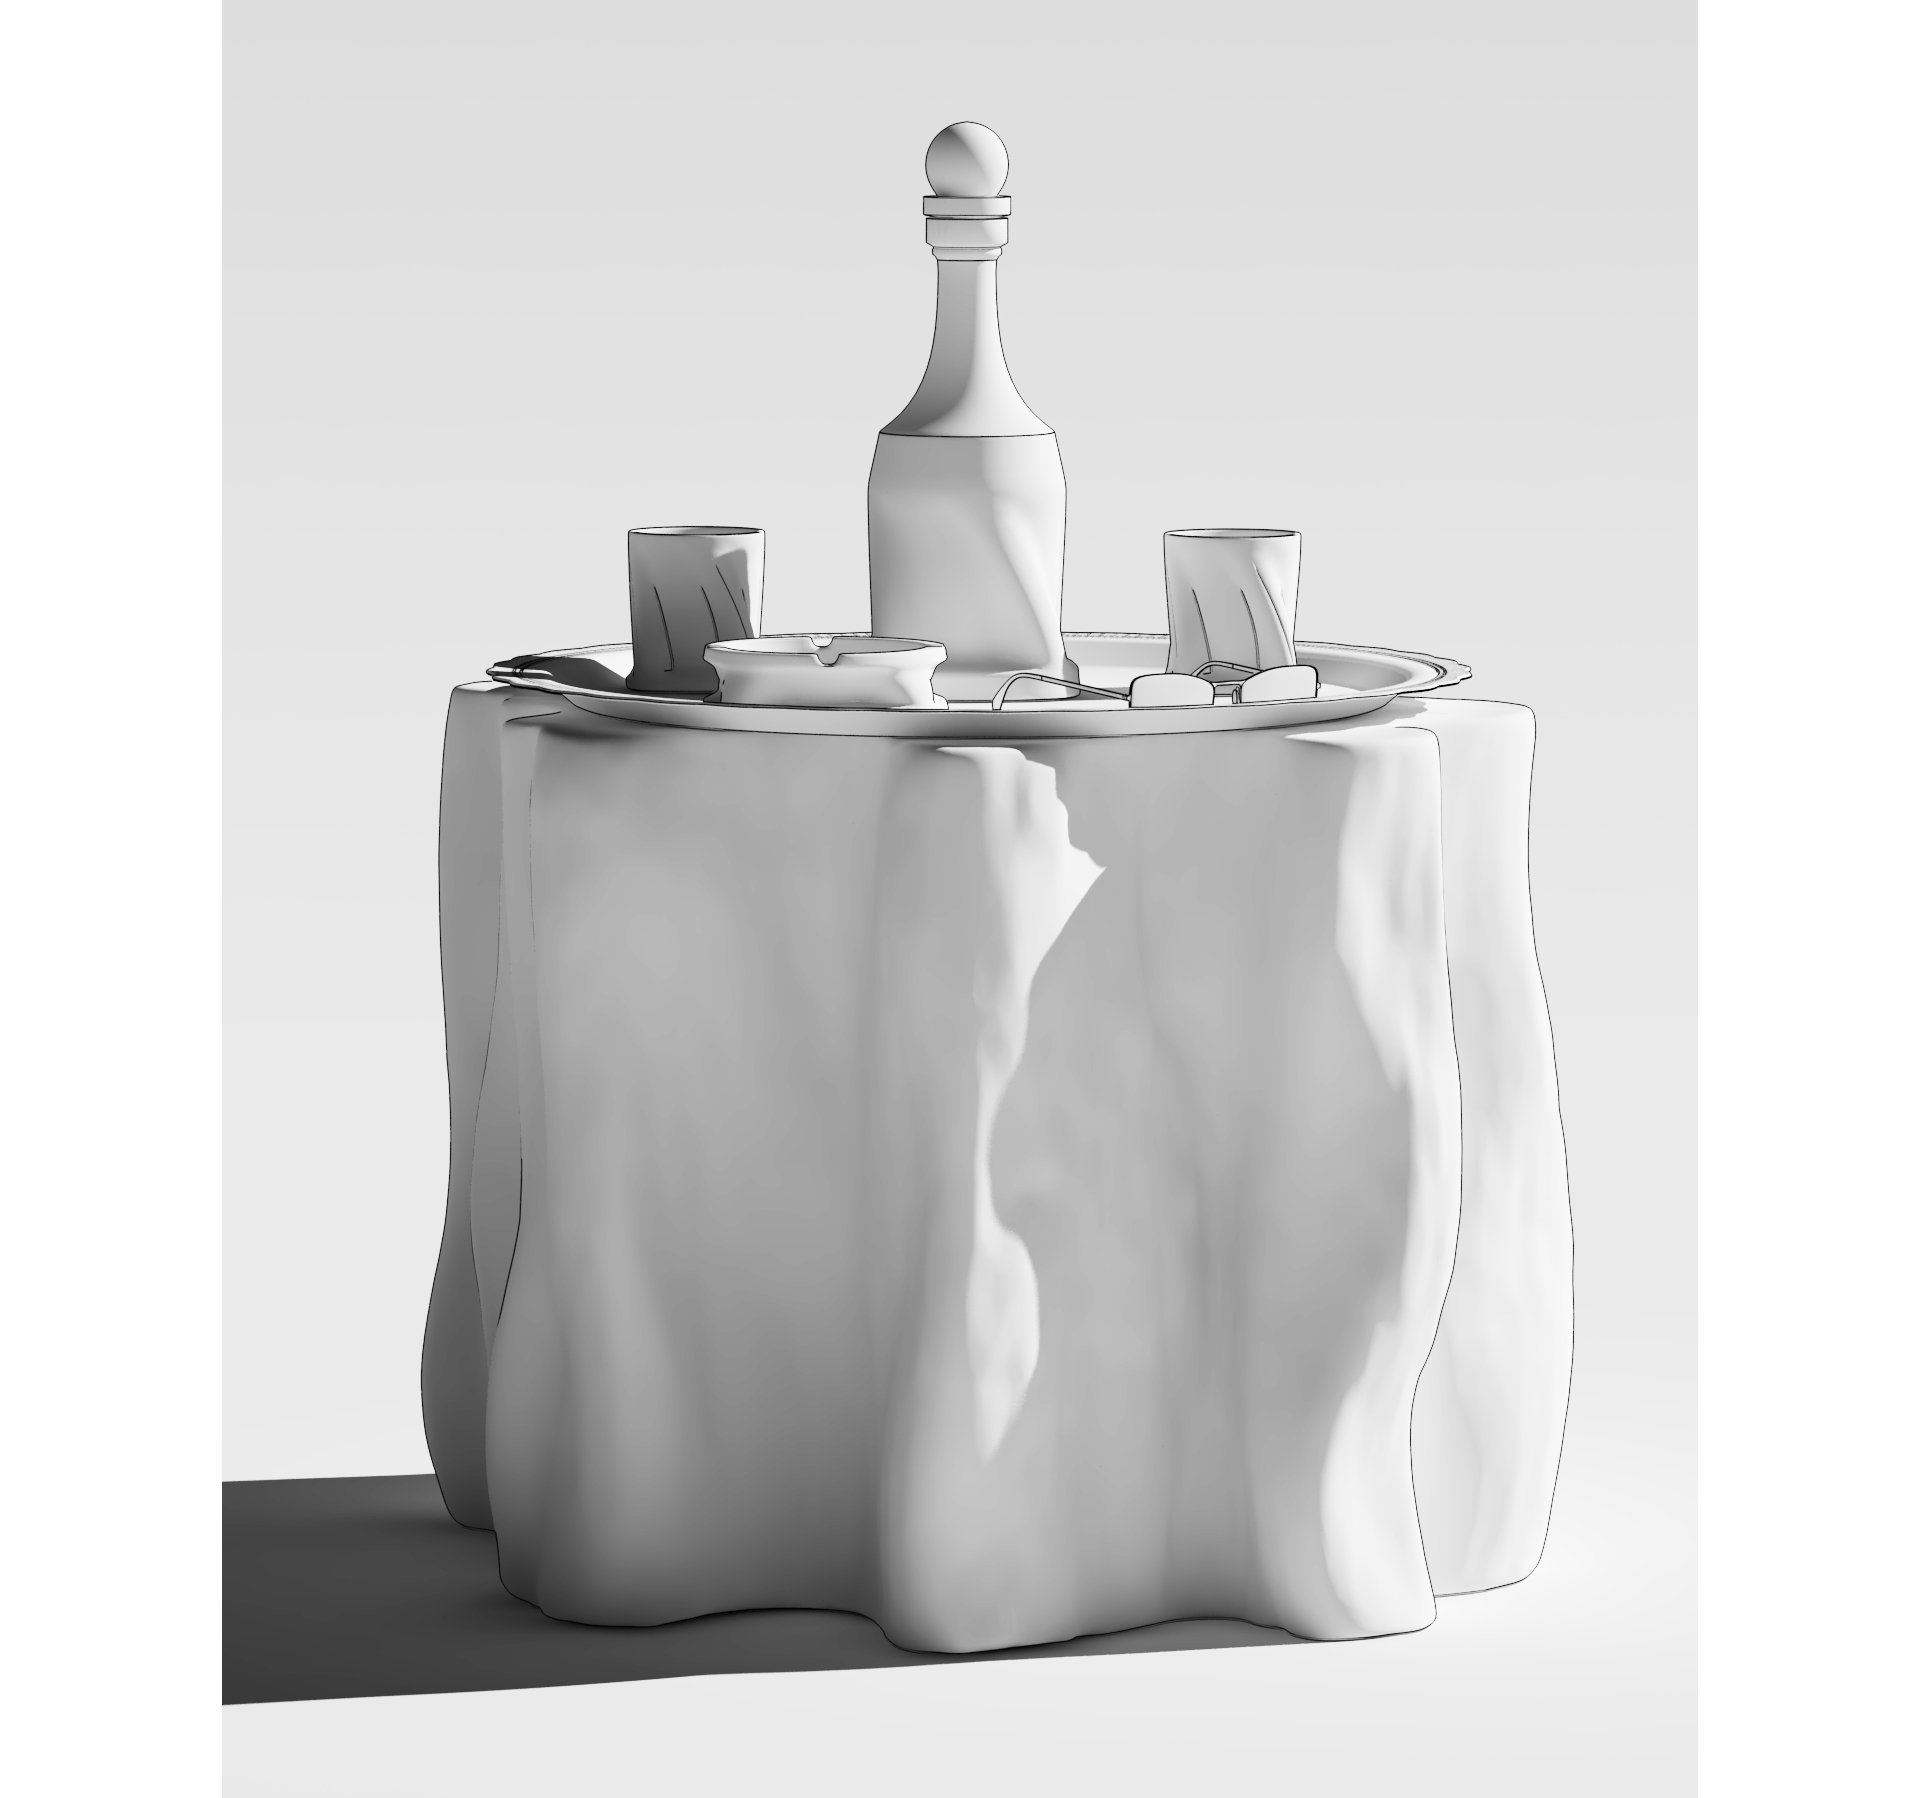
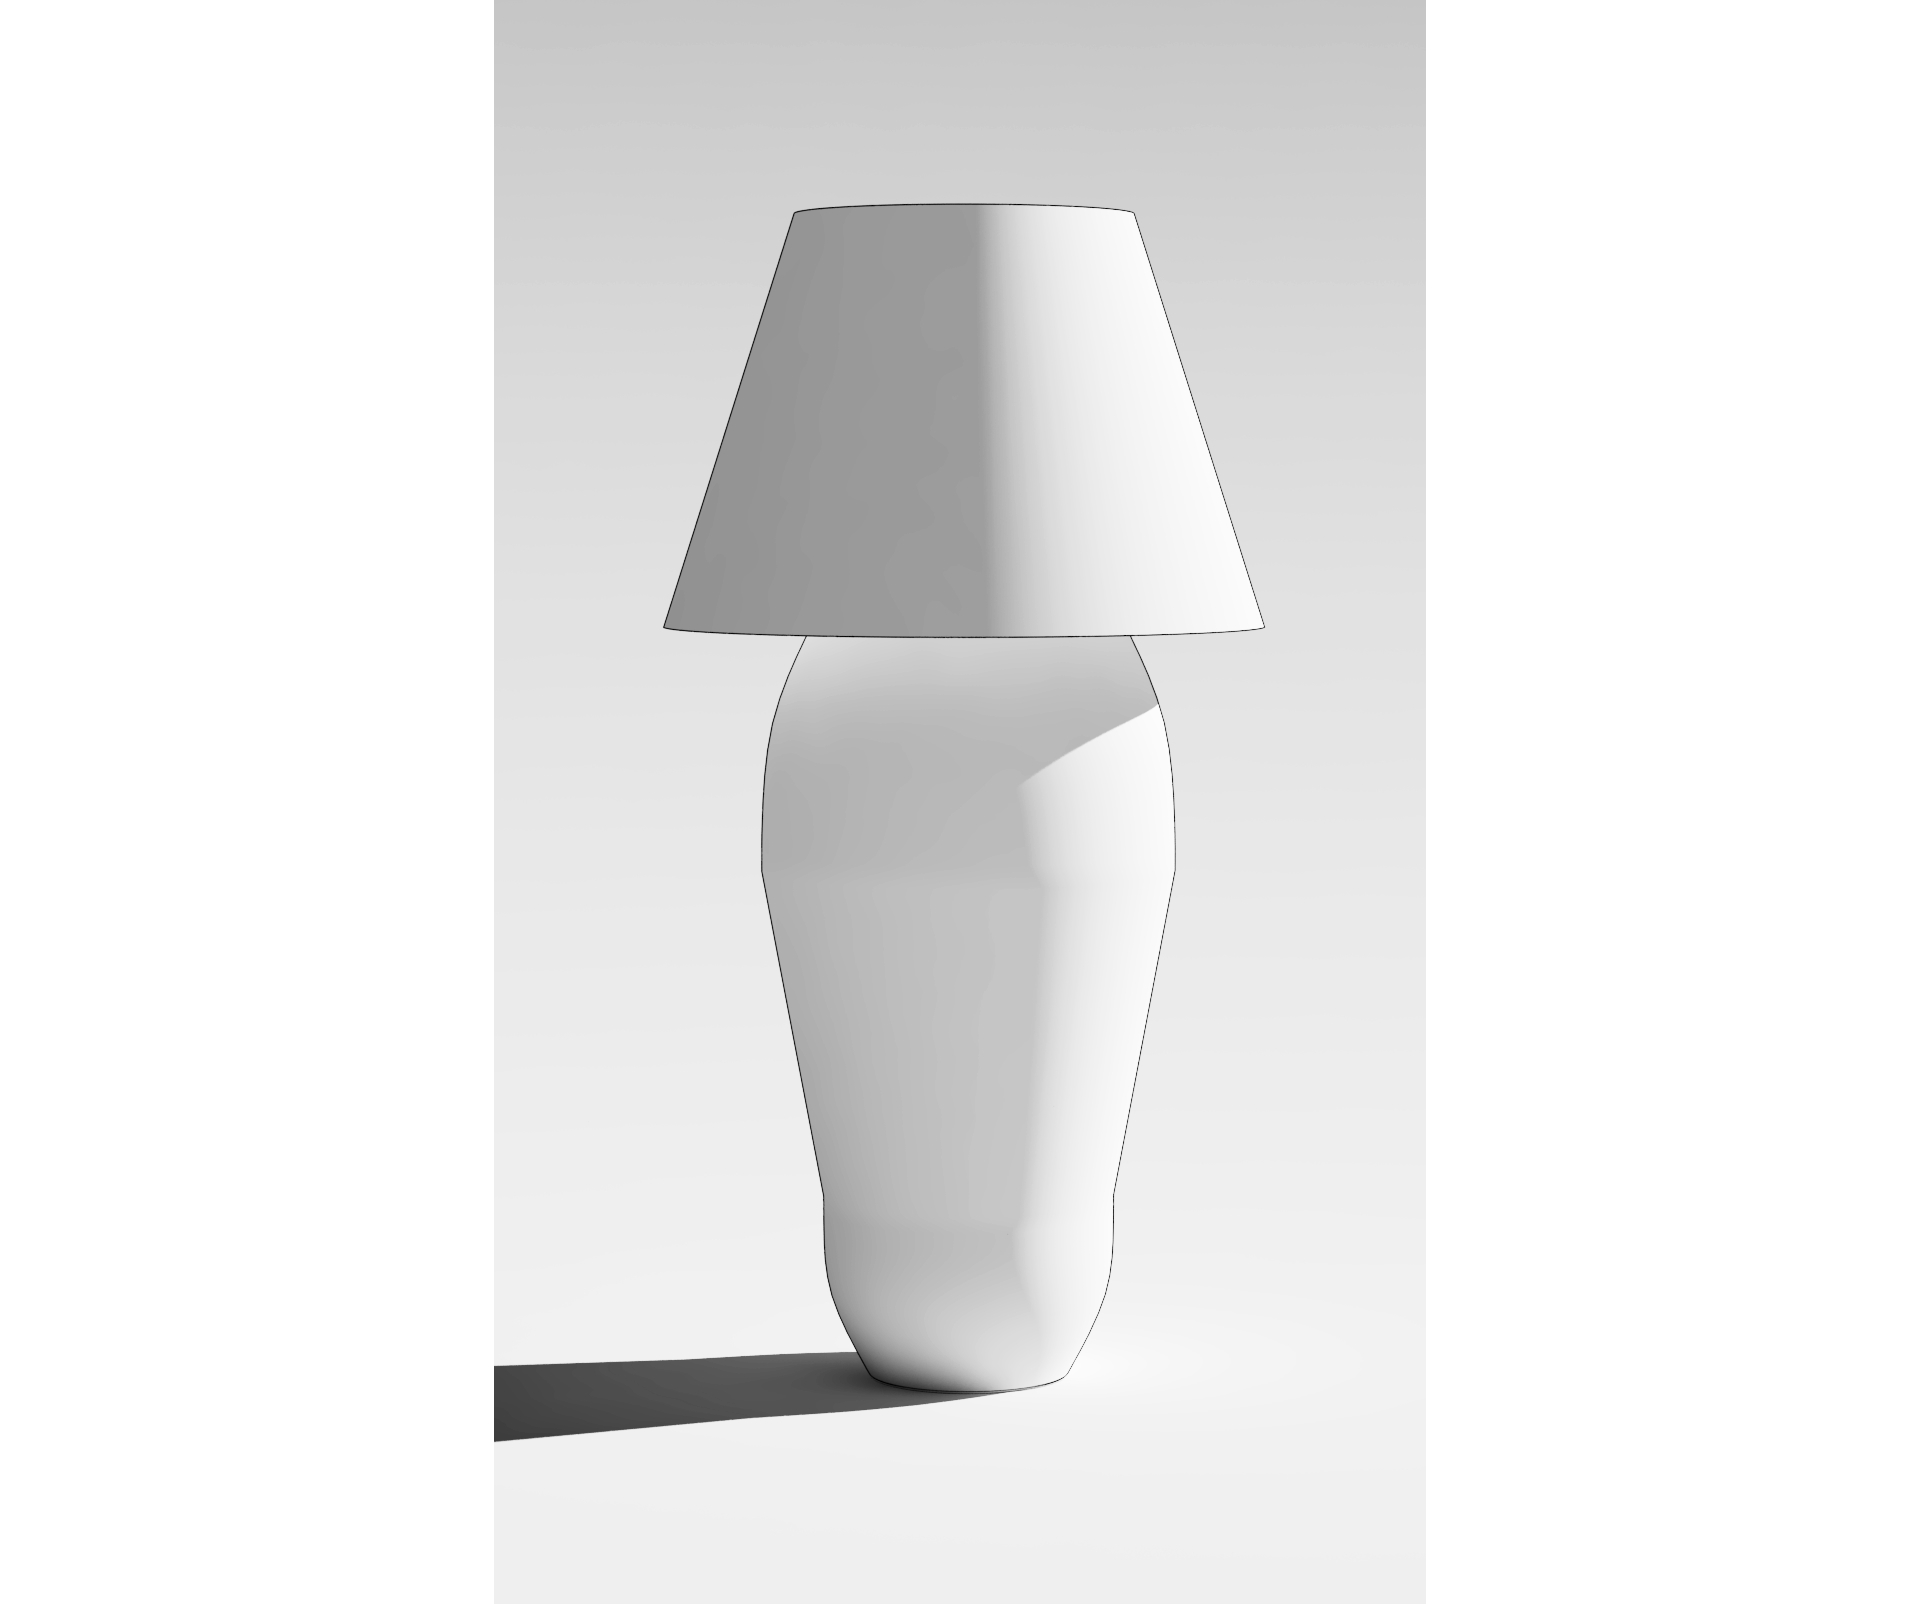
The 3D models that served for decoration were acquired through the site 3dsky.org and converted with the plugin from 3DS Max, SimLab exporter.


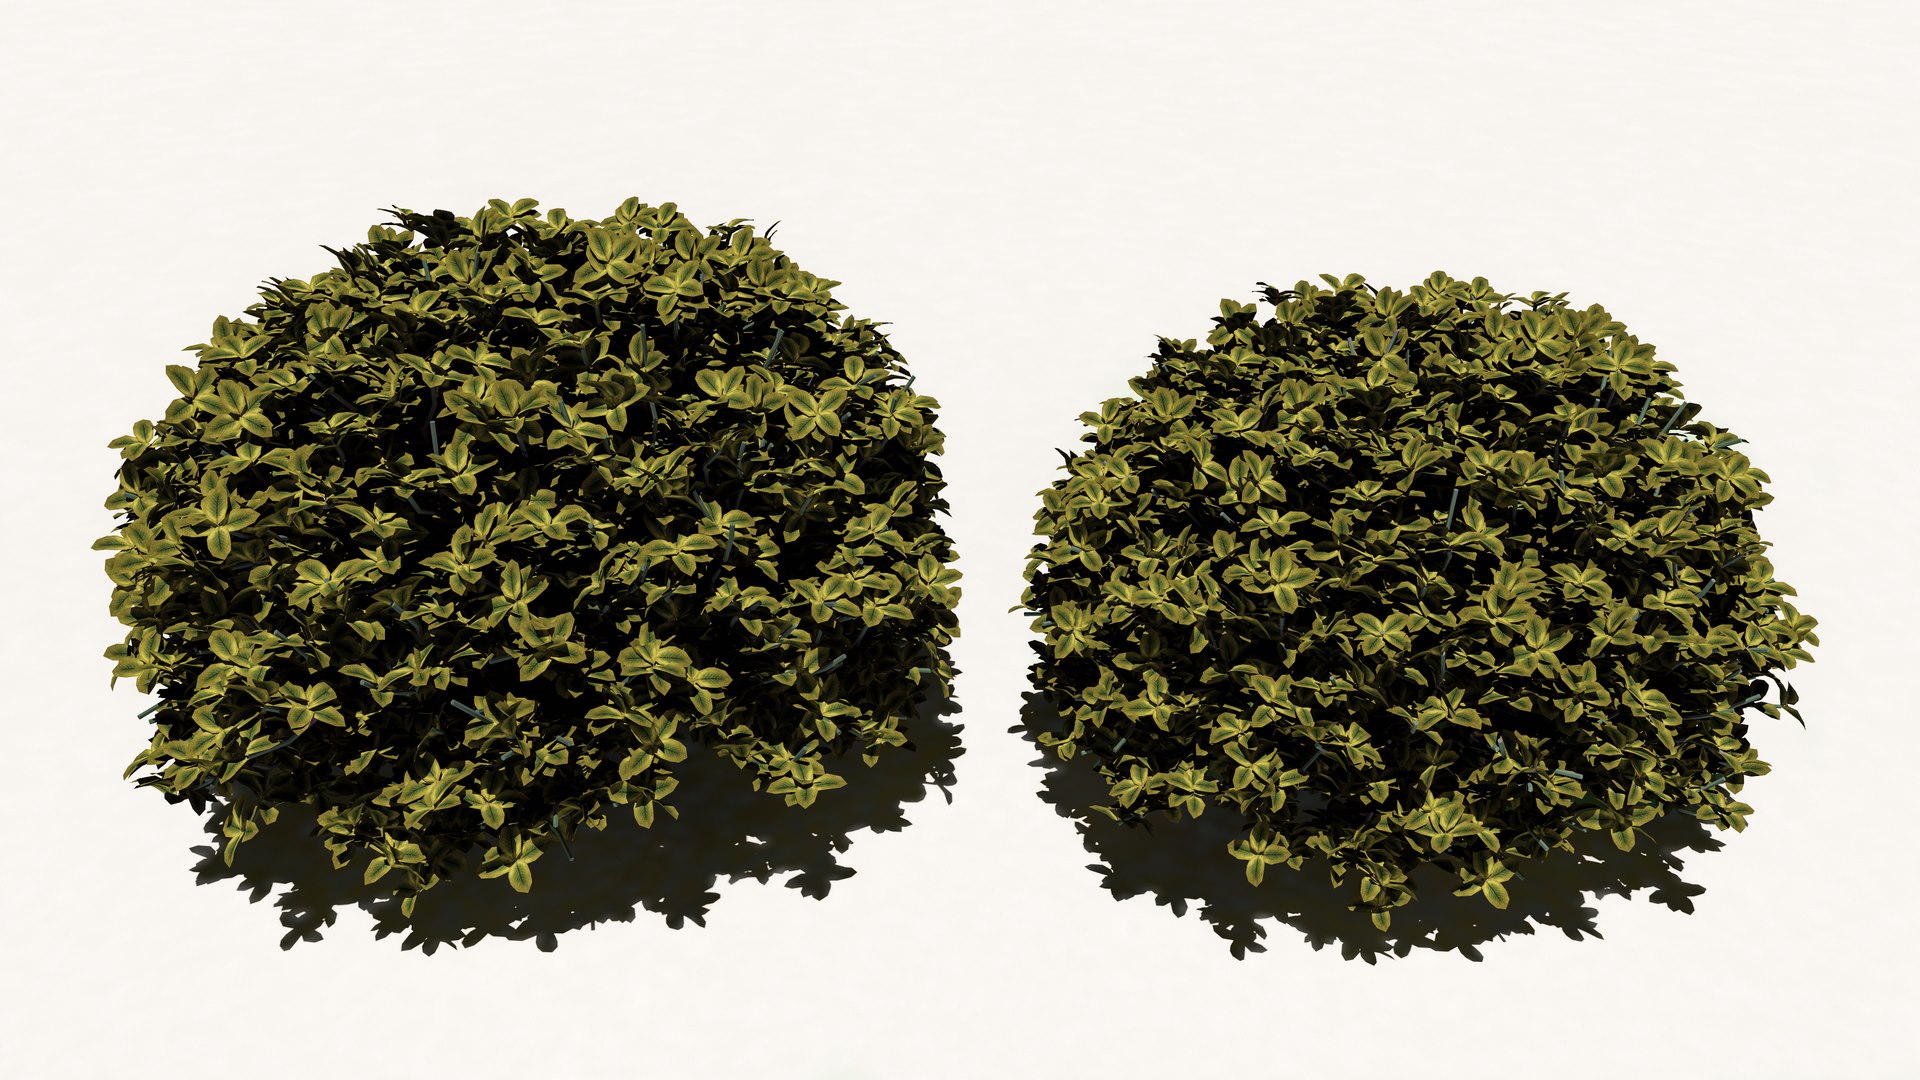
The landscaping, foliage and vegetation in general were made with Skatter and Laubwerk plugins, with the exception of the two foliage that composed the upper part of the house and the small garden between the stairs and the pool.

- Vegetation and pebbles, both produced and distributed with Skatter.
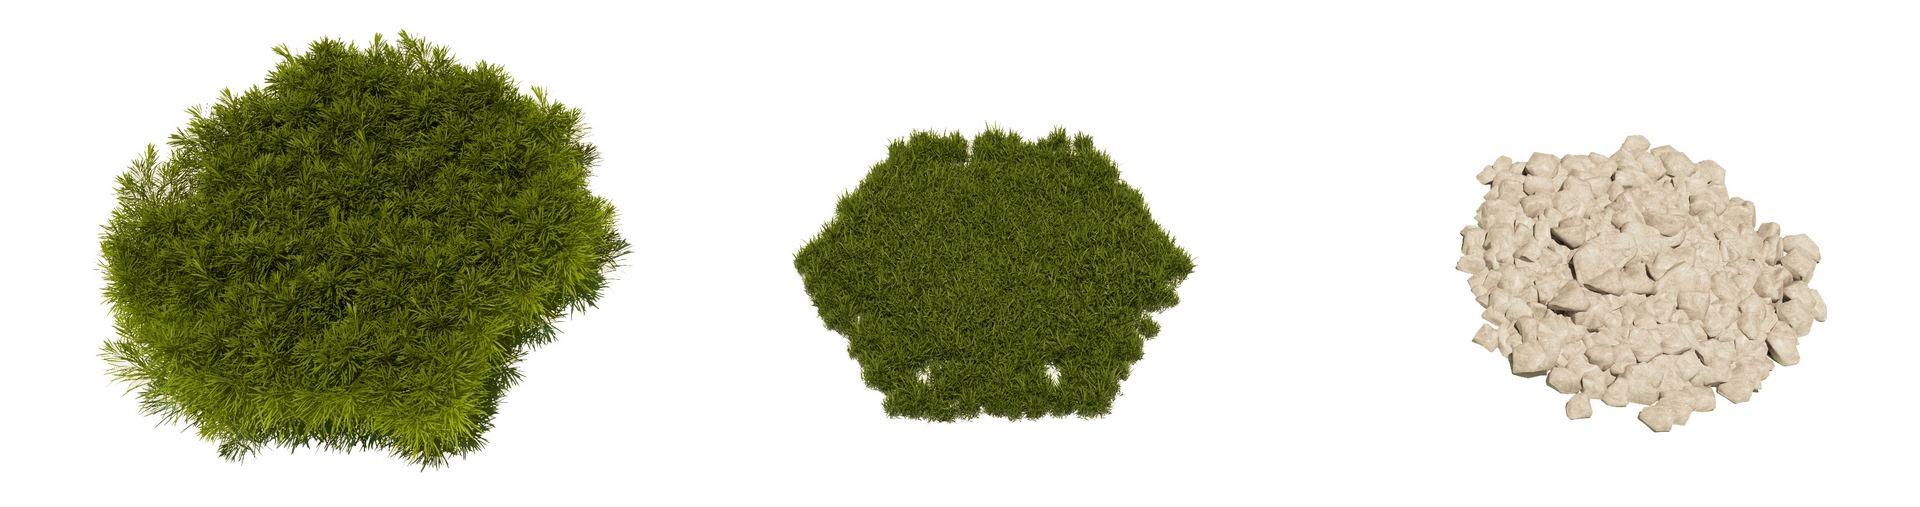
- Vegetation also acquired from the site 3DSky.org and distributed with Skatter.
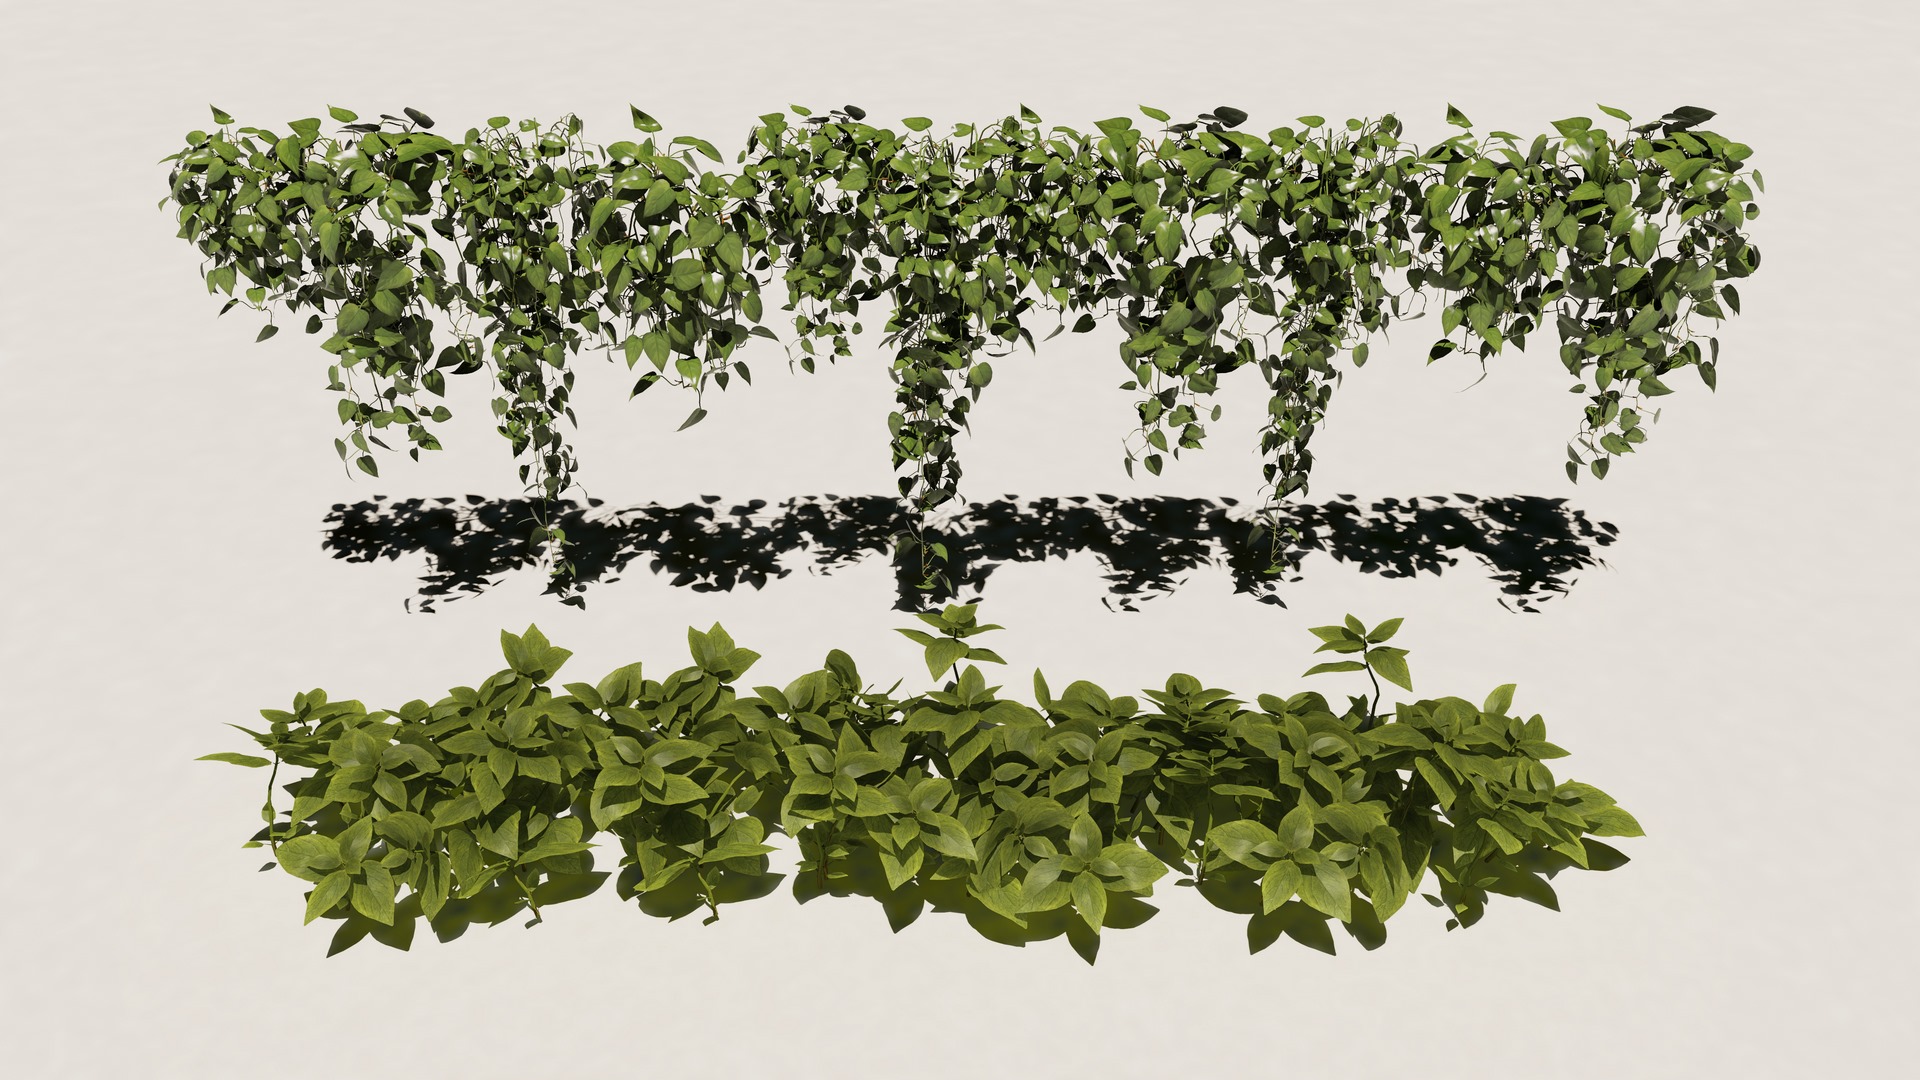
- Shrubs that have been manually distributed in necessary positions.
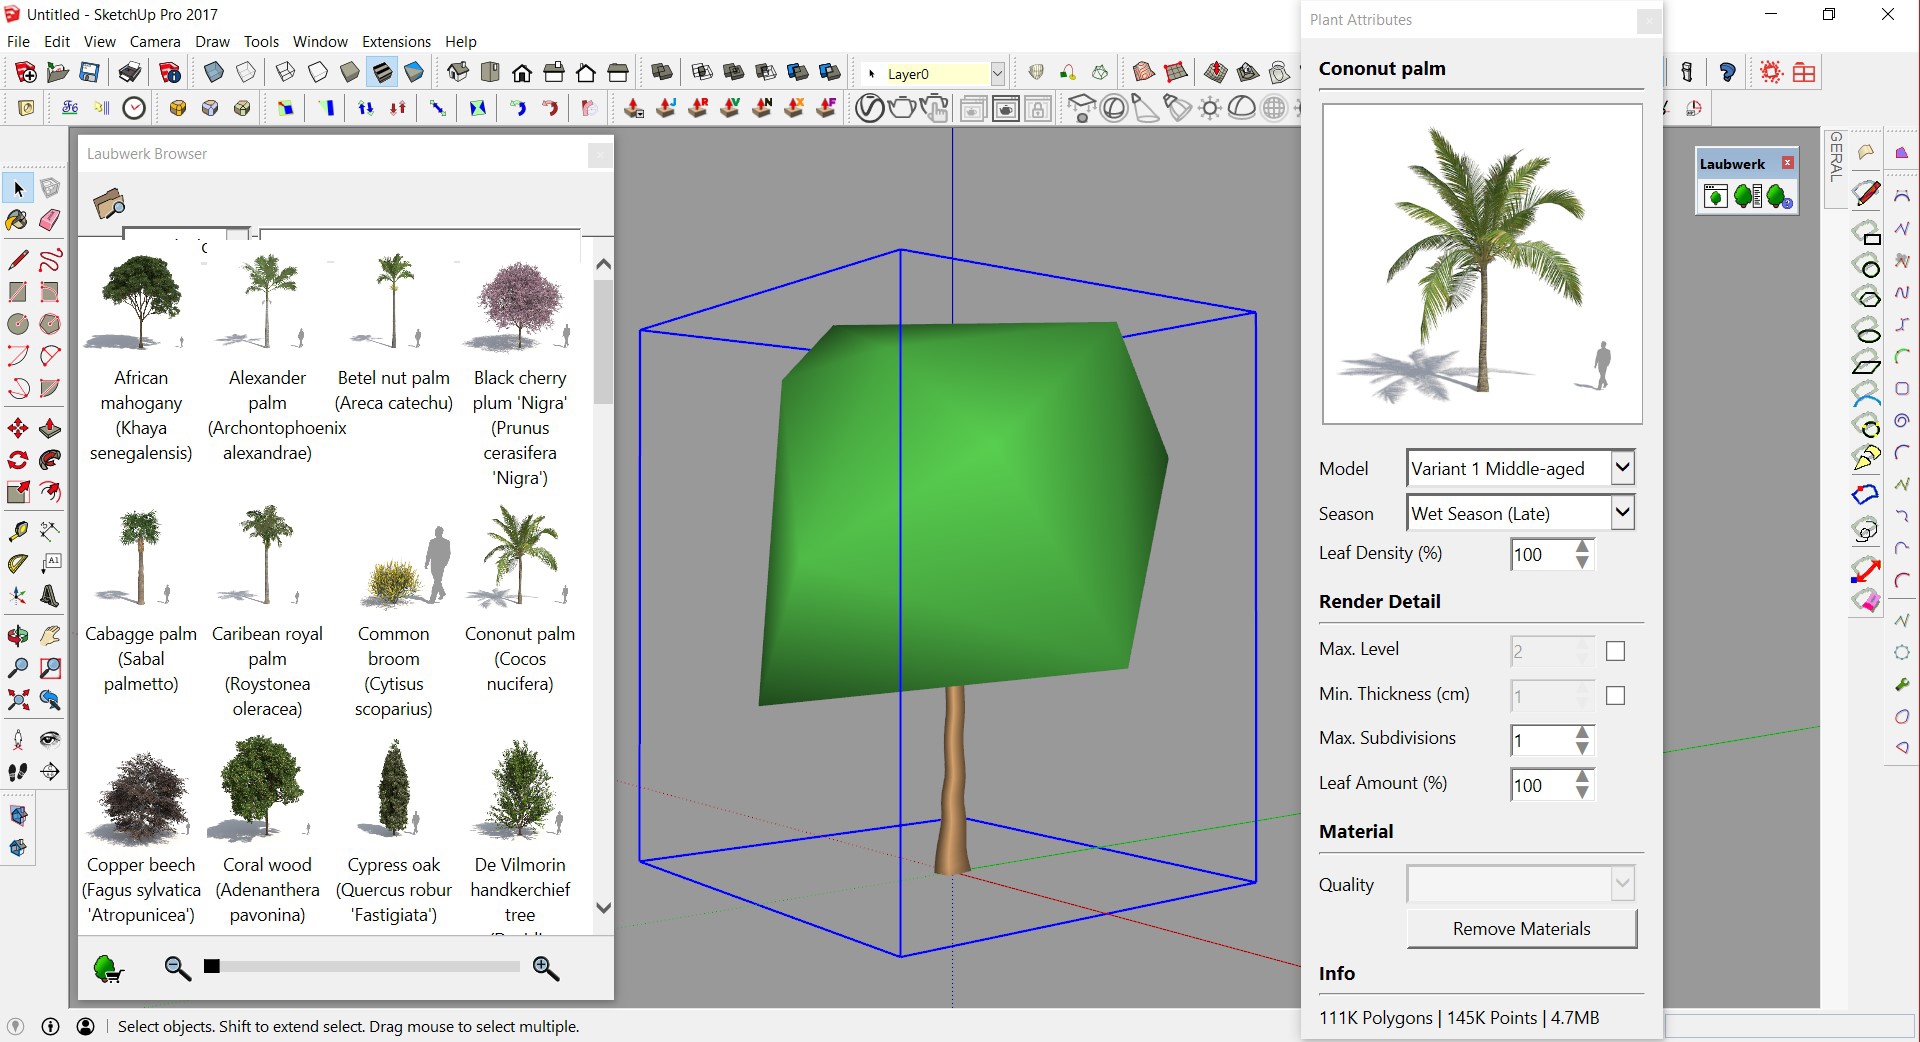
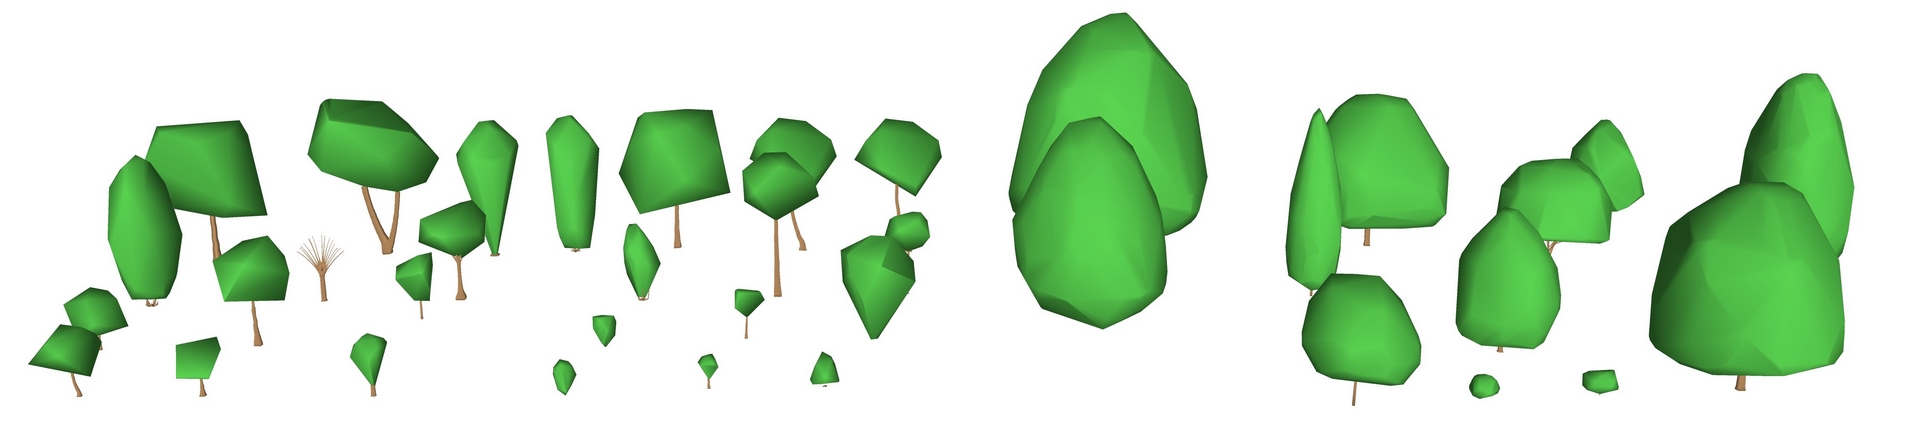
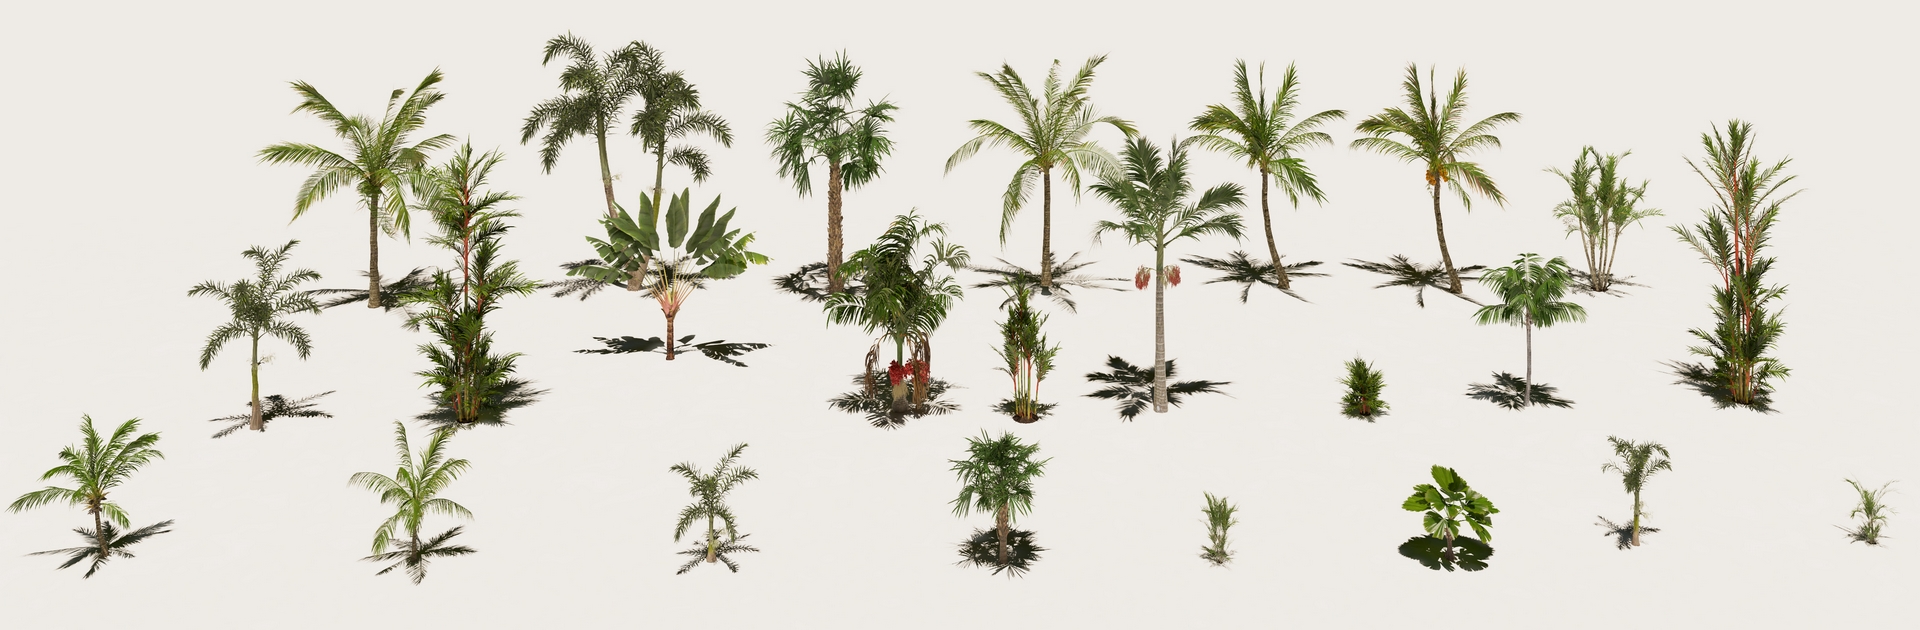
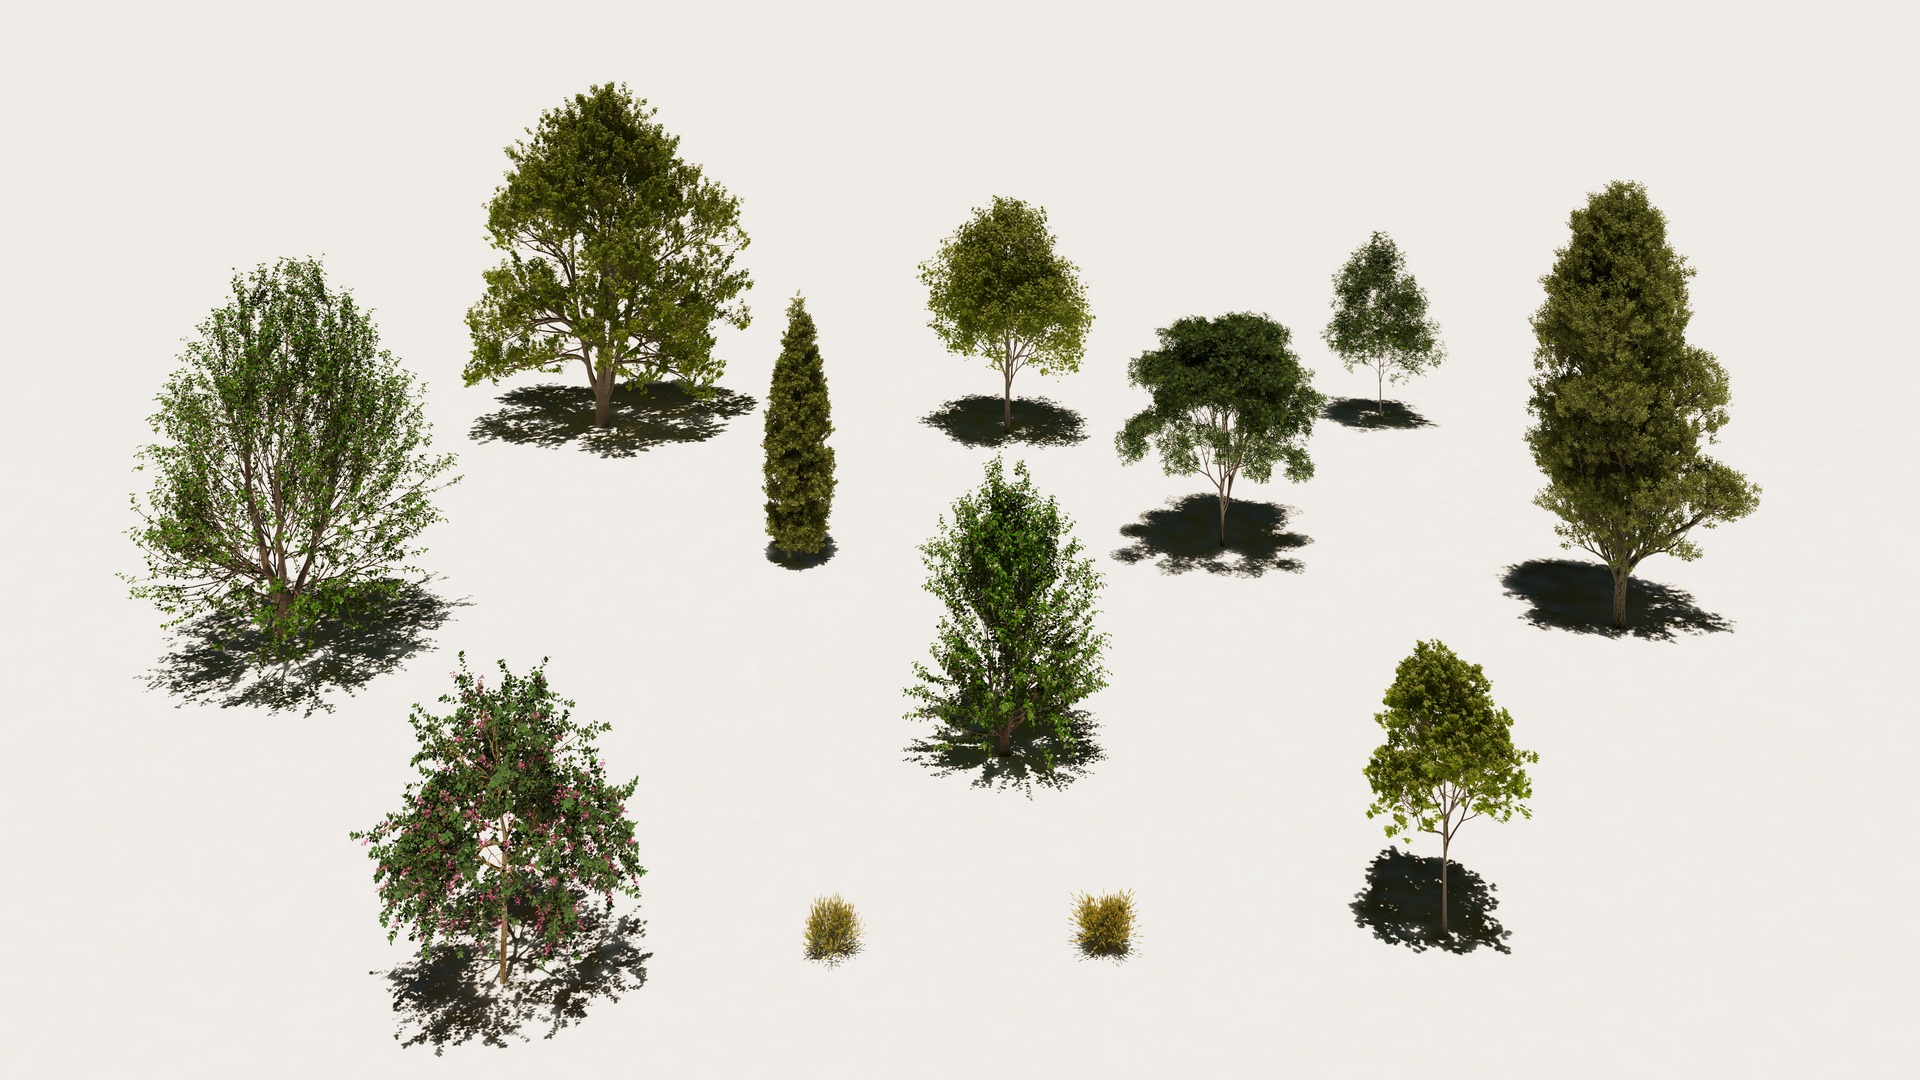
We used several variations of palm trees for creating a tropical climate region and some additional trees to create an idea of a denser environment placed in strategic points to fit the camera framing and not let any point uncovered, also maintaining a closer representation of the reference.
- Laubwerk view of the SketchUp viewport, with the variations we chose.
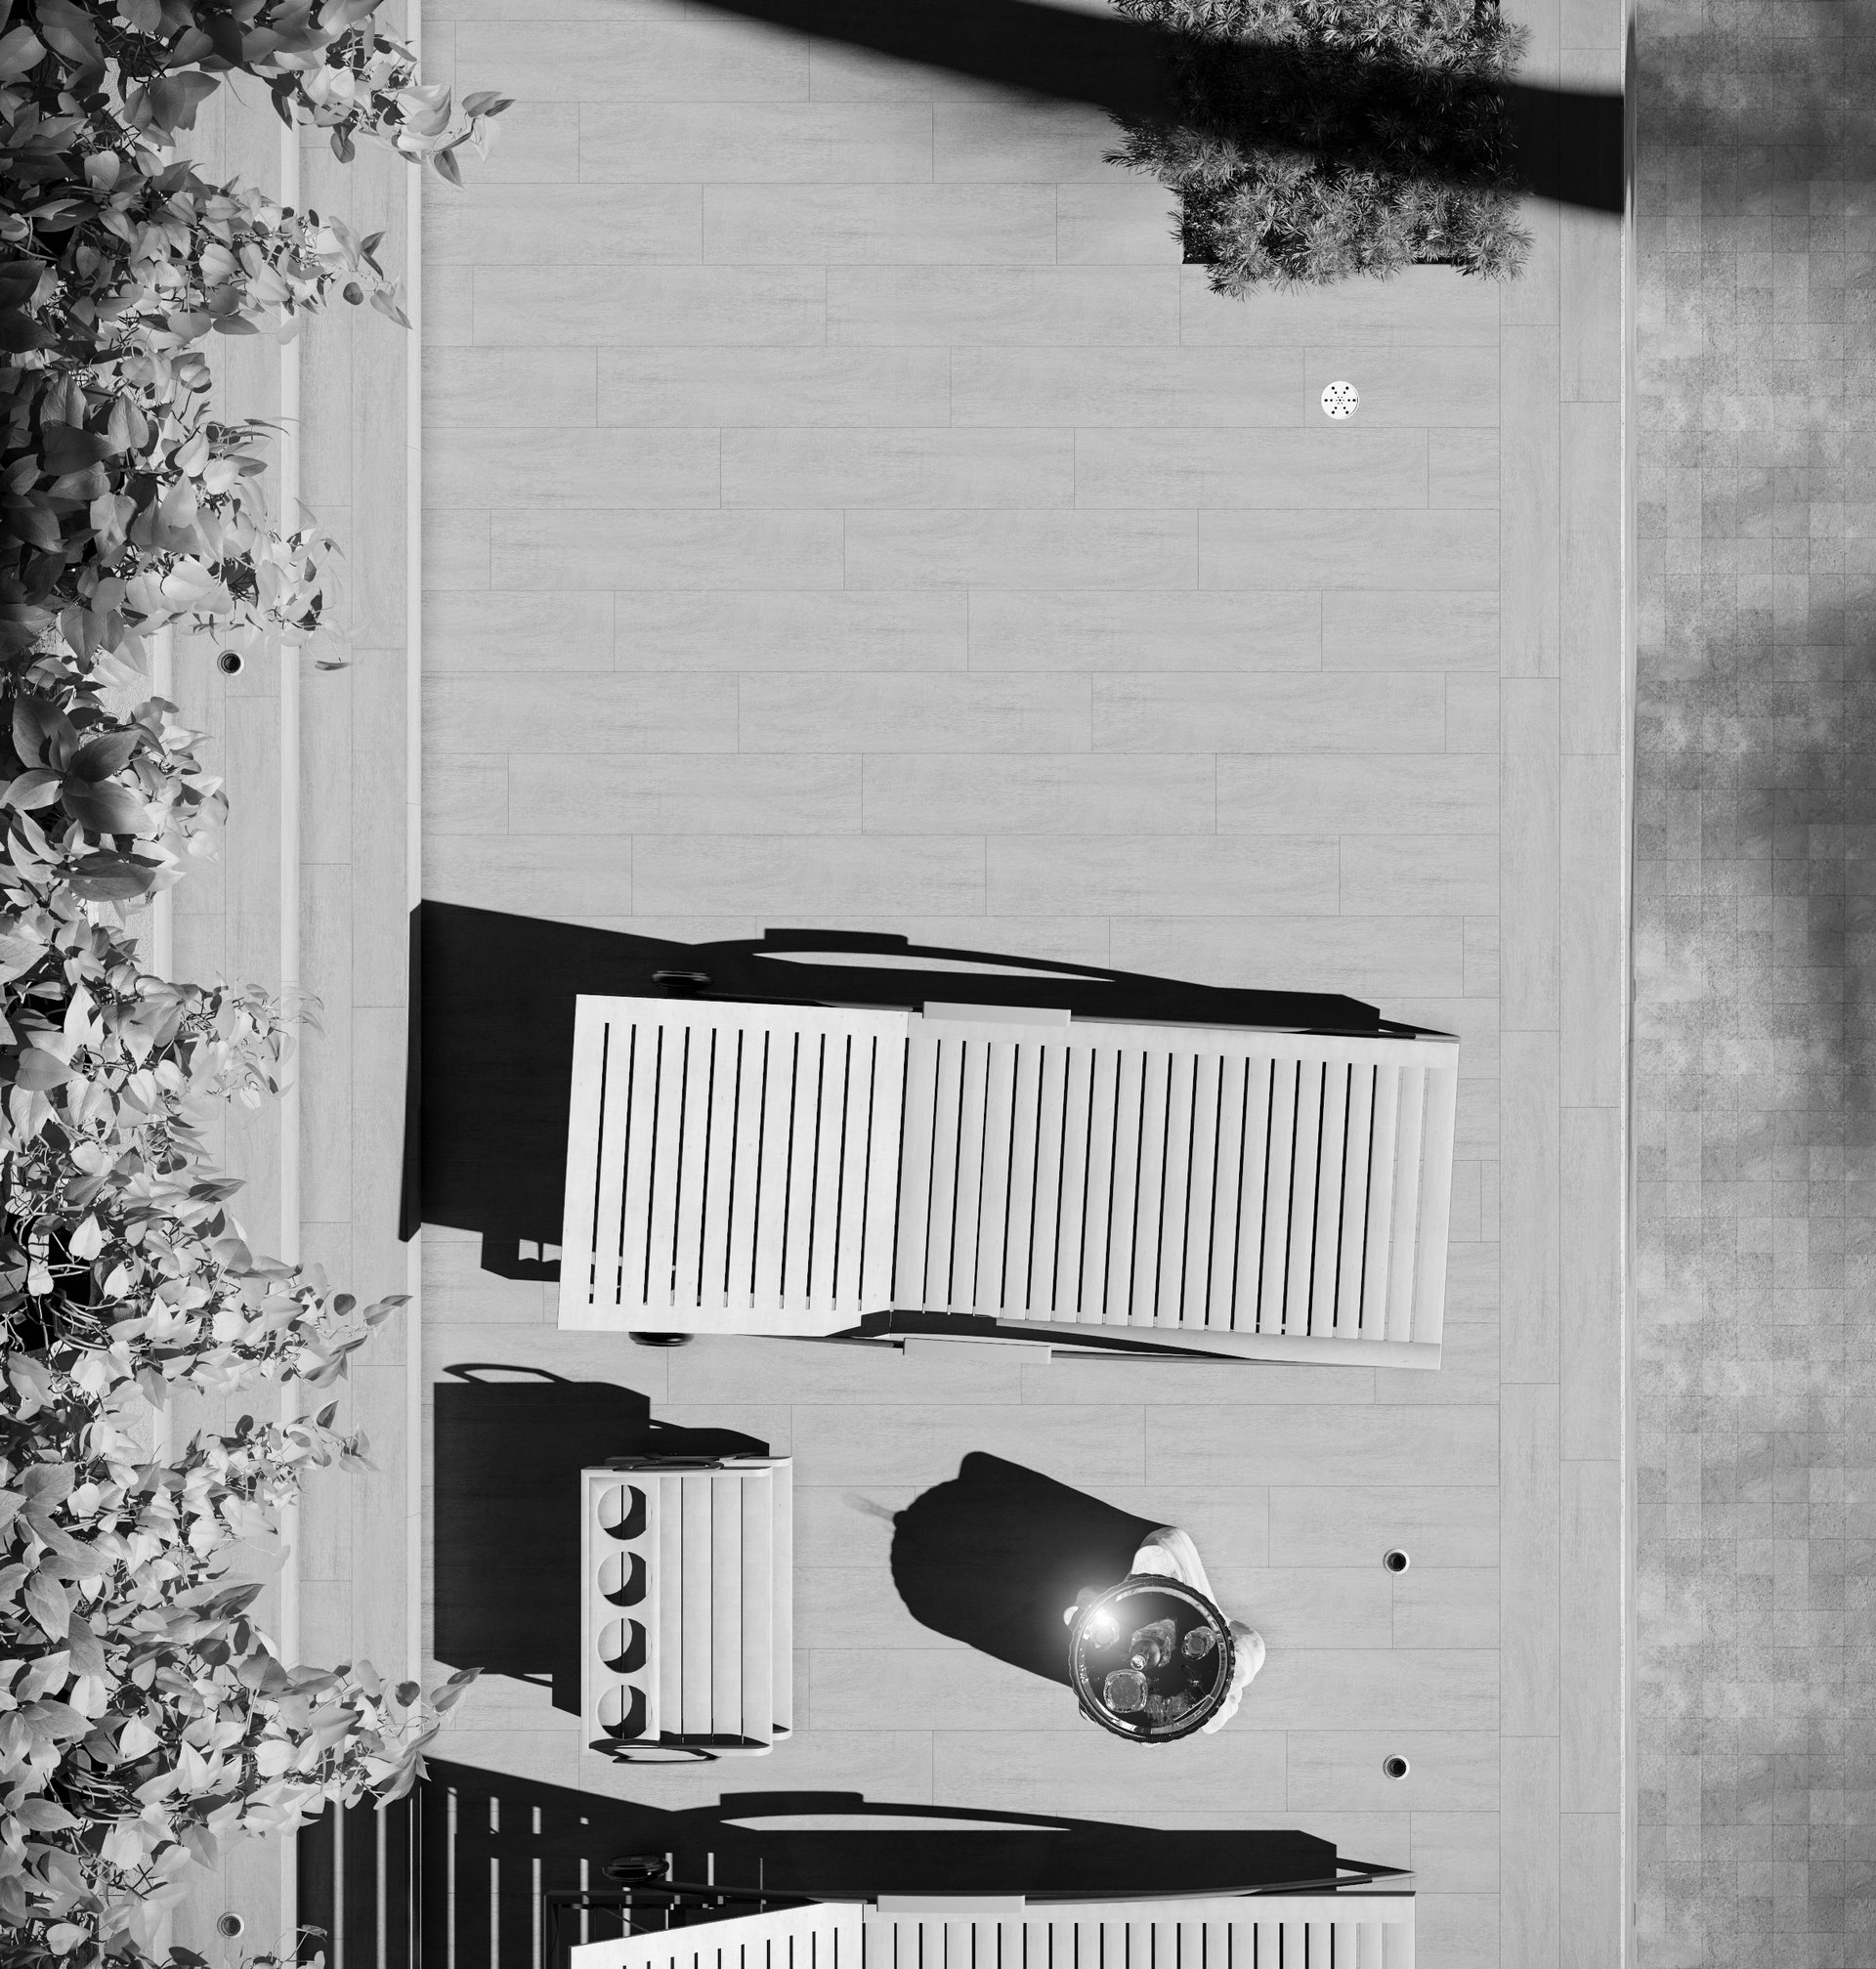
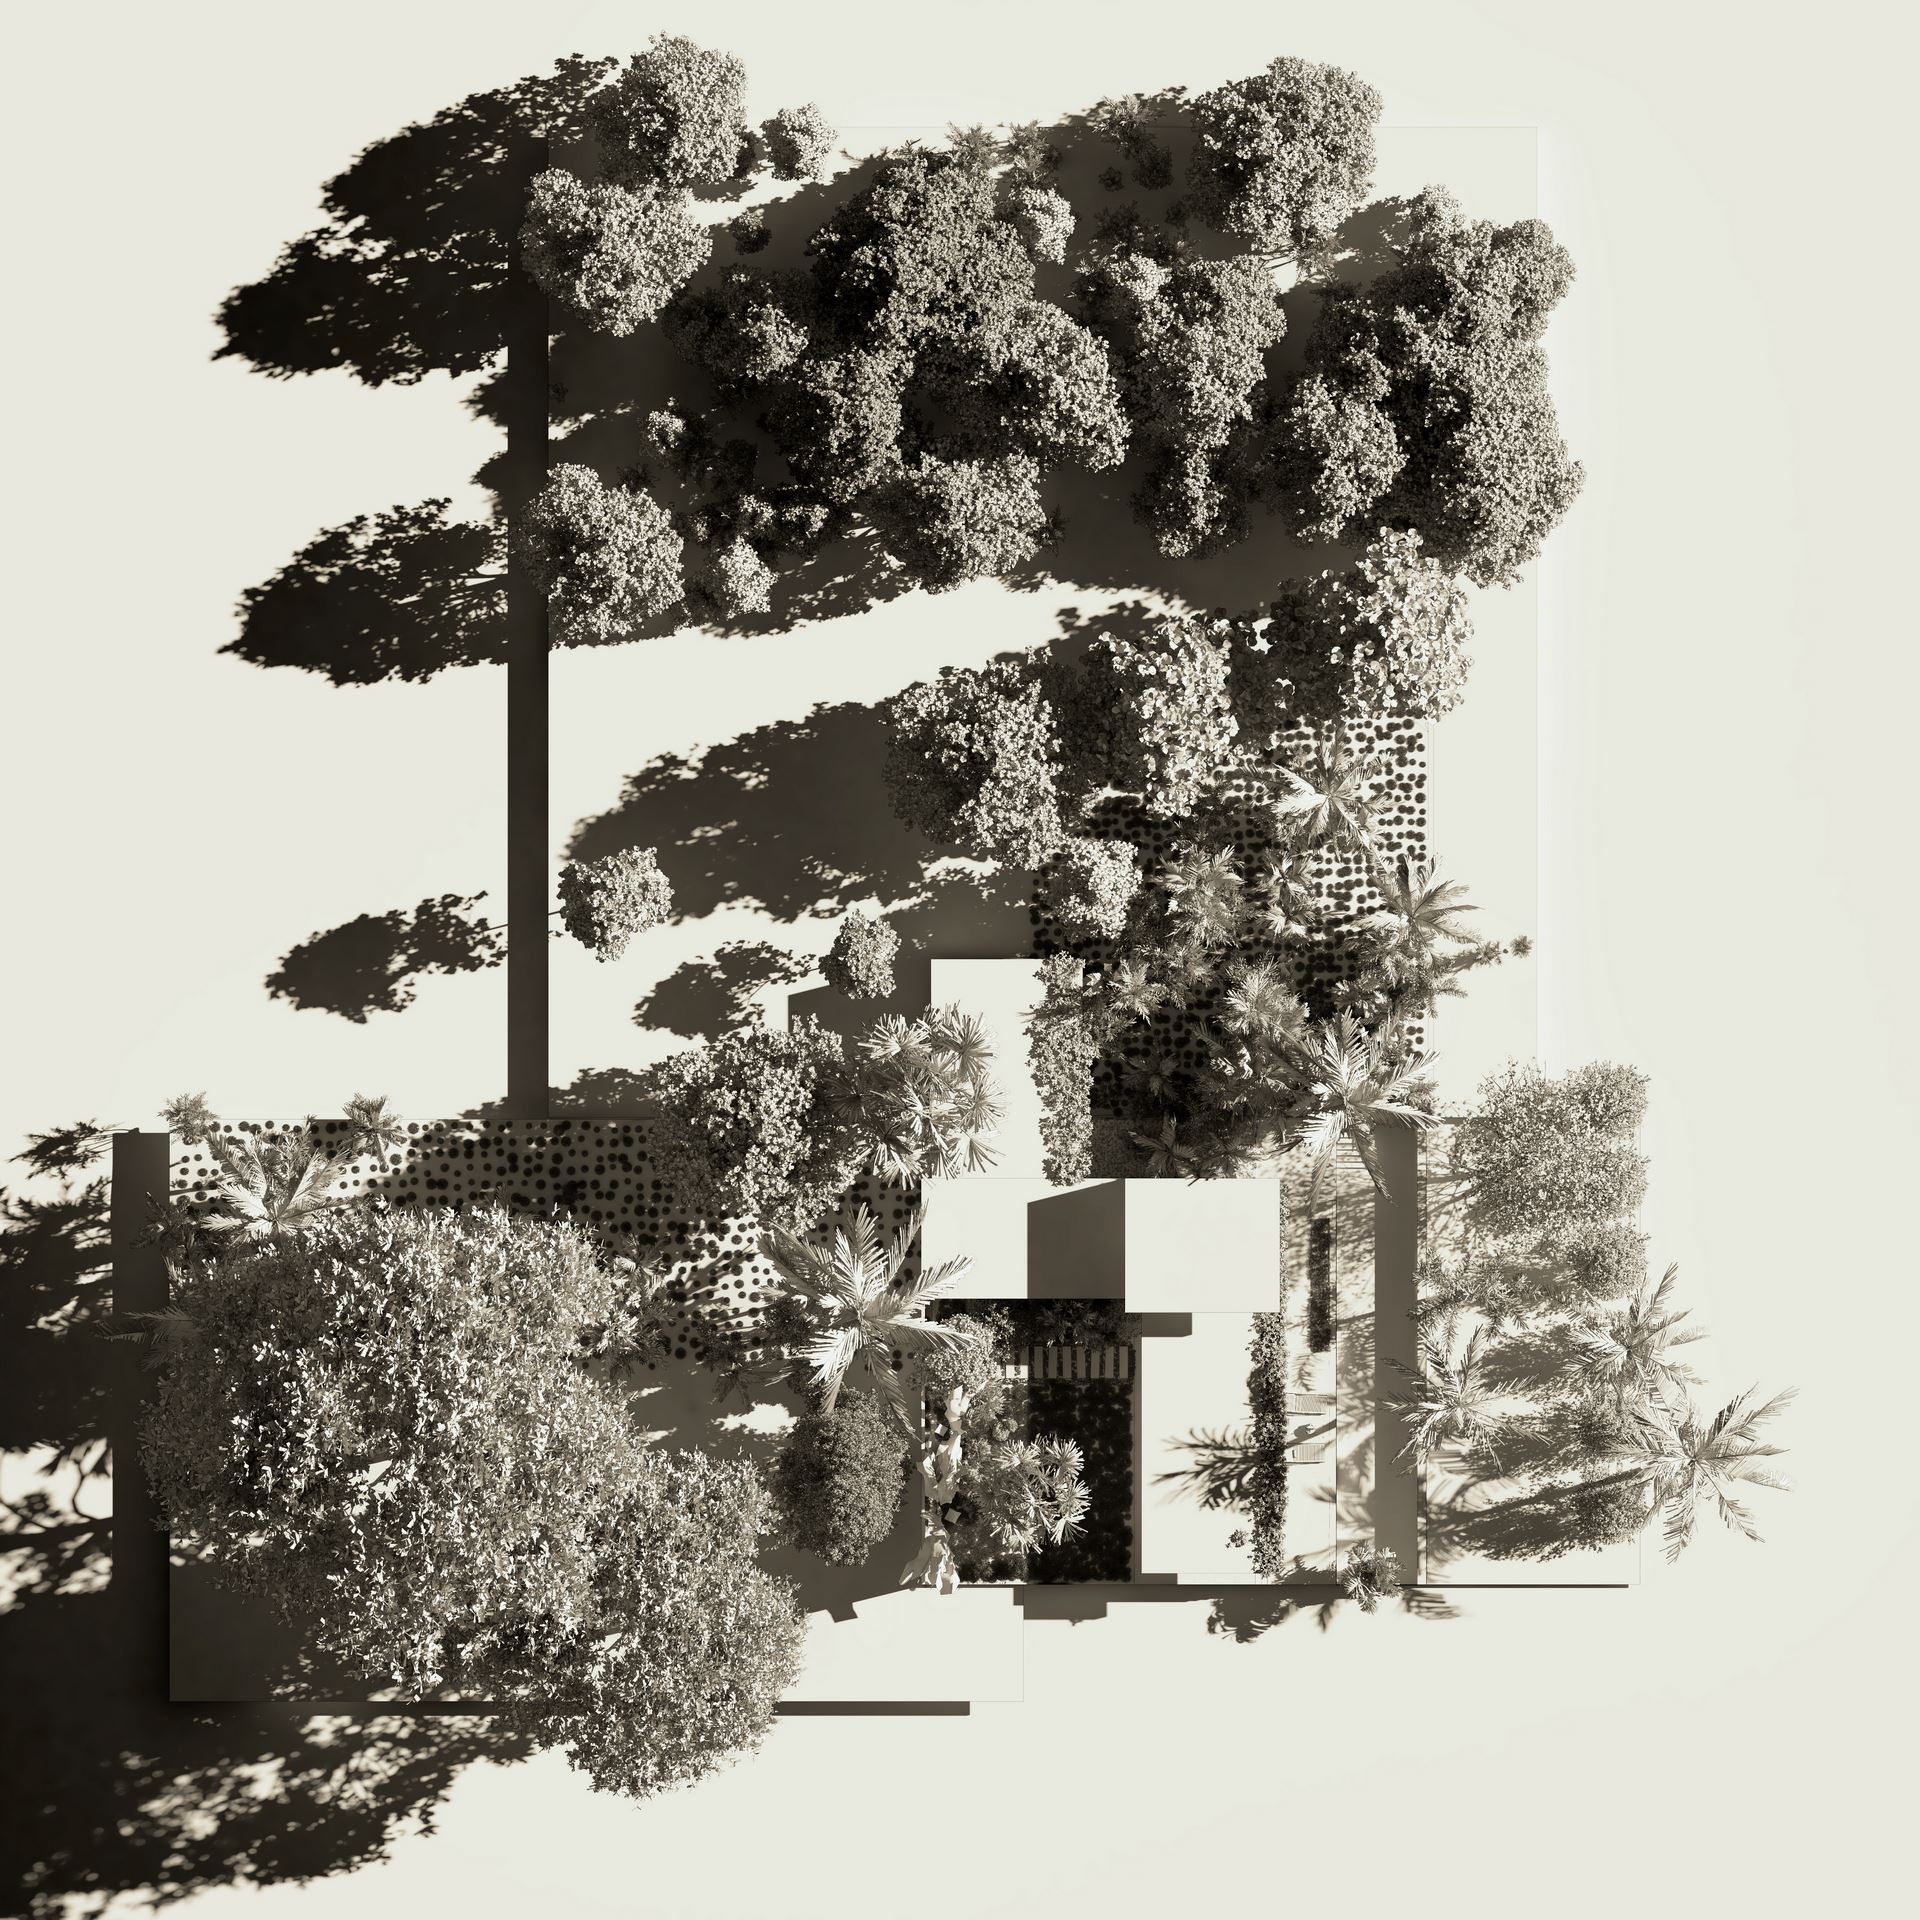
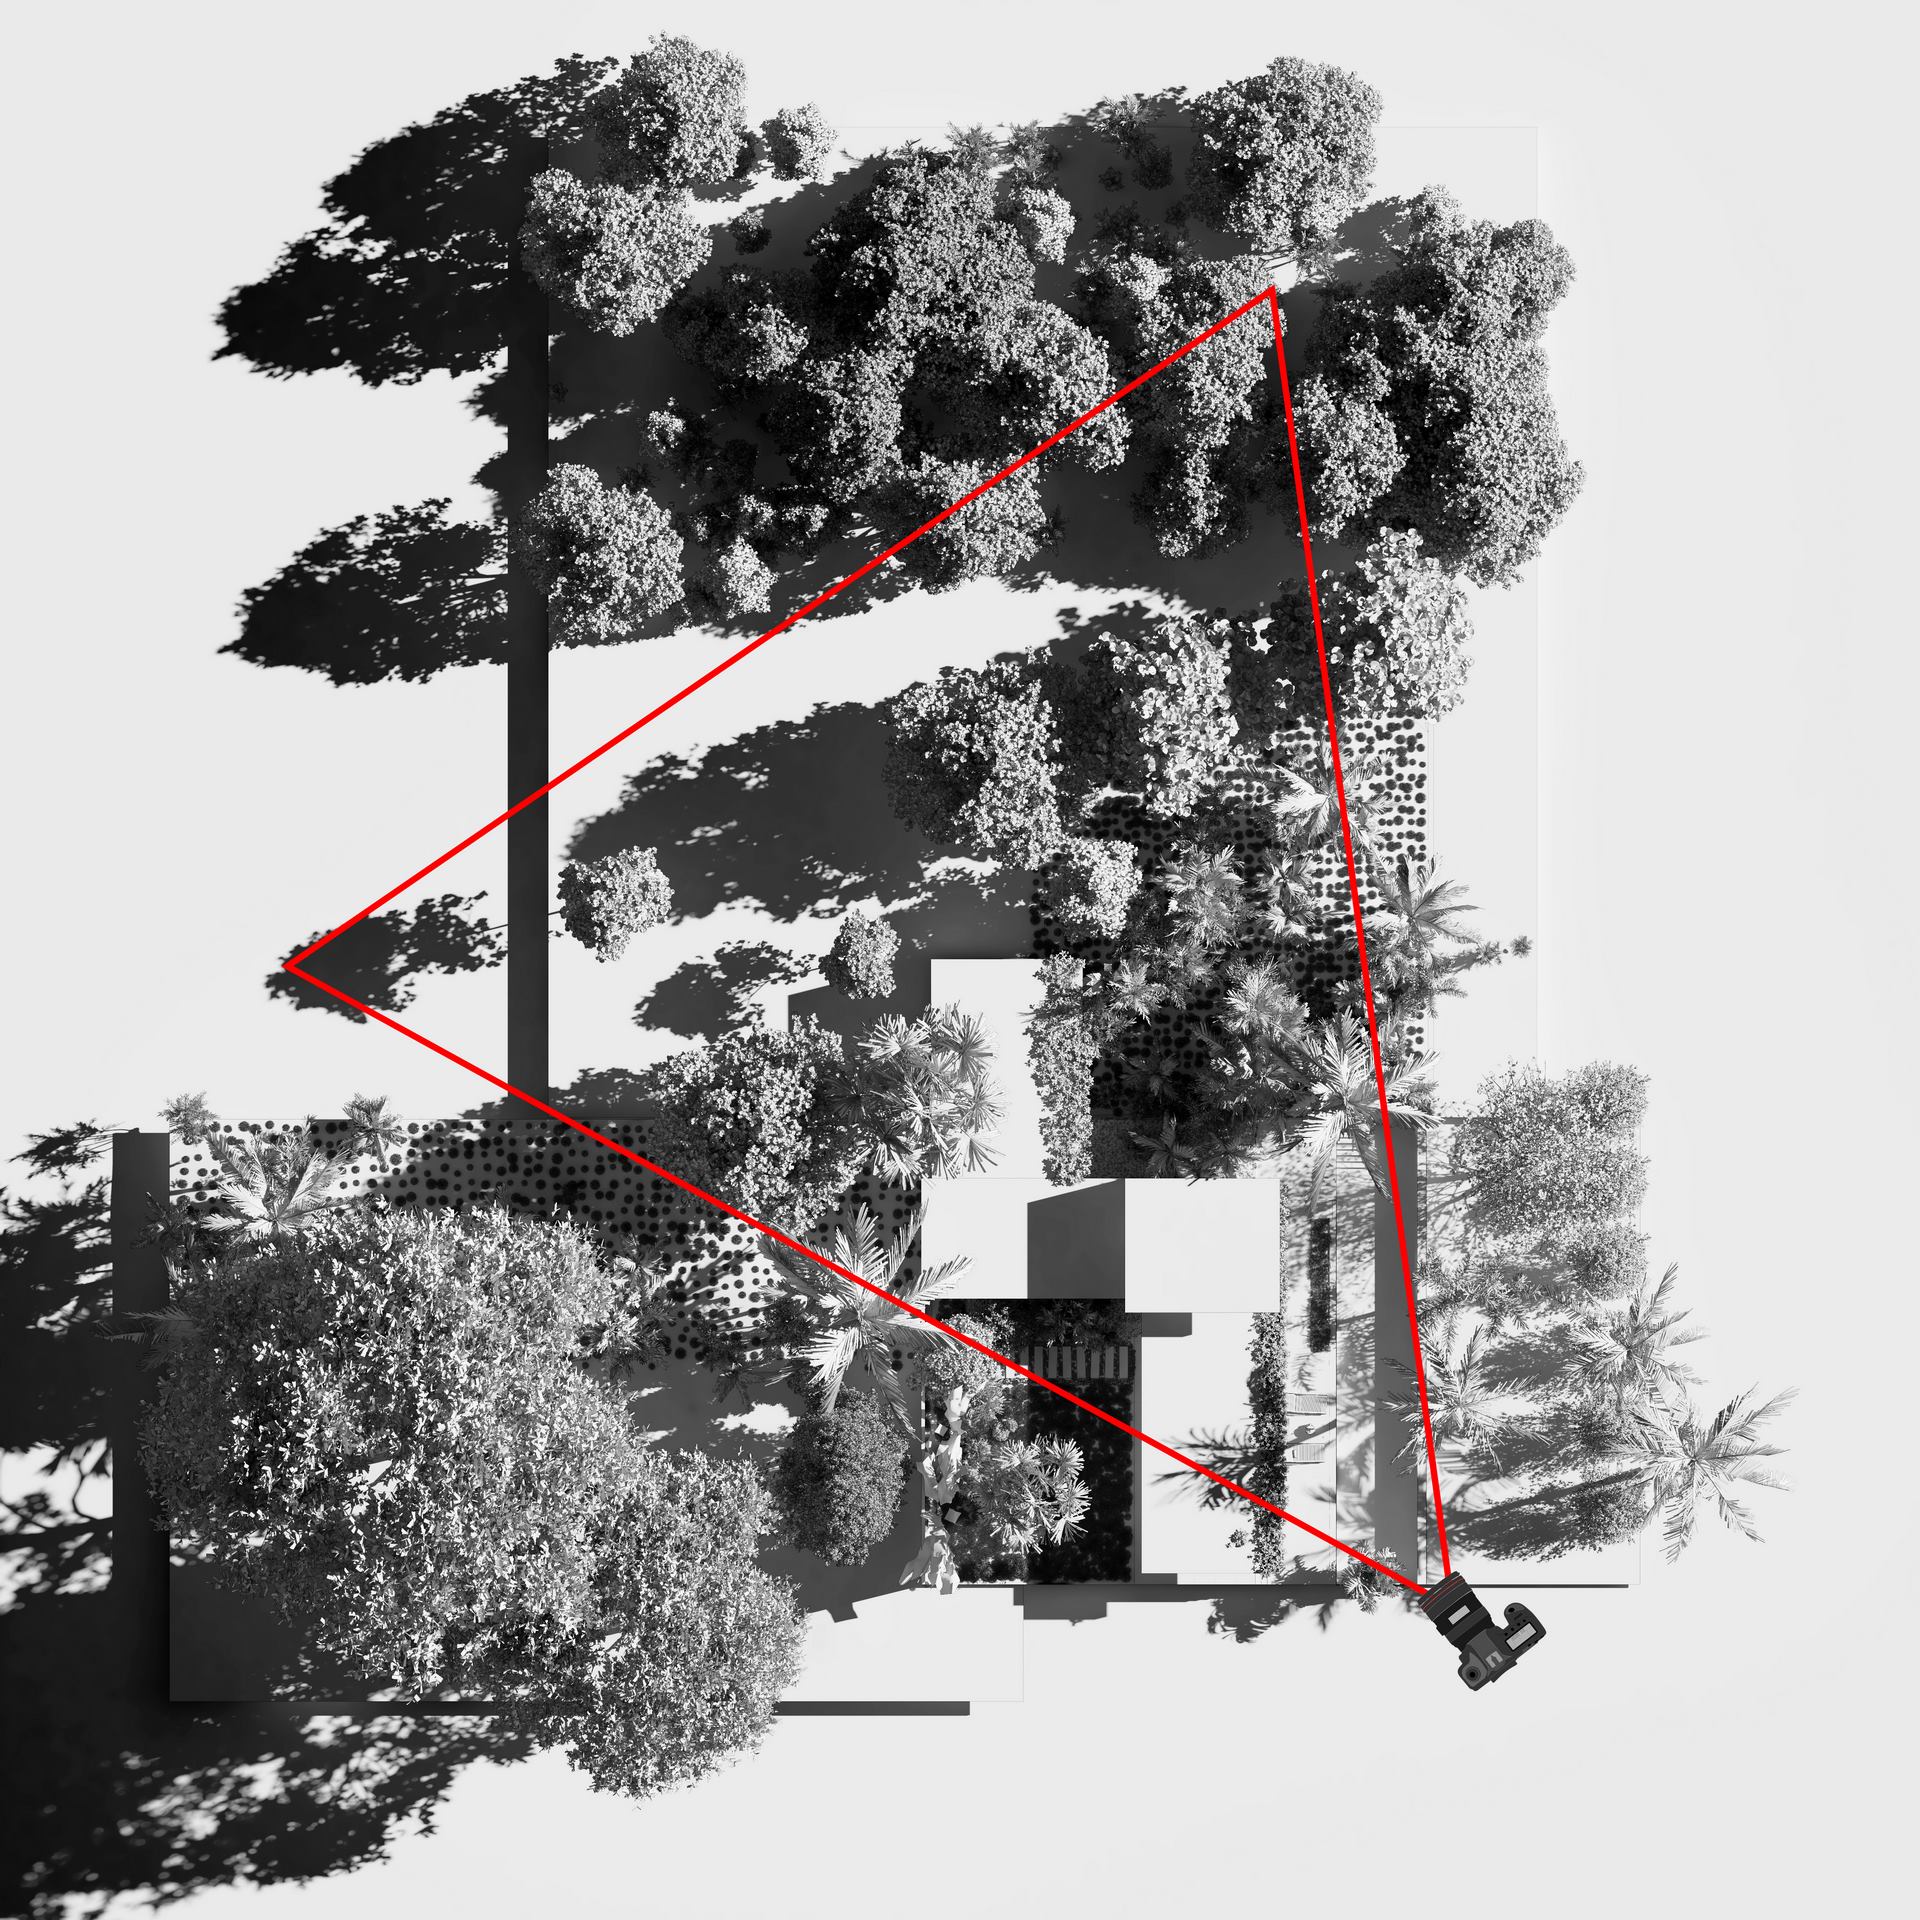
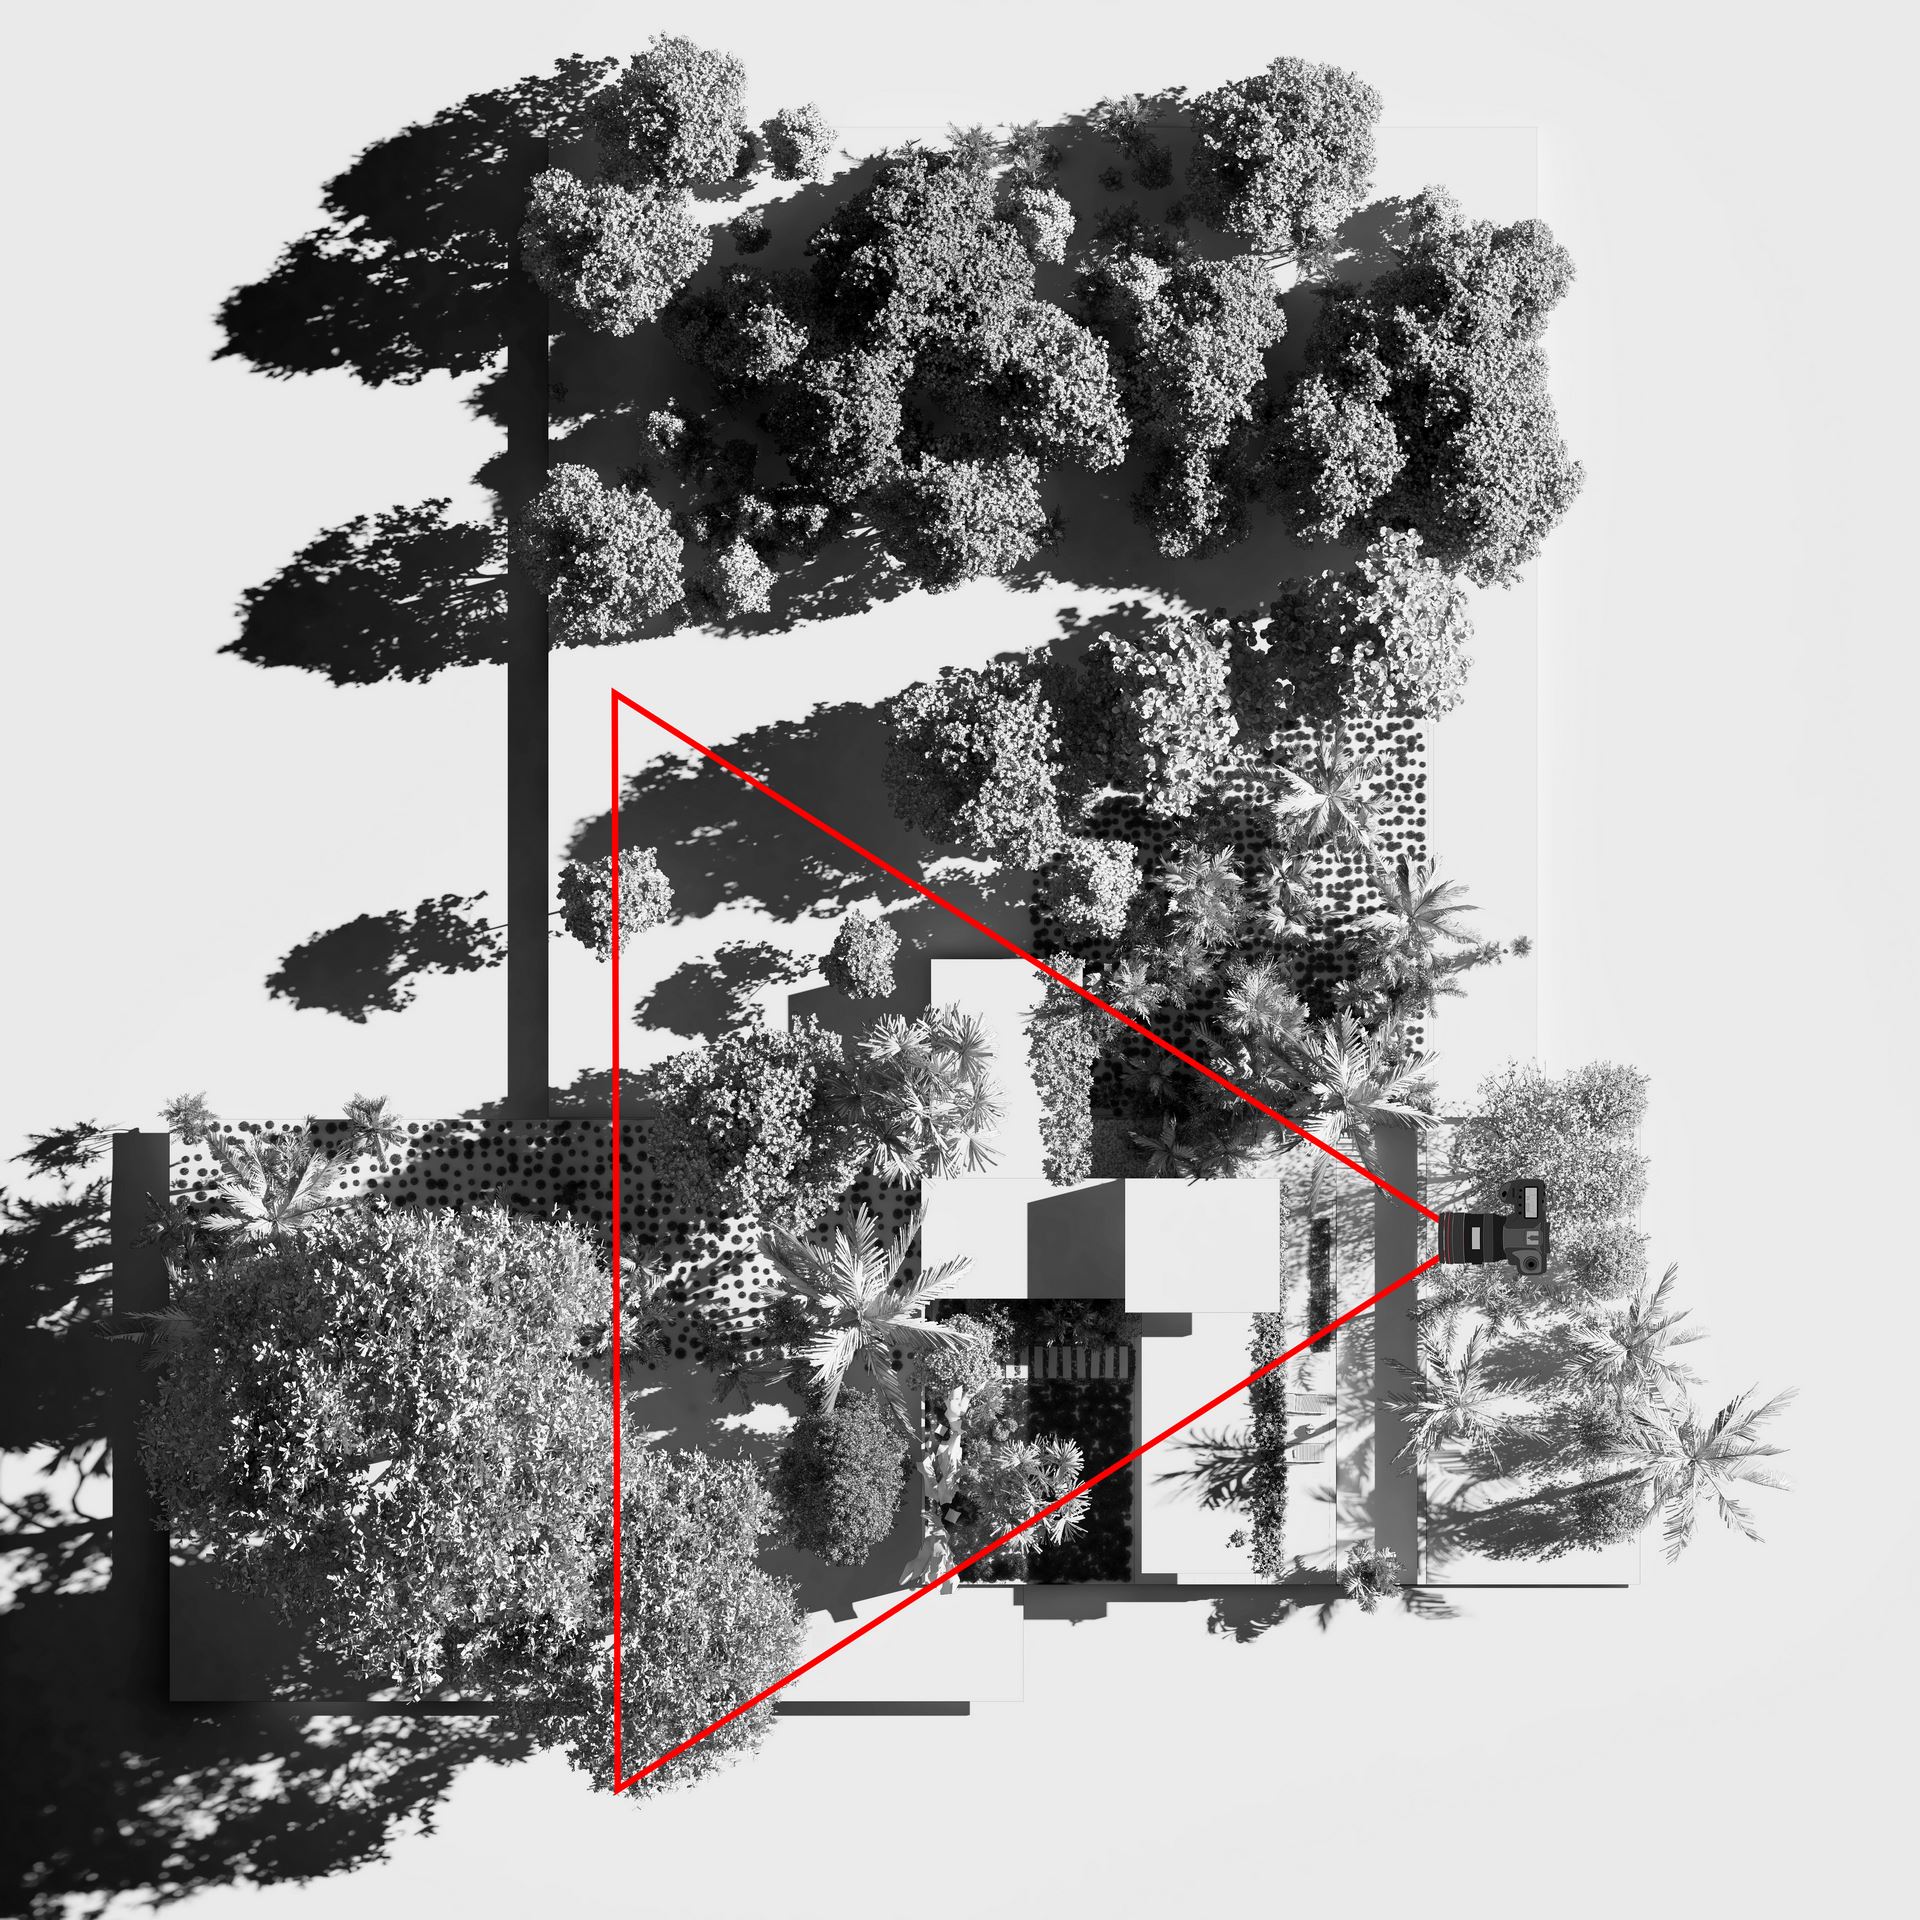
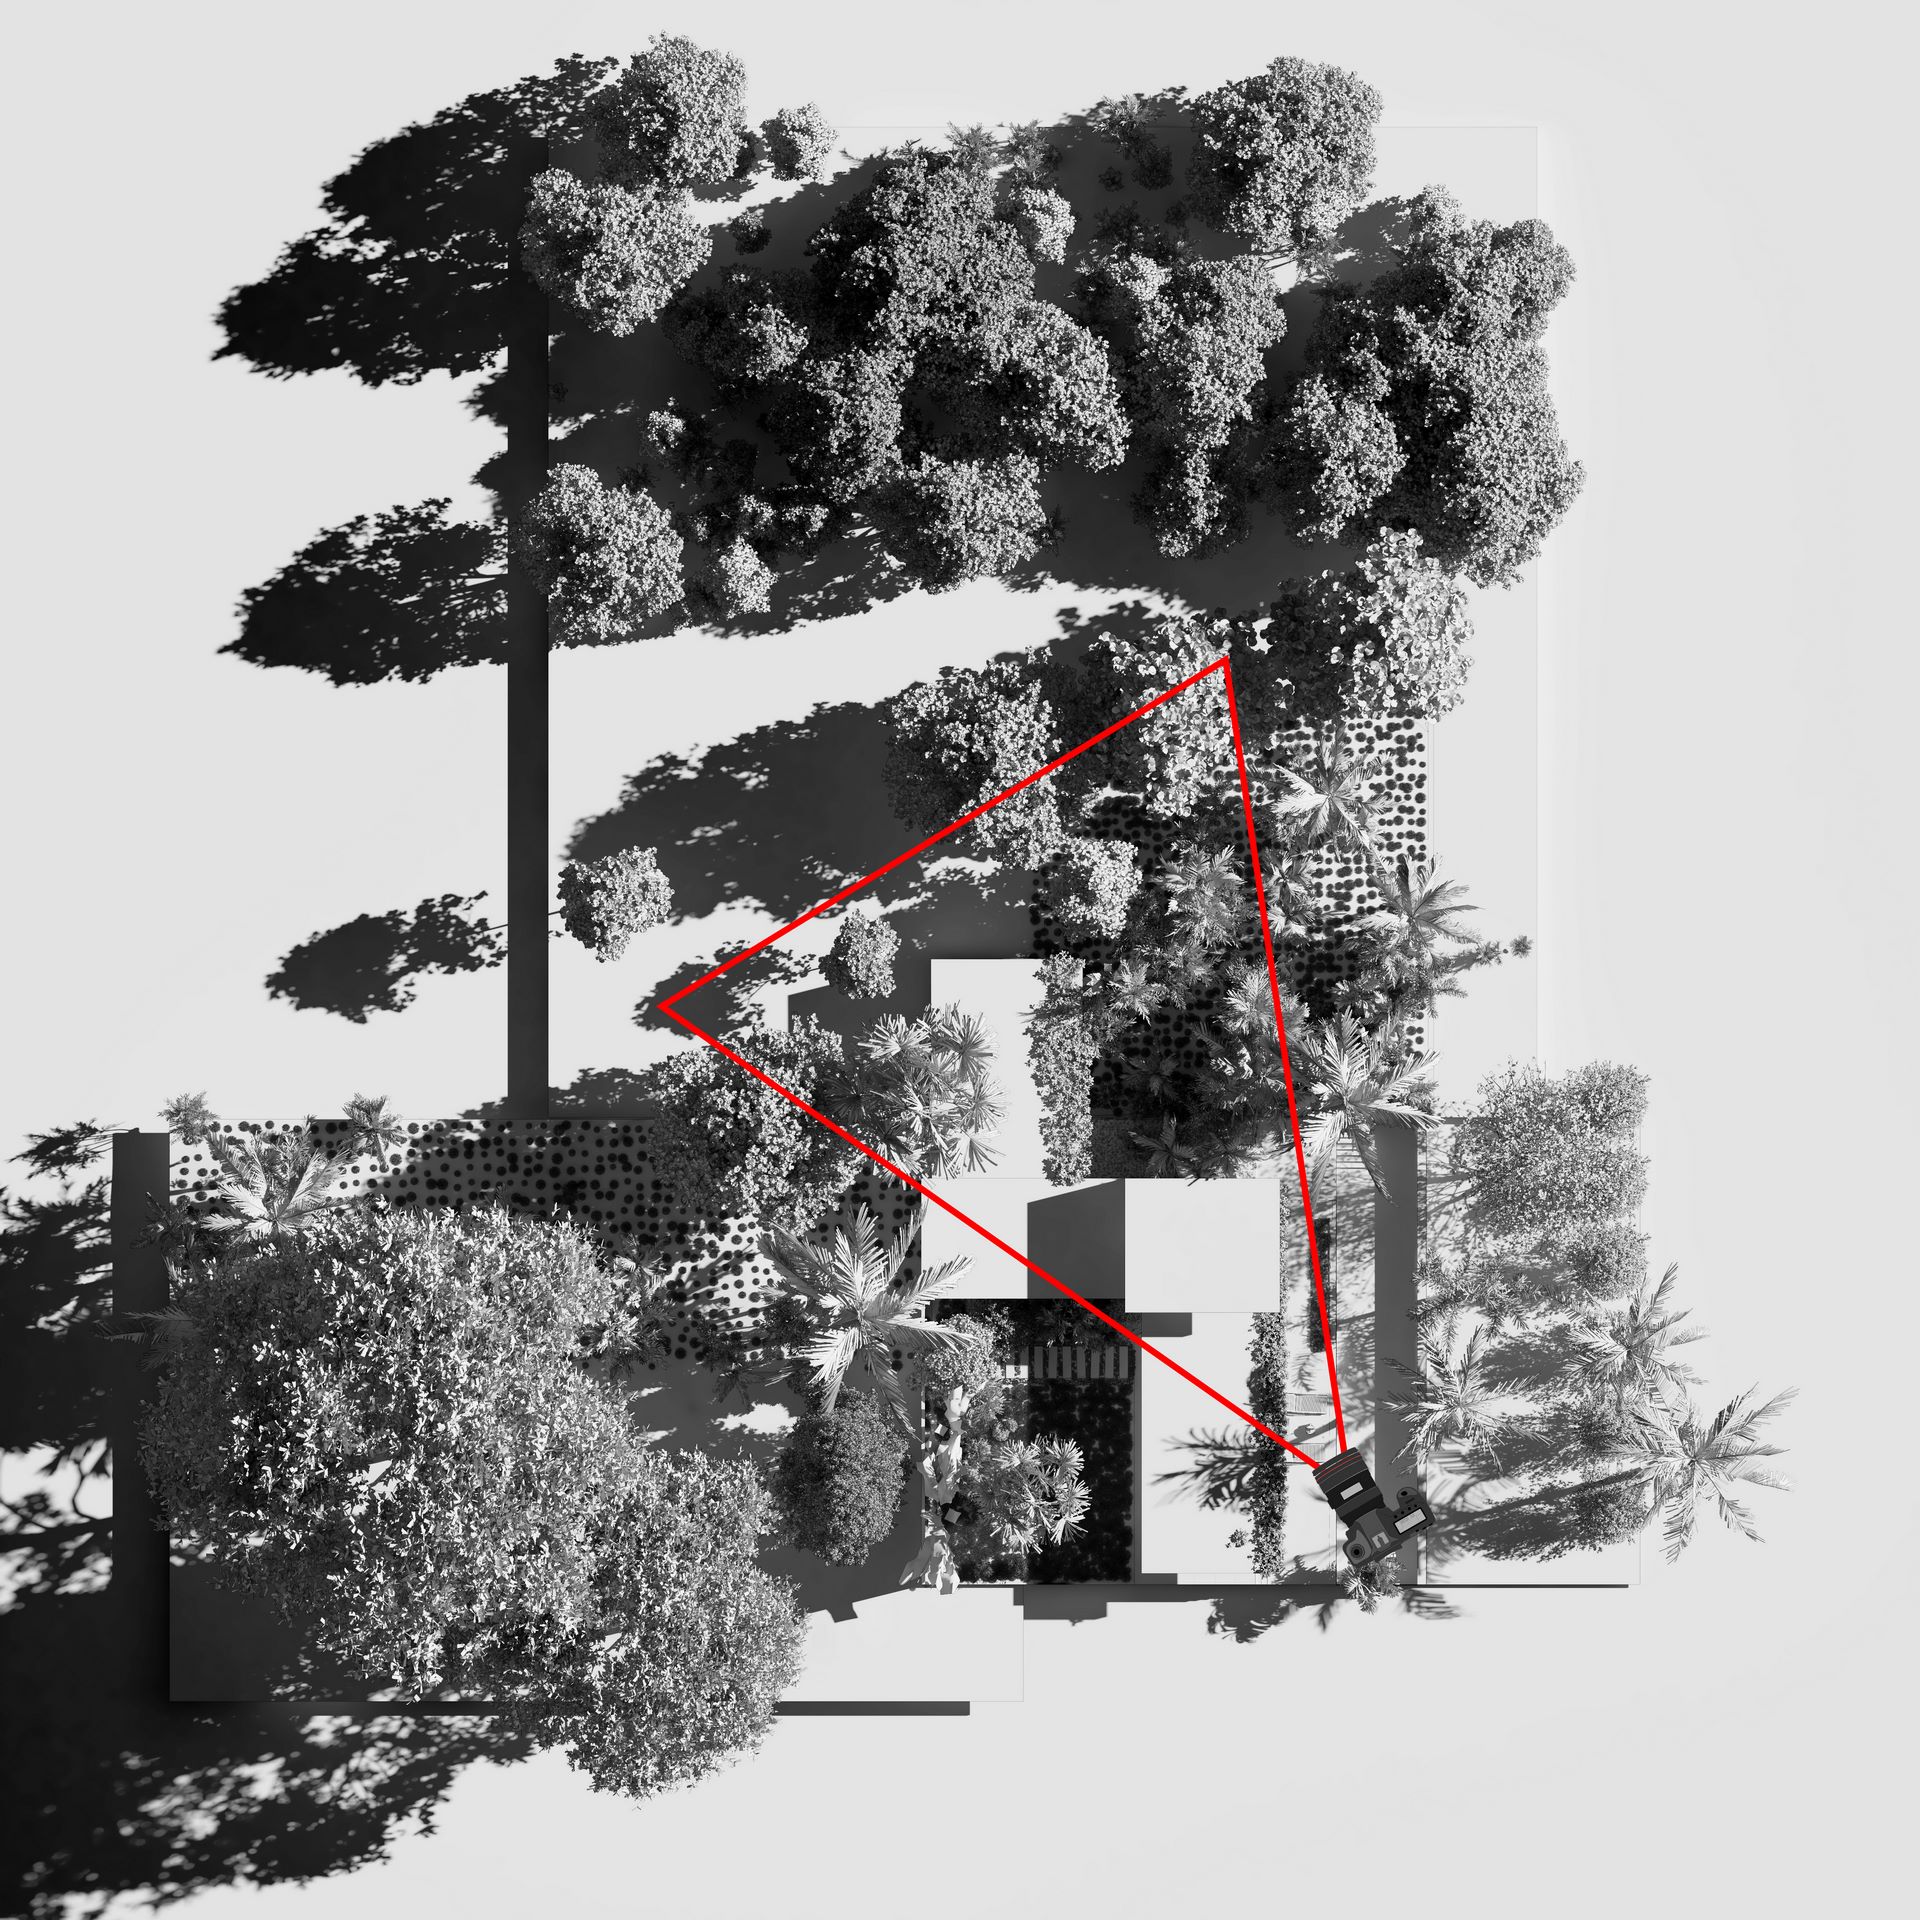
- View top image with the final composition of the landscaping.
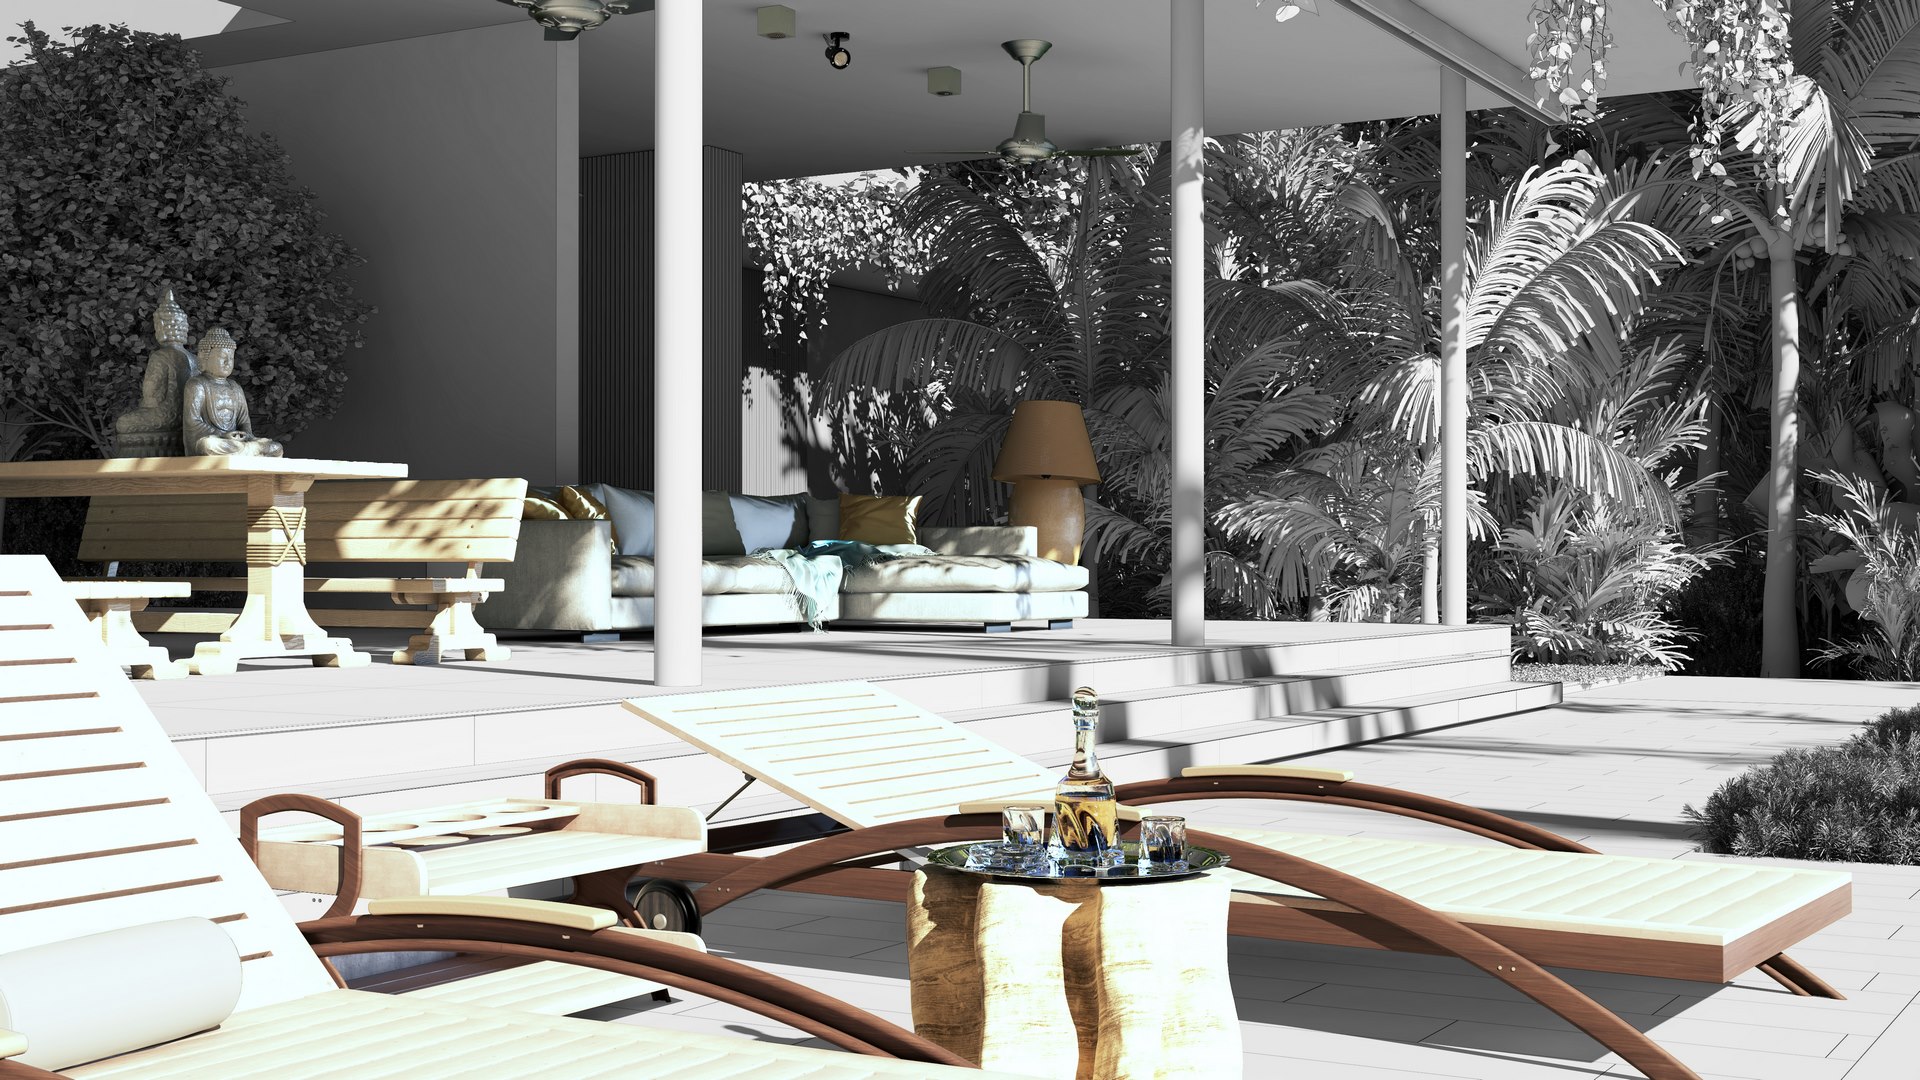
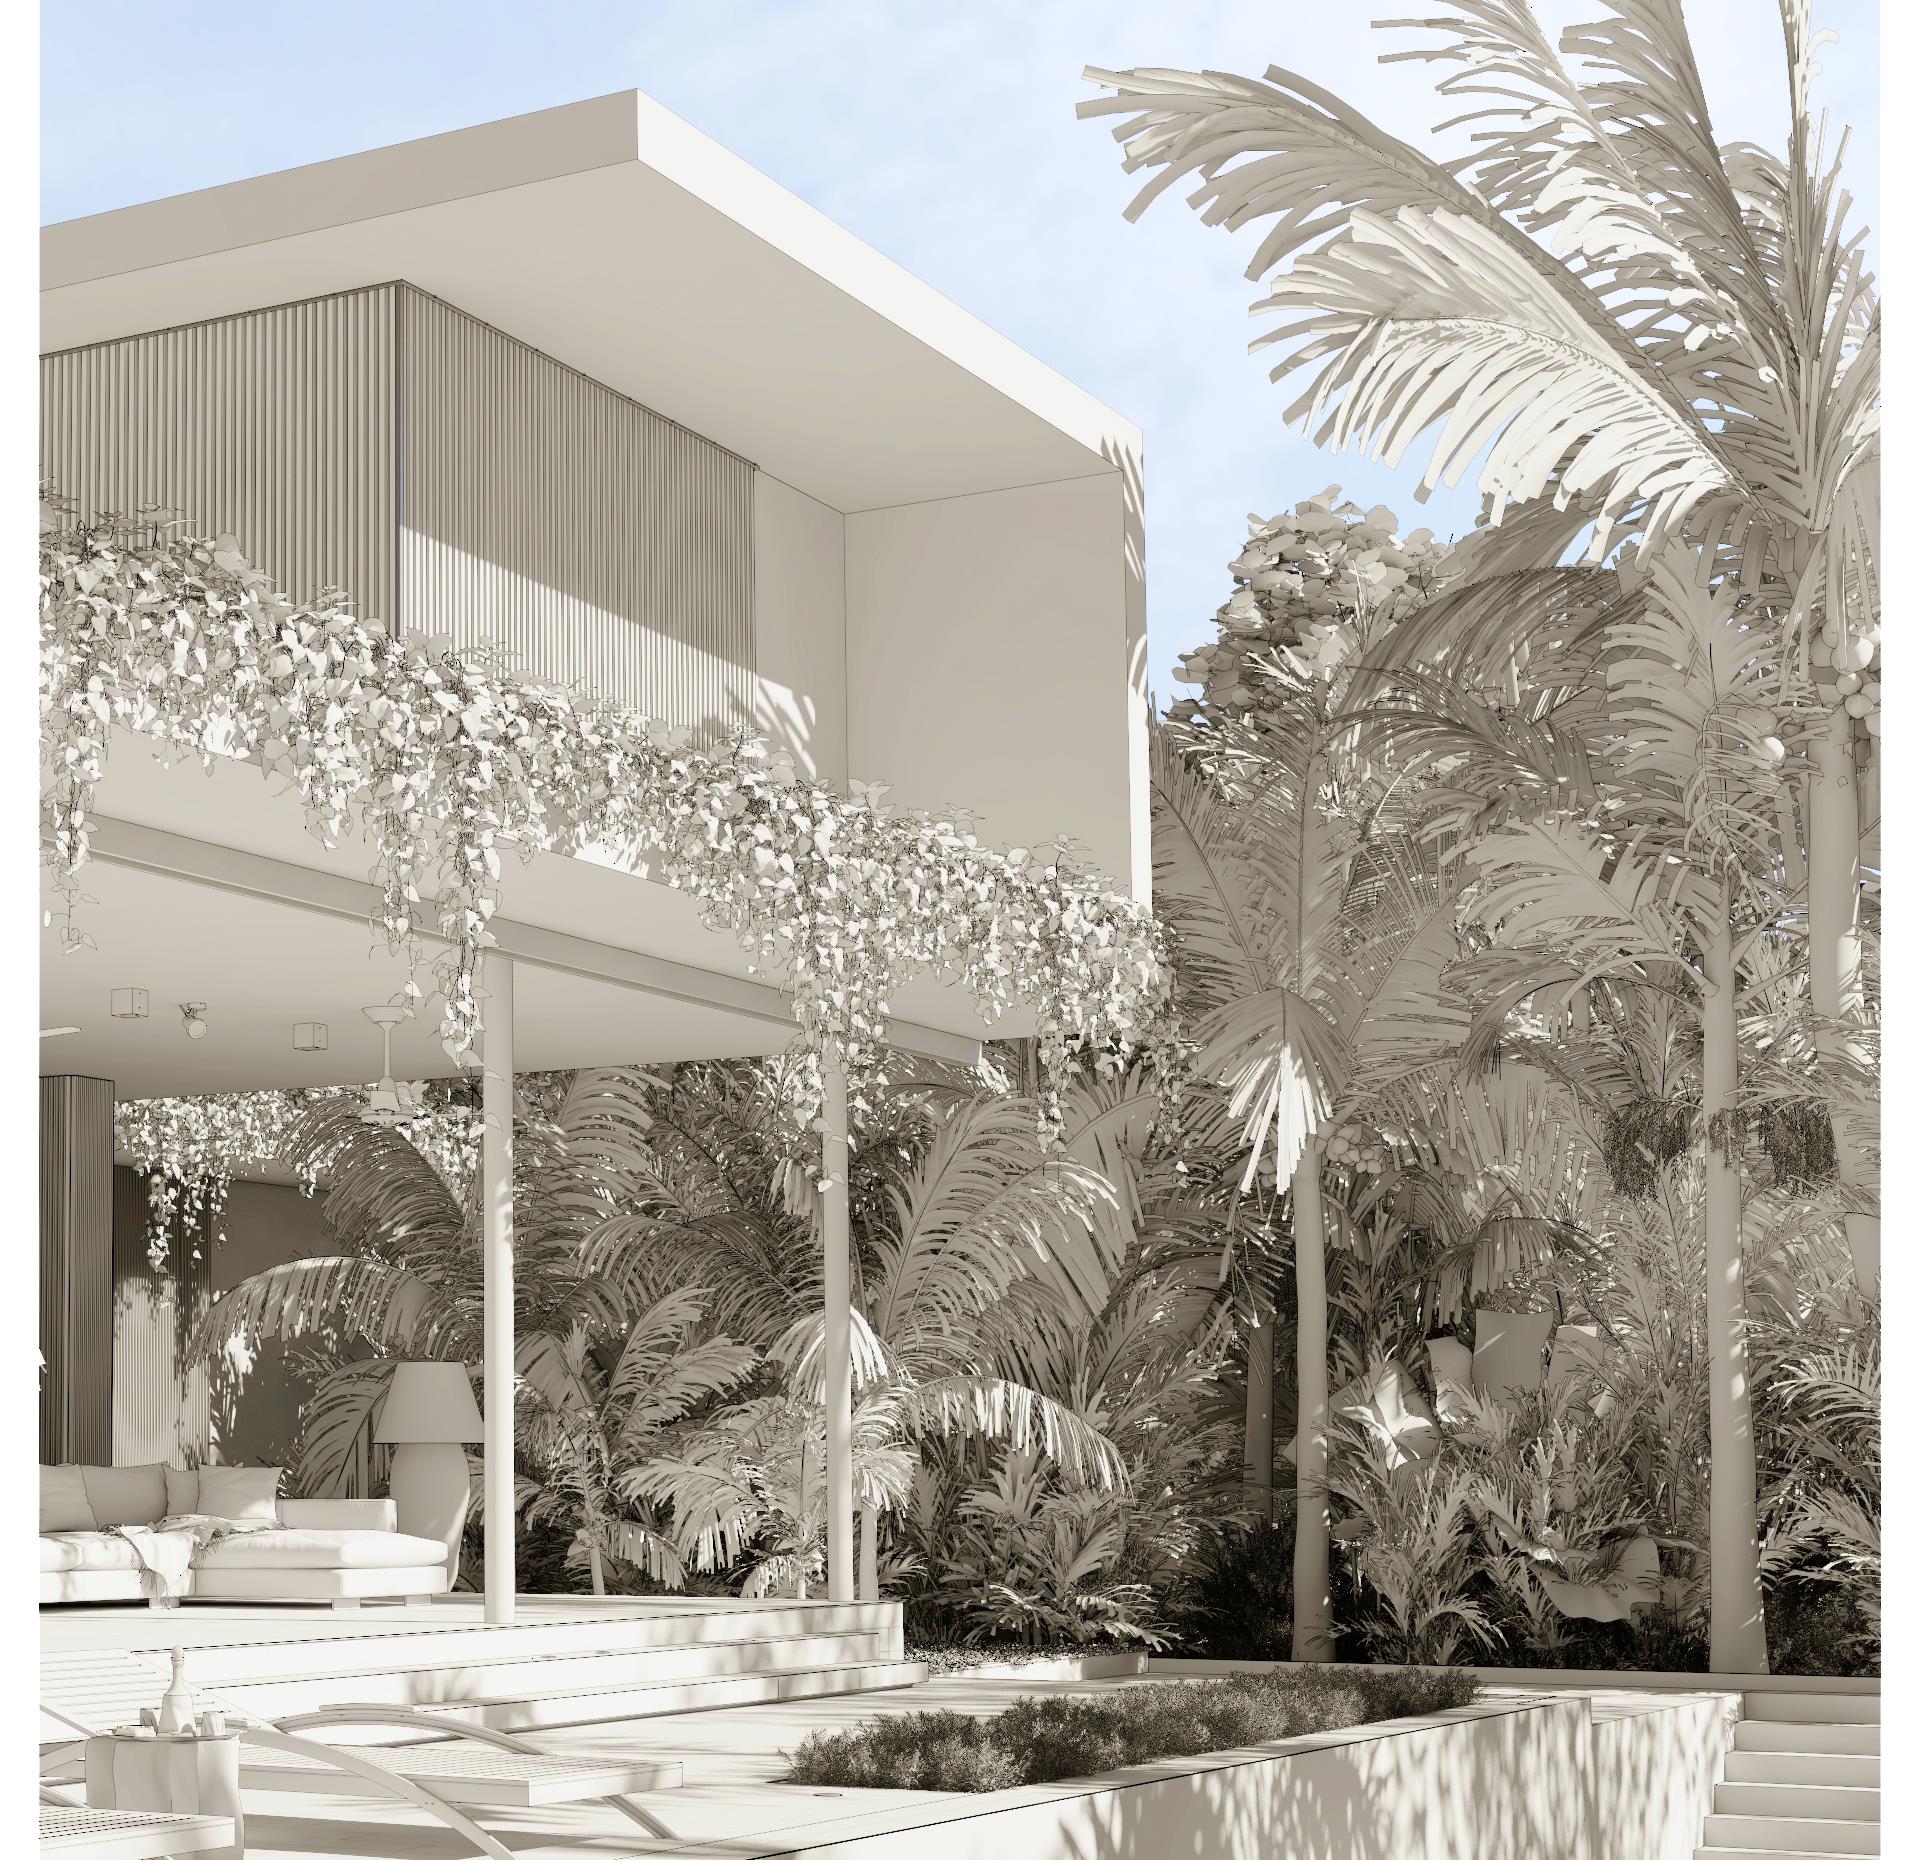
- Crop of the main scene 01 with the finished vegetation.
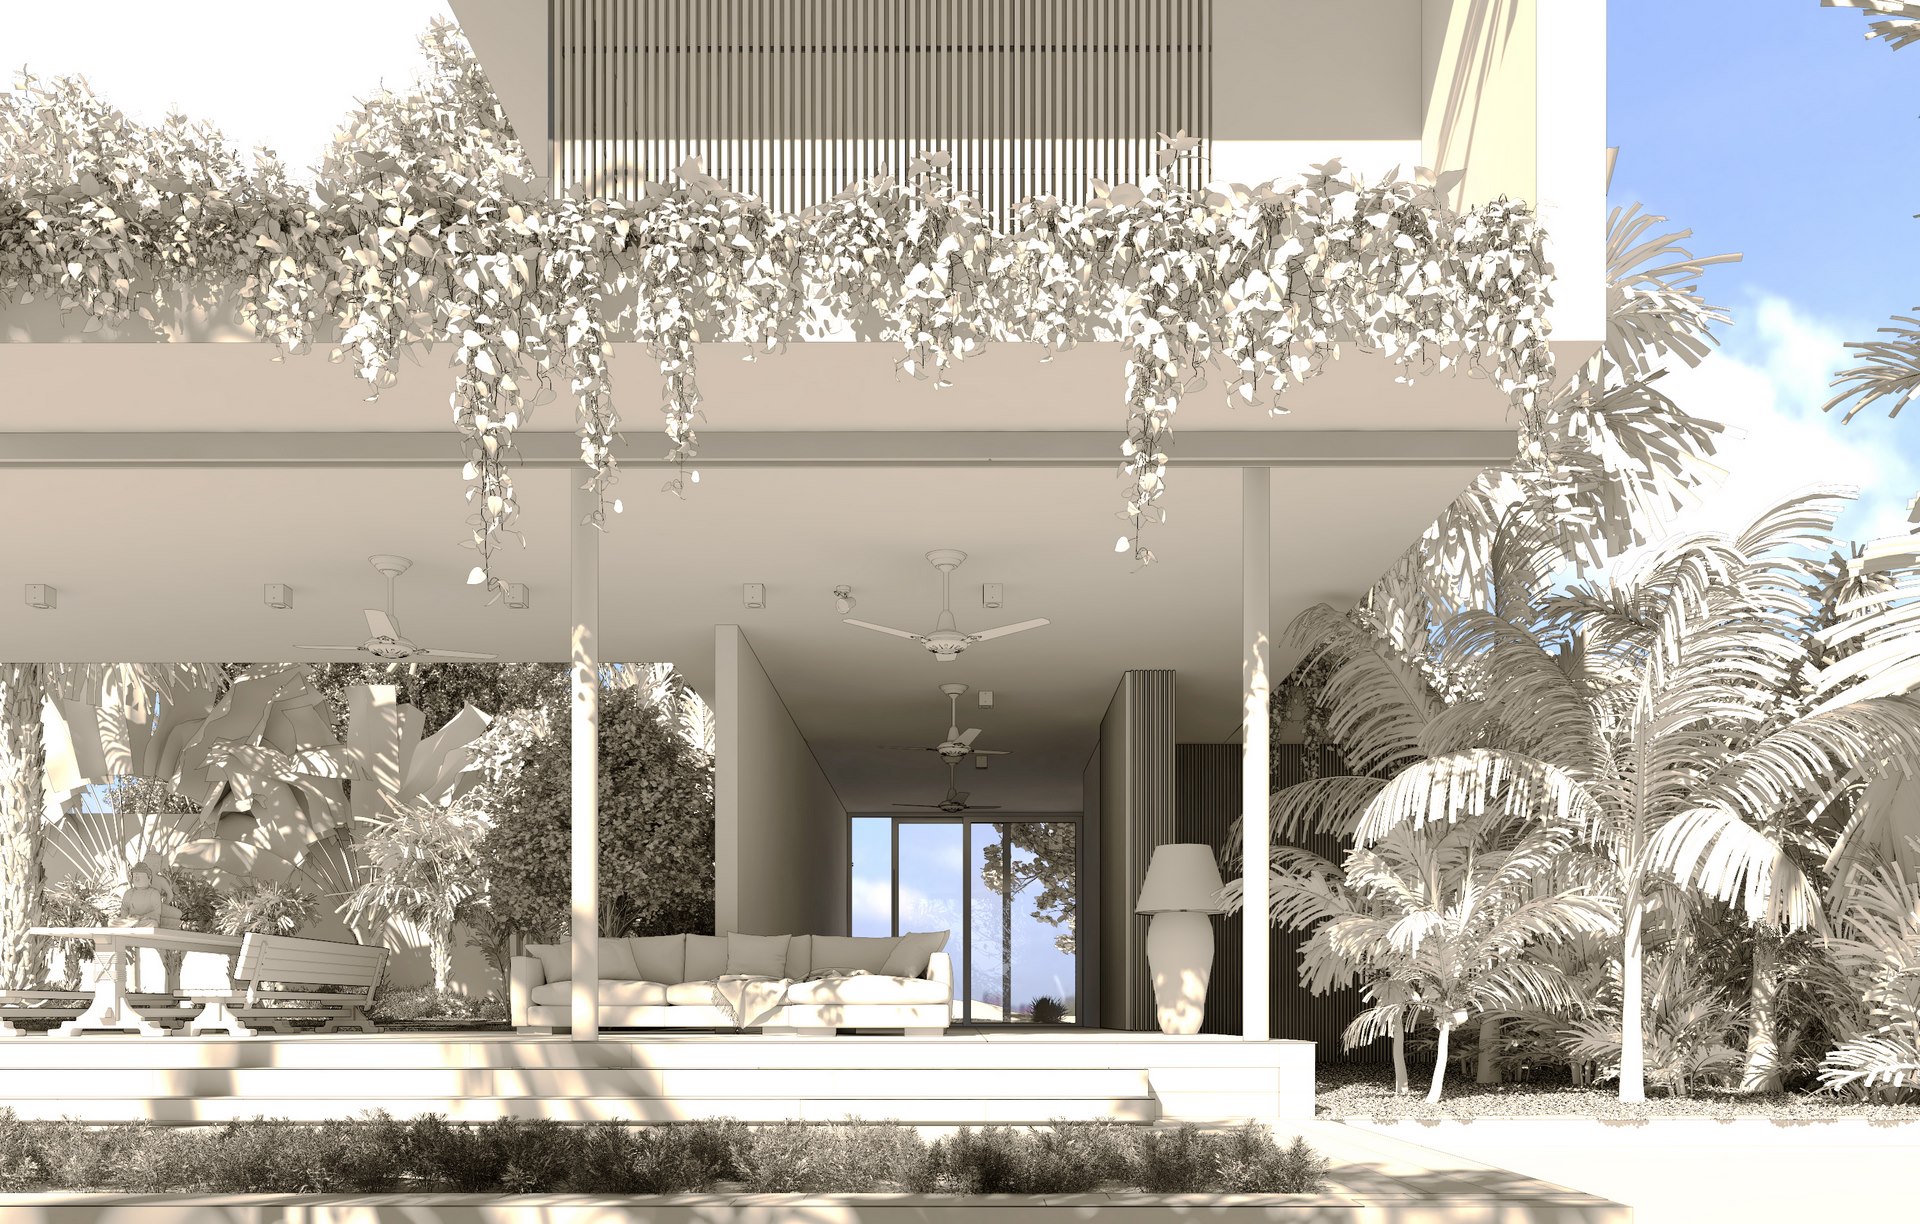
- Crop of the main scene 02 with the finished vegetation.
POLYGET. A new but very promising marketplace for your vegetation. CHECK IT OUT!

POLYGET on Vimeo.
Unlike our initial goal that was to end the image within a short term to then be able to participate in the challenge of the group specifically for this article, we always think in broader ways to share our work with you. As a consequence, we maintained the two main scenes that were already defined, and we did some additional tests to define two extra scenes that would show more details to you.
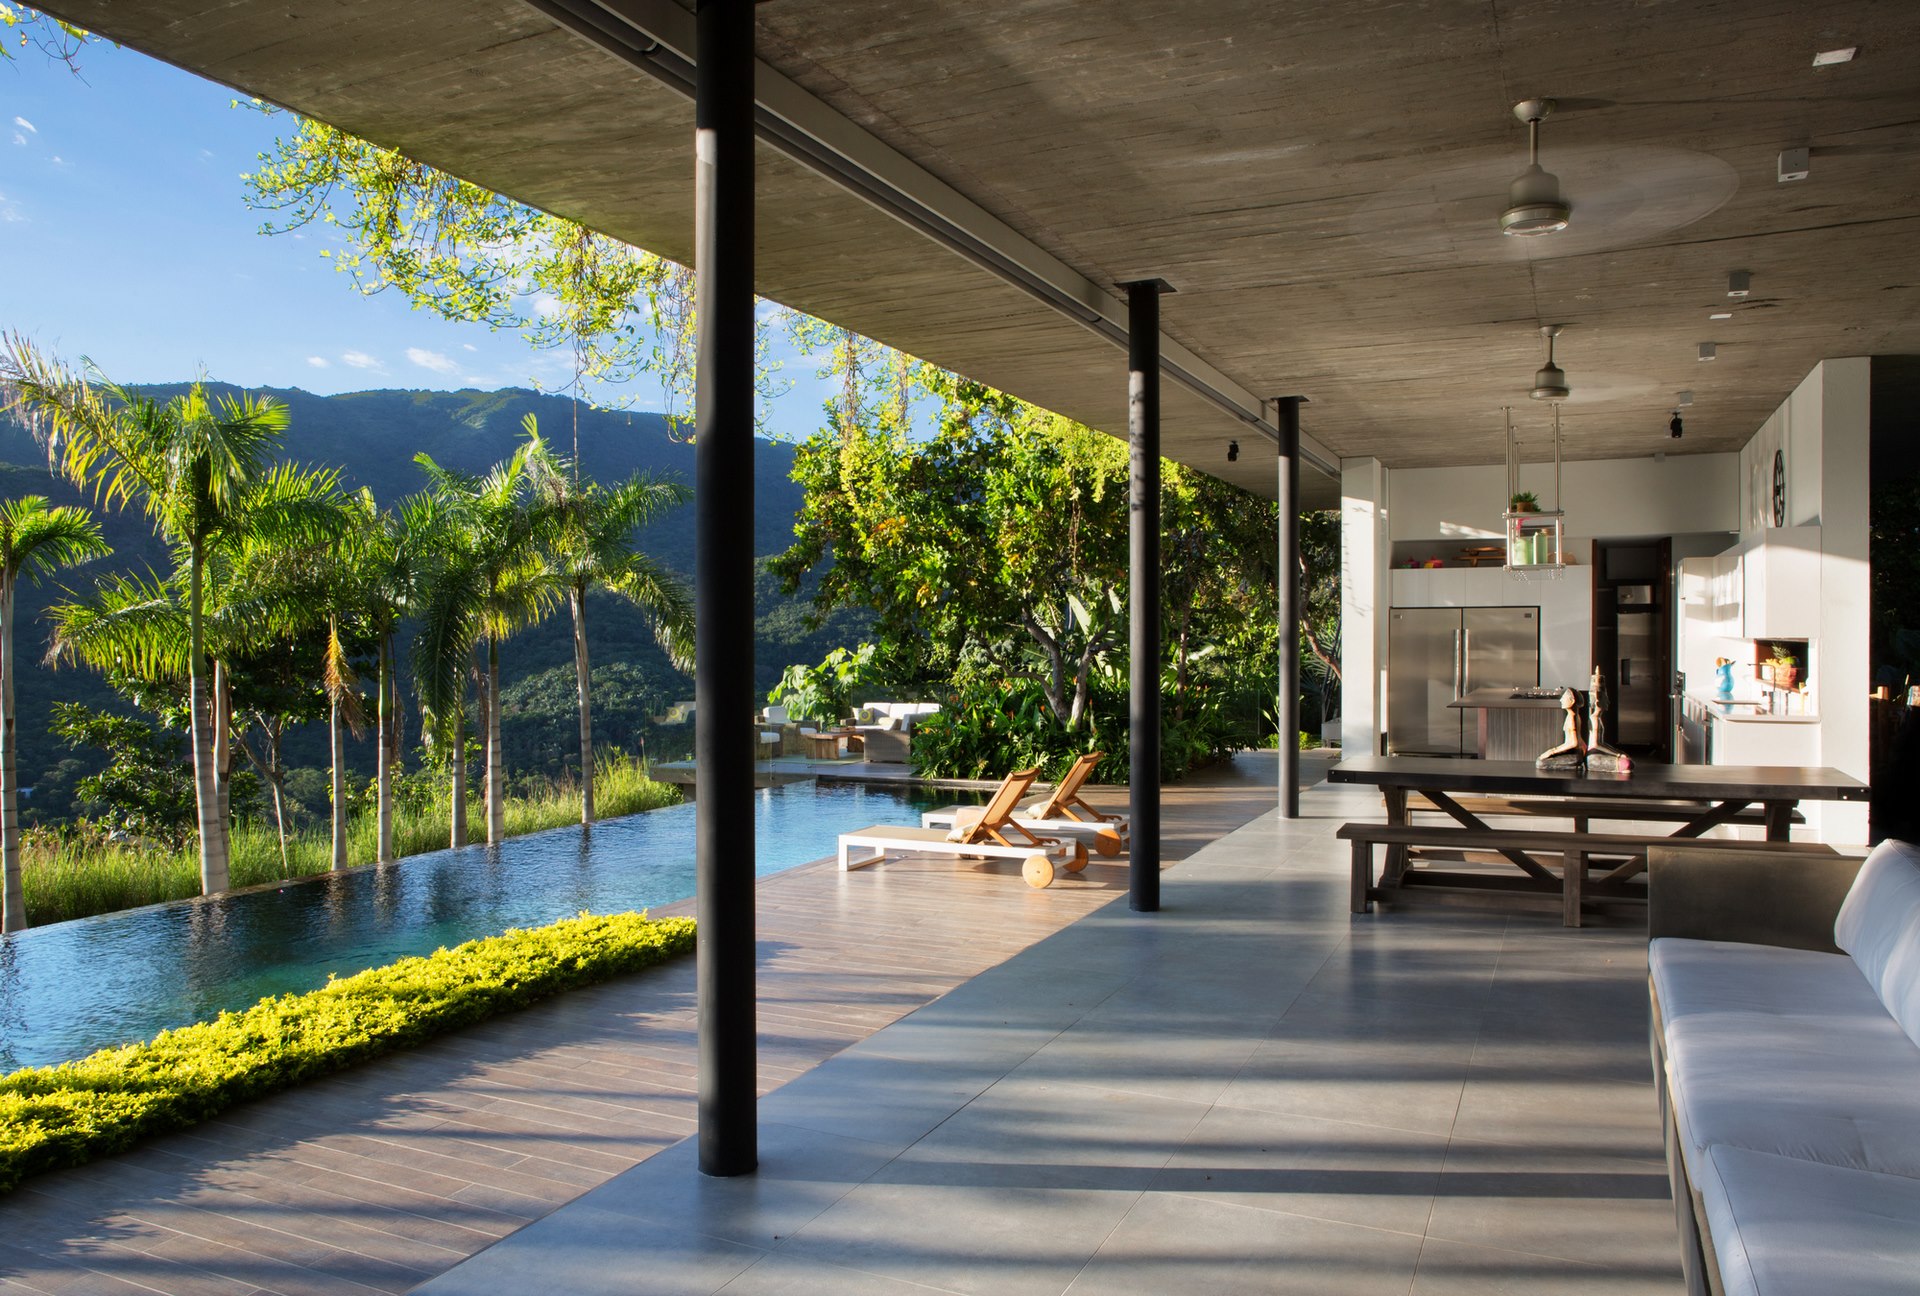
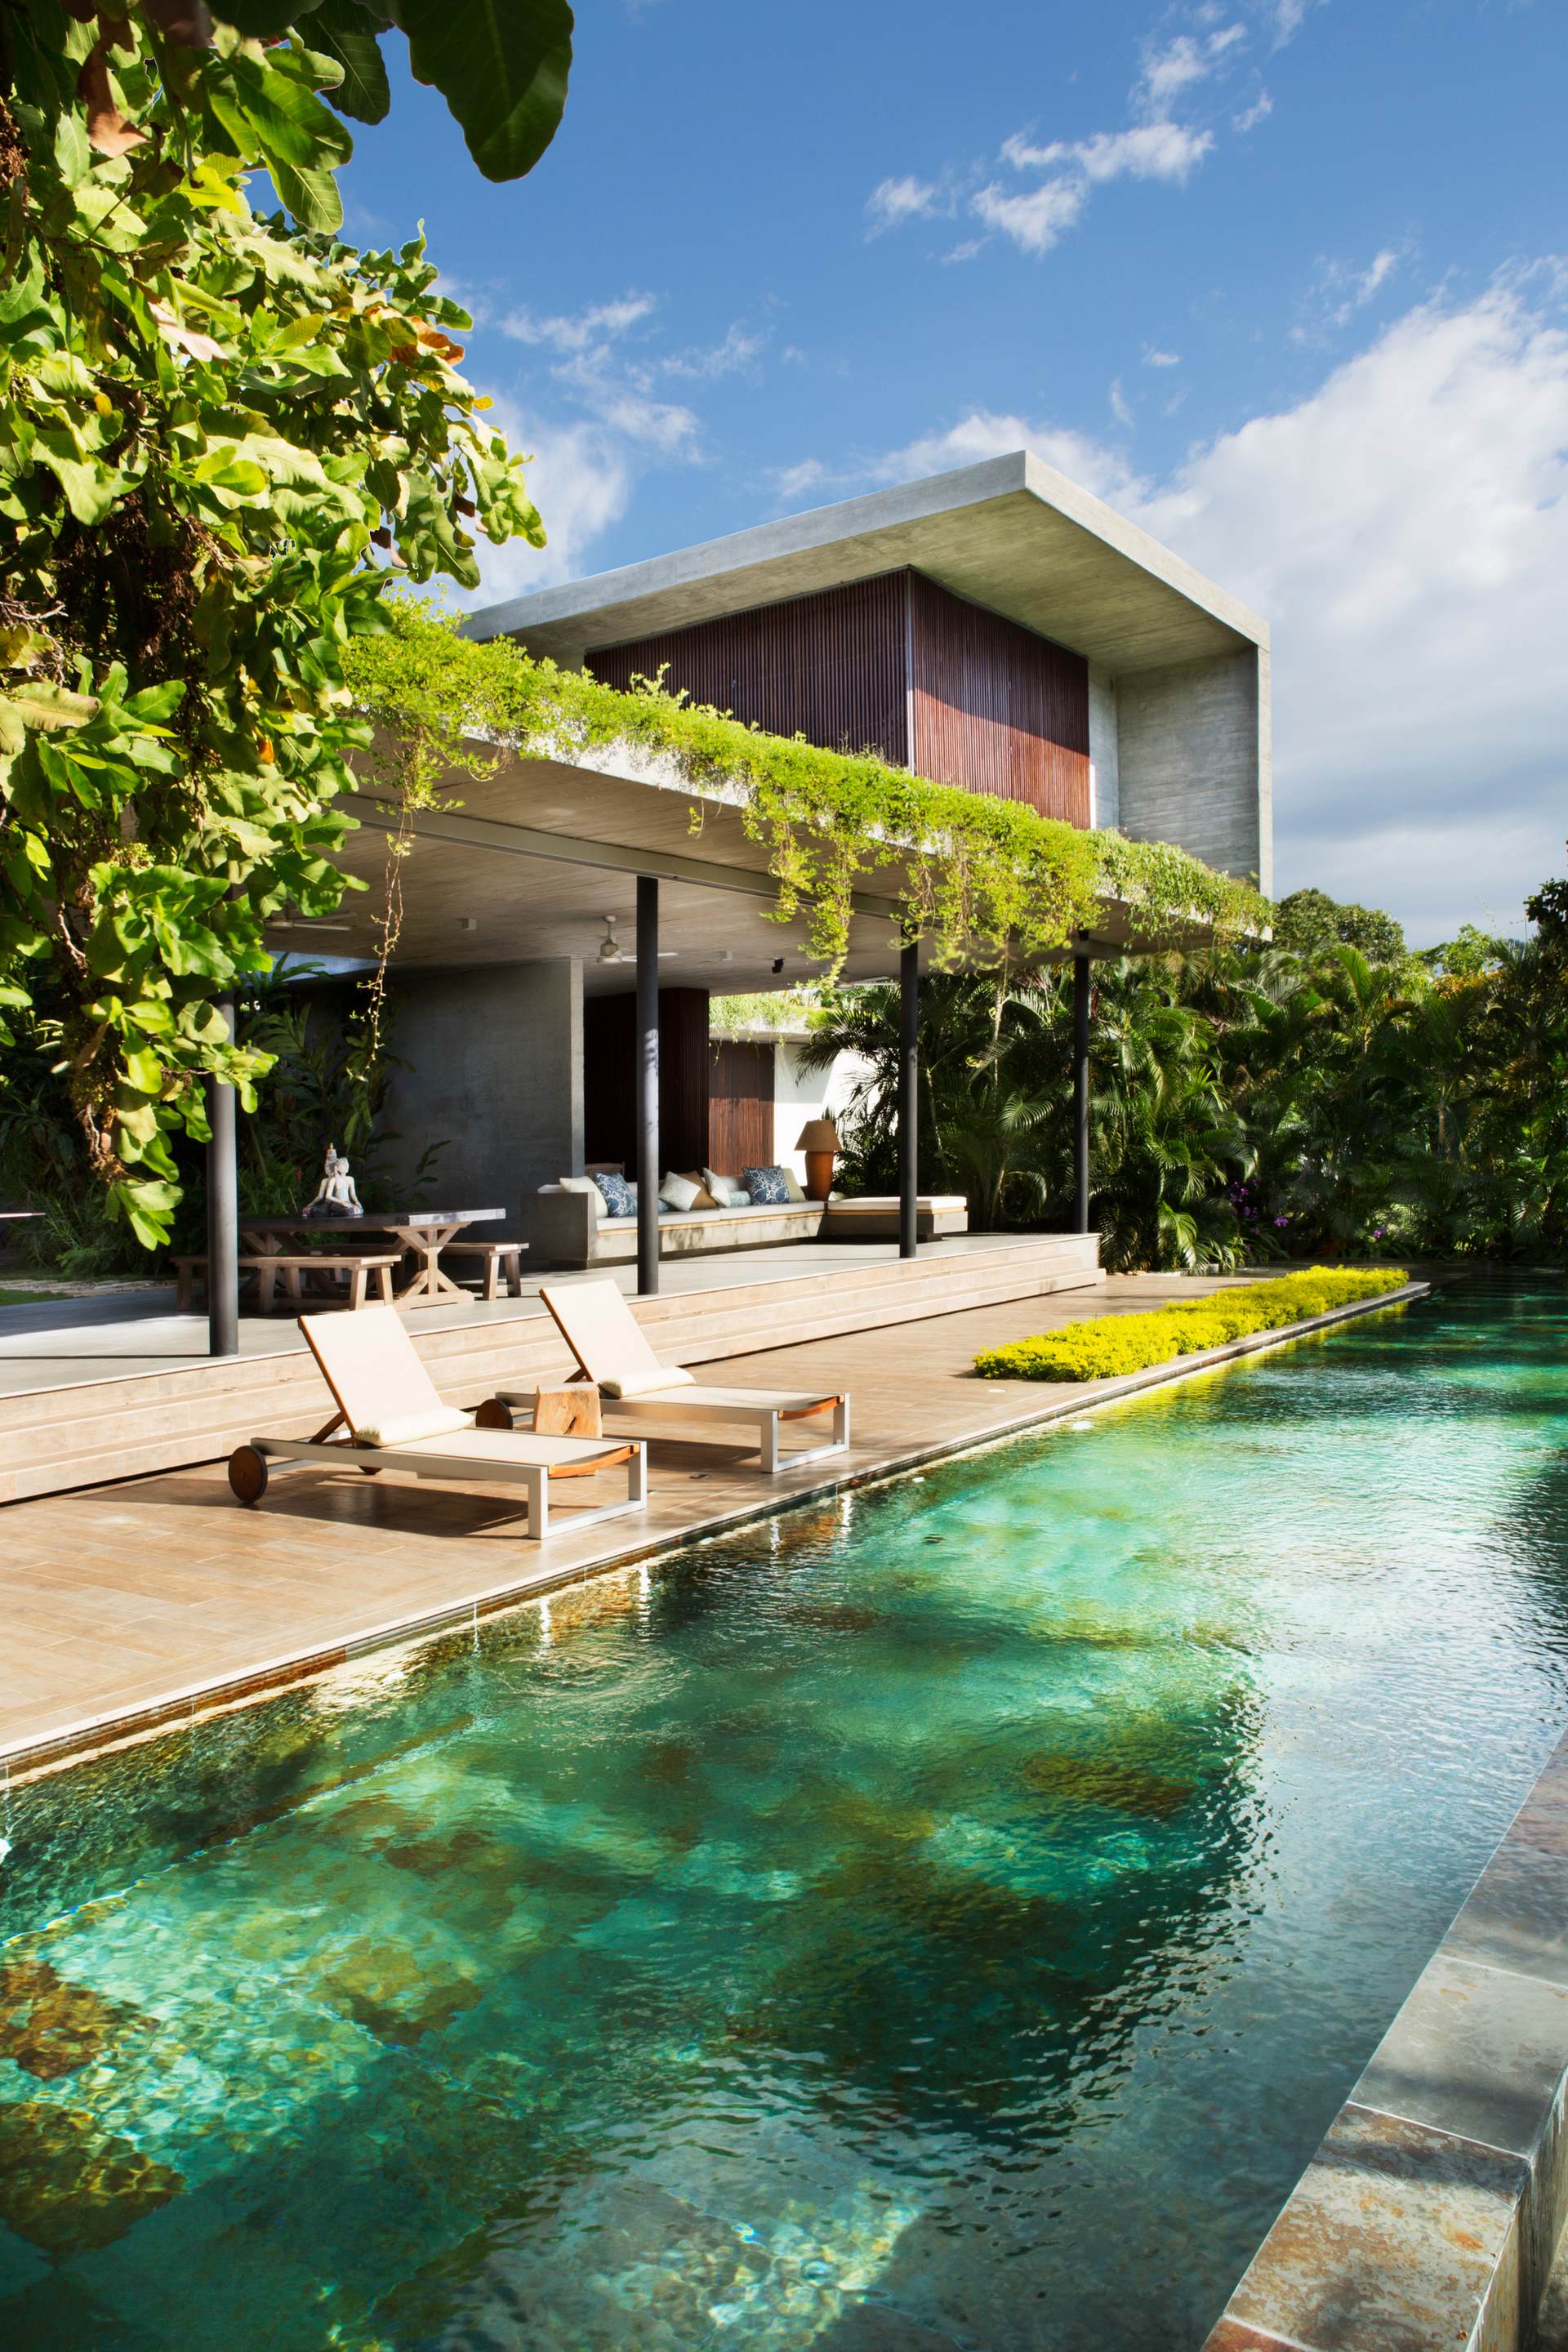
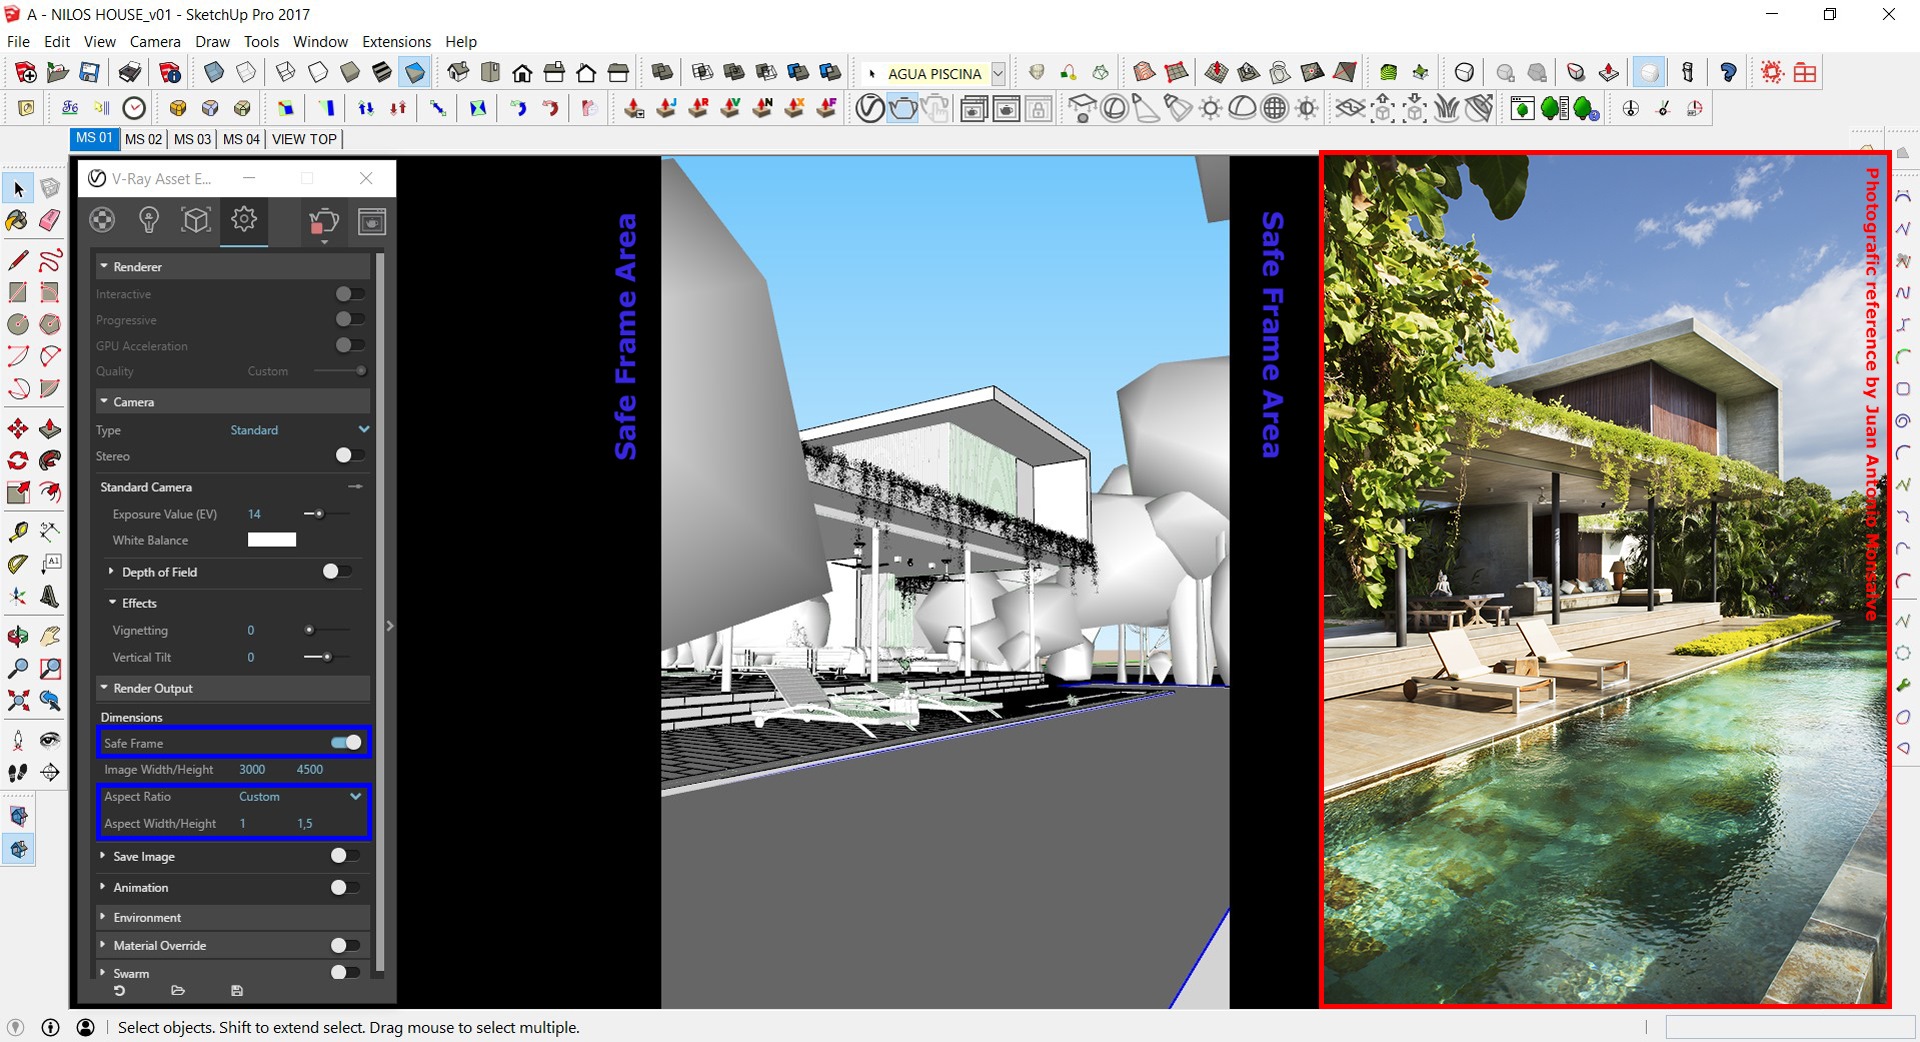
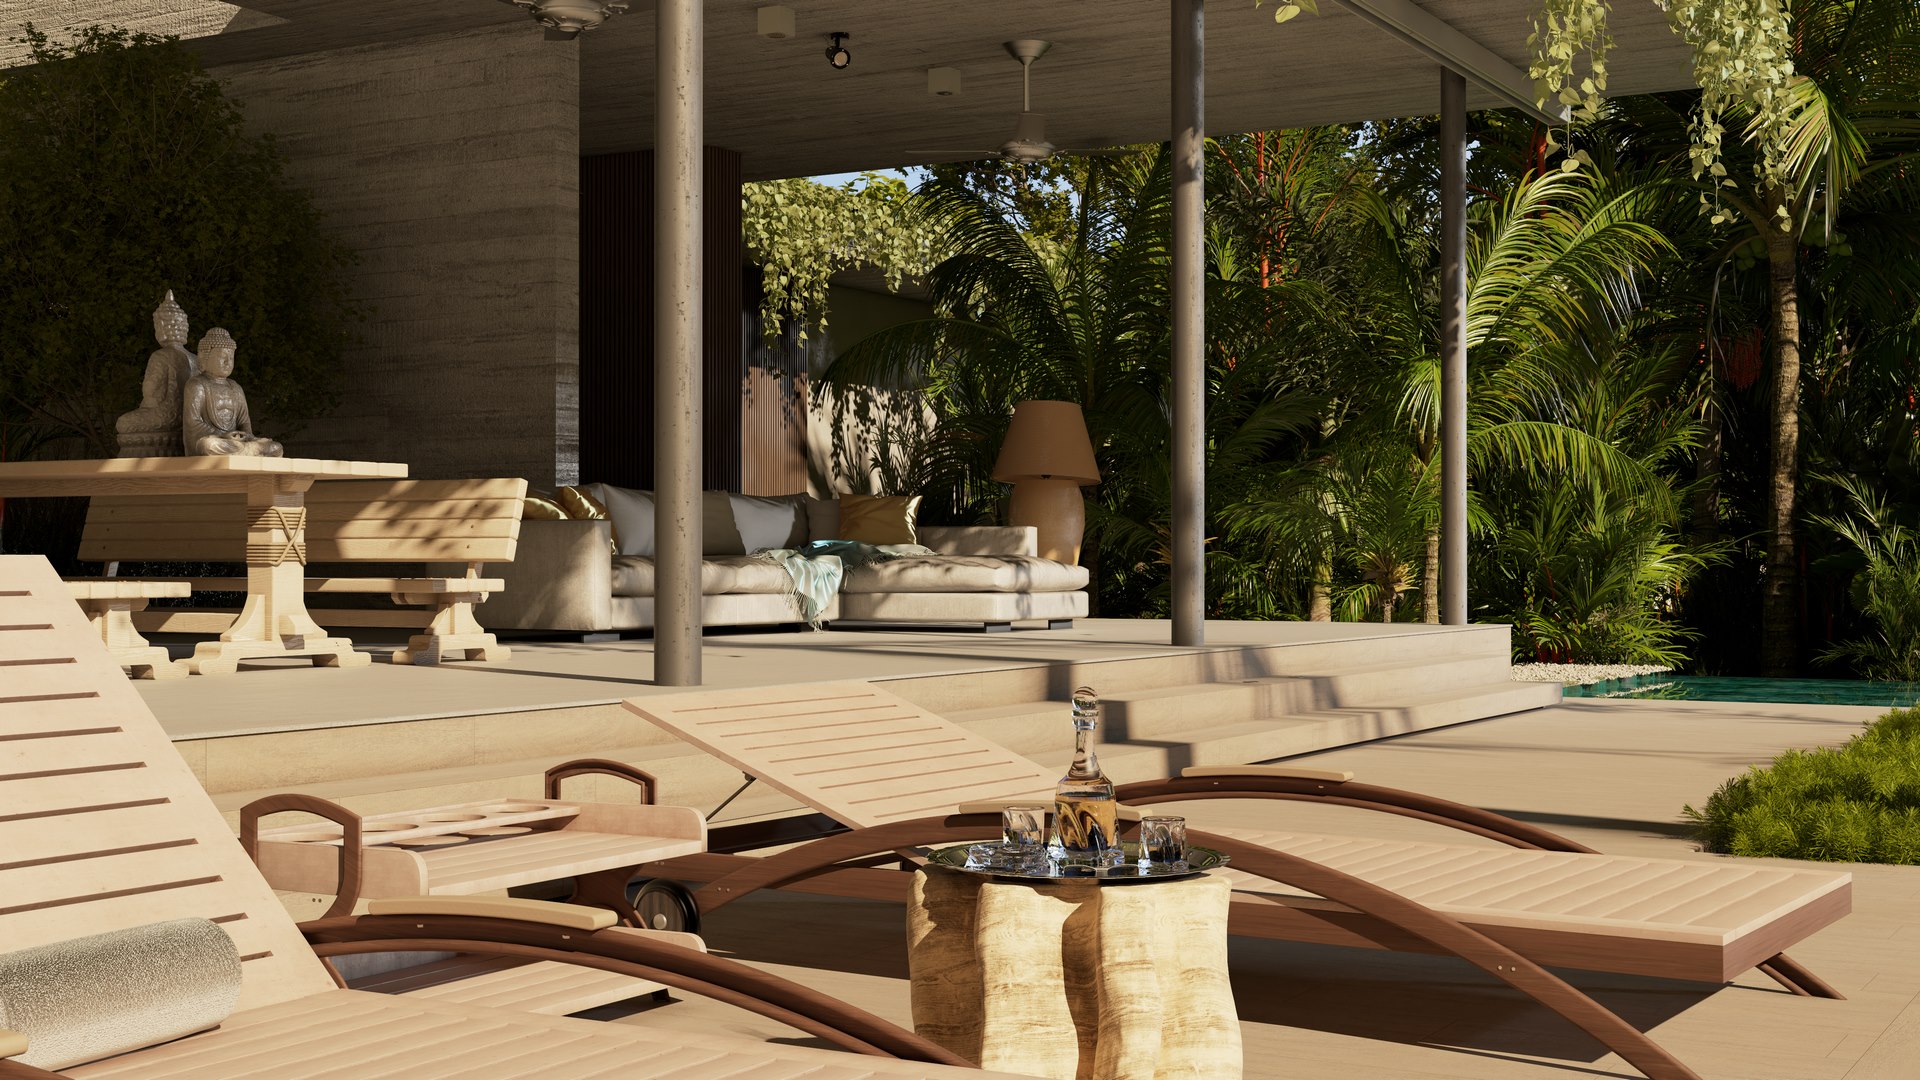
For the main scene 01, we used one of the photographs of Juan Antonio Monsalve as the basis for representing the positioning and camera framing we could get closer from the original photograph.
- Main scene framing 01.
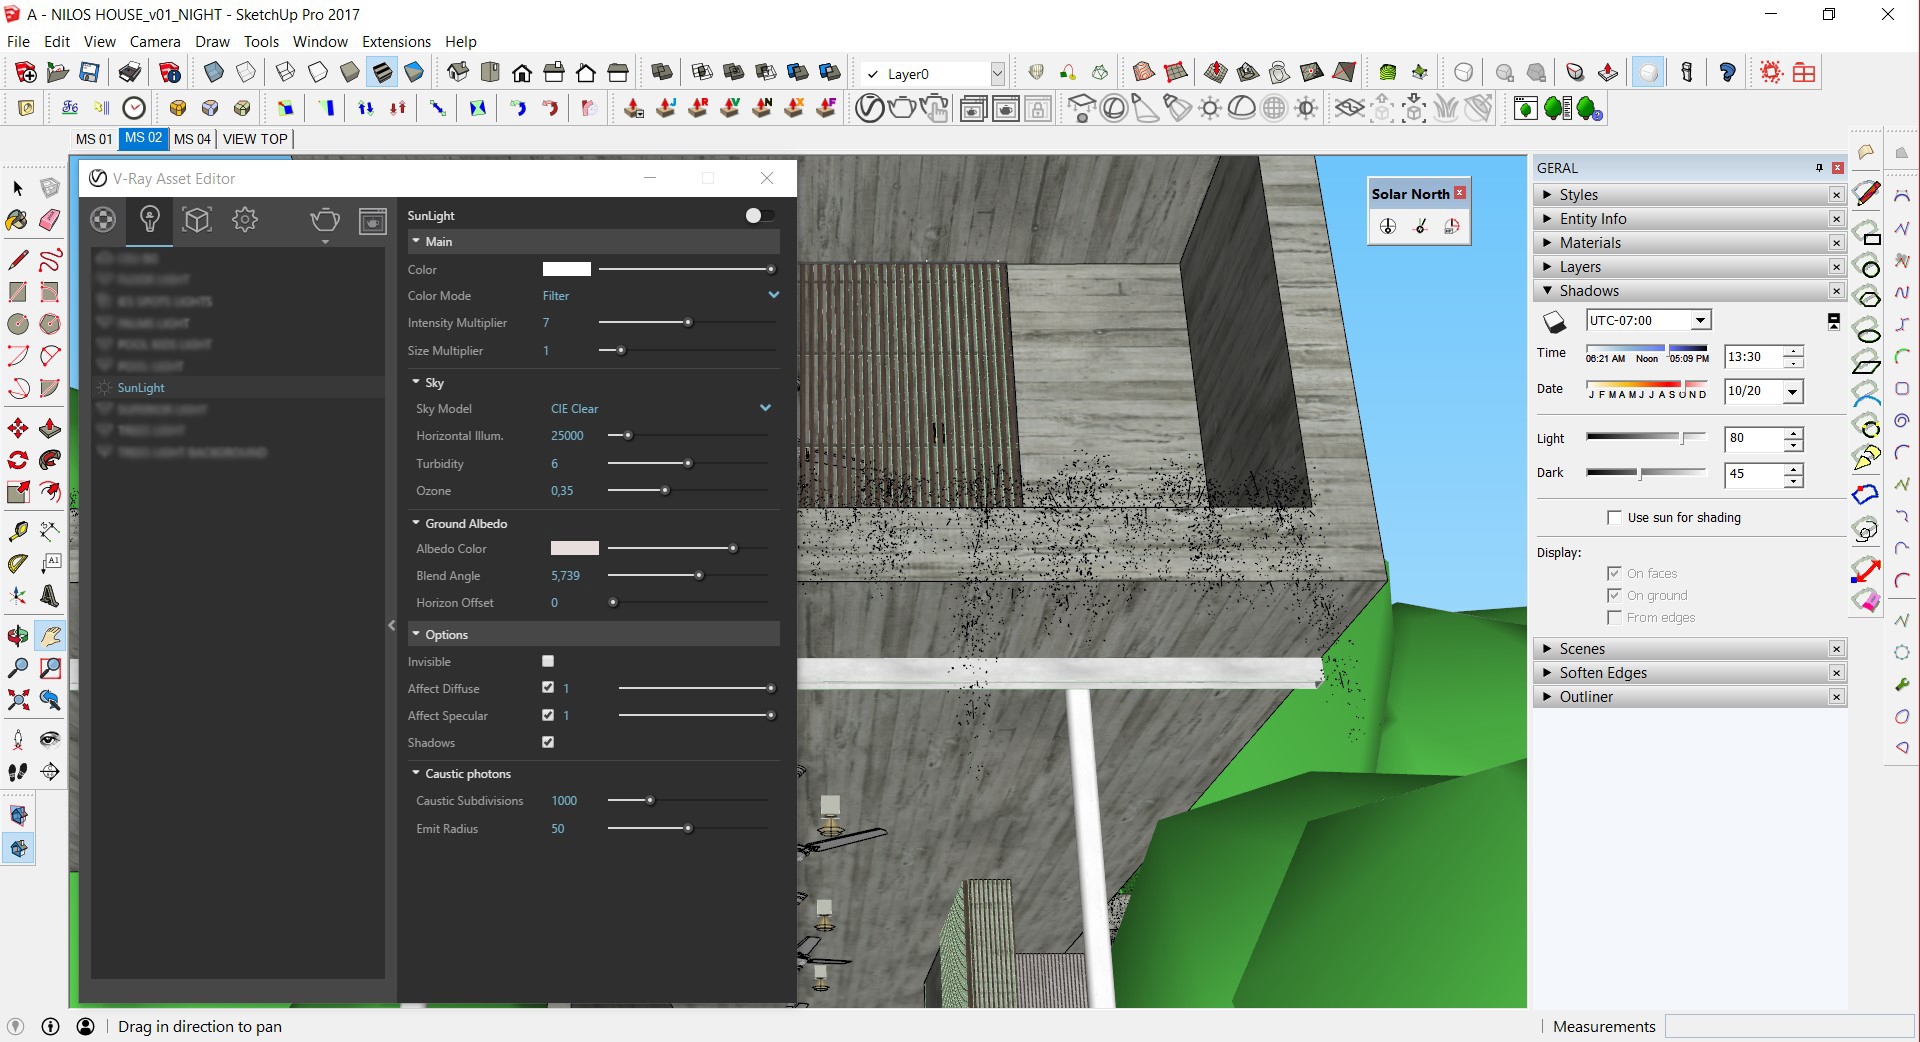
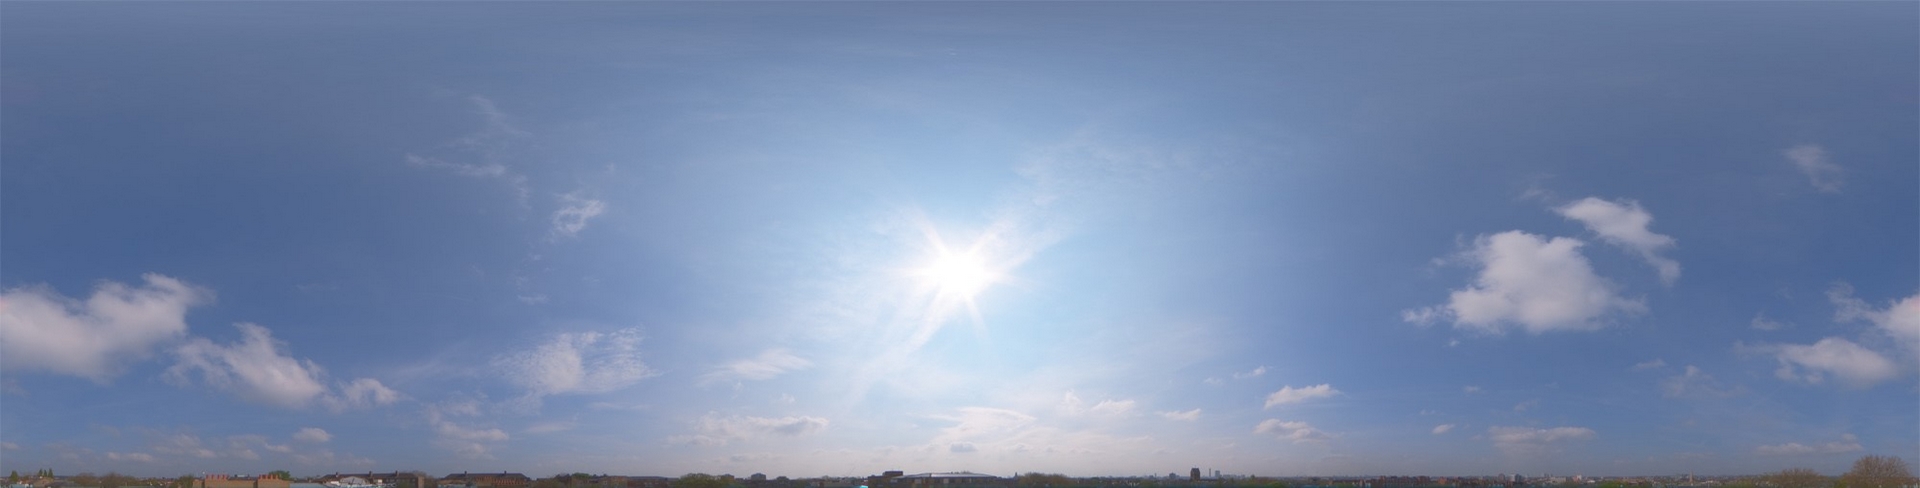
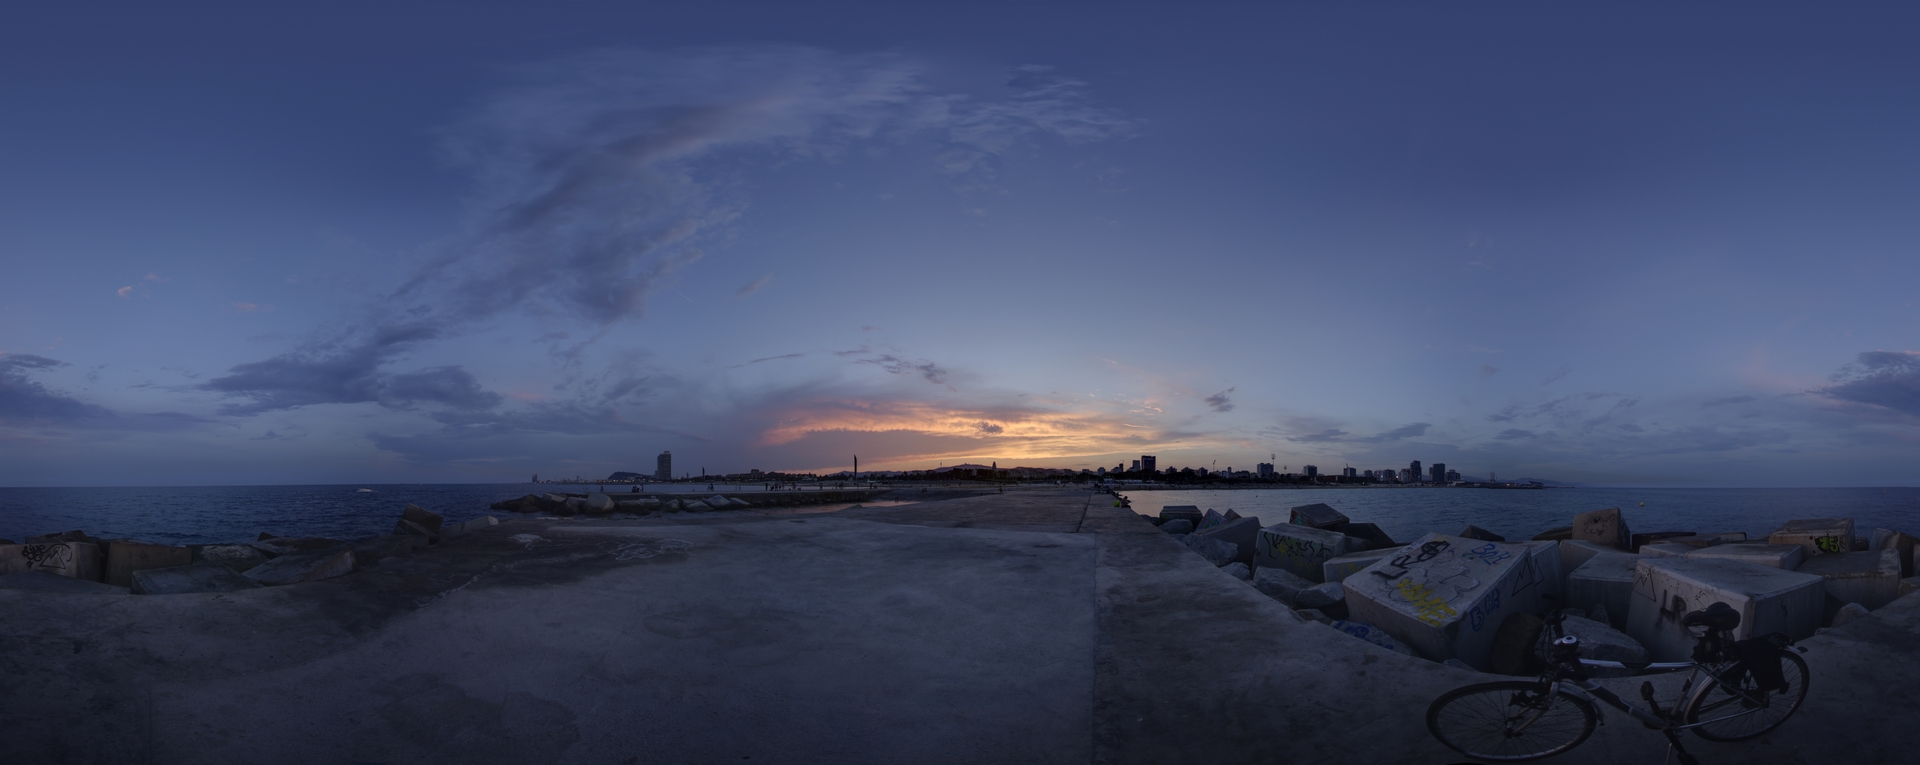
The lighting of scene 01 was made with a dome light using a Peter Guthrie's HDRI (1103 Sun Clouds) for reflections and the sun light of SketchUp as the main light source.
We maintained the same dates and schedules for all the scenes and utilized the Solar North plug-in only to have a greater control over the exact position of the sun.
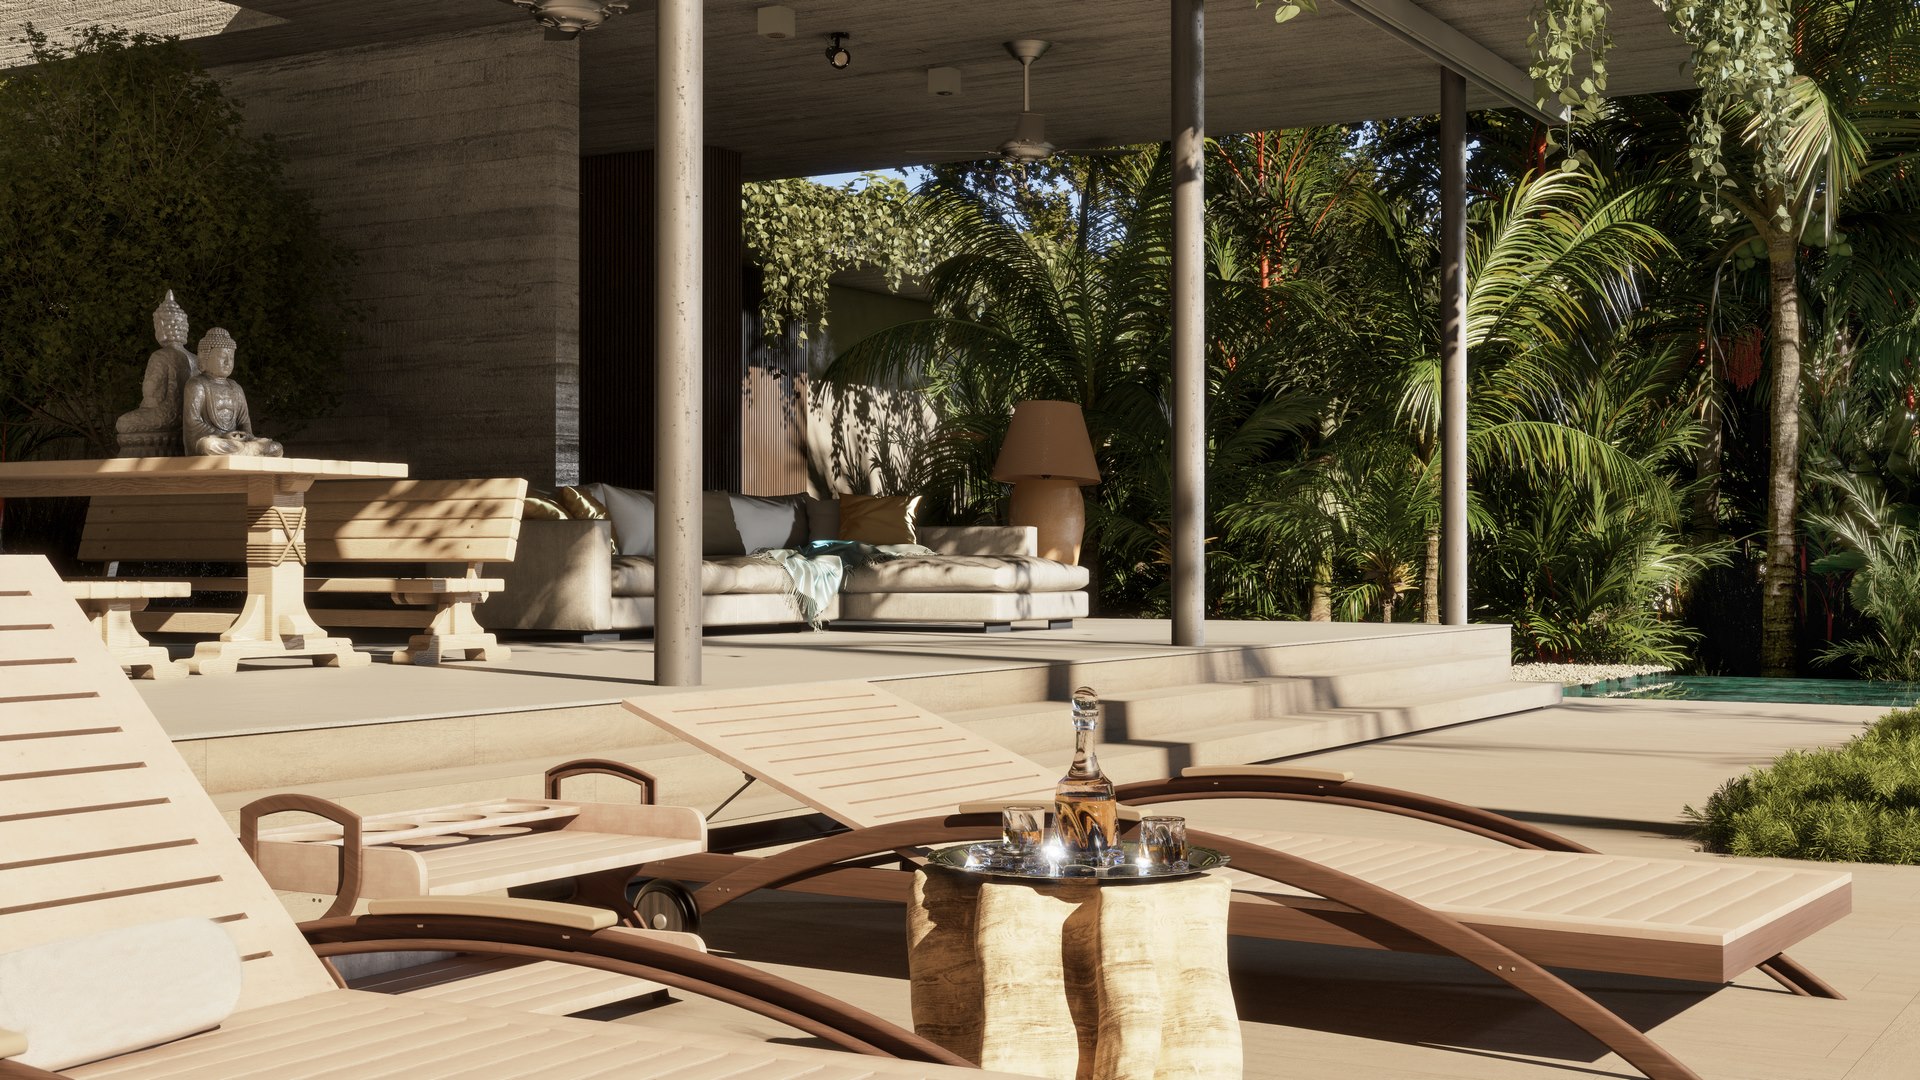
The main scene 02, as well as the 01 have been idealized for the challenge. In this case we have kept them and just for this article we changed the lighting slightly to differ from its predecessors. However, we kept the original positioning, camera effects, framing and output settings.
We felt the need to redo the whole project and add more image content to take advantage of all the work and time invested, and yet the simple fact that we had more time to produce and improve what had been done rashly before.
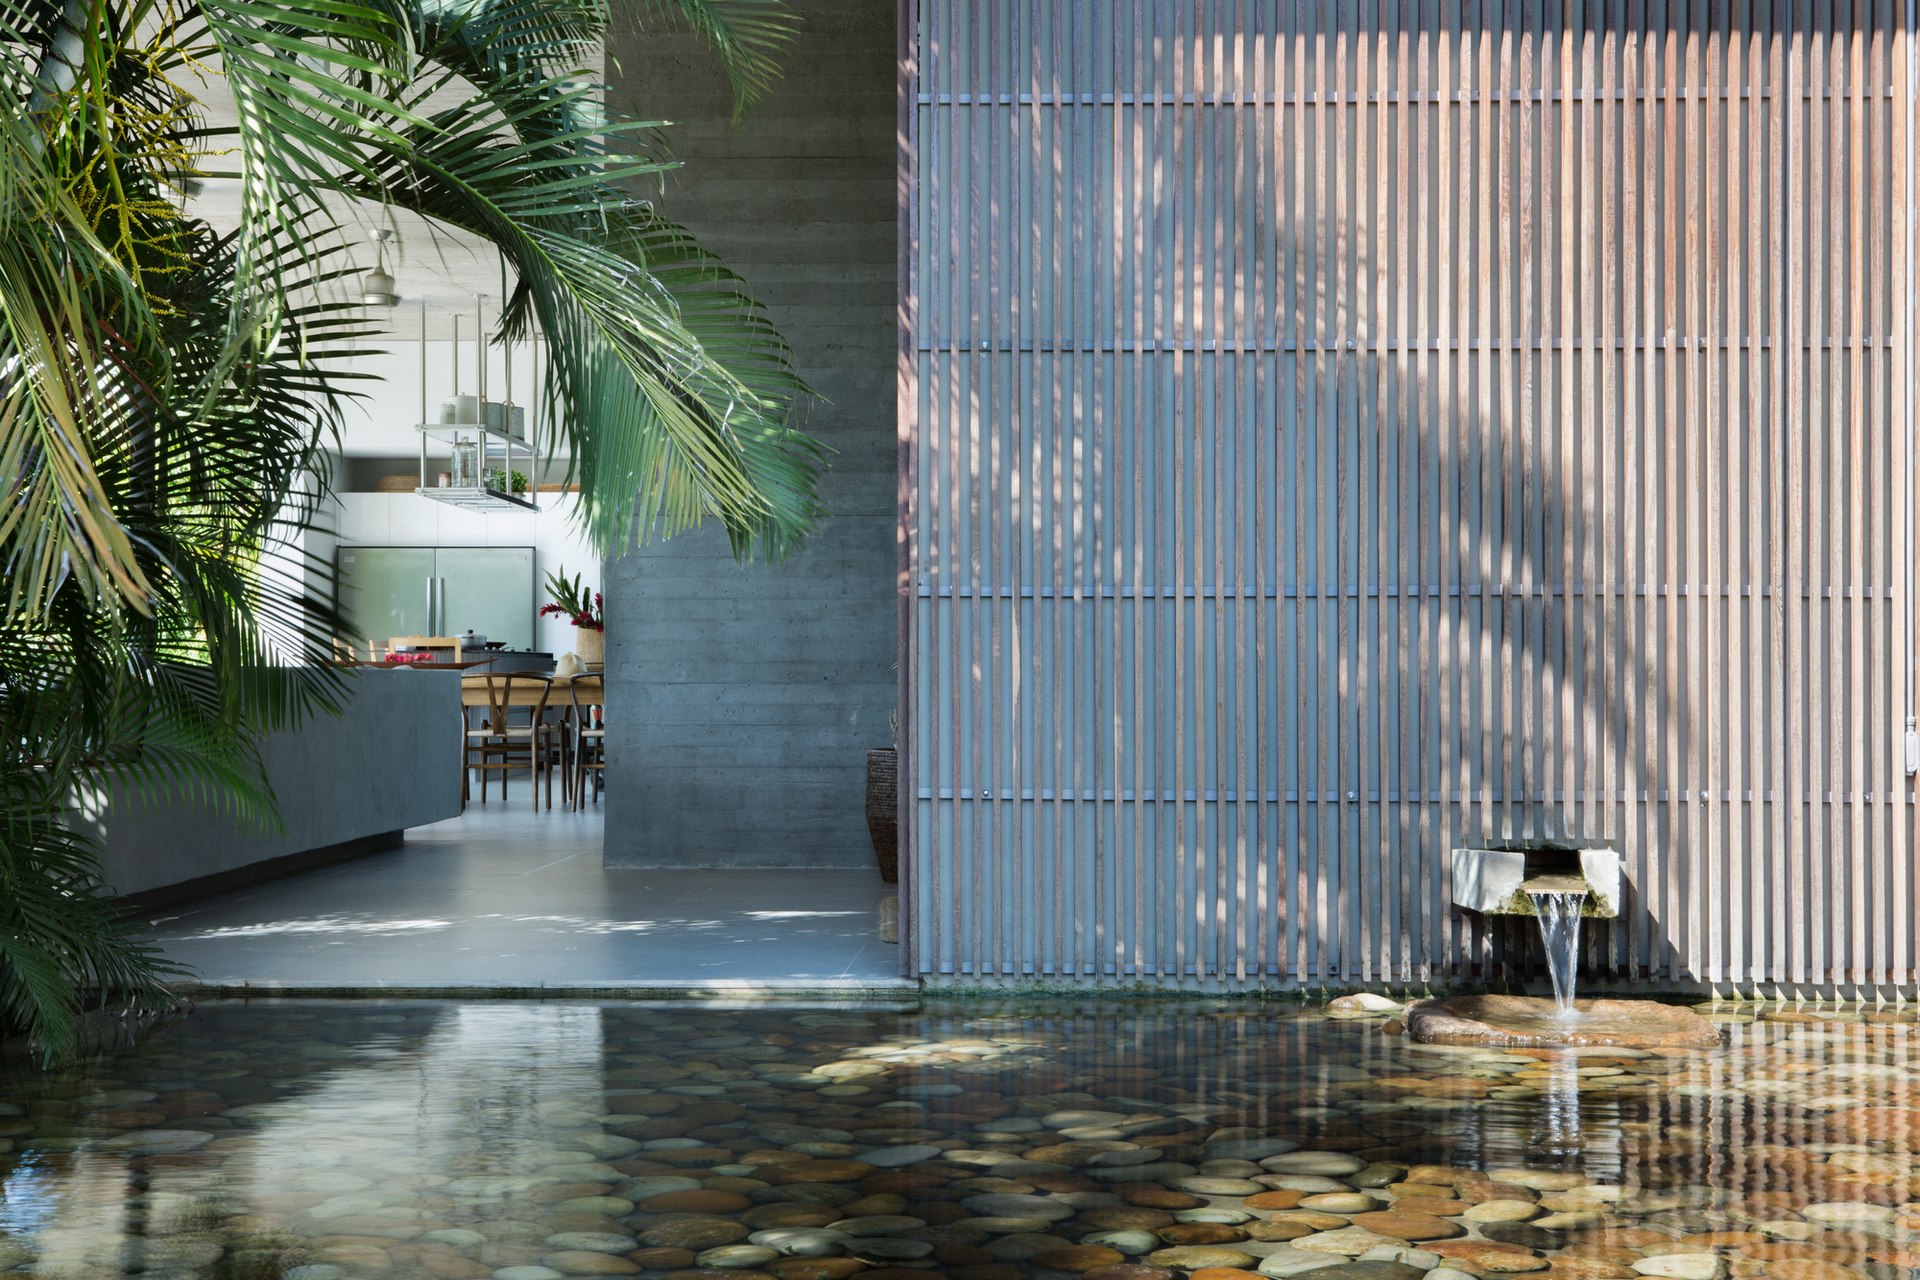
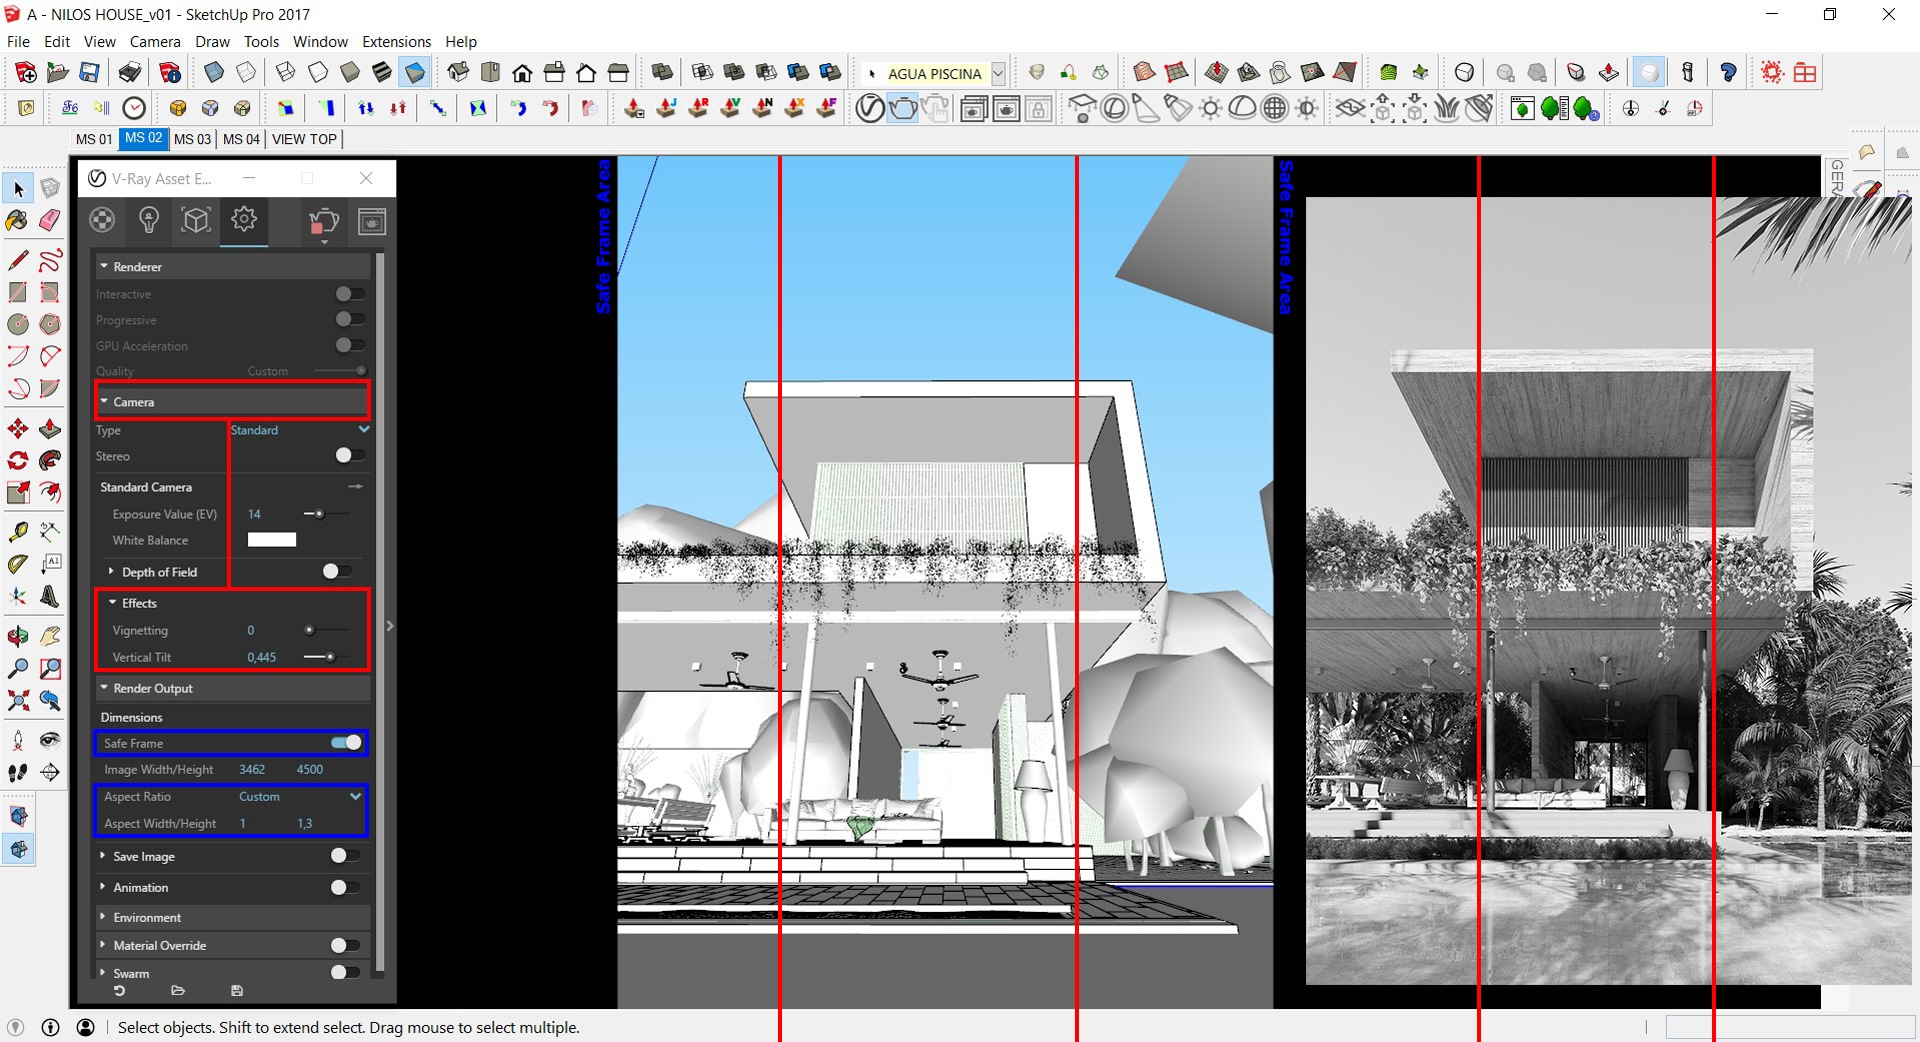
Something we should highlight concerning the scene 02 is that there is no photographic reference, so the camera positioning and framing of the scene were devised so that we could have a second important image for the challenge. The field of view used for this scene was 60 degrees and we also utilized Vray 3.4 settings for SketchUp as the vertical tilt camera effect with the value of 0.445 making the vertical alignment of the rows in the final render possible.
- Main scene framing 02.
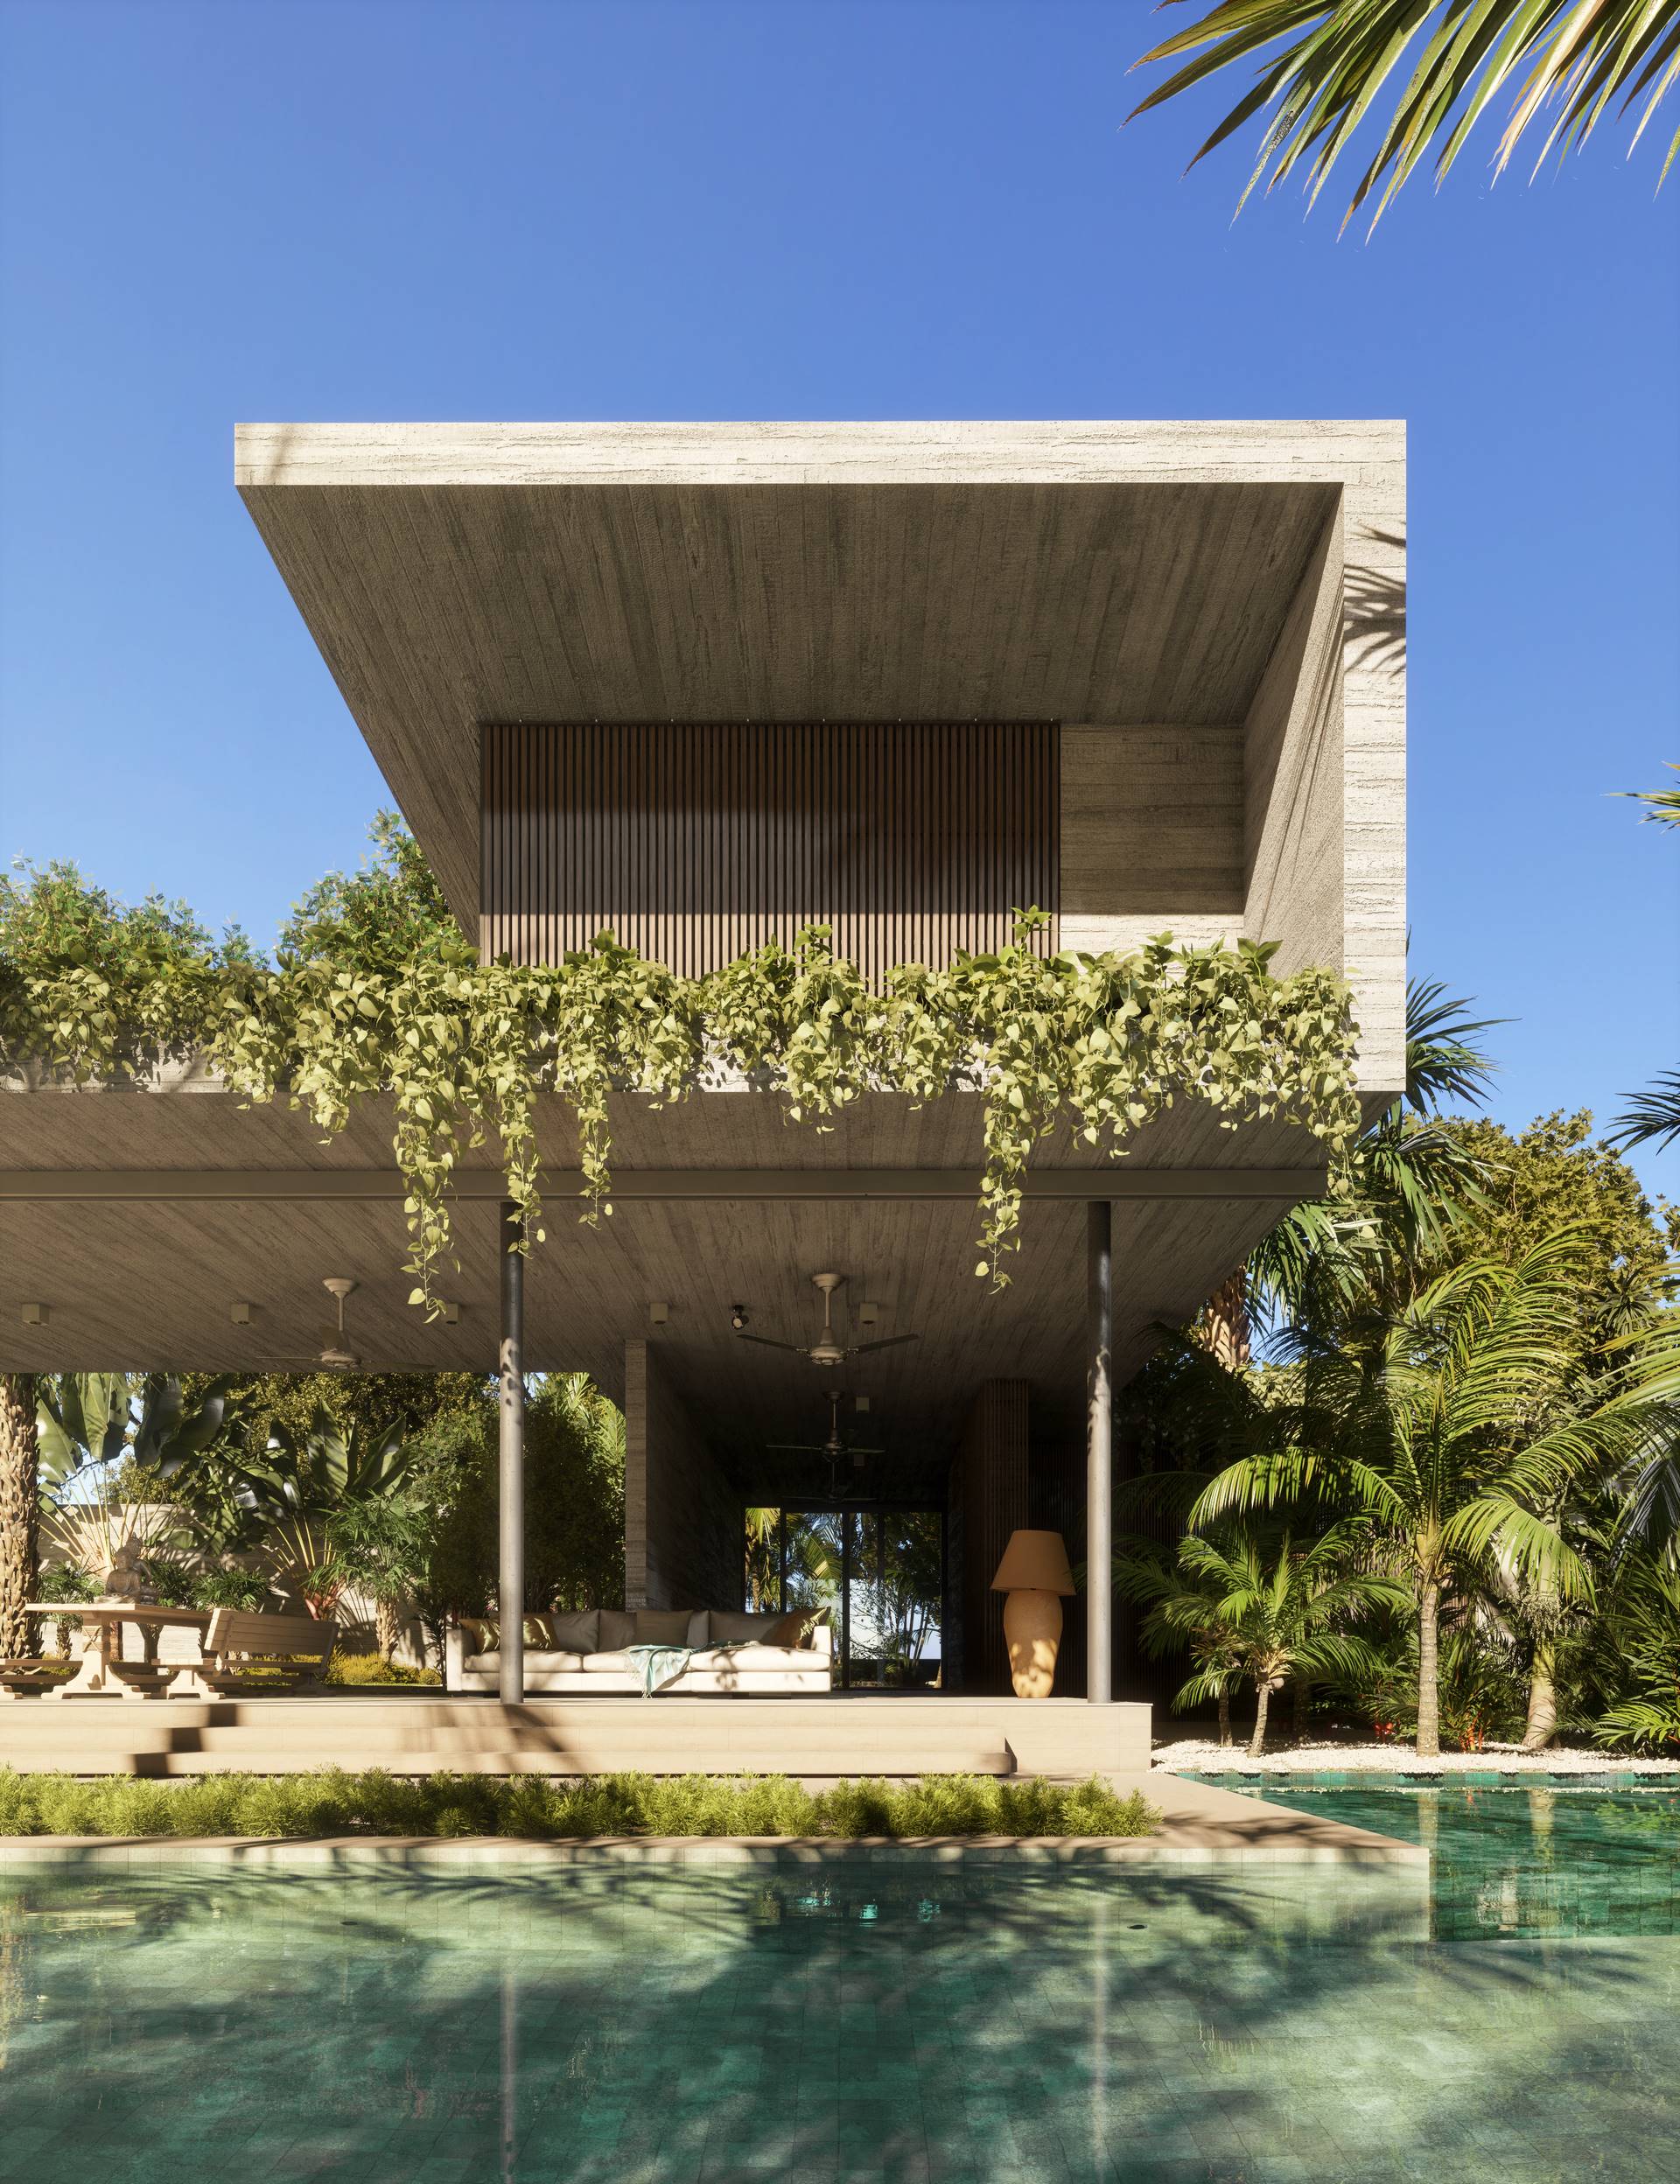
The HDRI used for scene 02 and scene 03 was the same. Both scenes were illuminated by the same system of scene 01, however, with a different HDRI.
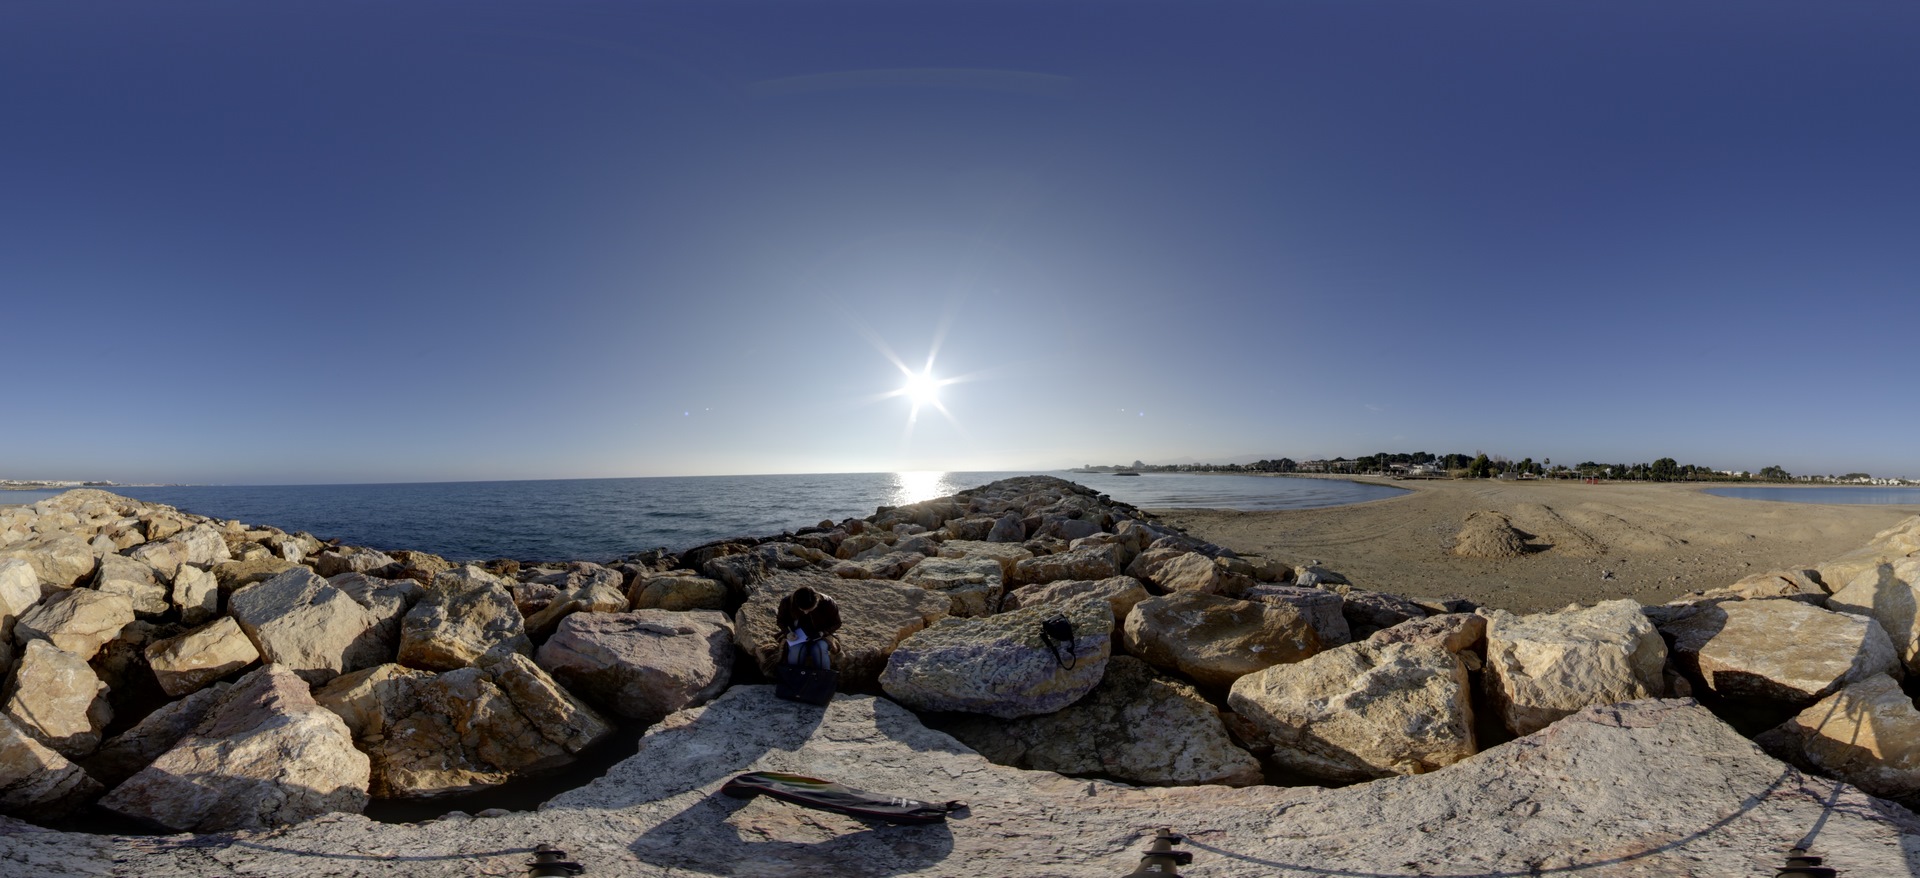
For these two scenes we chose the HDRI (ML_wintersolstice_20 @ 1440 01) of the website mediterraneanlight.net which in turn counts with a collection of excellent HDR's. Our main idea with these changes of HDRI was to create a movement with an intent to show that "Oops! Something moved!", and for that we made changes not only to the HDR's but also in the solar north angle of the scenes. For the main scene 01 we utilized the solar north angle (224.5 degrees) and for the scenes 02 and 03, the solar north angle (260 degrees).
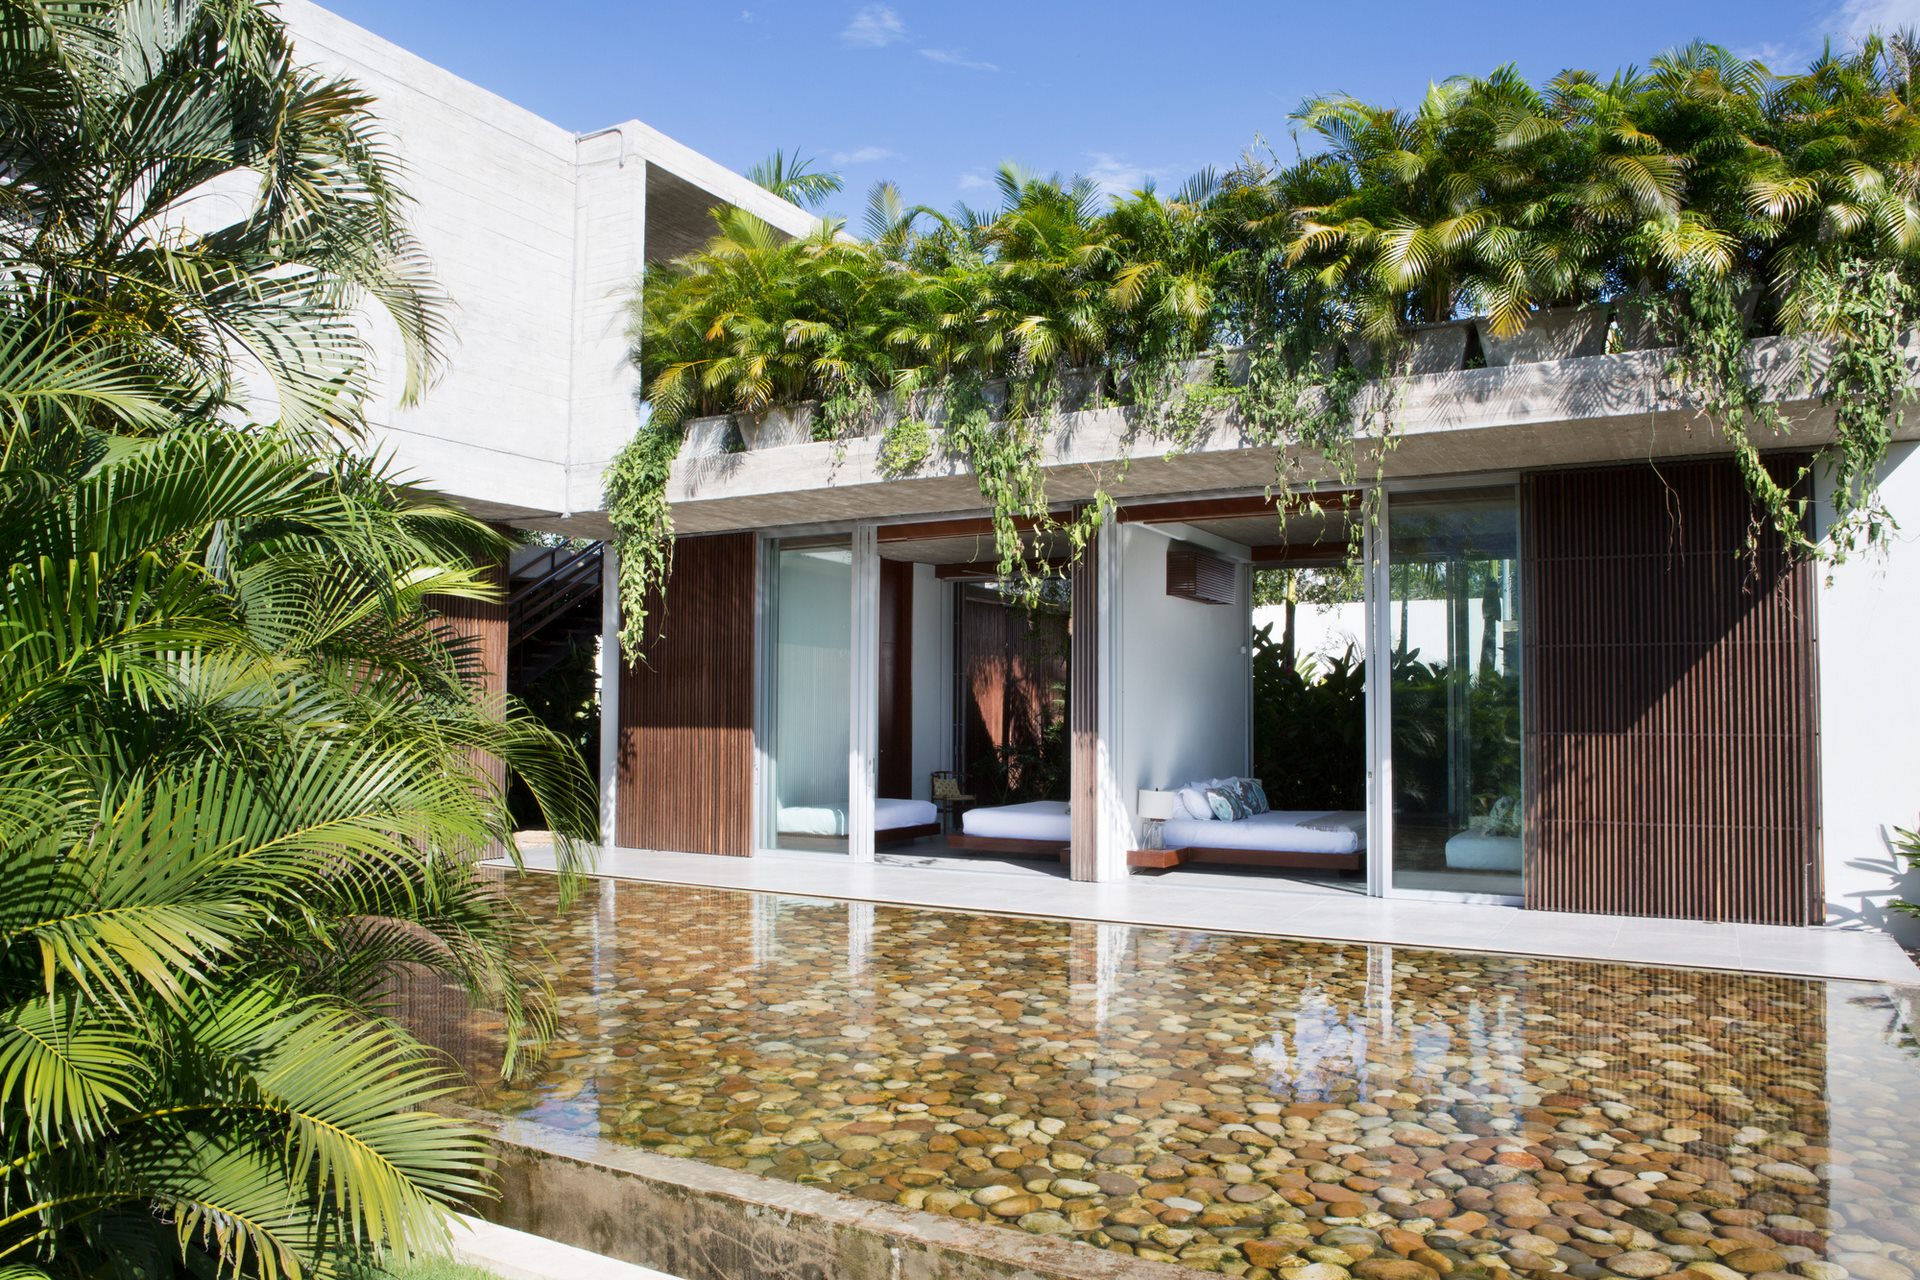
- Main scene framing 03.
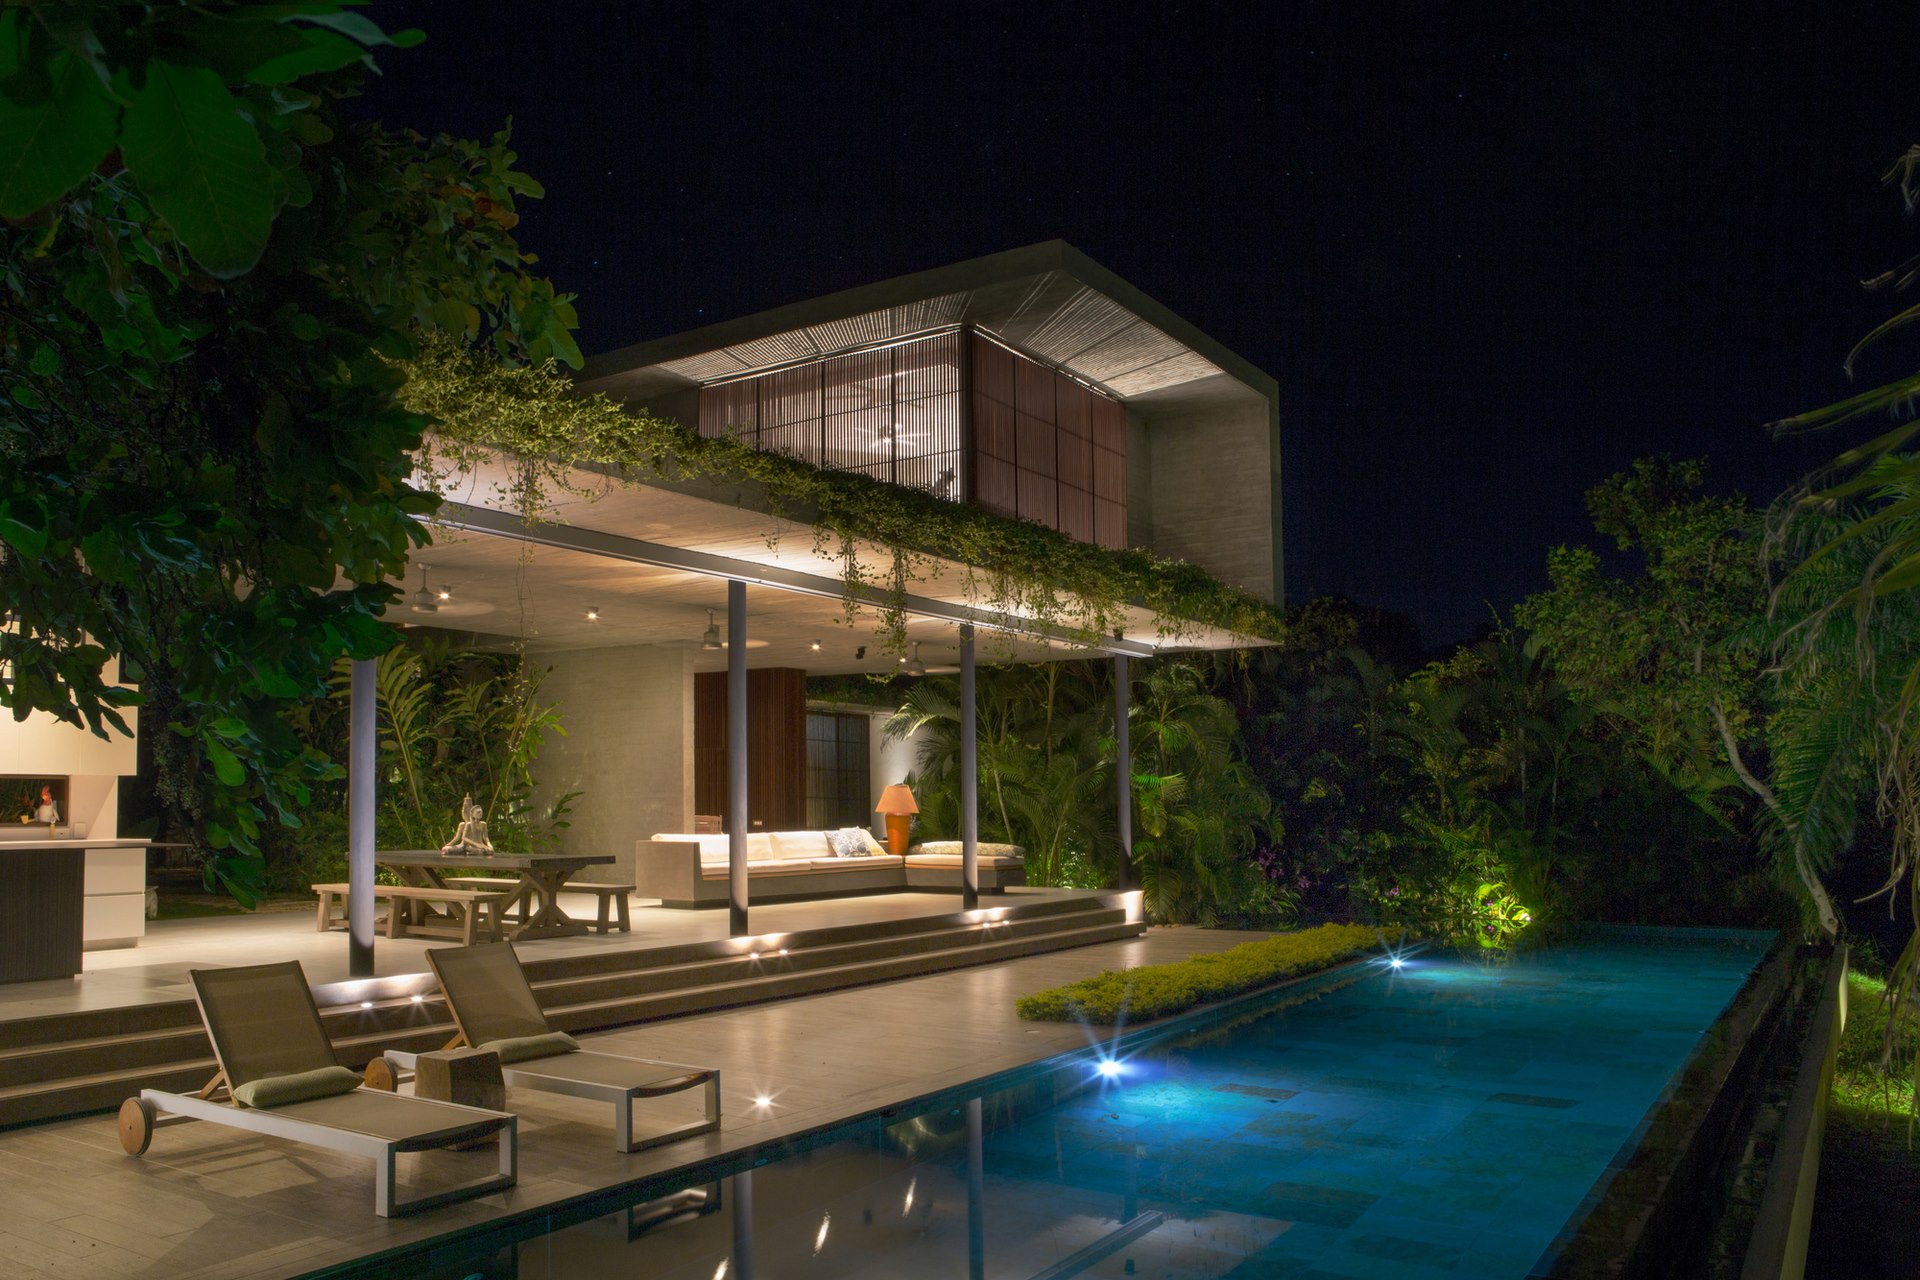
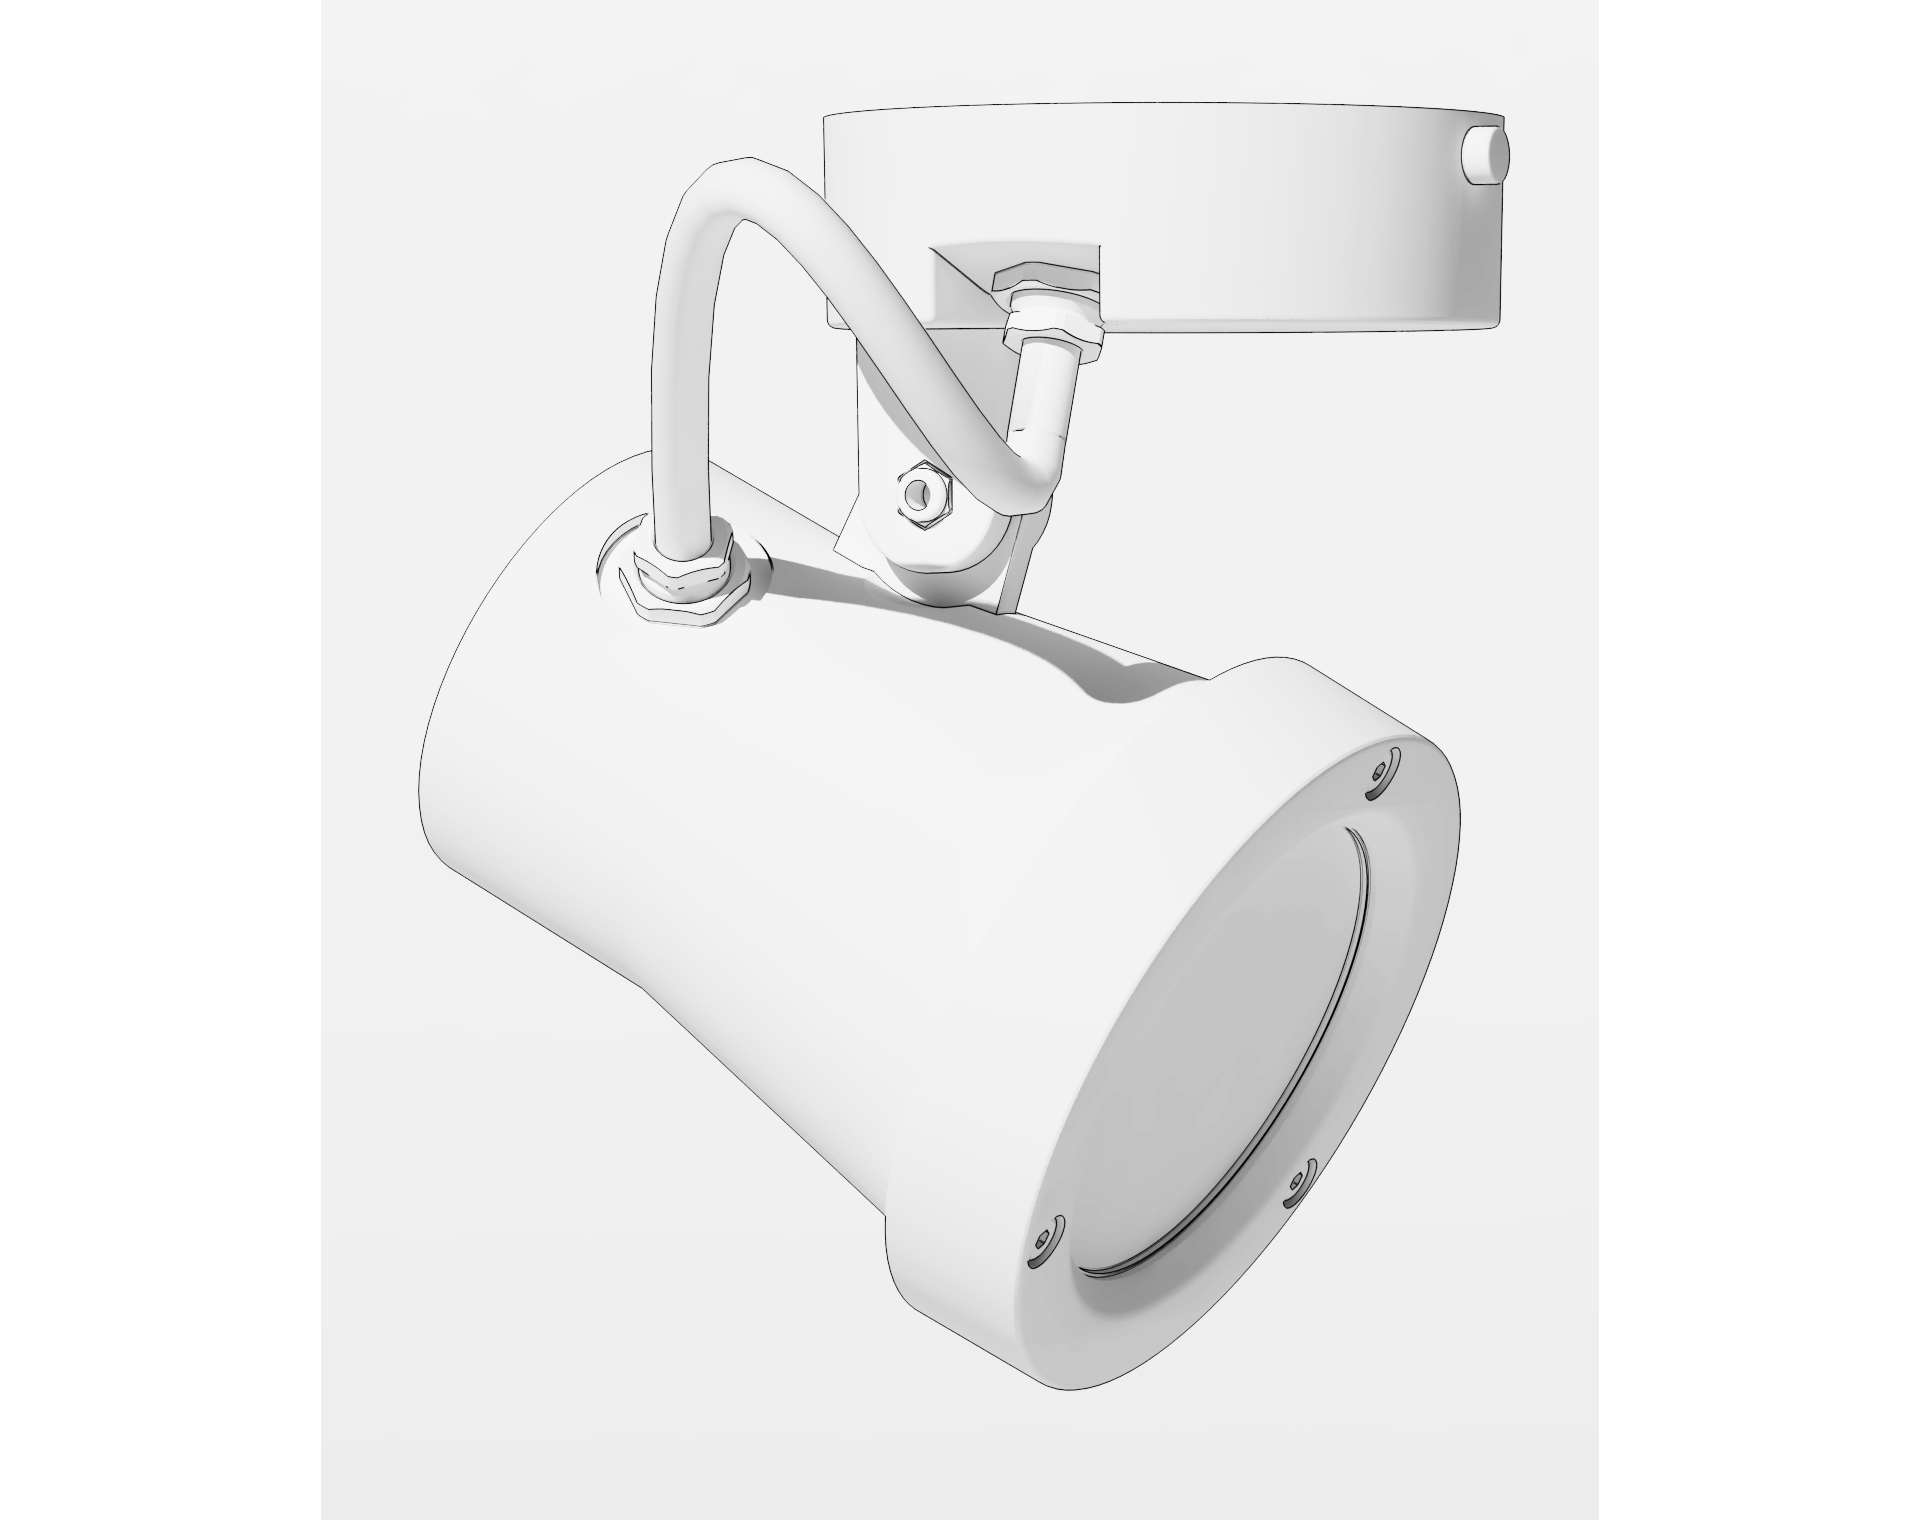
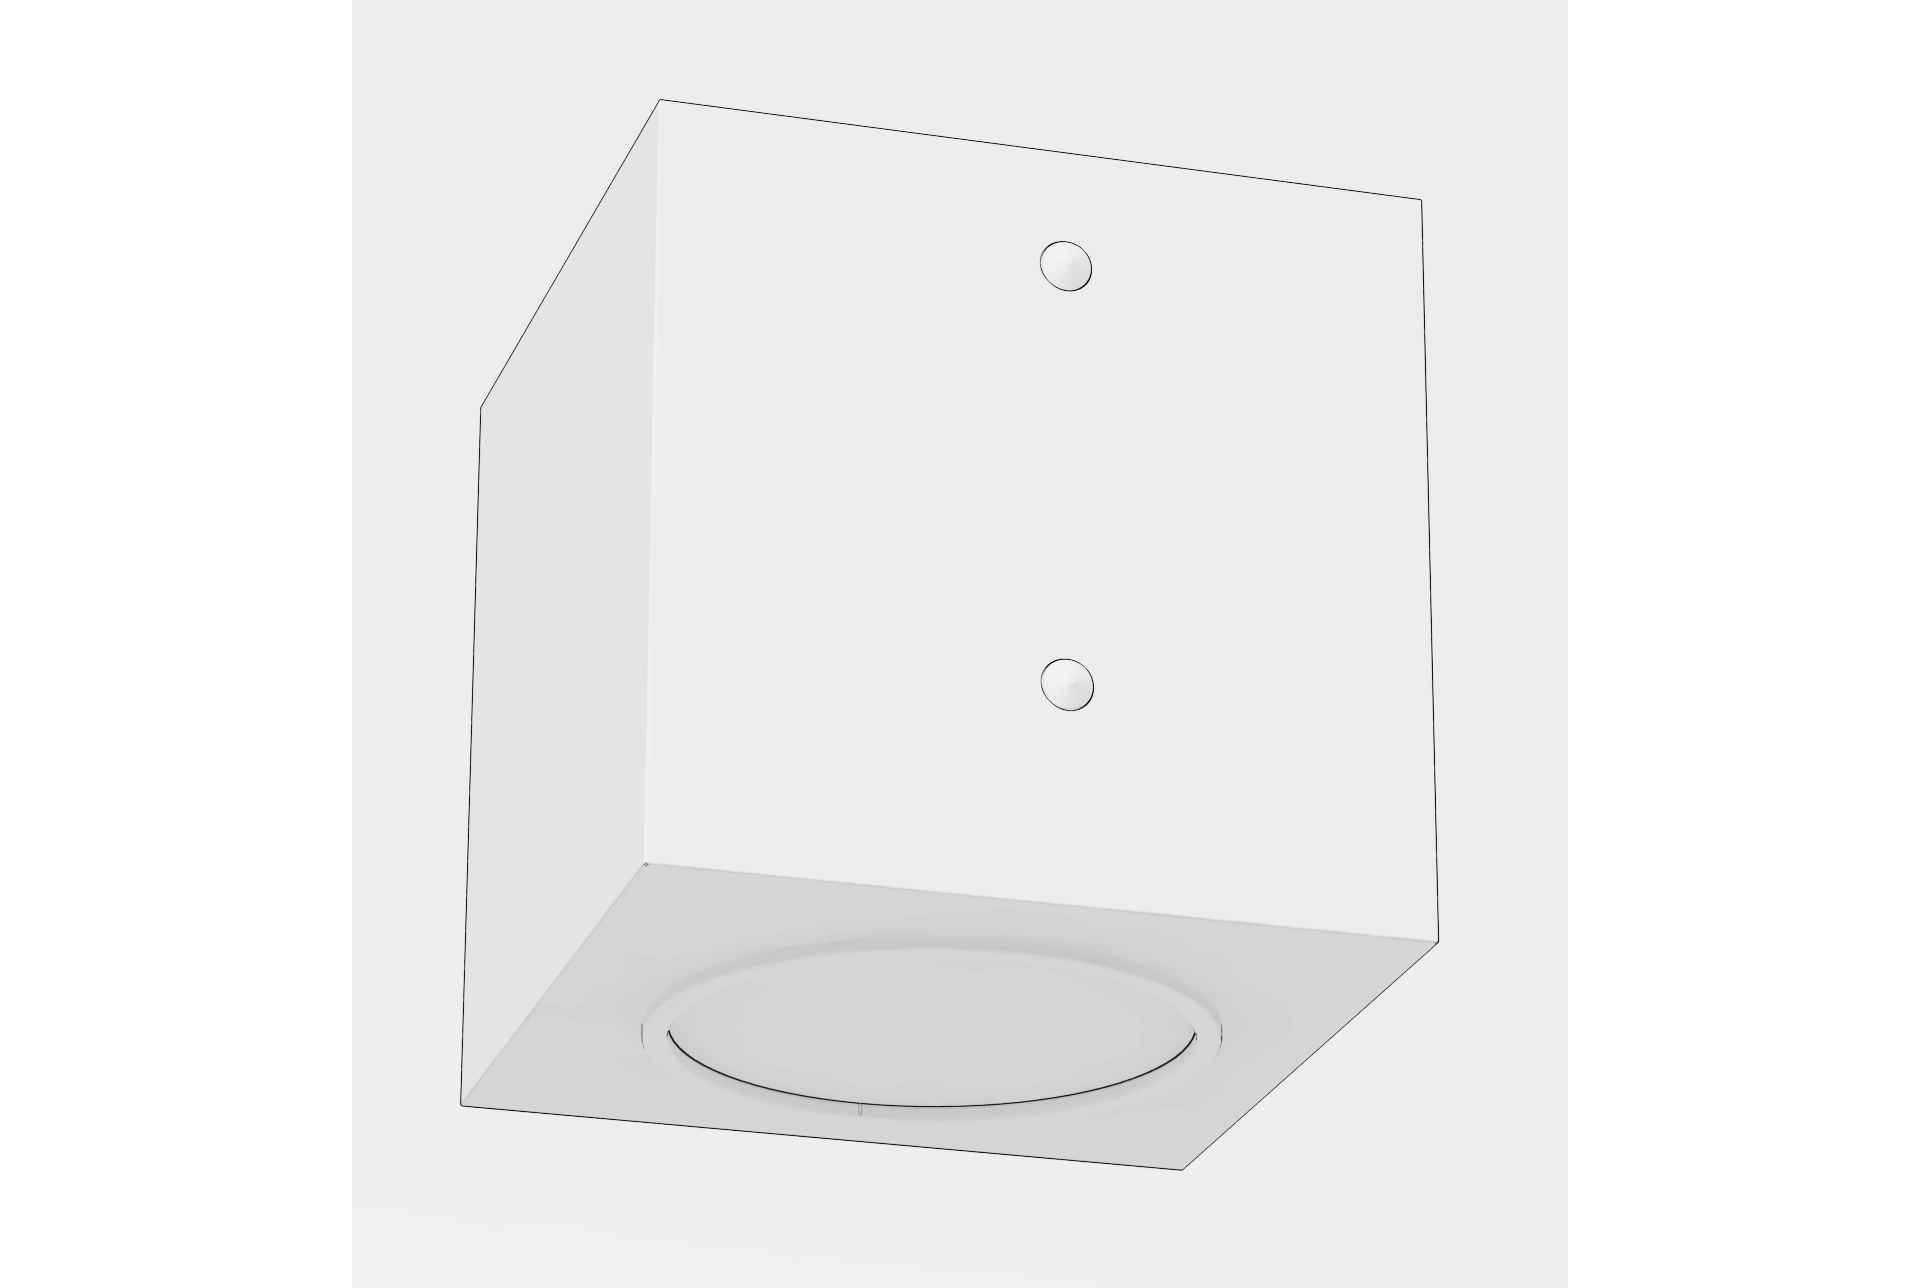
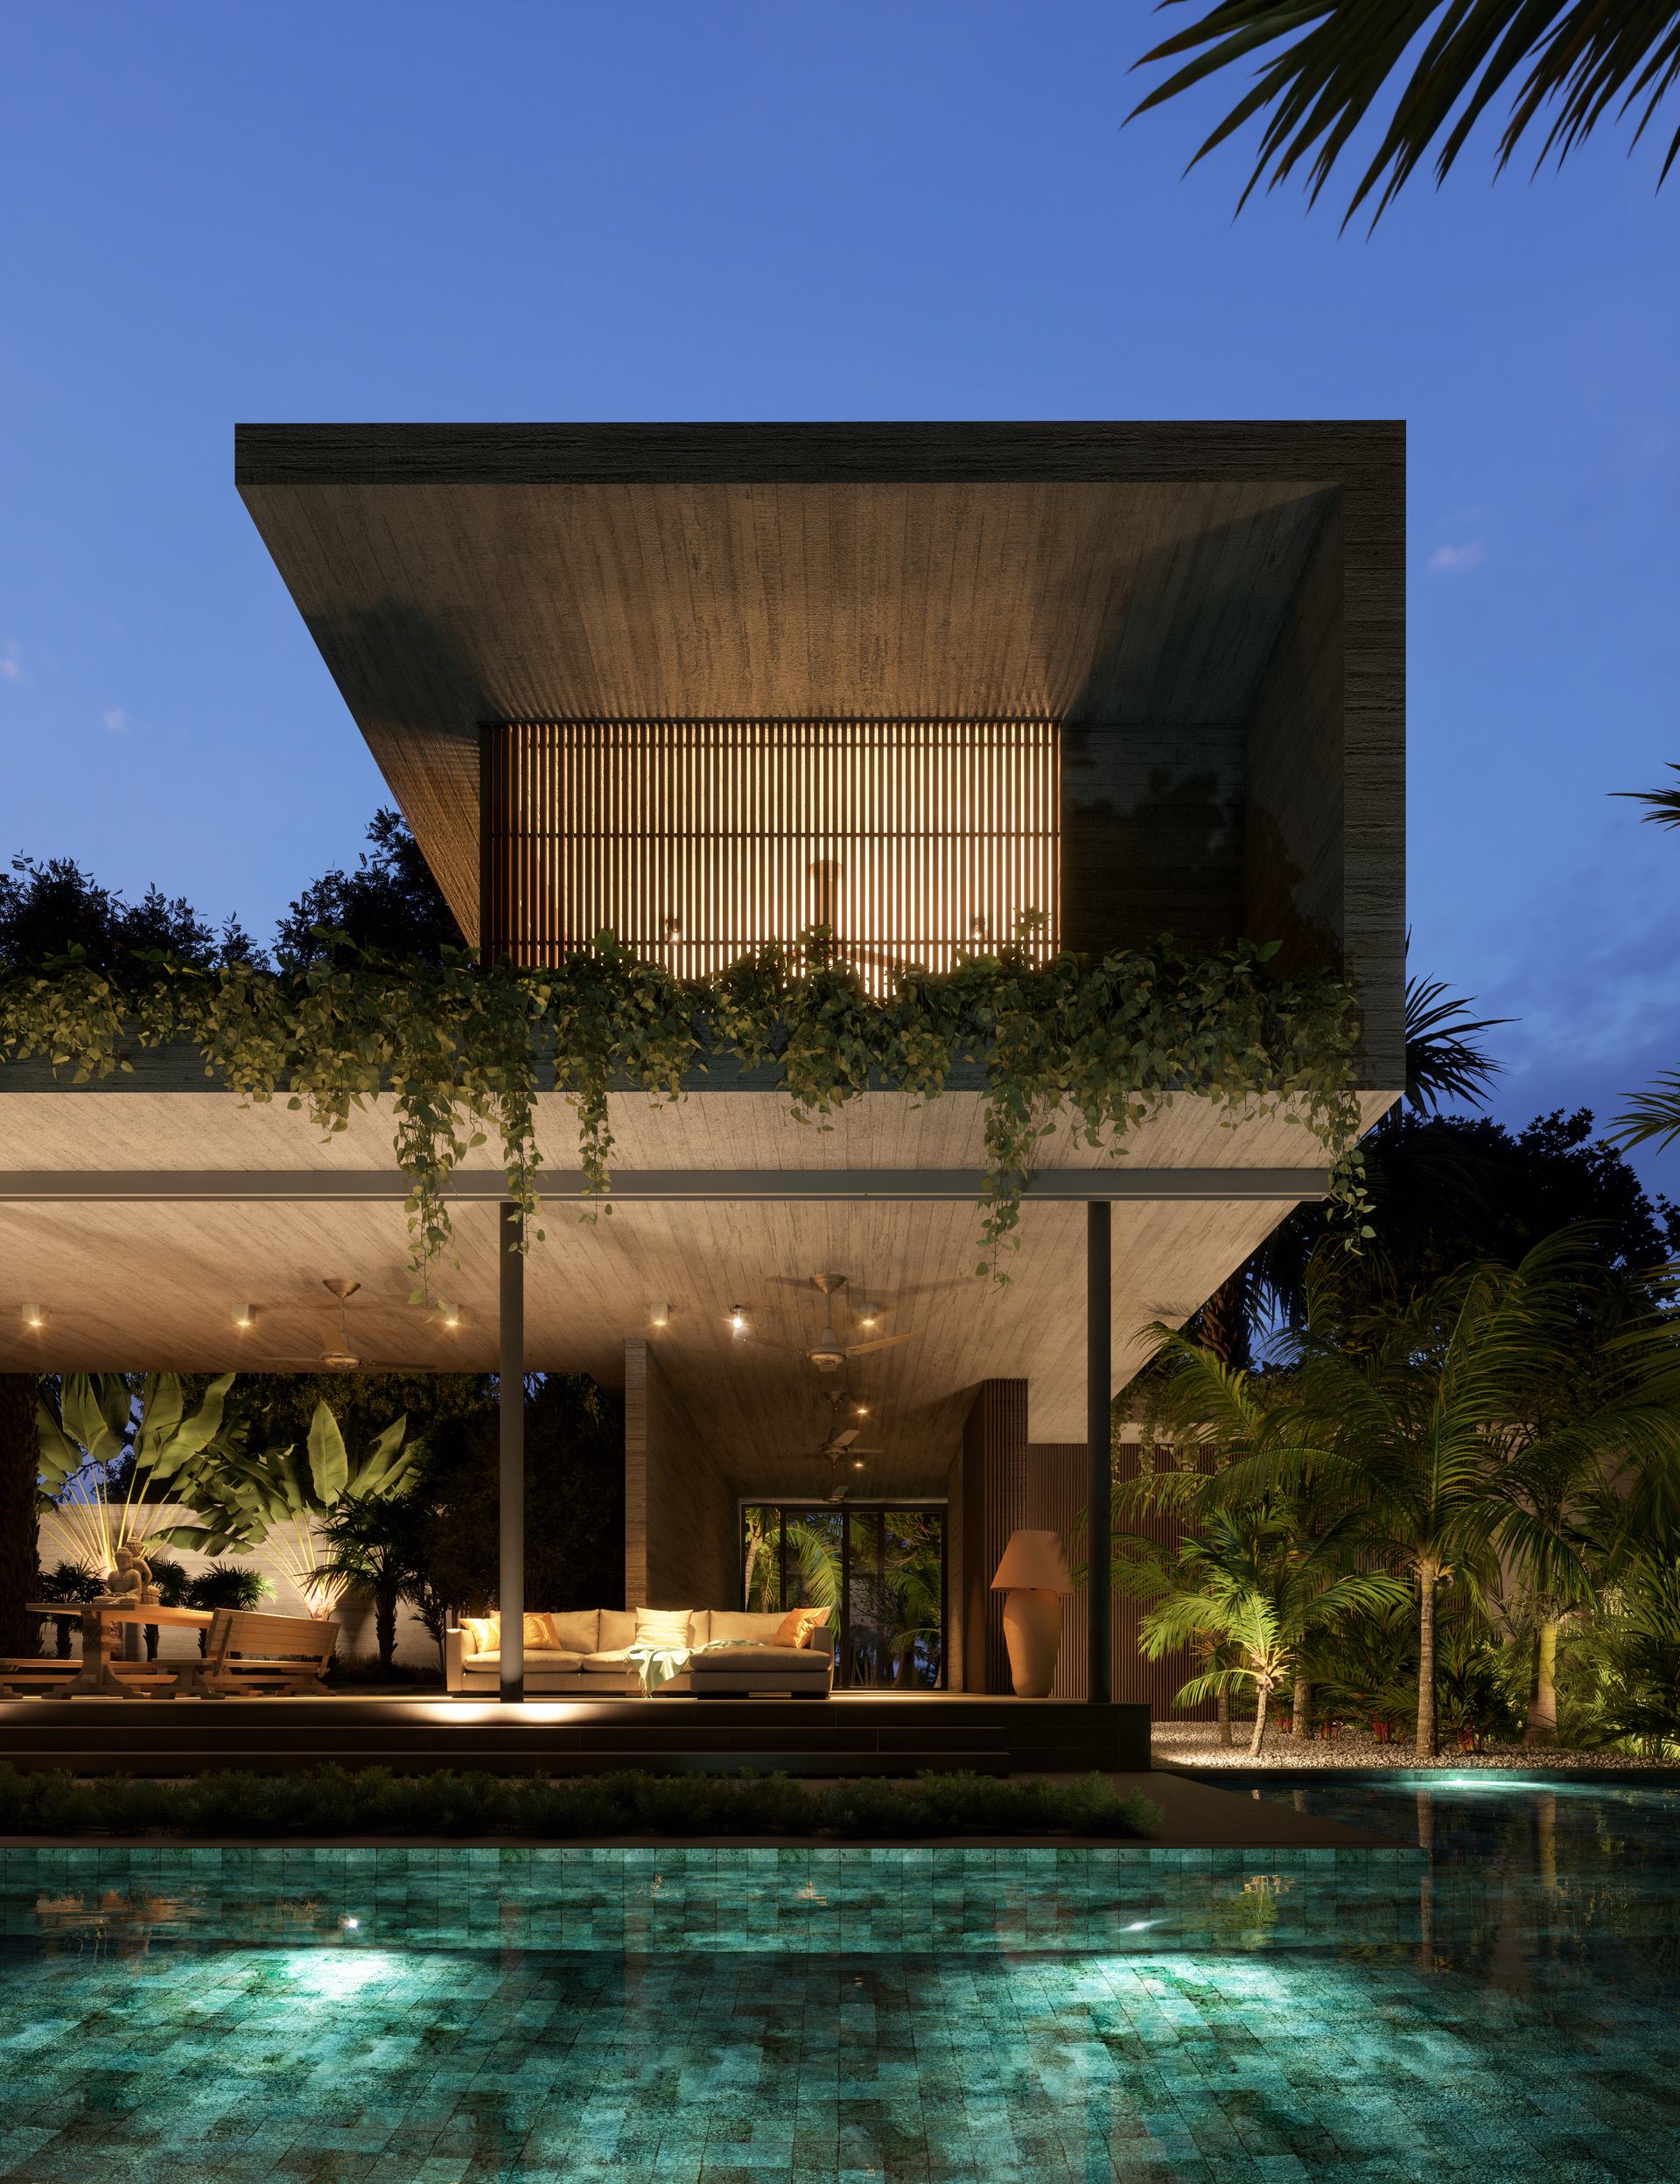
Last but not least, the night scene. Following the exact same settings and the same idea of scene 02, the only changes were the HDRI and the creation of some simple rectangular lights to play the artificial lights. Nothing special, we really did something very simple with these lights scattered over the scene and an IES light for the spots on the ceiling.
The HDRI we decided to use for this scene was also acquired through the site Mediterraneanlight.net, (ML_TW_12).
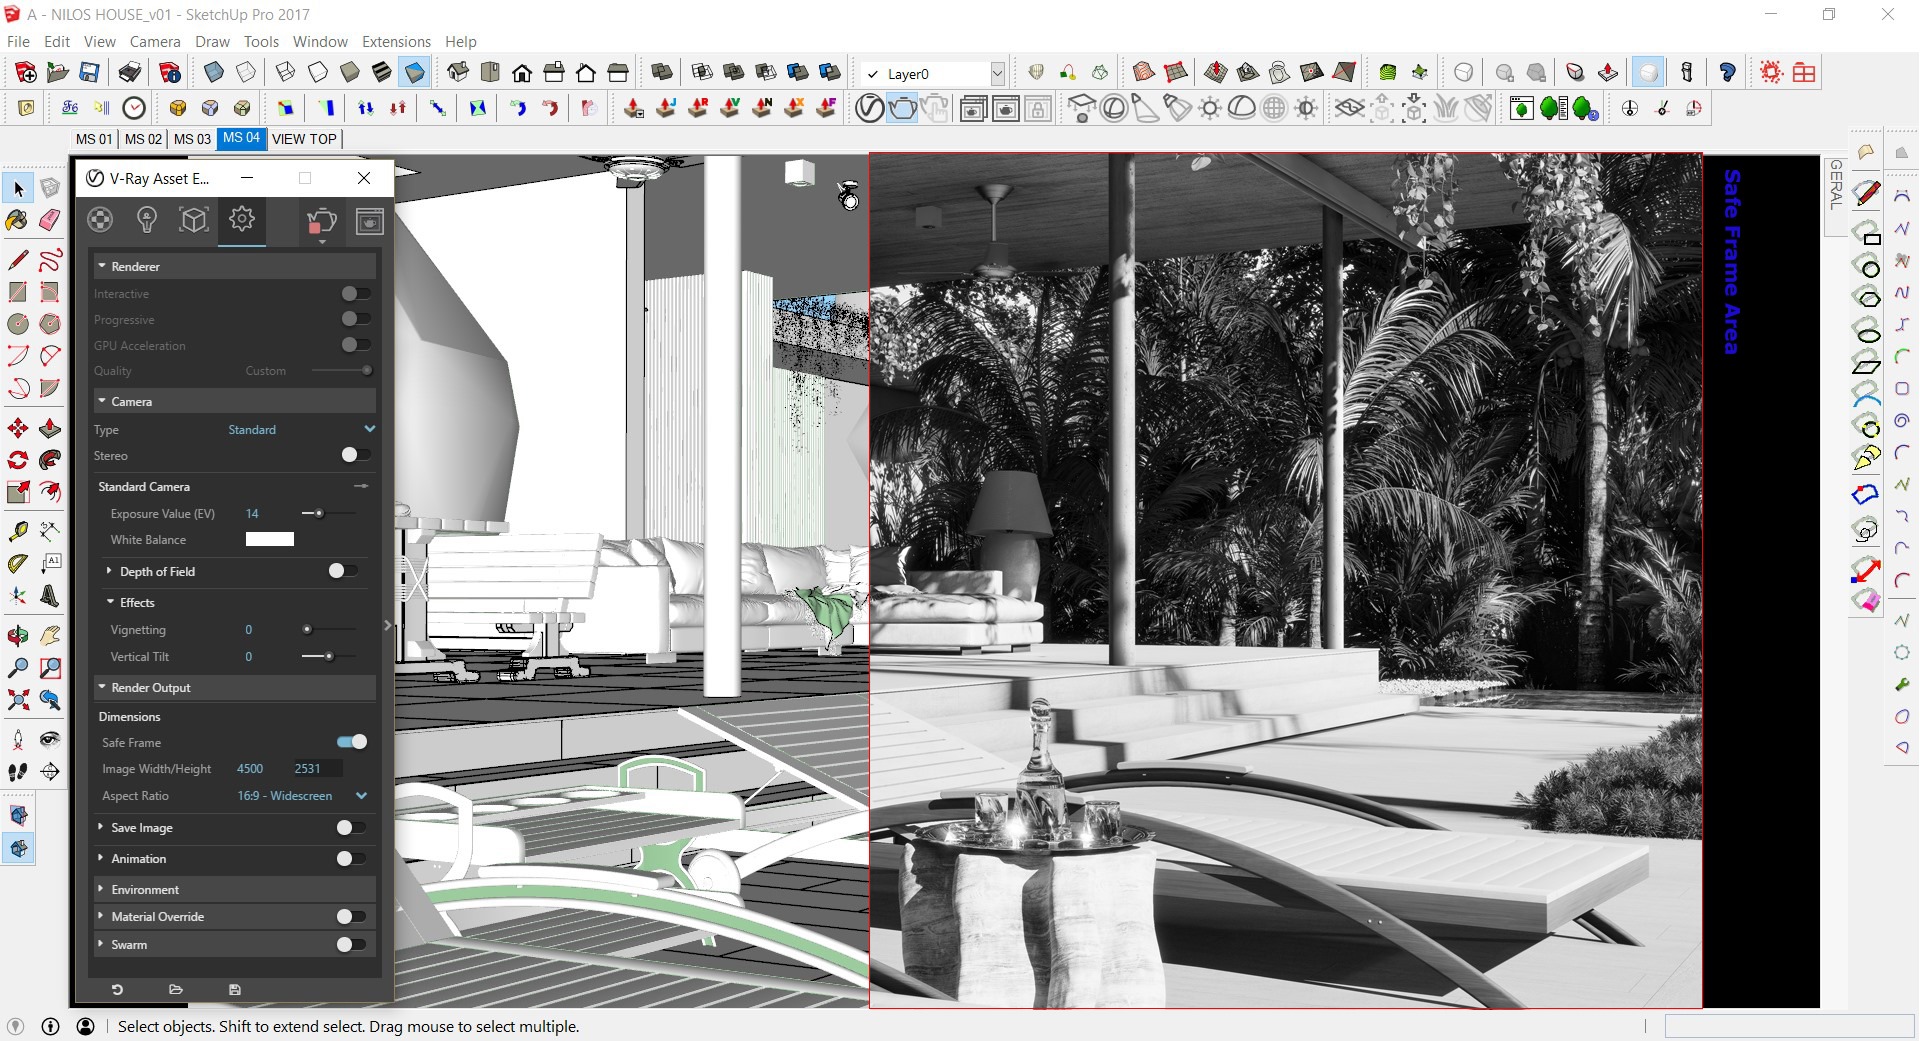
For this scene, only a light dome with the respective HDRI and the visible artificial lights are all the light materials used. The settings were so simple that we did not need to test them more than twice. We decided to keep the same camera positioning and framing from scene 02 to scene 04 because it is an image that generally pleased us in many ways.
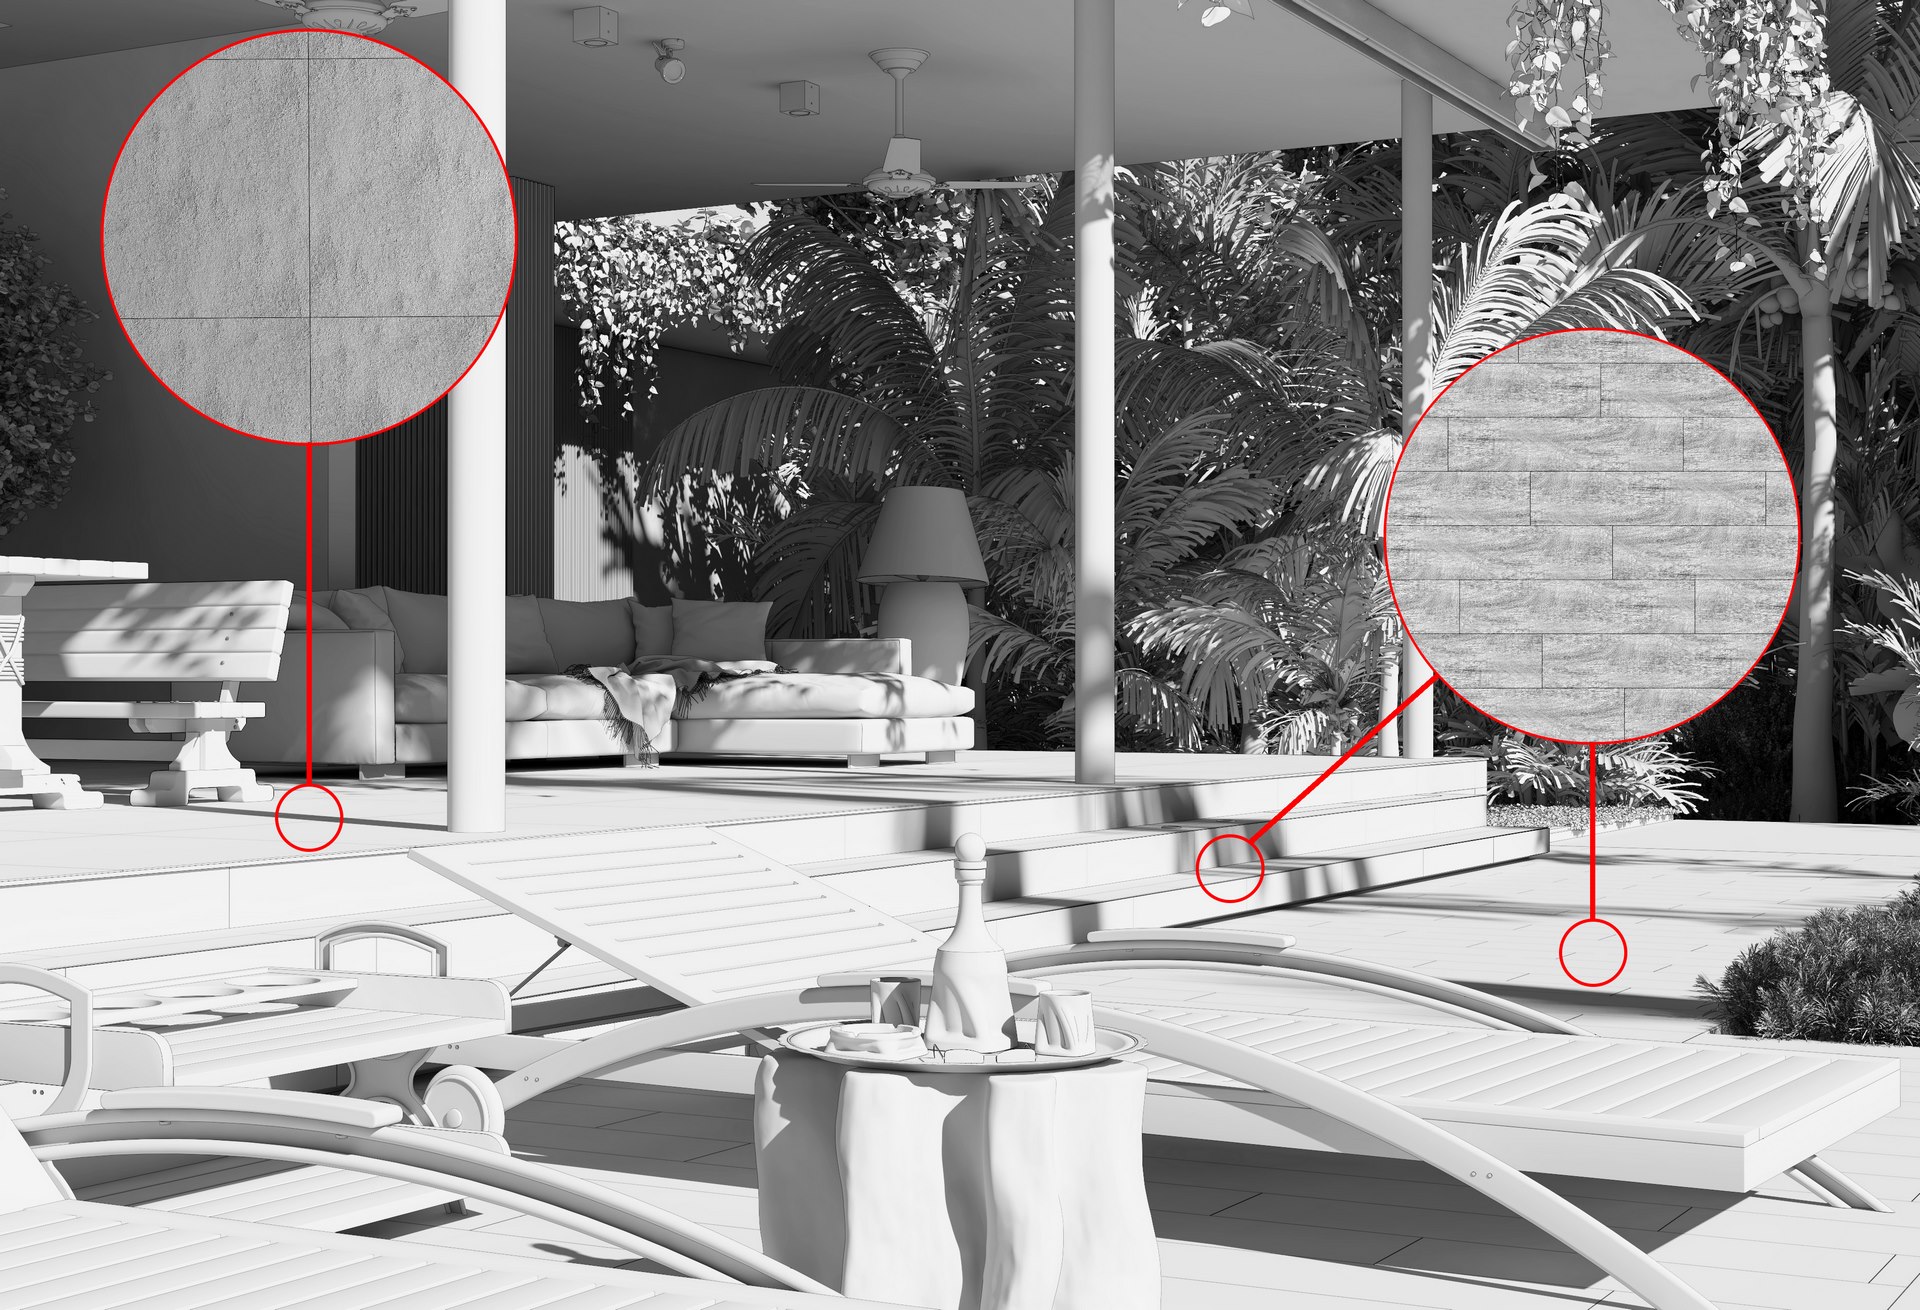
Well, guys, we've come to an interesting and very important part of the development and outcome of the scenes. Here, we'll pass some information on the five most important materials used in the scenes.
All the materials are pretty simple and were created having as a principle to be lightweight, to have goals and a pleasant outcome for those who visualize the images.
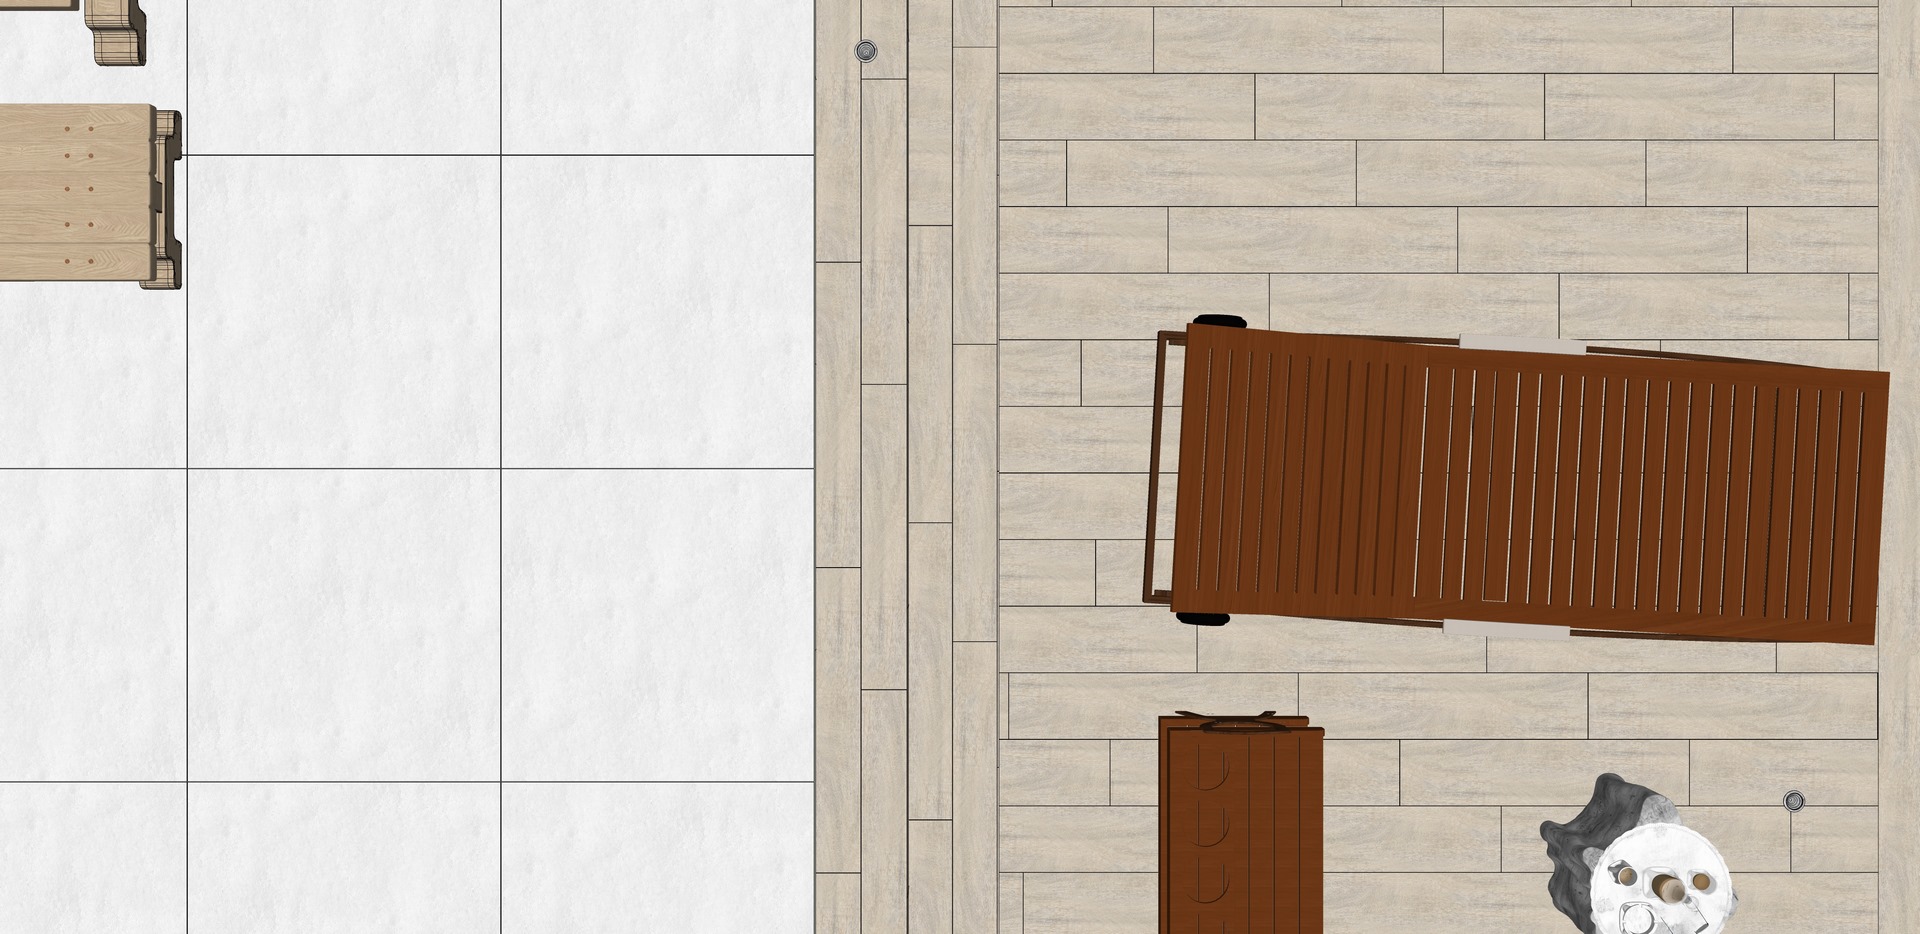
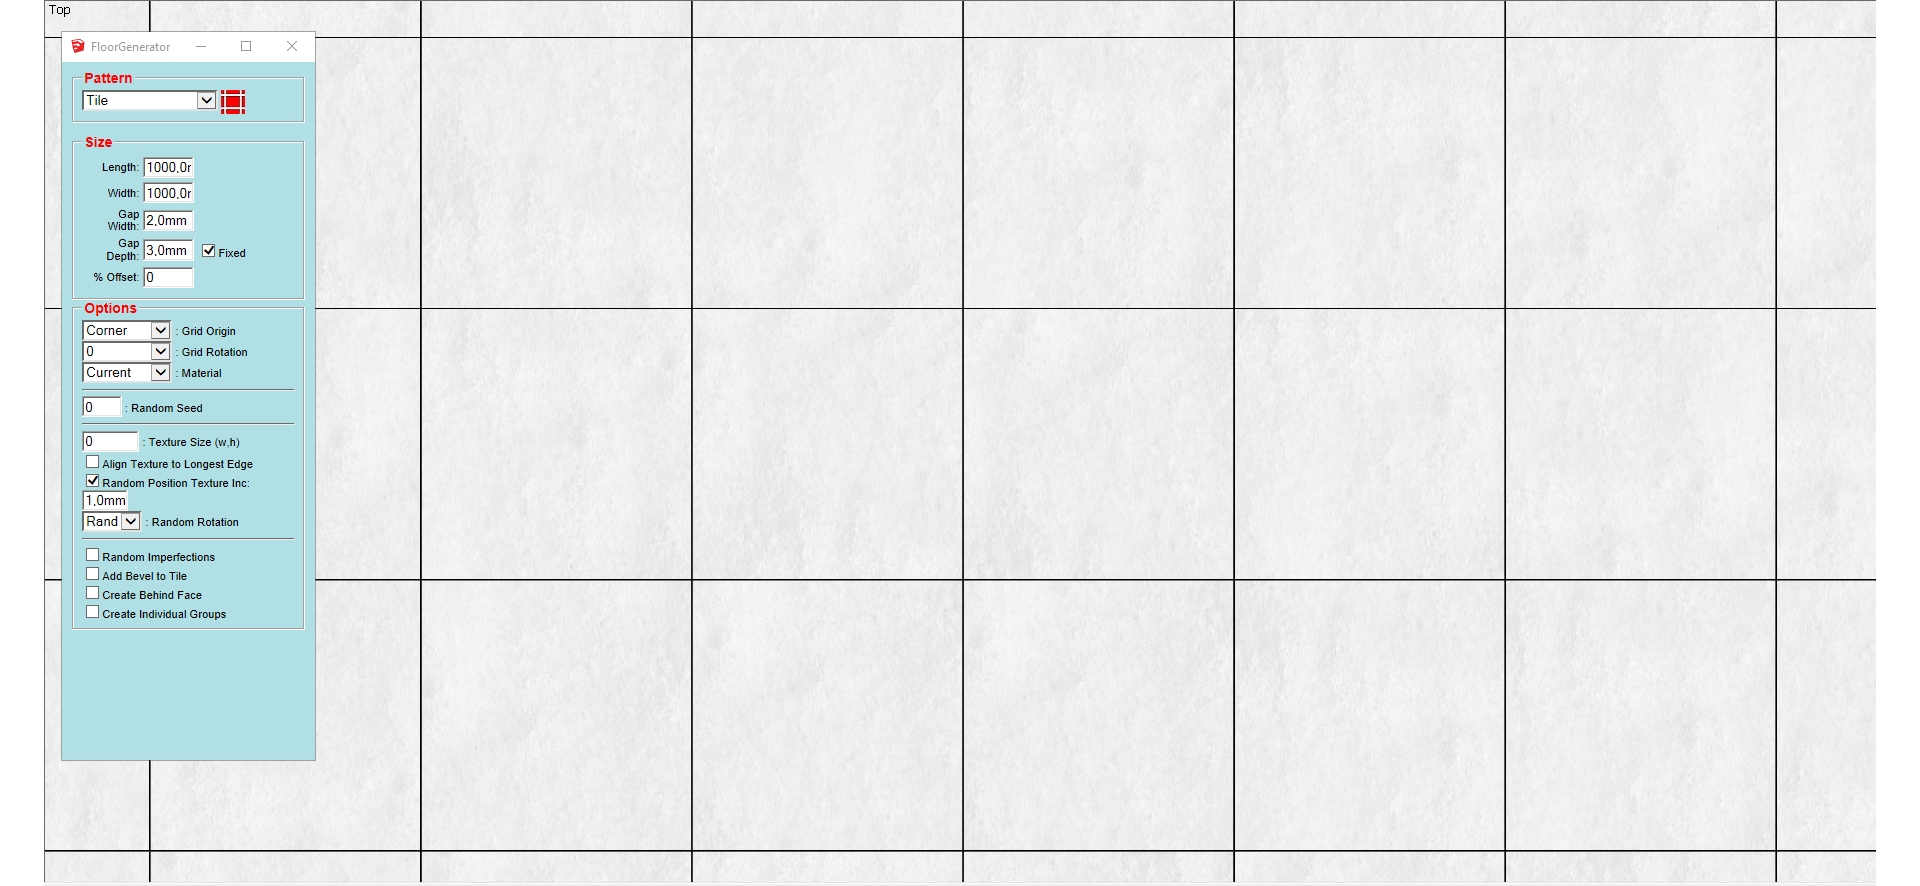
- Pool floor material.

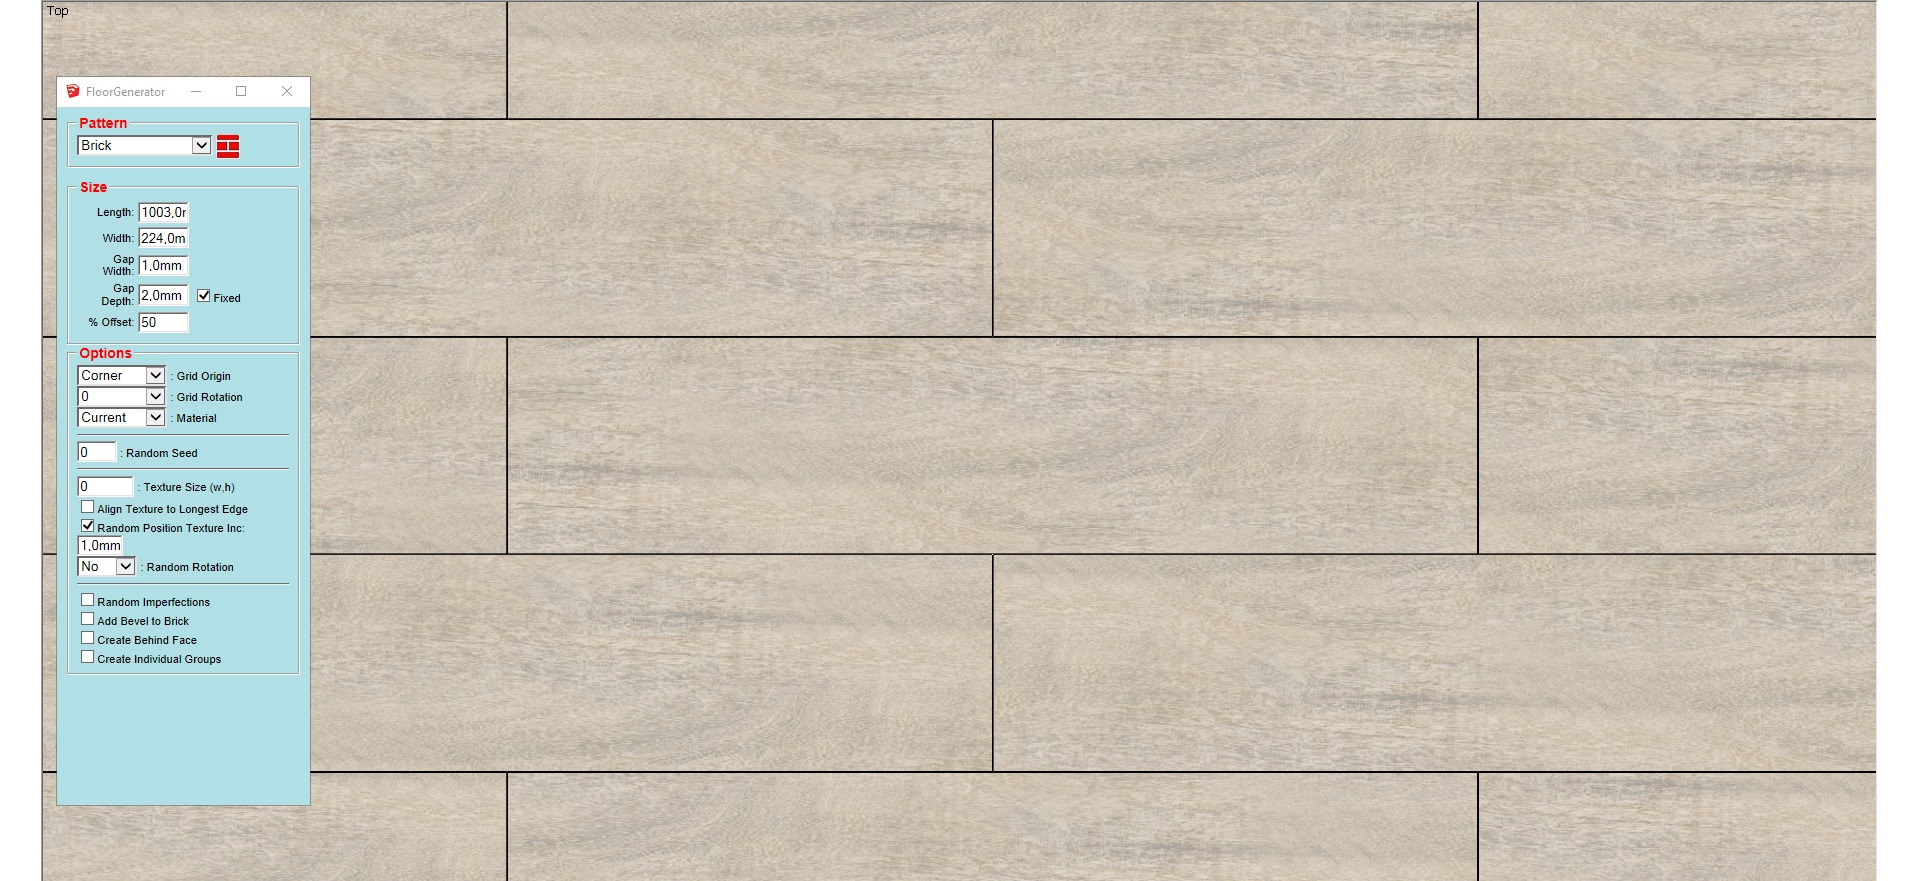
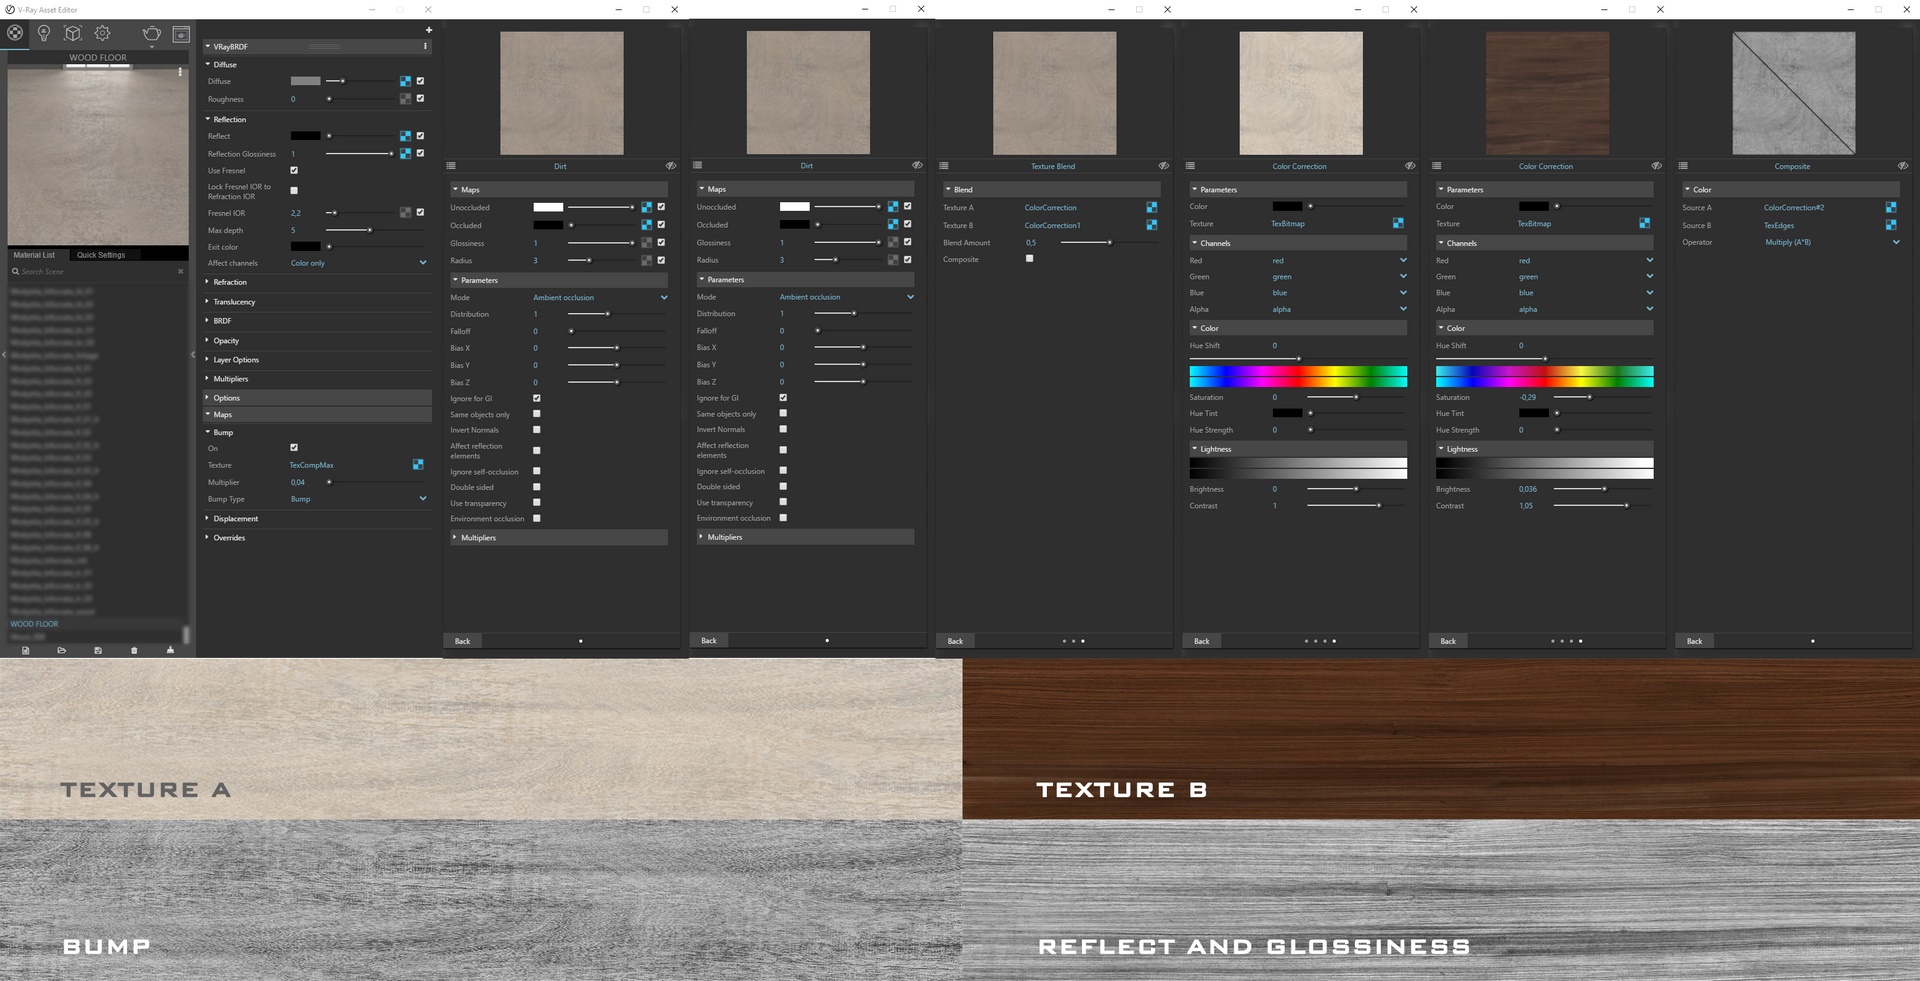
- Wood floor material.
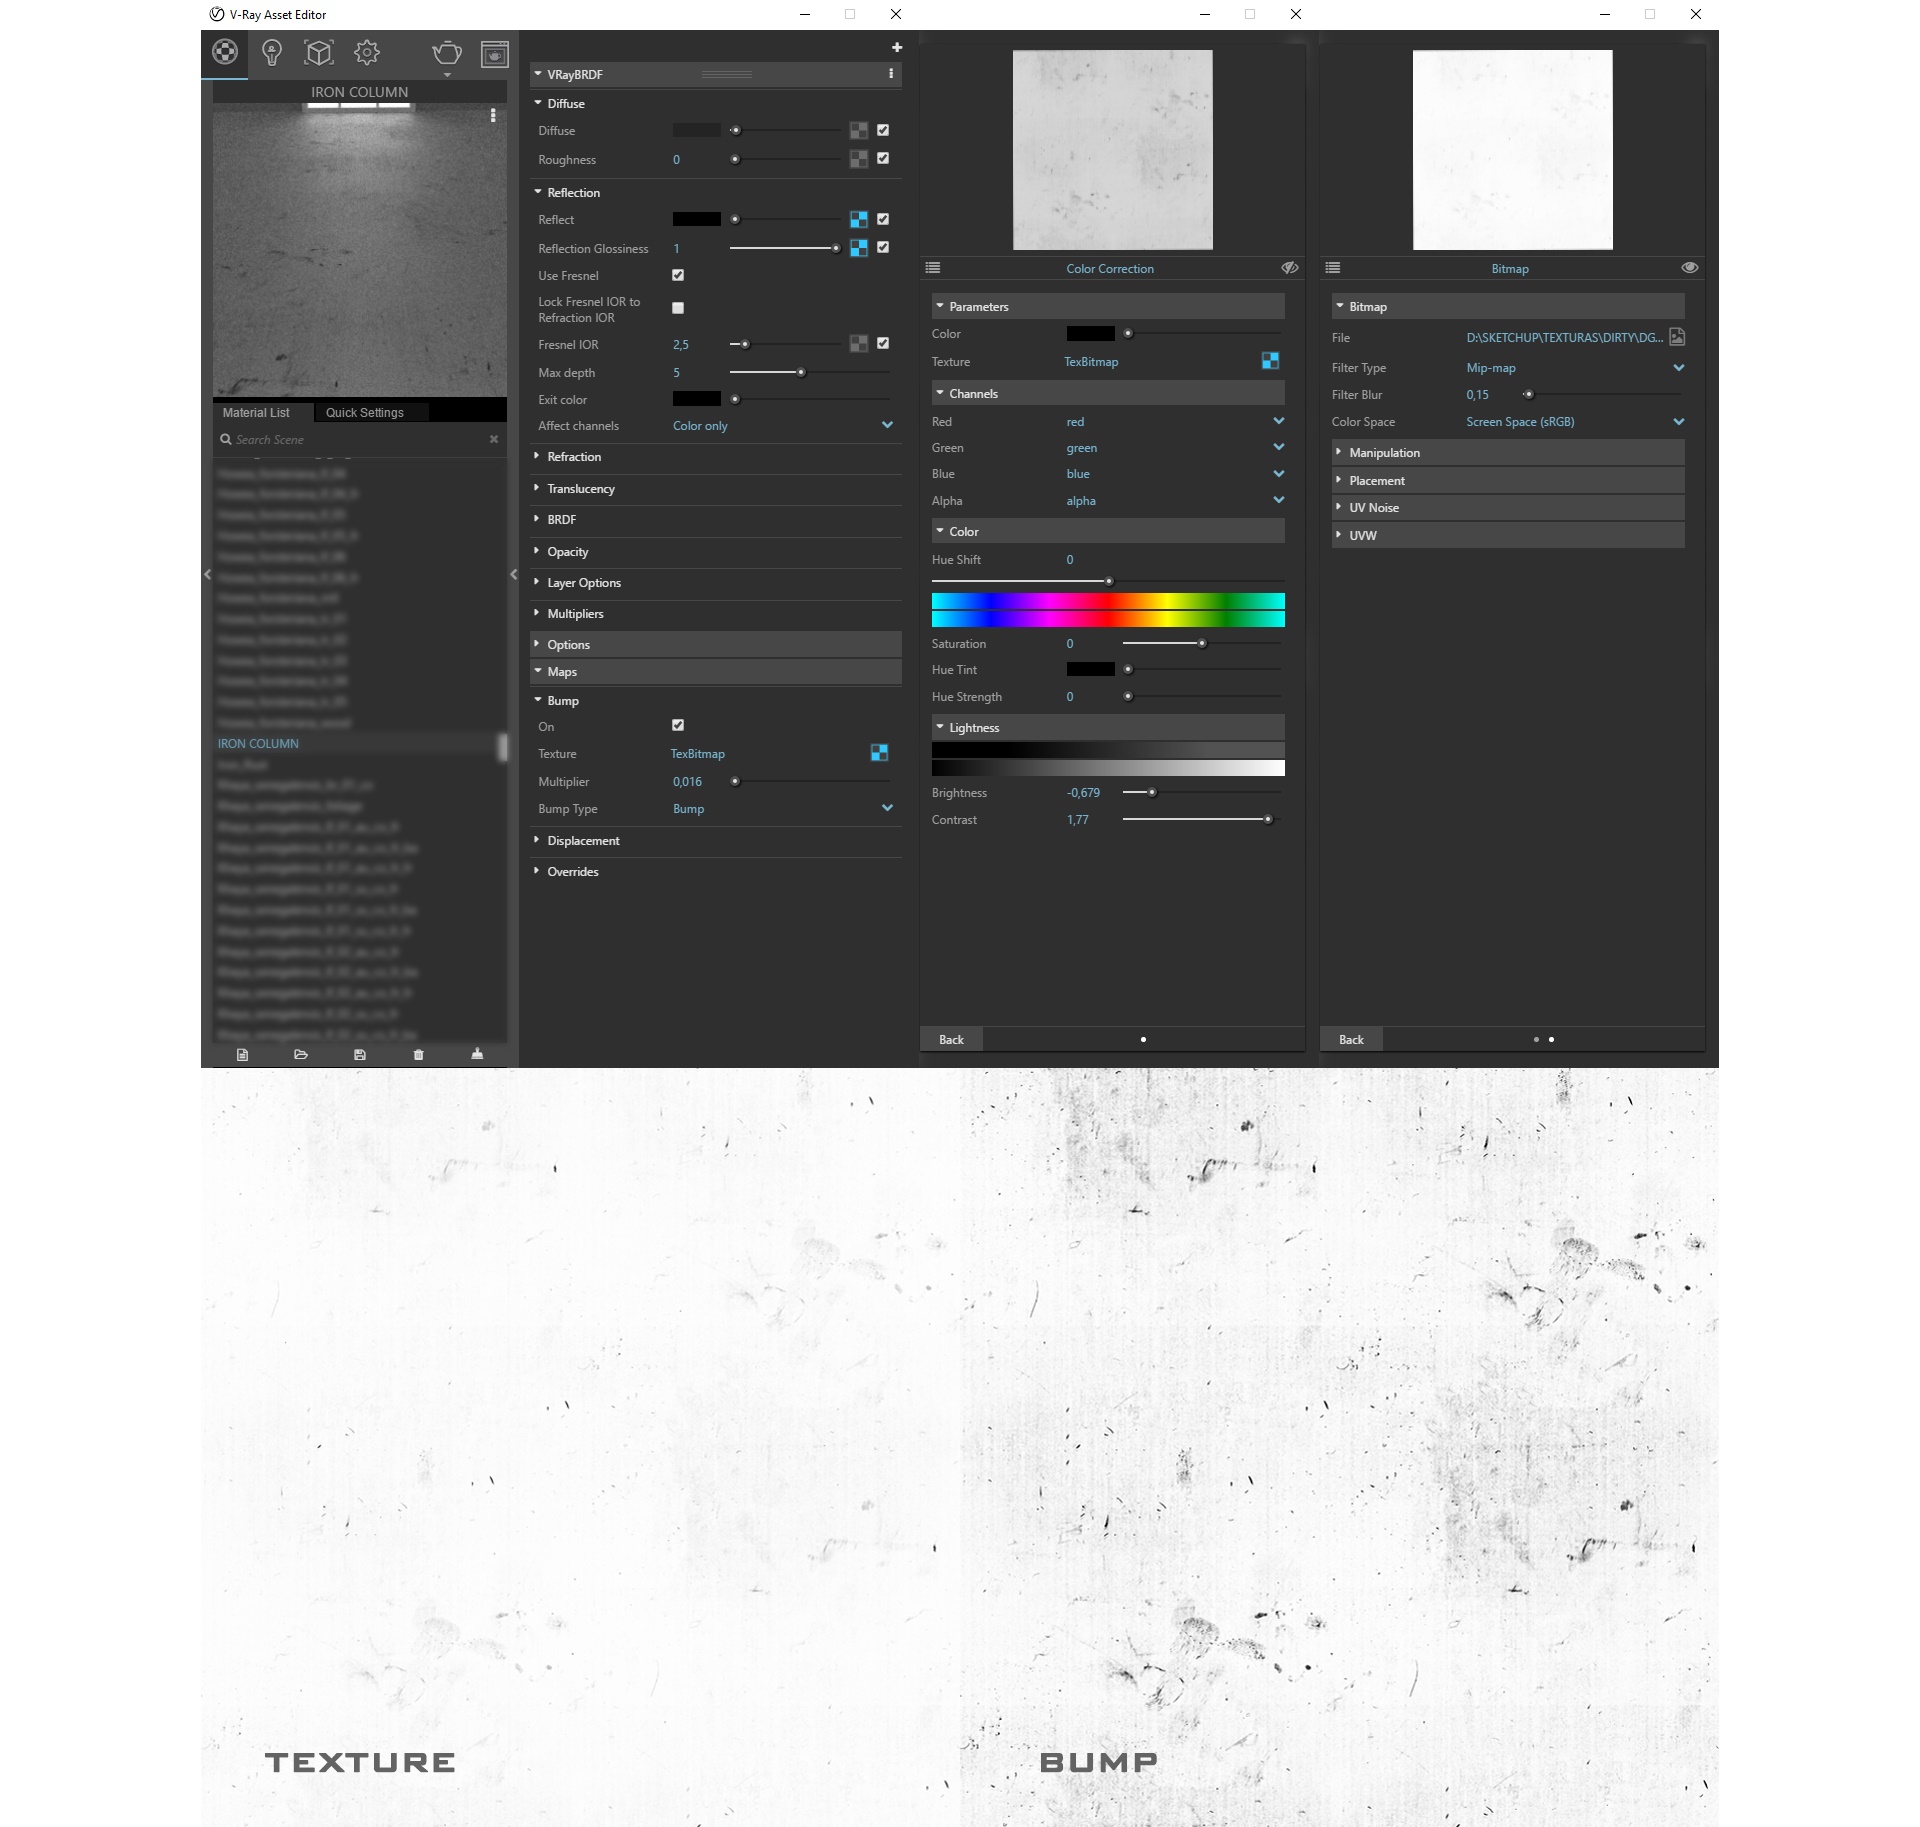
- Iron columns material.
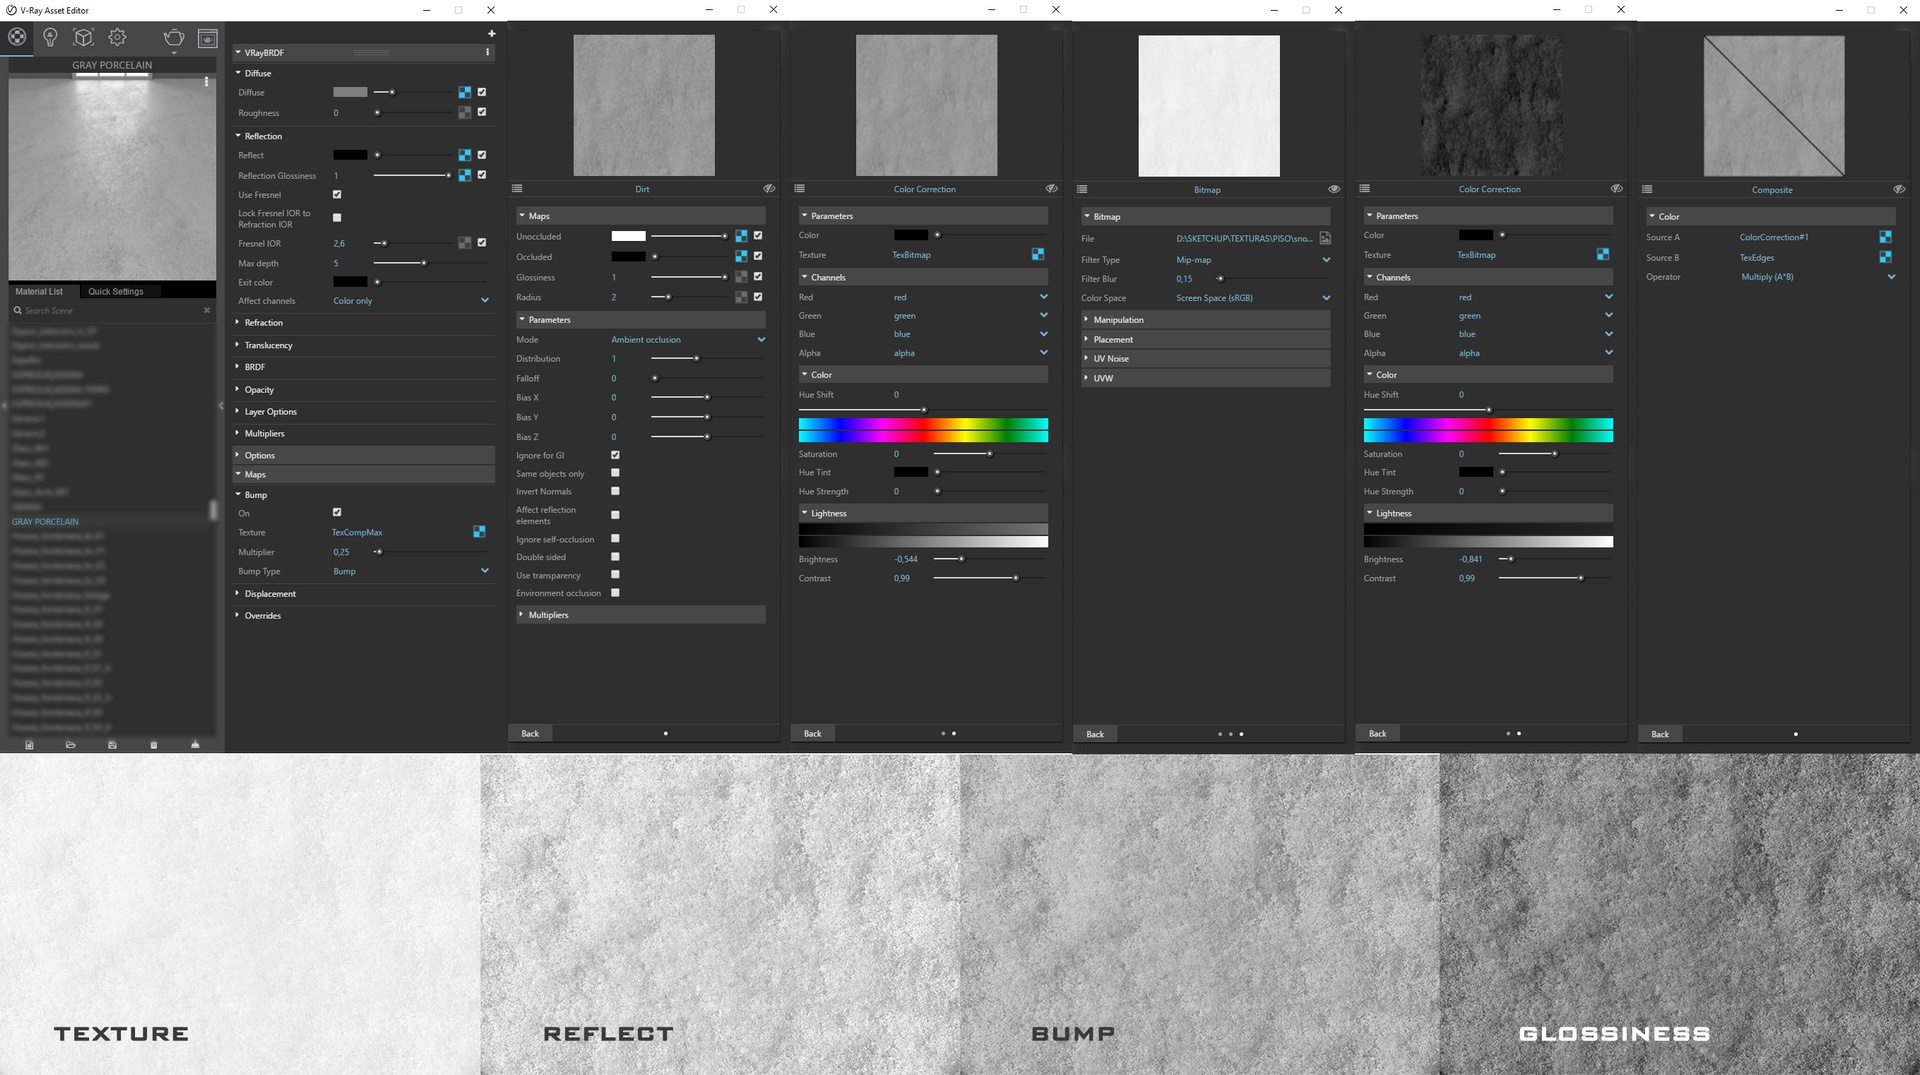
- Porcelain material.
- Concrete material.

About the render settings, they were the same for all the scenes. We made the images with maximum 4.5 K because we wanted to test the effects of optimization that we try to do to the utmost in SketchUp and how the performance of our current equipment would be. As we did not use any background and everything really existed in the scene, we suffered a little with time render.
The following settings are what we used for the final images.
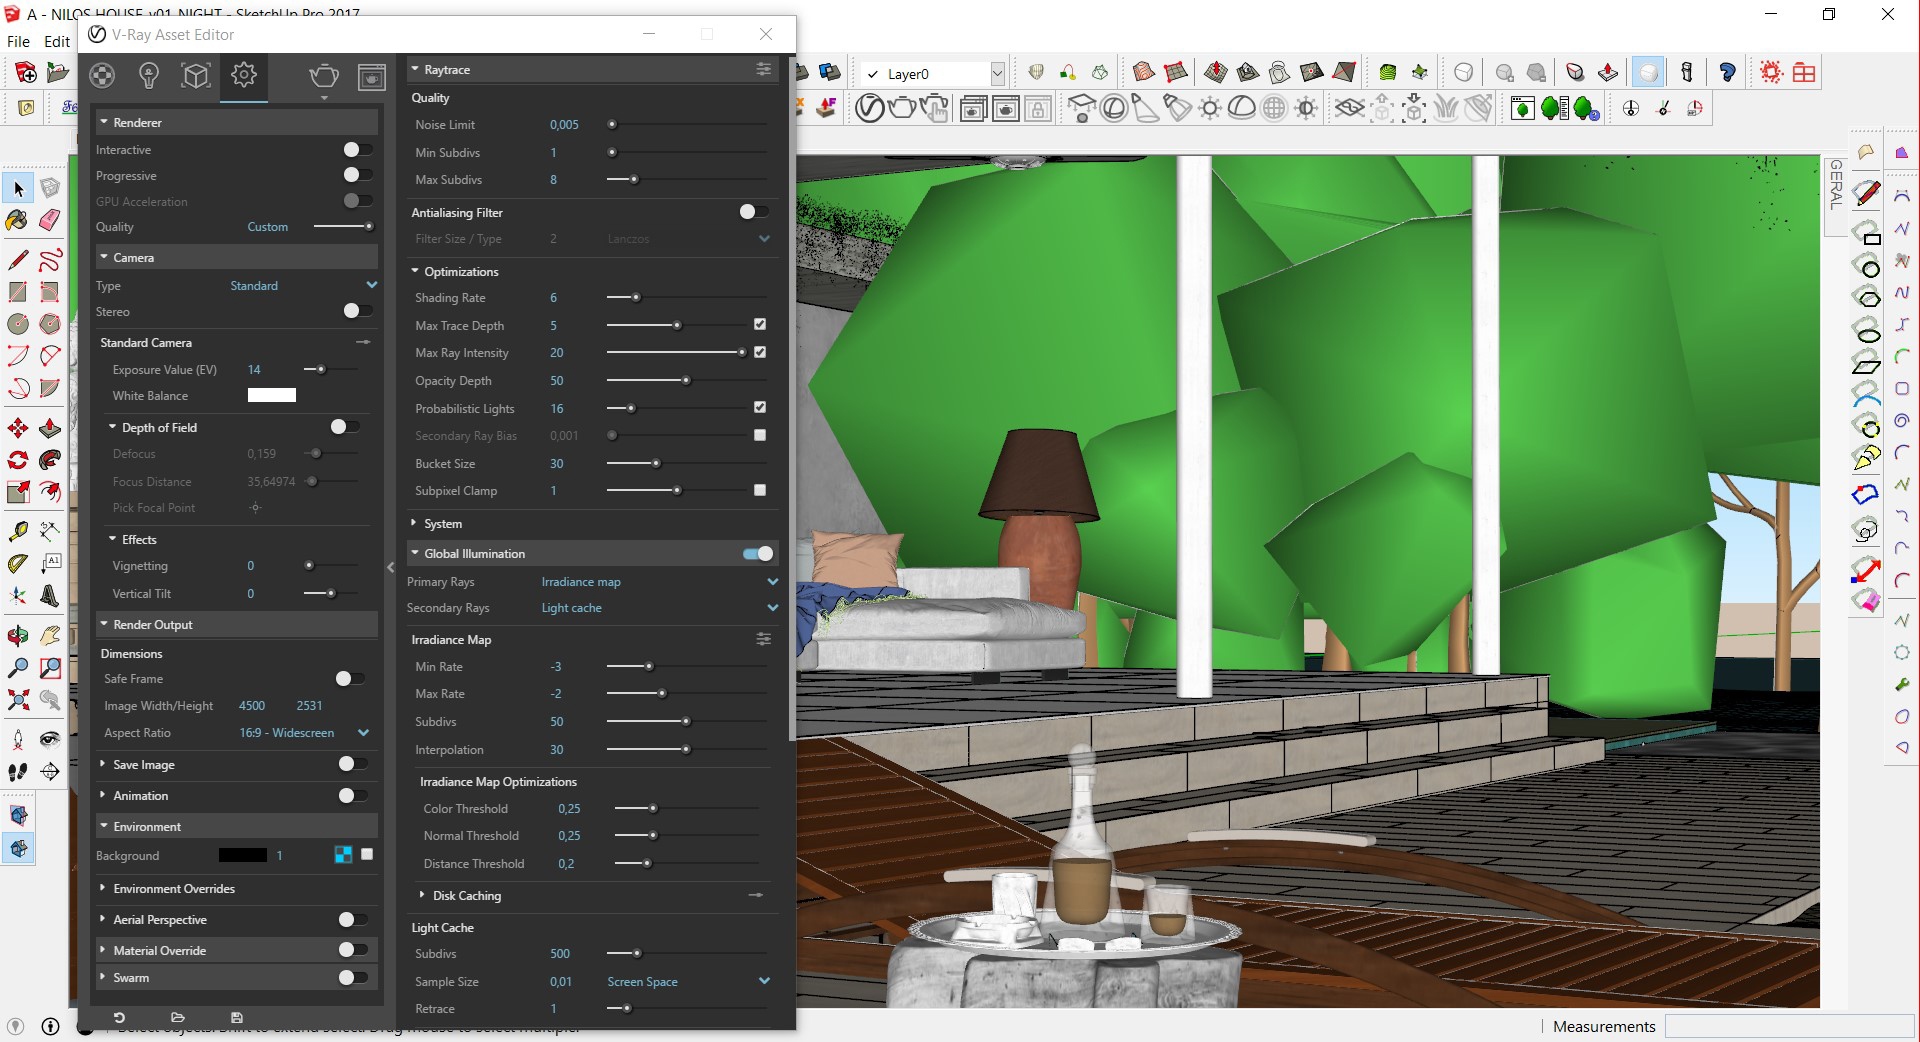
We can assure you that we didn’t have any challenges in the render output configuration.
The real challenge that we encountered was first with the positioning and quantity of vegetation which was also a little heavy and sometimes it was too much. We ran some tests until we could get the result that we were really looking for.
The second challenge was that the scene was first developed on an Intel i5 4690k with 16GB RAM and only the open file used around 12 to 14GB RAM. We transferred all the files to a second CPU that was the one we used to redo all the work of trying to optimize the file and prepared it for a "heavier" render. It was then that we used an Intel i7 4790k with 32GB RAM, showing up enough to work, using the maximum 26GB RAM with open file and render on. Since the change, everything started going well, we did not suffer with crashes, the render time was considerably reduced and the workflow improved.
We sincerely believe that because it is a simple work, this may have been the reason for not having a great challenge beyond those mentioned above.
When it comes to post-production, we do not like to do simple 3D work and solve all problems in Photoshop, we prefer to work as much as possible in 3D before taking raw render to post-production. Here, we used all the necessary render channels, arranging the layers just enough to have fluidity in production and if there was a possible need to change something, we saved the file (.psd) until everything was completely defined. We took only two print screens because it is basically the same thing for the other final images.

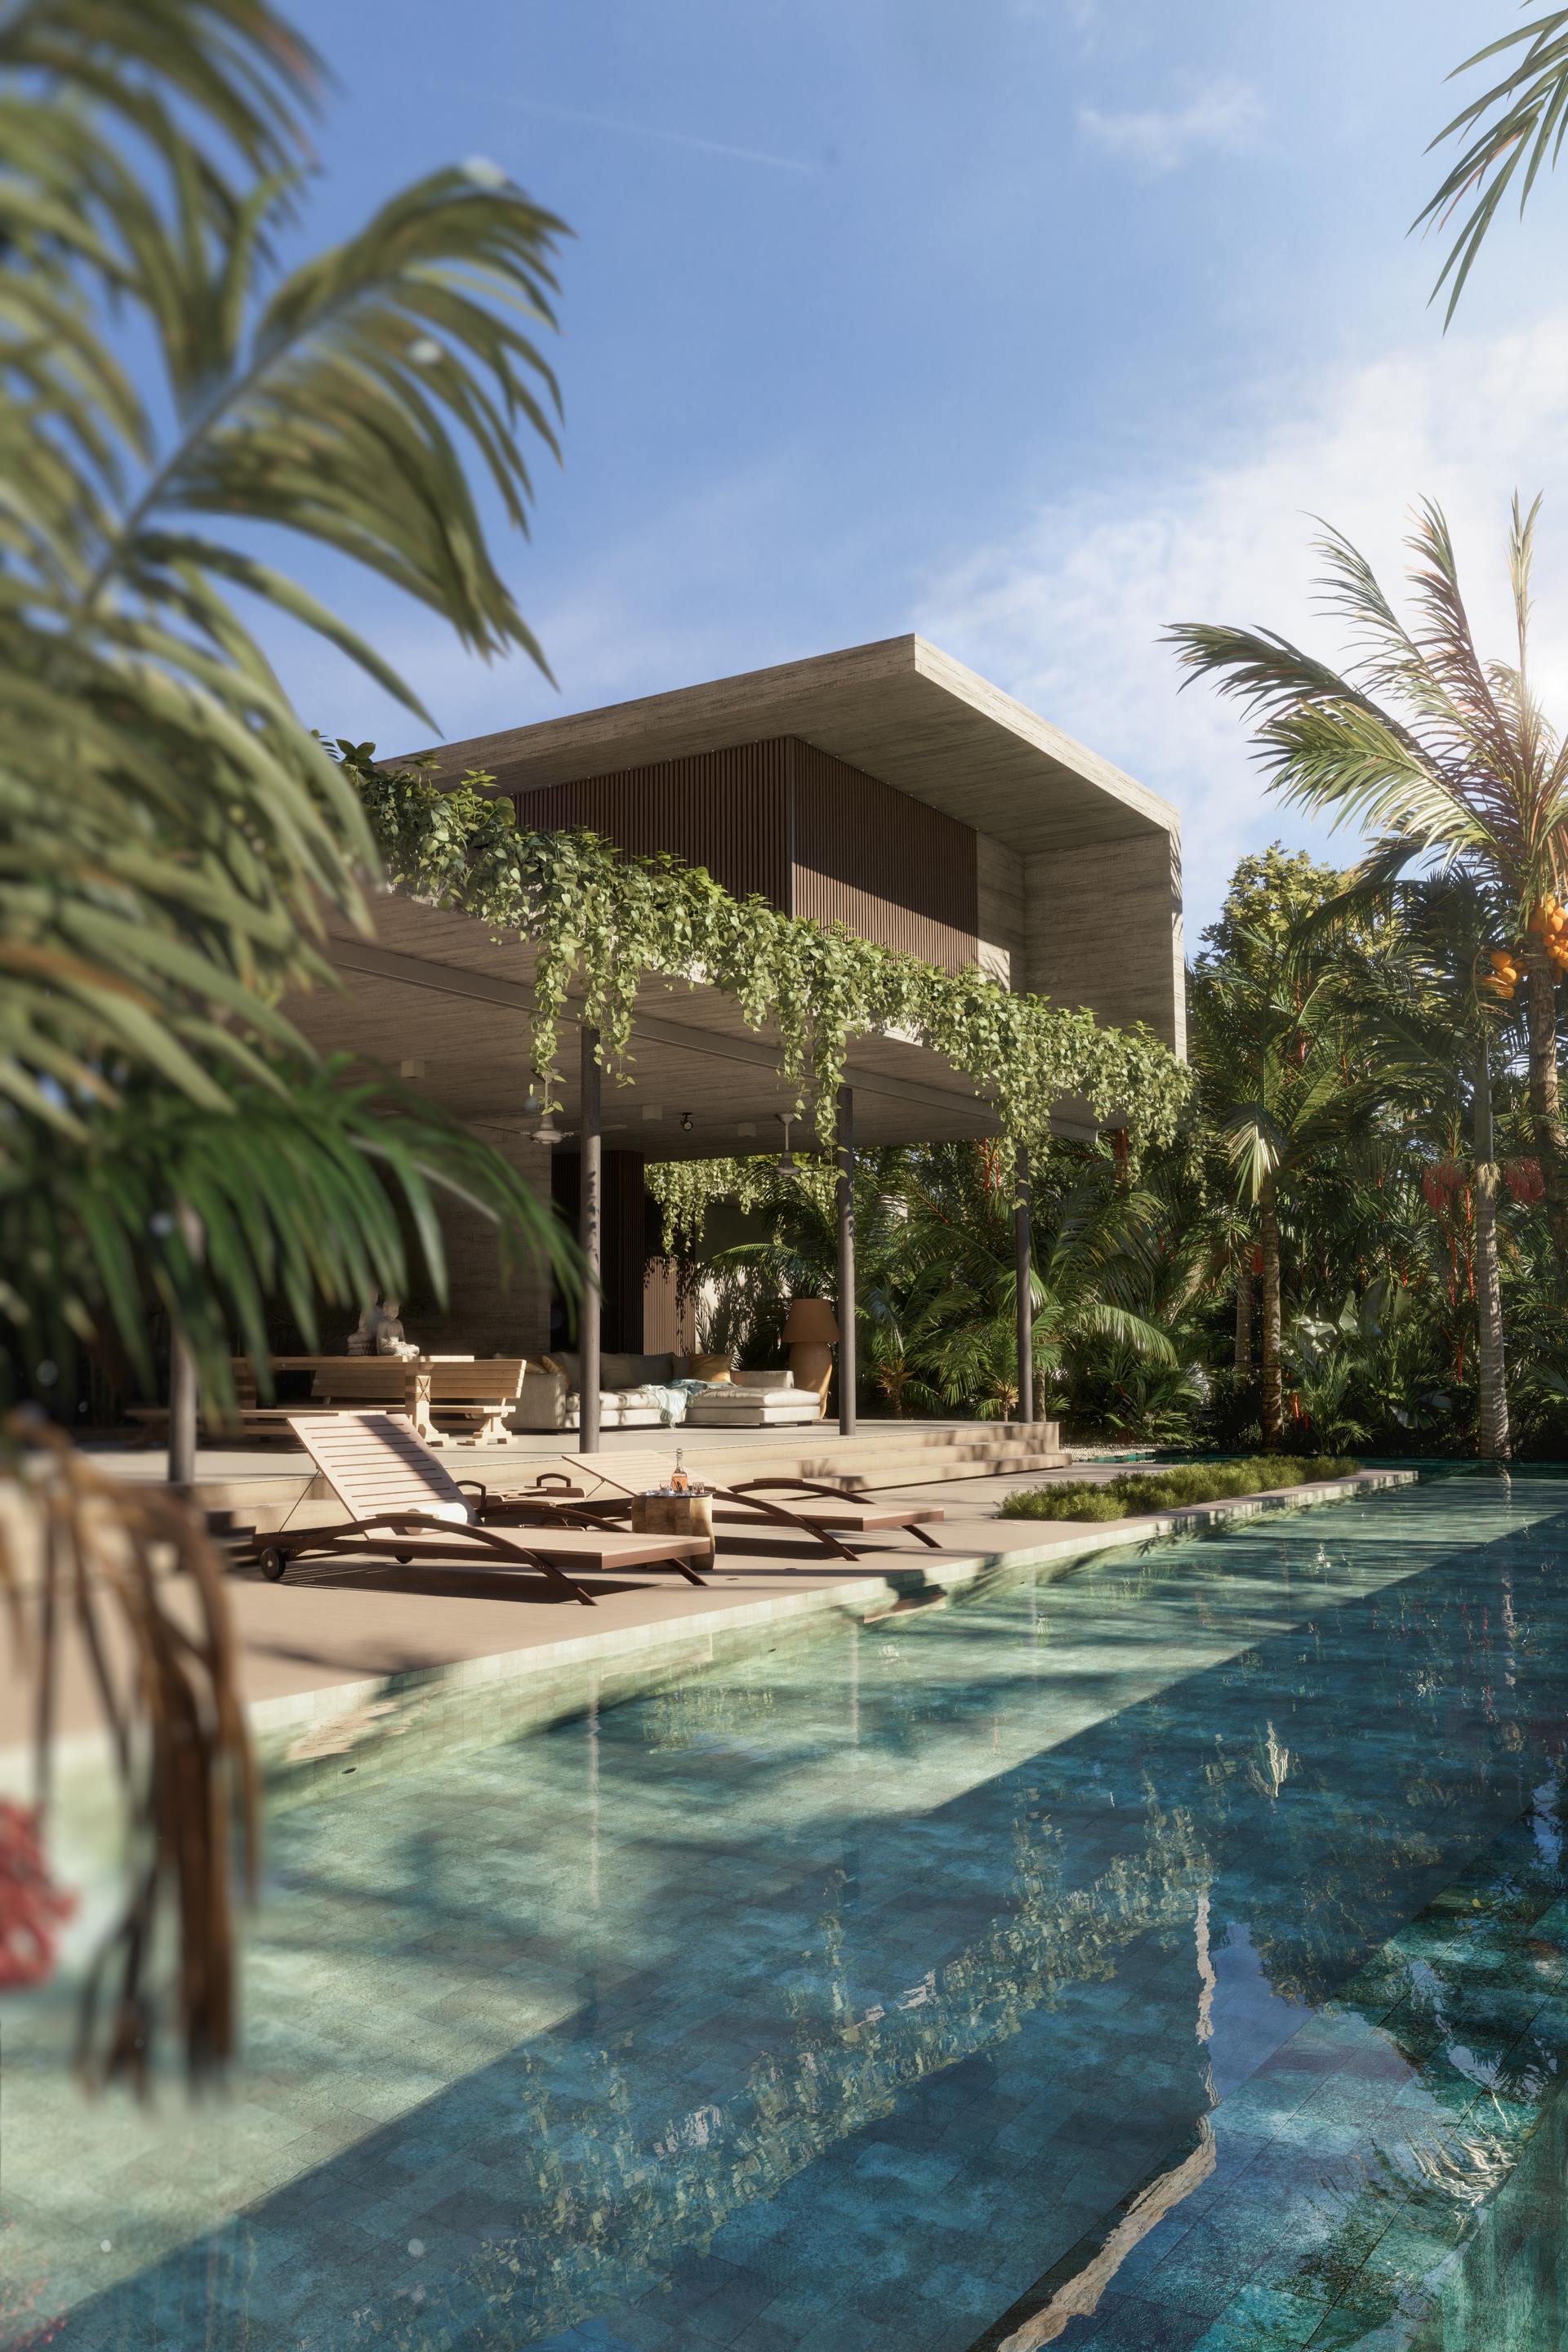
All the images were pretty easy to work with in Photoshop. However, the main image 01 brought us a challenge and in search of solving it, we contacted our dear and great teacher Vinícius Jatoba, developer of the excellent ArchVanish course, www.vinametal.org, where he introduced us the DOF Pro plugin for Photoshop that is nothing more than a professional depth of field generator. According to the site (richardrosenman.com/shop/dof-pro), the plugin is the undisputed leader in photo-realistic depth of field generation for Adobe Photoshop and has been used for more than 12 years in the industry since its launch in 2005.
DOF pro version 5.0 features cutting-edge technology never Seen before in any other depth-of-field processors. After this acquisition, we believe that we have been able to resolve the issue and leave the acceptable vegetation DOF view, which you can see in main image 01 below.
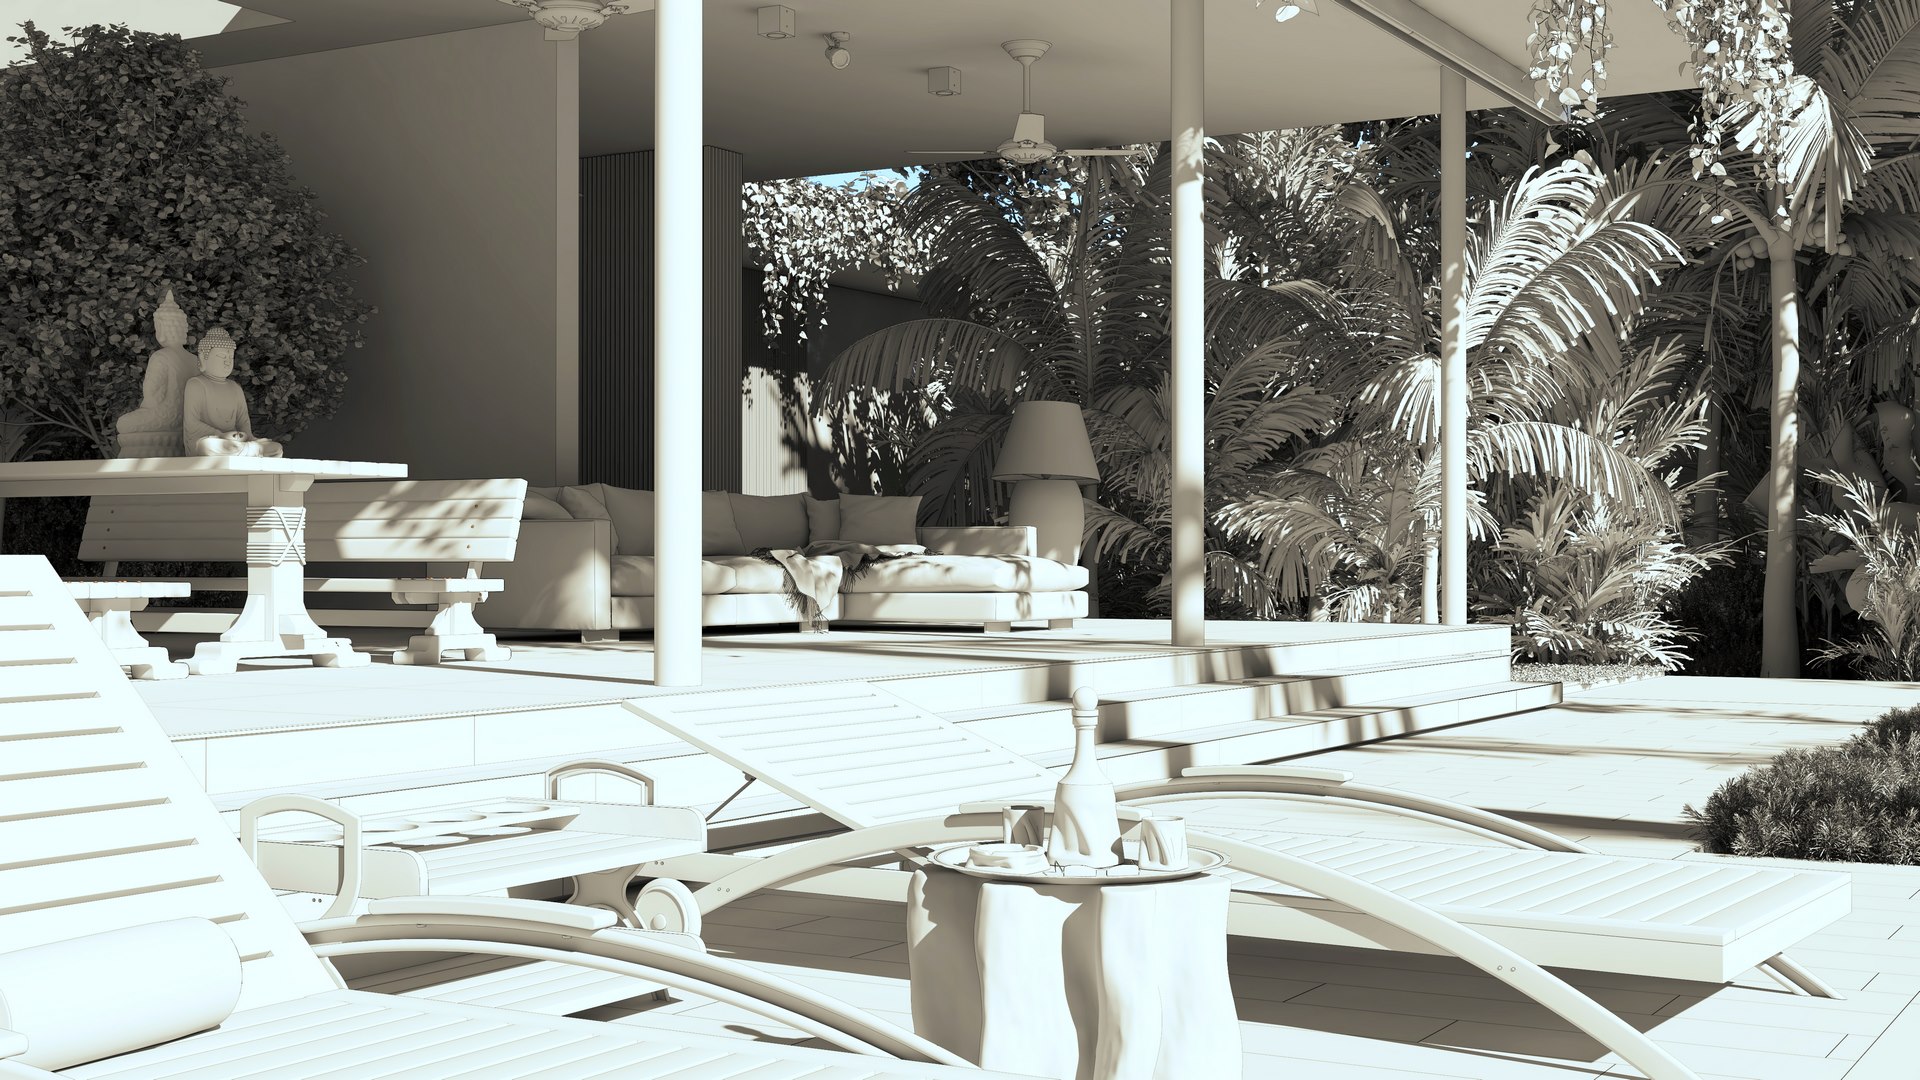
Well, guys, we've brought you here with black and white images, override, viewport and many others, now let's get right to the point and hope you’ll like the result as much as we do. The flaw for which we use the Dof pro in Photoshop is very evident in this raw render of the main scene 01. The foliage was very low poly and we wanted to keep it at all costs without having to redo it. That's where the plugin served us very well.
- Raw render, main scene 01.
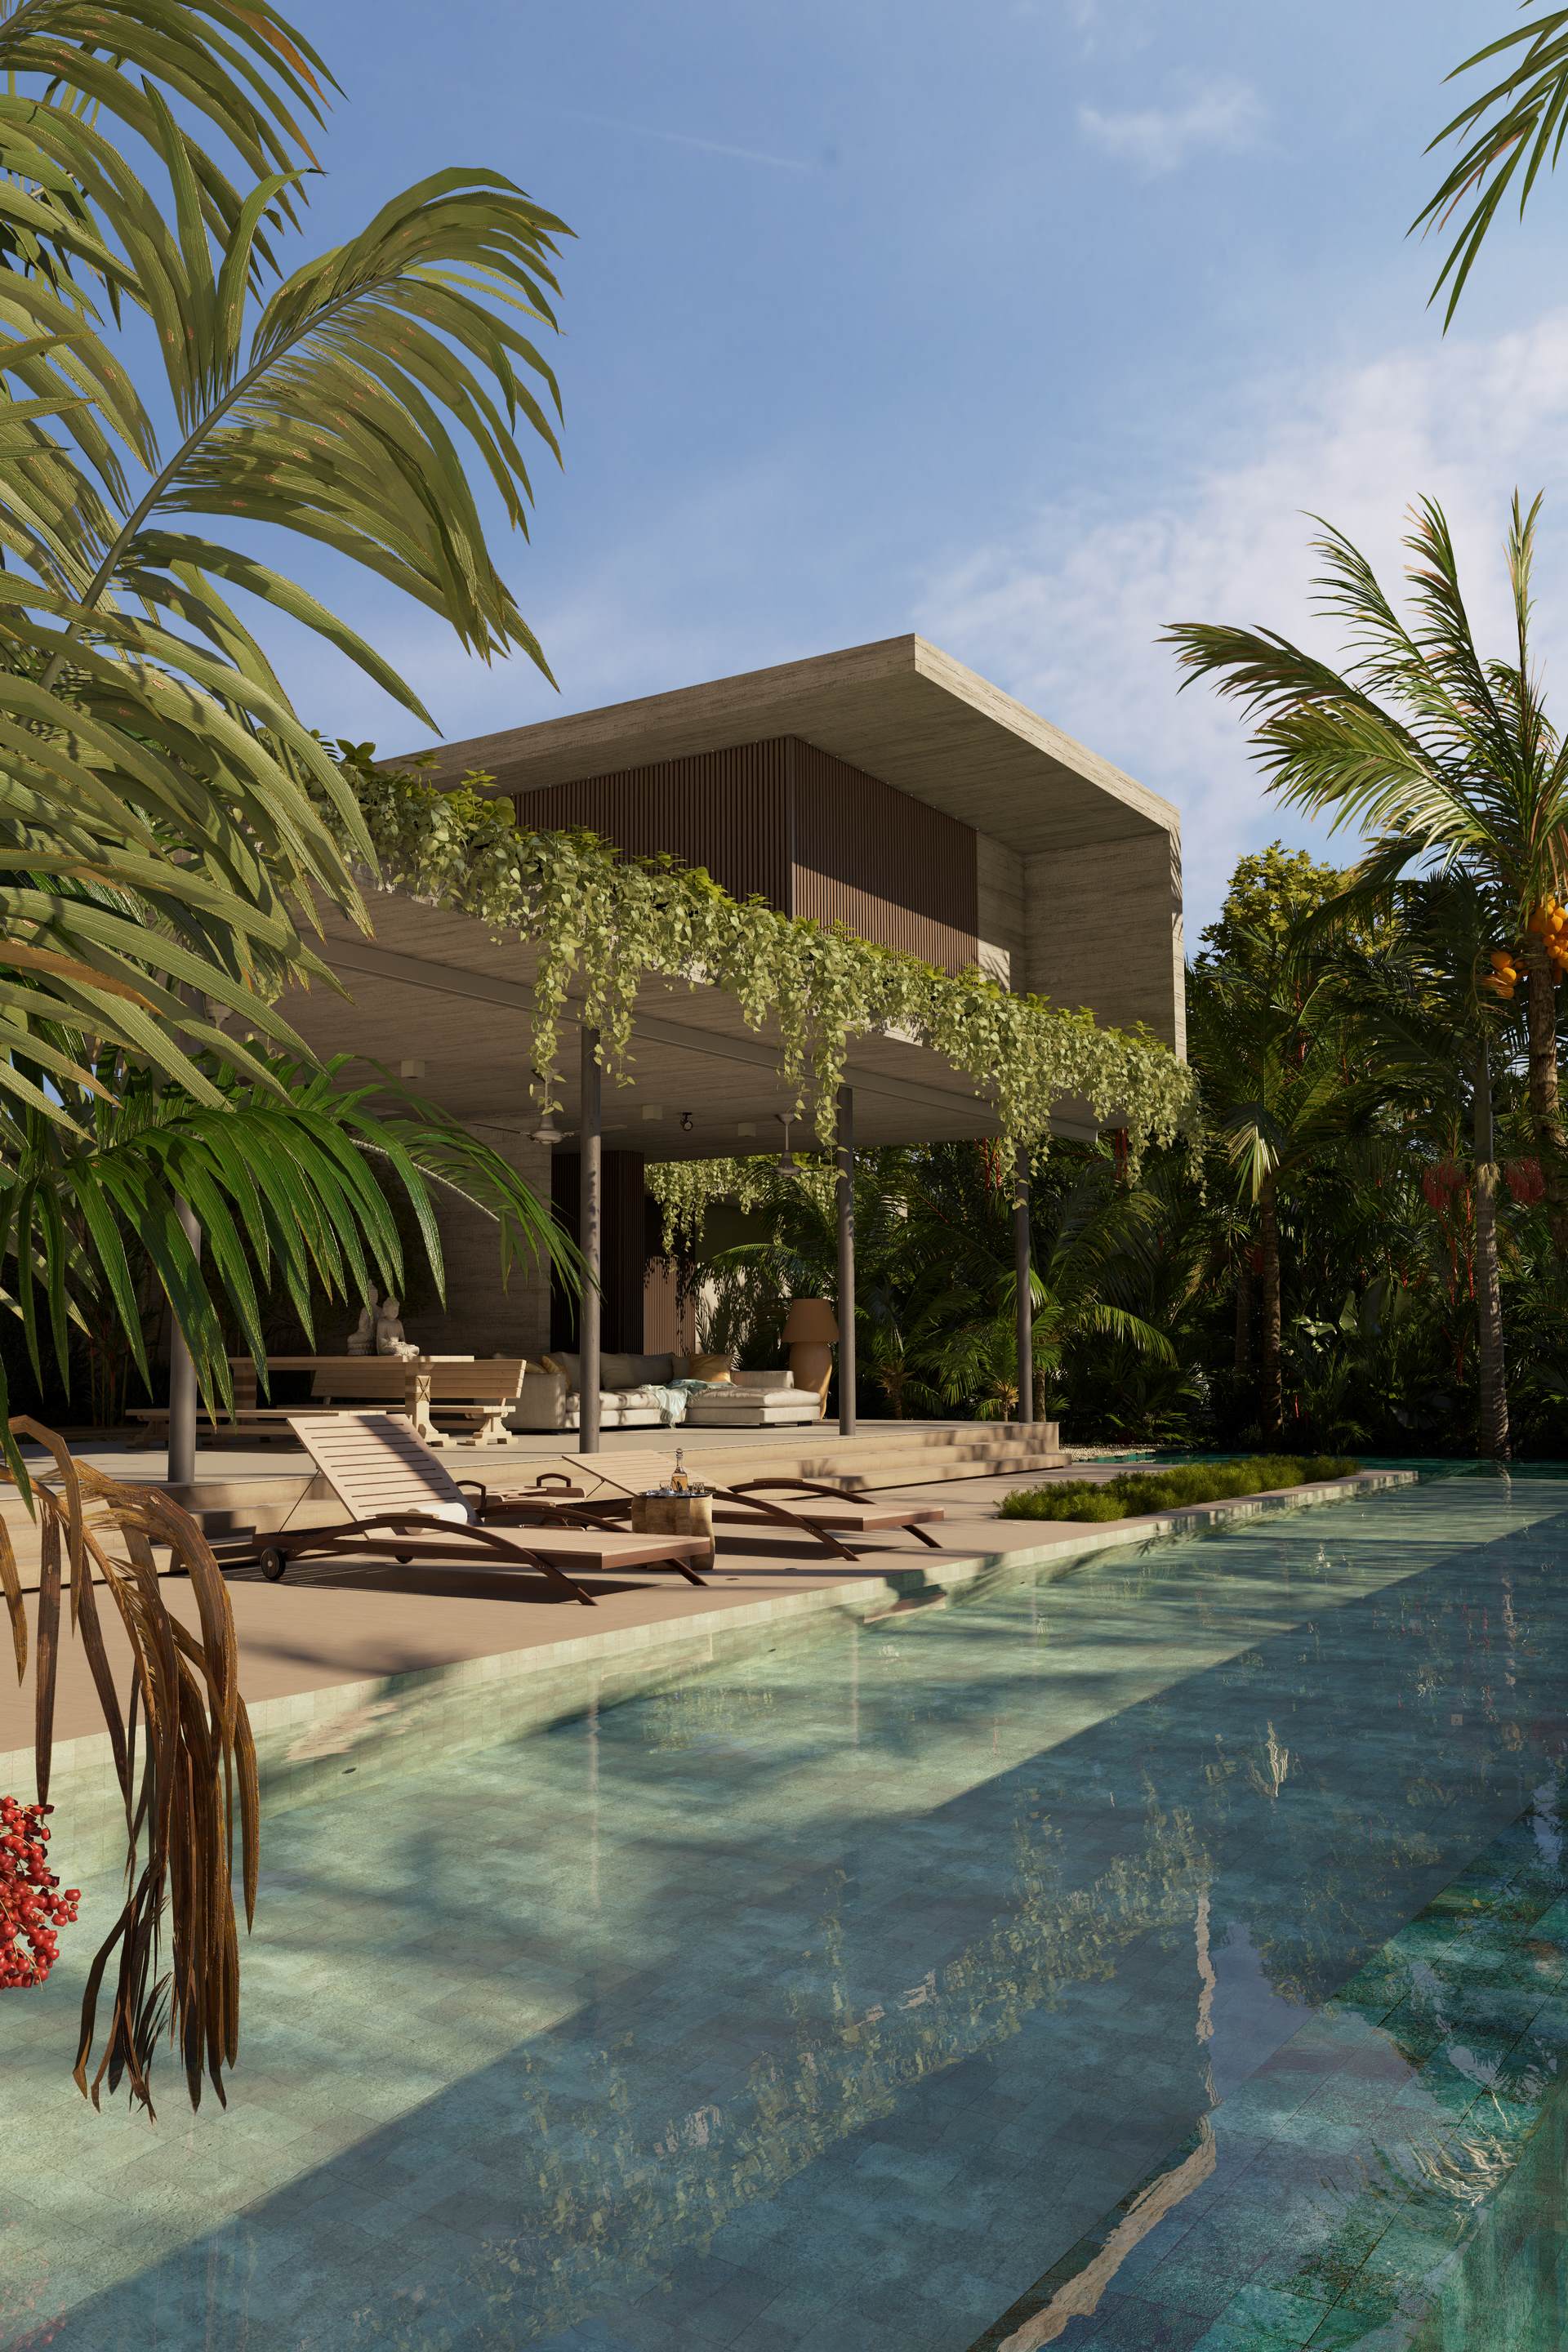
- Main scene 01, post-production finished.
- Raw render, main scene 02.
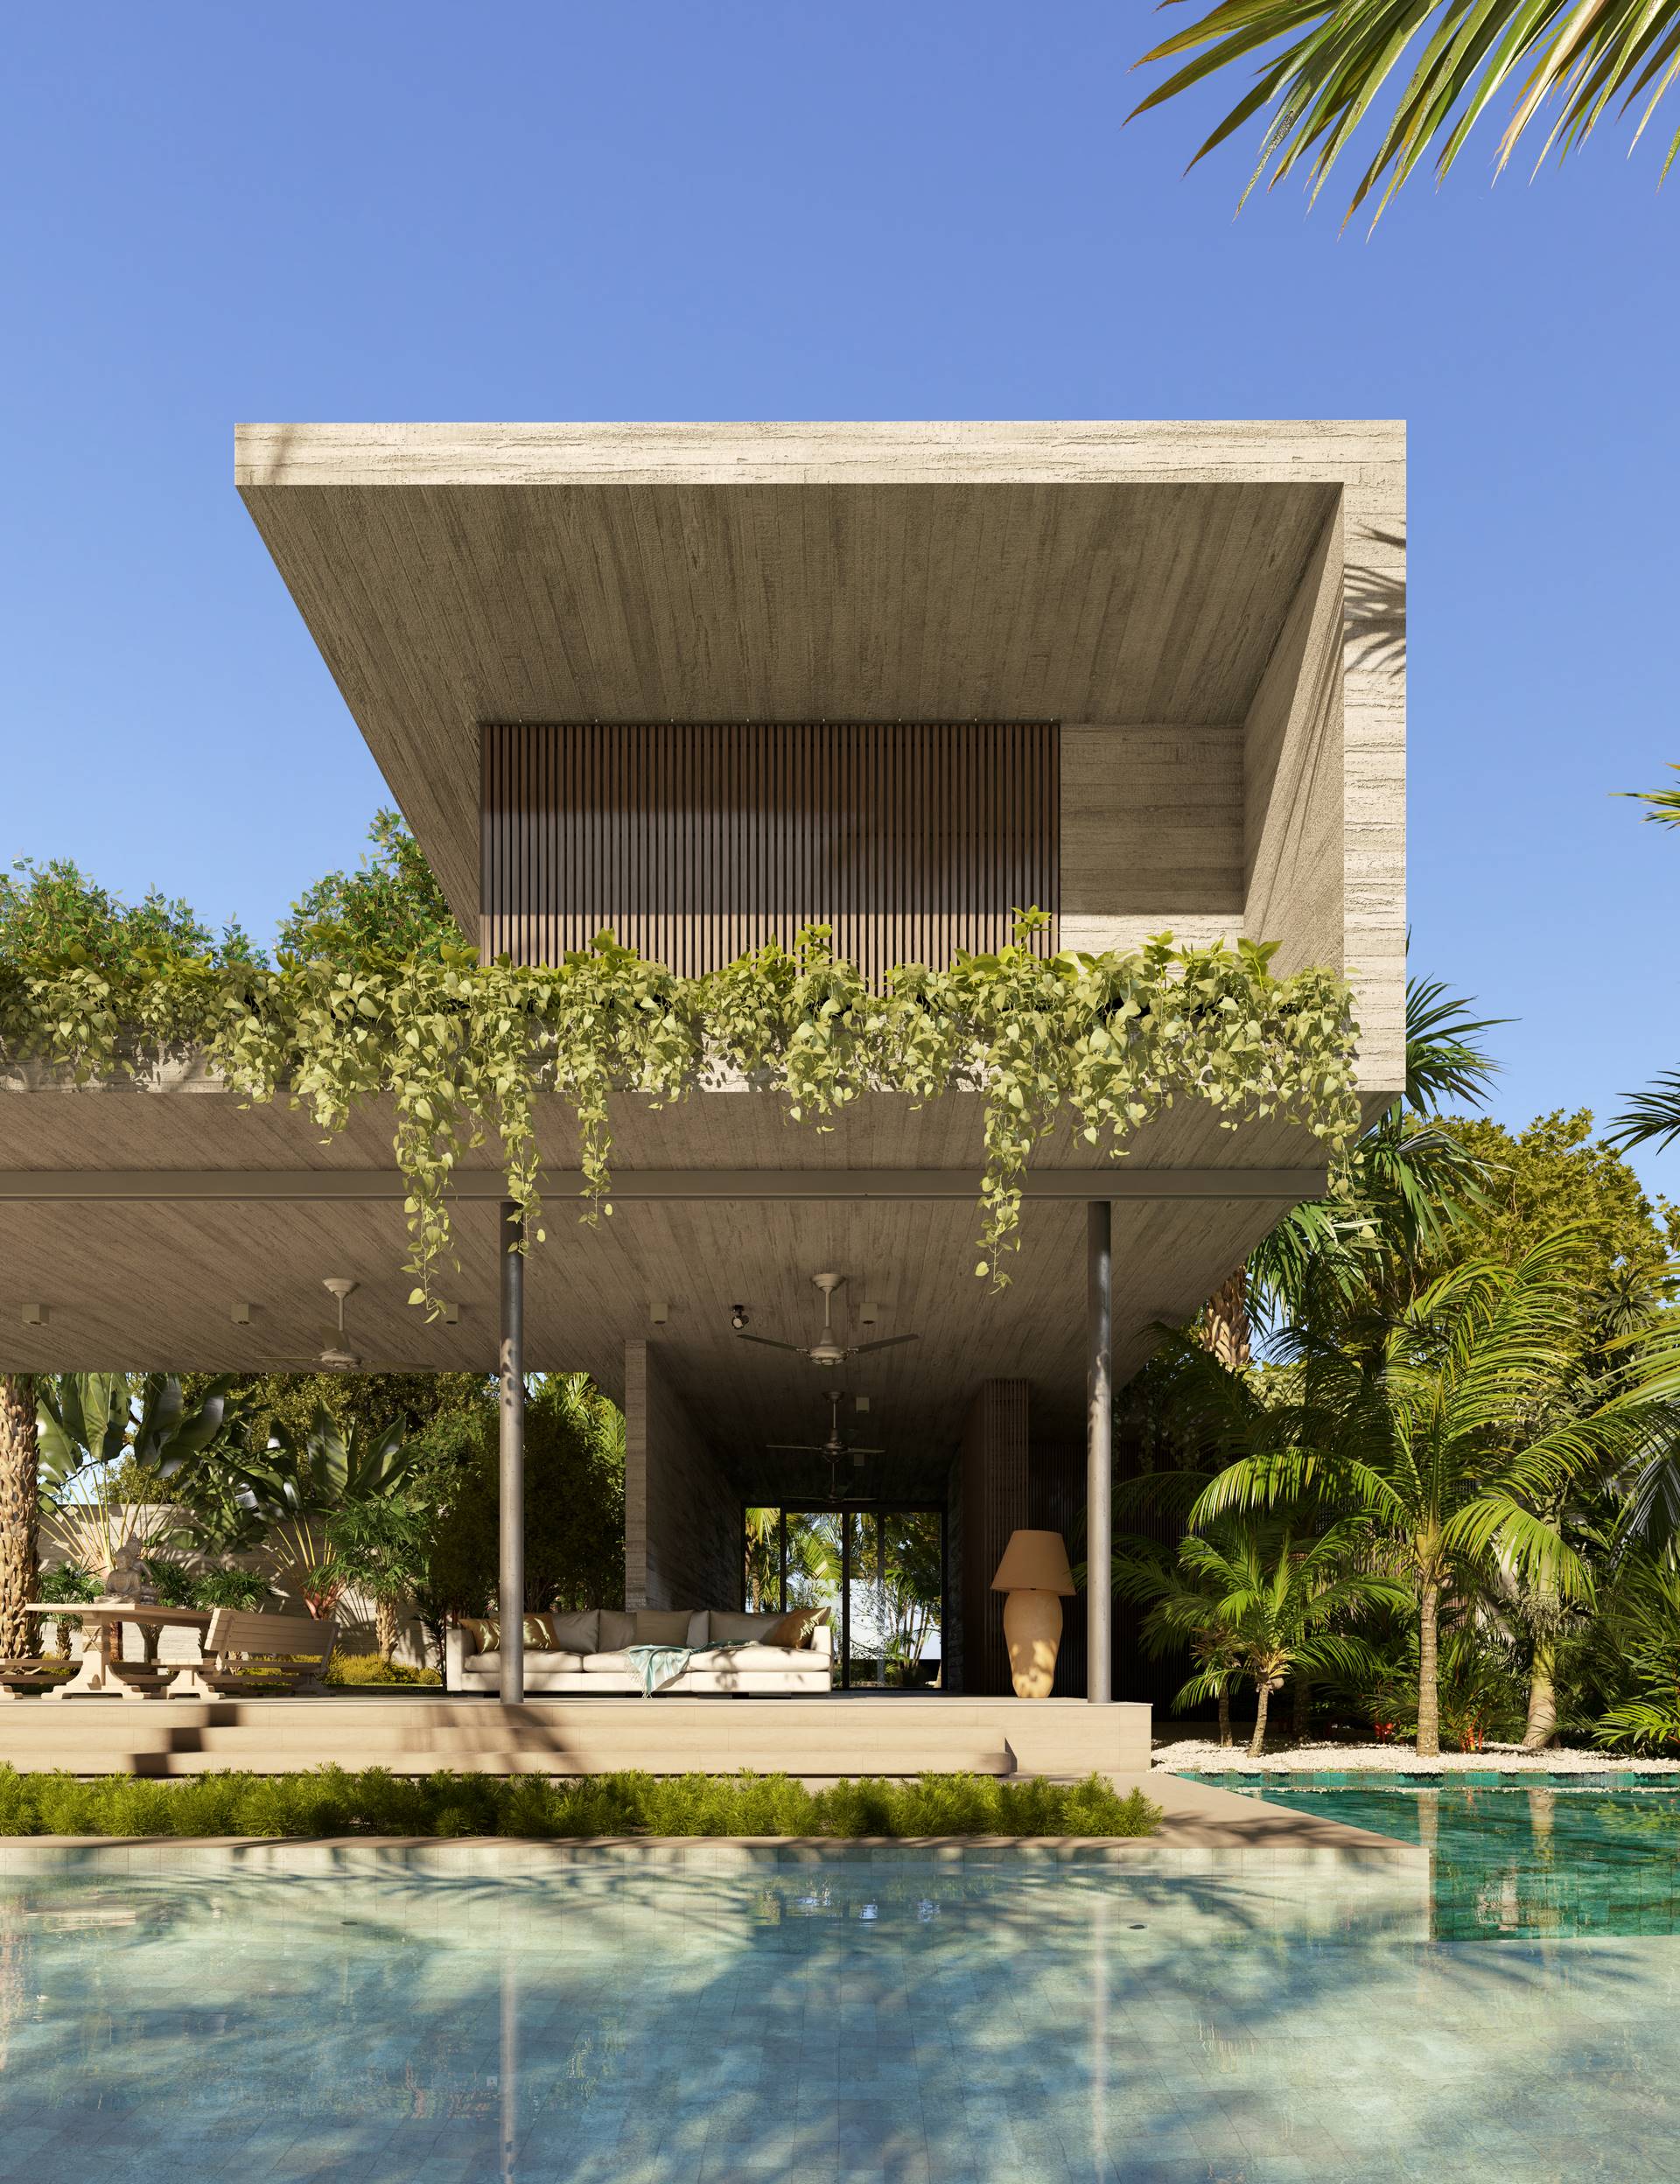
- Main scene 02, post-production finished.
- Raw render, scene 03.
- Scene 03, post-production finished.
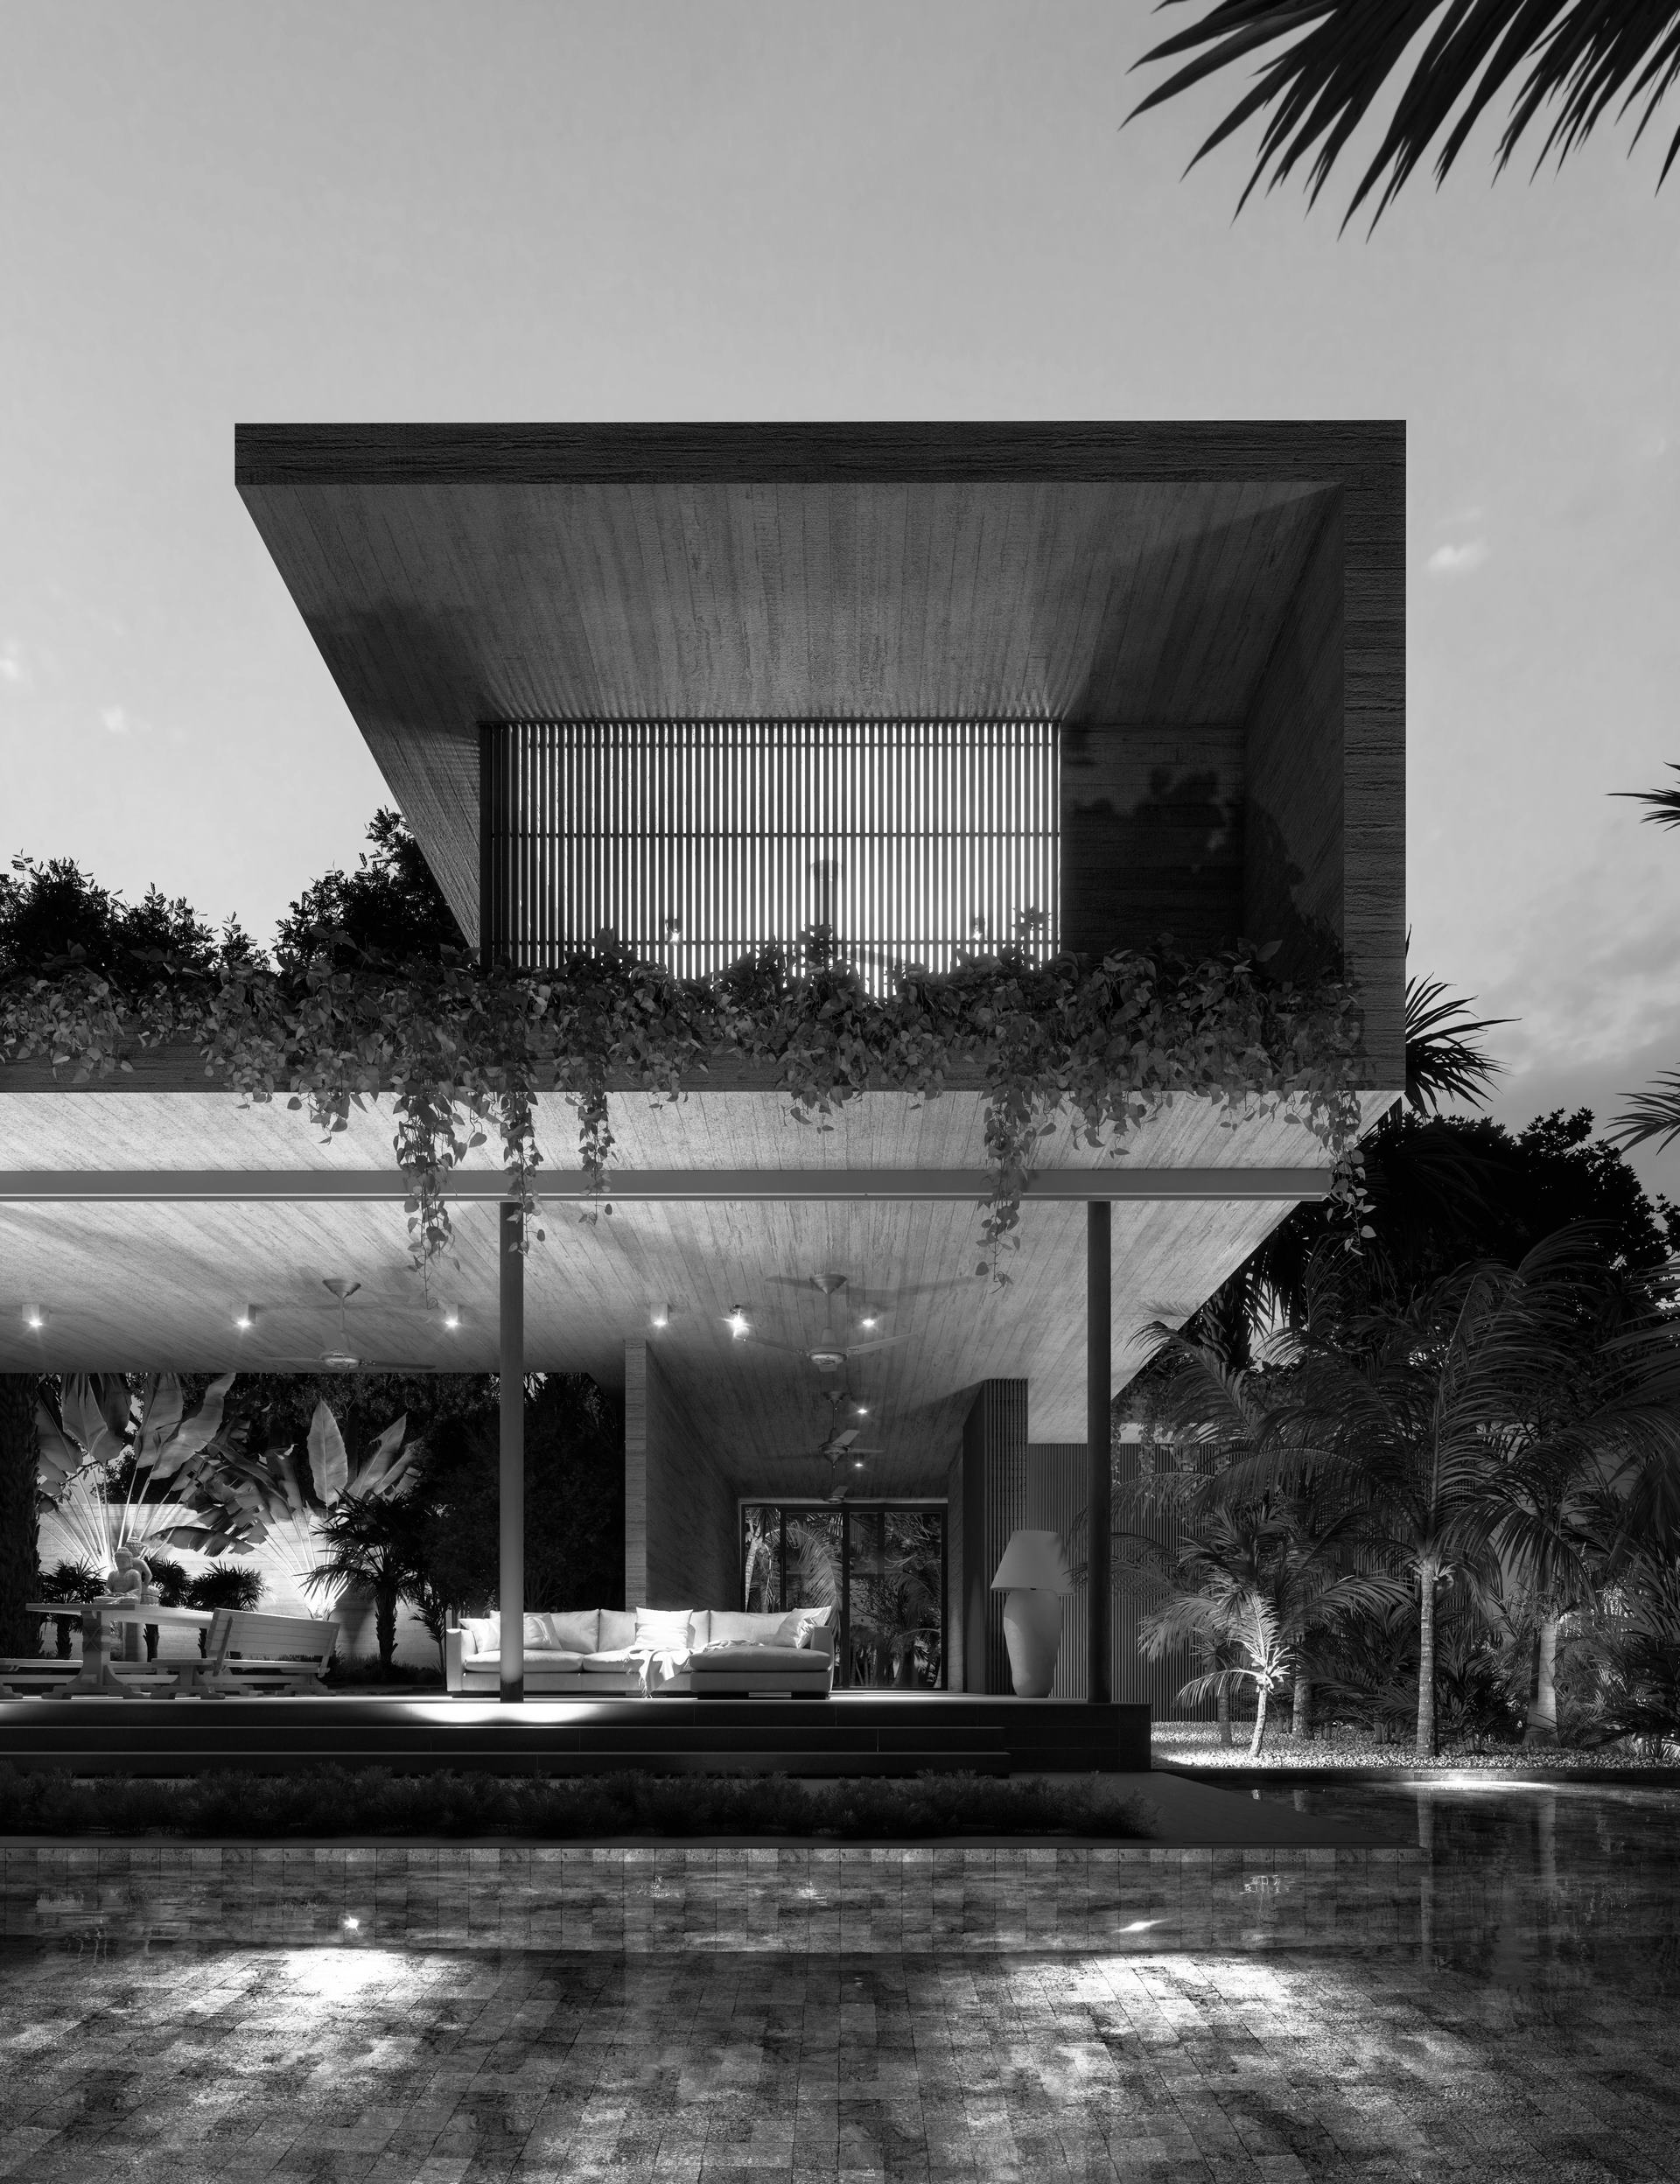
- Raw render, scene 04 night.

- Scene 04 night, post-production finished.
"Well, you can say that good work is the key to good fortune," that is and will always be our goal, considering the fact that we still have a lot to learn and evolve. About the final result, fortunately we won the podium of the challenge with our image in first place among so many other excellent images of the other participants.
It should be noted that we only achieved a result considered acceptable to us due to the excellent work of the architects Alberto Burckhard, Carolina Echeverri and of course the photographs of Juan Antonio Monsalve that made the work natural with all the features of the Nilo House evident.
Again, we are very grateful to those who have been directly and indirectly involved with this work. To teachers Gabriel Chahoud for having given the final vote so that our work was chosen as number 1 and Vinícius Jatoba for helping us at the most necessary time. You were essential and accurate!
Not wanting to turn that conclusion into something long-winded for readers, feel free to ask us any questions or leave any comments in general.
Thank you!
“We go out in the world and take our chances Fate is just the weight of circumstances That's the way that lady luck dances Roll the bones”.