We created this first article trying to combine real world"s lighting and digital camera"s properties with V-Ray lighting and V-Ray camera"s properties. It"s not an advanced tutorial but it"s very helpful for all those new 3d artists who aim to understand better the basic principles of real lighting and the relationship with digital photography.
The word “photography” comes from the Greek, photo means light and graphy means writing, delineation, or painting. In other words, photography is light painting. The most important medium of photography is light. Light has various properties that ultimately produce different effects. It is imperative that a 3d artist understand the lighting in a way that he can take advantage of it and control it. In order to comprehend light one must be familiar with its properties. Light has three main properties which are present both in natural and artificial types of light:
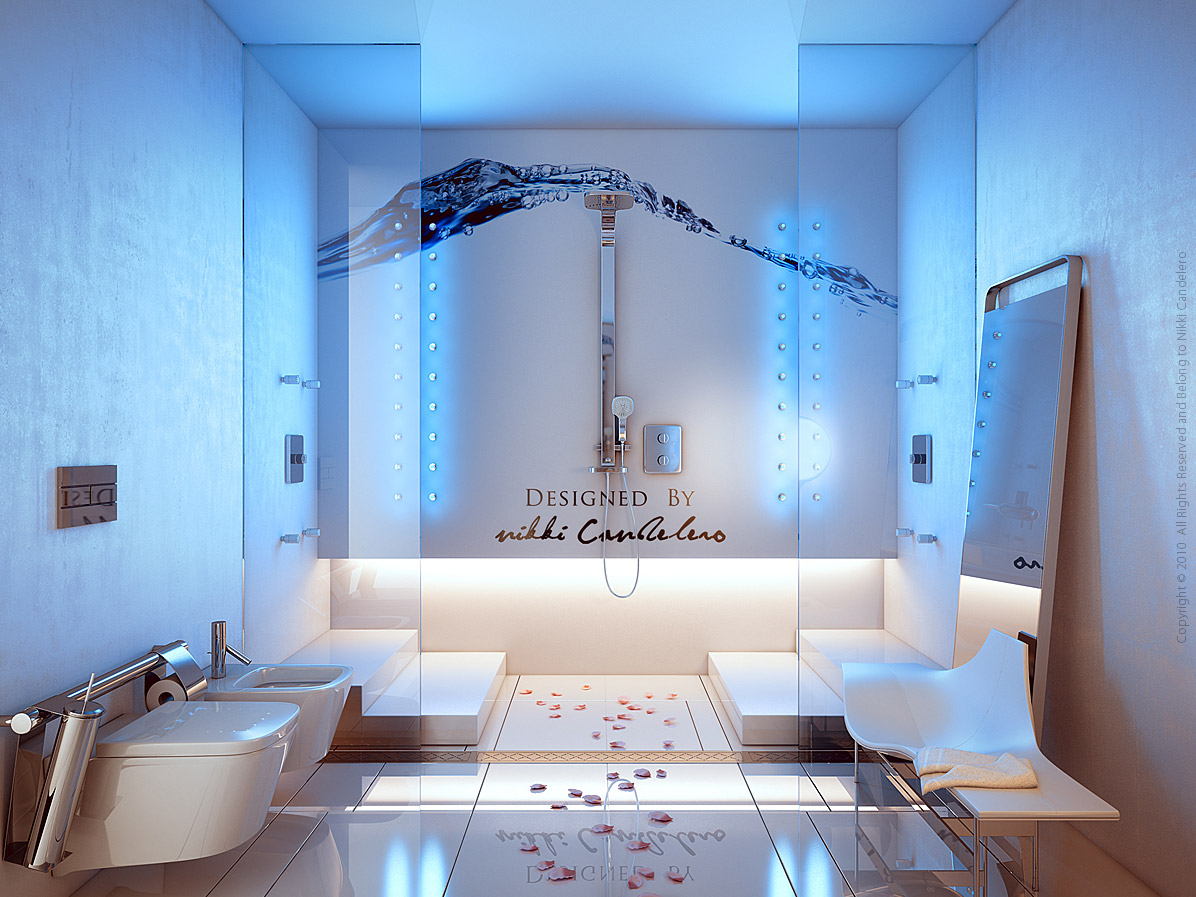
1. Soul: 3d artwork by Nikki Candelero.
Image Source: Render Ghost
Since a picture is worth a thousand words, just admire Nikki"s lighting work above. I studied the way he lights his scenes a lot, before trying to go deeper in V-Ray lighting. I admire the simplicity in his projects and as I said before his lighting above all.
When doing an outdoor shoot as a 3D photographer you should keep a few points in mind. A photo shoot can be done at sunrise, midday, dawn or even during the night. It must be pointed out that there is no correct type of light for each and every subject.In terms of texture, shape and depth a type of light is preferred over another. For Architectural photography I usually prefer day light system in different moods and time in order to achieve the desired effects.
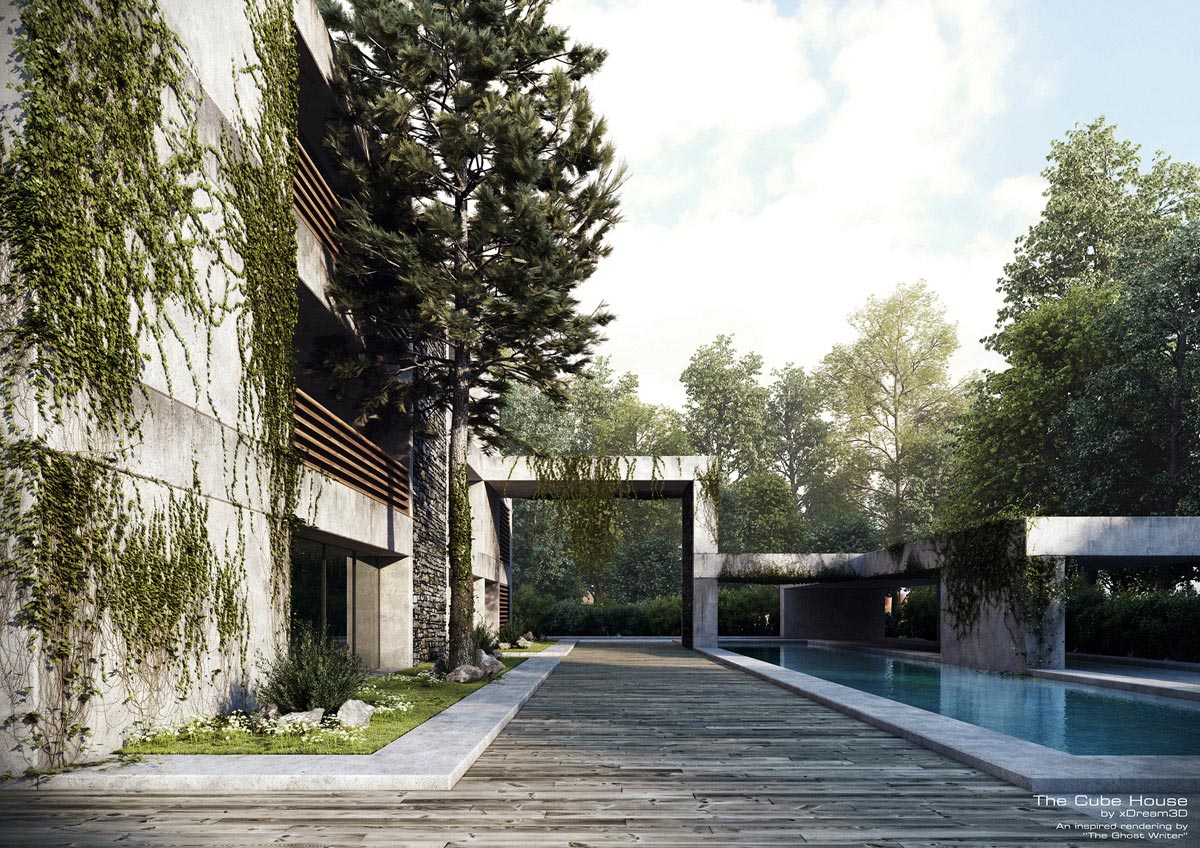
2. The Cube House: 3d artwork by Vasilis Koutlis.
Image Source: xDream3D
Here are some effects produced by natural light which can be used to your advantage when designing your 3d scene.
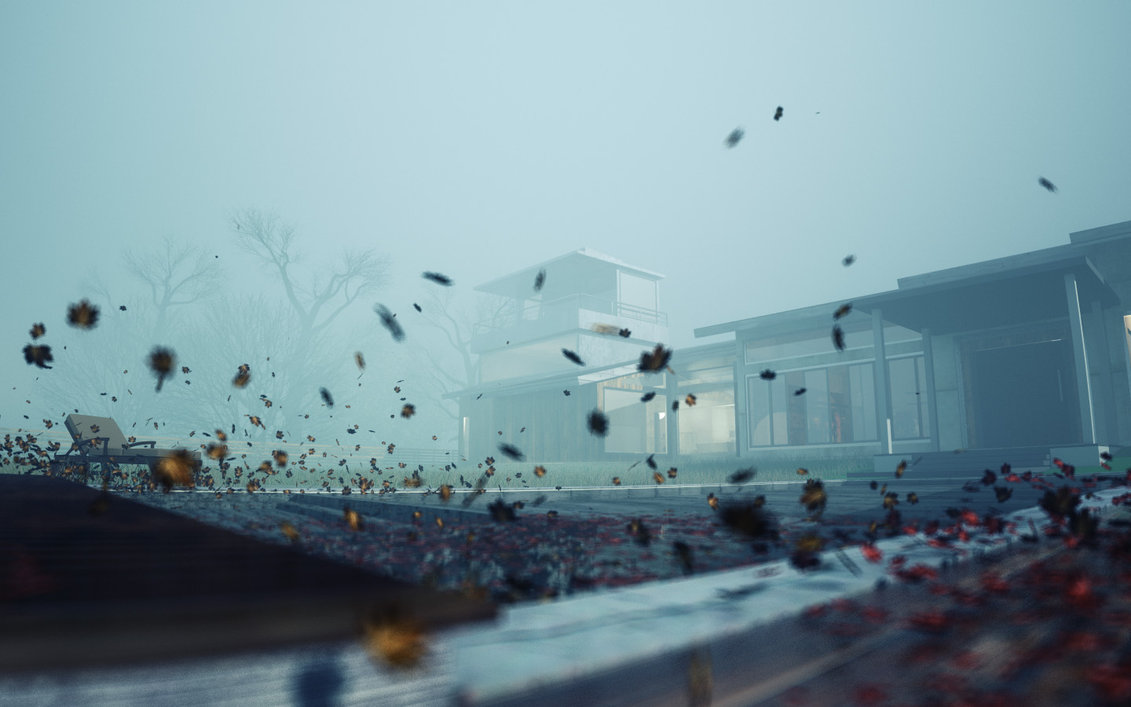
3. Exterior Fog: 3d artwork by Sanfranguy.
Image Source: Deviantart
Light is the essence of photography. It’s not the objects we photograph, but the light they reflect. All light sources possess four different things, level, color, direction and softness. Of course if you work in a studio you have total control over the lighting.
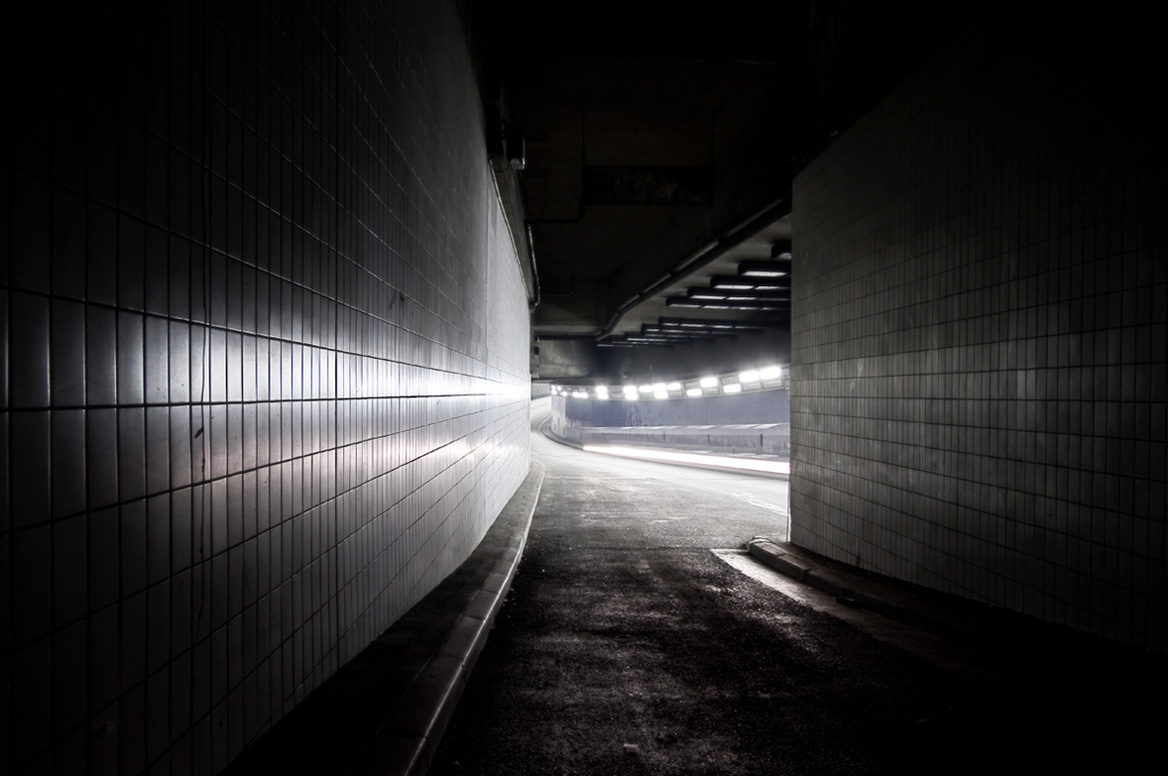
4. The station.
Image Source: Ludimaginary
When the light level decreases there are three things that can be adjusted:
With both the aperture and ISO number corrected, it’s the shutter speed that determines how low we can go in terms of light level, without adding our extra lighting sources.
Shutter speed and aperture size, working in combination, determine the total amount of light reaching the sensor. You can probably figure out that if these two mechanical features of the camera work together, there must be different combinations that will allow the exact same amount of light to reach the sensor and you would be correct. This relationship is called reciprocity. I’m going to assume that you already know that the shutter speed is measured in seconds or fractions of seconds and that the aperture is measured in a mathematical ratio, too involved to get into here, called f stops. The following table illustrates the different combinations of shutter speed and f stop that will provide the same exposure assuming an ISO of 125 on a bright, sunny day.
| ISO 125 | ||||||
| Shutter Speed | 1/2000 | 1/1000 | 1/500 | 1/250 | 1/125 | 1/60 |
| Aperture | f/4.0 | f/5.6 | f/8.0 | f/11 | f/16 | f/32 |
The same combinations in a very low light situation that requires longer exposure time for the same f stop.
| ISO 125 | ||||||
| Shutter Speed | 1/60 | 1/30 | 1/15 | 1/8 | 1/4 | 1/2 |
| Aperture | f/4.0 | f/5.6 | f/8.0 | f/11 | f/16 | f/32 |
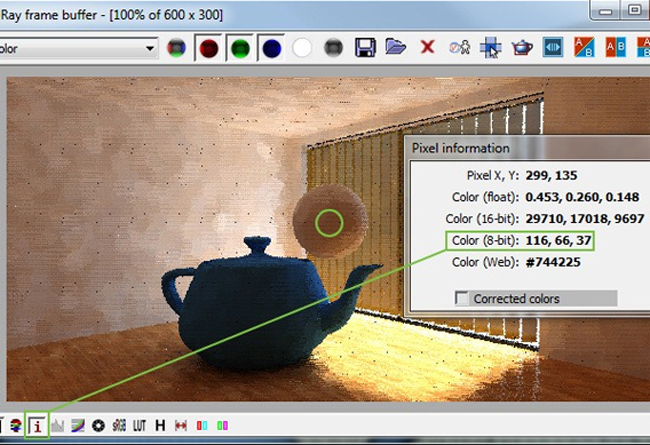
5. White balance correction.
Image Source: MintViz Workshop
When we really have to think about the color is when we have mixed lighting. That is, our scene is lit by more than one sources of light which have different colors. Imagine a room with bright artificial light and a window. The light in the room is yellowish and the light coming through the windows is bluish. if we were photographing something in this room then the place we put them would alter their color. The nearer they were to the window then the more they would be influenced by its blue light and vice versa.
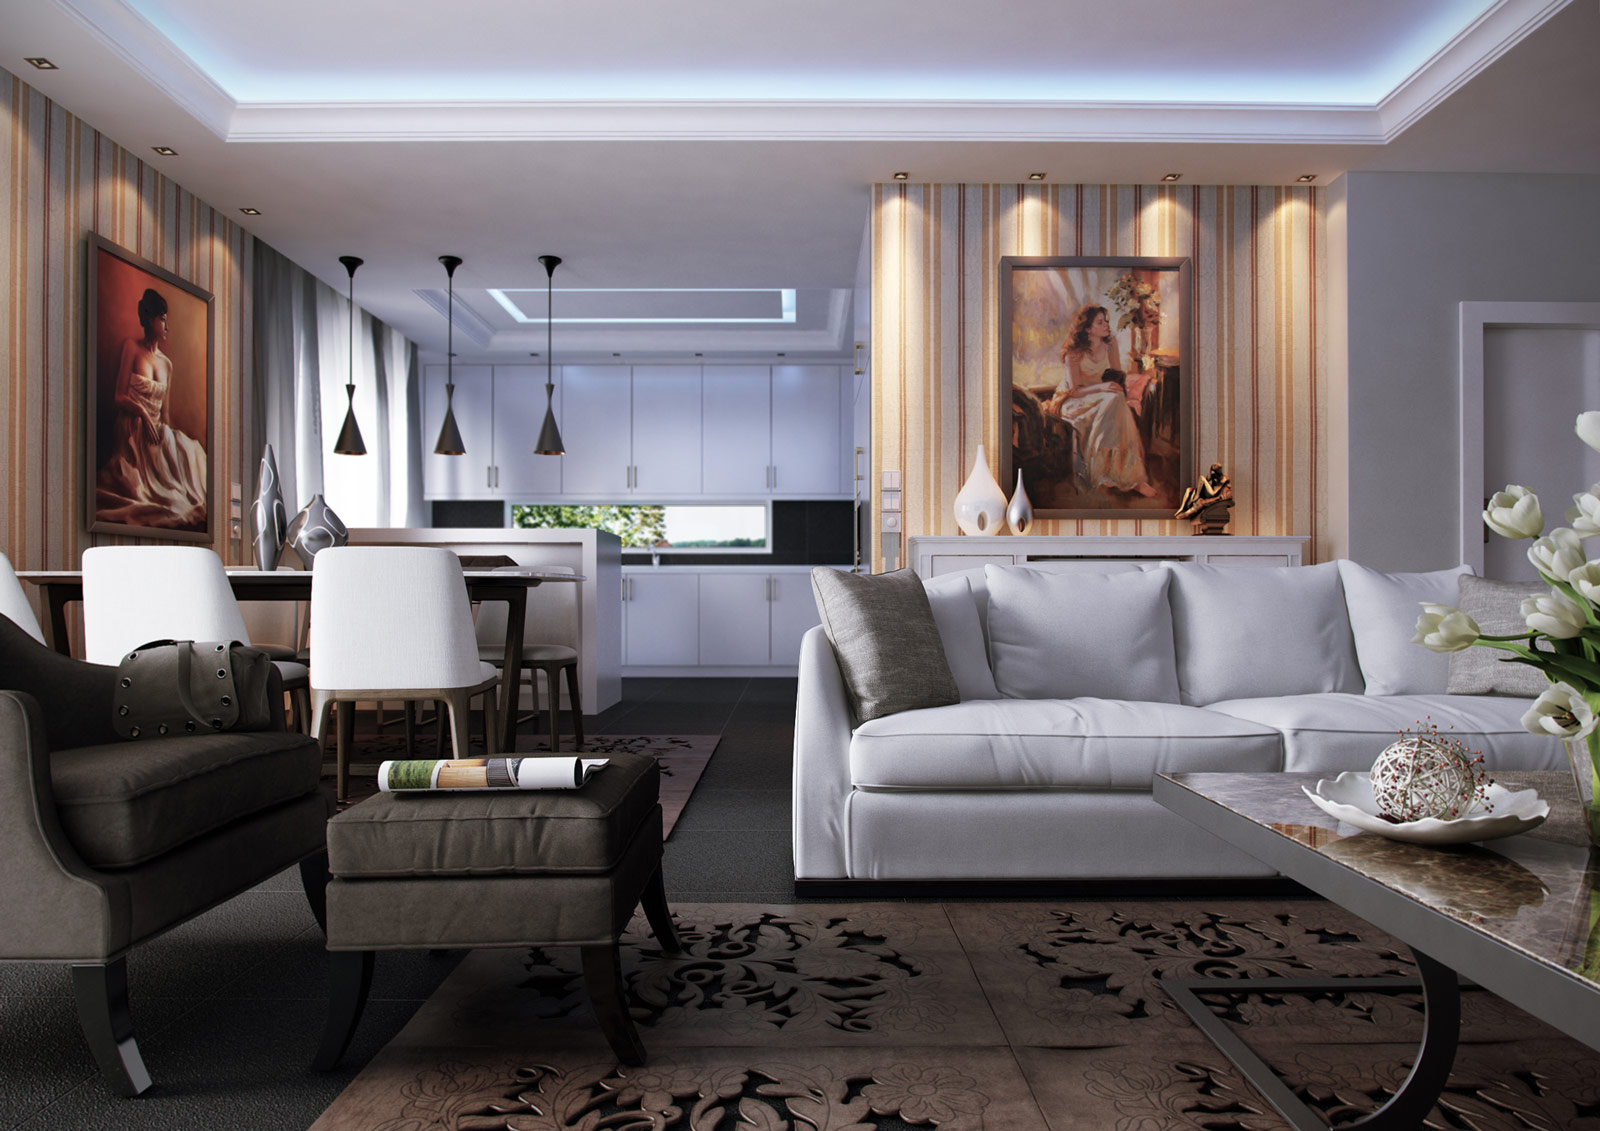
6. House in Giannitsa.
Image Source: xDream3D
It"s also very important where we place the camera. If we are near the window or further into the room facing the window. One thing that seldom looks good is when the window is at 90 degrees to the camera because then one side of your subject will be blue and the other will be yellow and there is no way to compensate for that but with a lot of post production work in Photoshop :)
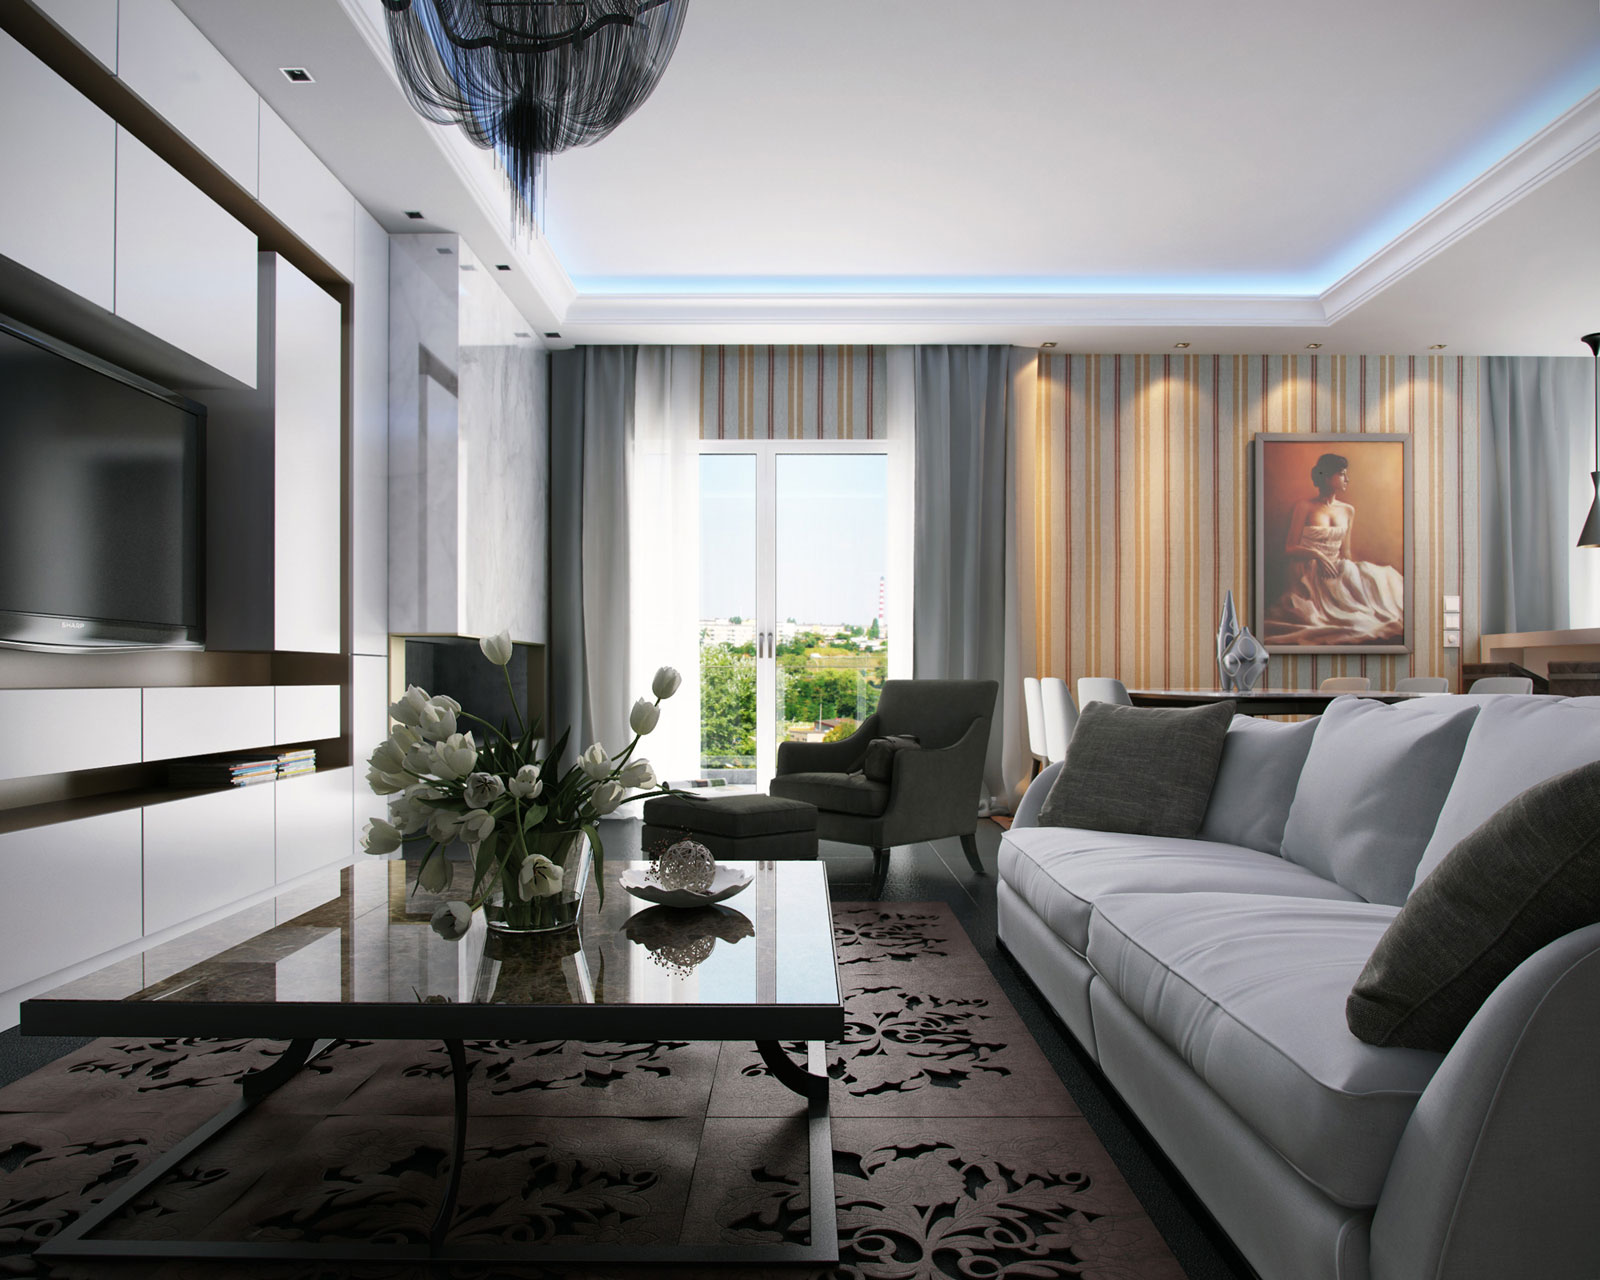
7. House in Giannitsa.
Image Source: xDream3D
The sun or a spotlight produces hard and sharply defined shadows whilst a cloudy sky is a very soft light source and produces hardly any shadows.
when we make an assessment of the natural light around us, the first thing we have to observe is that there is almost never only one light source. Light travels in straight lines, until it hits and bounces on something. If the light hits on a matt object with no glossiness, it will bounce off in all directions and pick up the color of whatever it hits. If it hits on a shiny object, it will bounce at the same angle it arrived at.
A hard light source can create such dark shadows that the human eye cannot see them clearly. This can cause a problem in our photography because, at the correct exposure, it may not be possible to see any details in the shadows. We could hide shadows by keeping our subject away from any background and shooting from the same angle as the hard light source so most of them will be hidden behind it. This trick is something I don"t really like. Personally I love the hard contrasted style in both photography and 3d art.
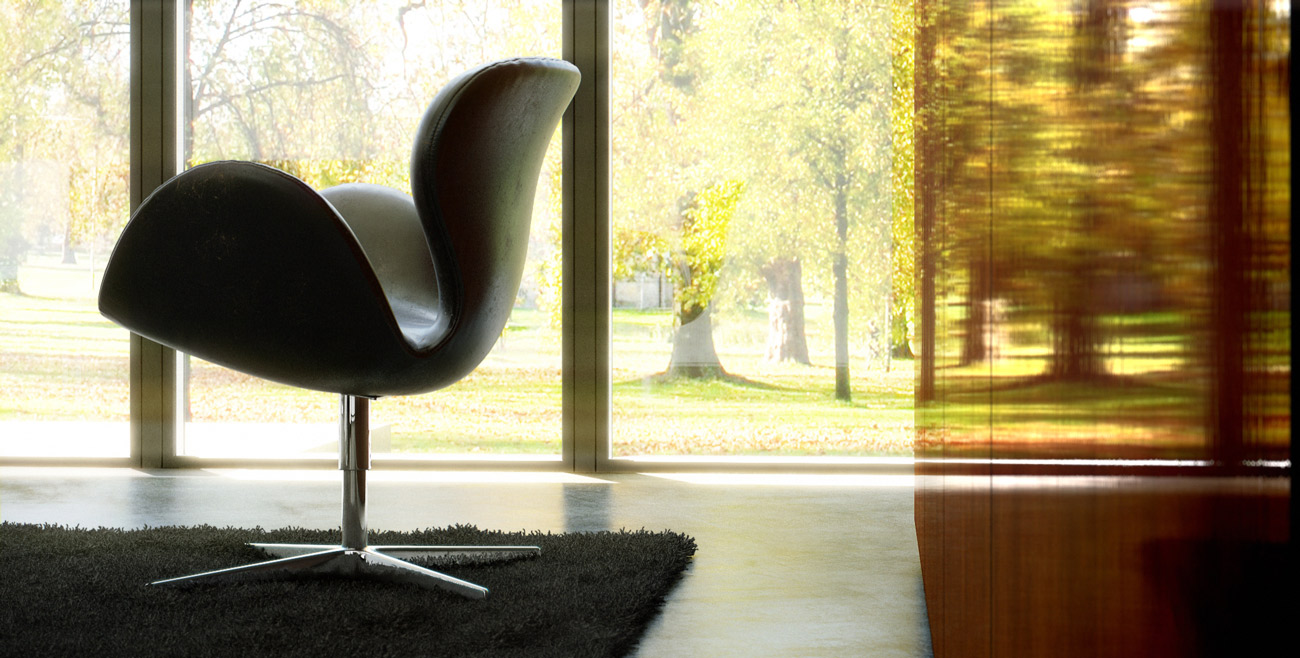
8. Studio House by Mihail Bendus.
Image Source: Sharben
But this depends on the project I have to design. Sometimes I also love the de-saturated hues like Pawel"s, one of our *Club Members.
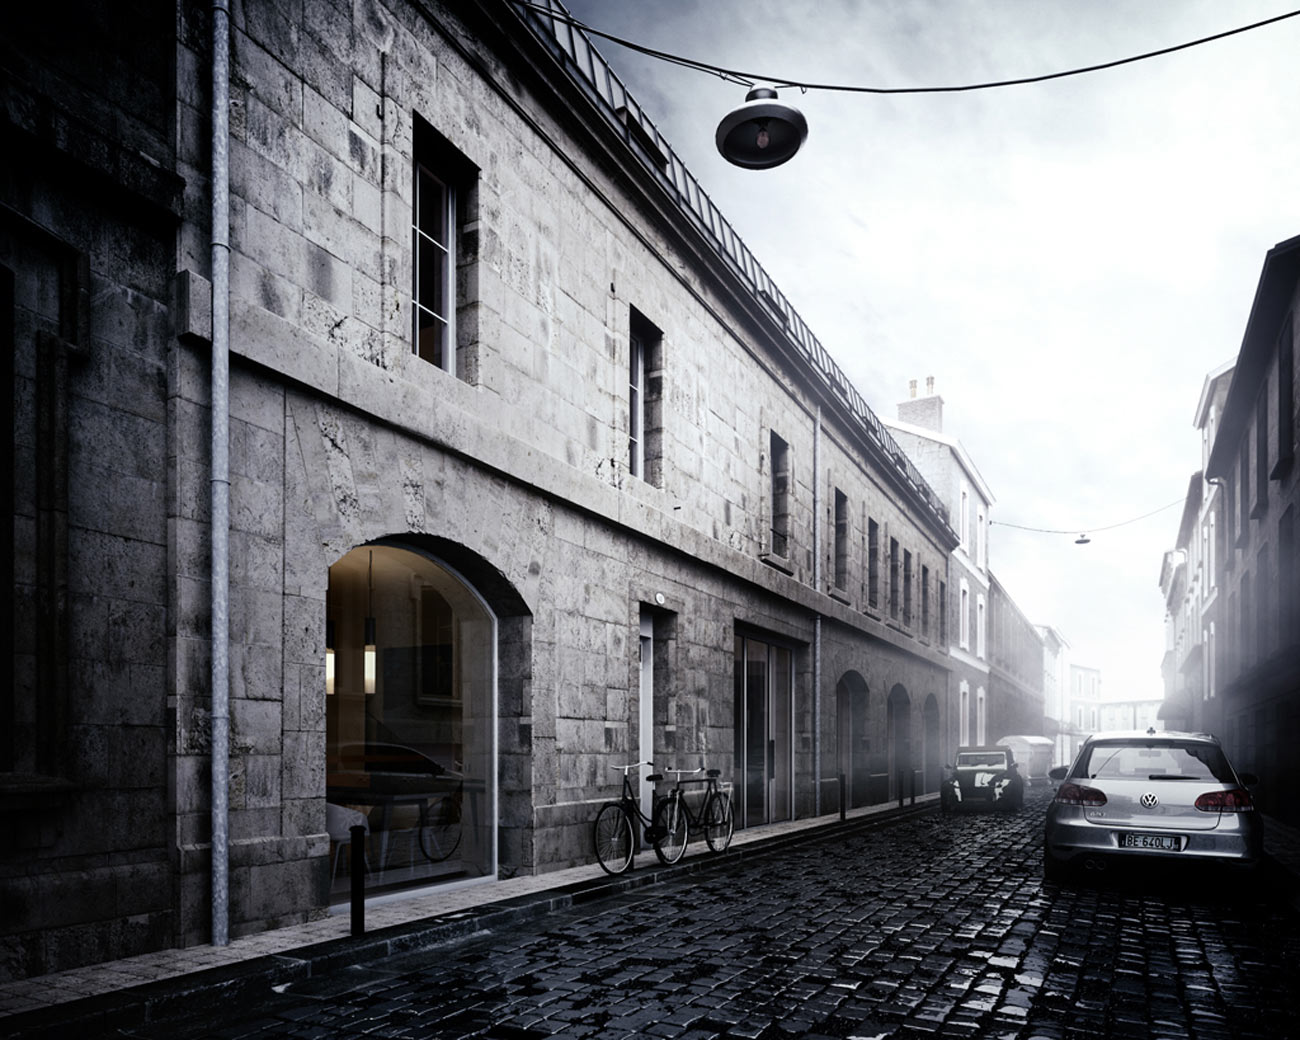
9. Student Housing in Bordeaux by Pawel Podwojewski.
Image Source: MOTYW STUDIO
To conclude the direction of a hard light source is much more important than a soft one and by changing the angle between your subject and the light source you can totally transform the way it looks. The more oblique our light’s angle, the deeper our textures will appear.